Welding II
Tire Carrier
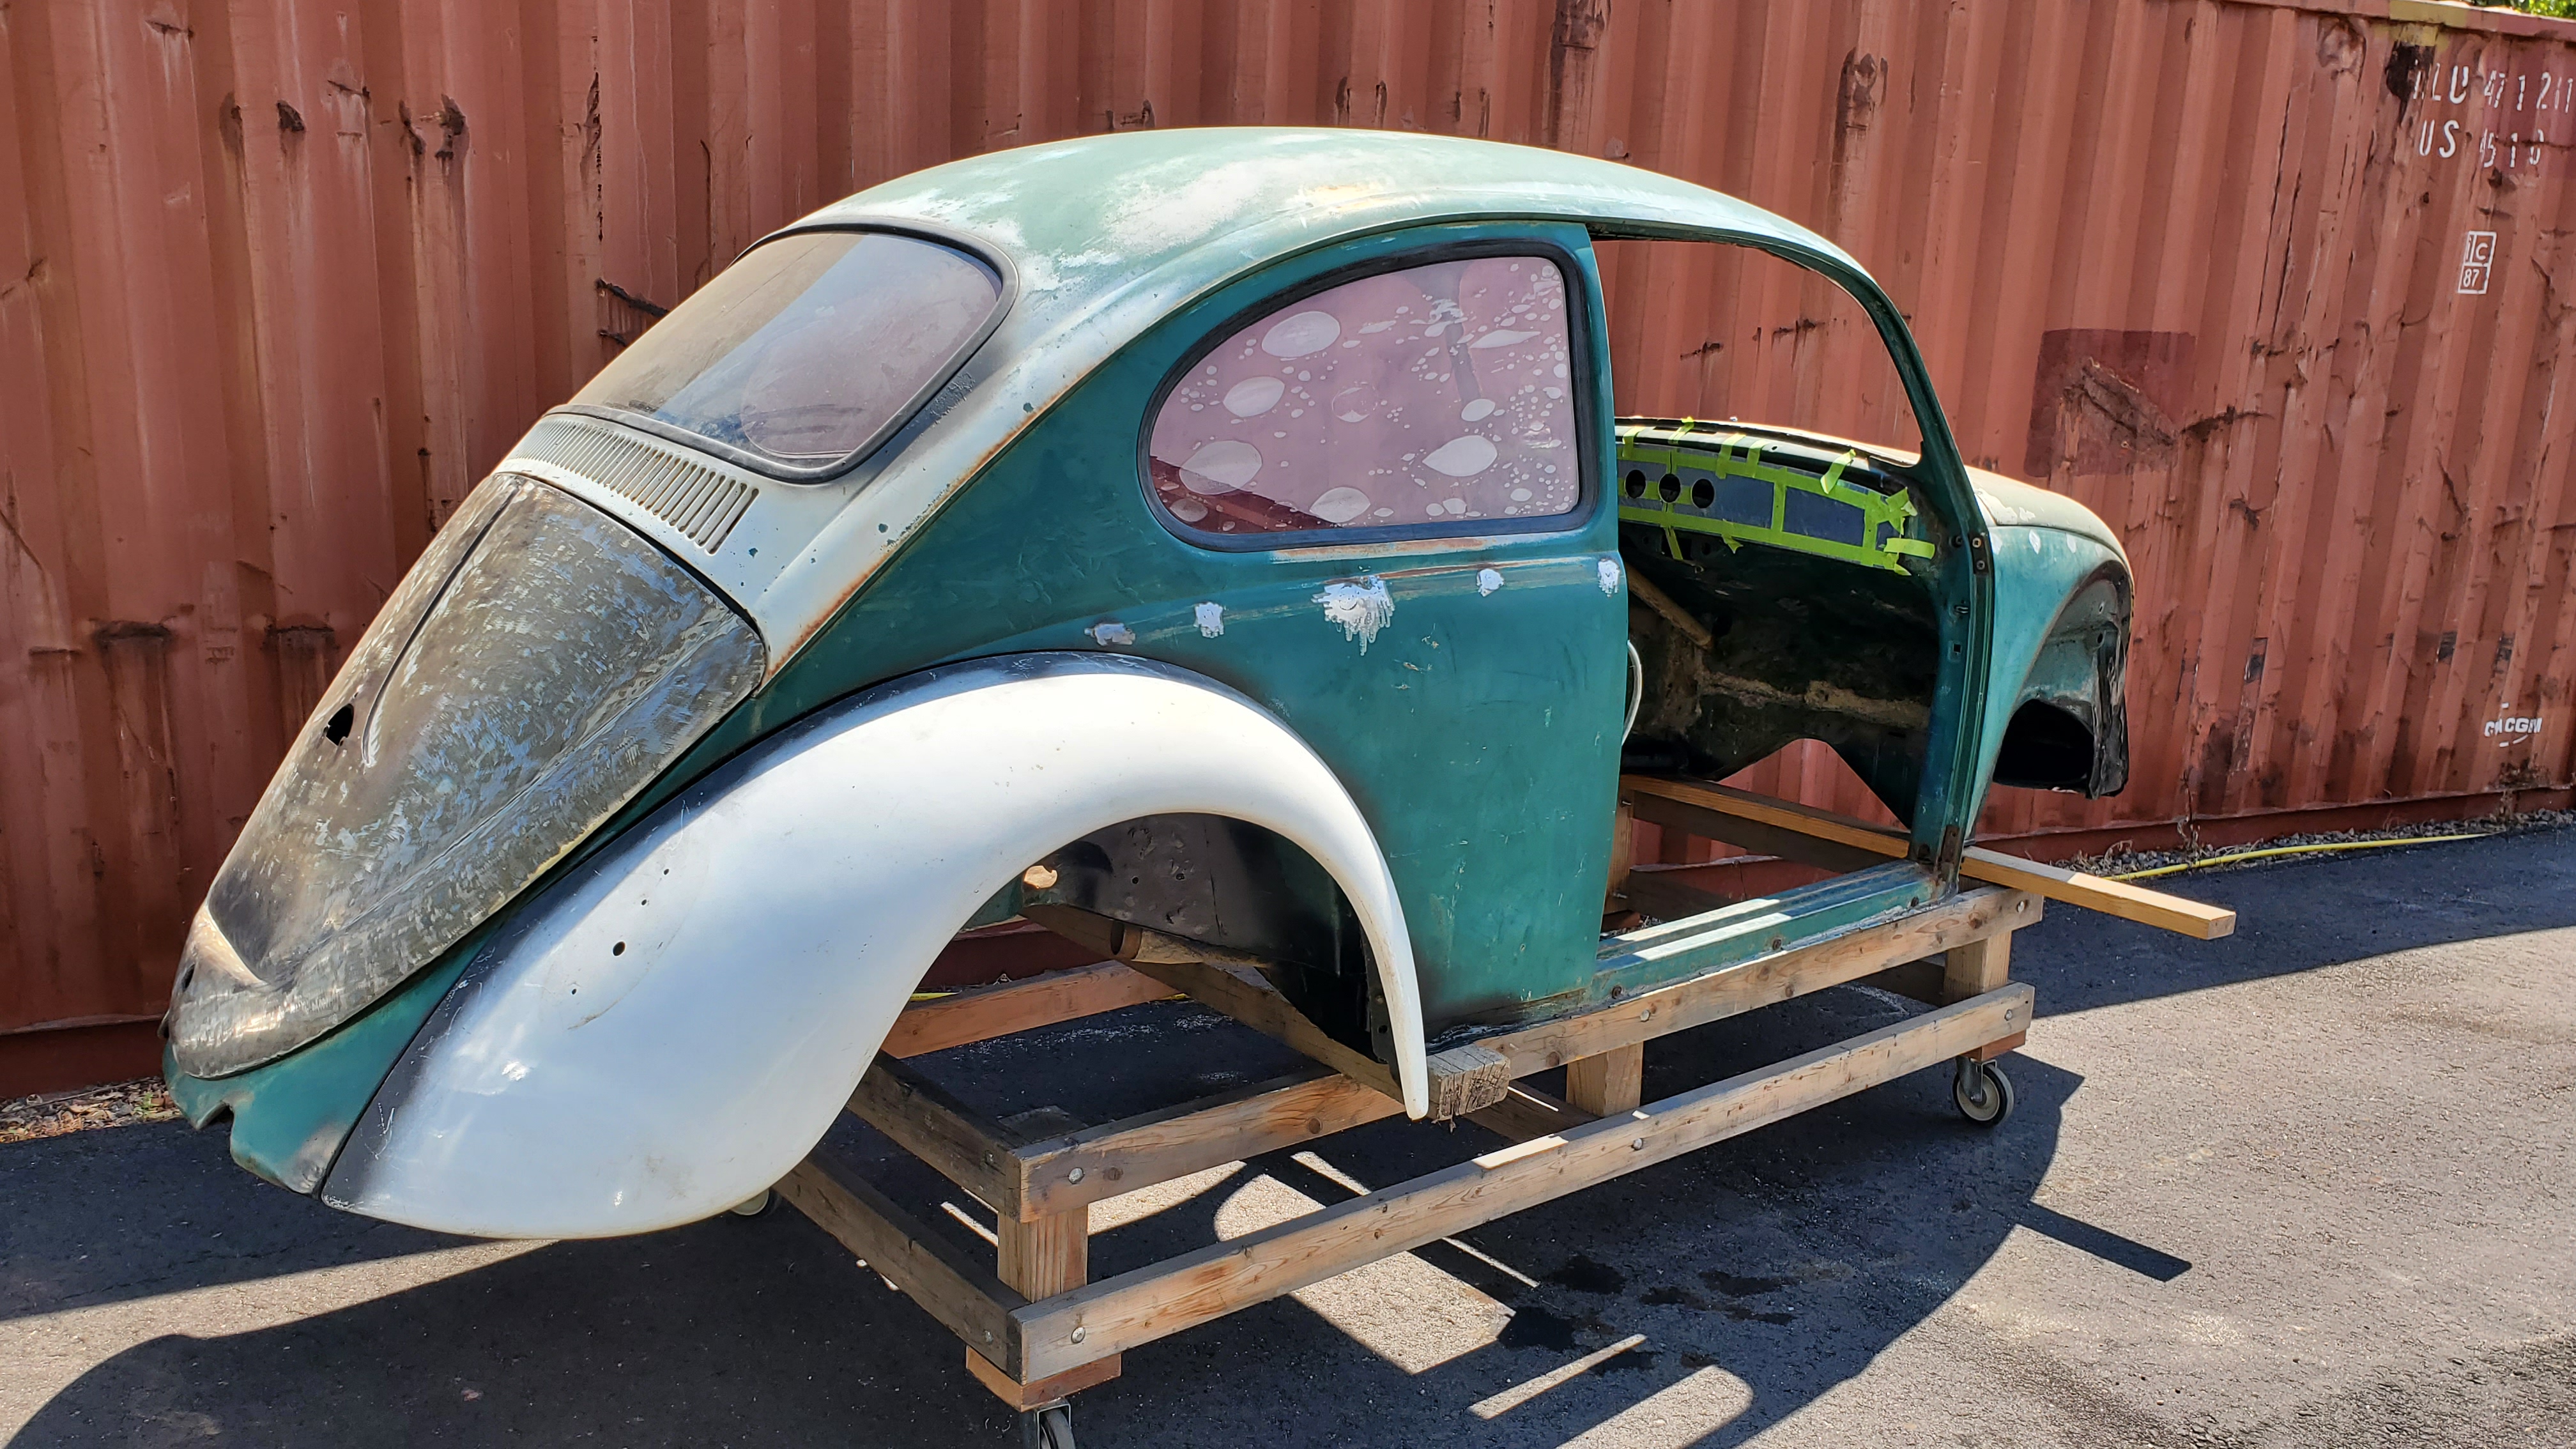
The lower panel of the tire carrier was in need of replacement, and the front apron had been hit and worked back into shape a few different times by the looks it. It was patched up to look like a European apron, and that’s what will be going back on.
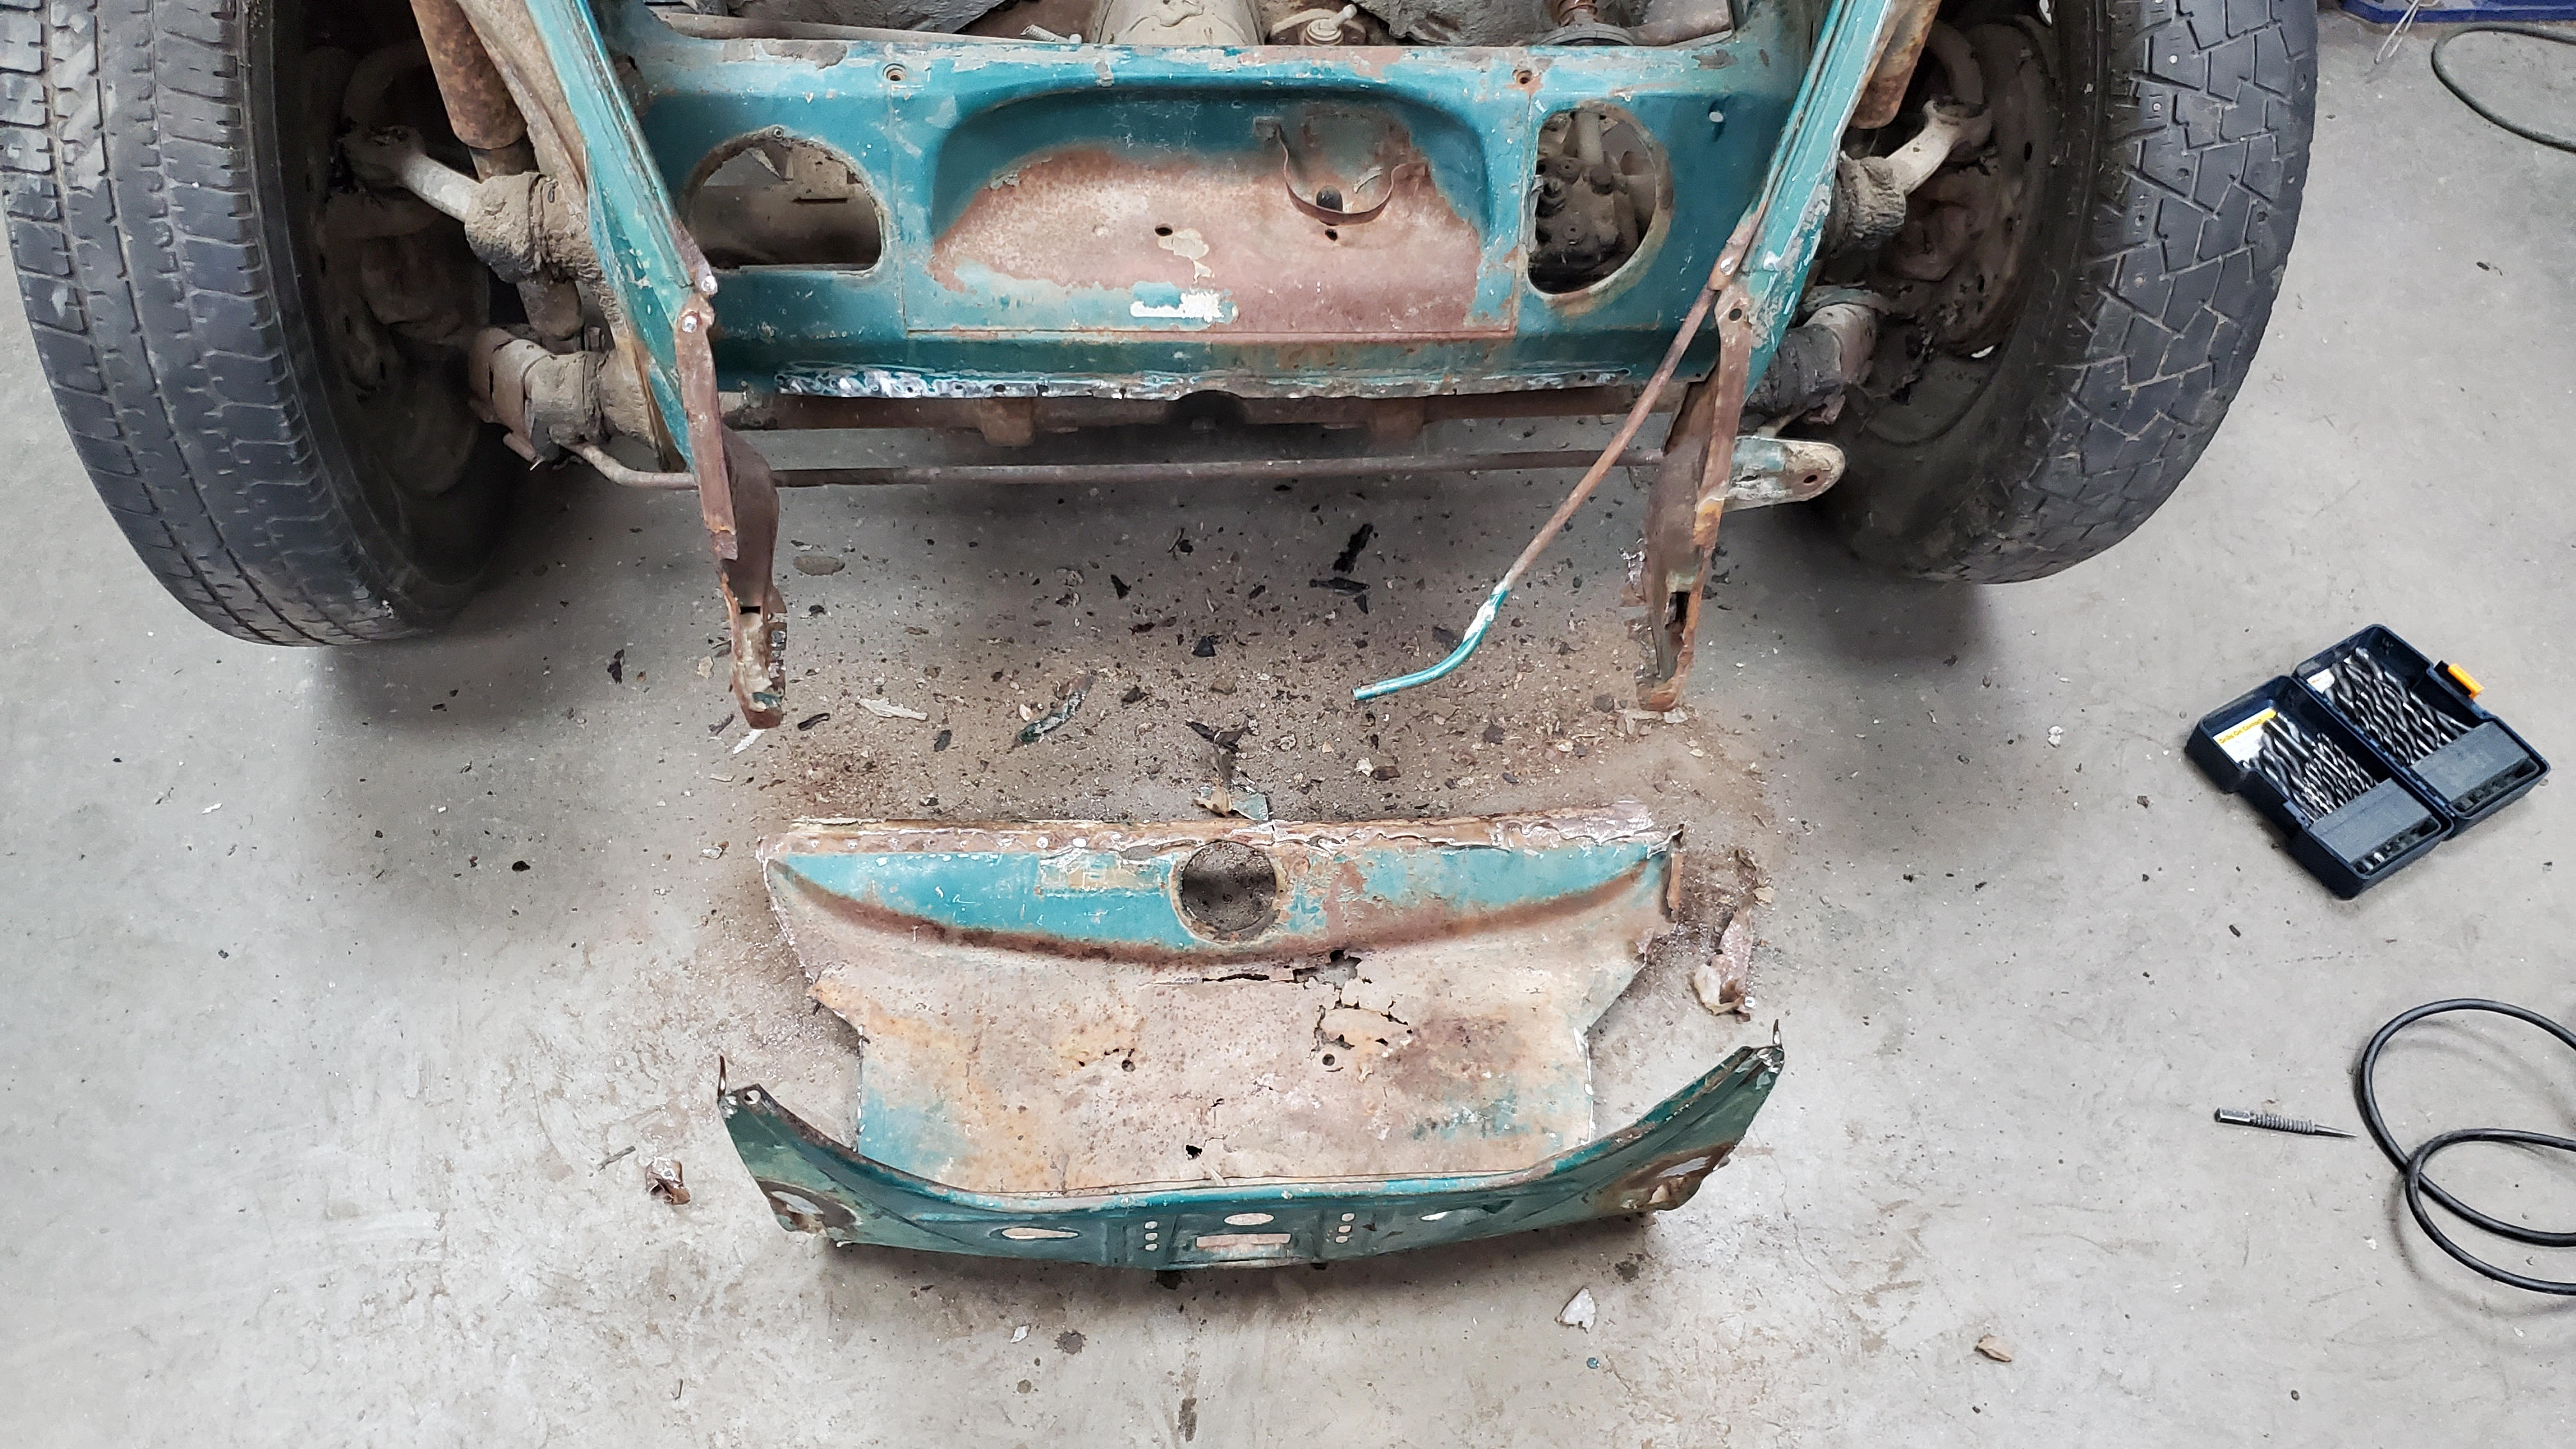
During a pan swap is the perfect time to do a tire carrier. I can get to the back side where the front beam would be to make everything look like they did it originally. Time to fit the panels first before cleaning up things to weld.


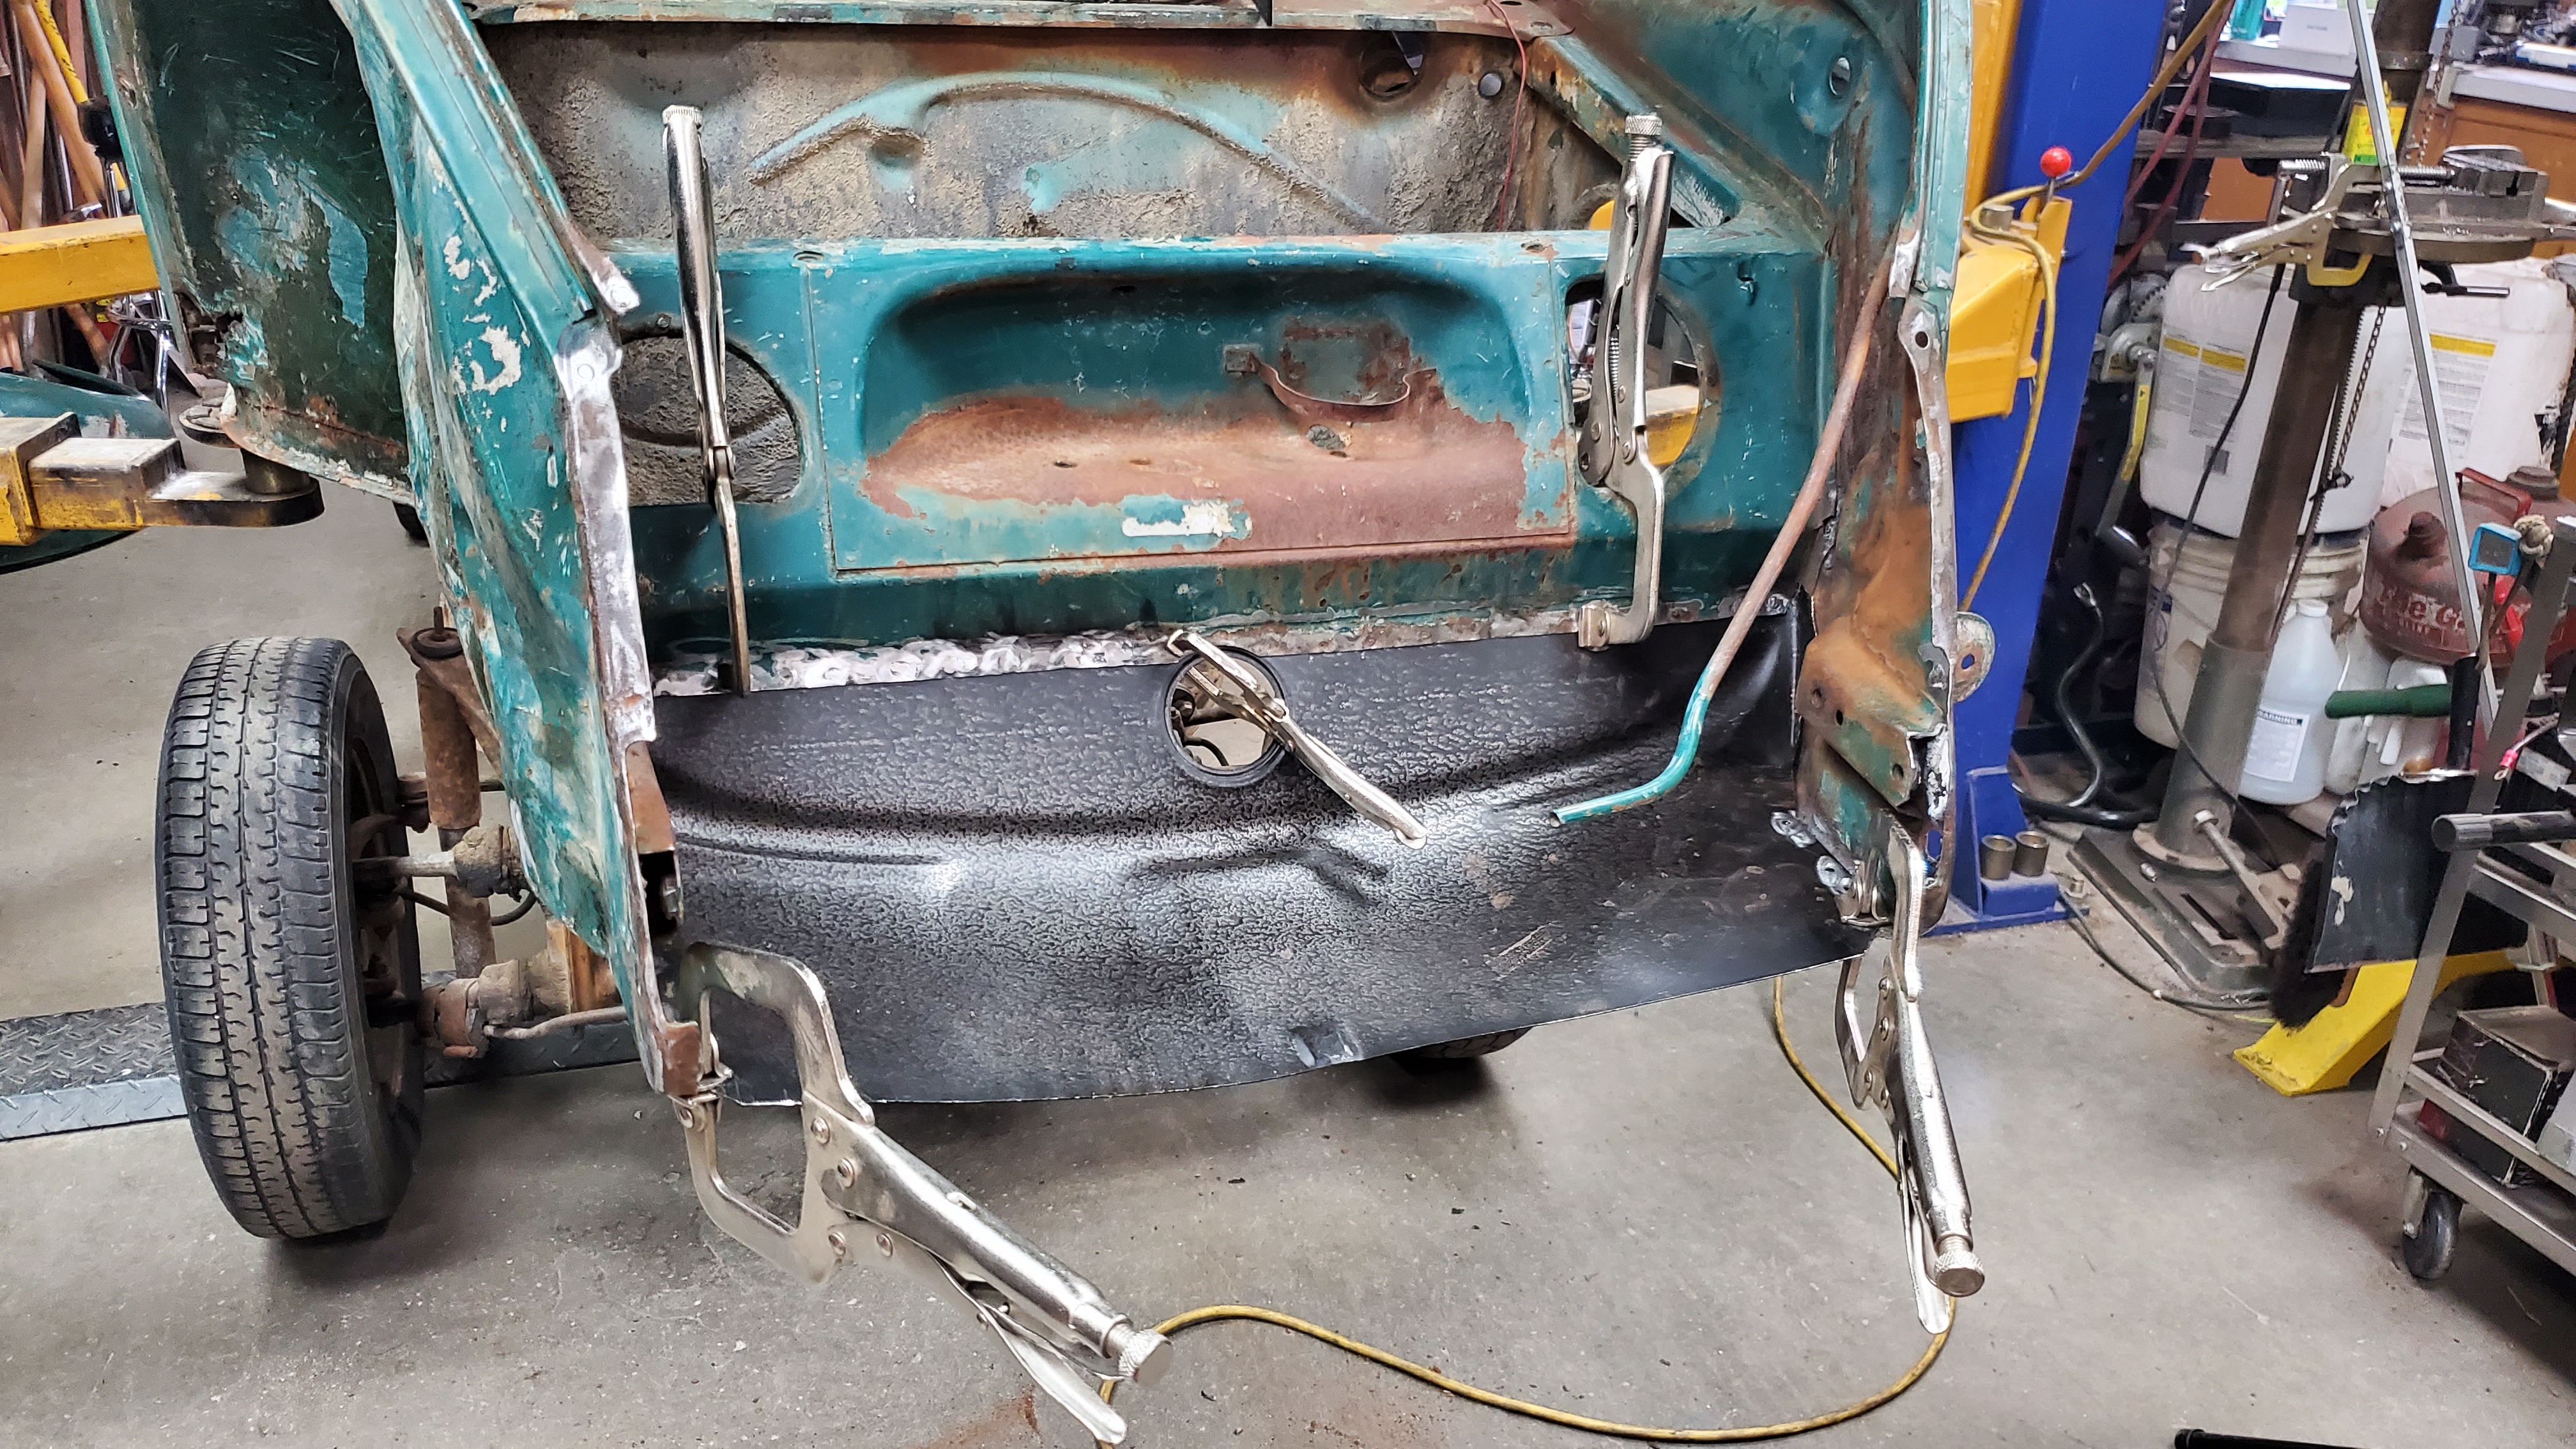

The shelf was welded, prepped, and the carrier was welded from inside with plug welds to give it the factory spot weld look.
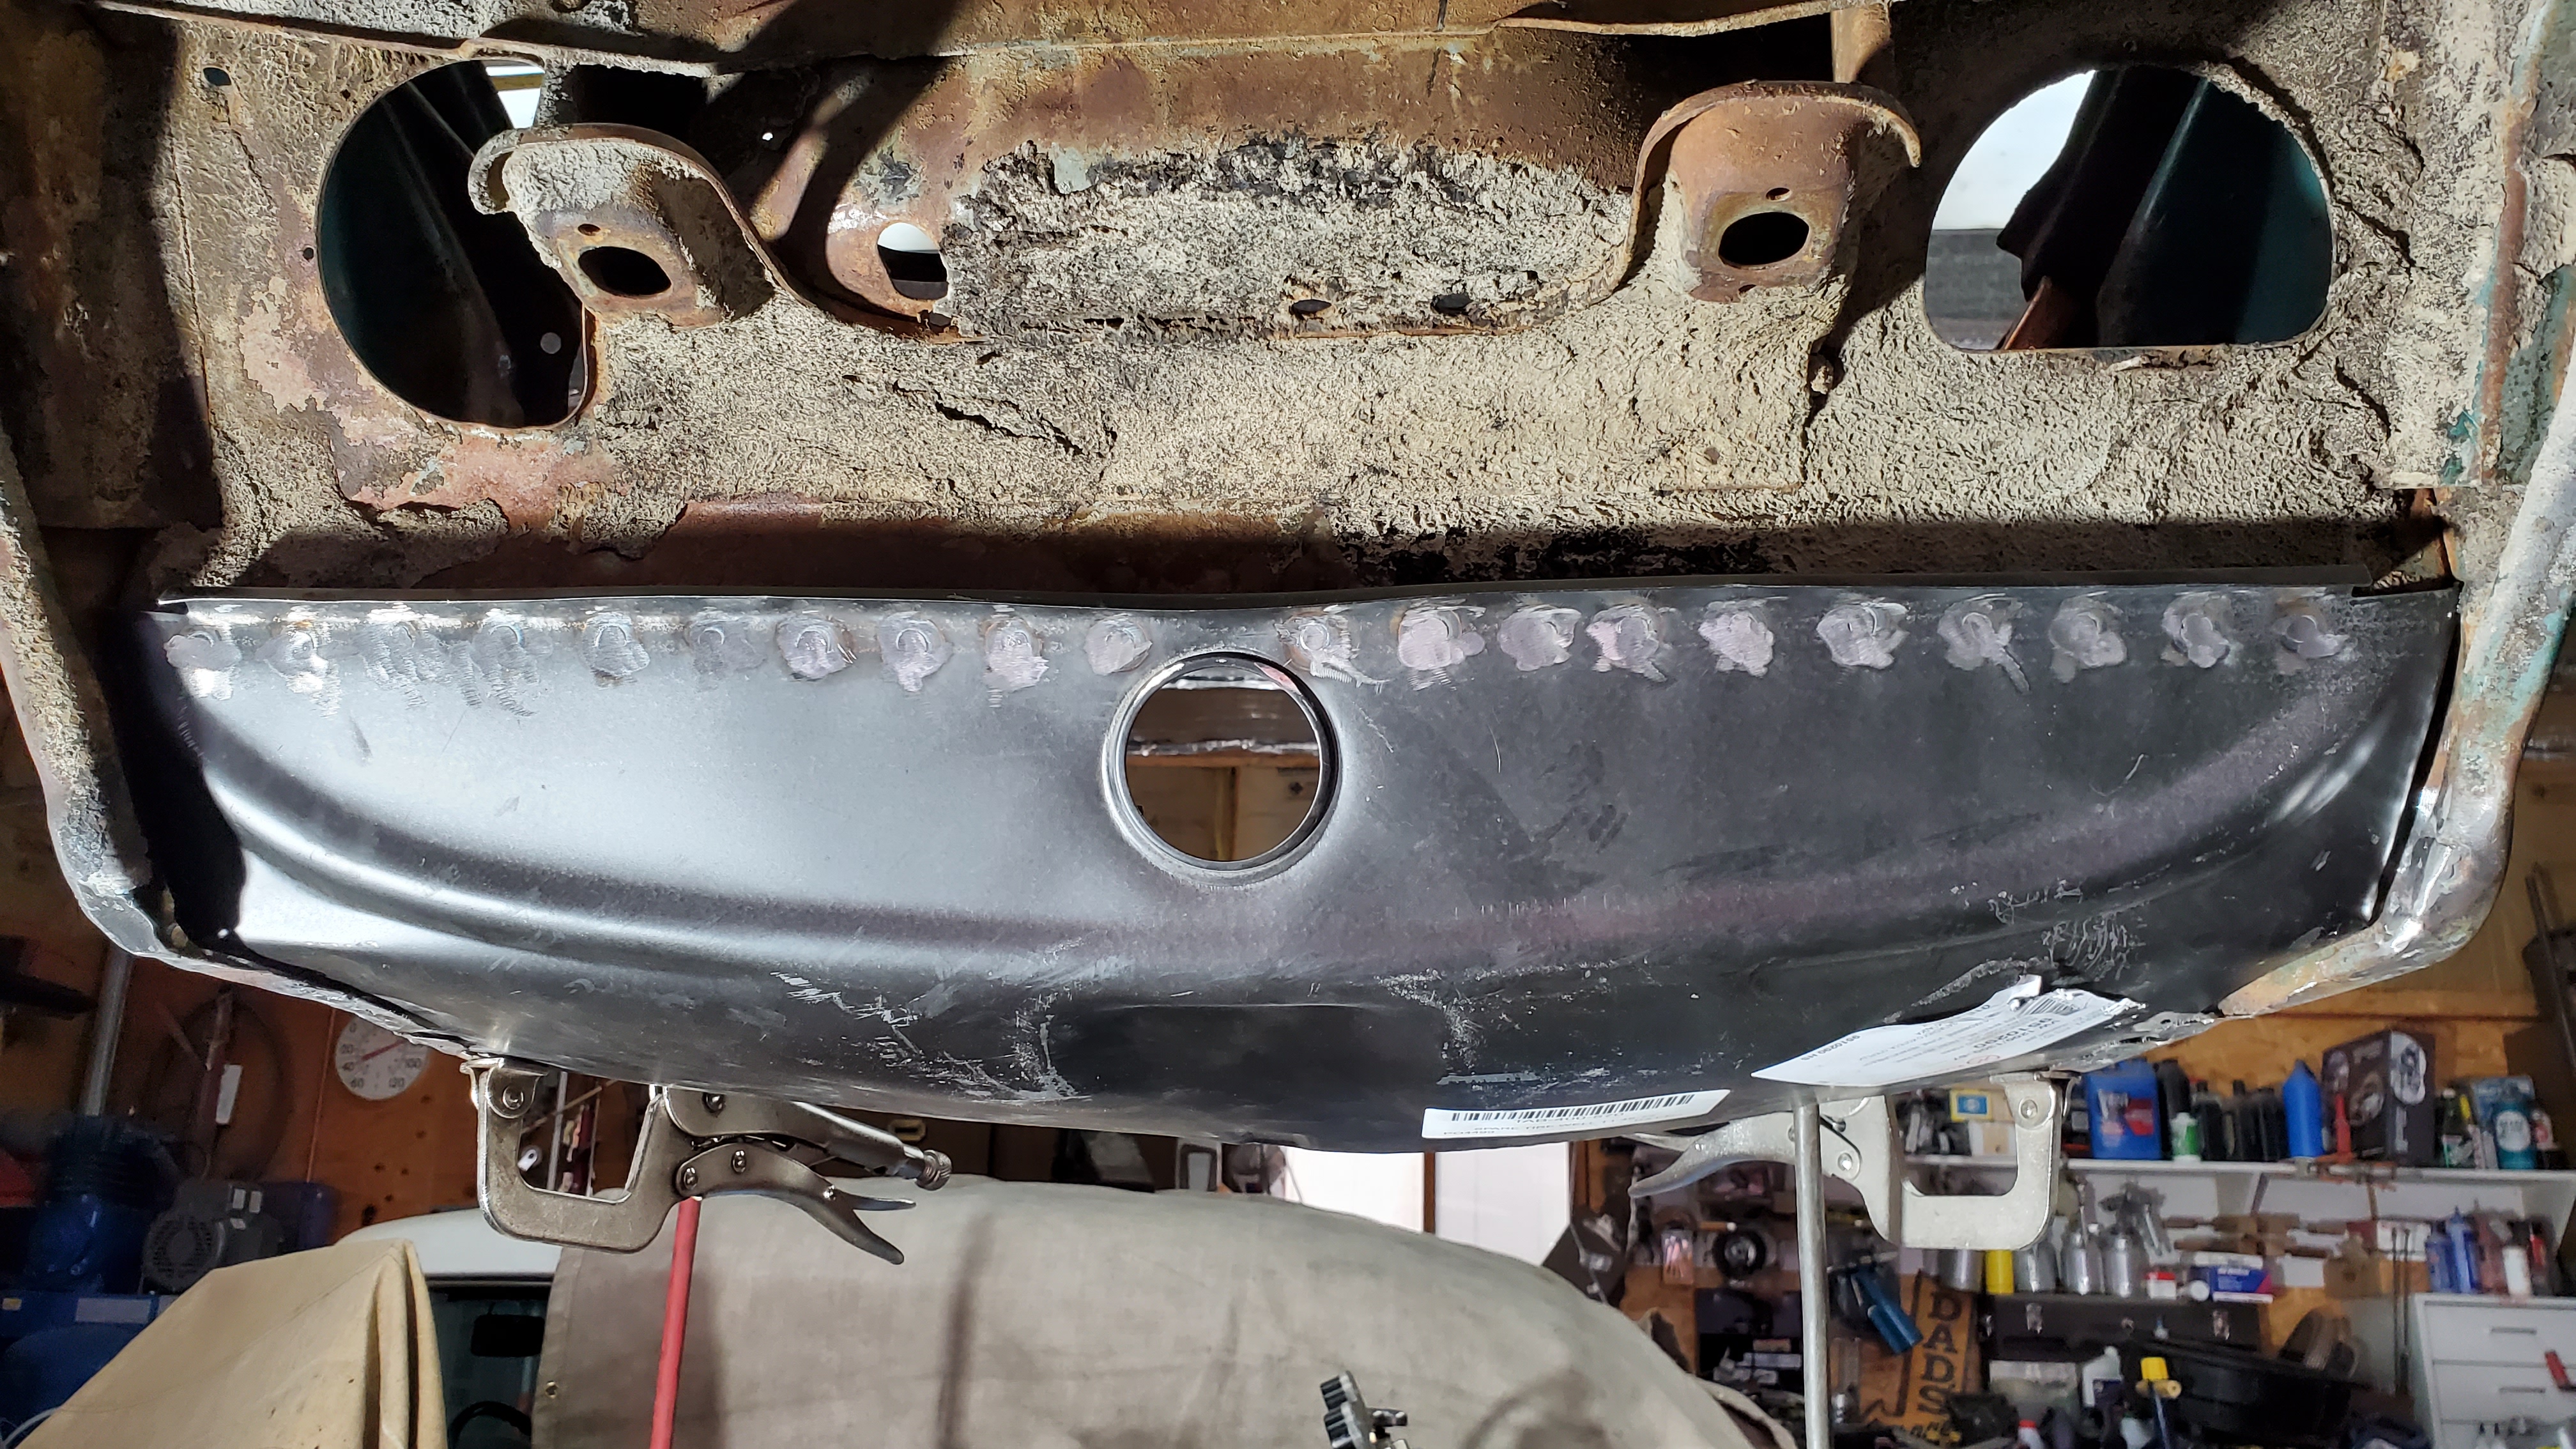
The nuts were all good in the front brackets and only needed to be chased. The brackets were mounted, centered with the panel, leveled & twisted back to horizontal.

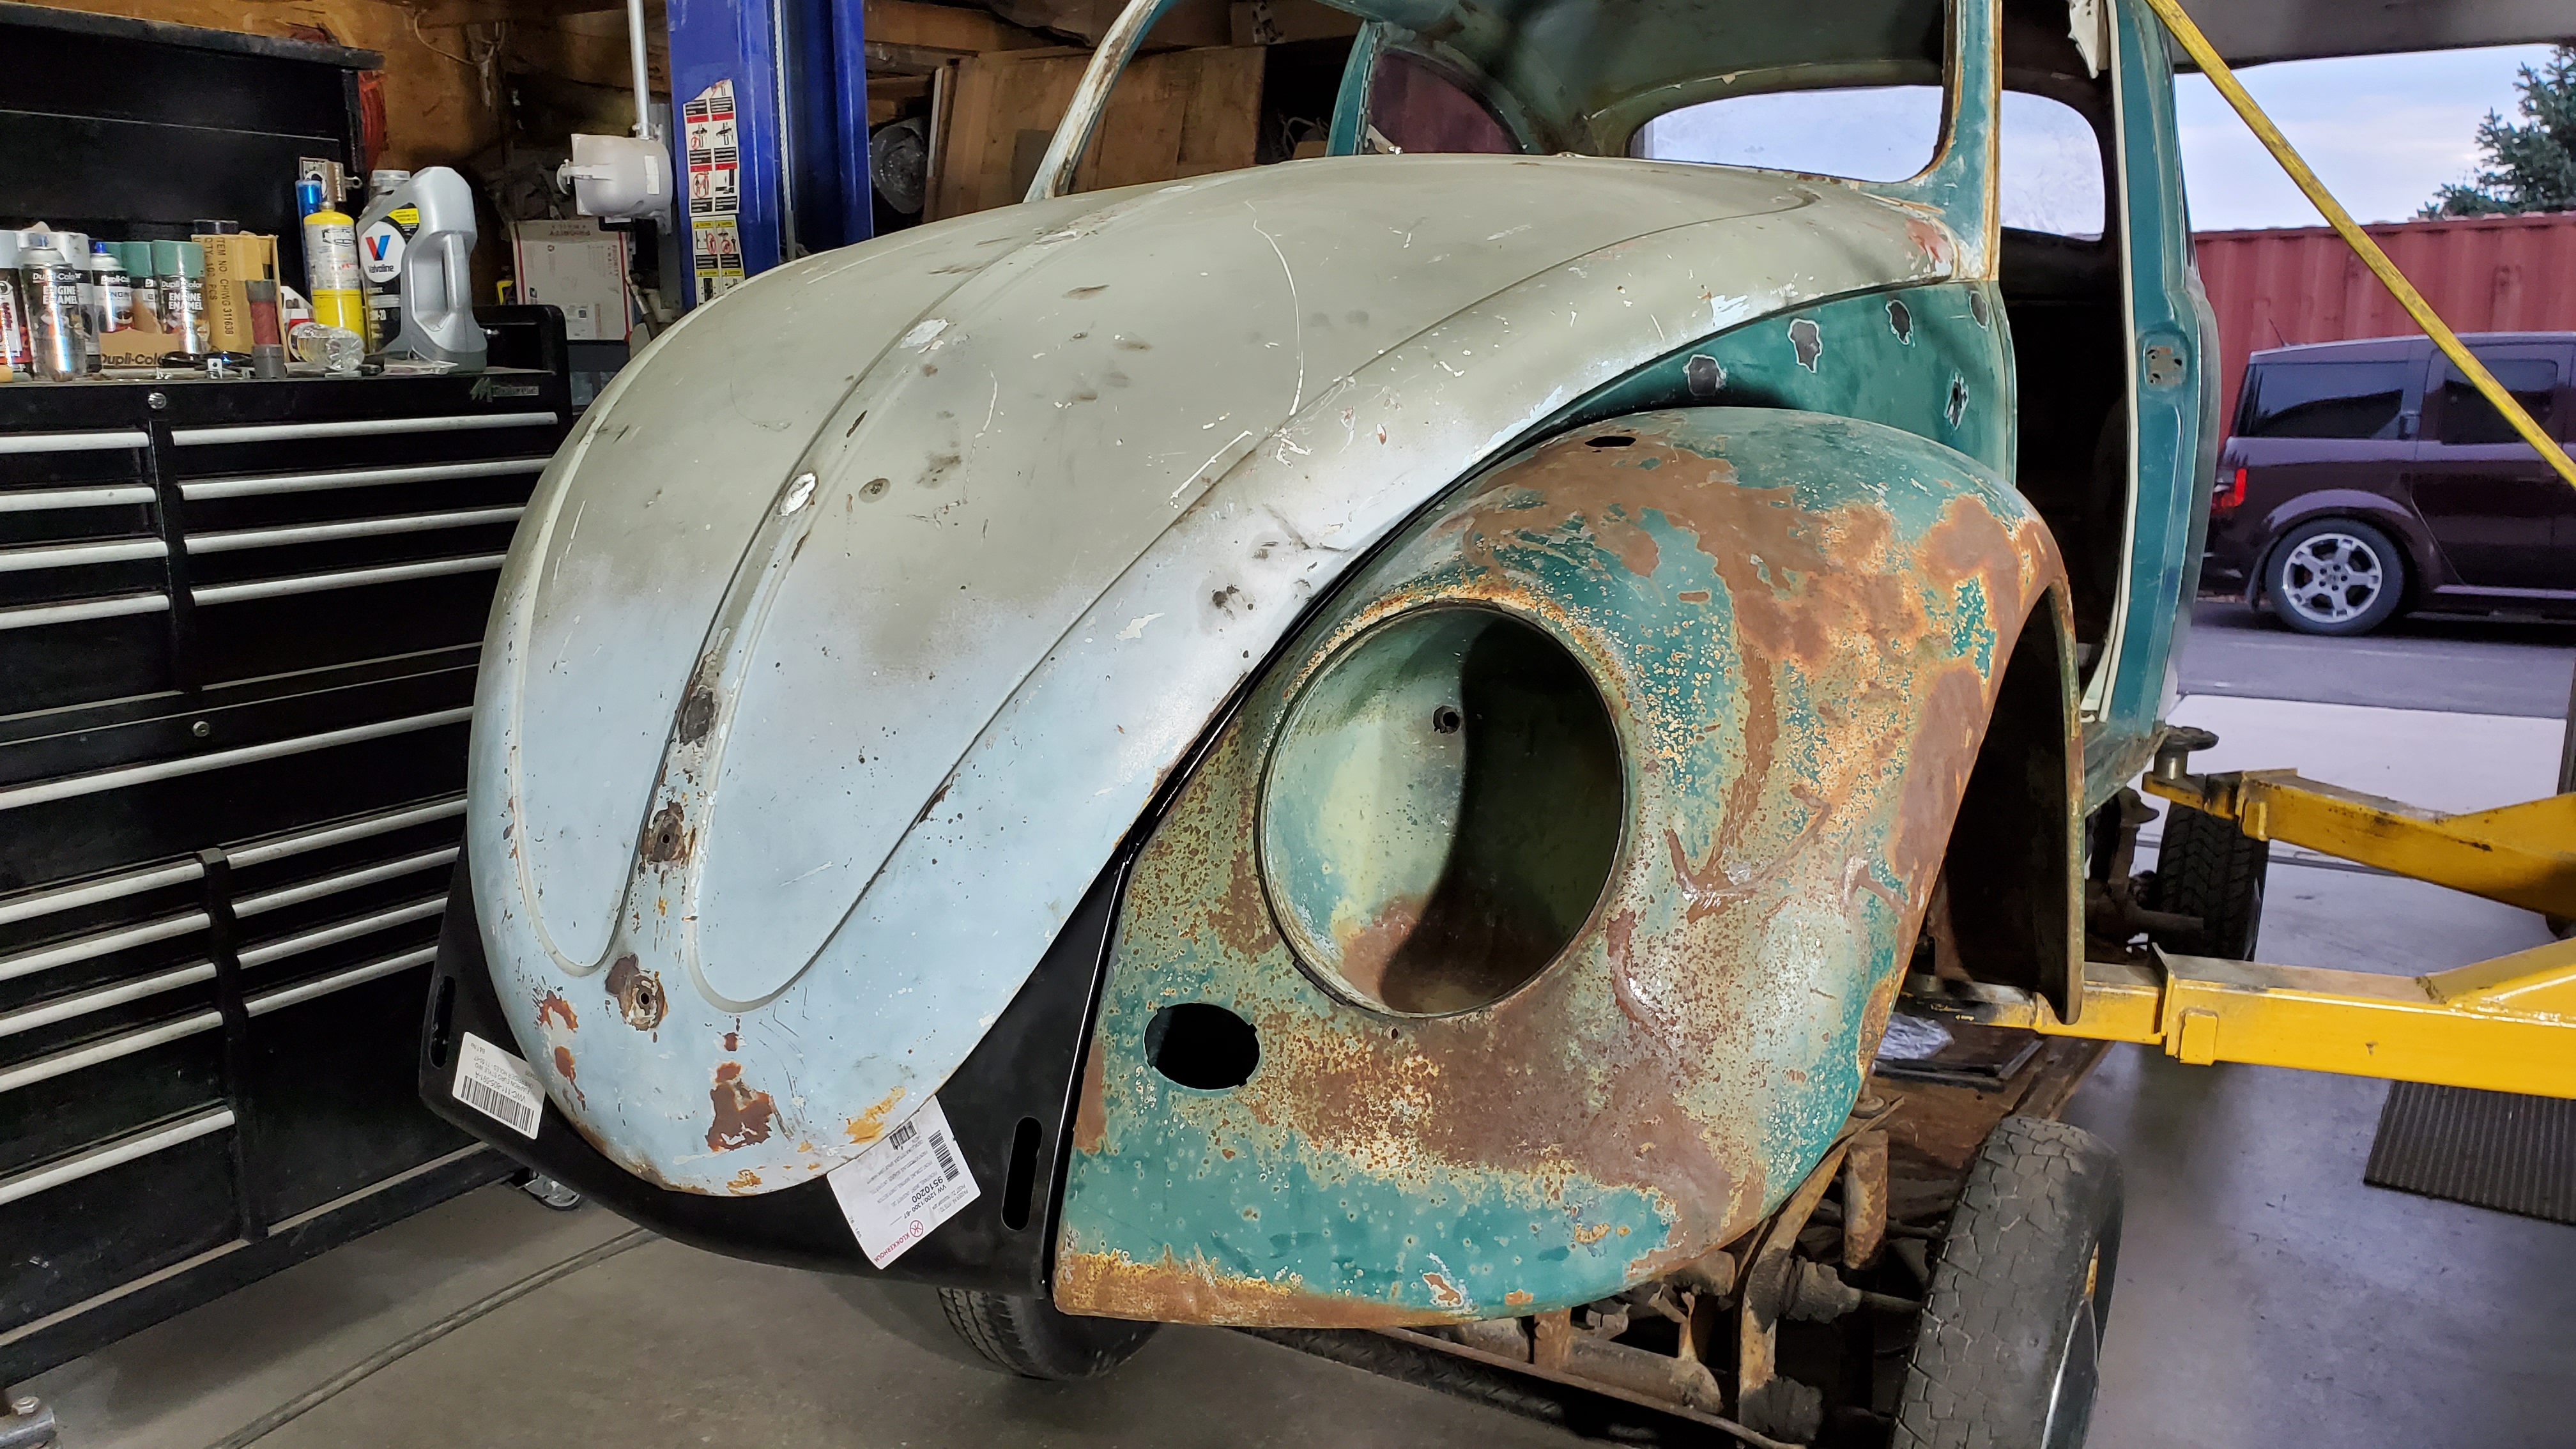
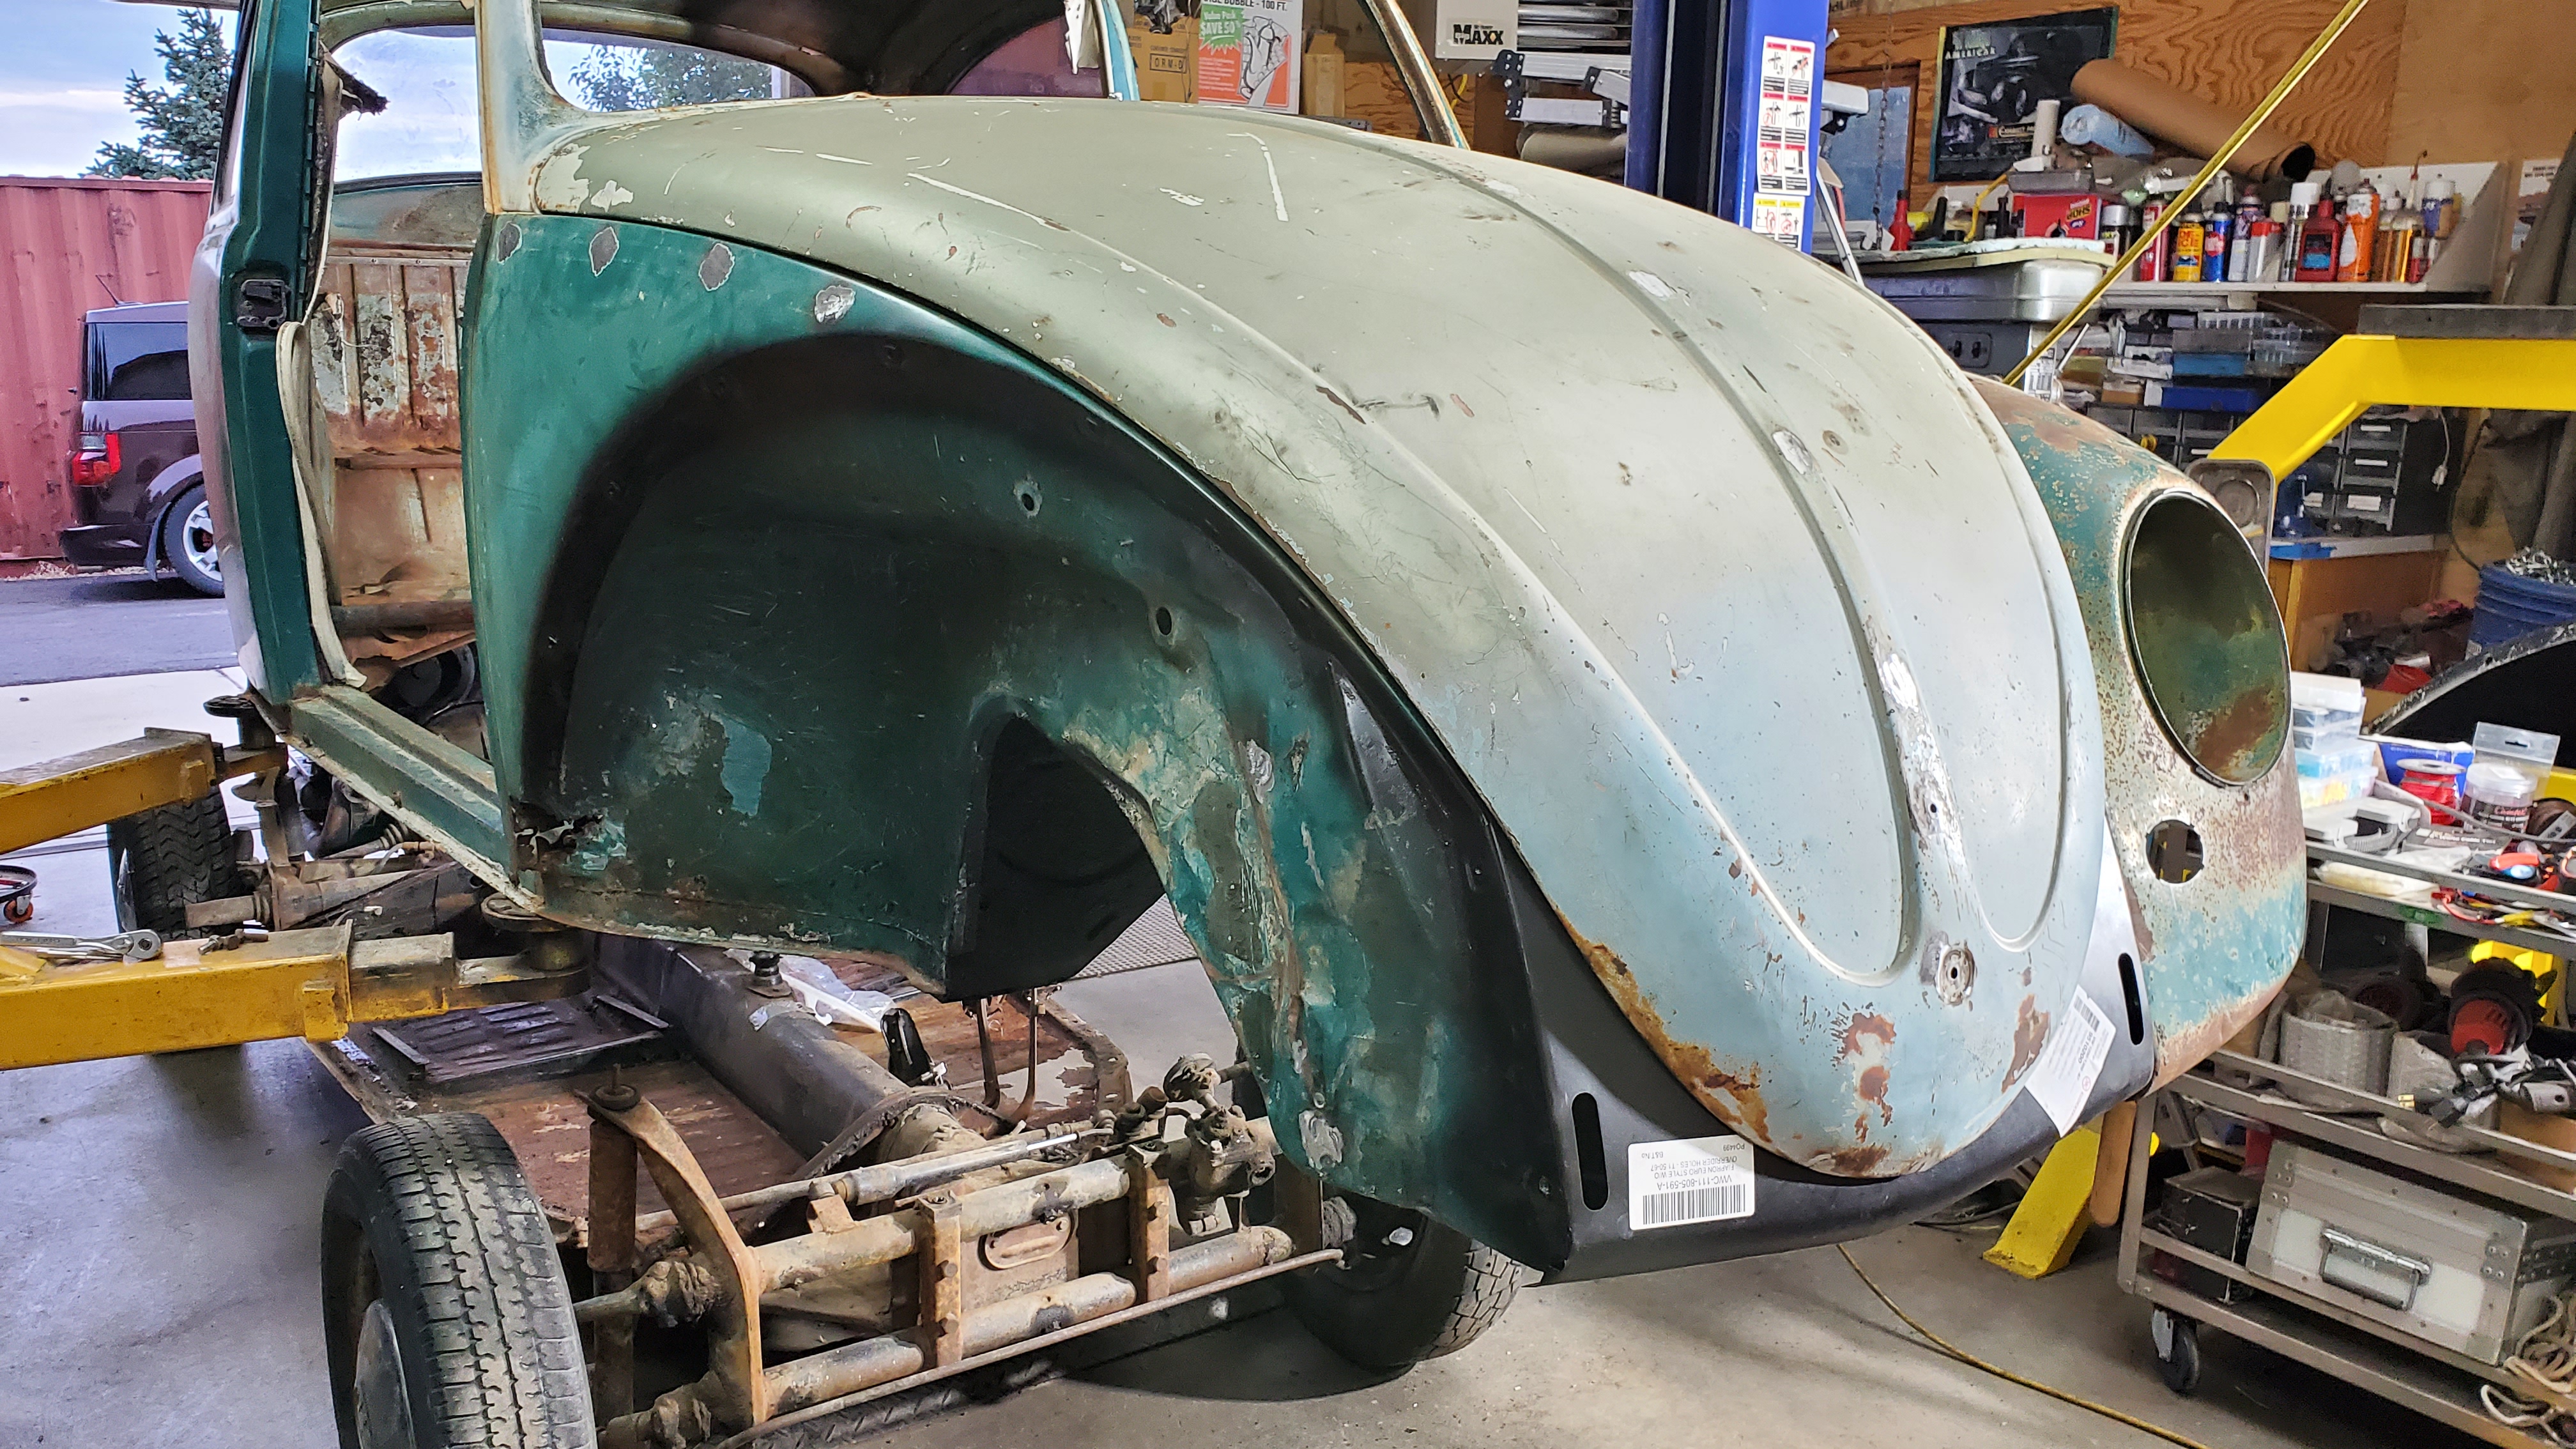
The front panels are body worked back to line up with the hood, and the apron fit to the hood. The lower edge of the fenders will be matched to the apron once both are mounted. I need to get that corner on the a-pillar first.
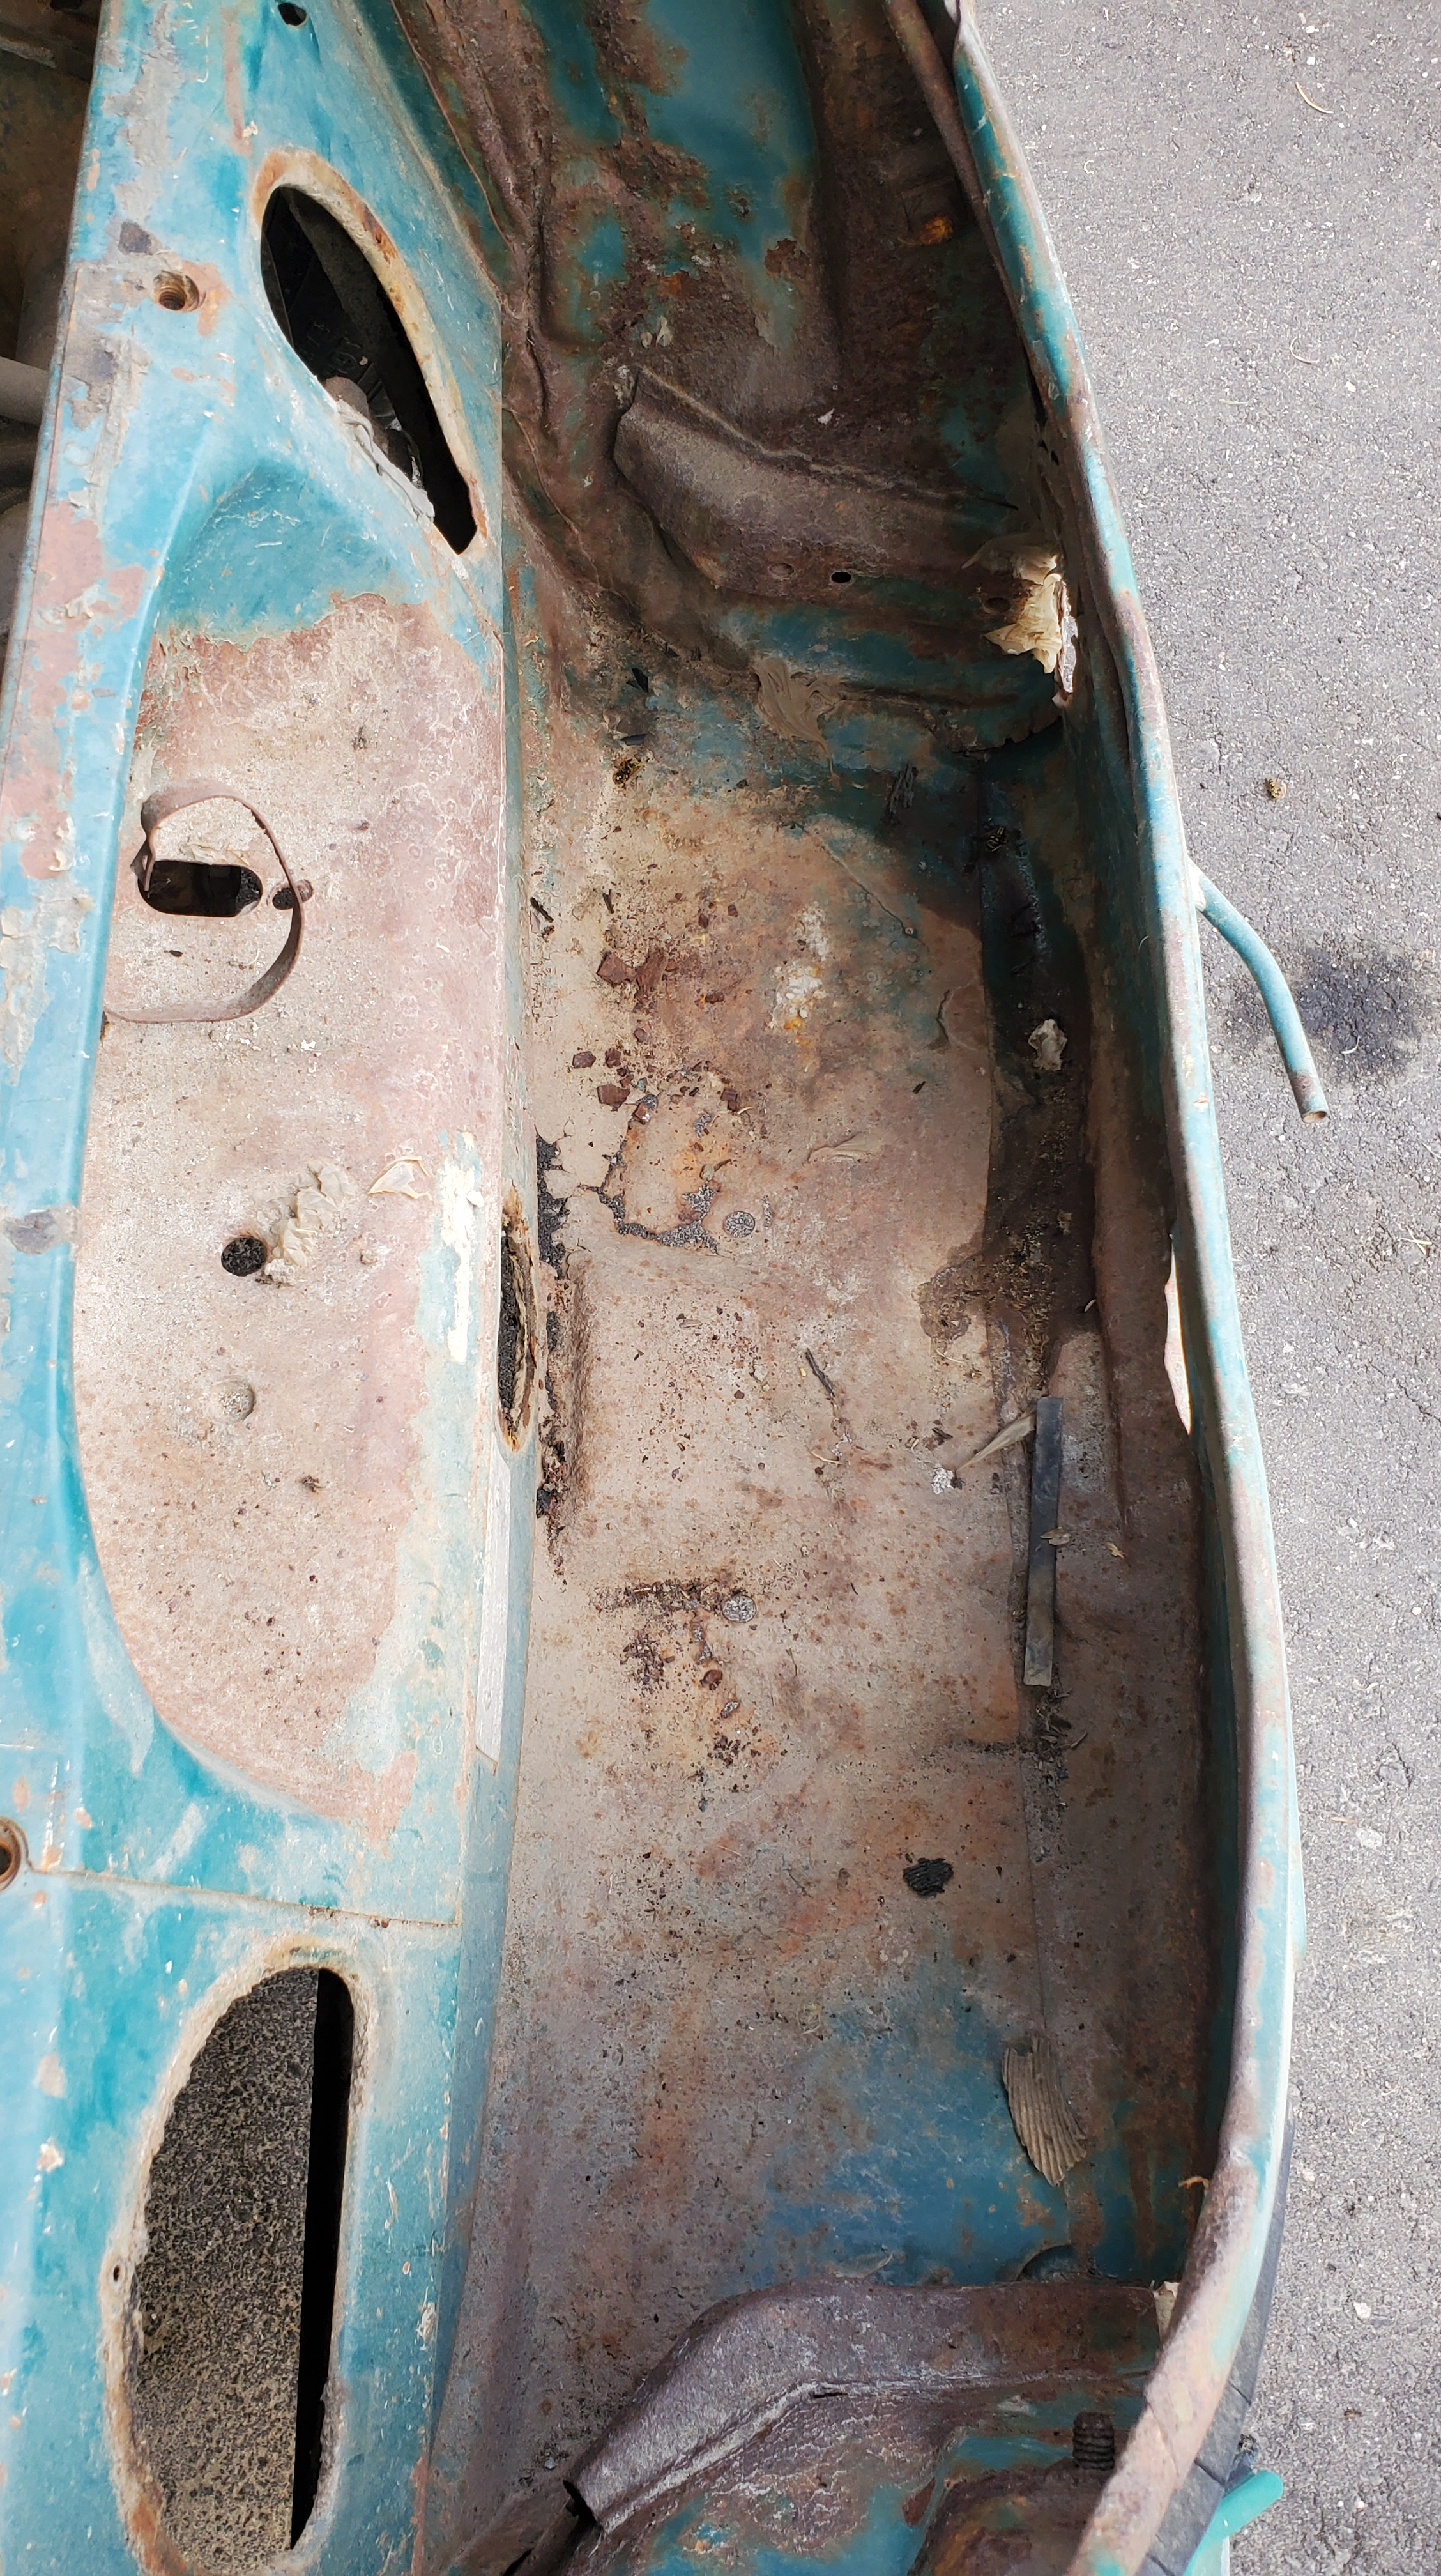
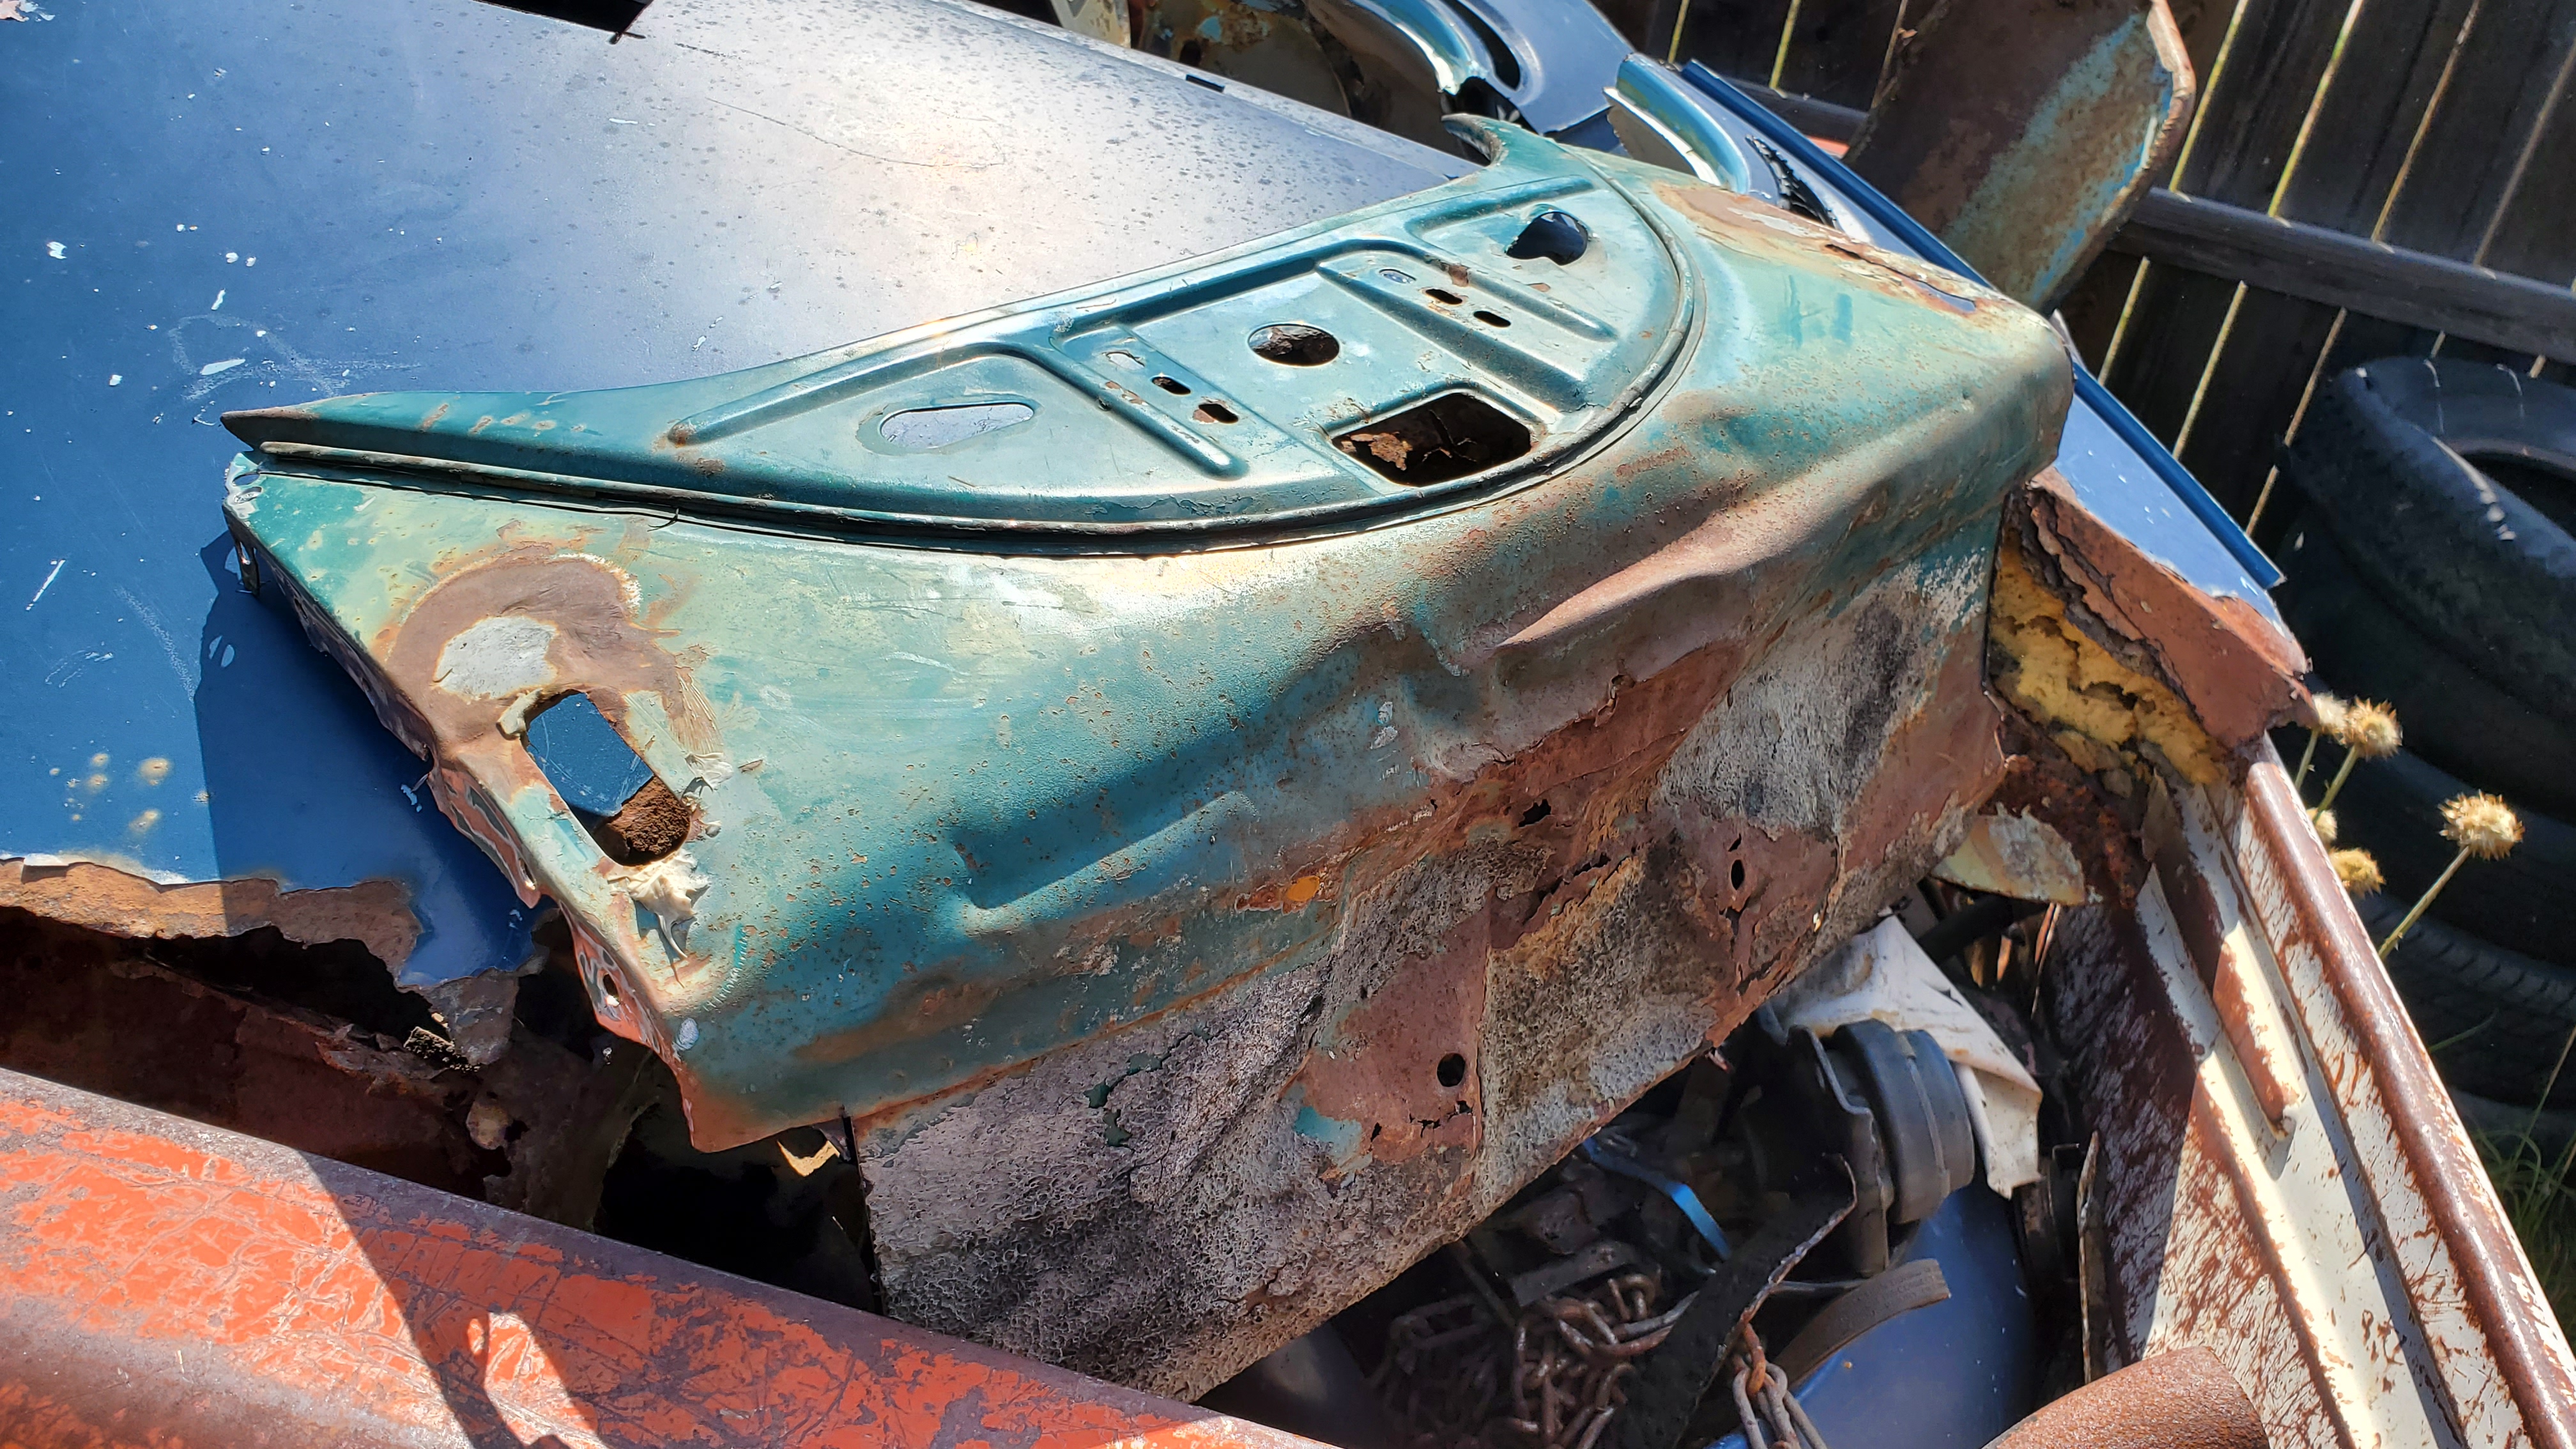
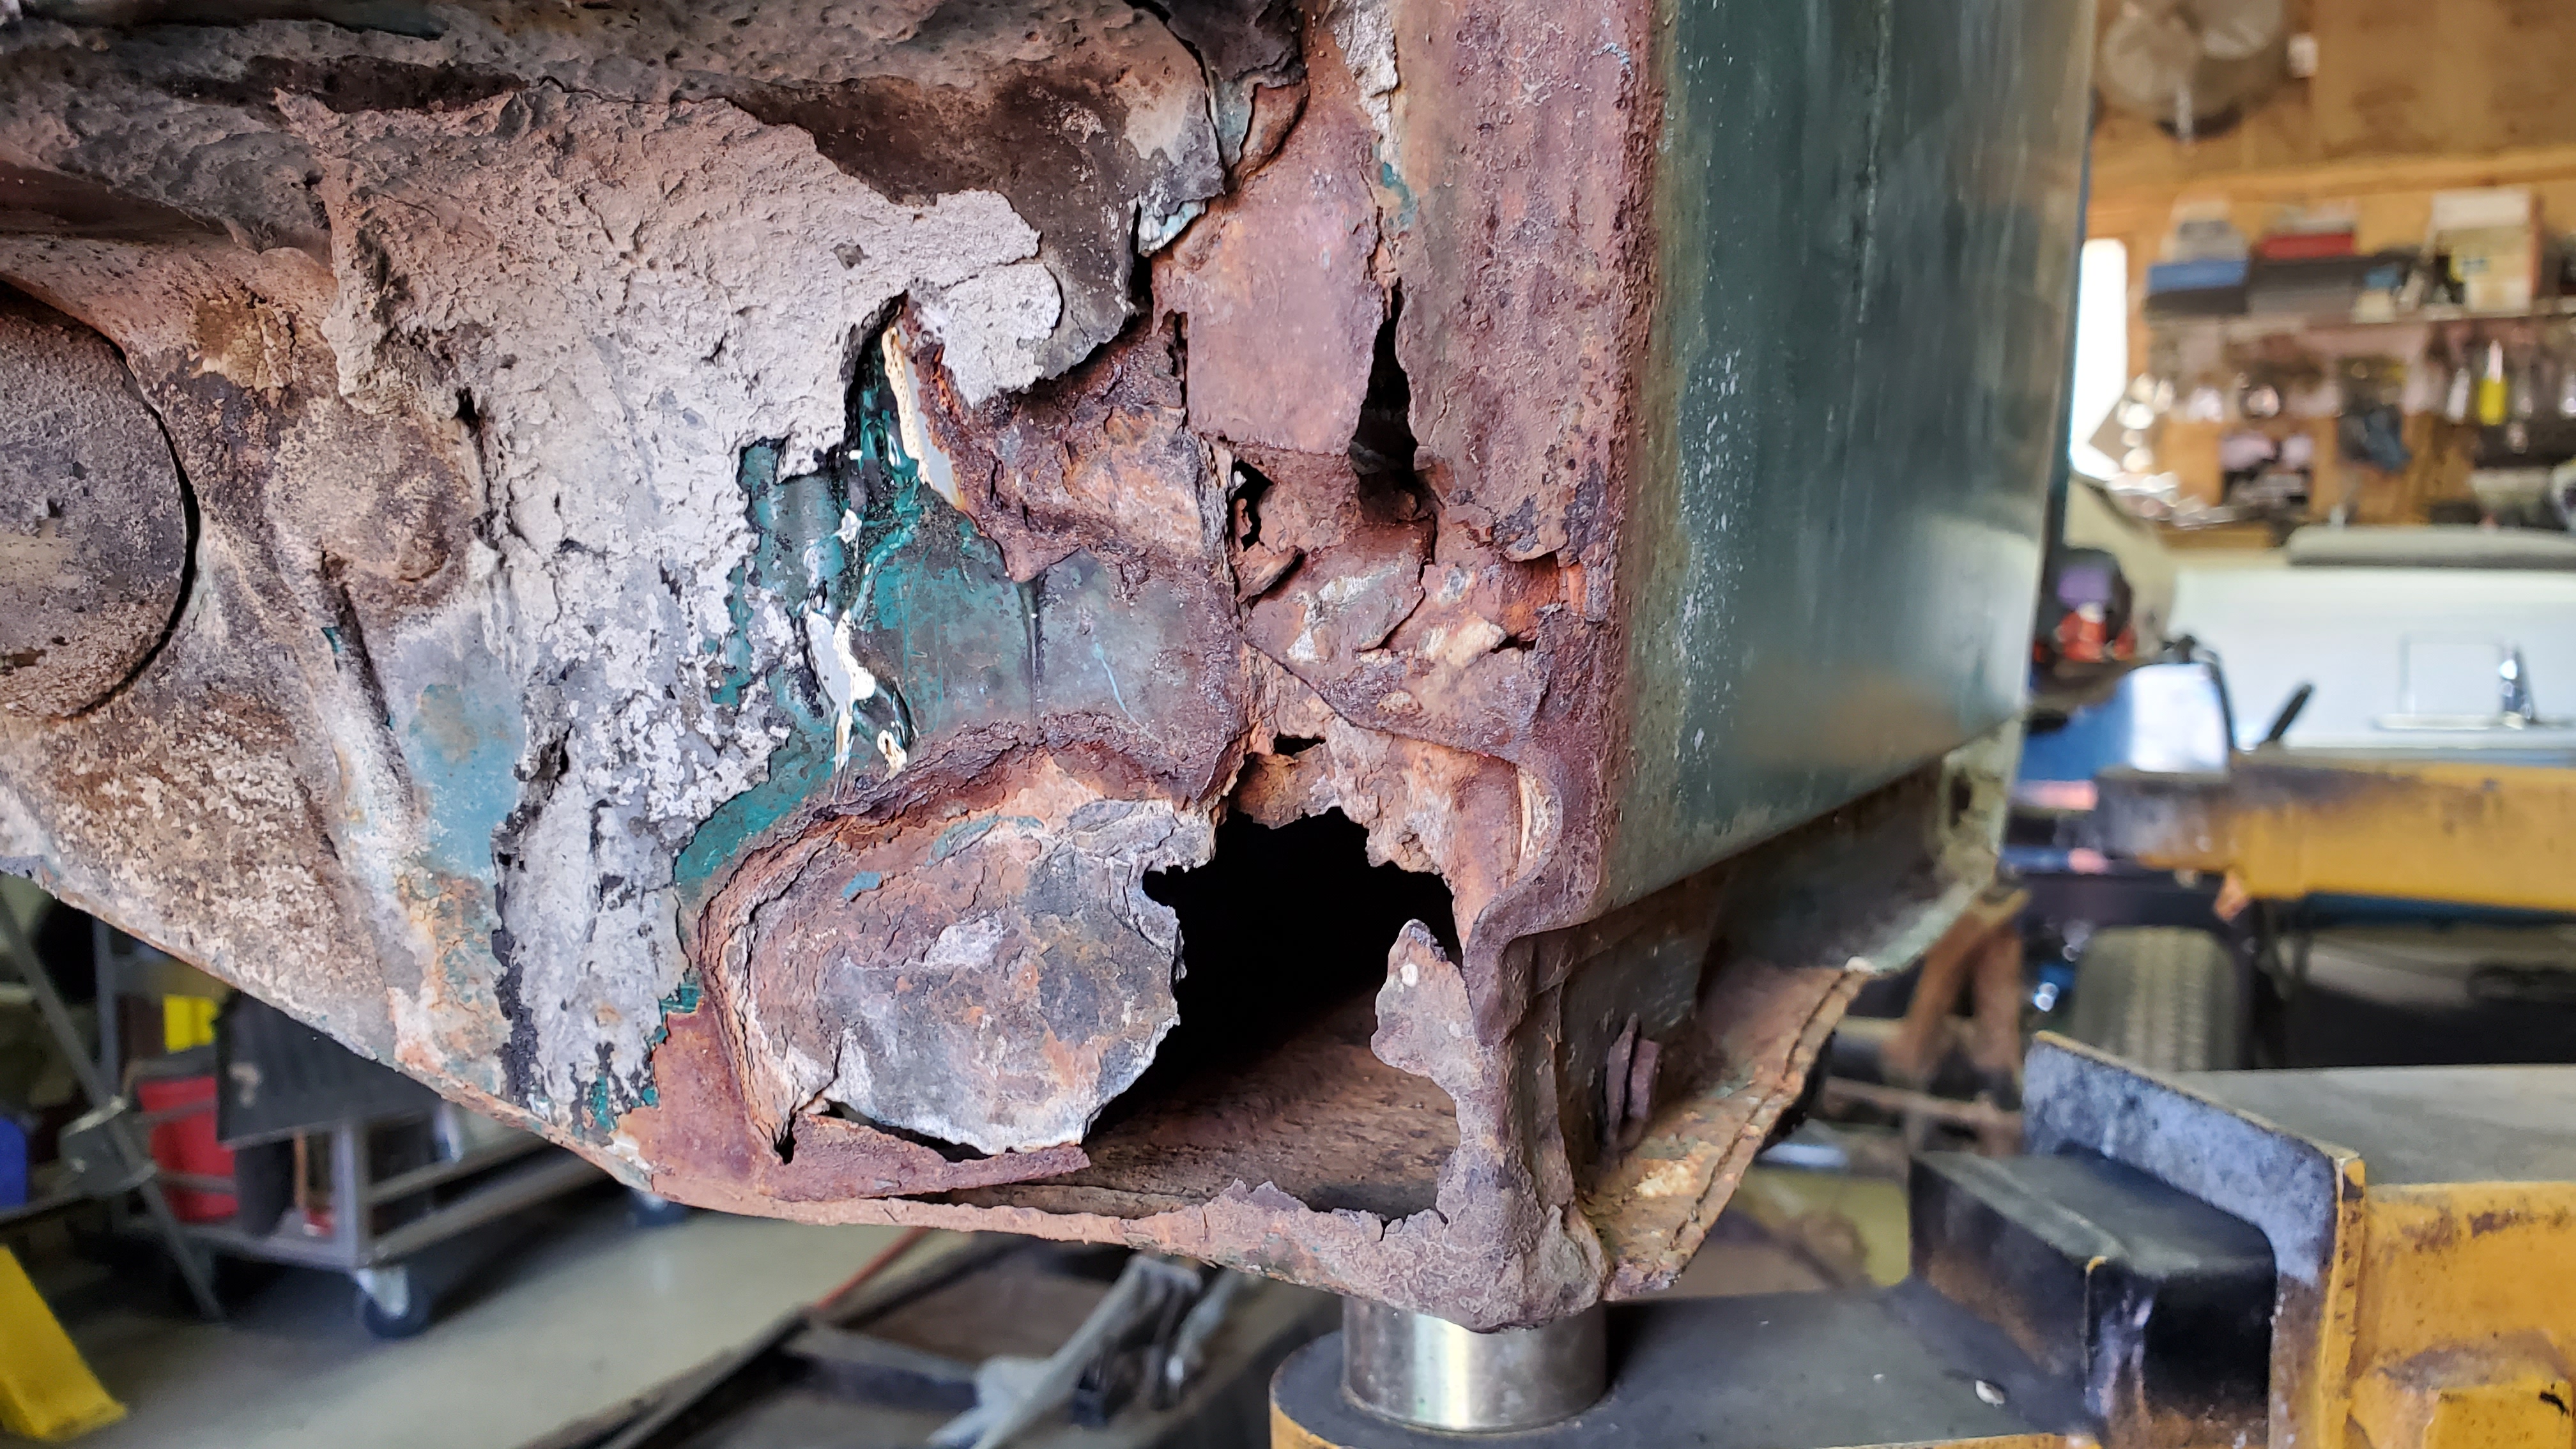
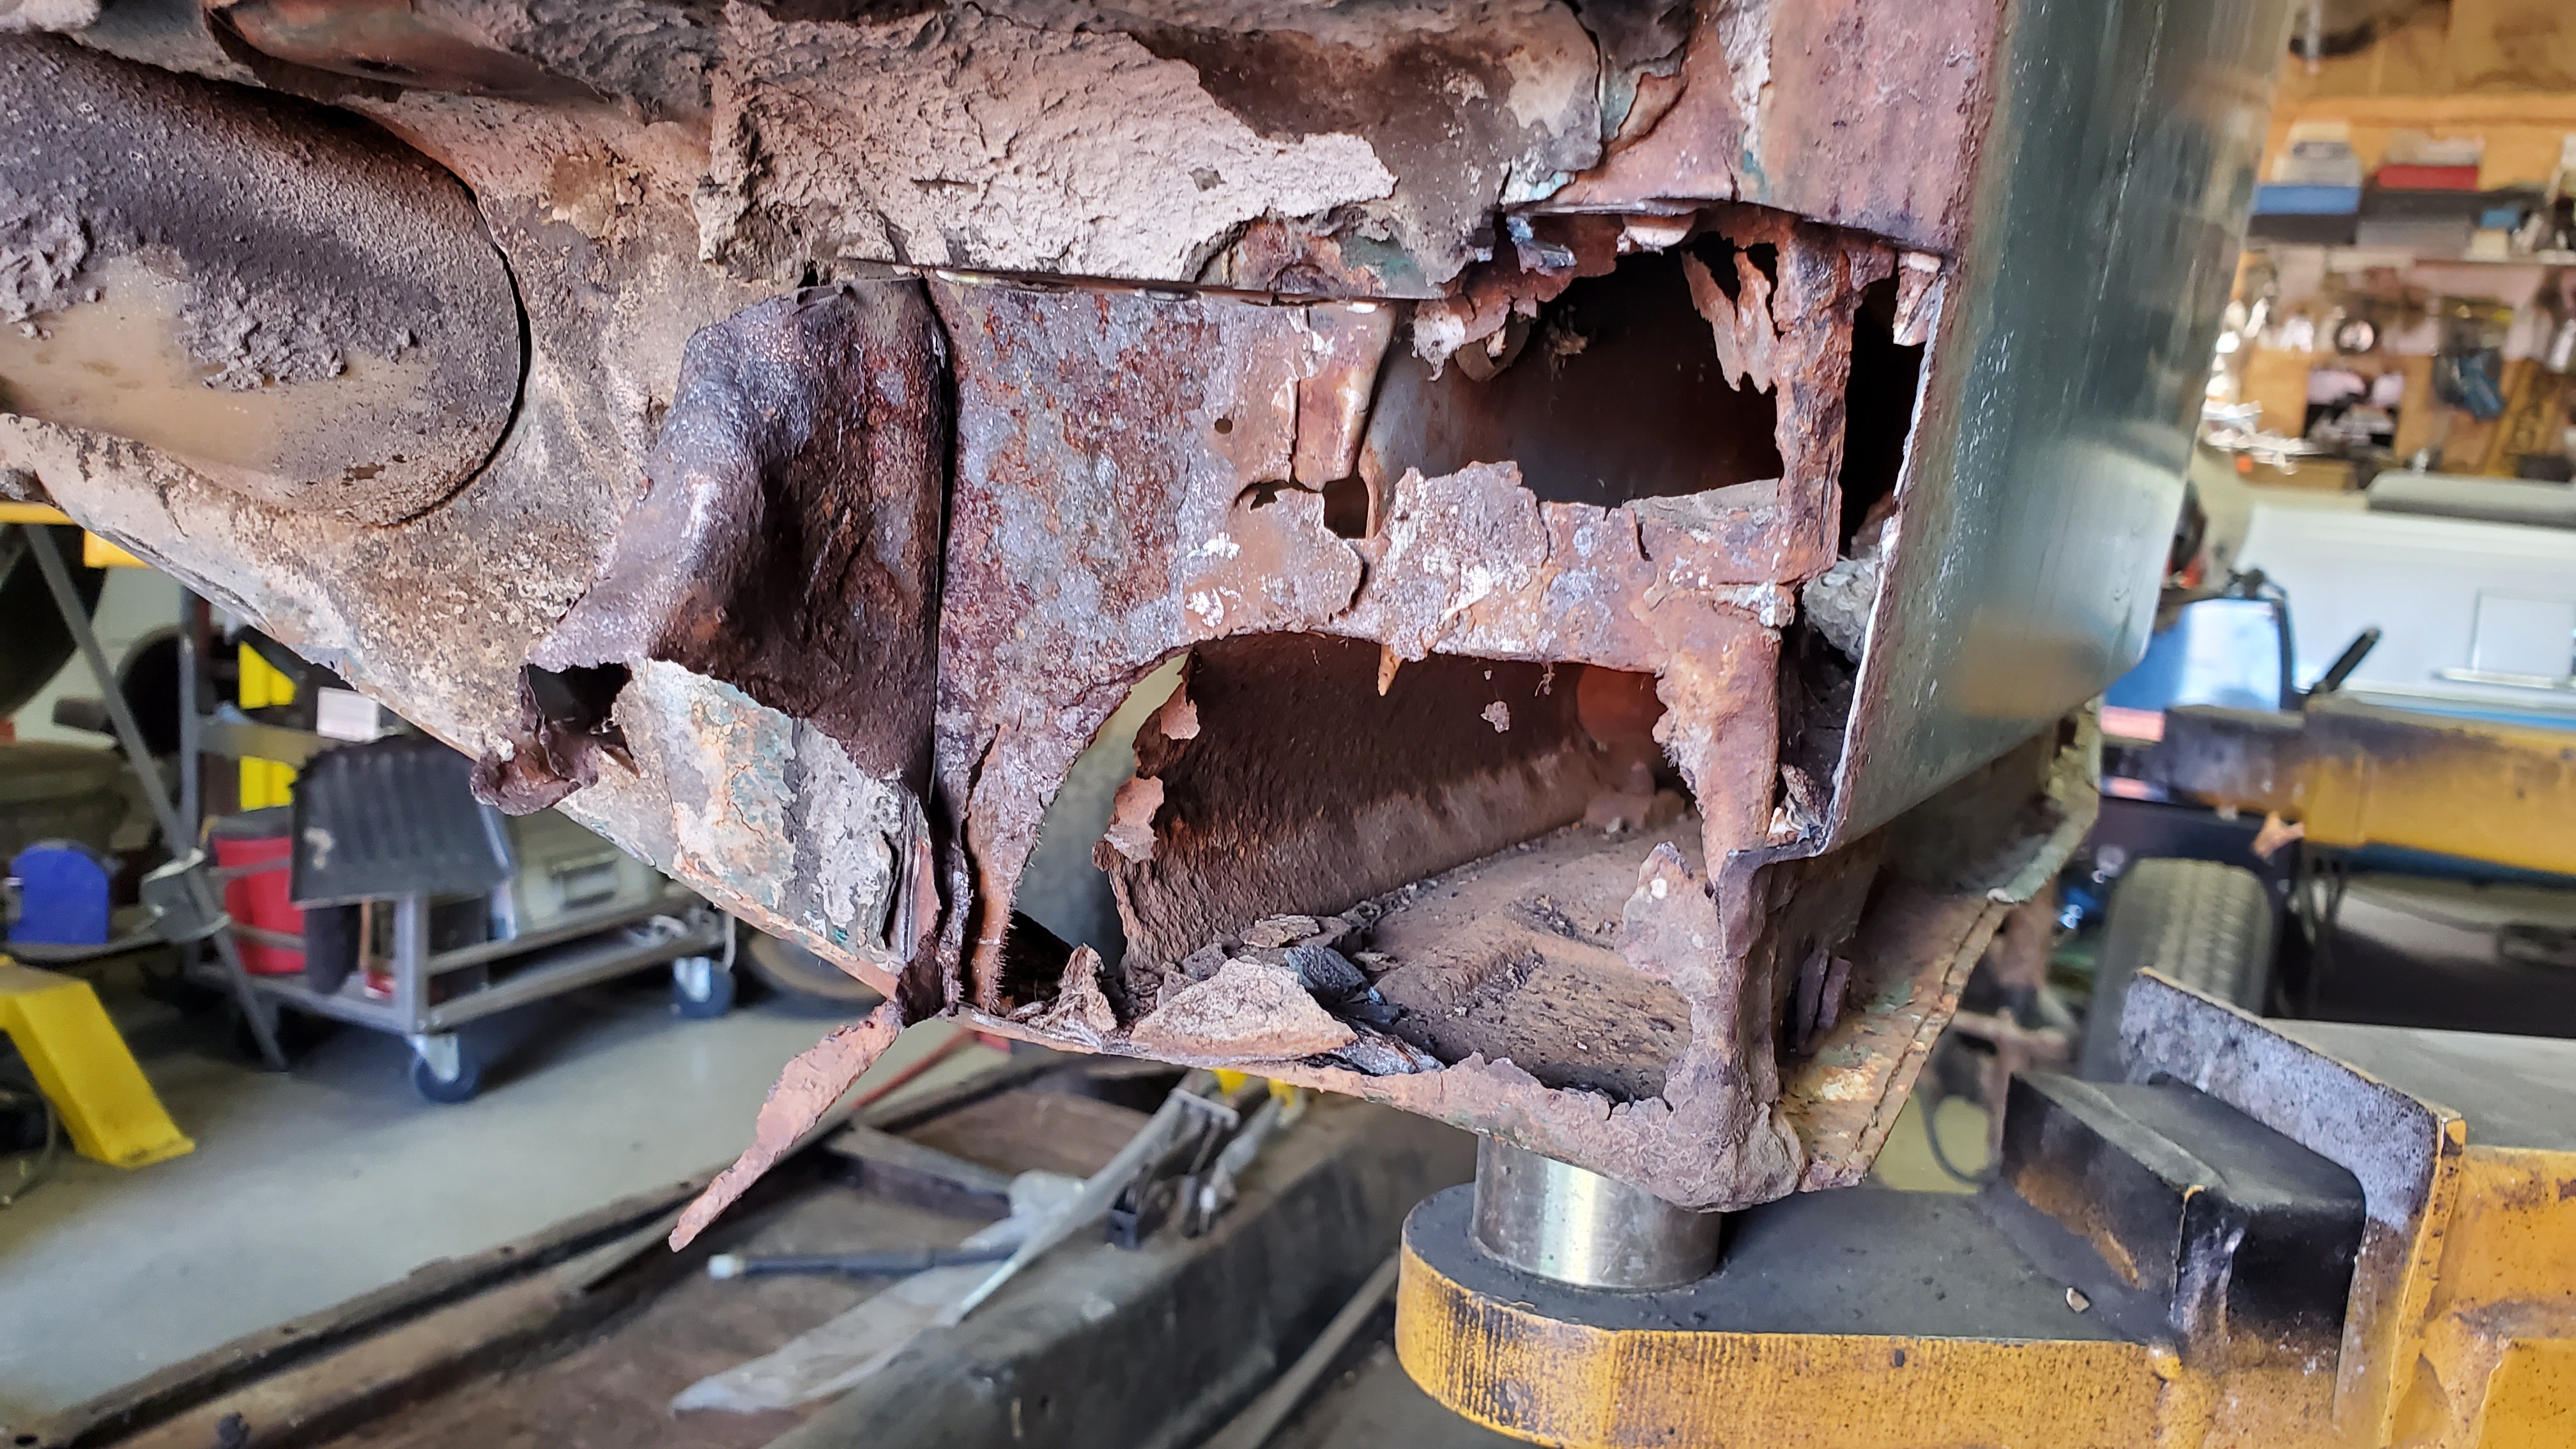
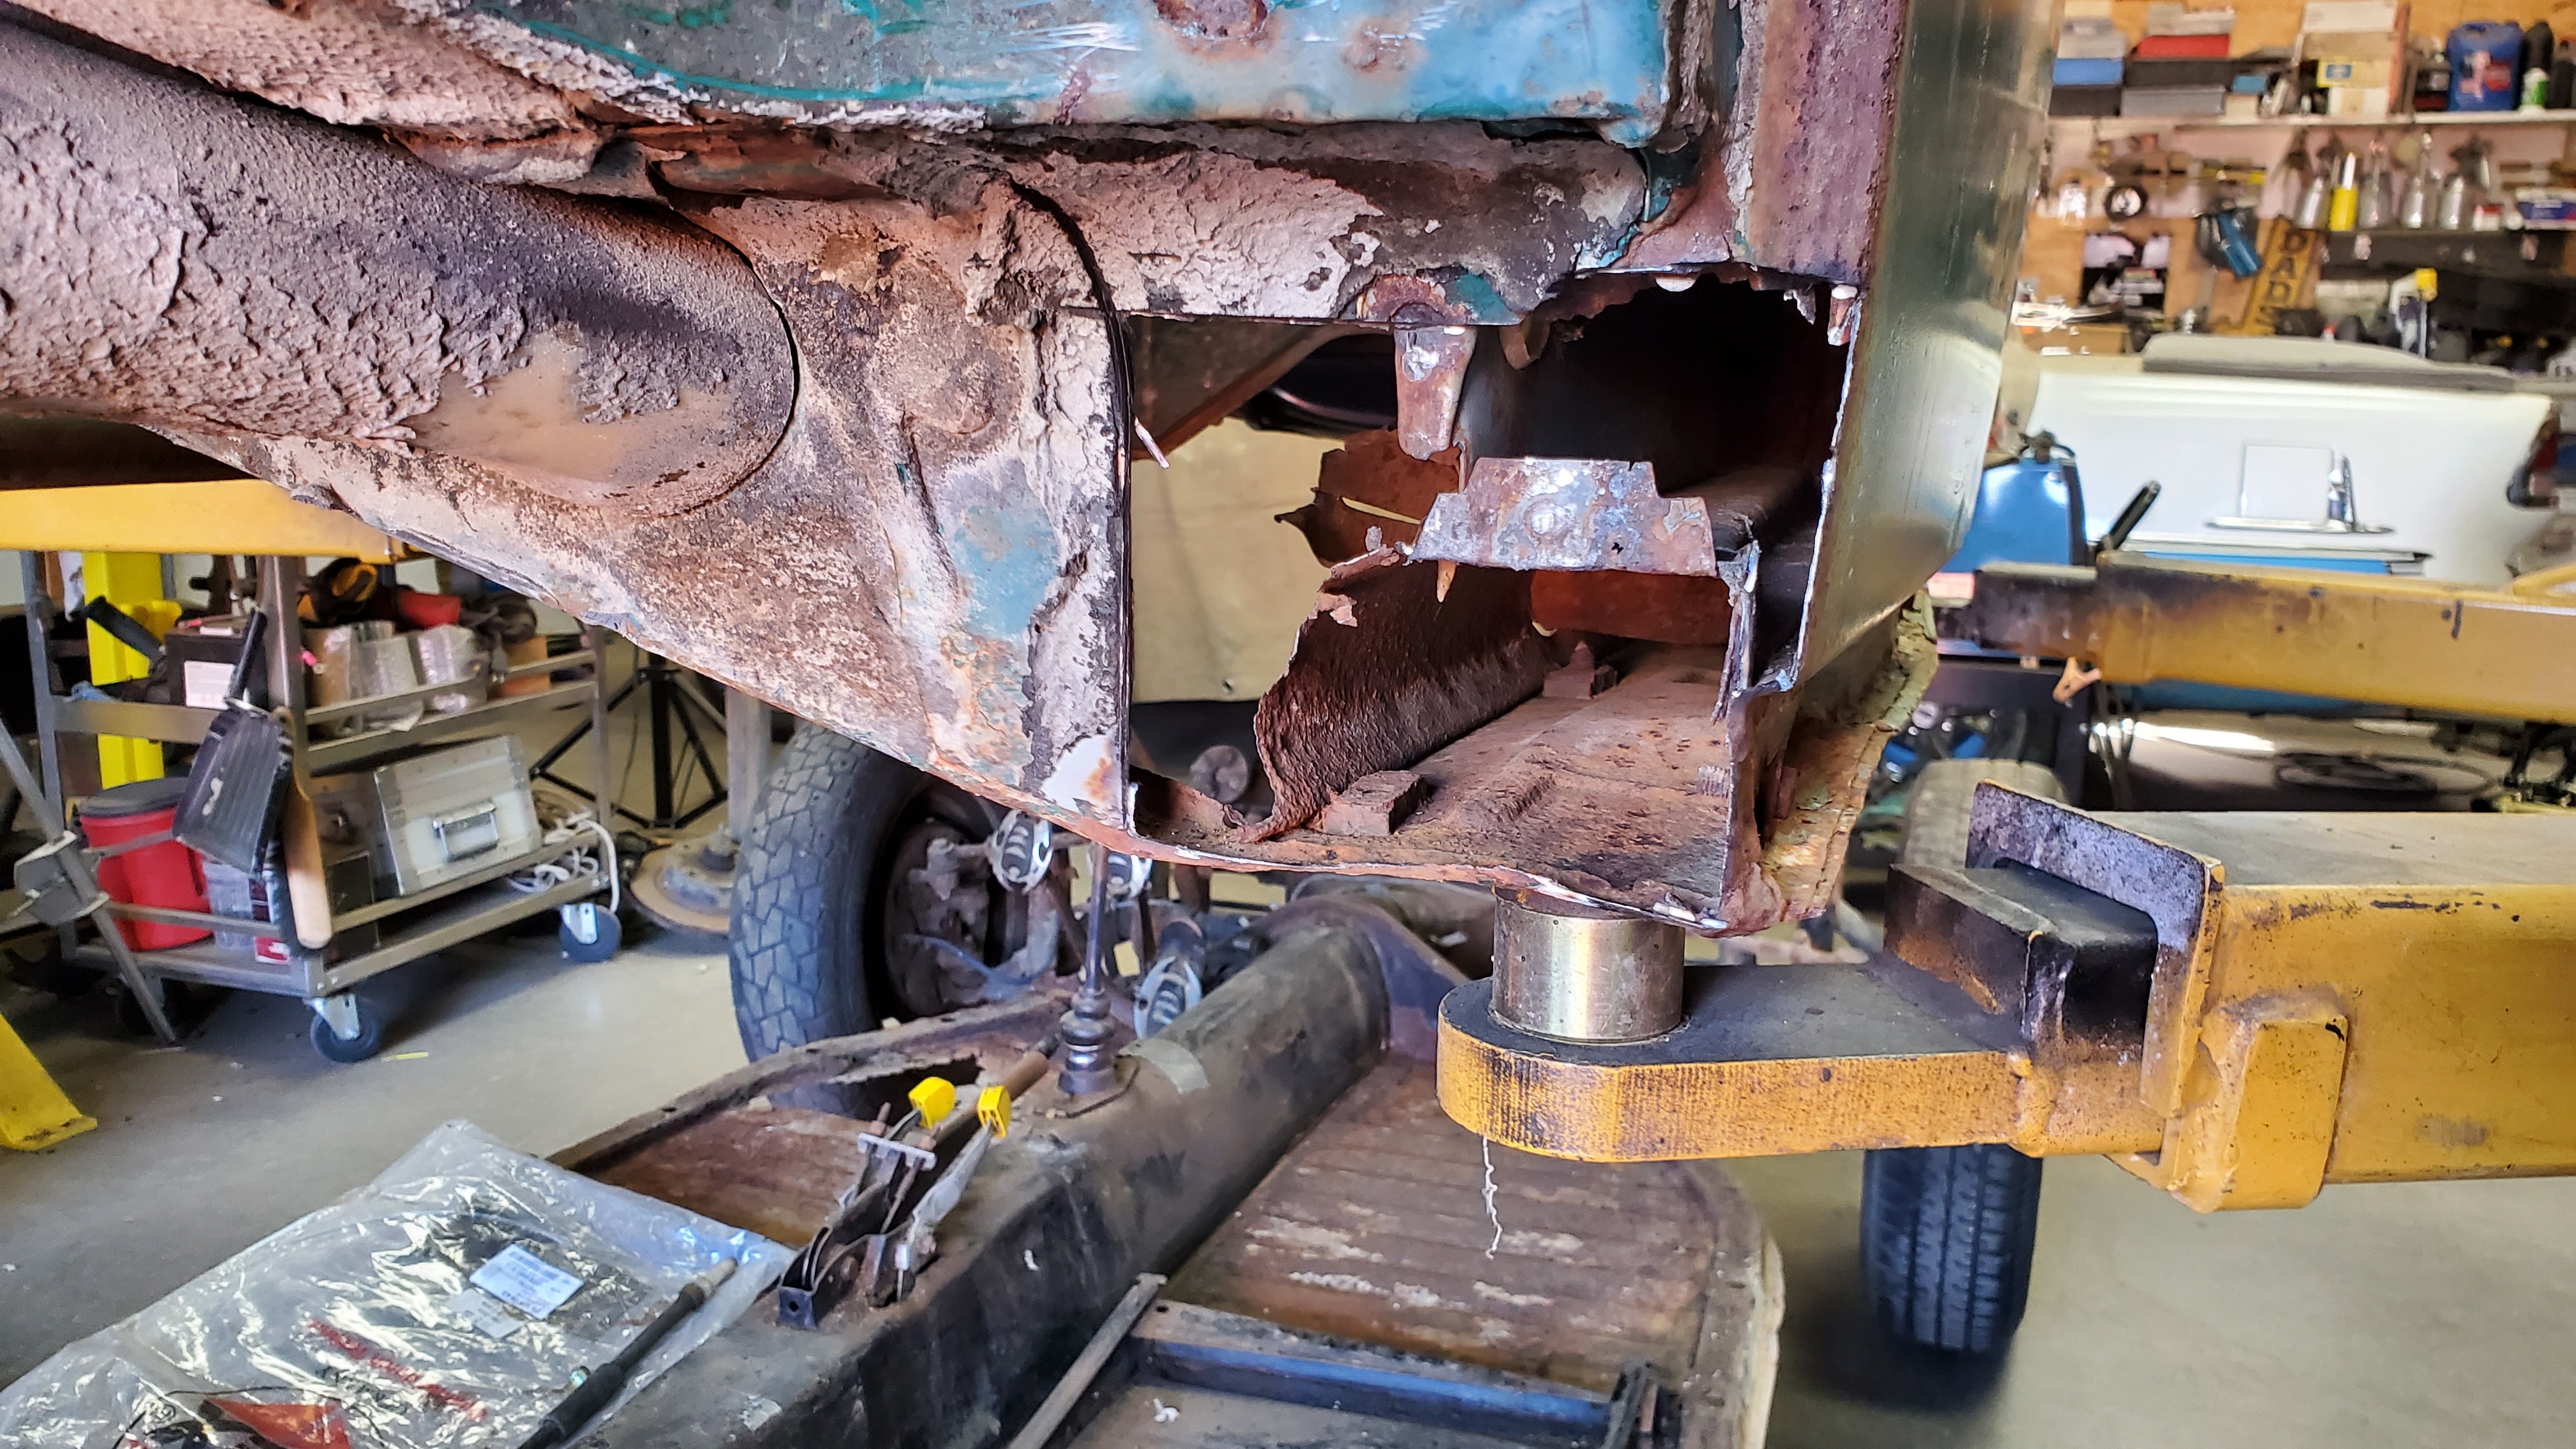
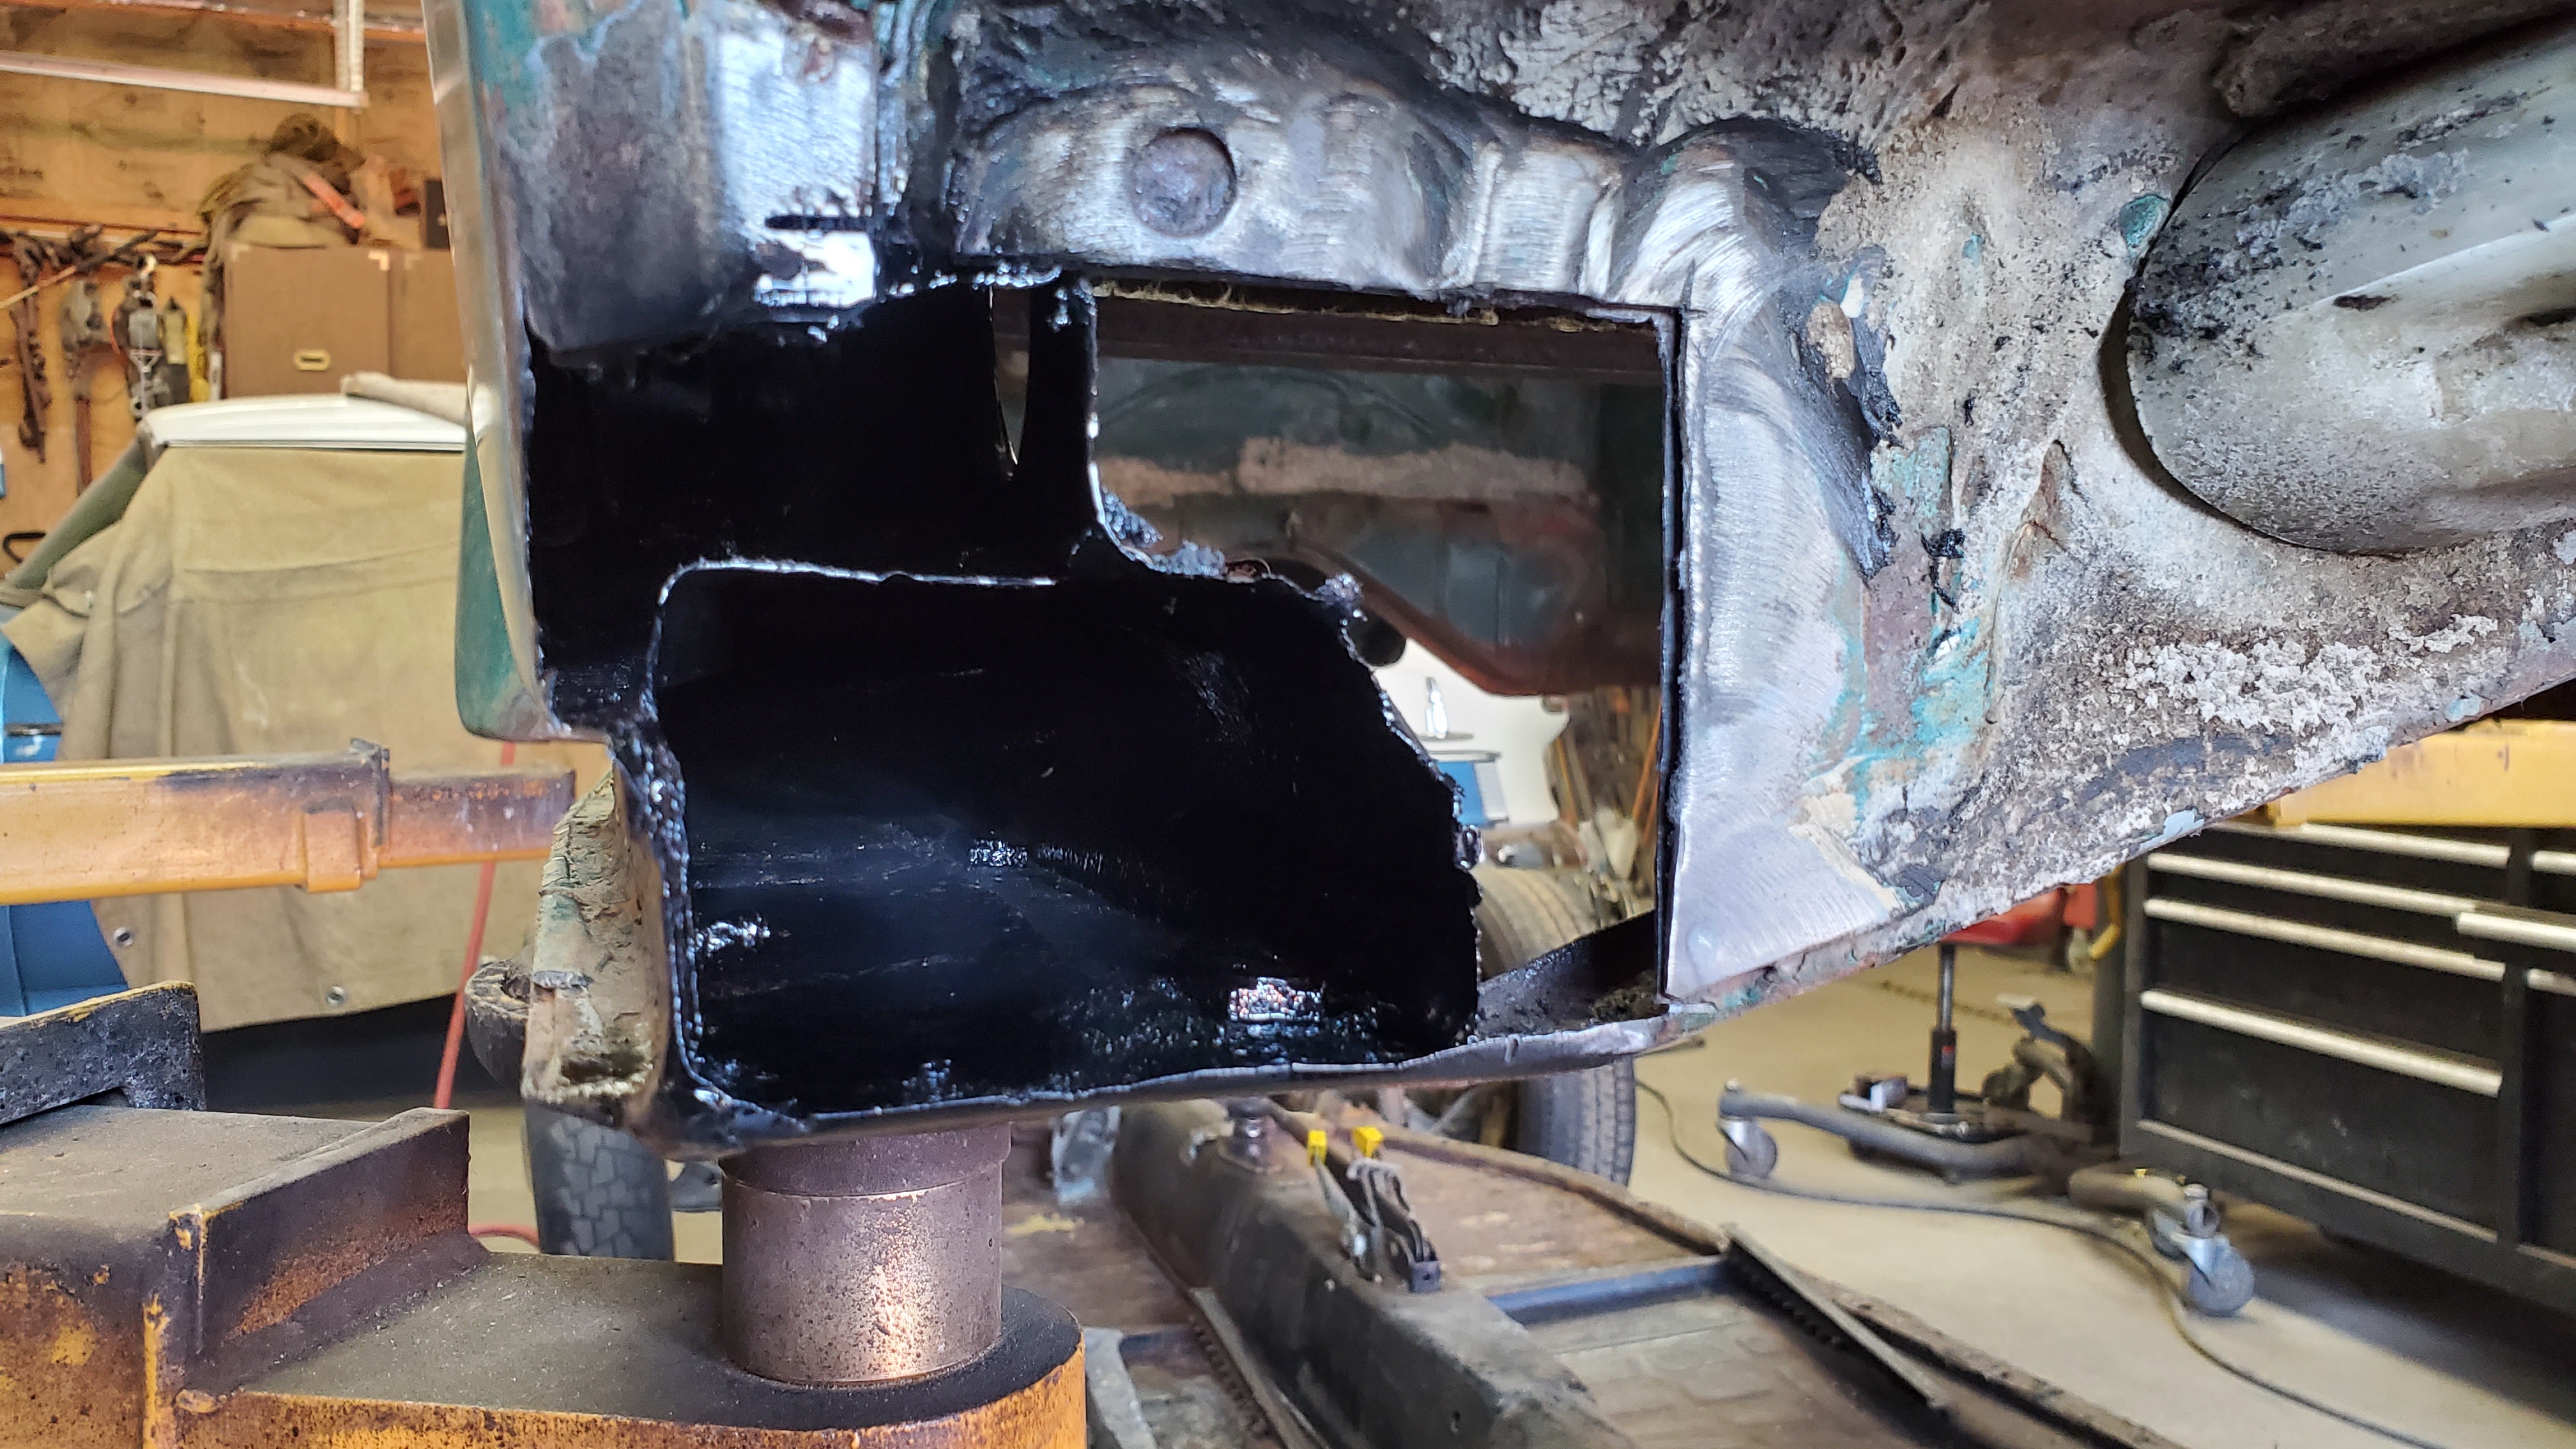
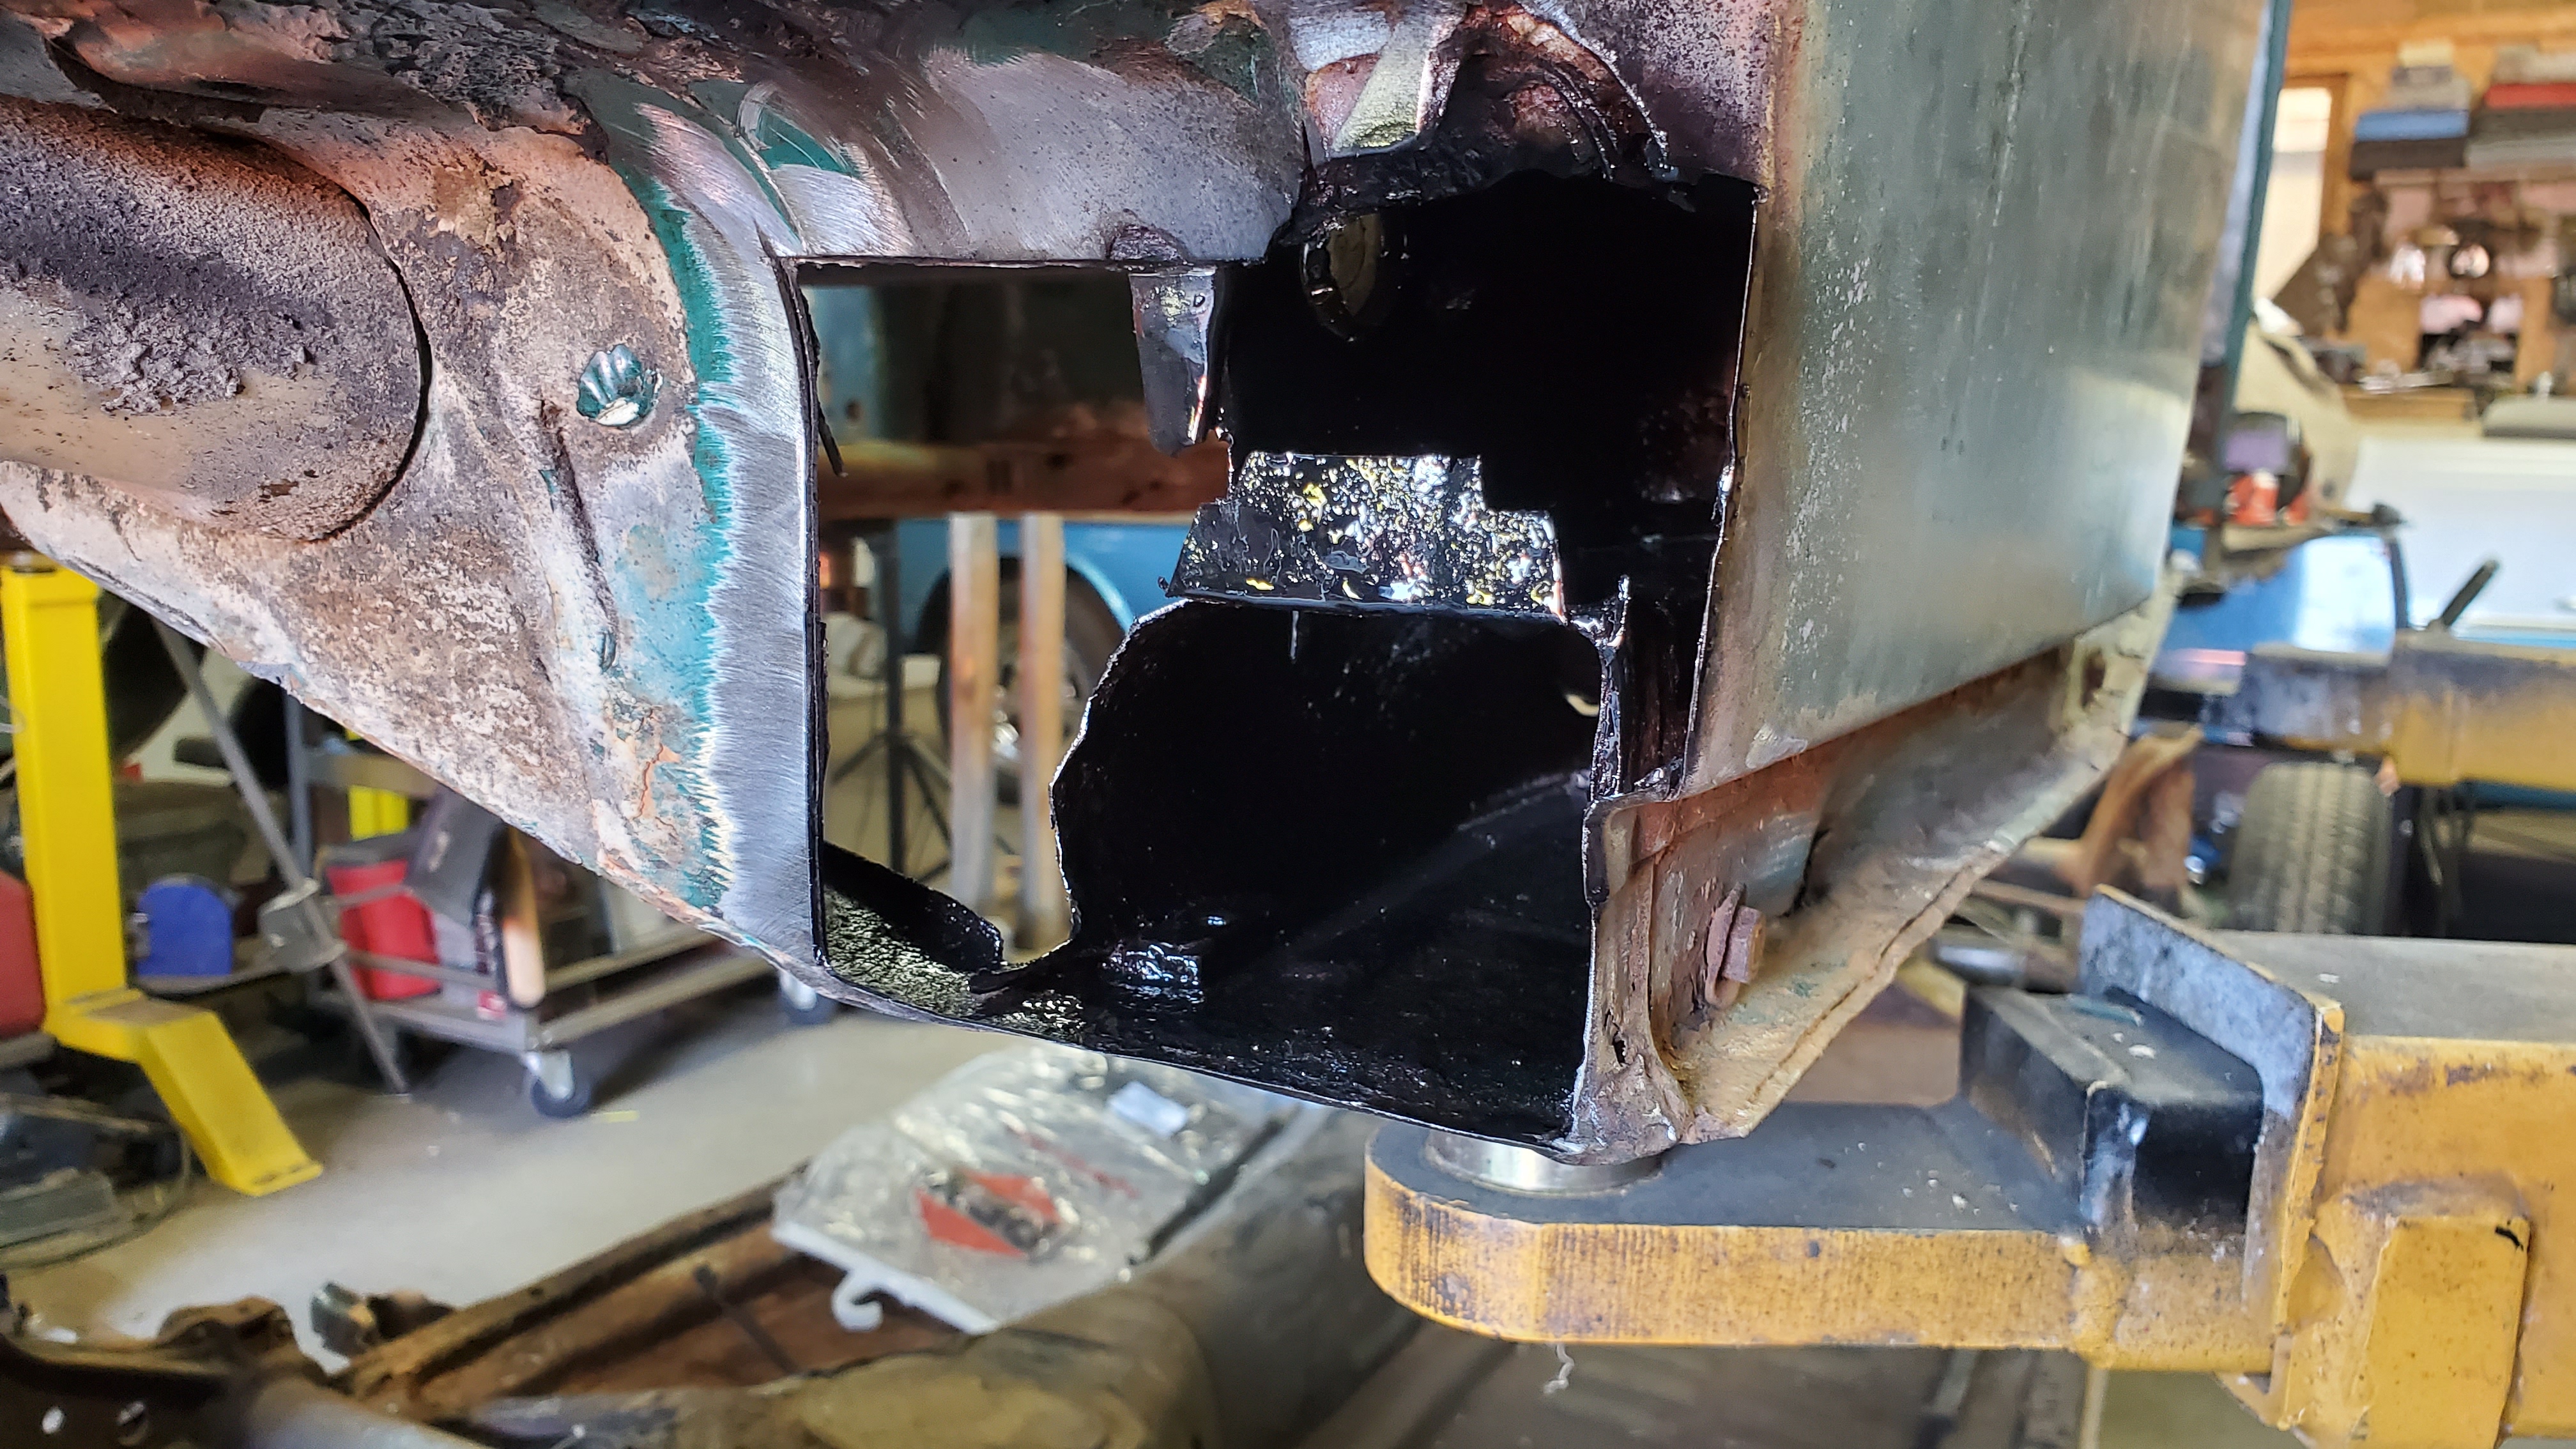
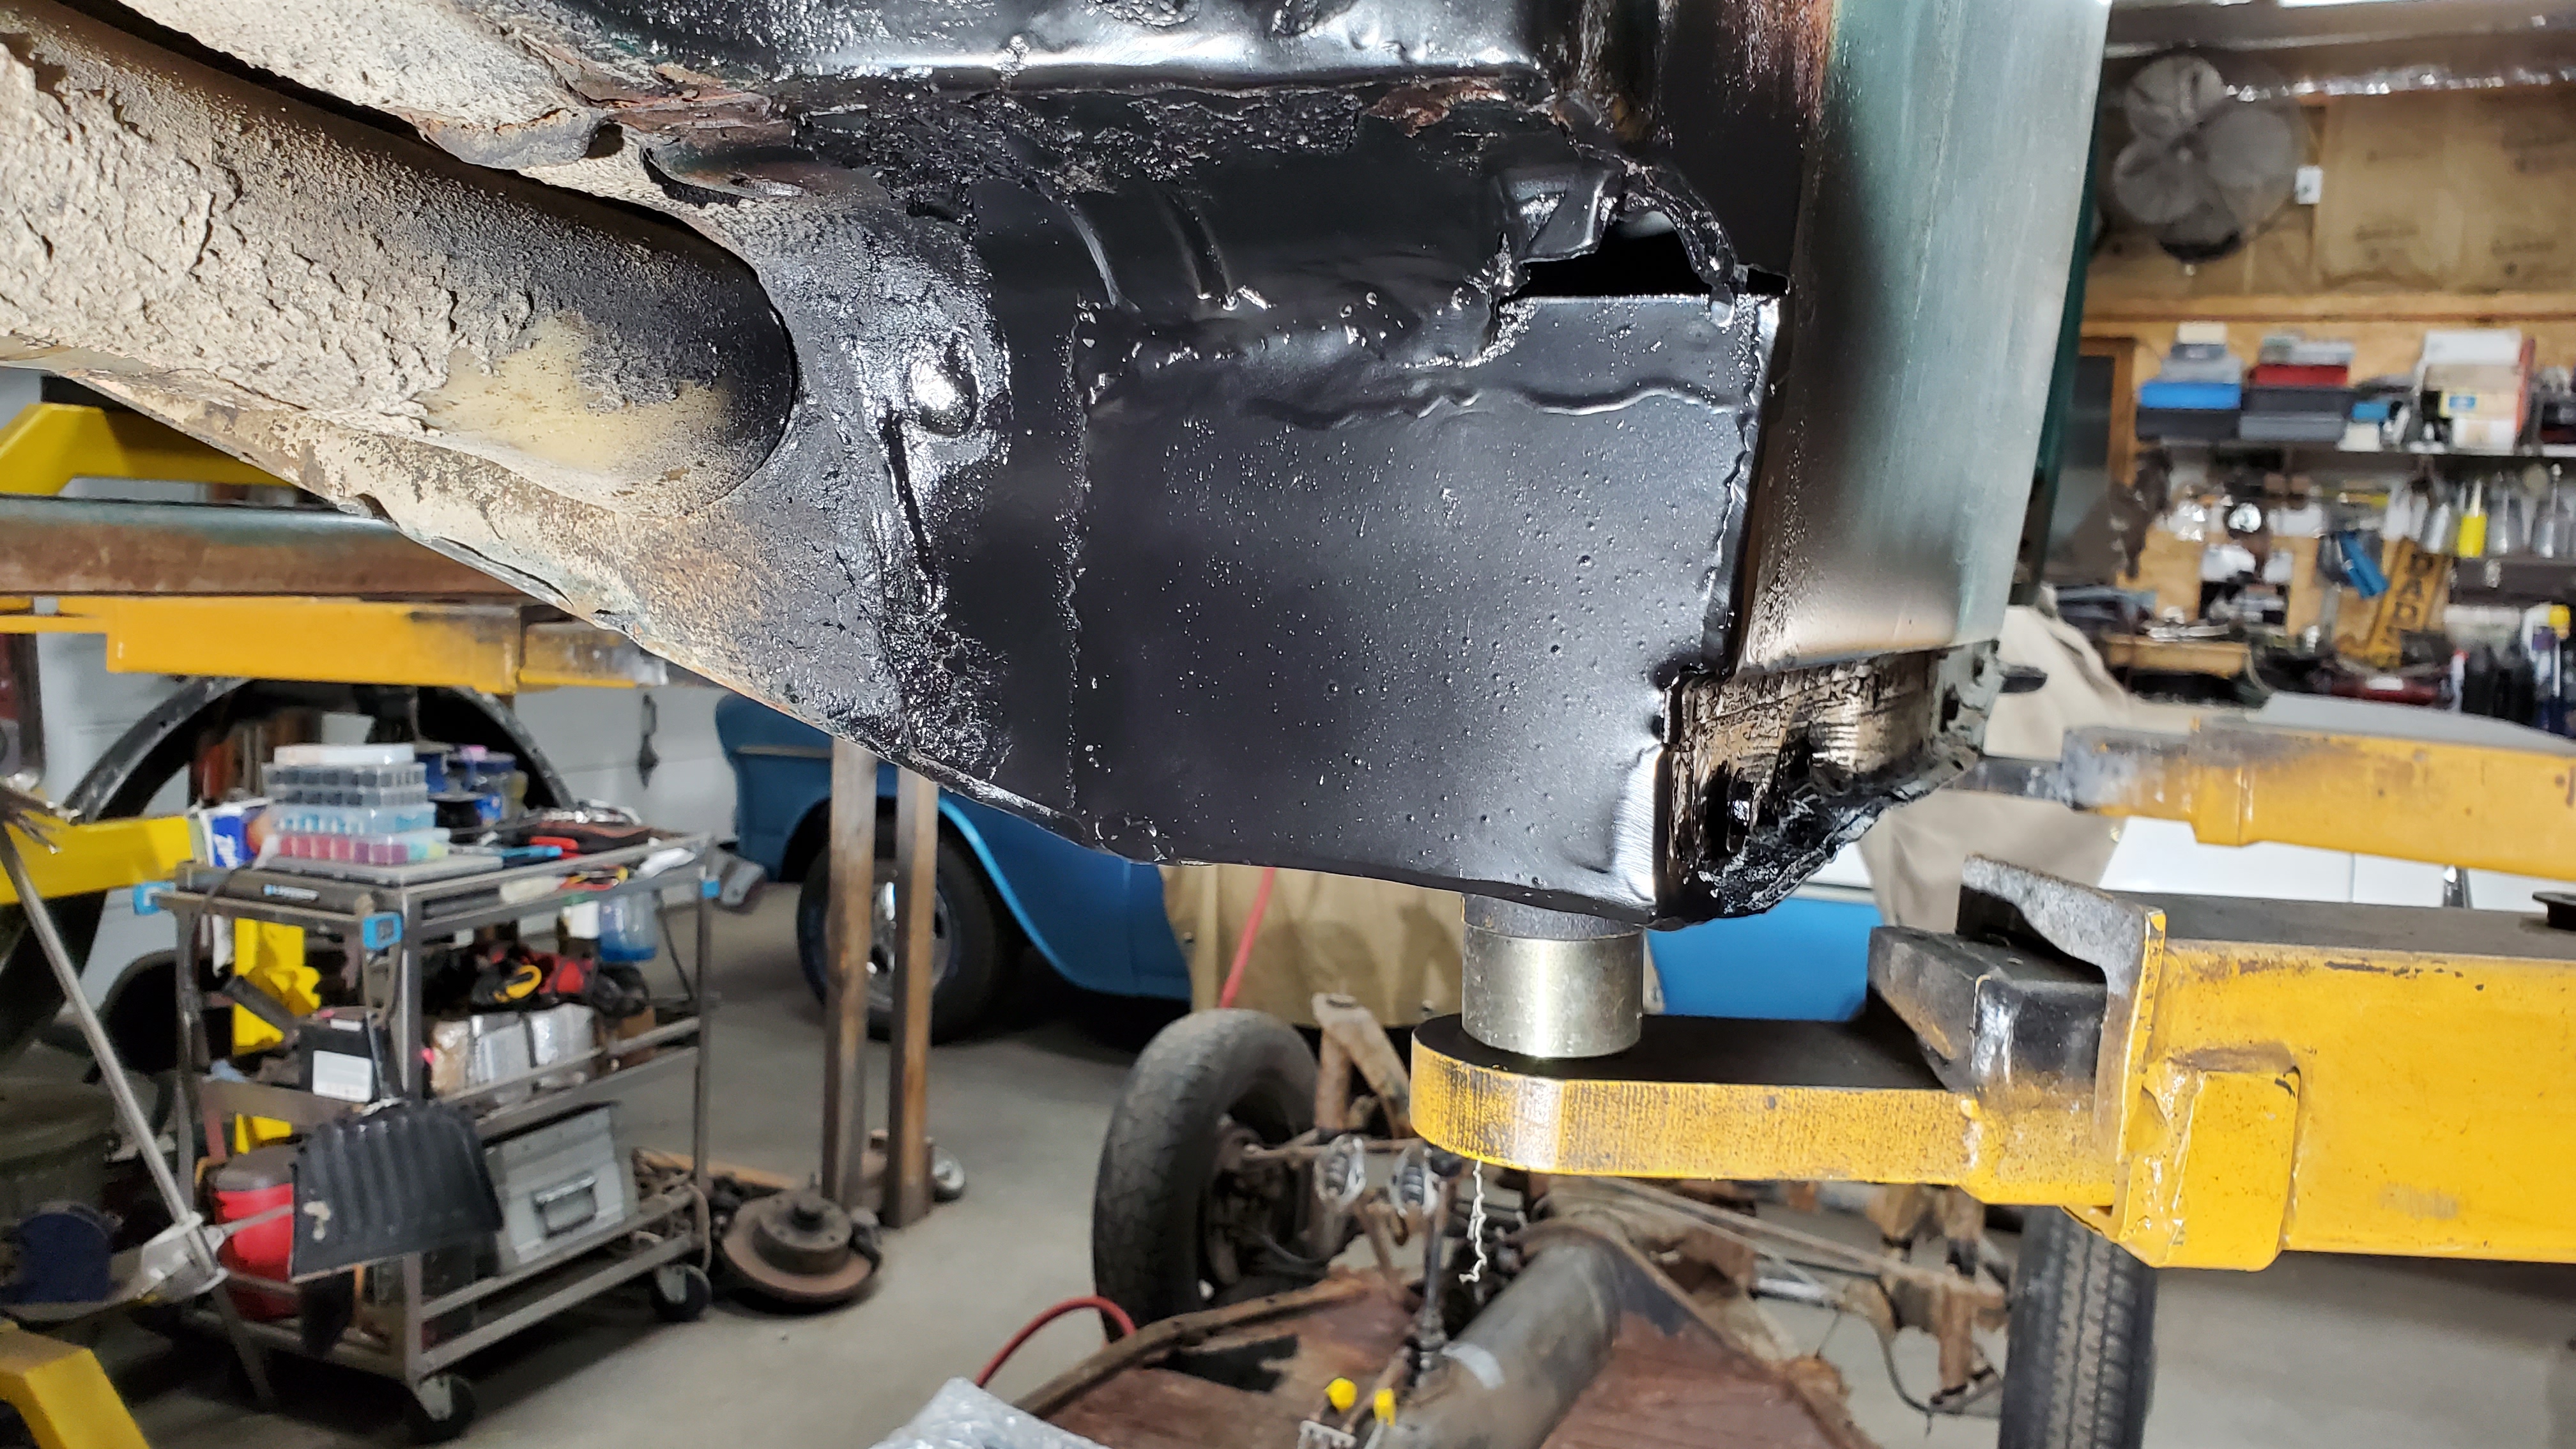
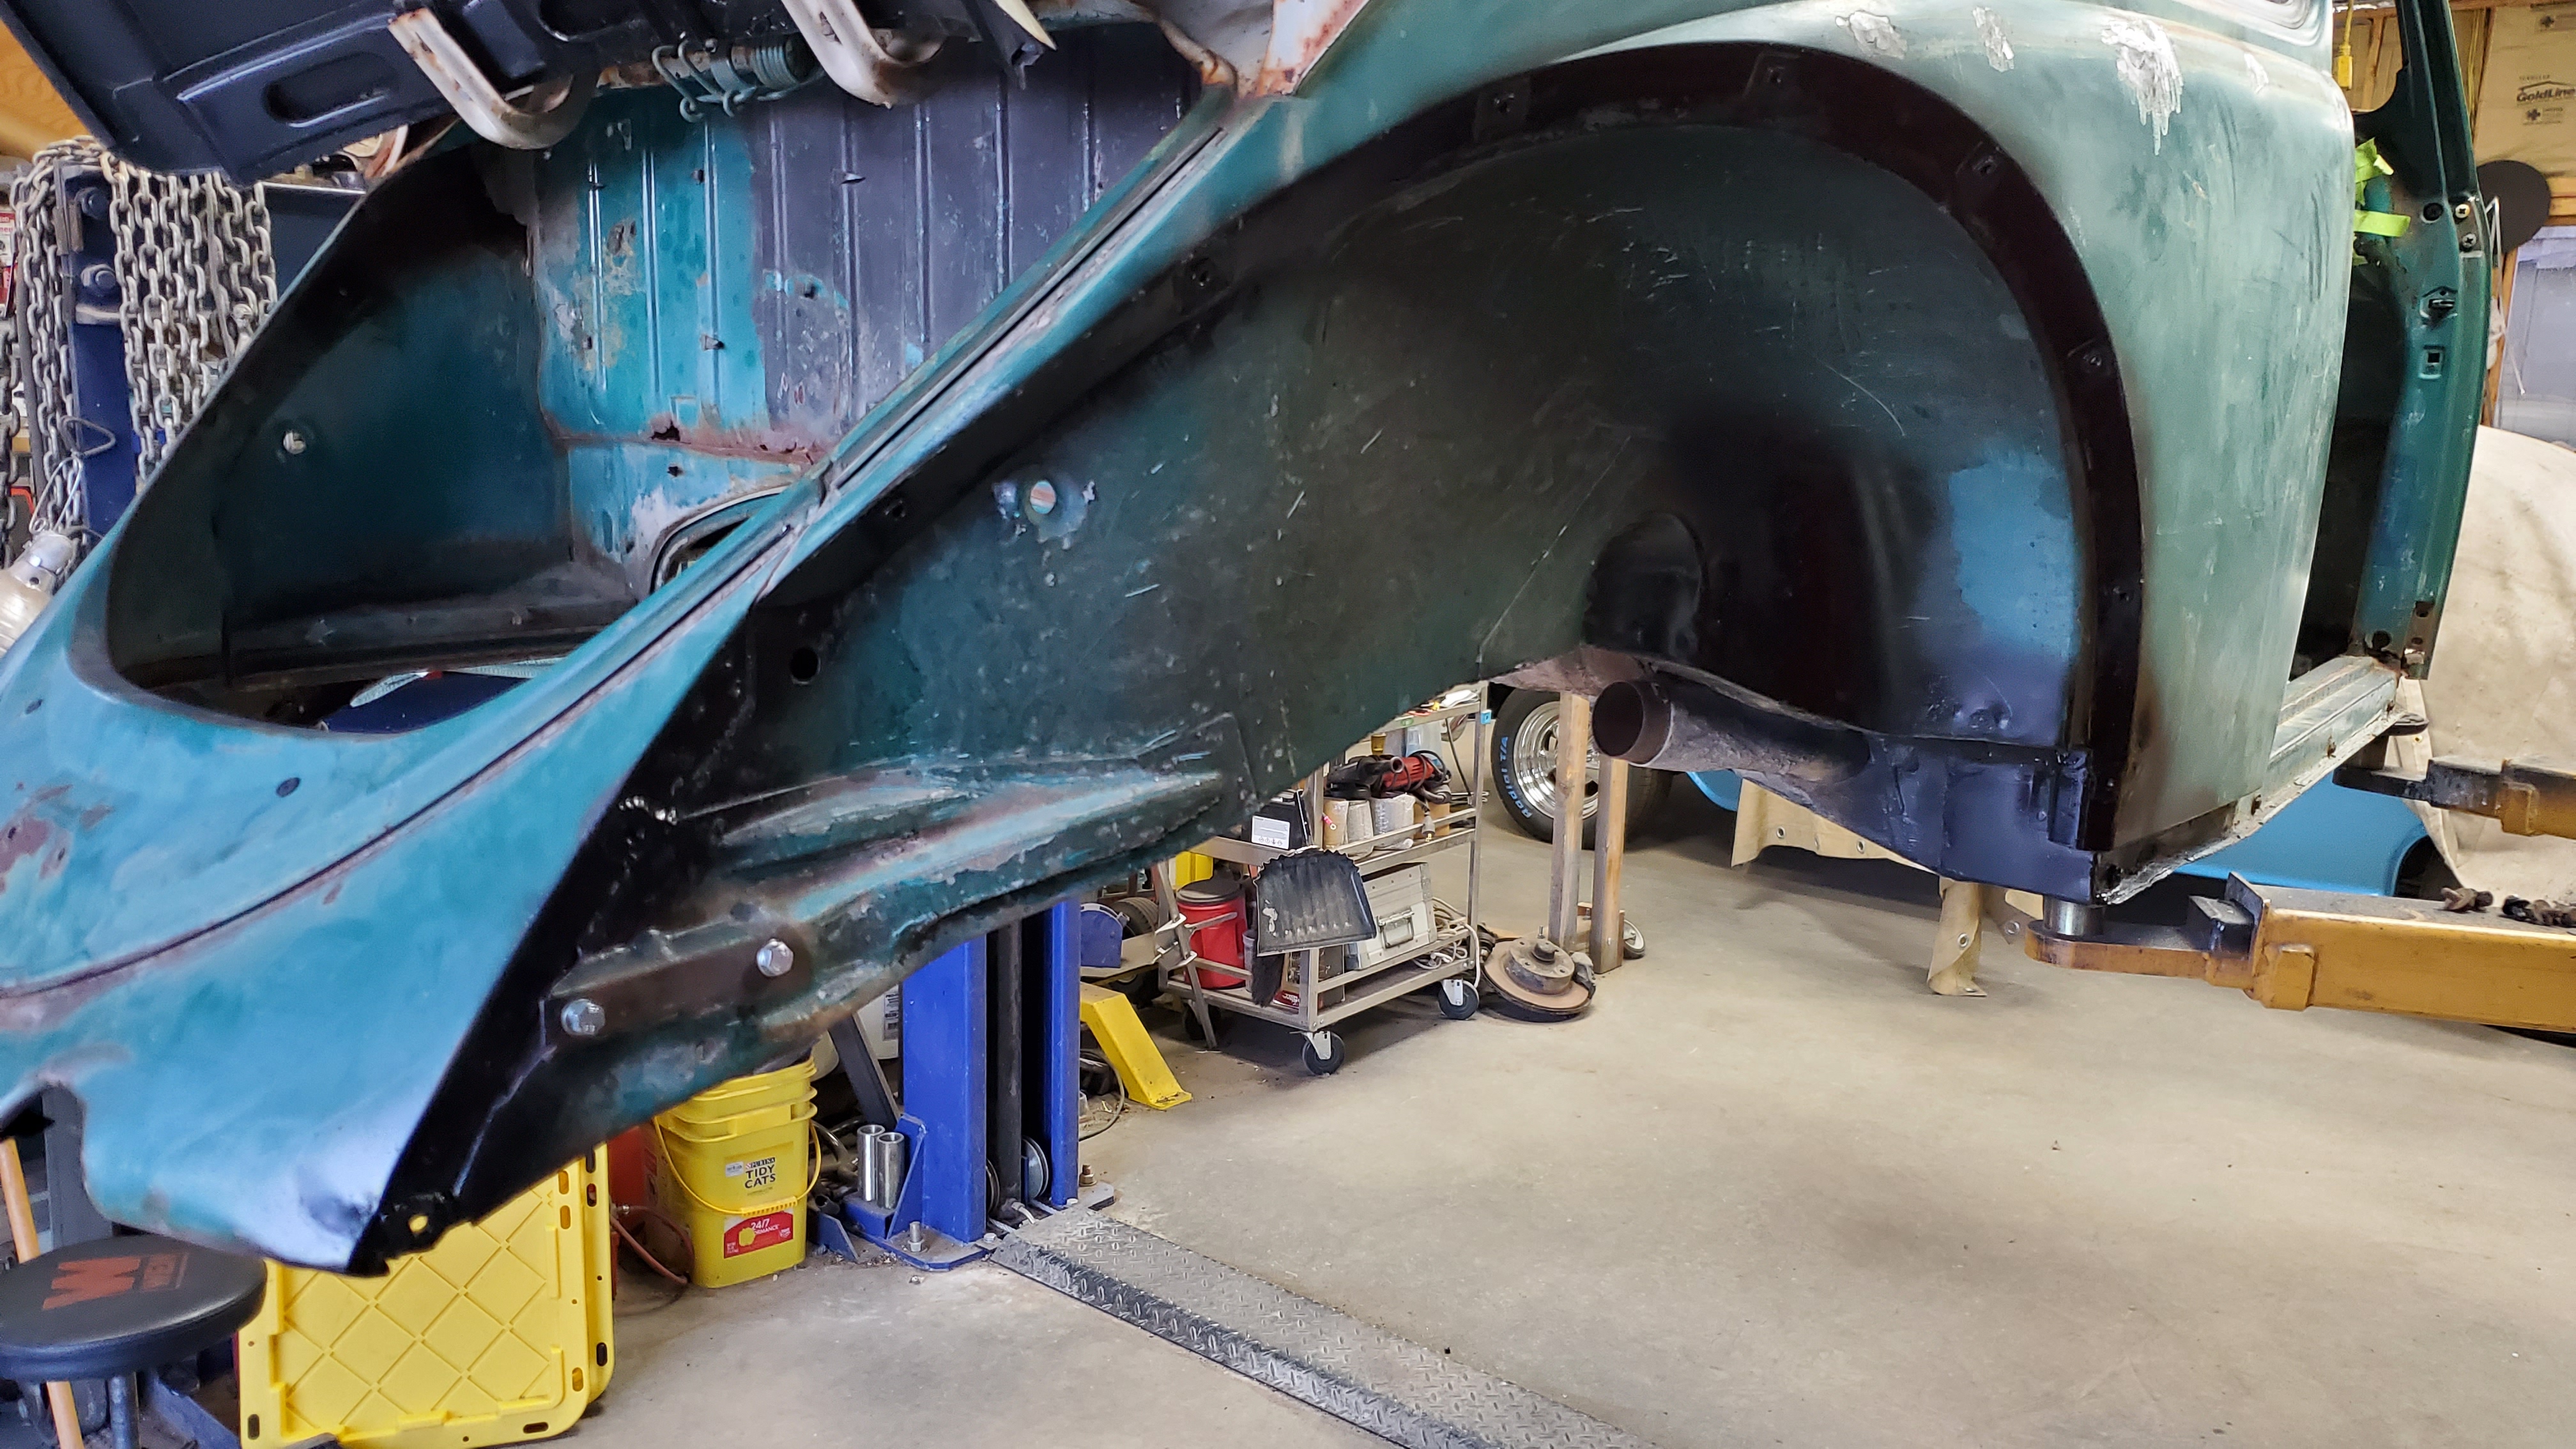
Now it’s on to the back of the heat channels to take care of both rust holes. I cut and peel the layers back to get to good metal again.


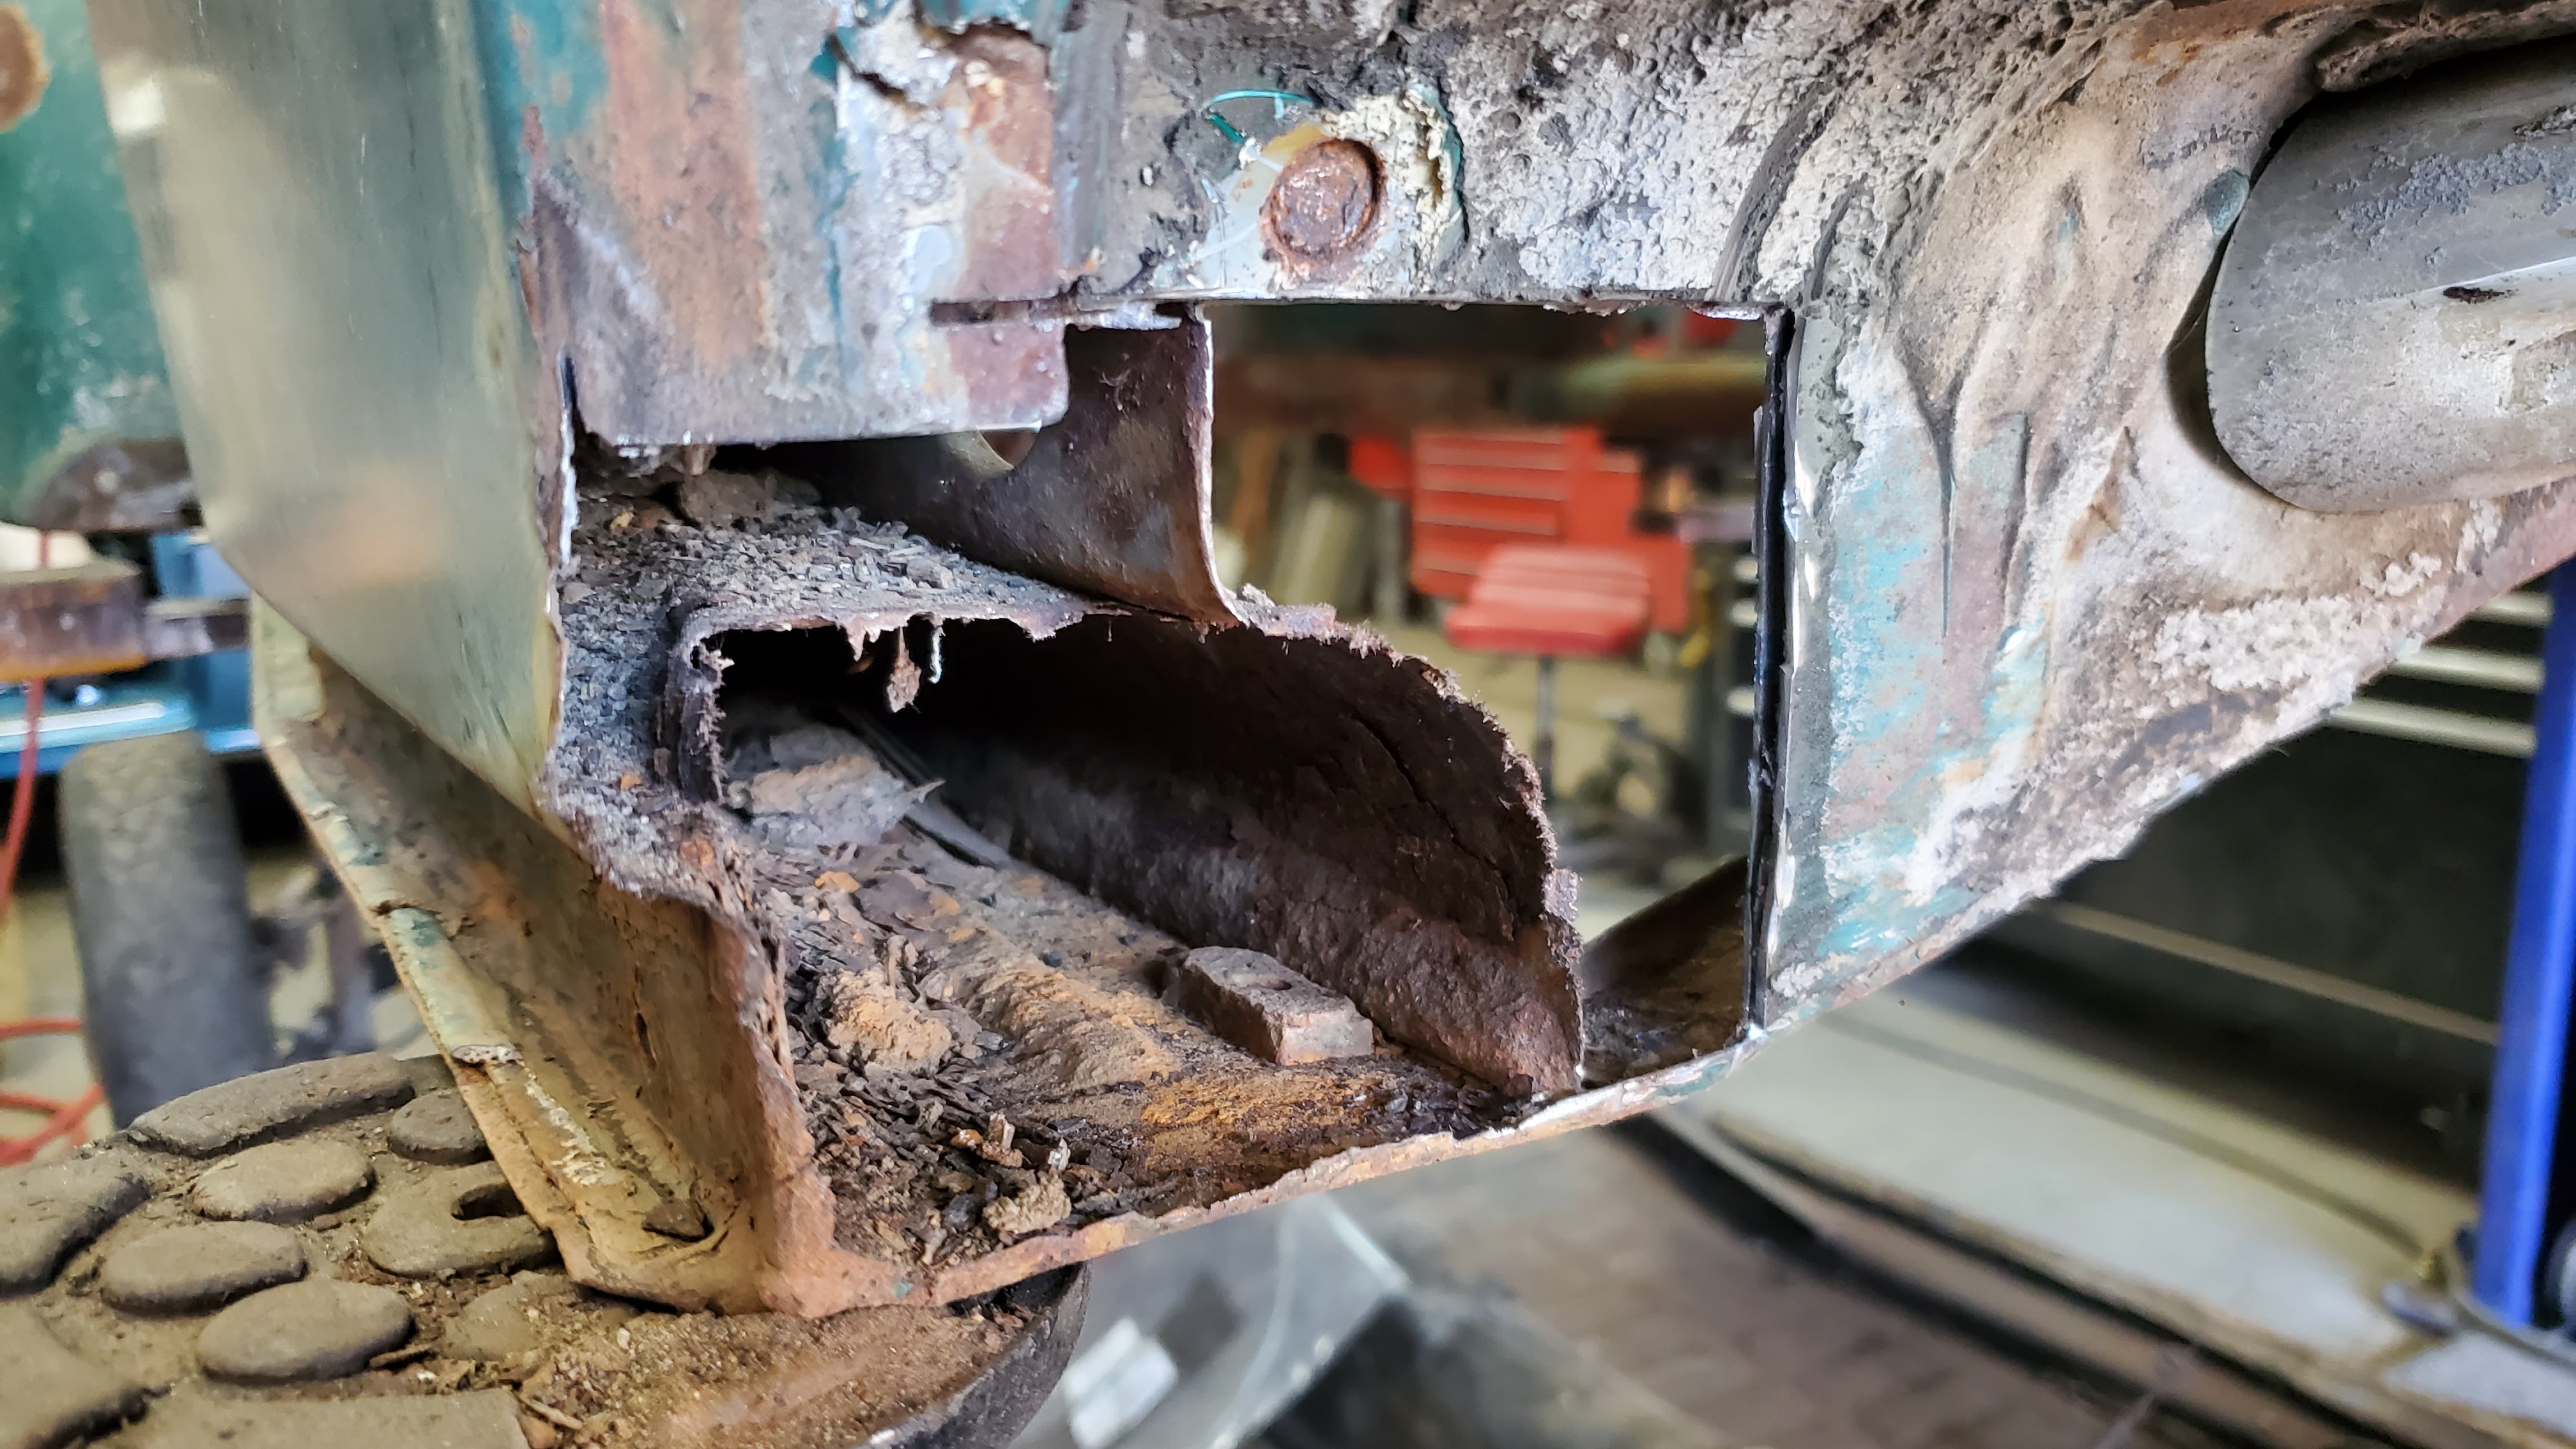
Then the channels are cleaned out. Both sides were pretty rusty and will need the layers made to fit for each.
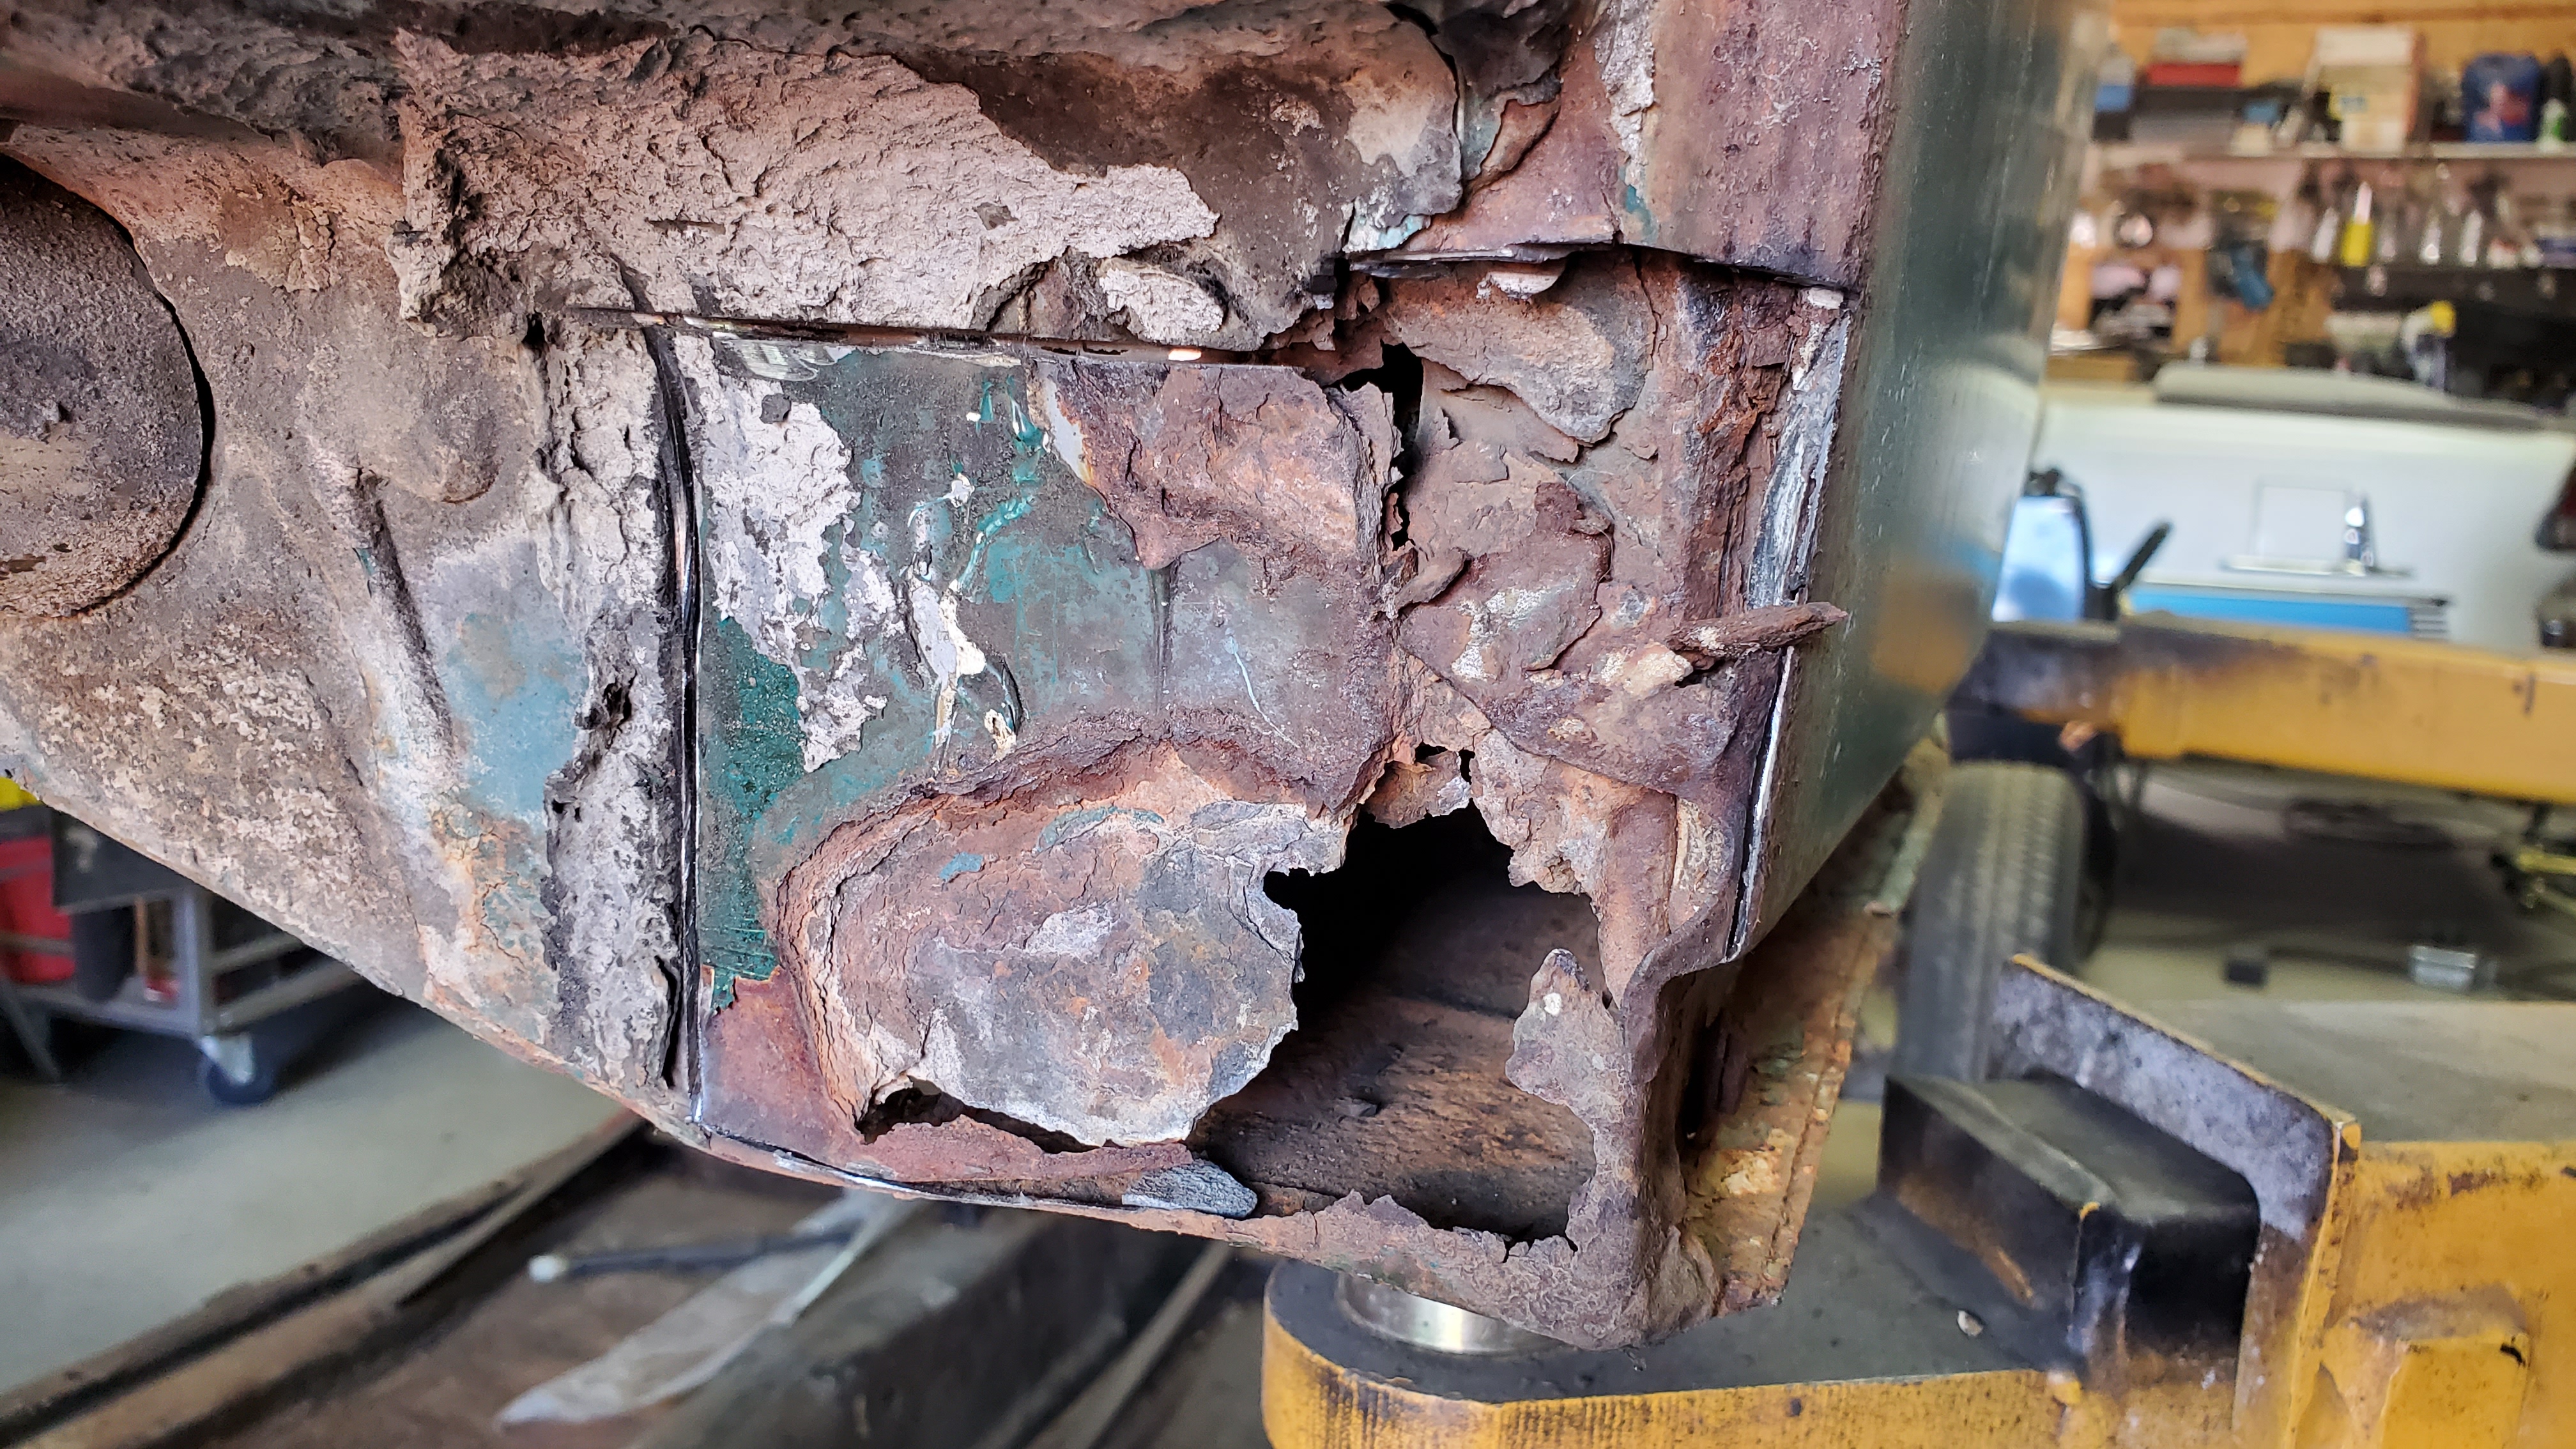
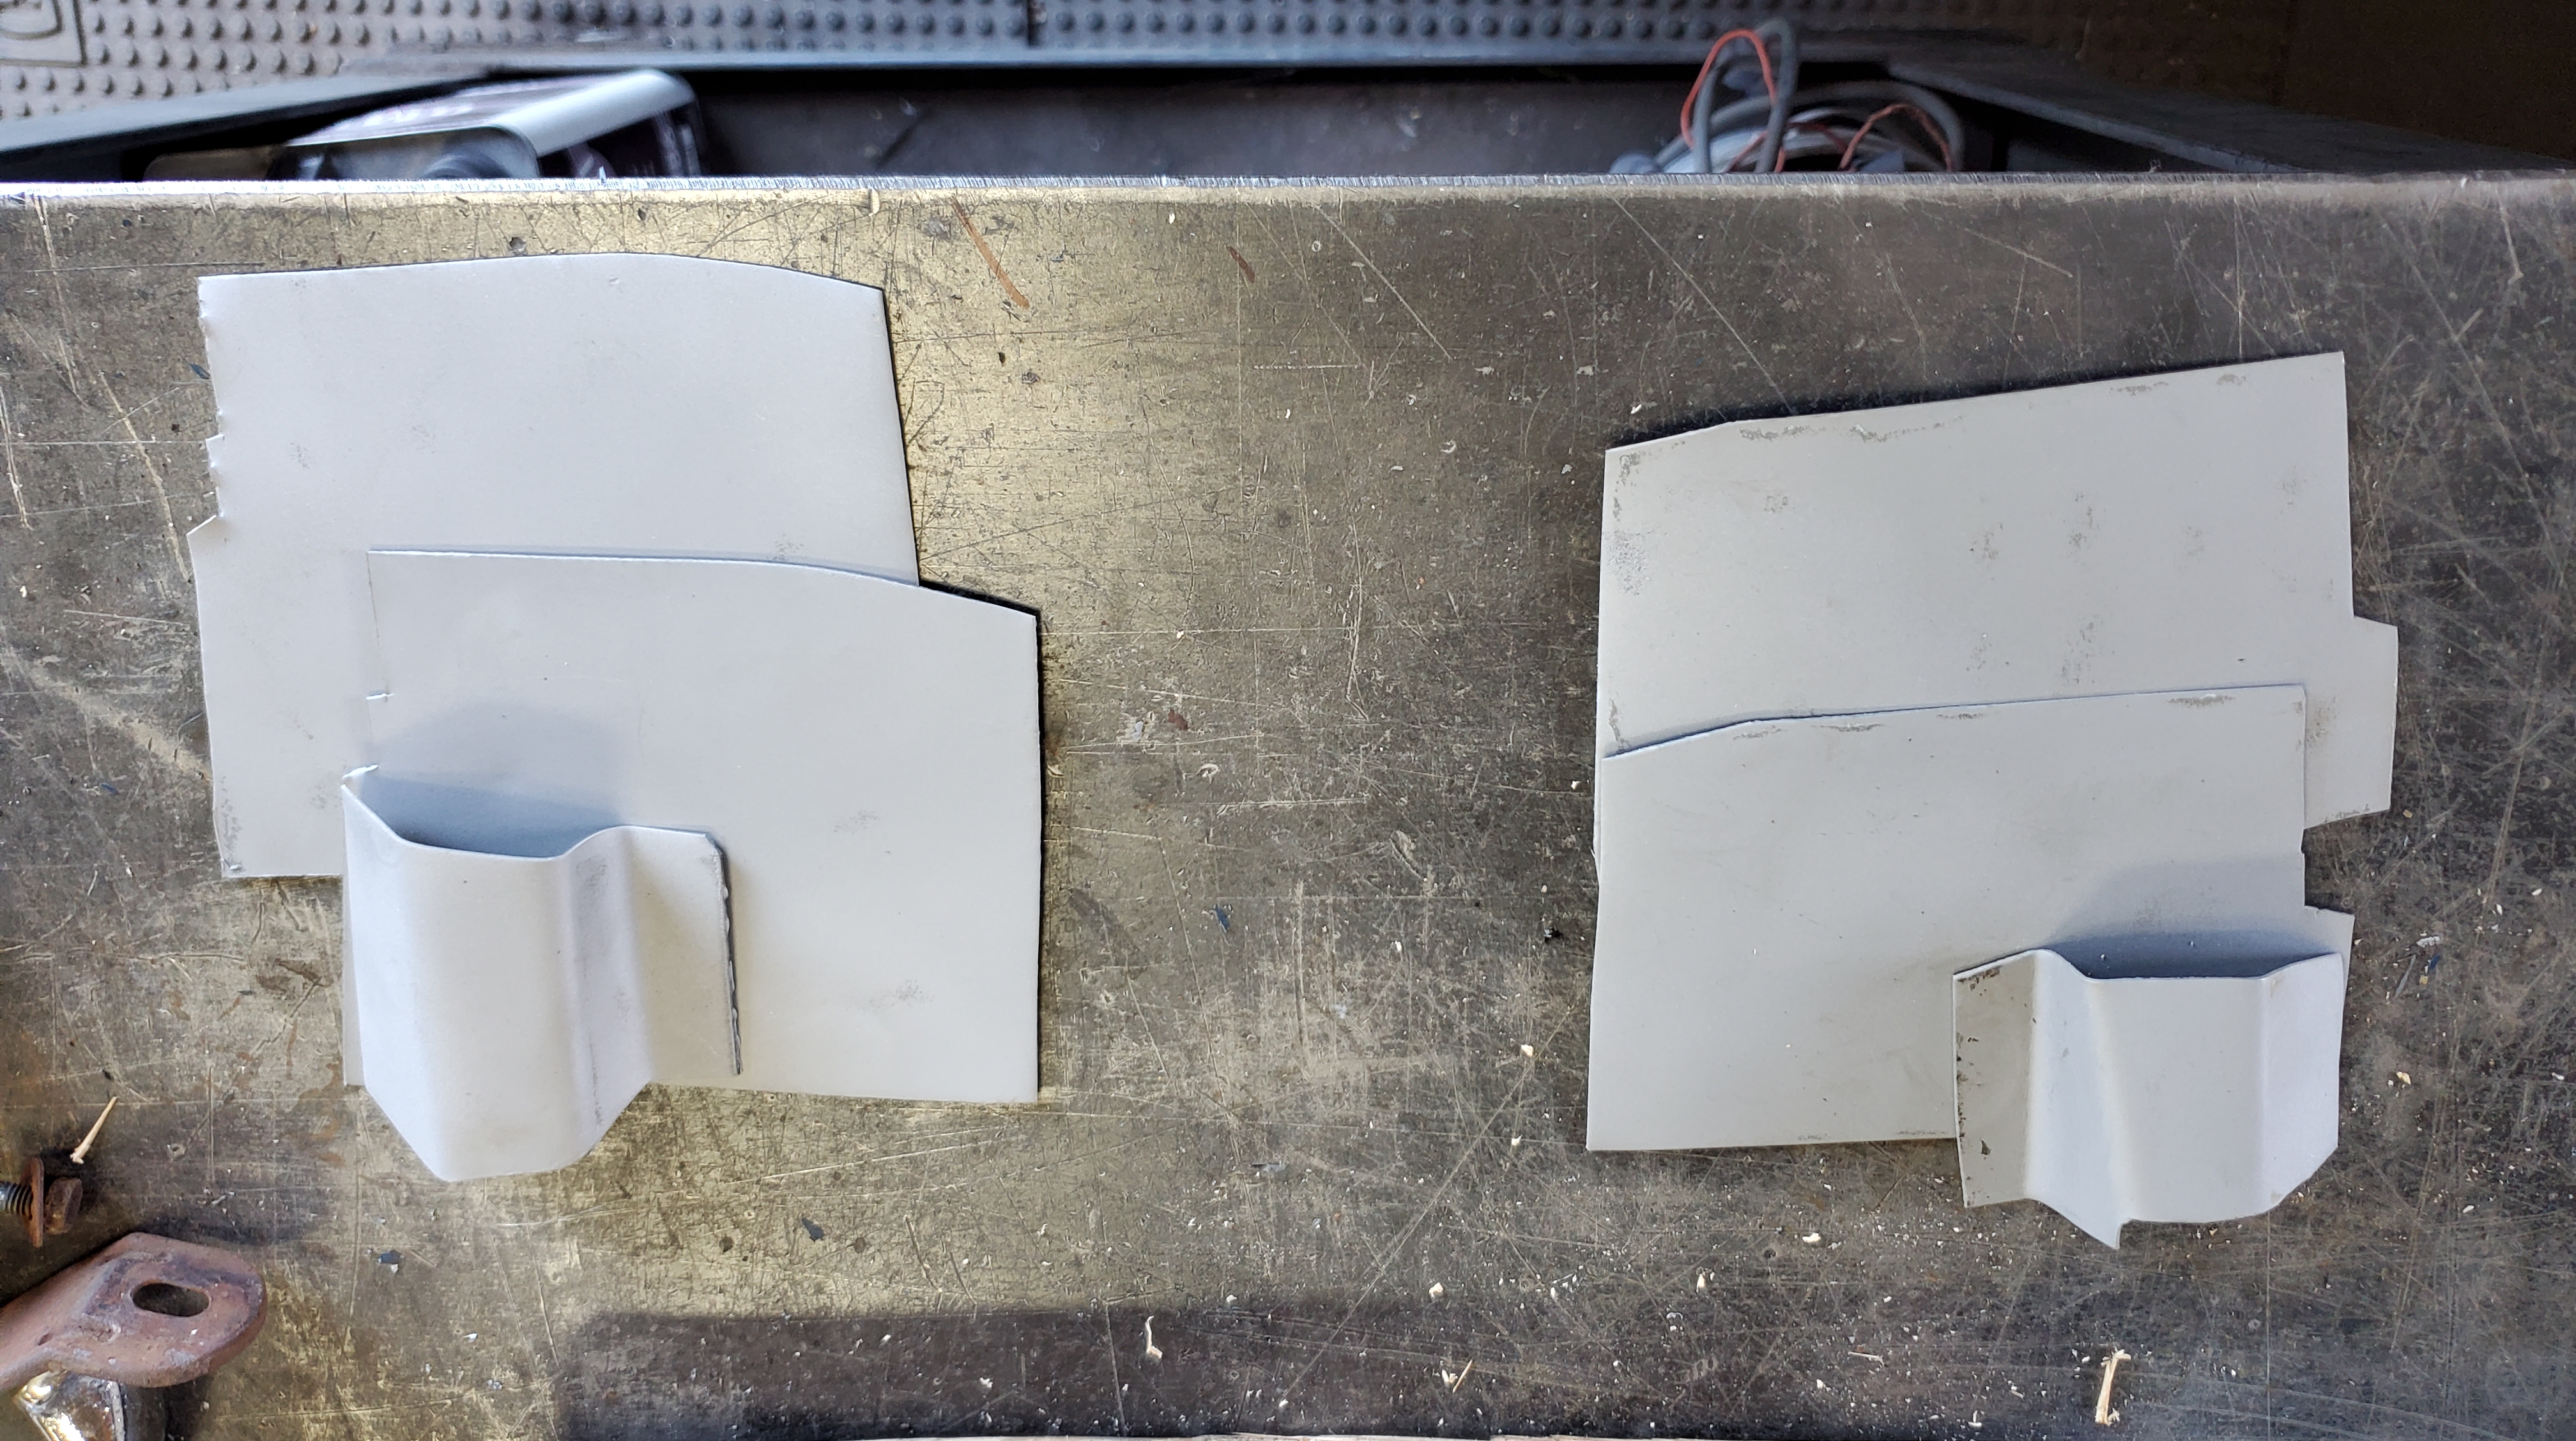
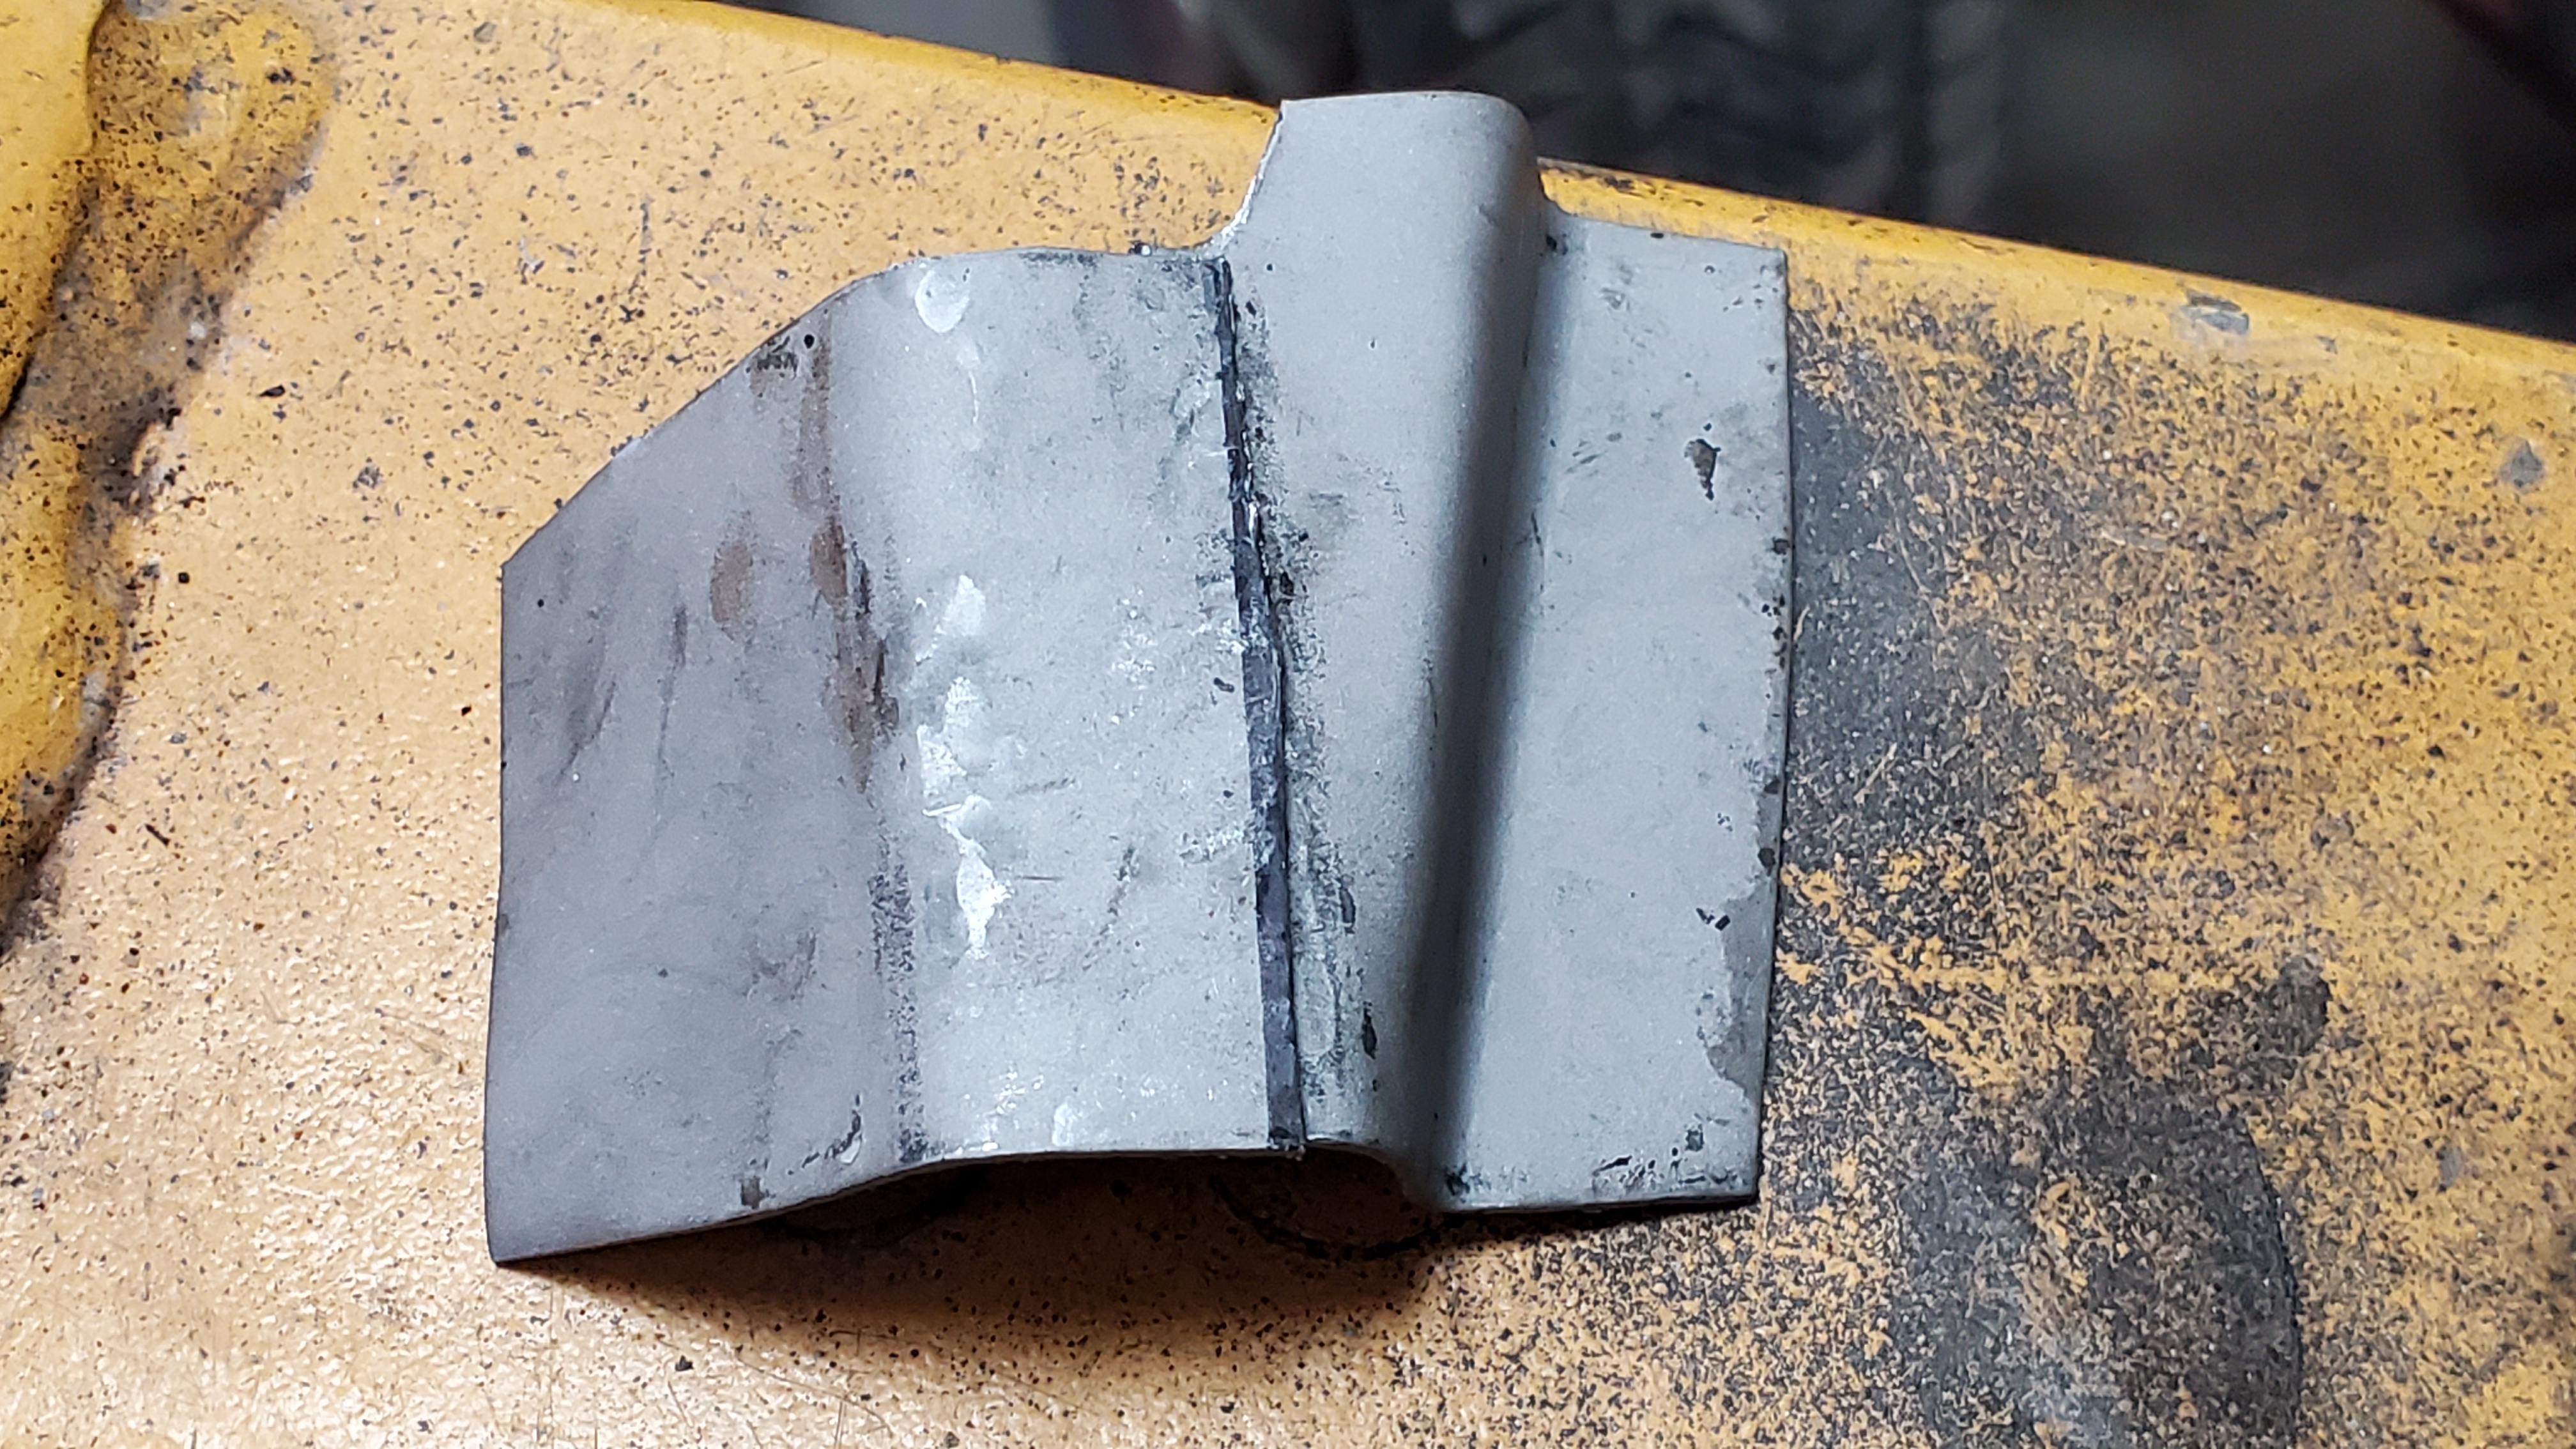
I started with the inner panel, built the lower edge of the rear fender lip, and made the outer. I use a cleaning wheel to get things the best I can, spray rust neutralizer in the holes, and paint as far in the channel as possible.
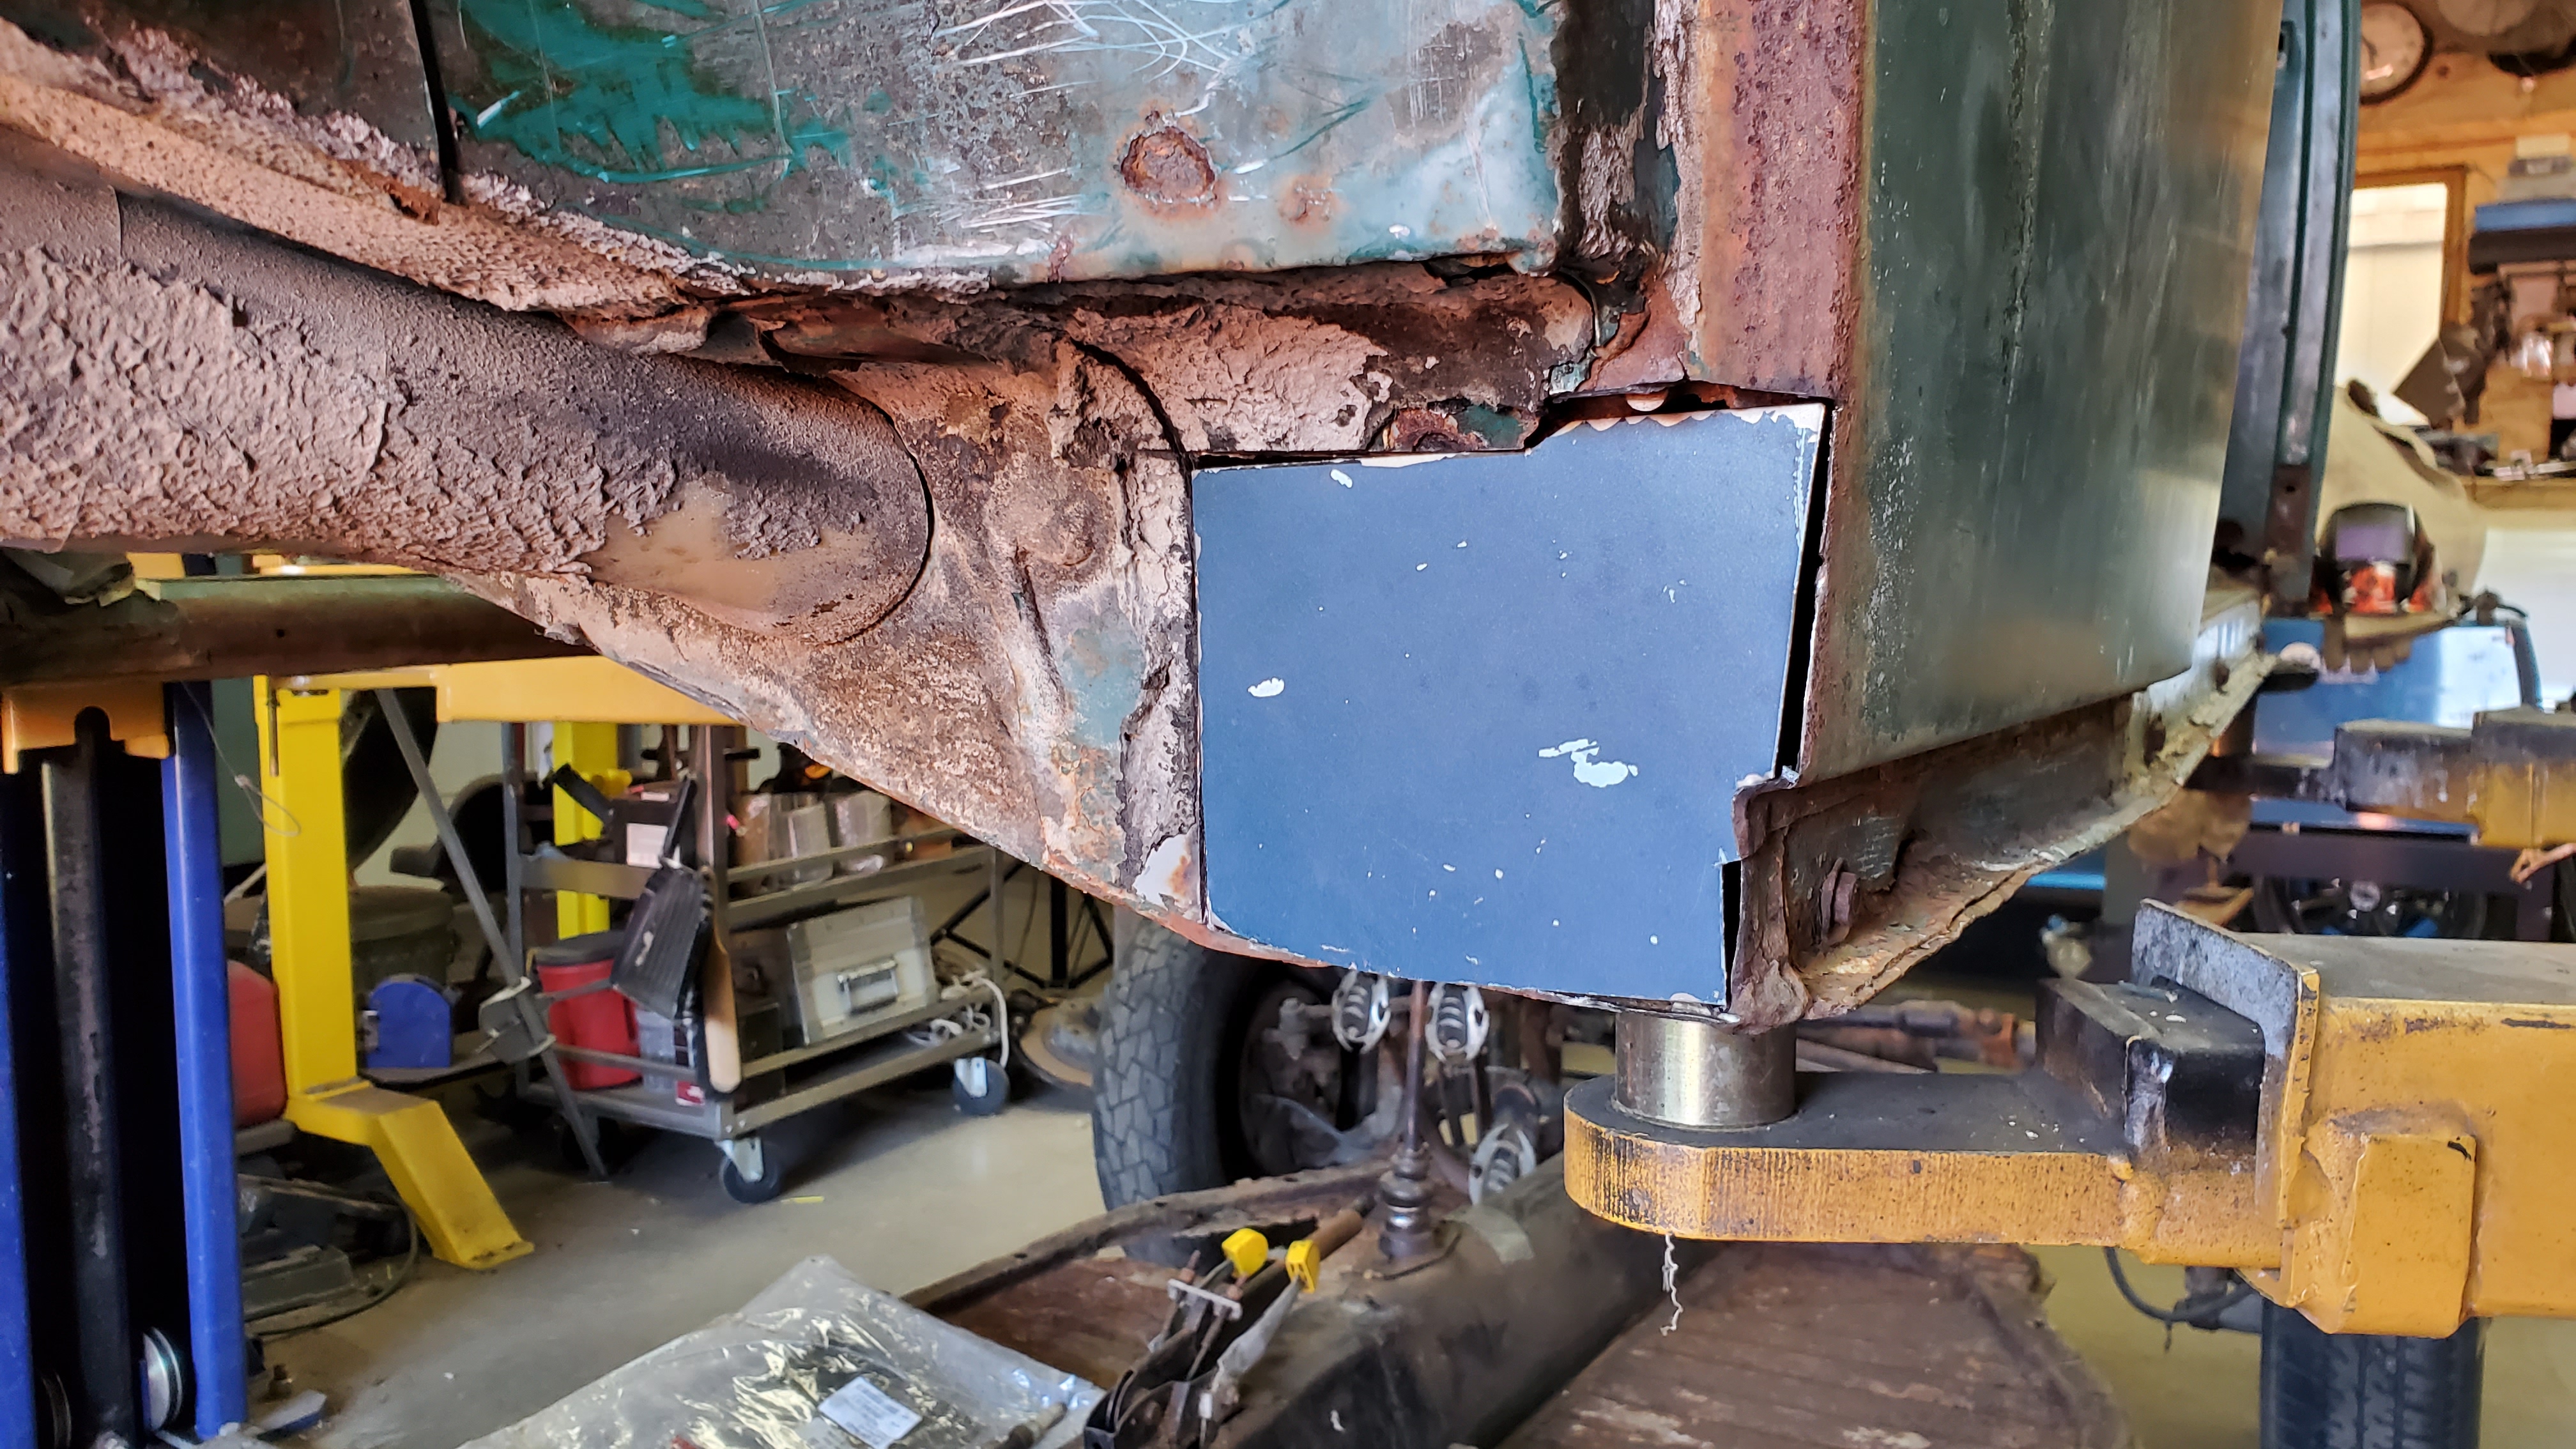
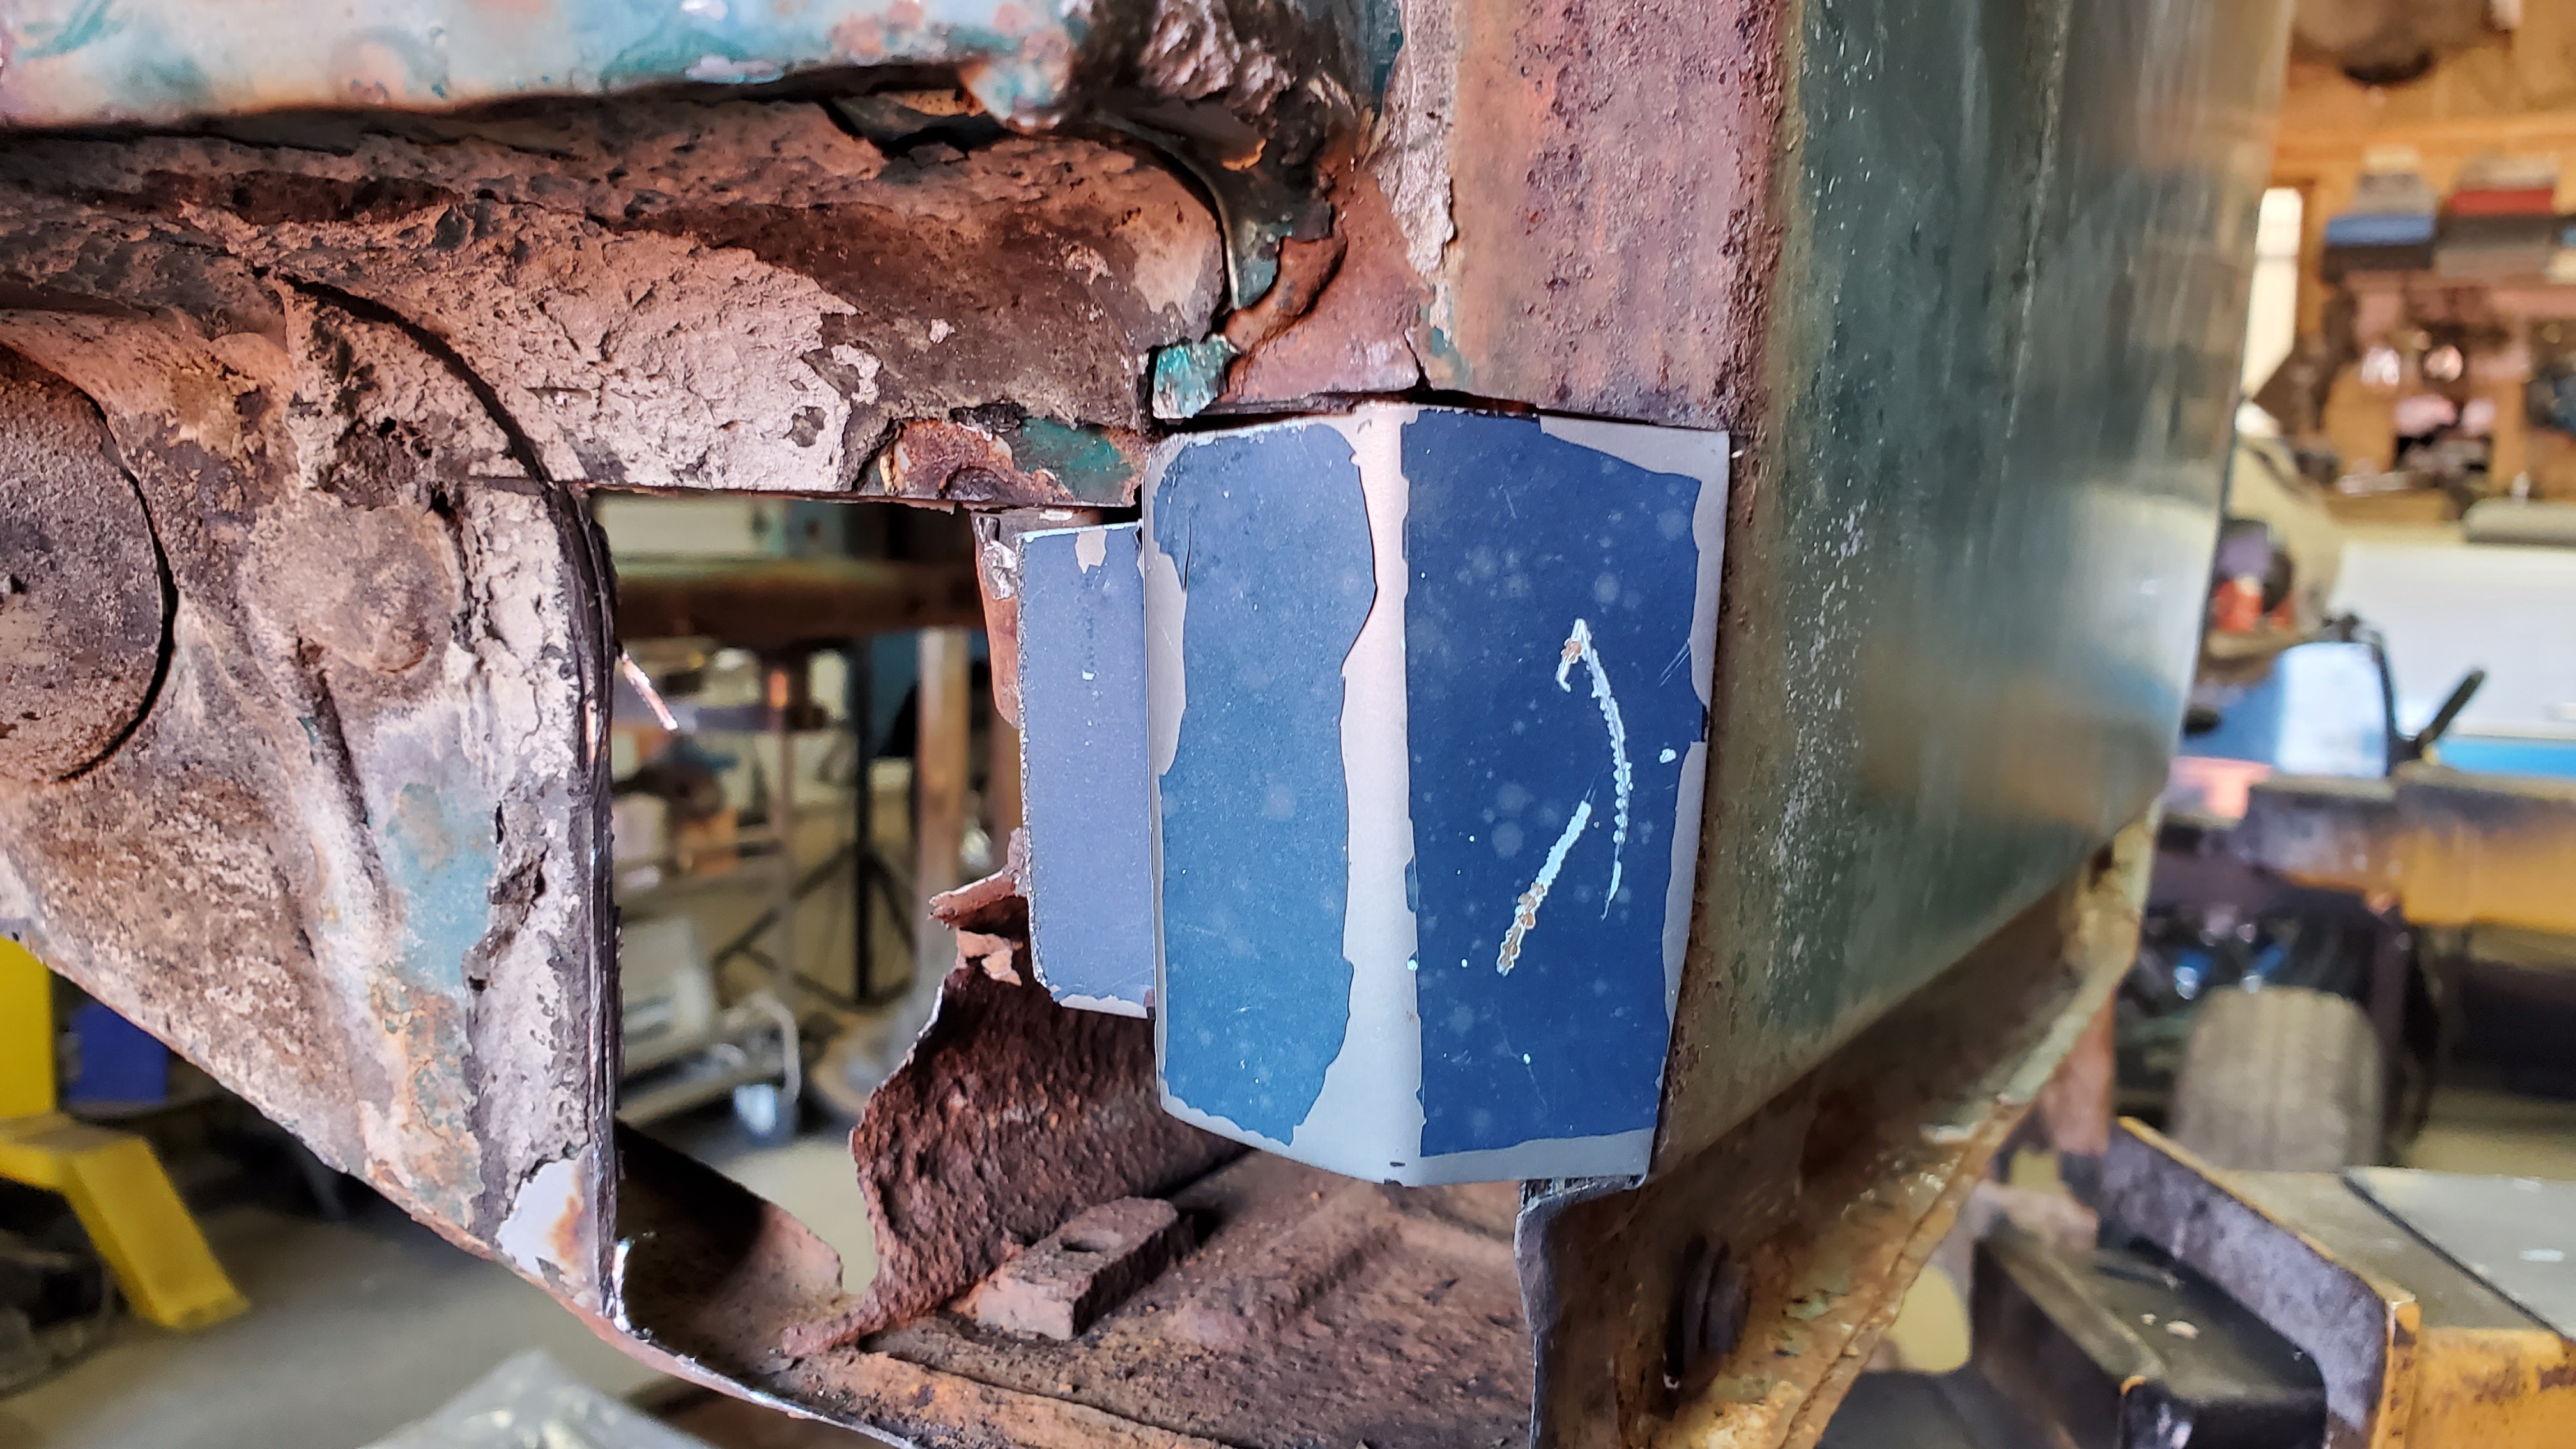
The panels that were made for patches are run through the blast cabinet, and the back of the panels painted before being install on the body.
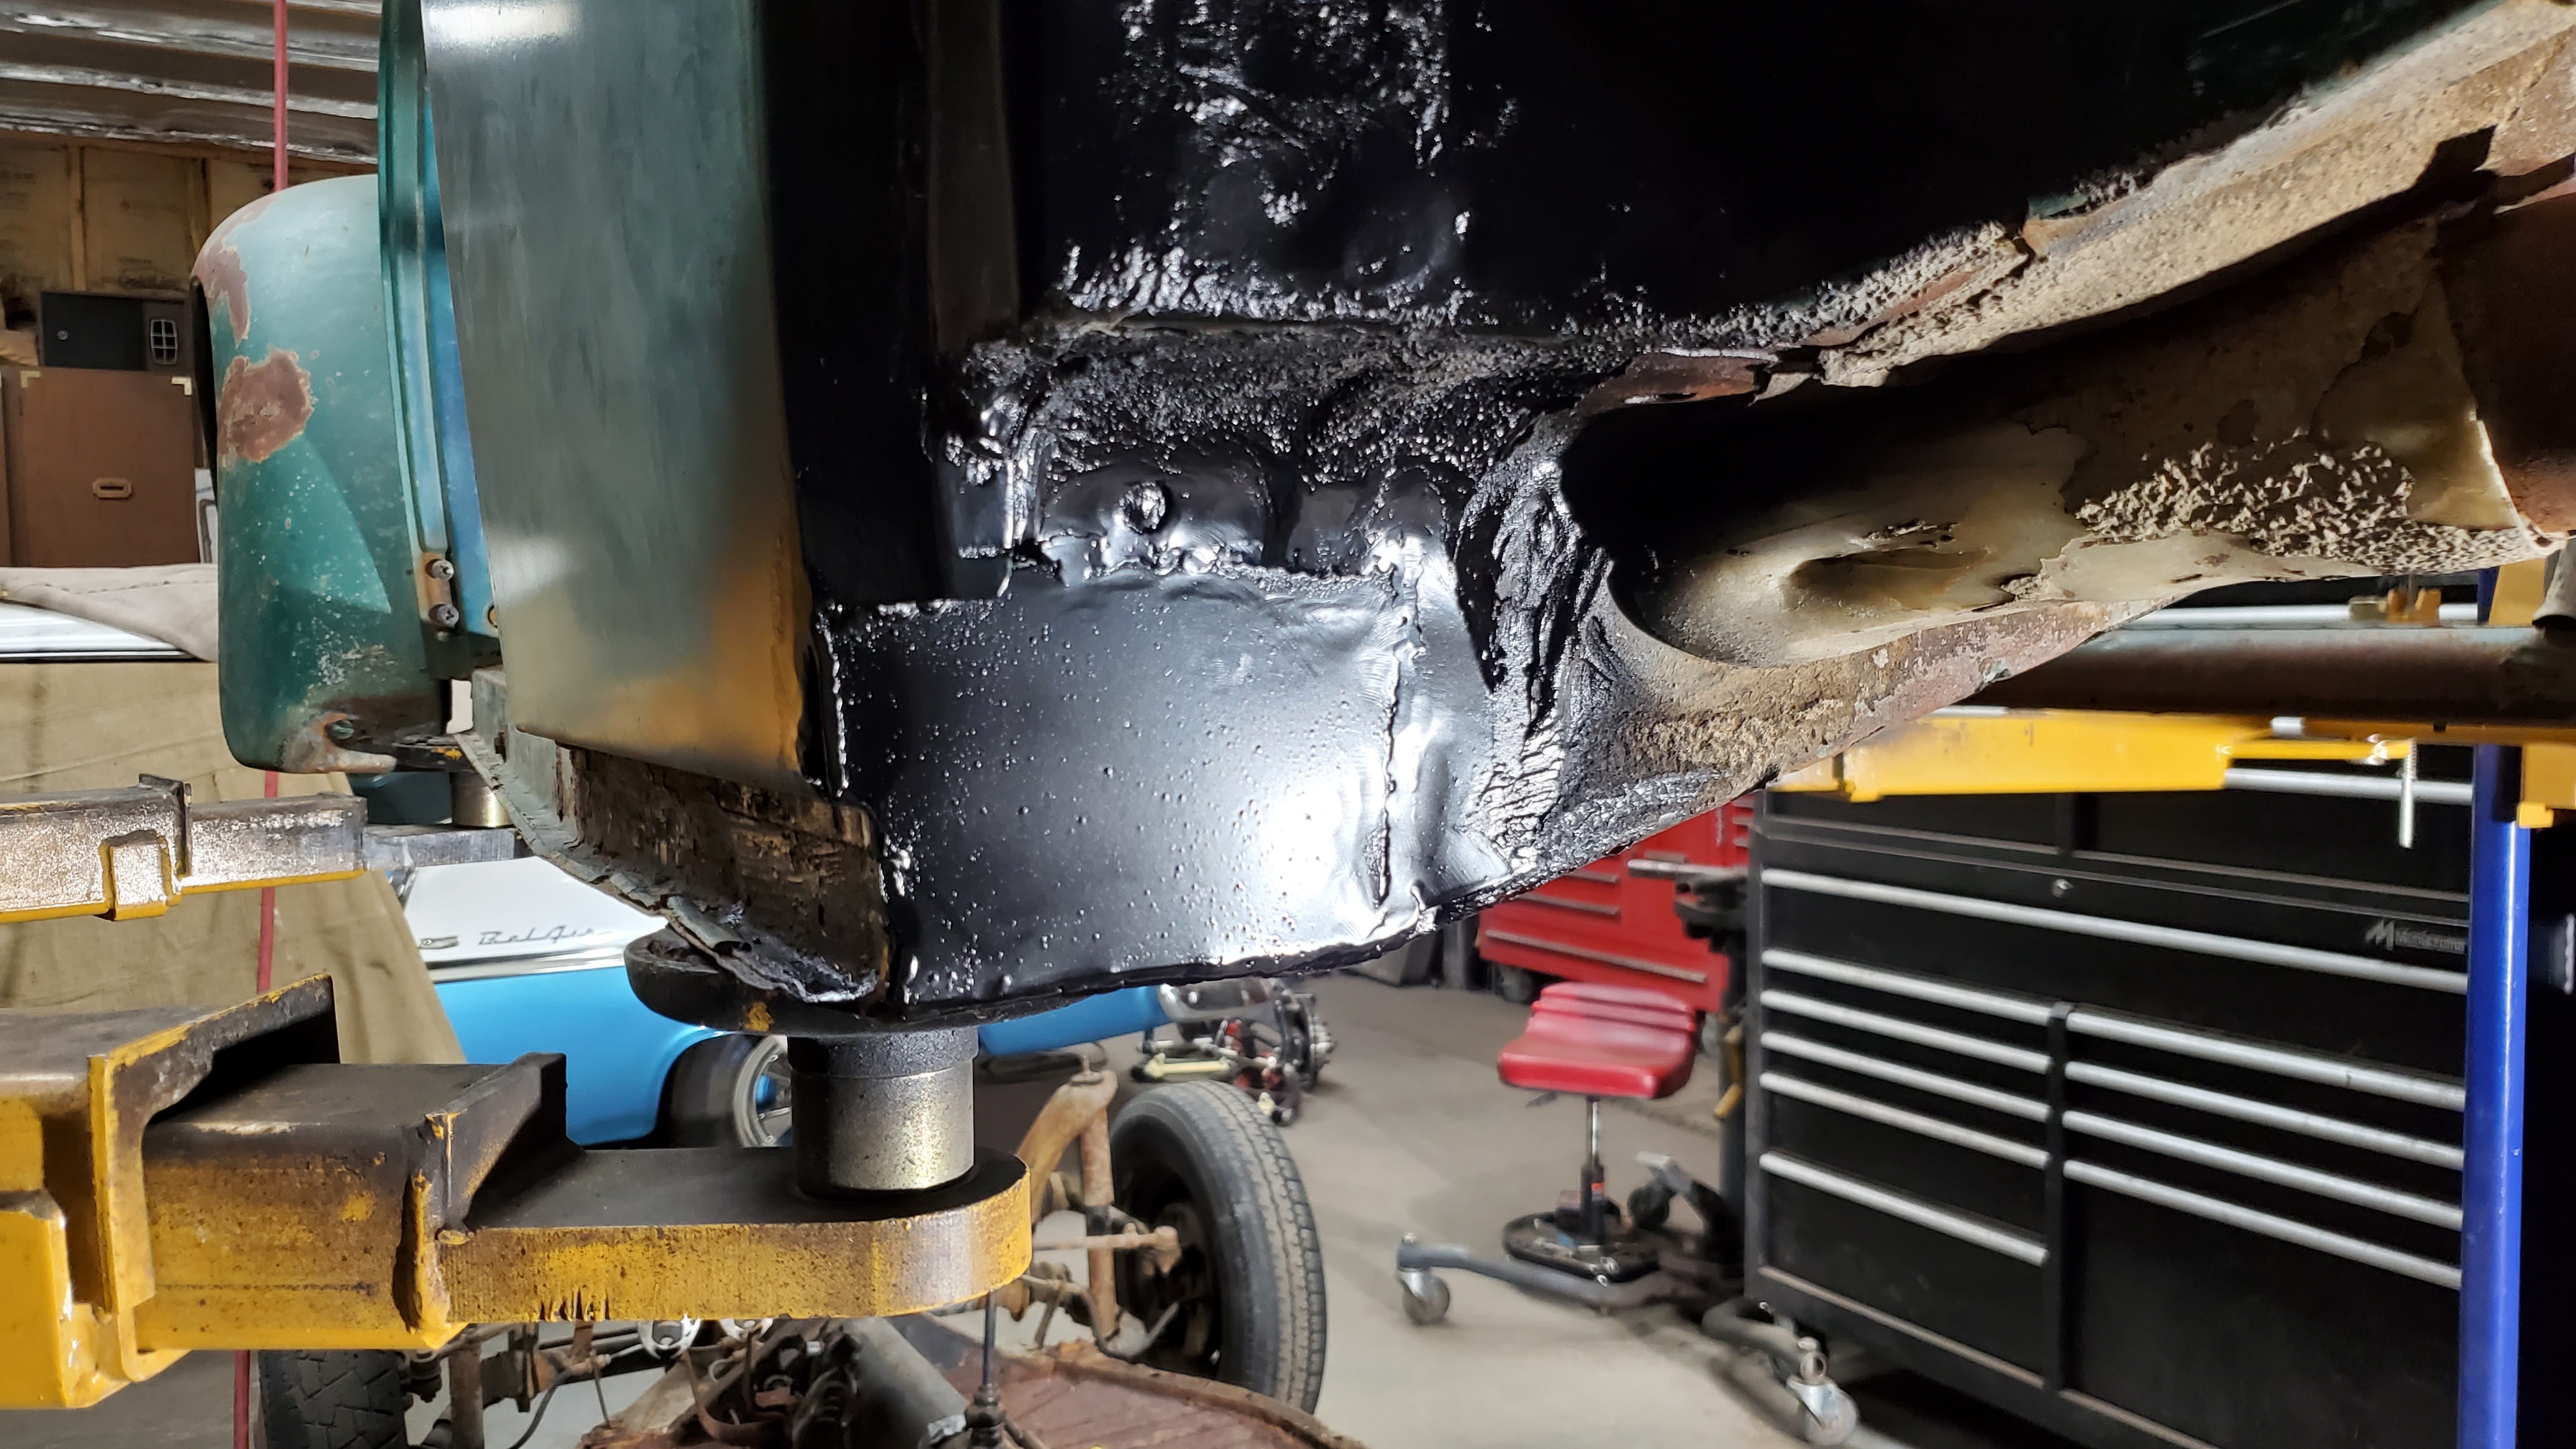
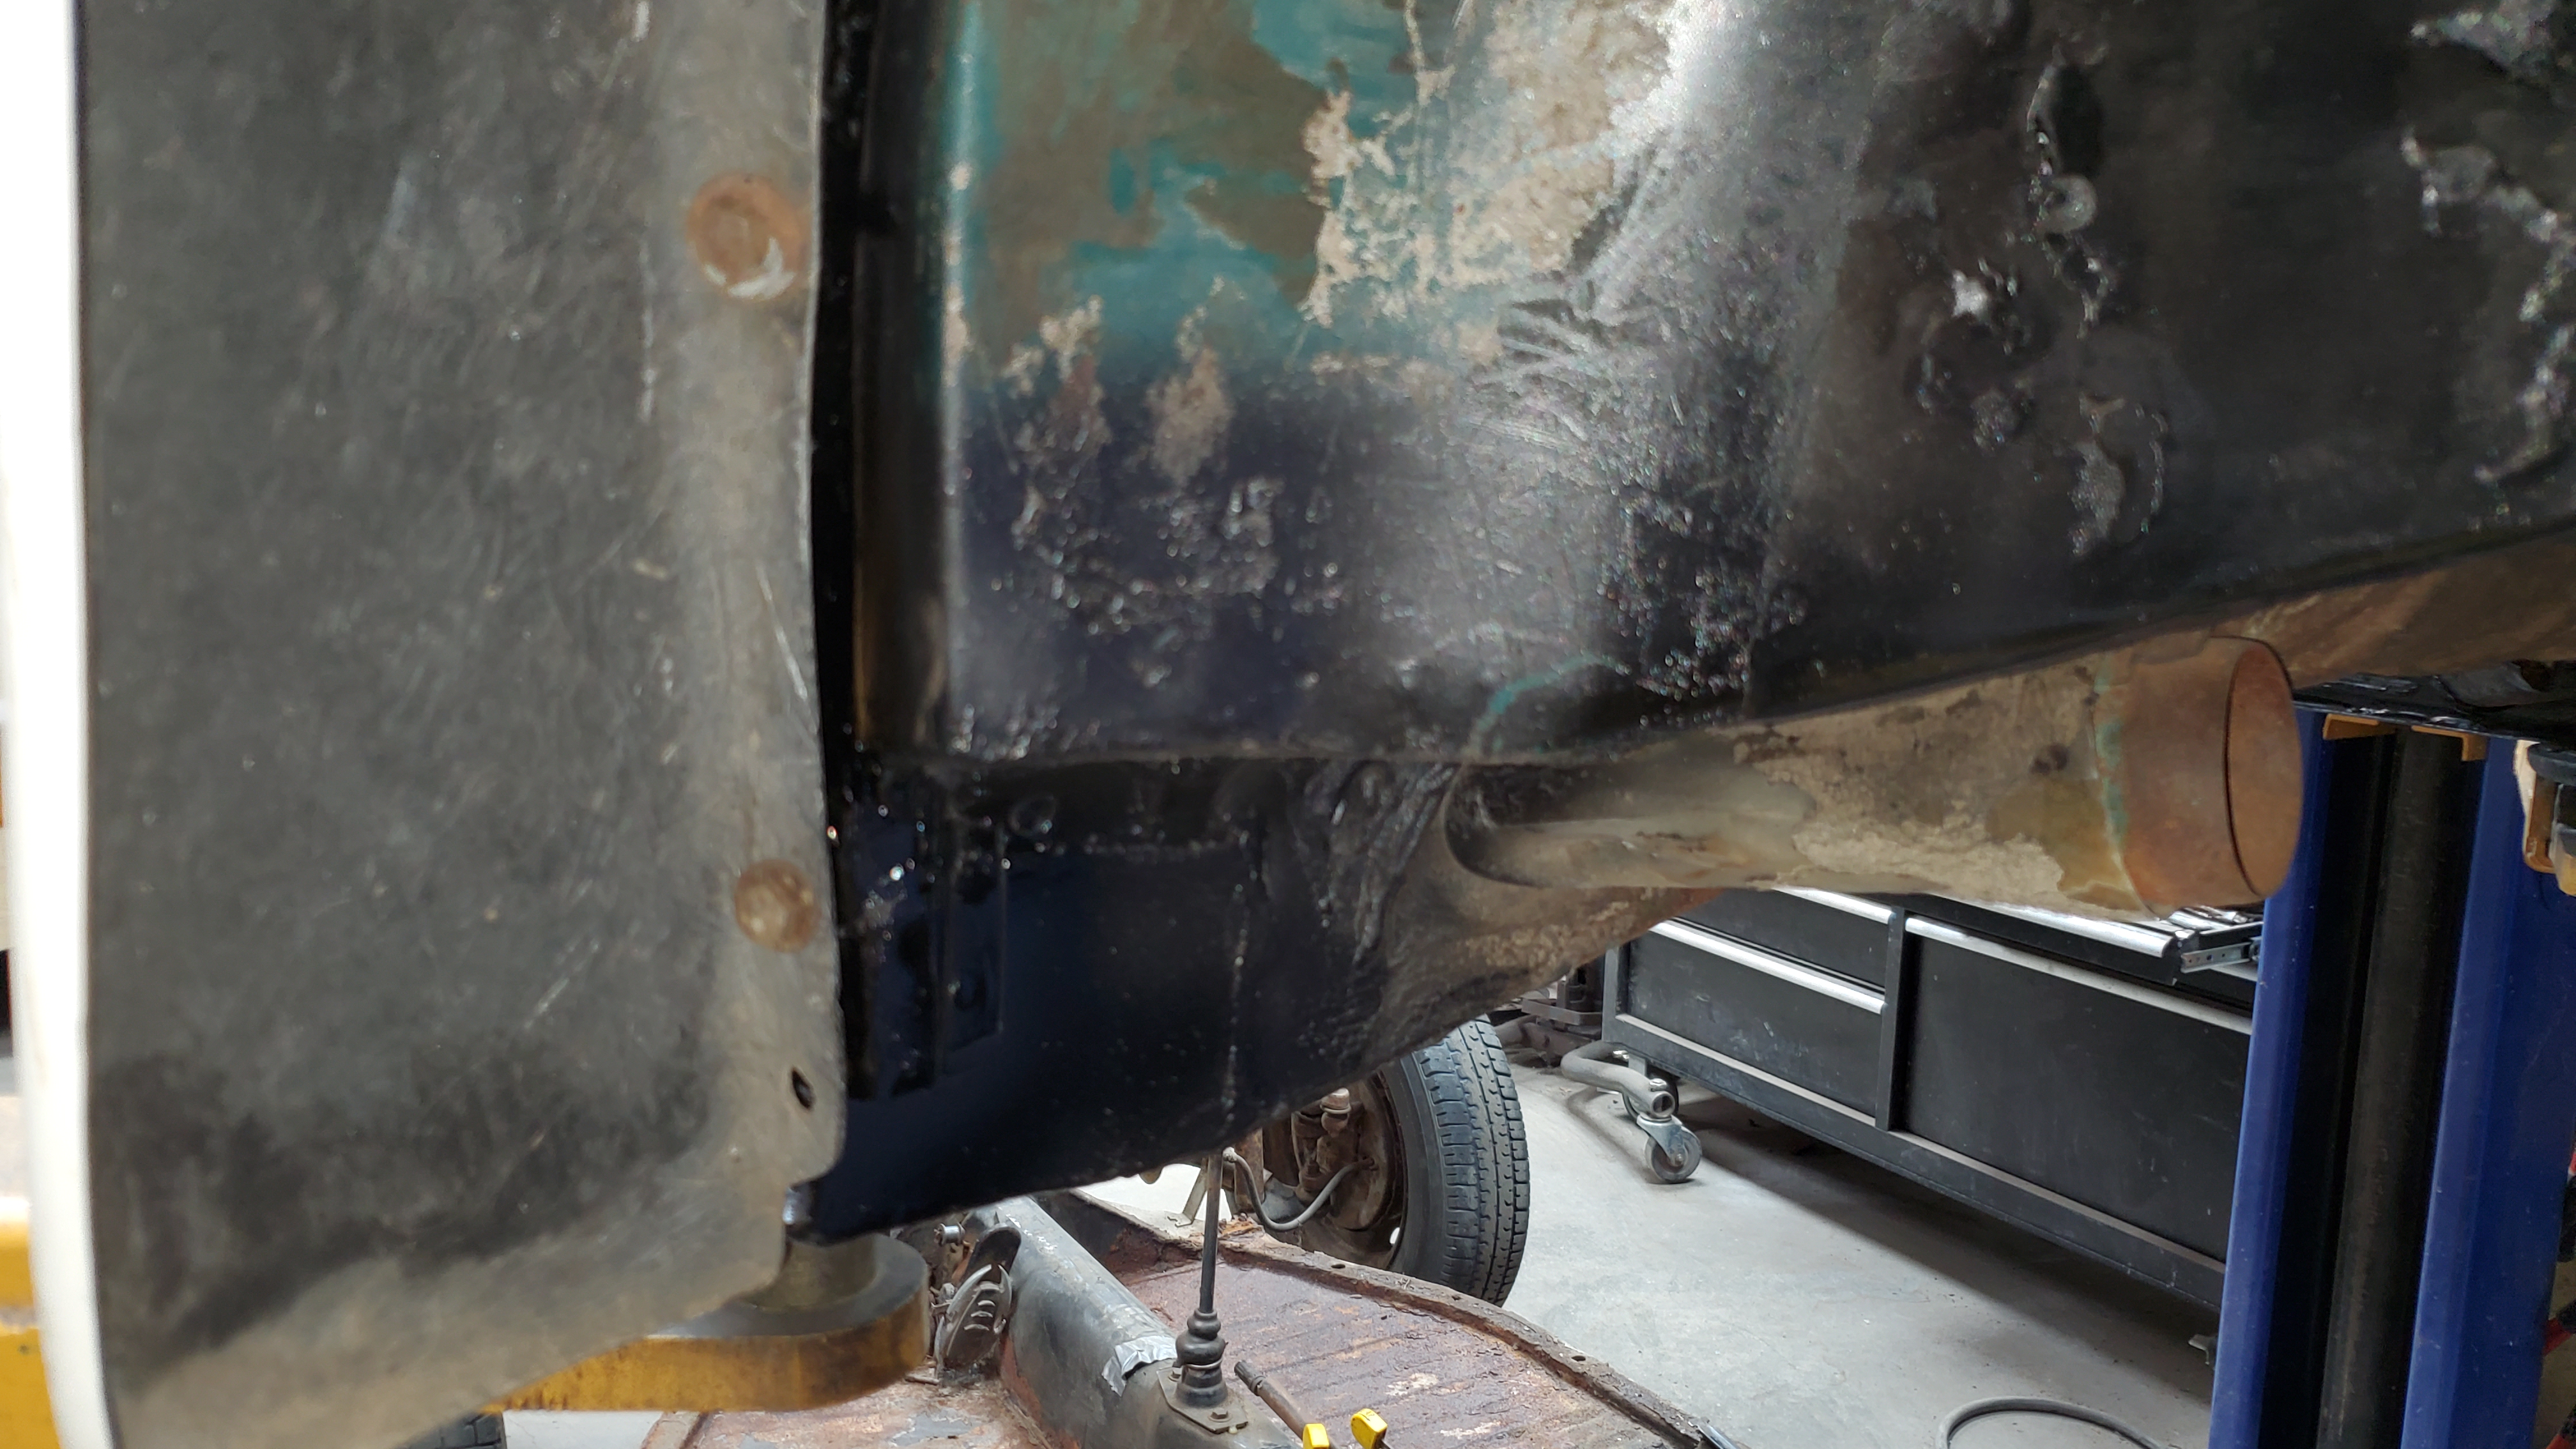
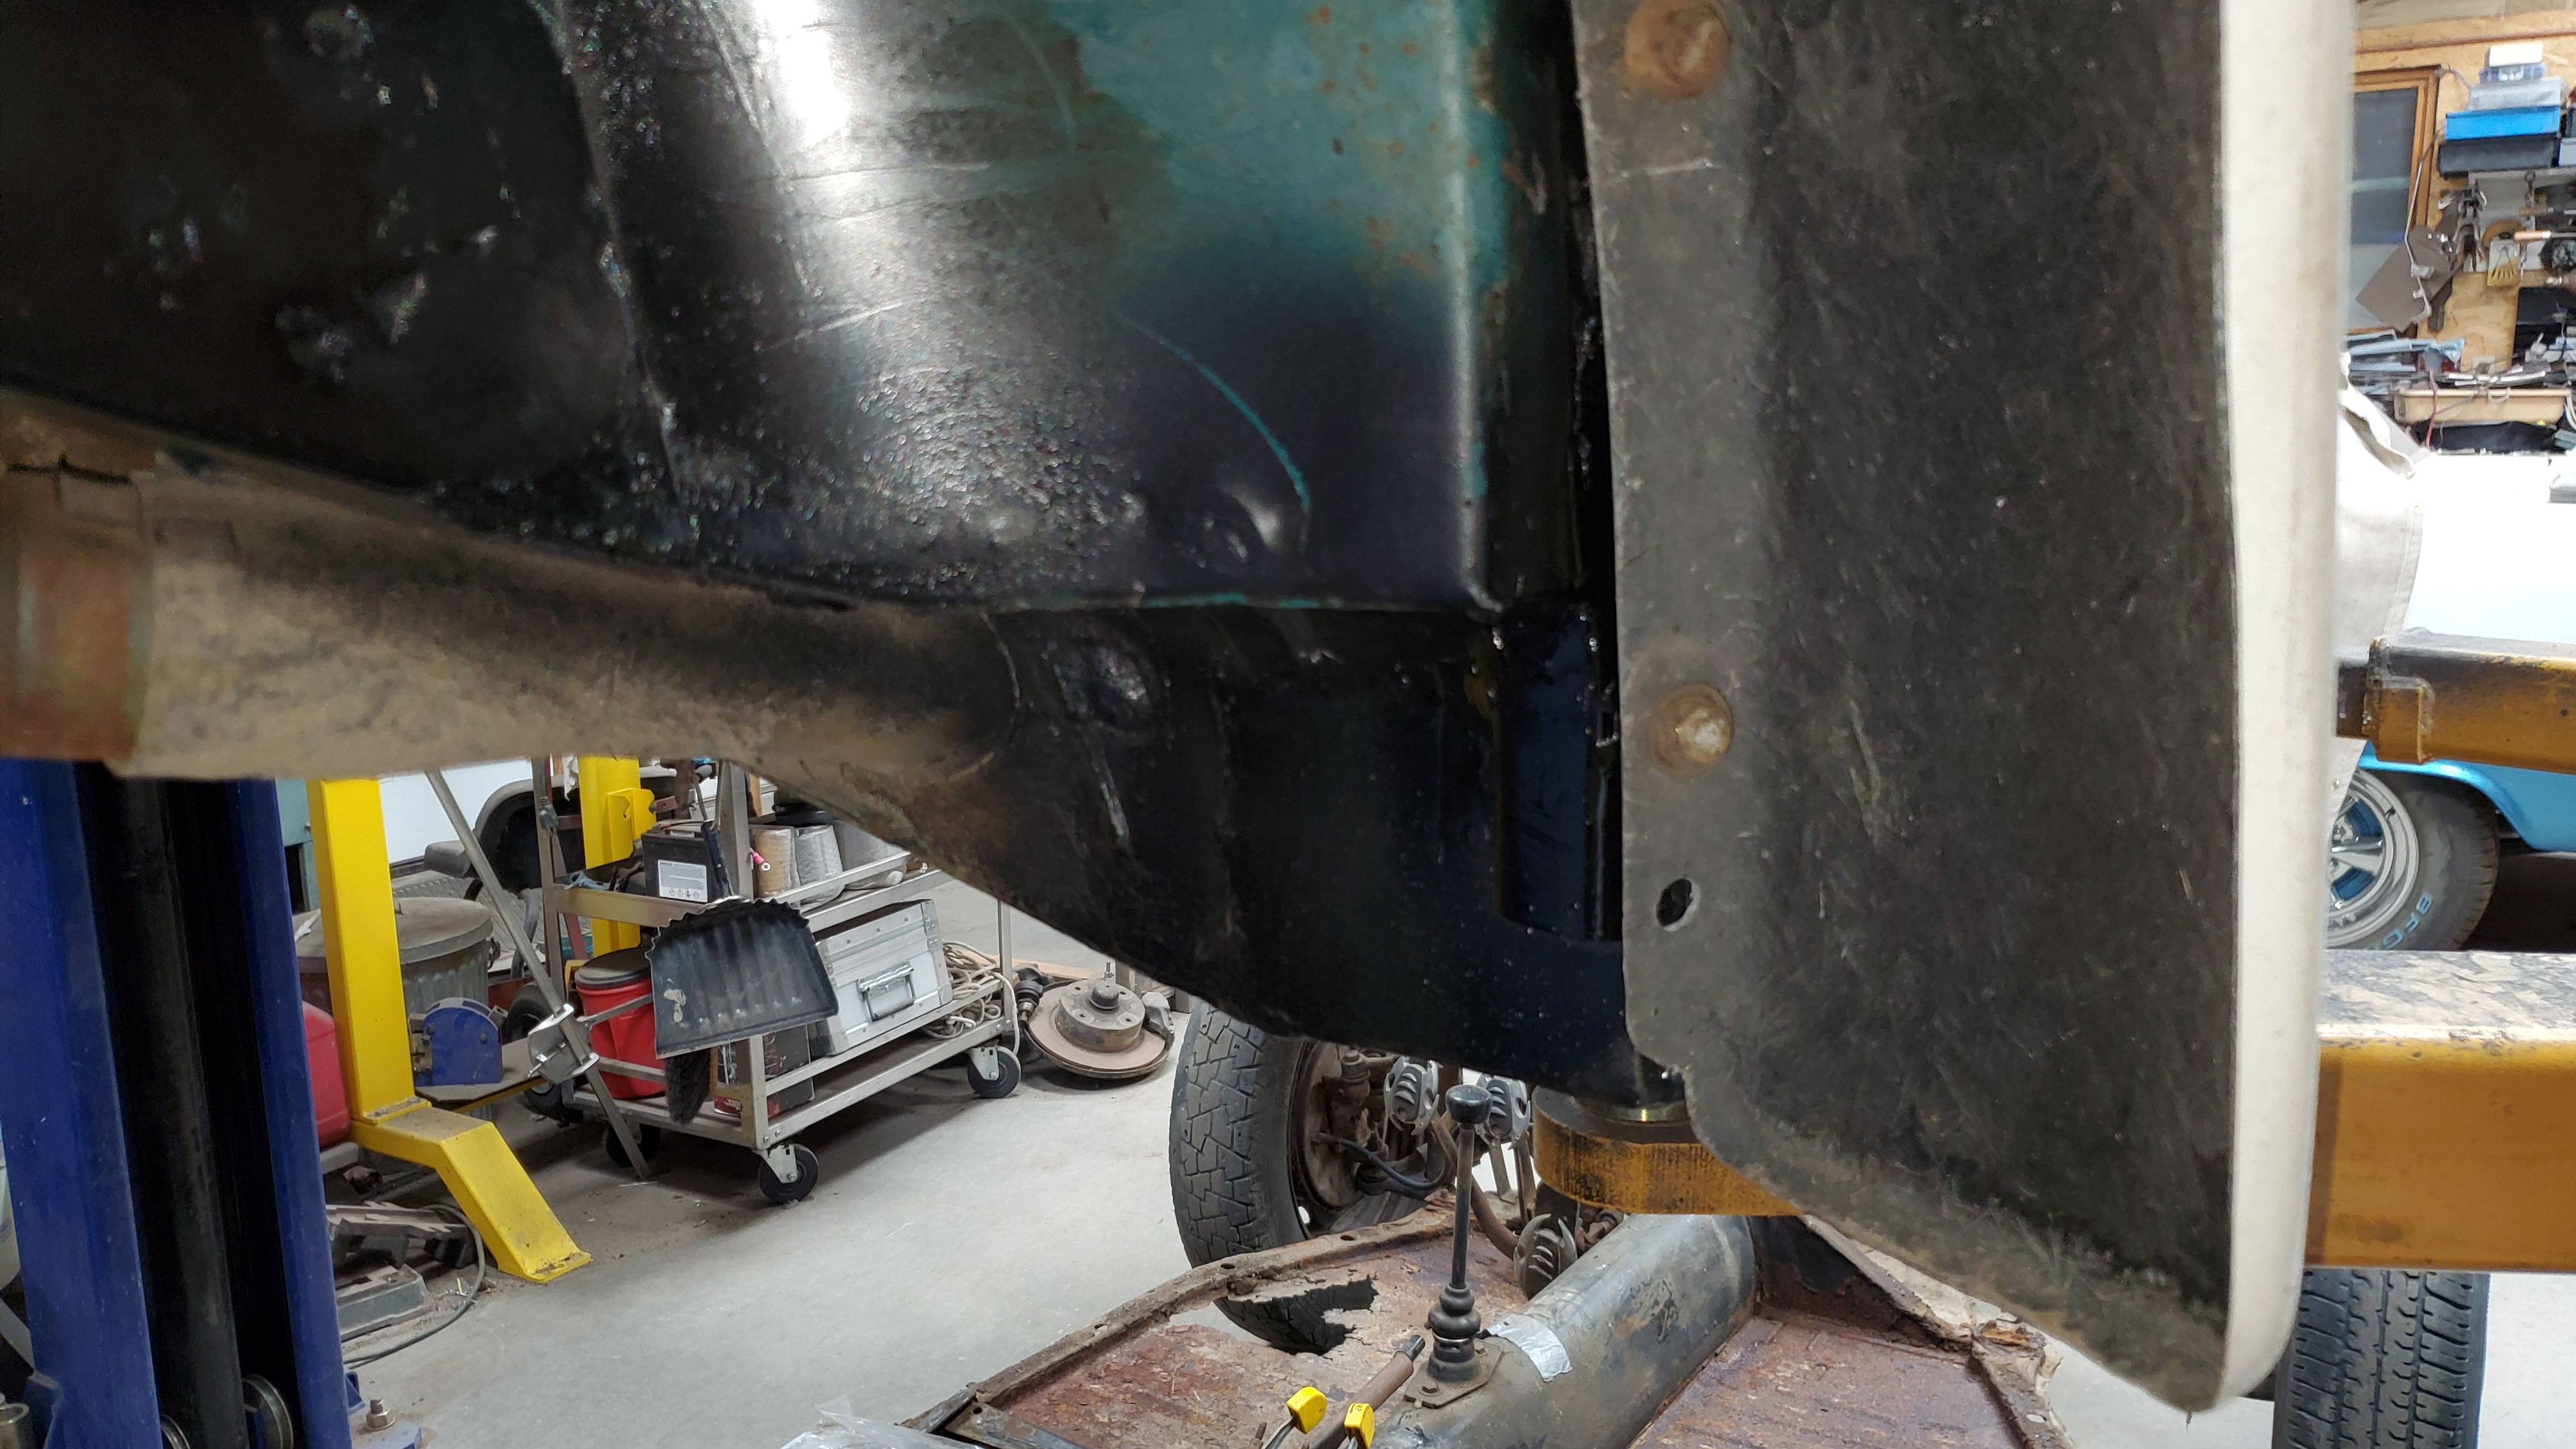
Once the inner is welded in the outer and fender lip are welded on. I layer the metal to look like the original panels, and used plug welds along the seams as they did factory. The bottom edge is completely welded to seal the inner and out panels even though that isn’t how it was done from the factory. From the factory the inner and outer are spot welded together, and the bottom edge was open. This is a reason that it rusted to begin with and is a common spot for rust.
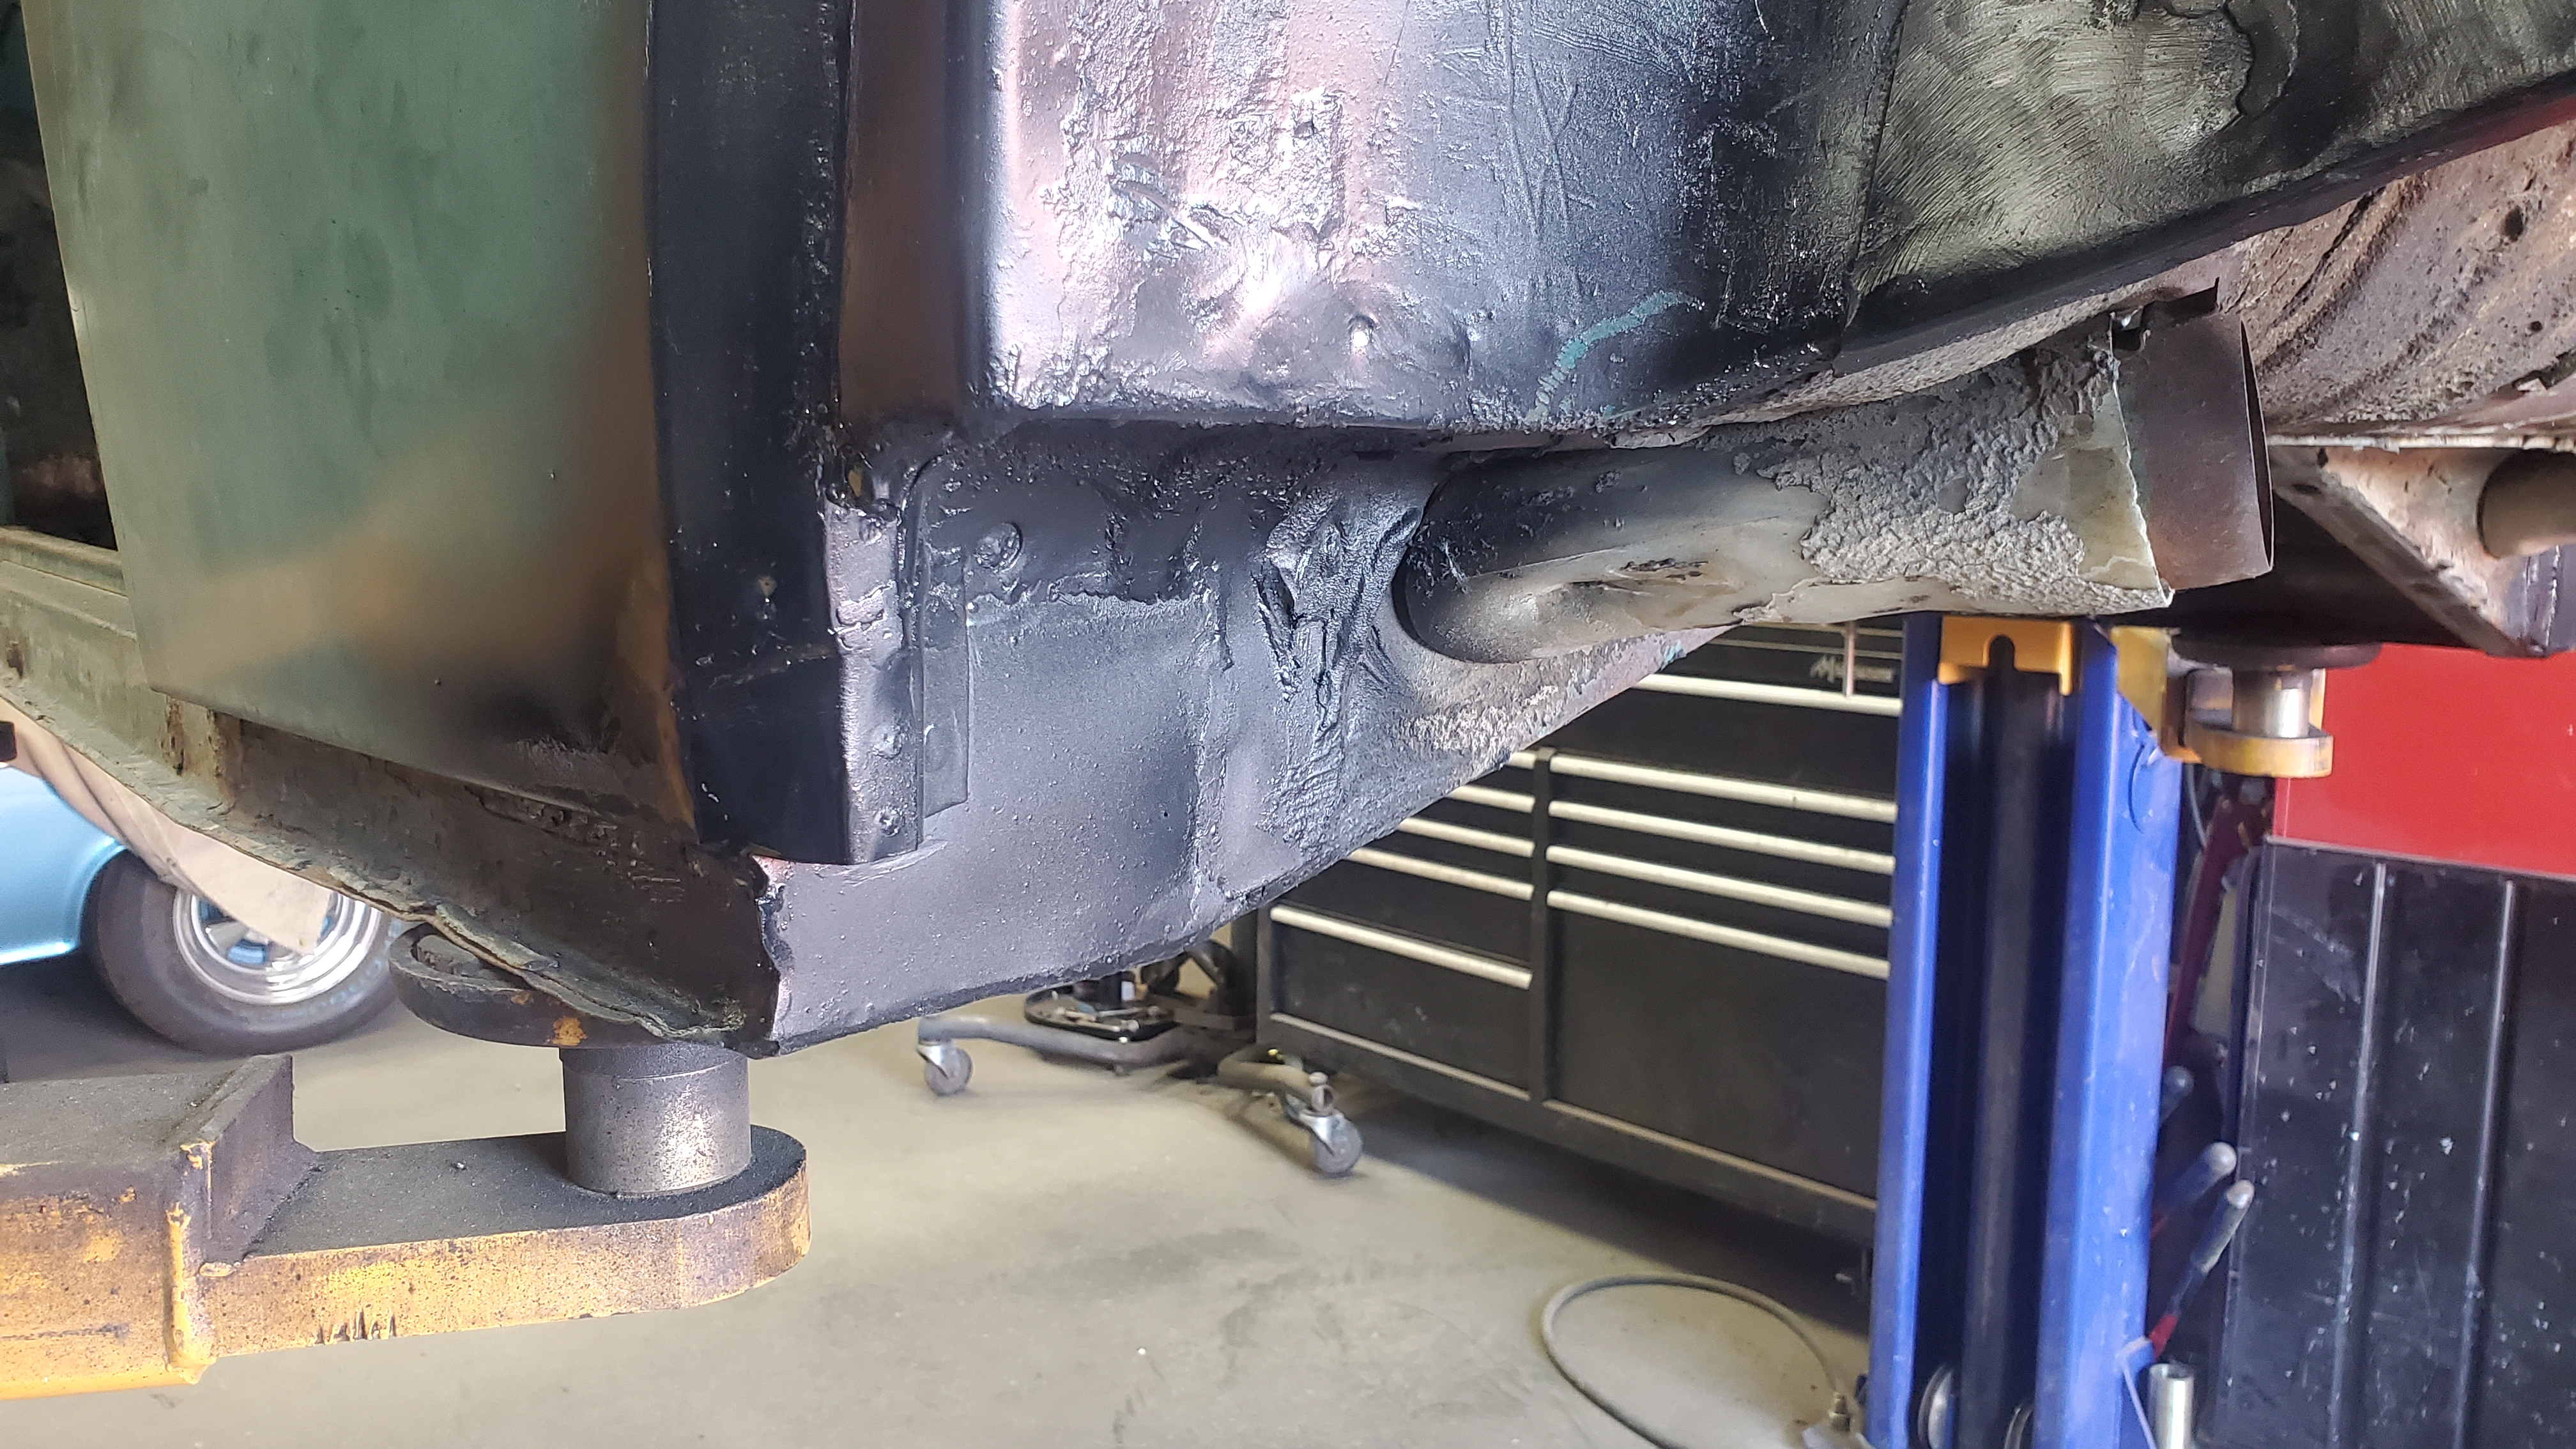
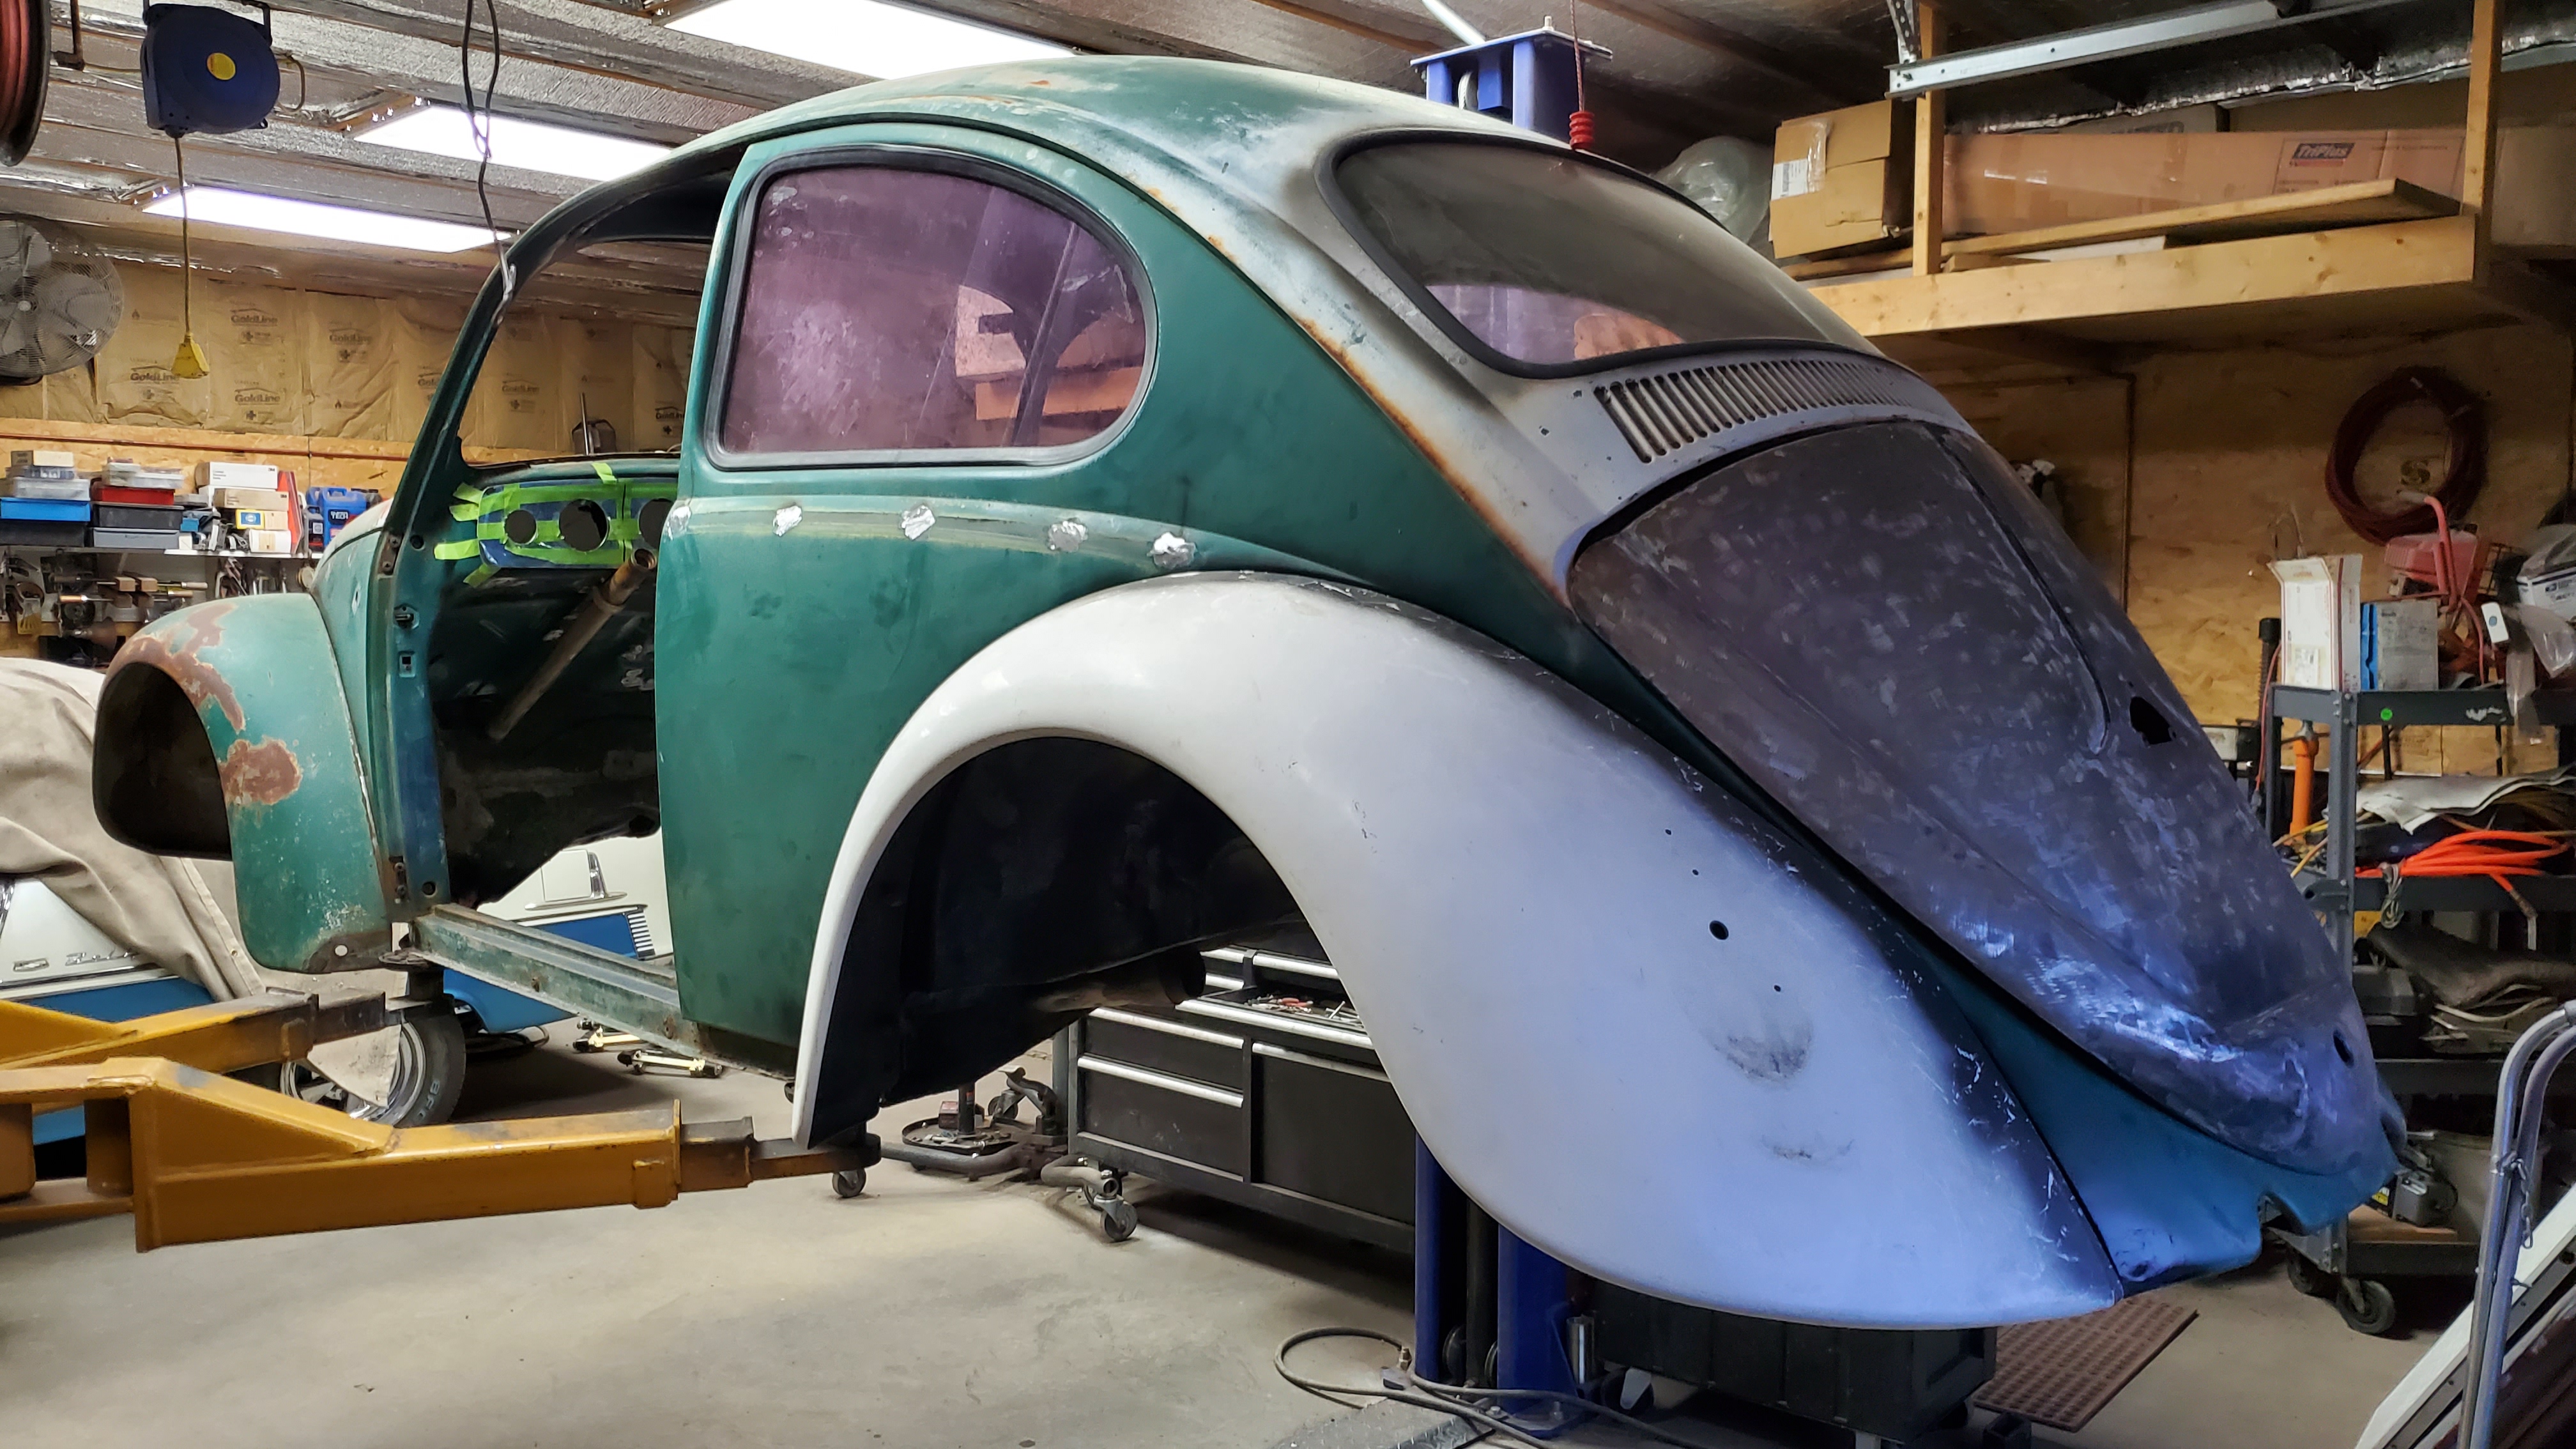
Cleaned up the fender lips and added some paint to preserve the edges until the car is painted.

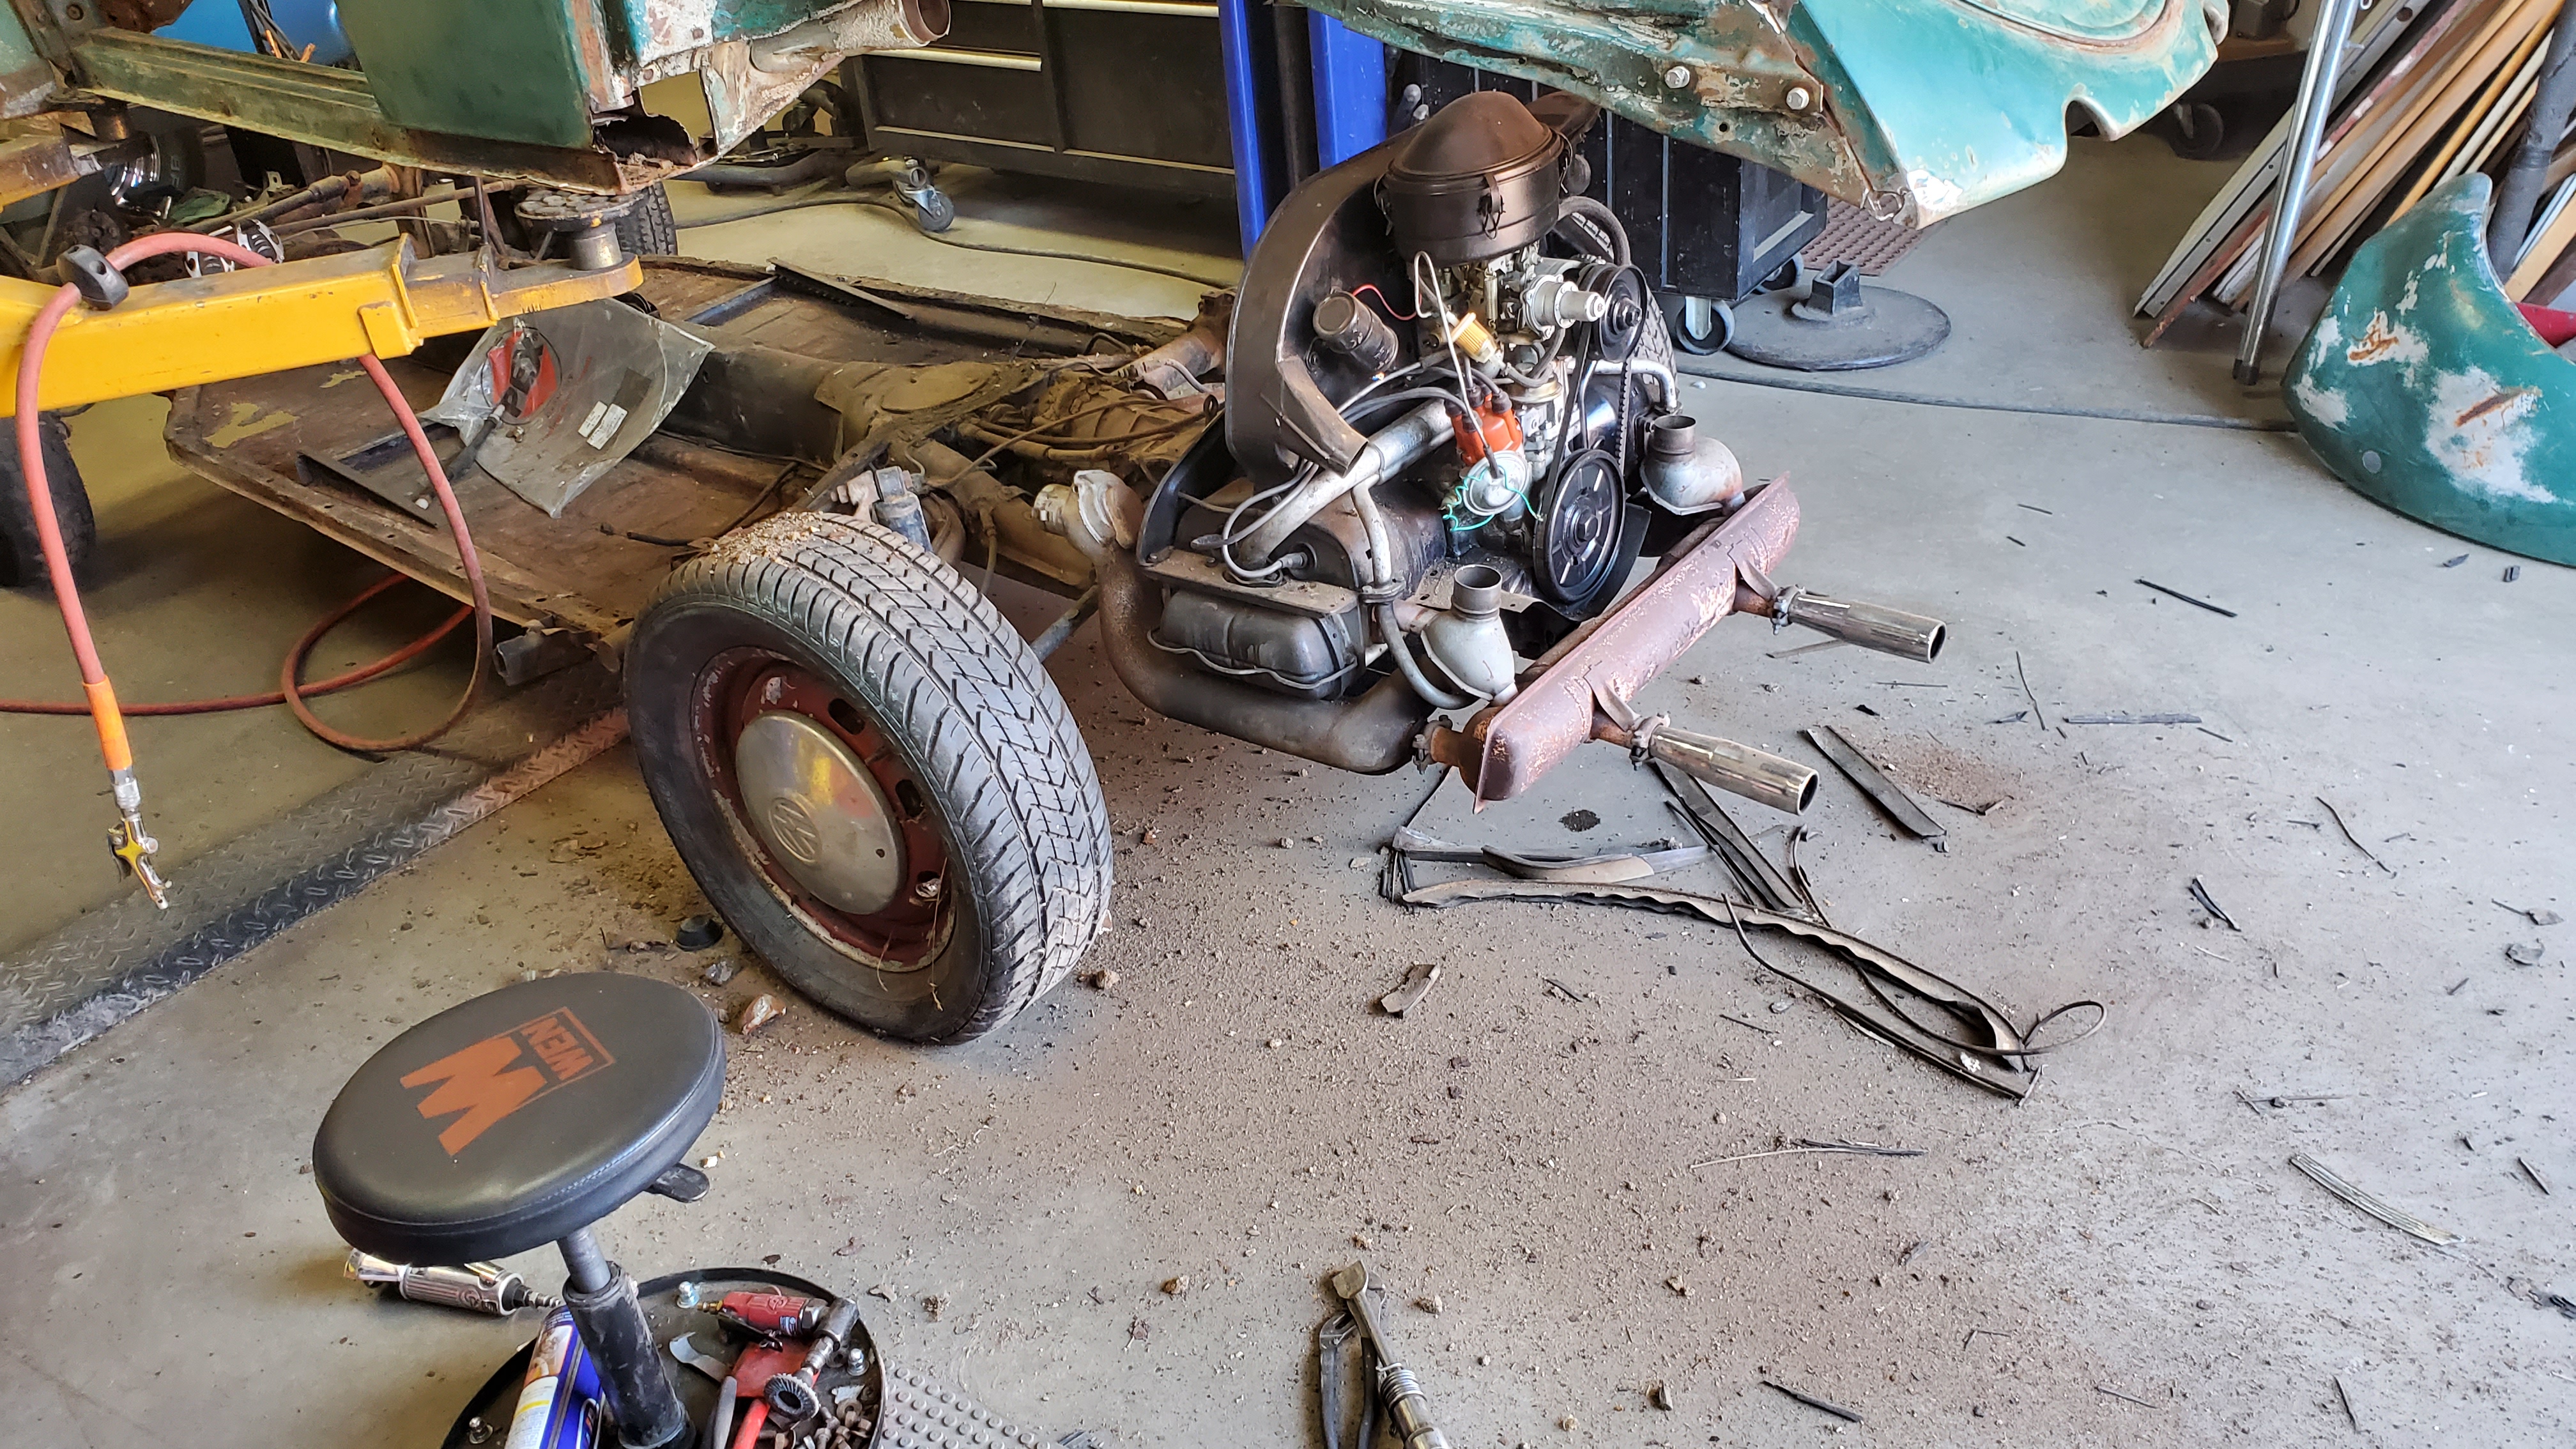
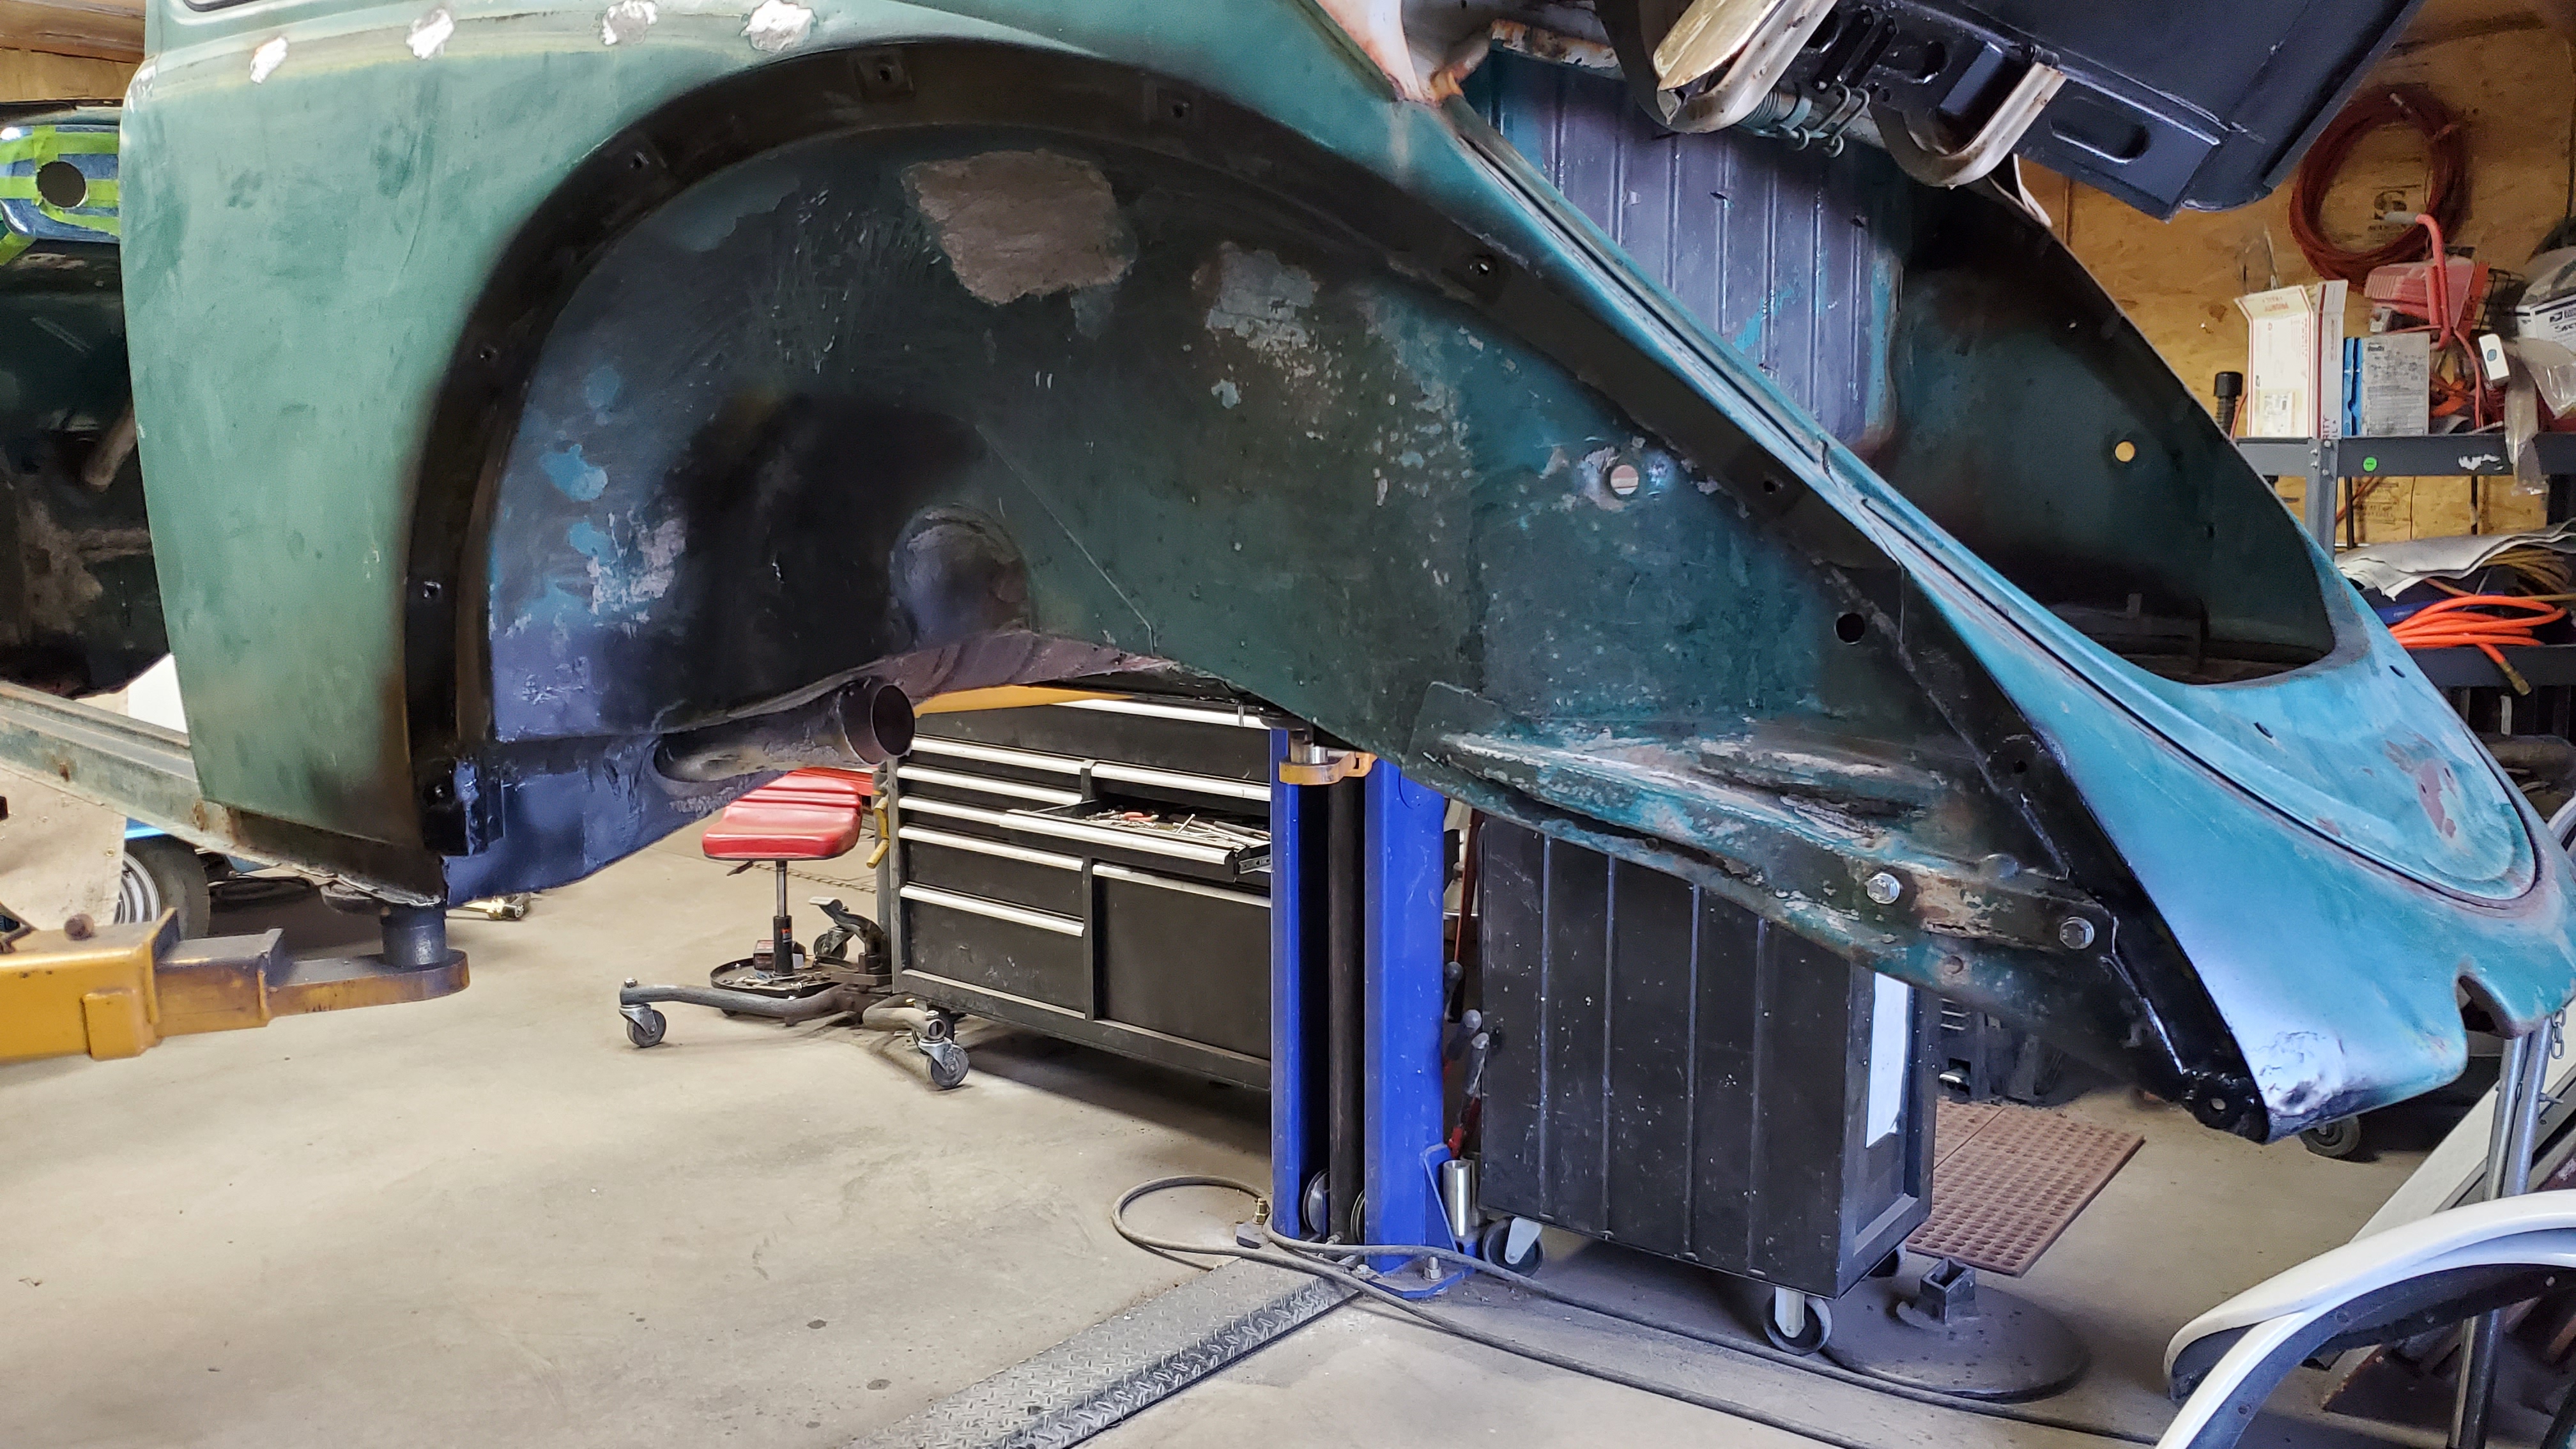
Now it’s time to do a pan swap before moving on to the remaining work to that lower A-pillar / hinge on the passenger side. I want to have the body bolted together before cutting into the structure of the car for that repair.
Copyright 2022-26
