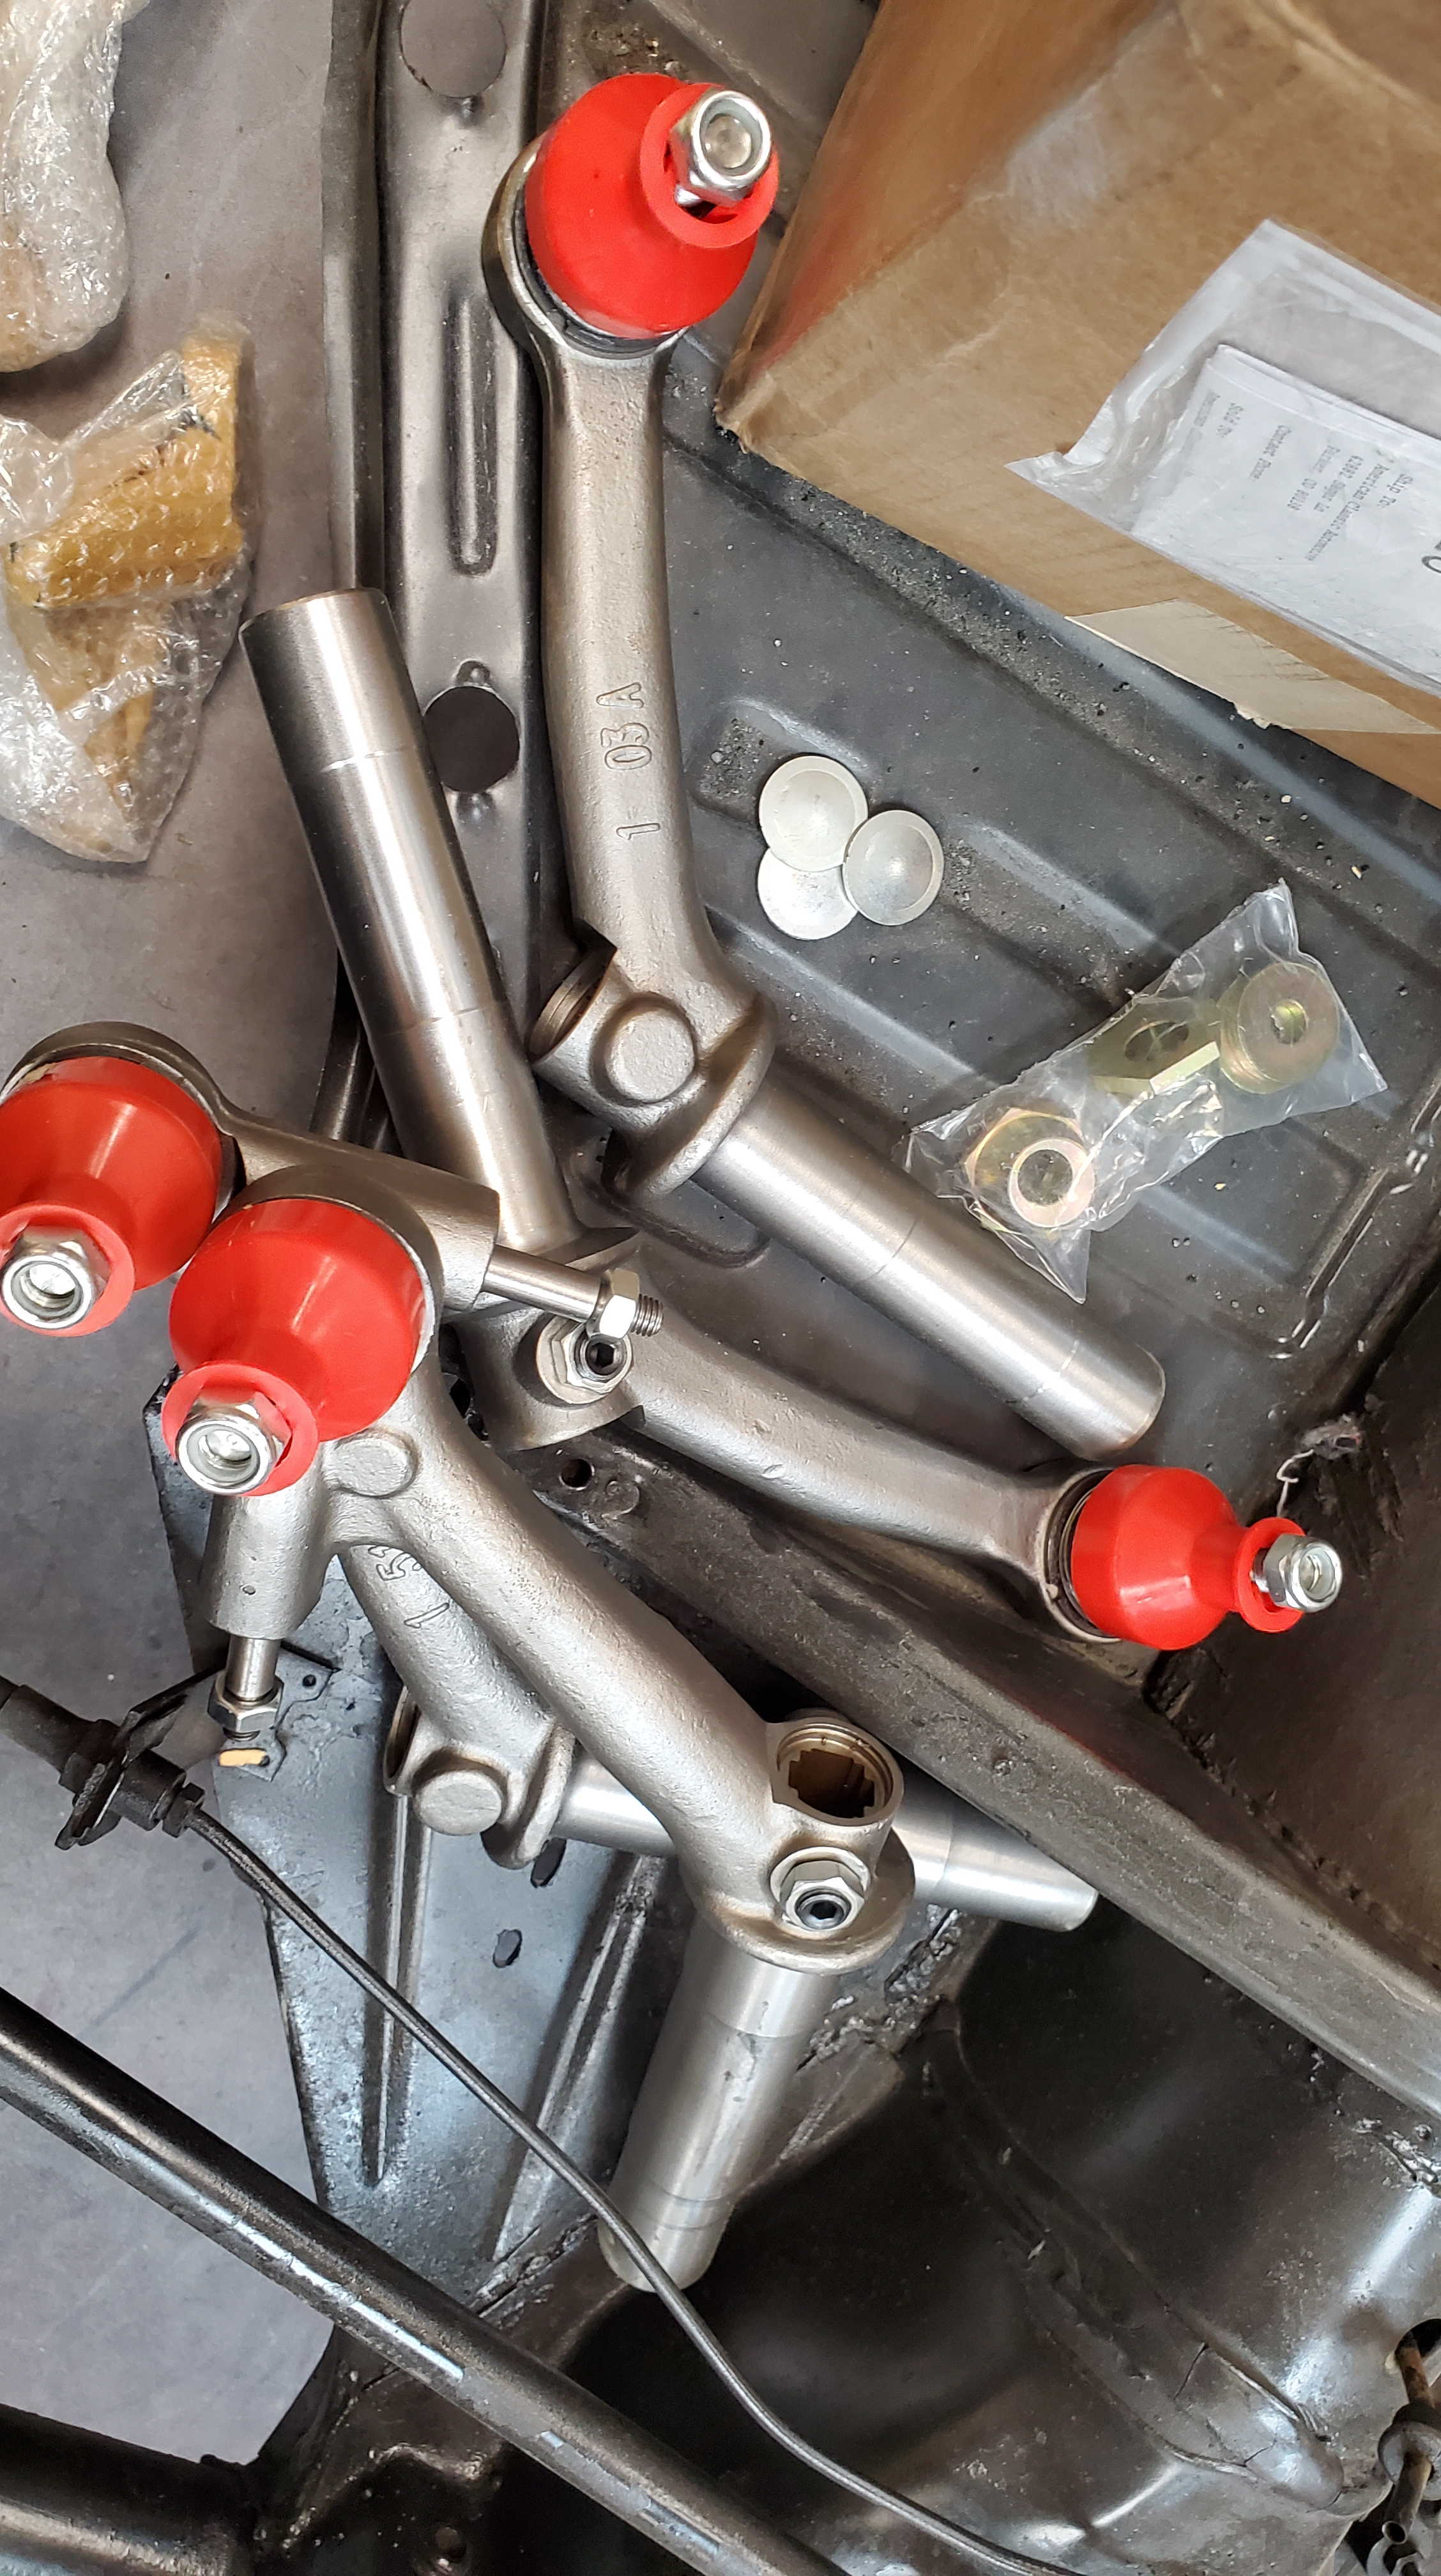
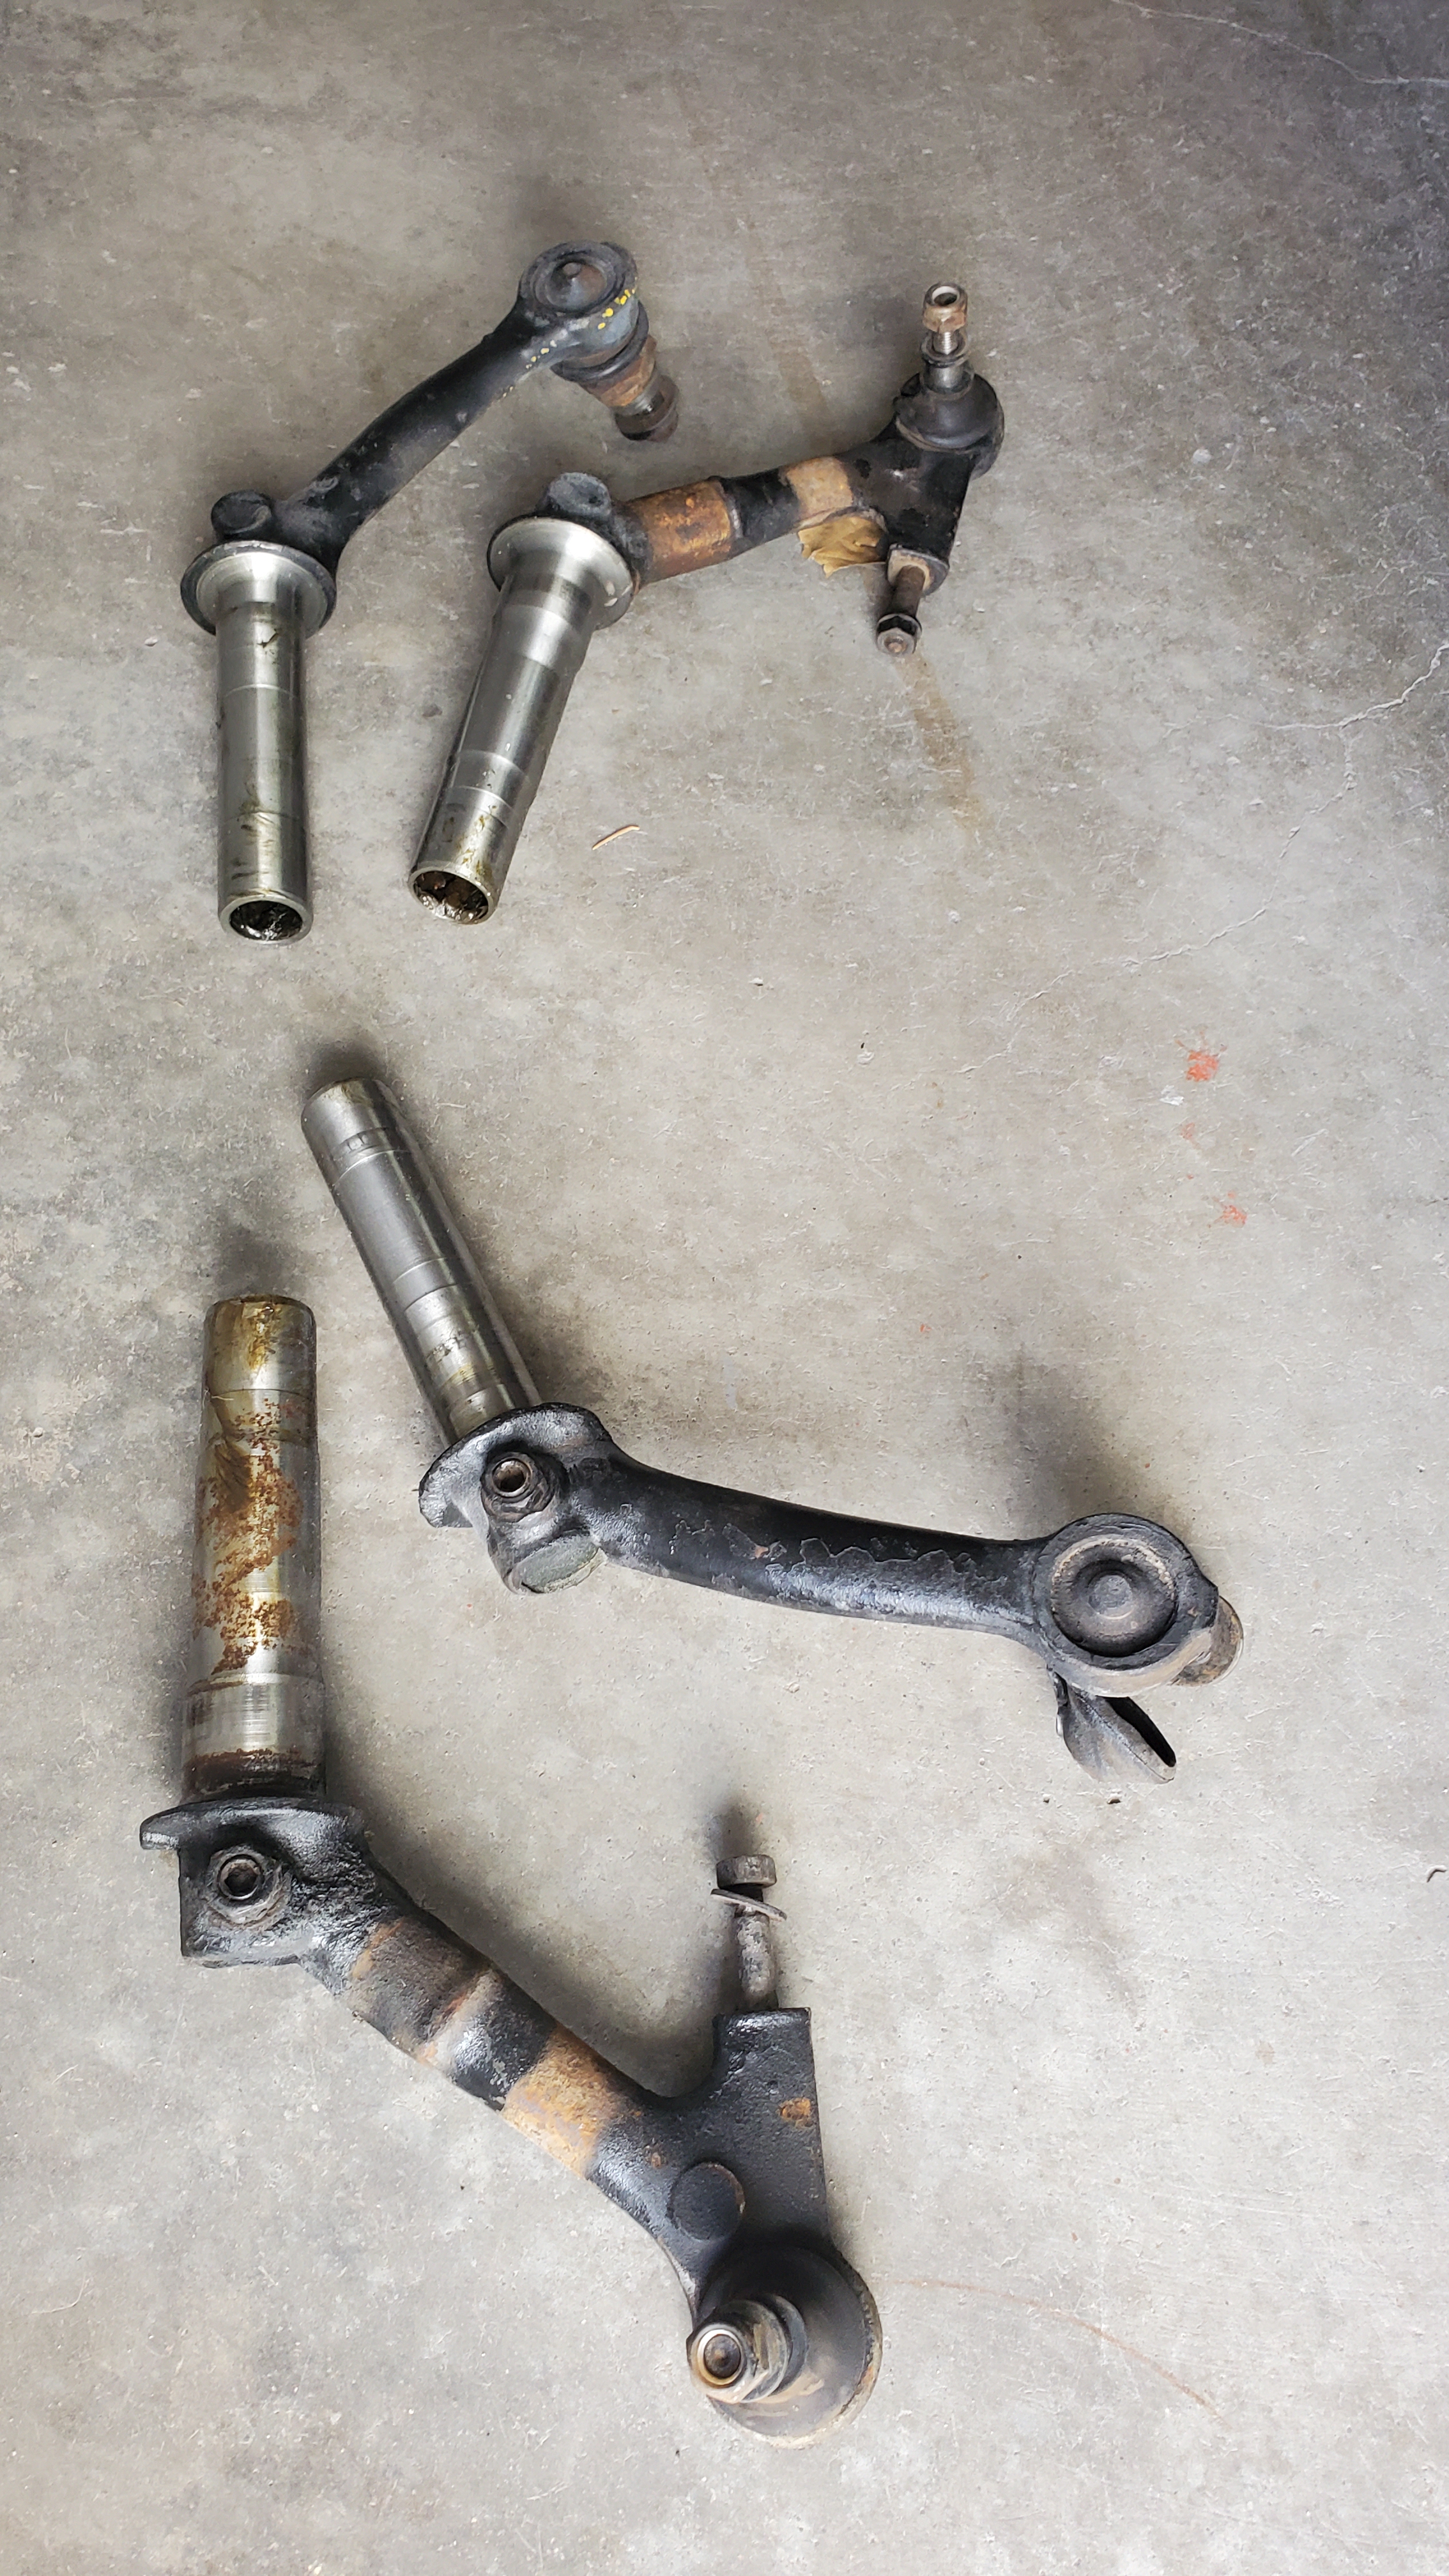
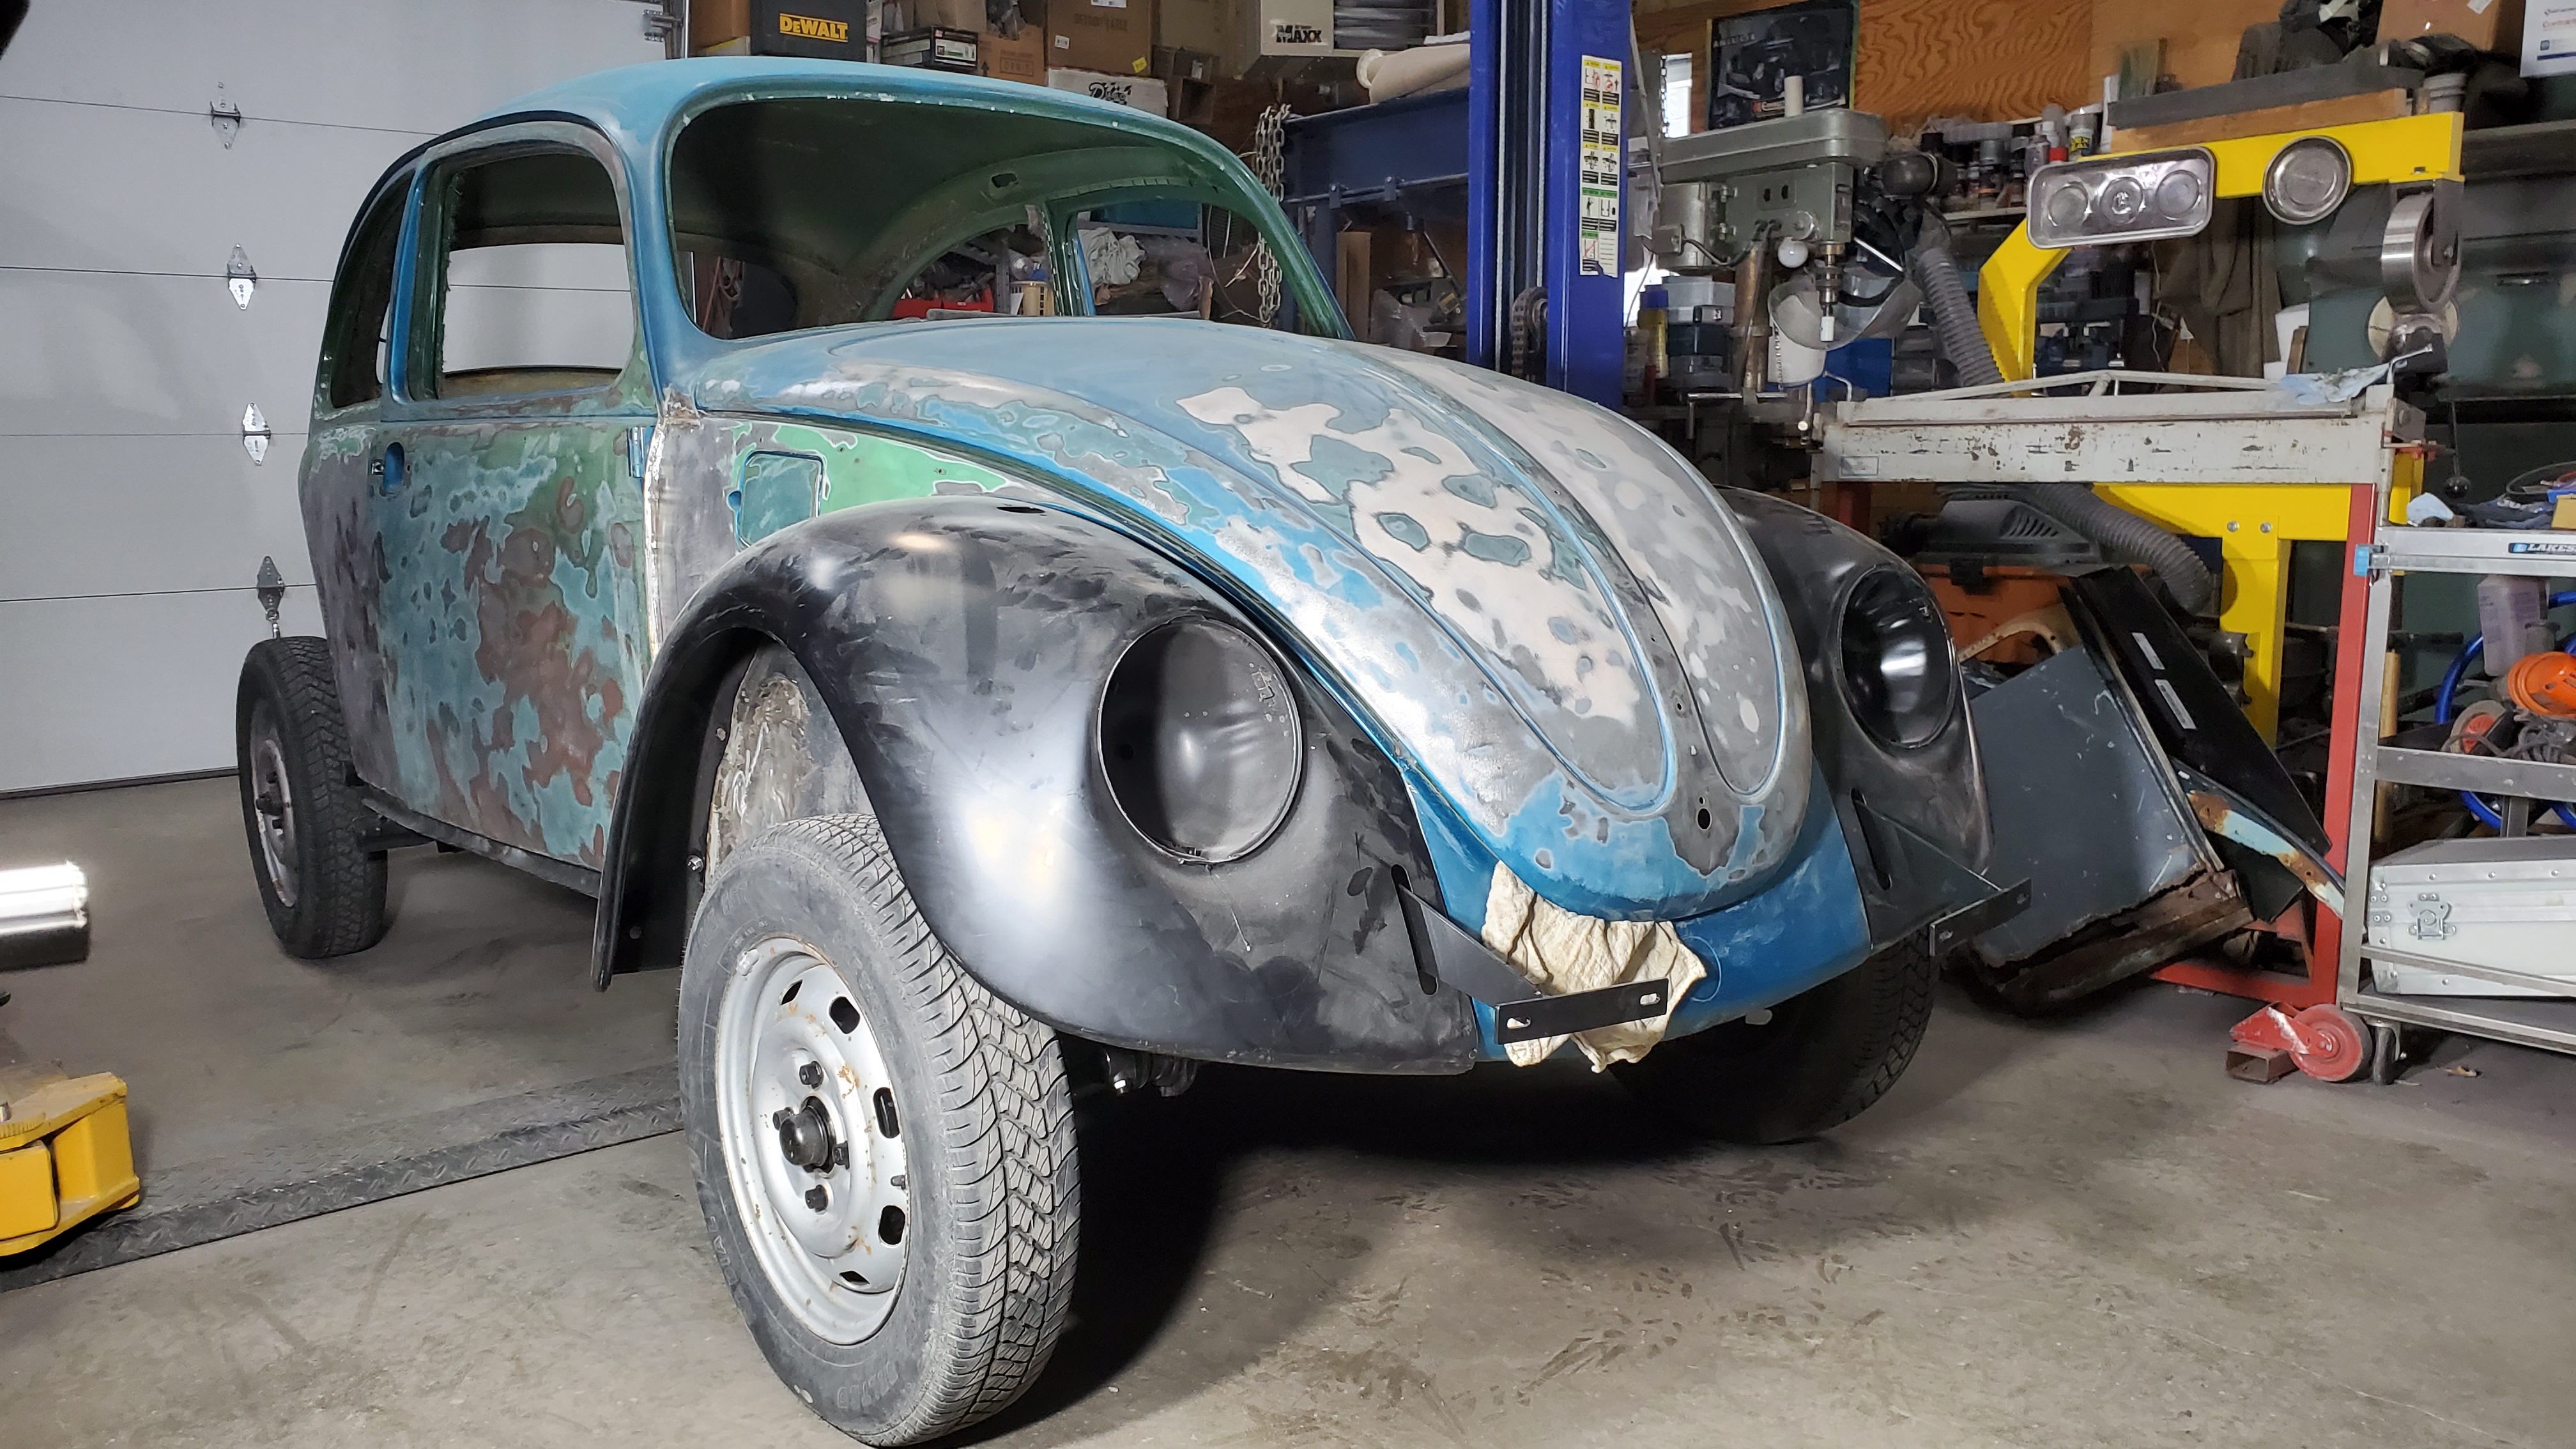
The body was pulled off the hoist and set on a body car for the remaining work to the shell. I ordered the new reproduction Thing front arm and spindle kit several months ago, and the back order finally came in! Everything looks good other that they only sent three arm plugs for the four arms. Luck for me, I was able to find one of those $10 coins on the internet. It just didn’t come with Kennedy’s picture on it, and probably isn’t worth half a dollar (lol).
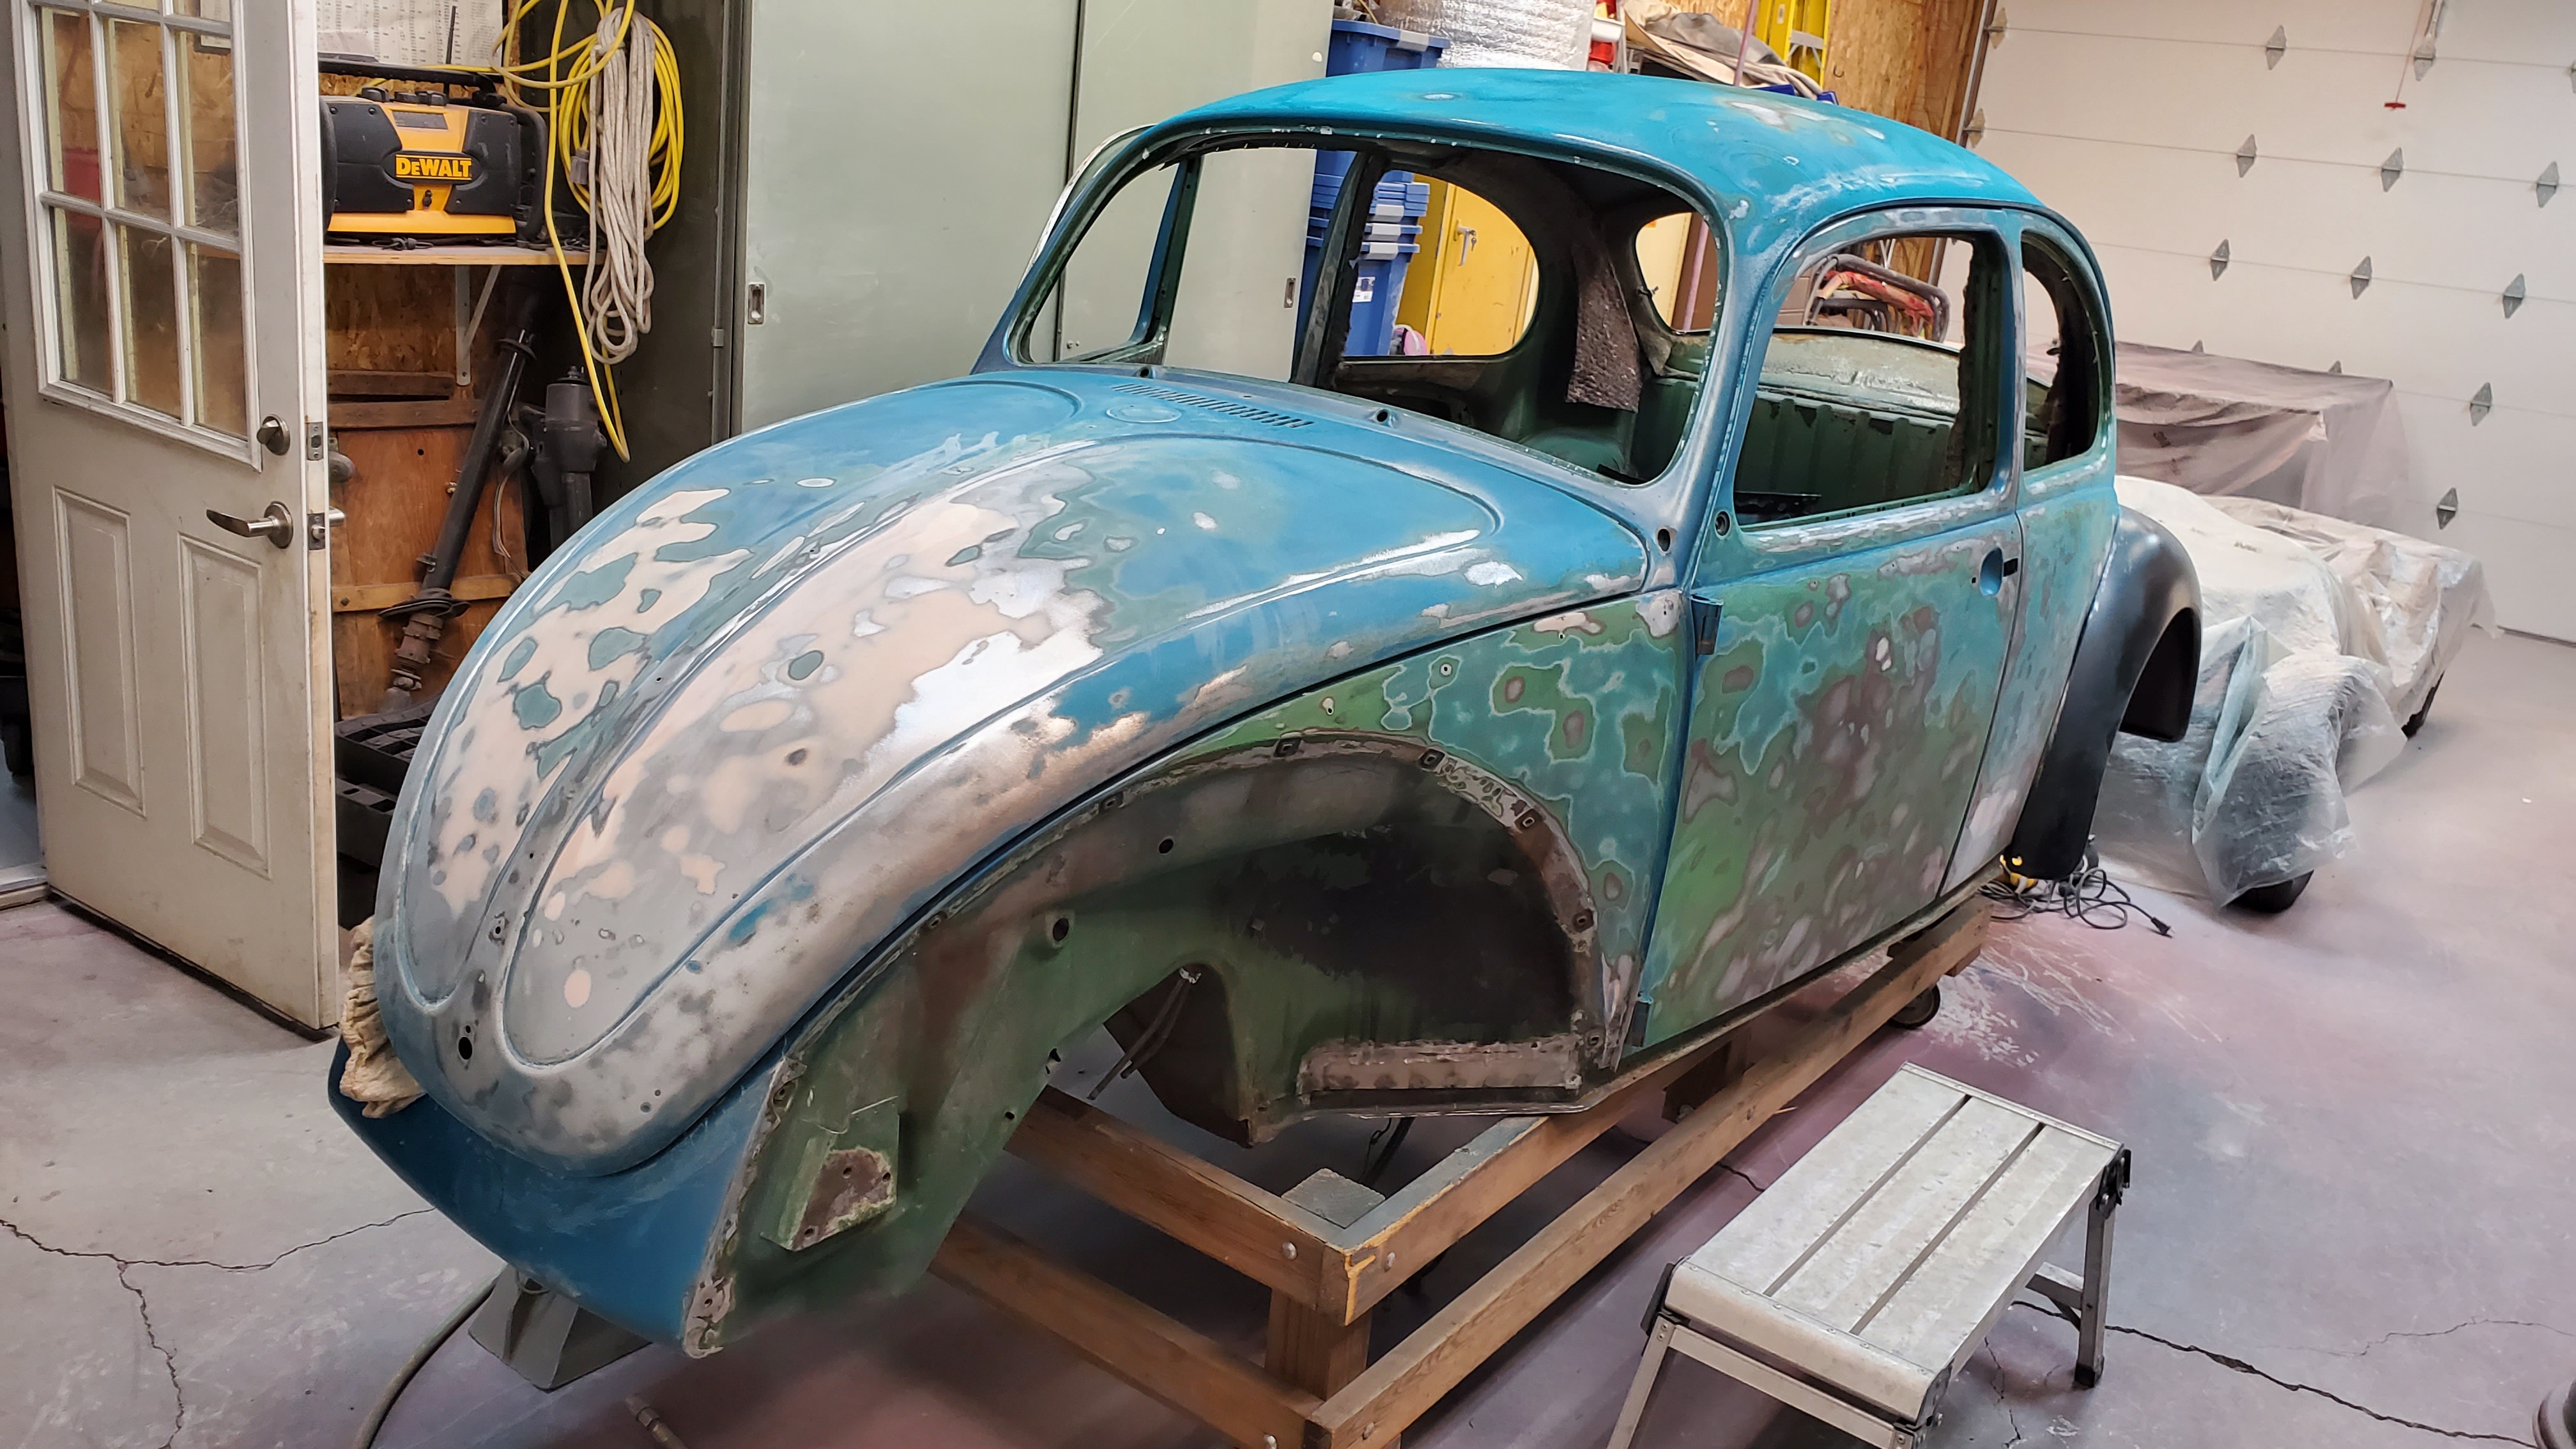
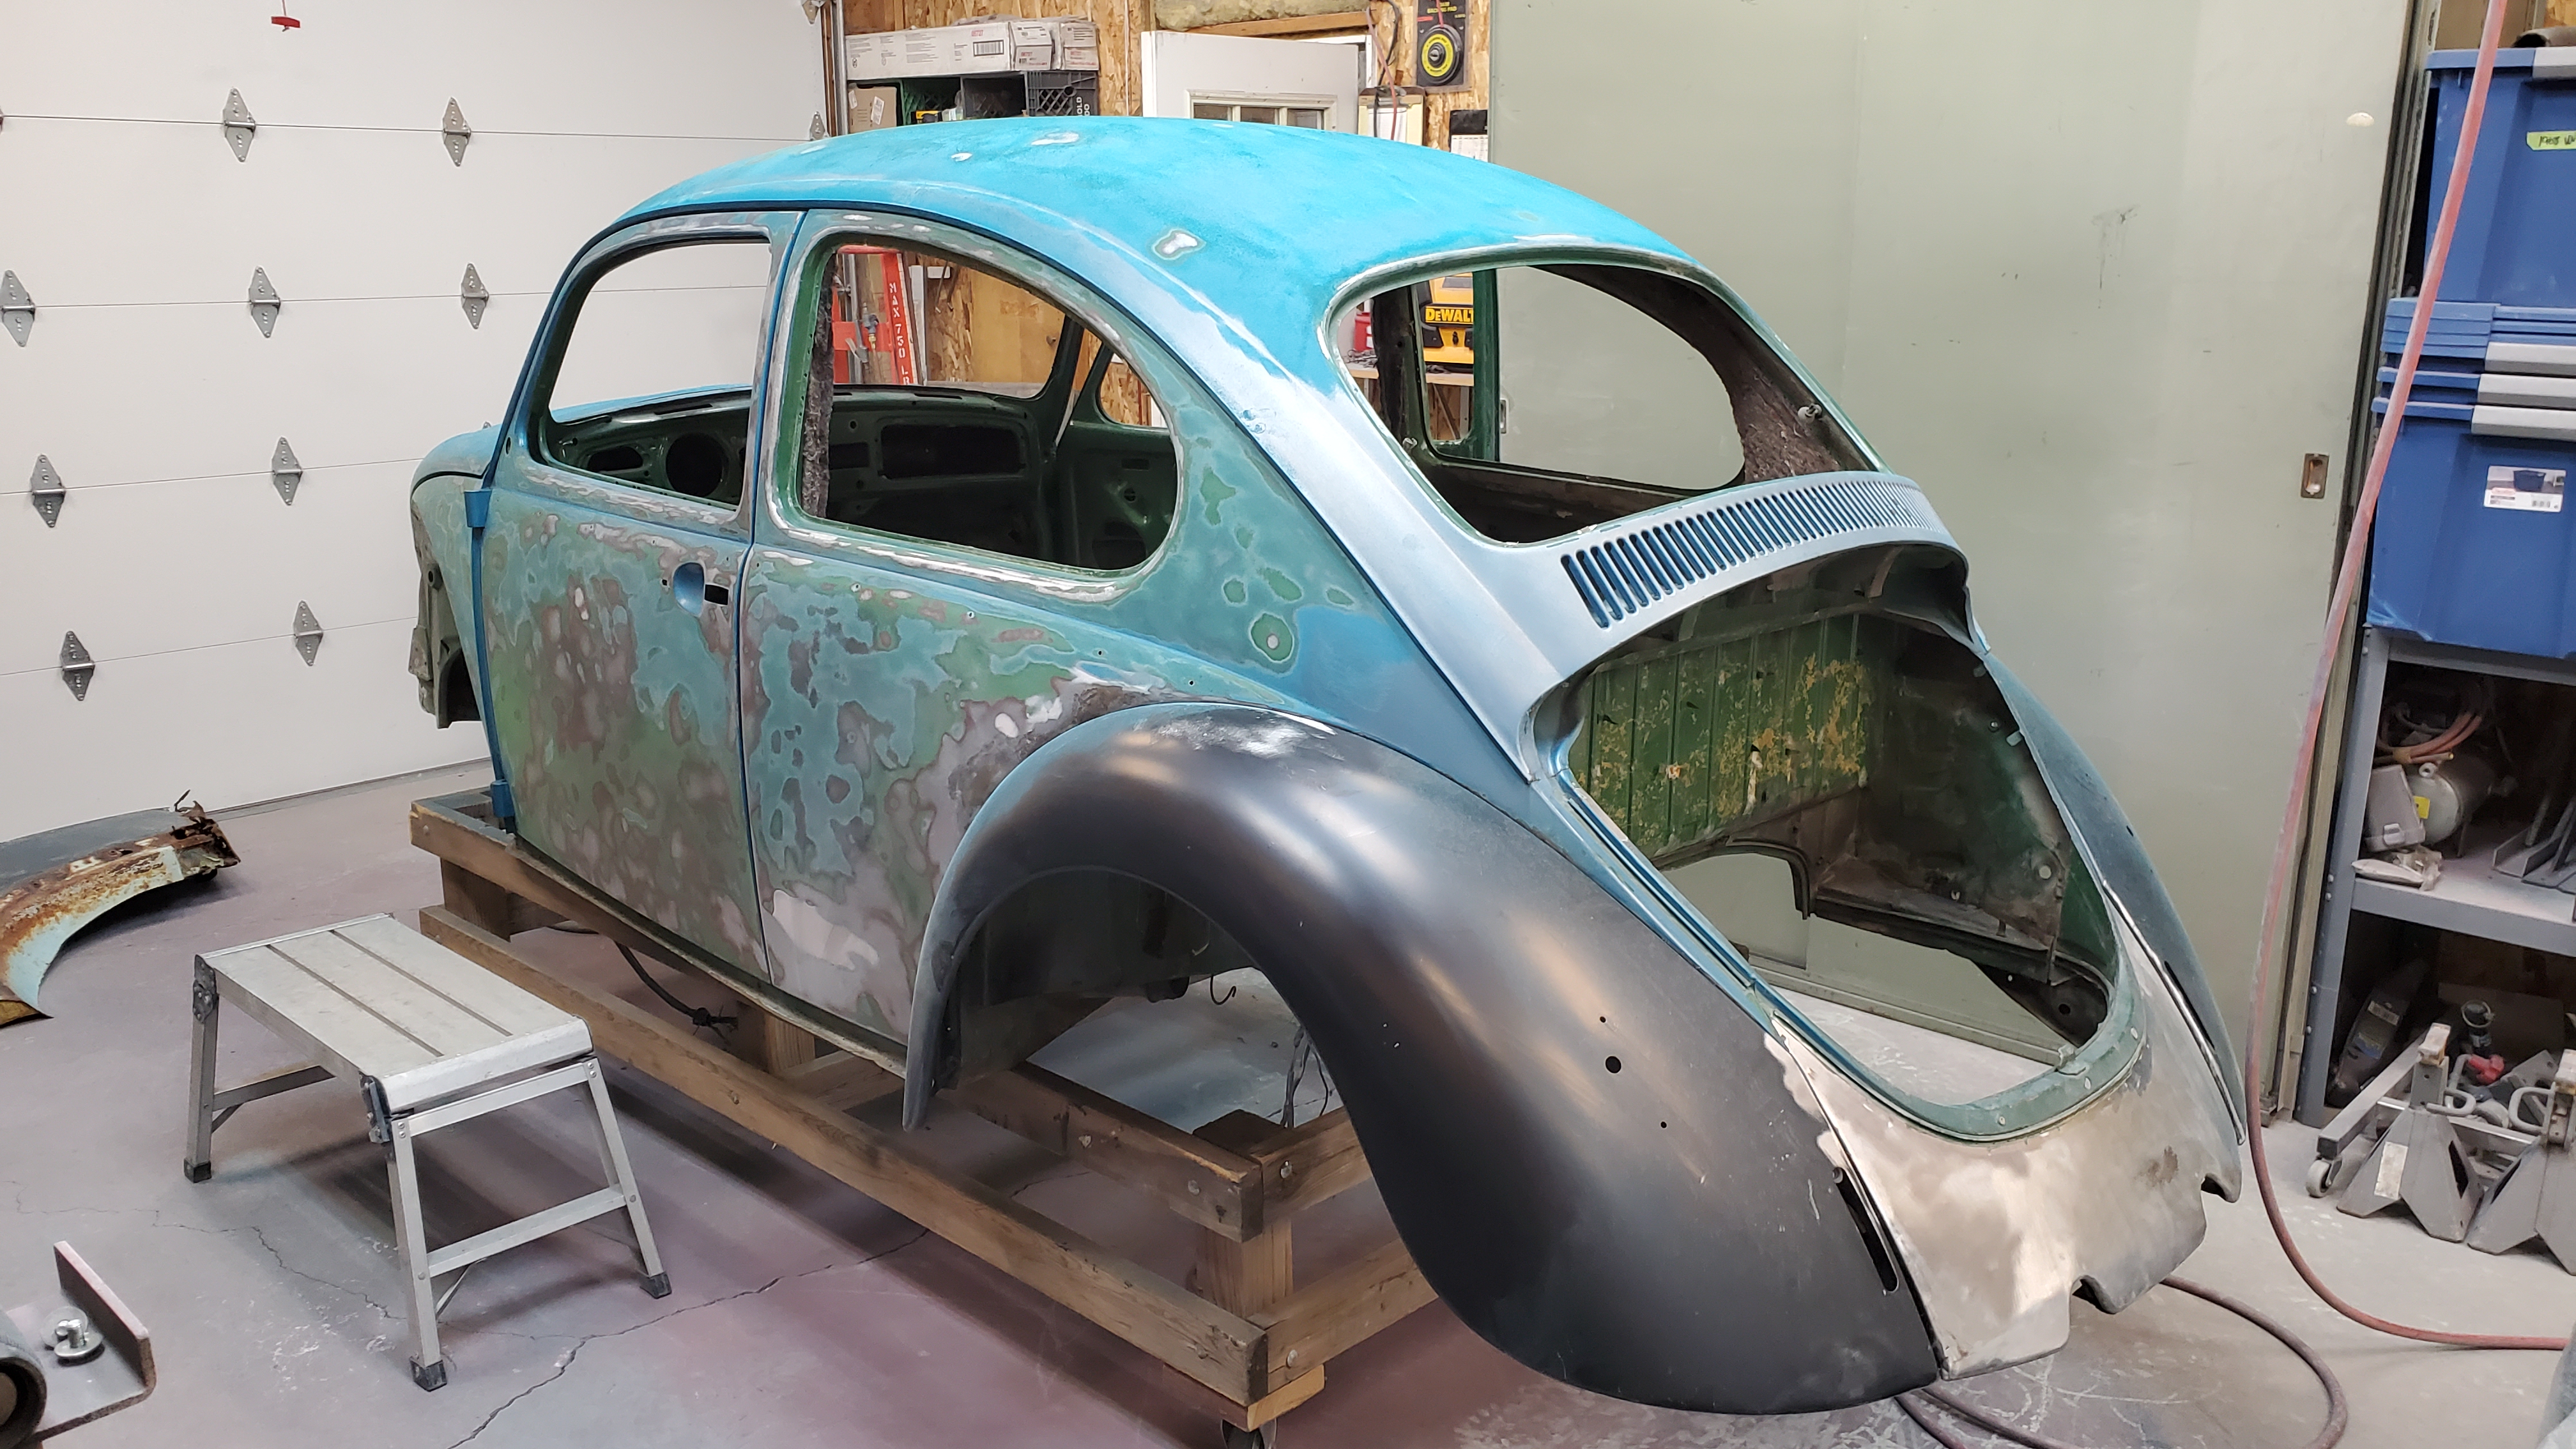
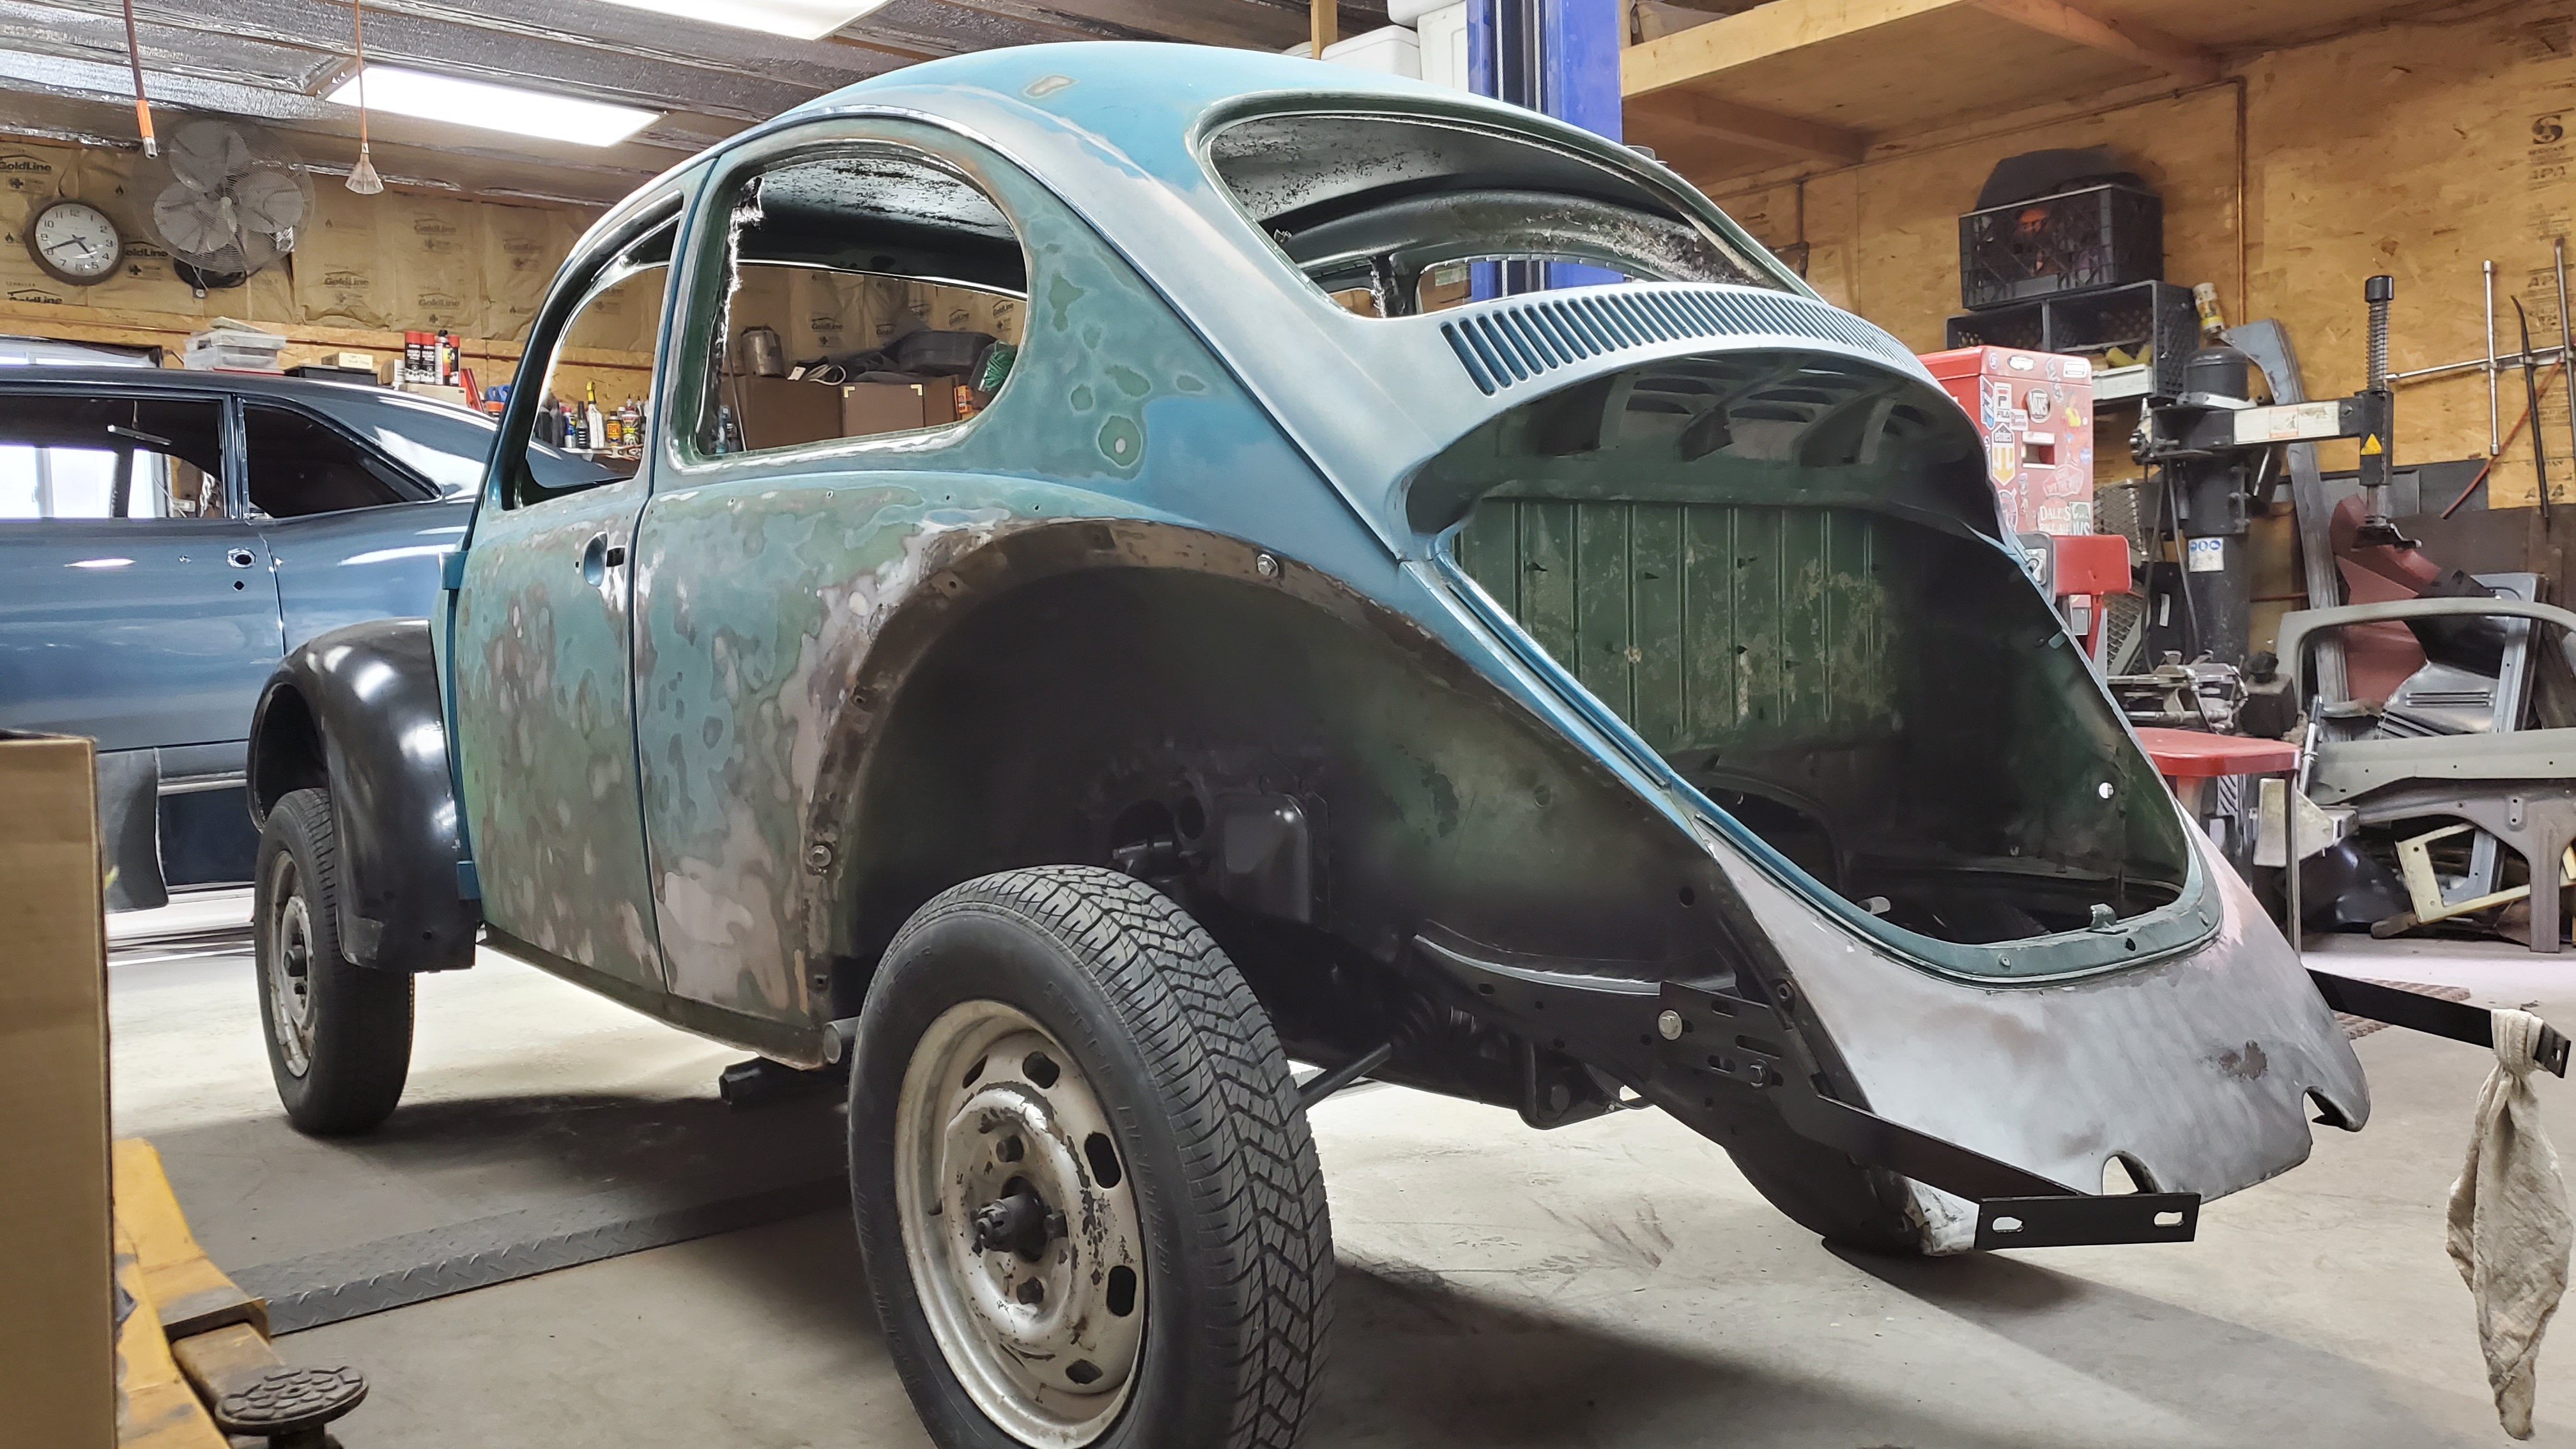
I went over a majority of the car to see what things really look like under the paint and bodywork. There is some work to do left, but nothing too serious on the driver’s side.
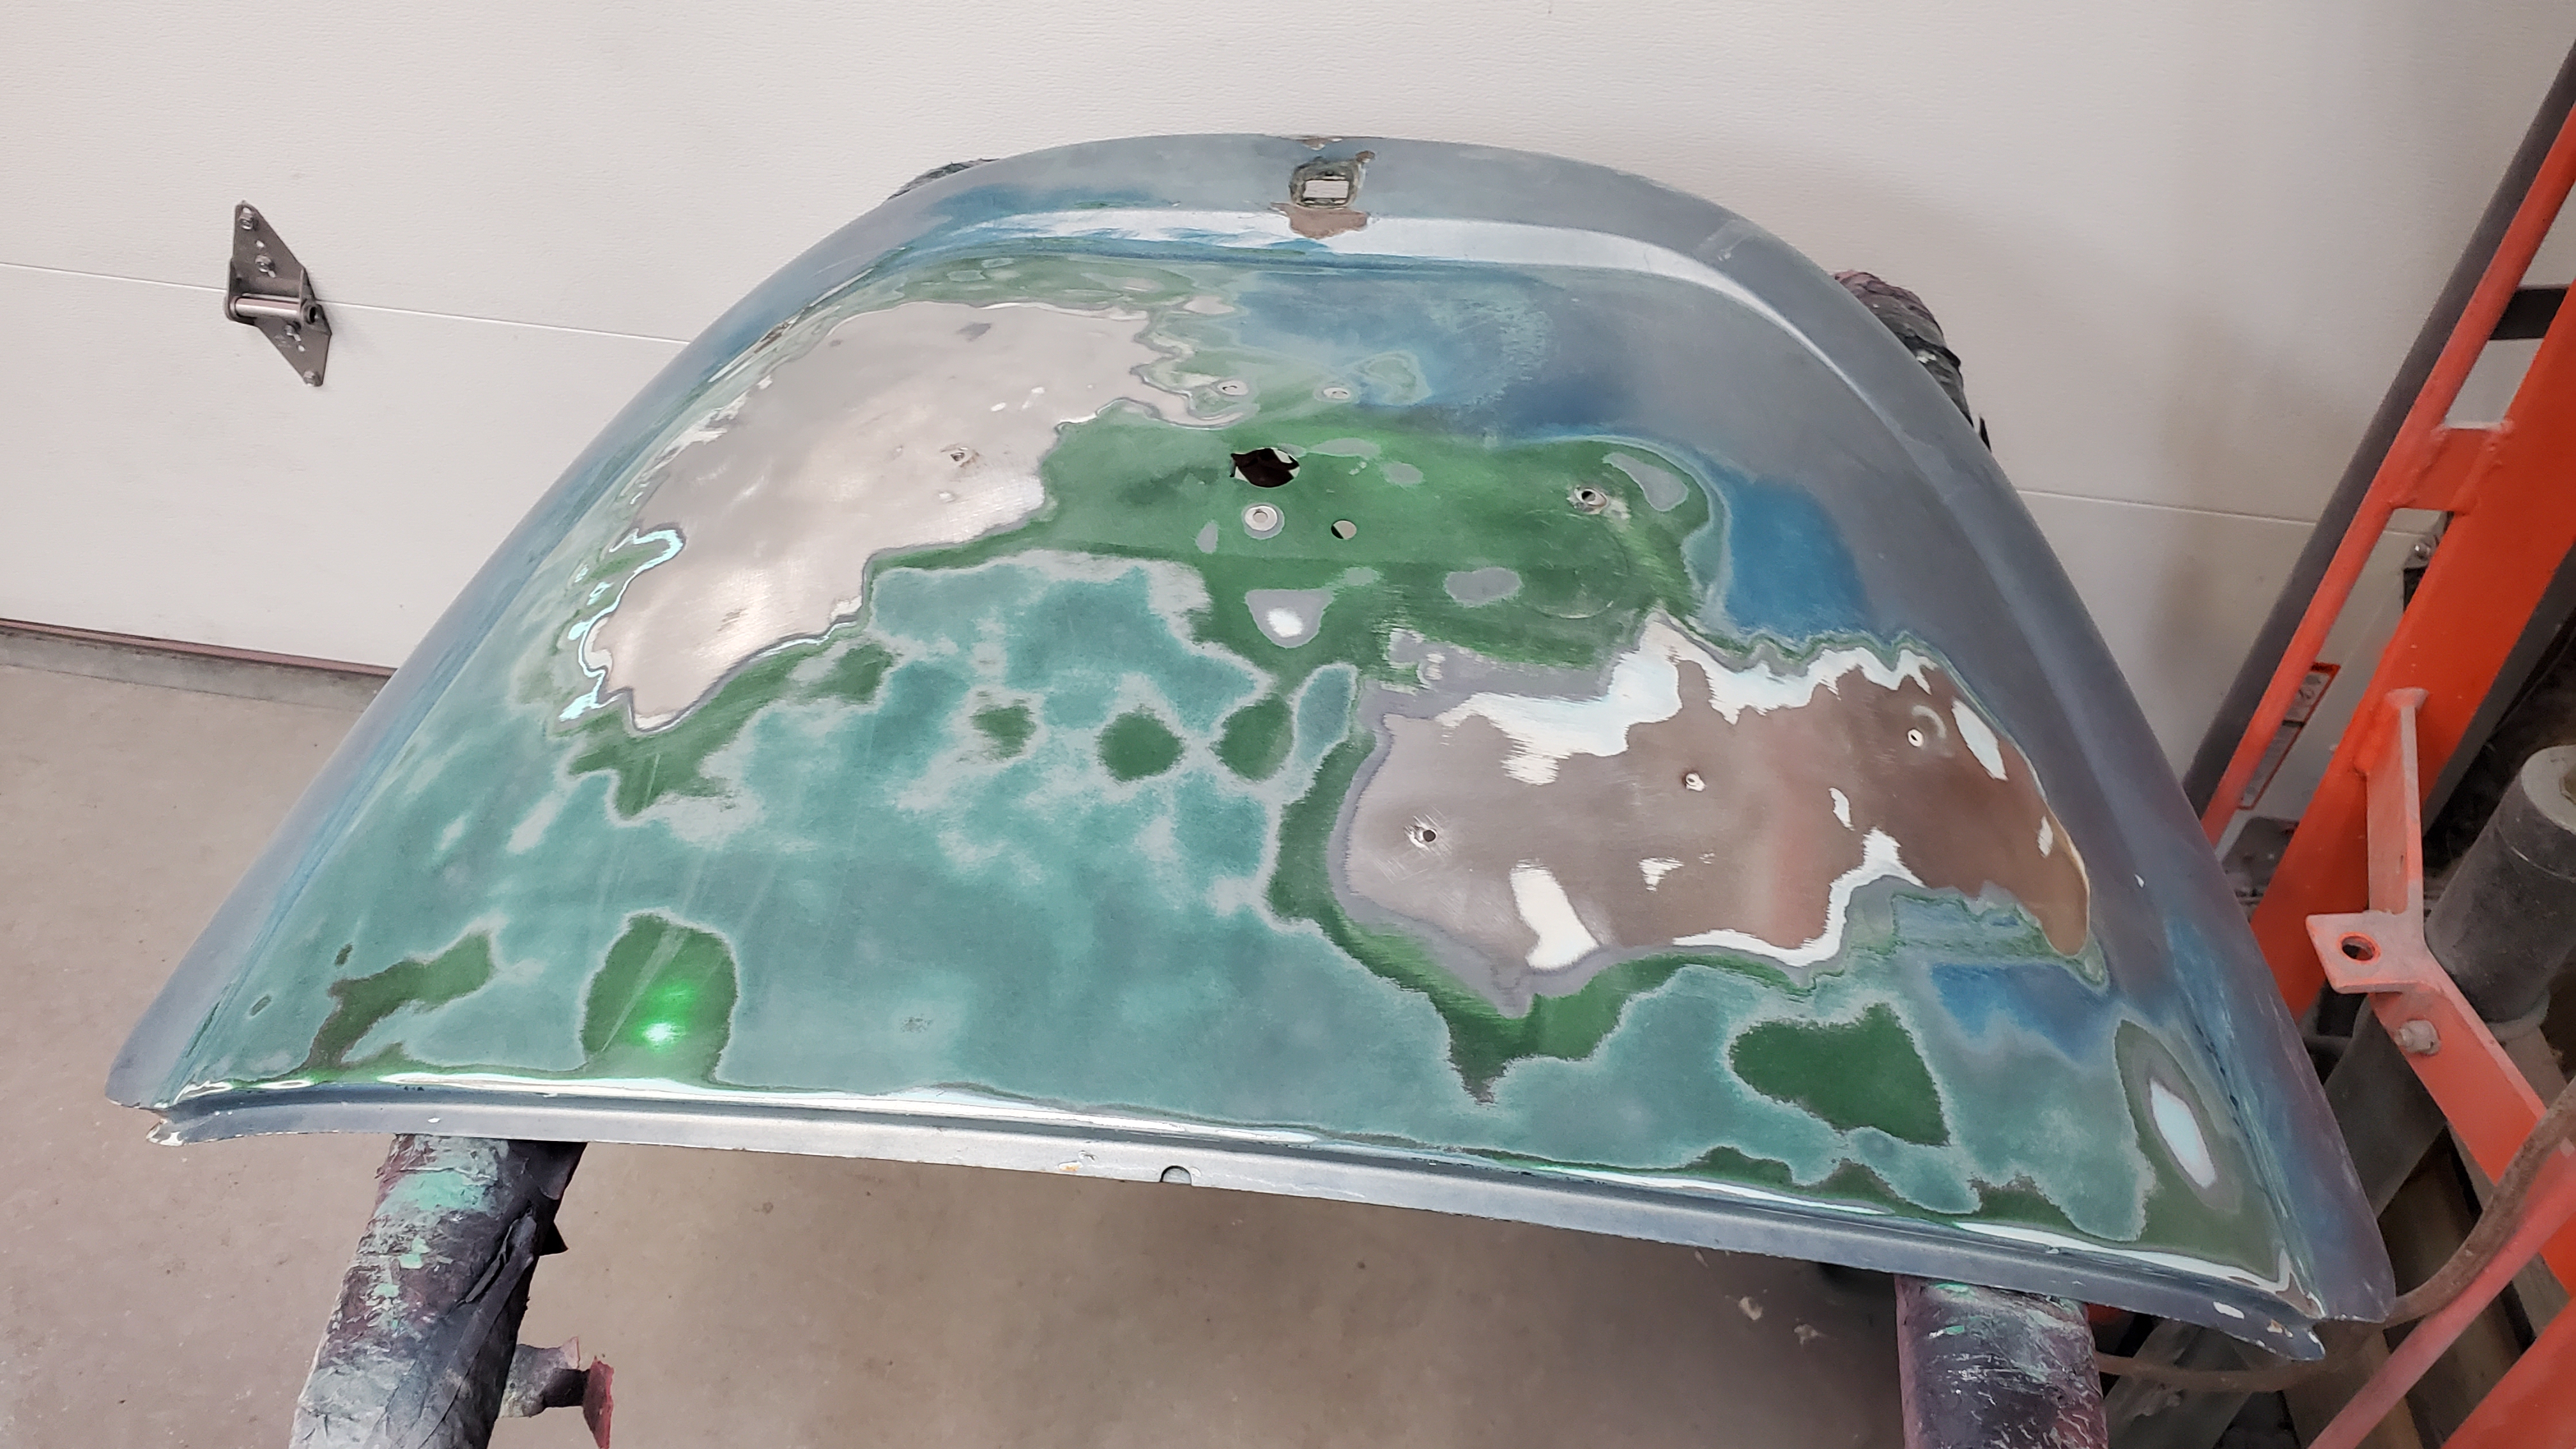
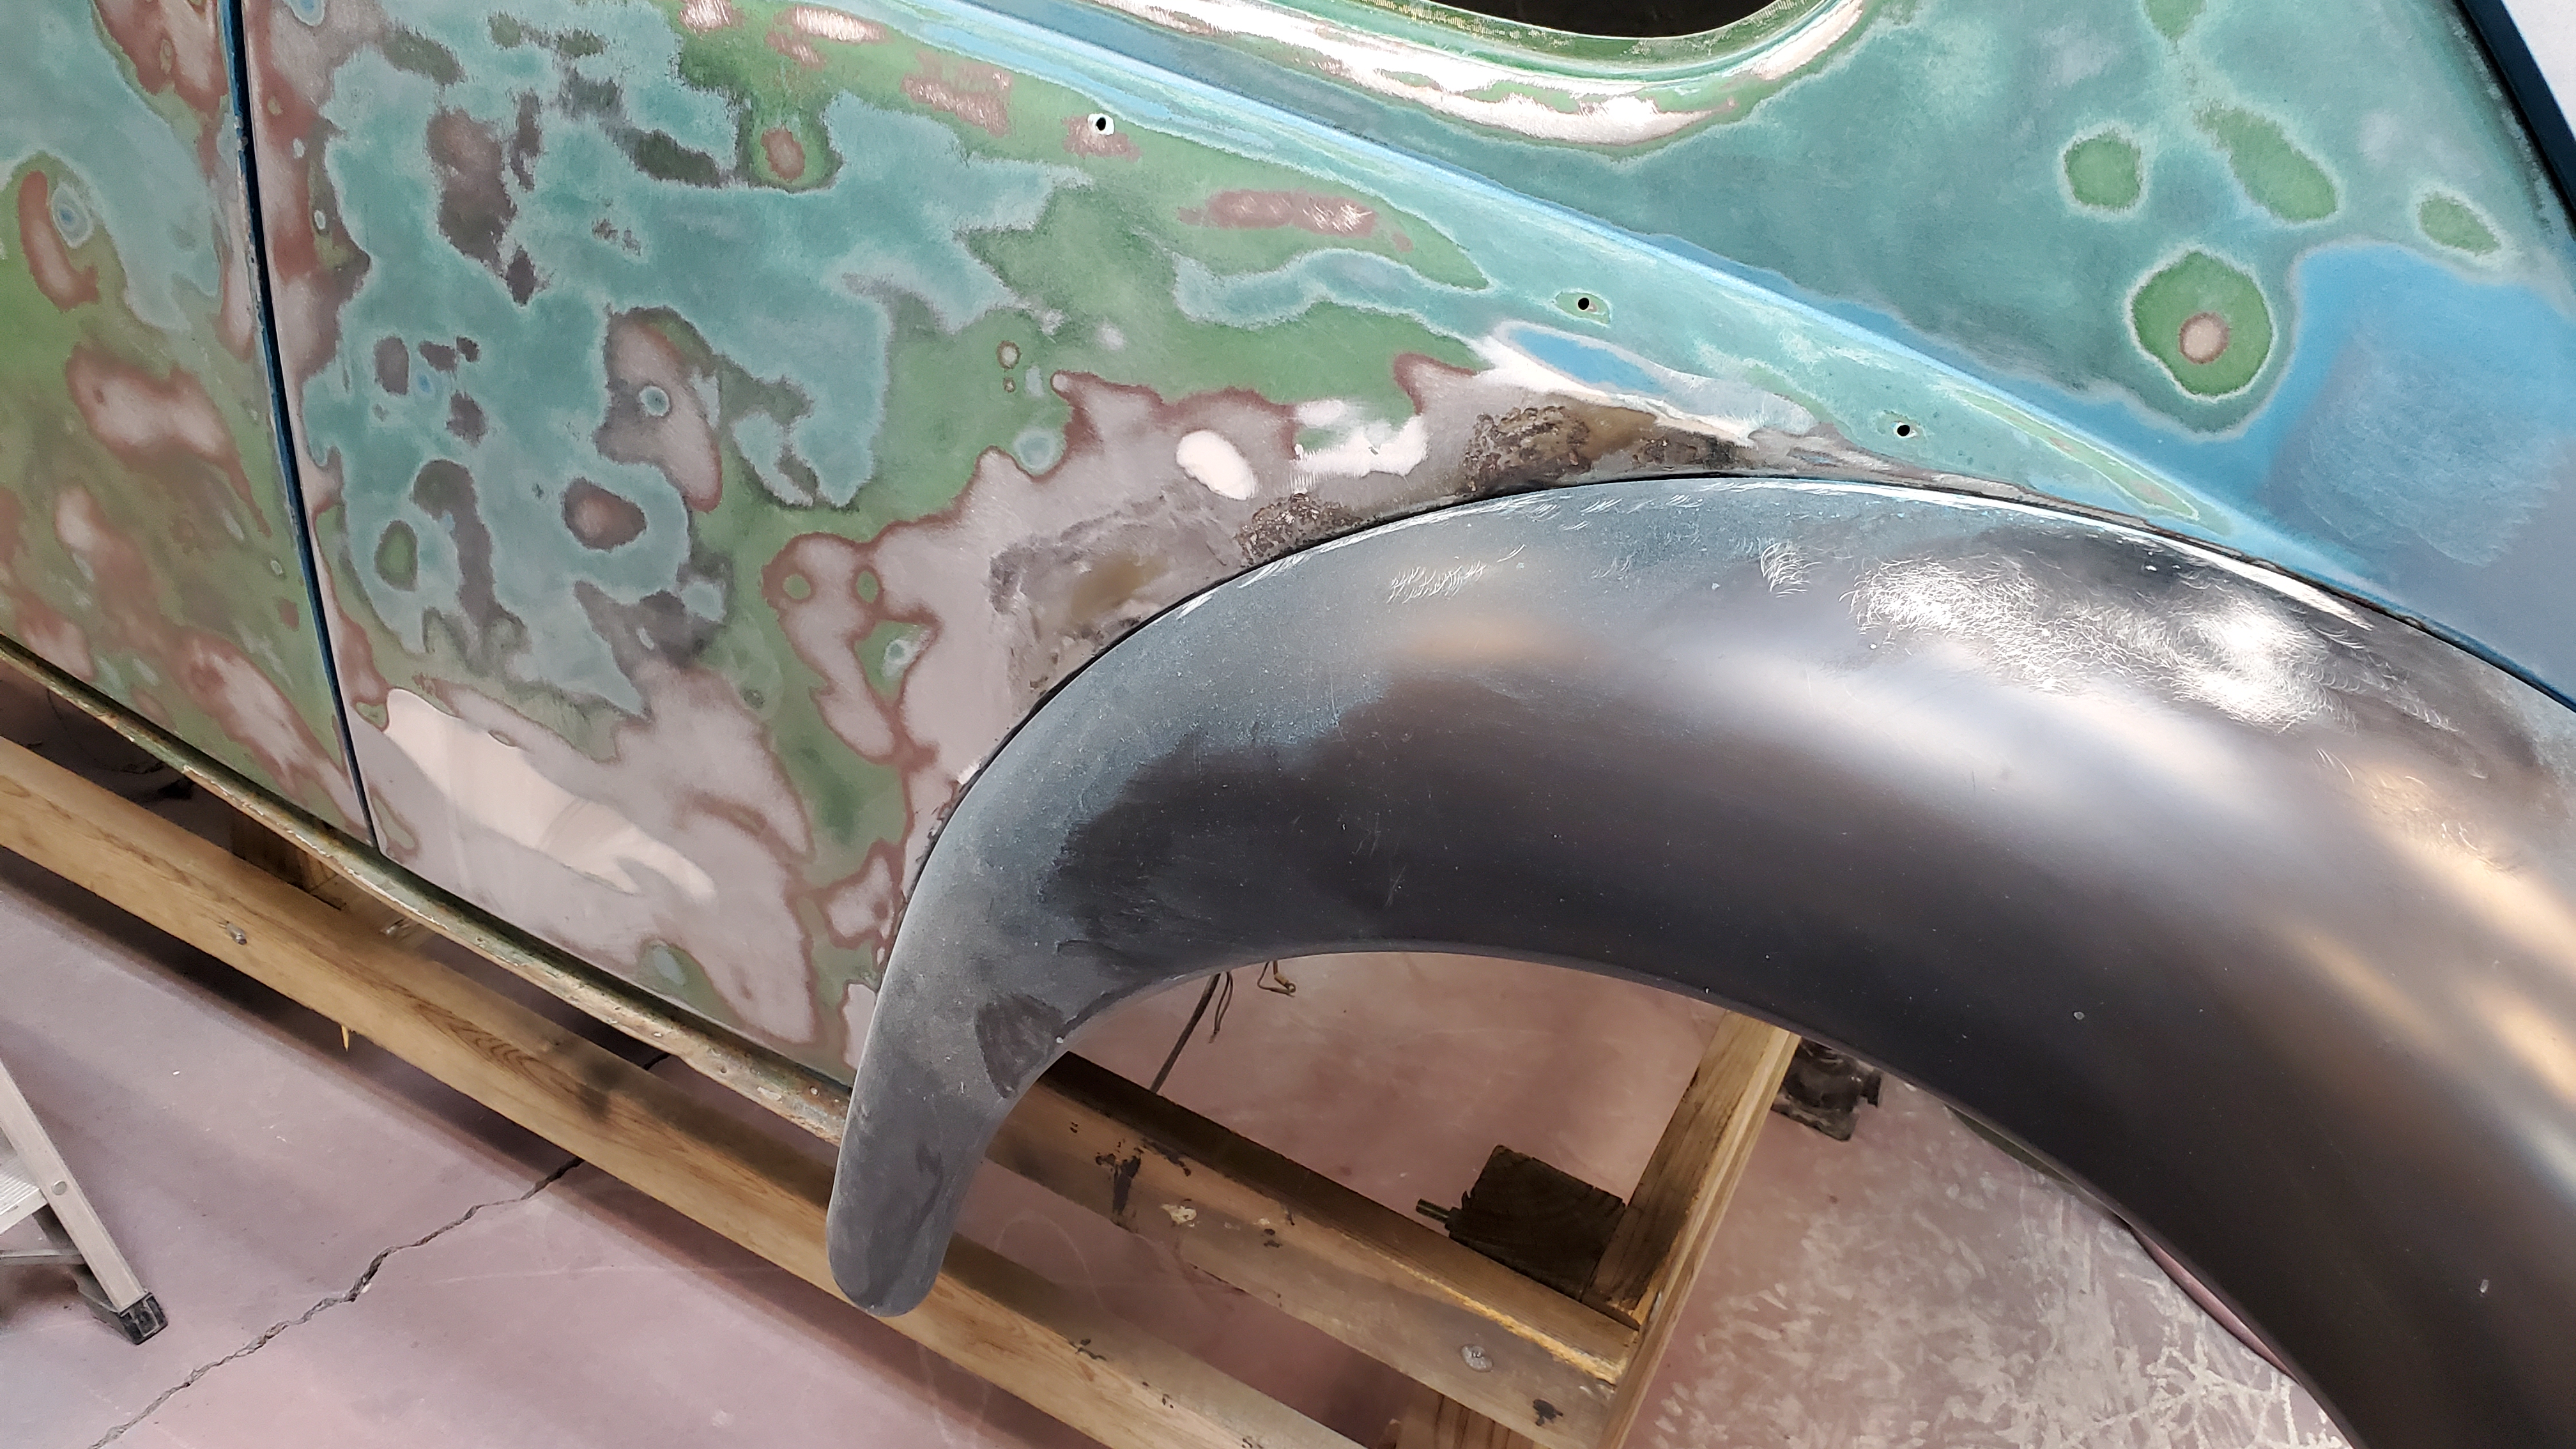
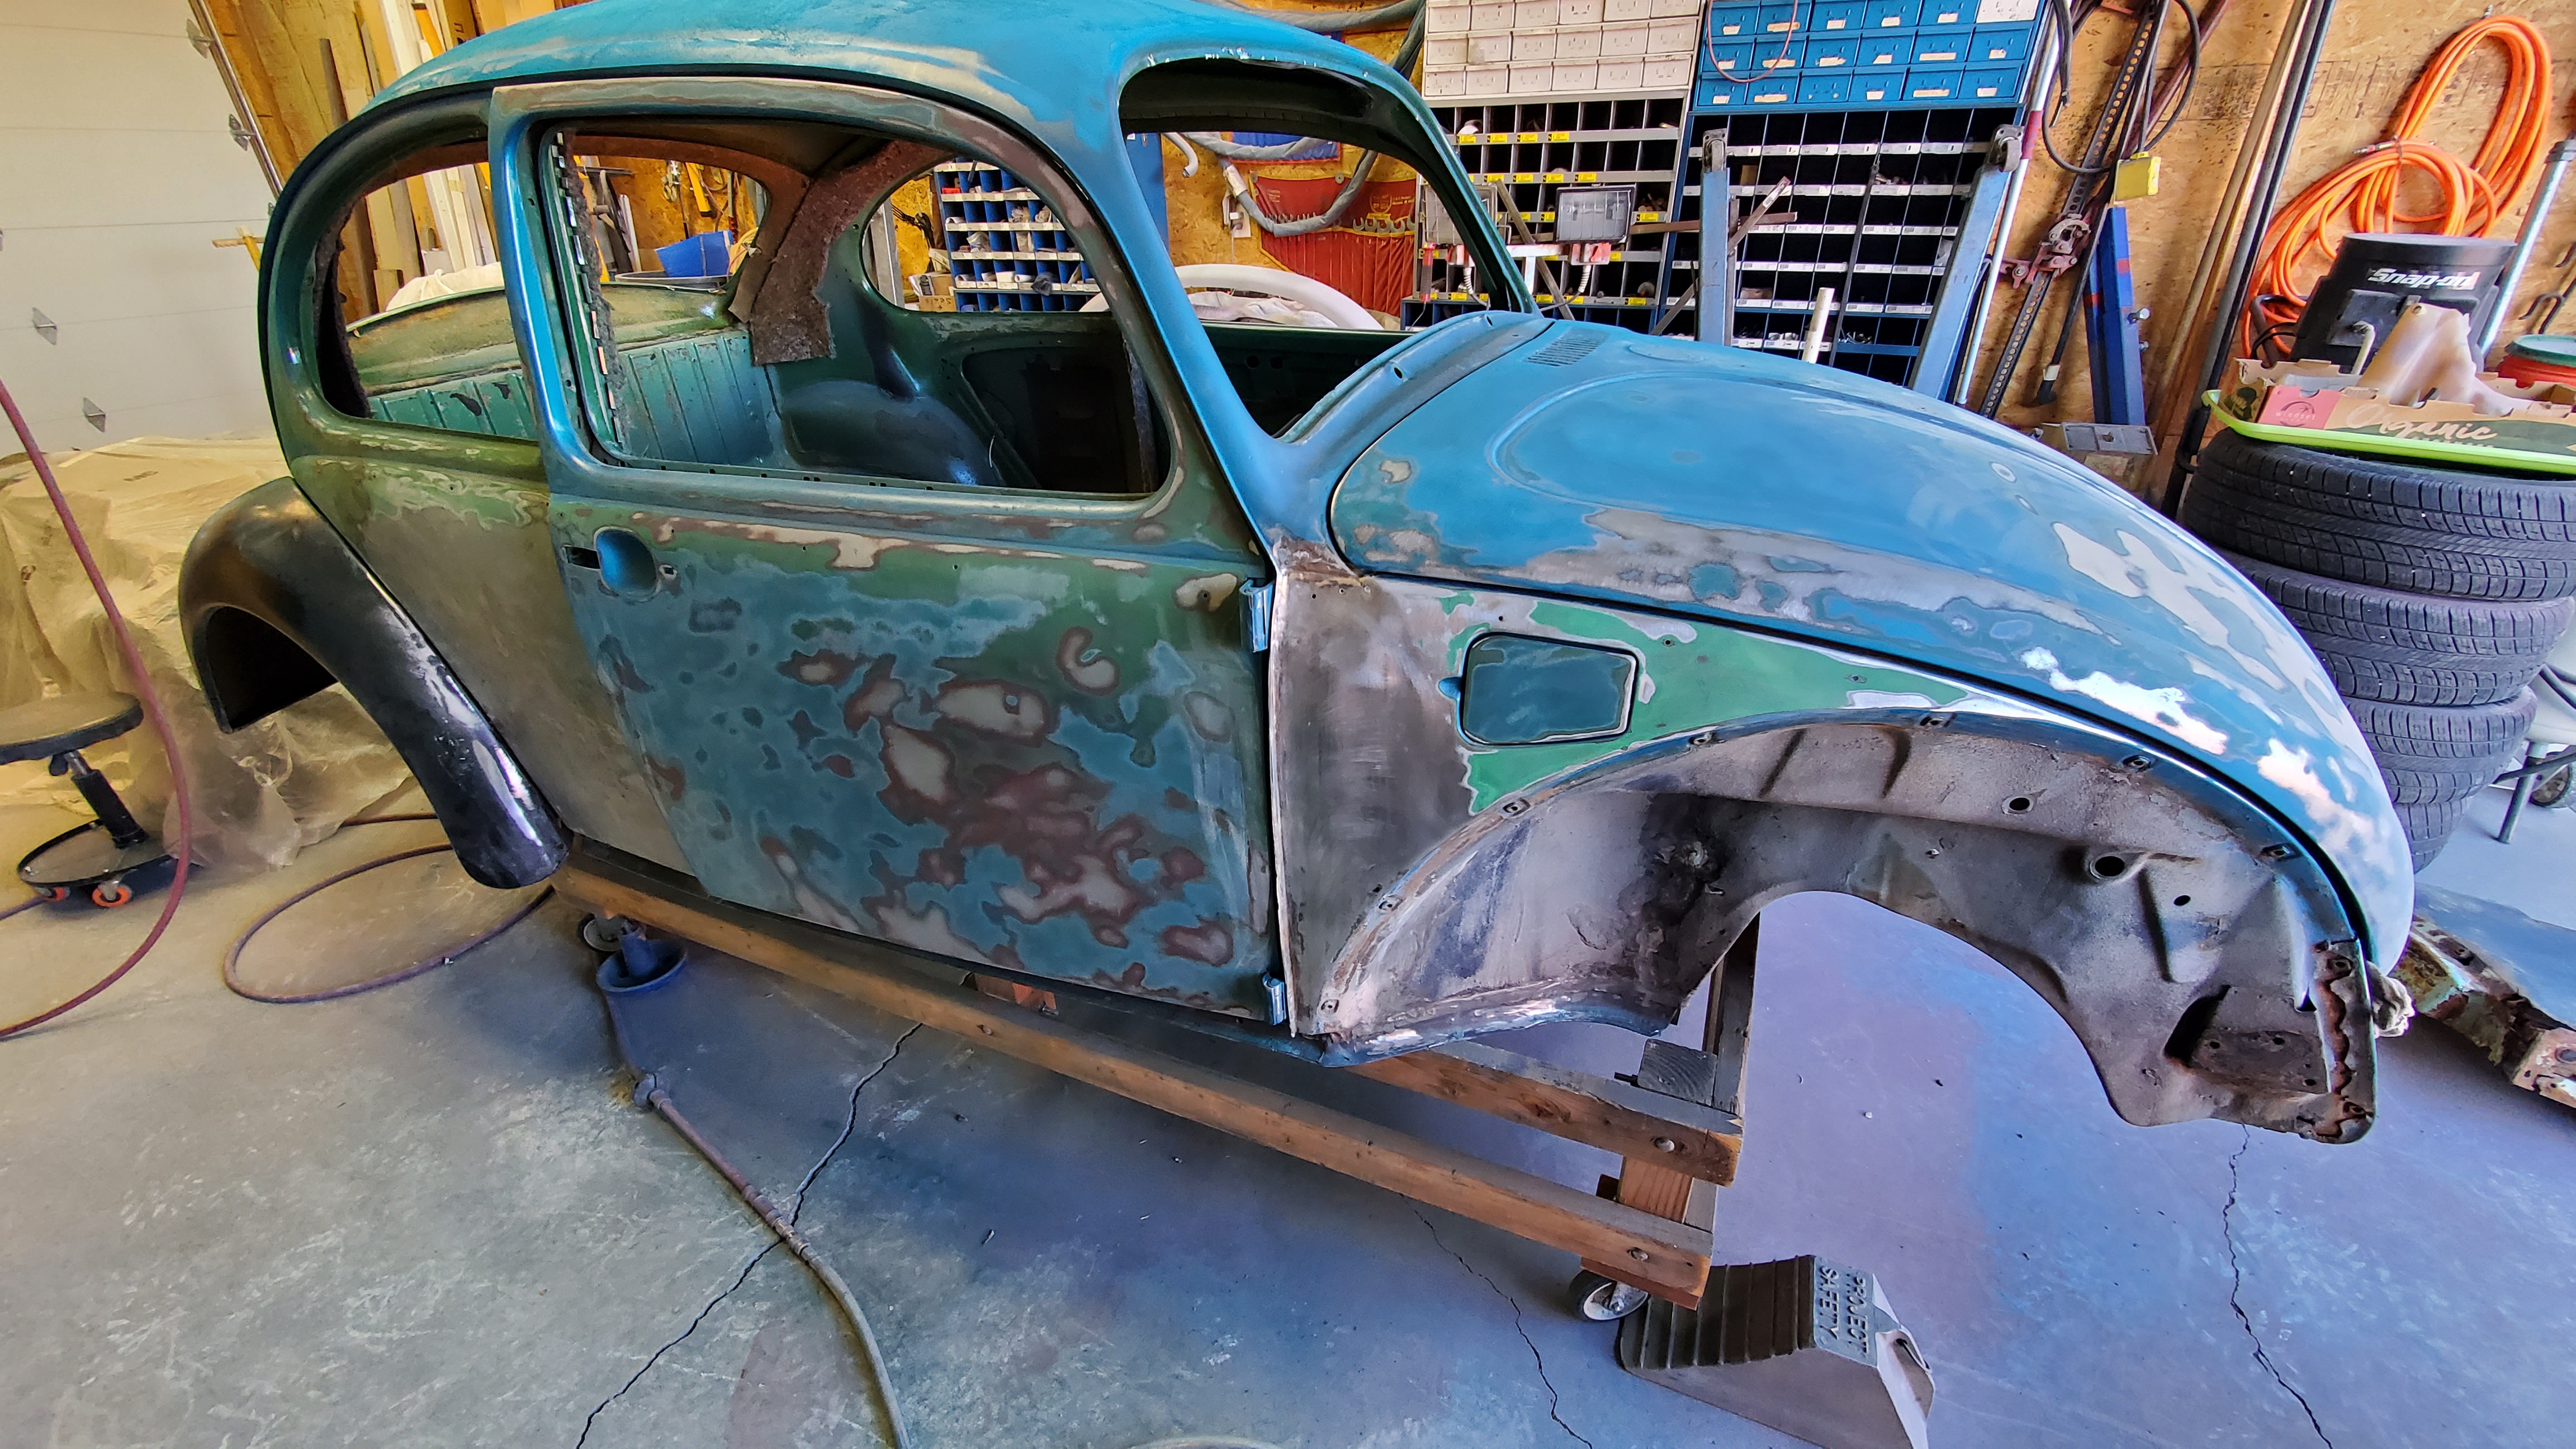
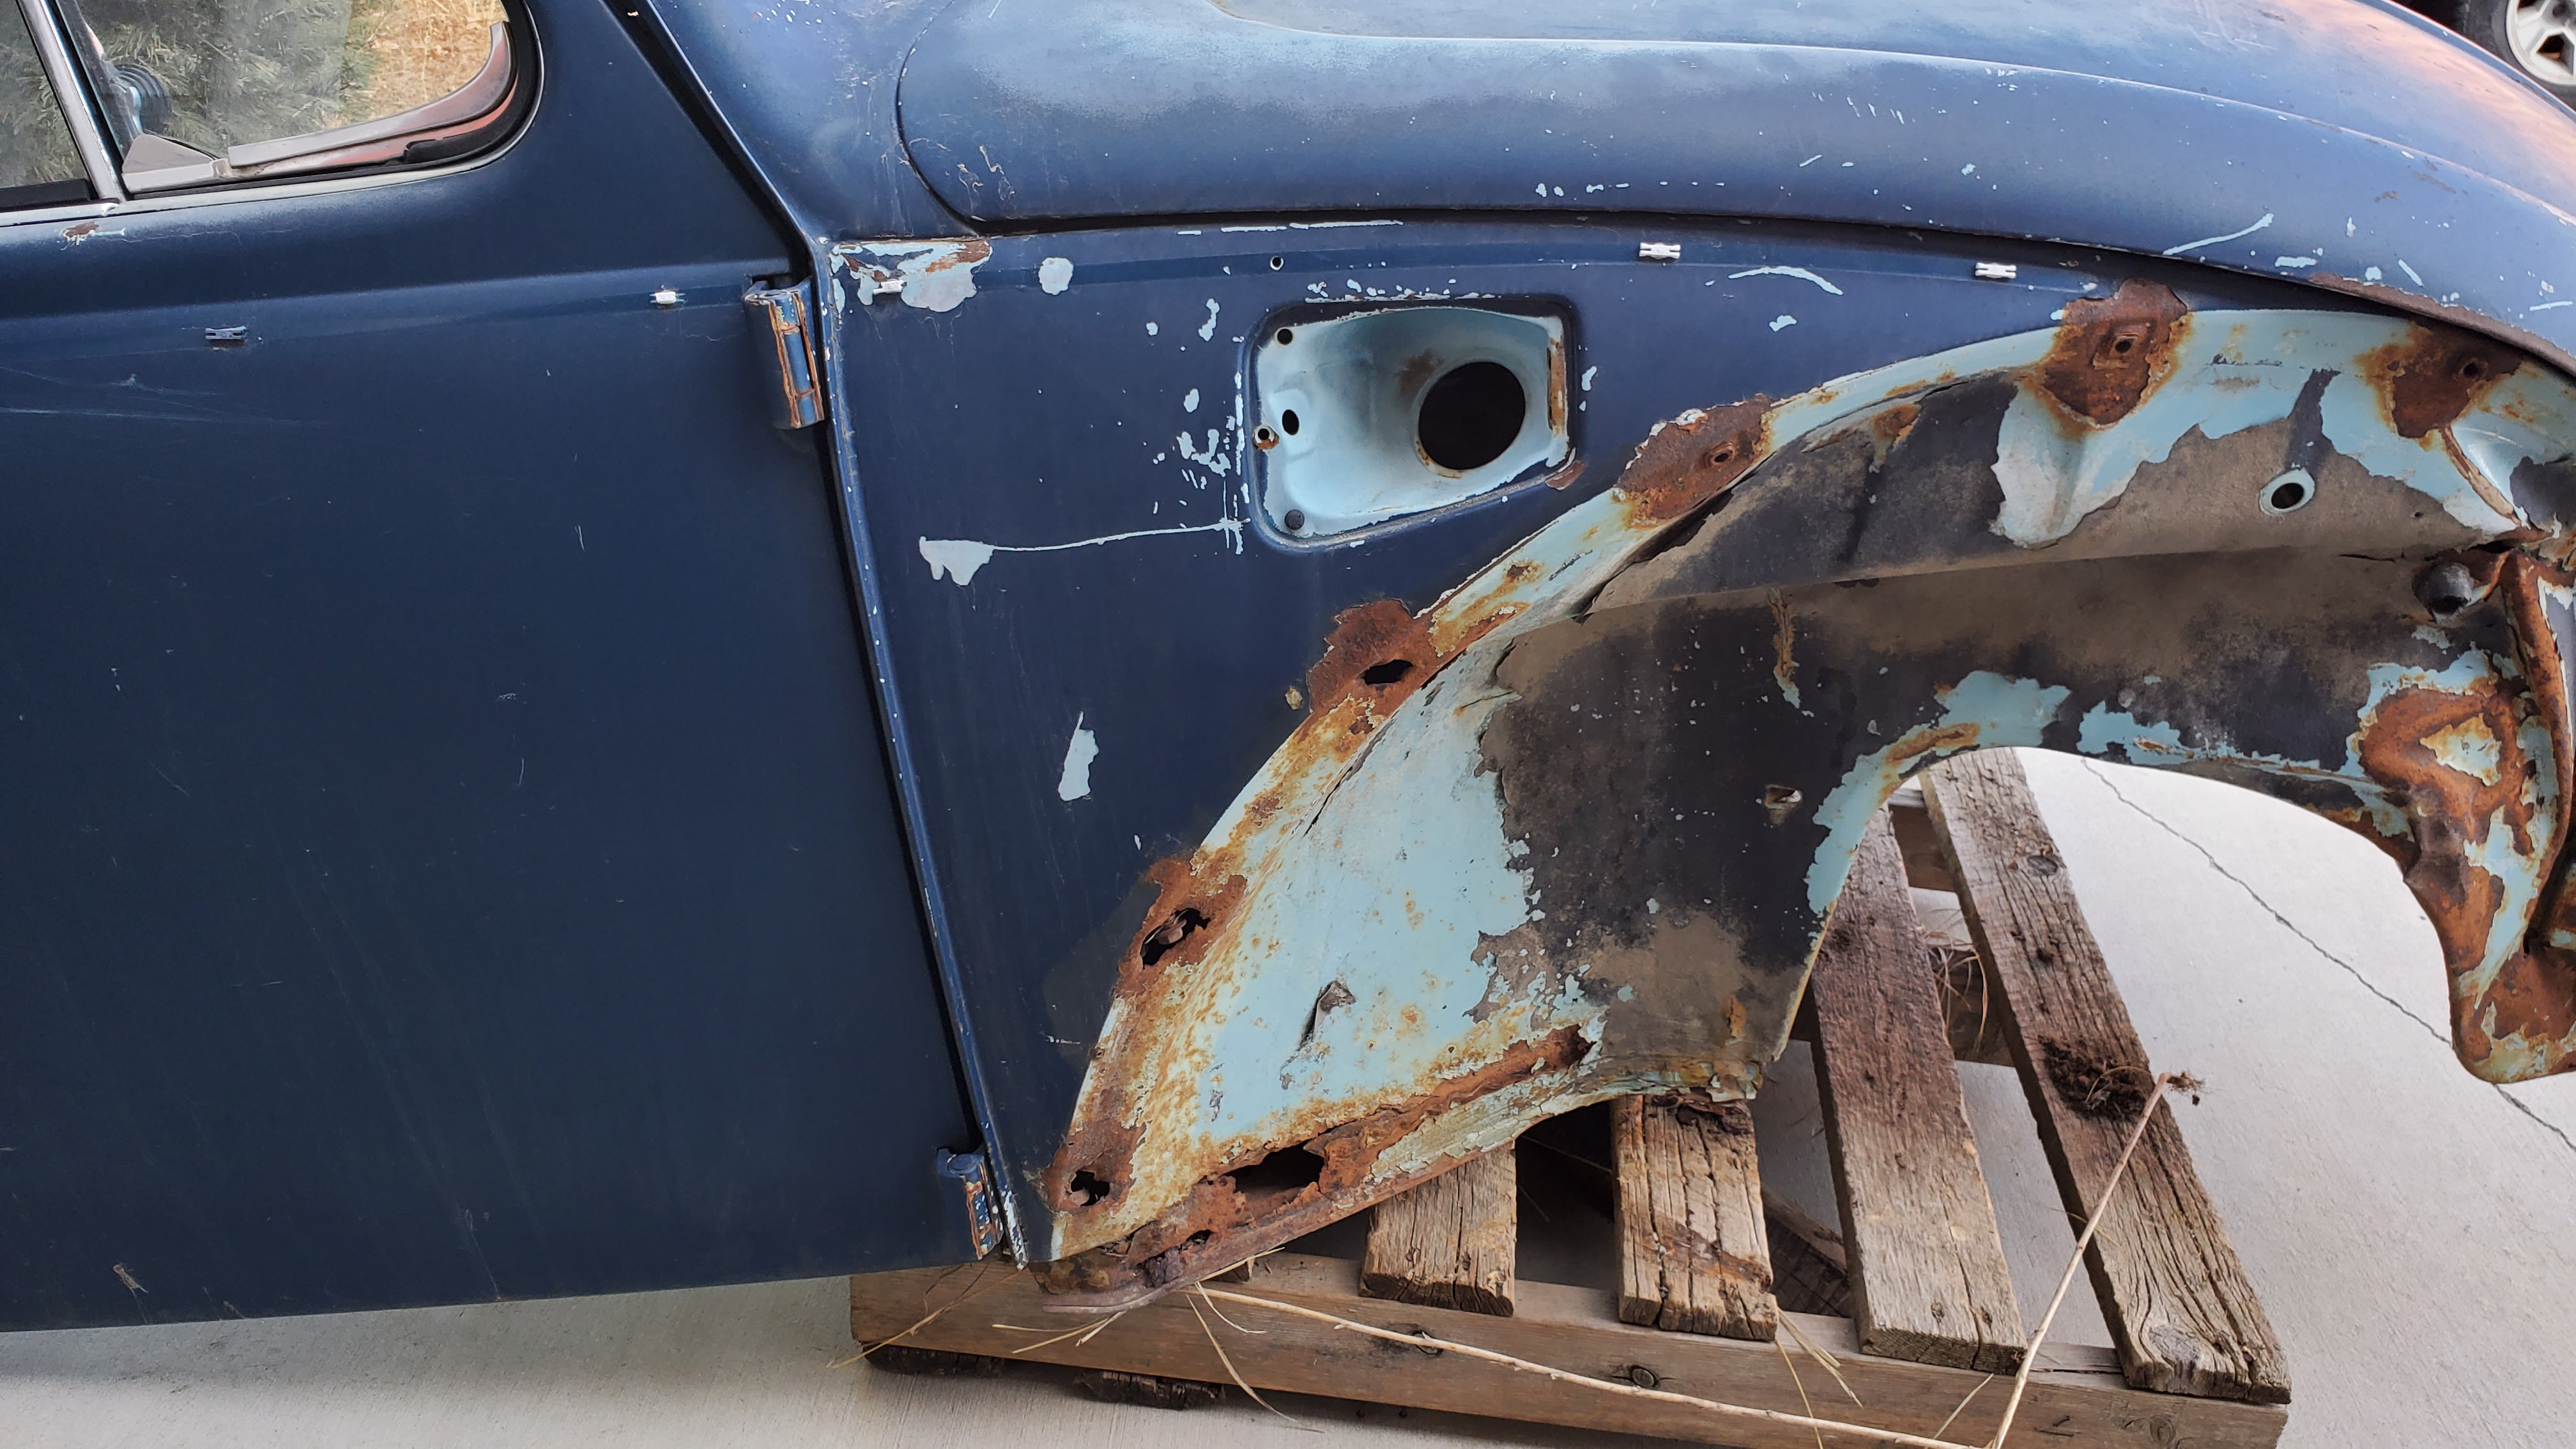
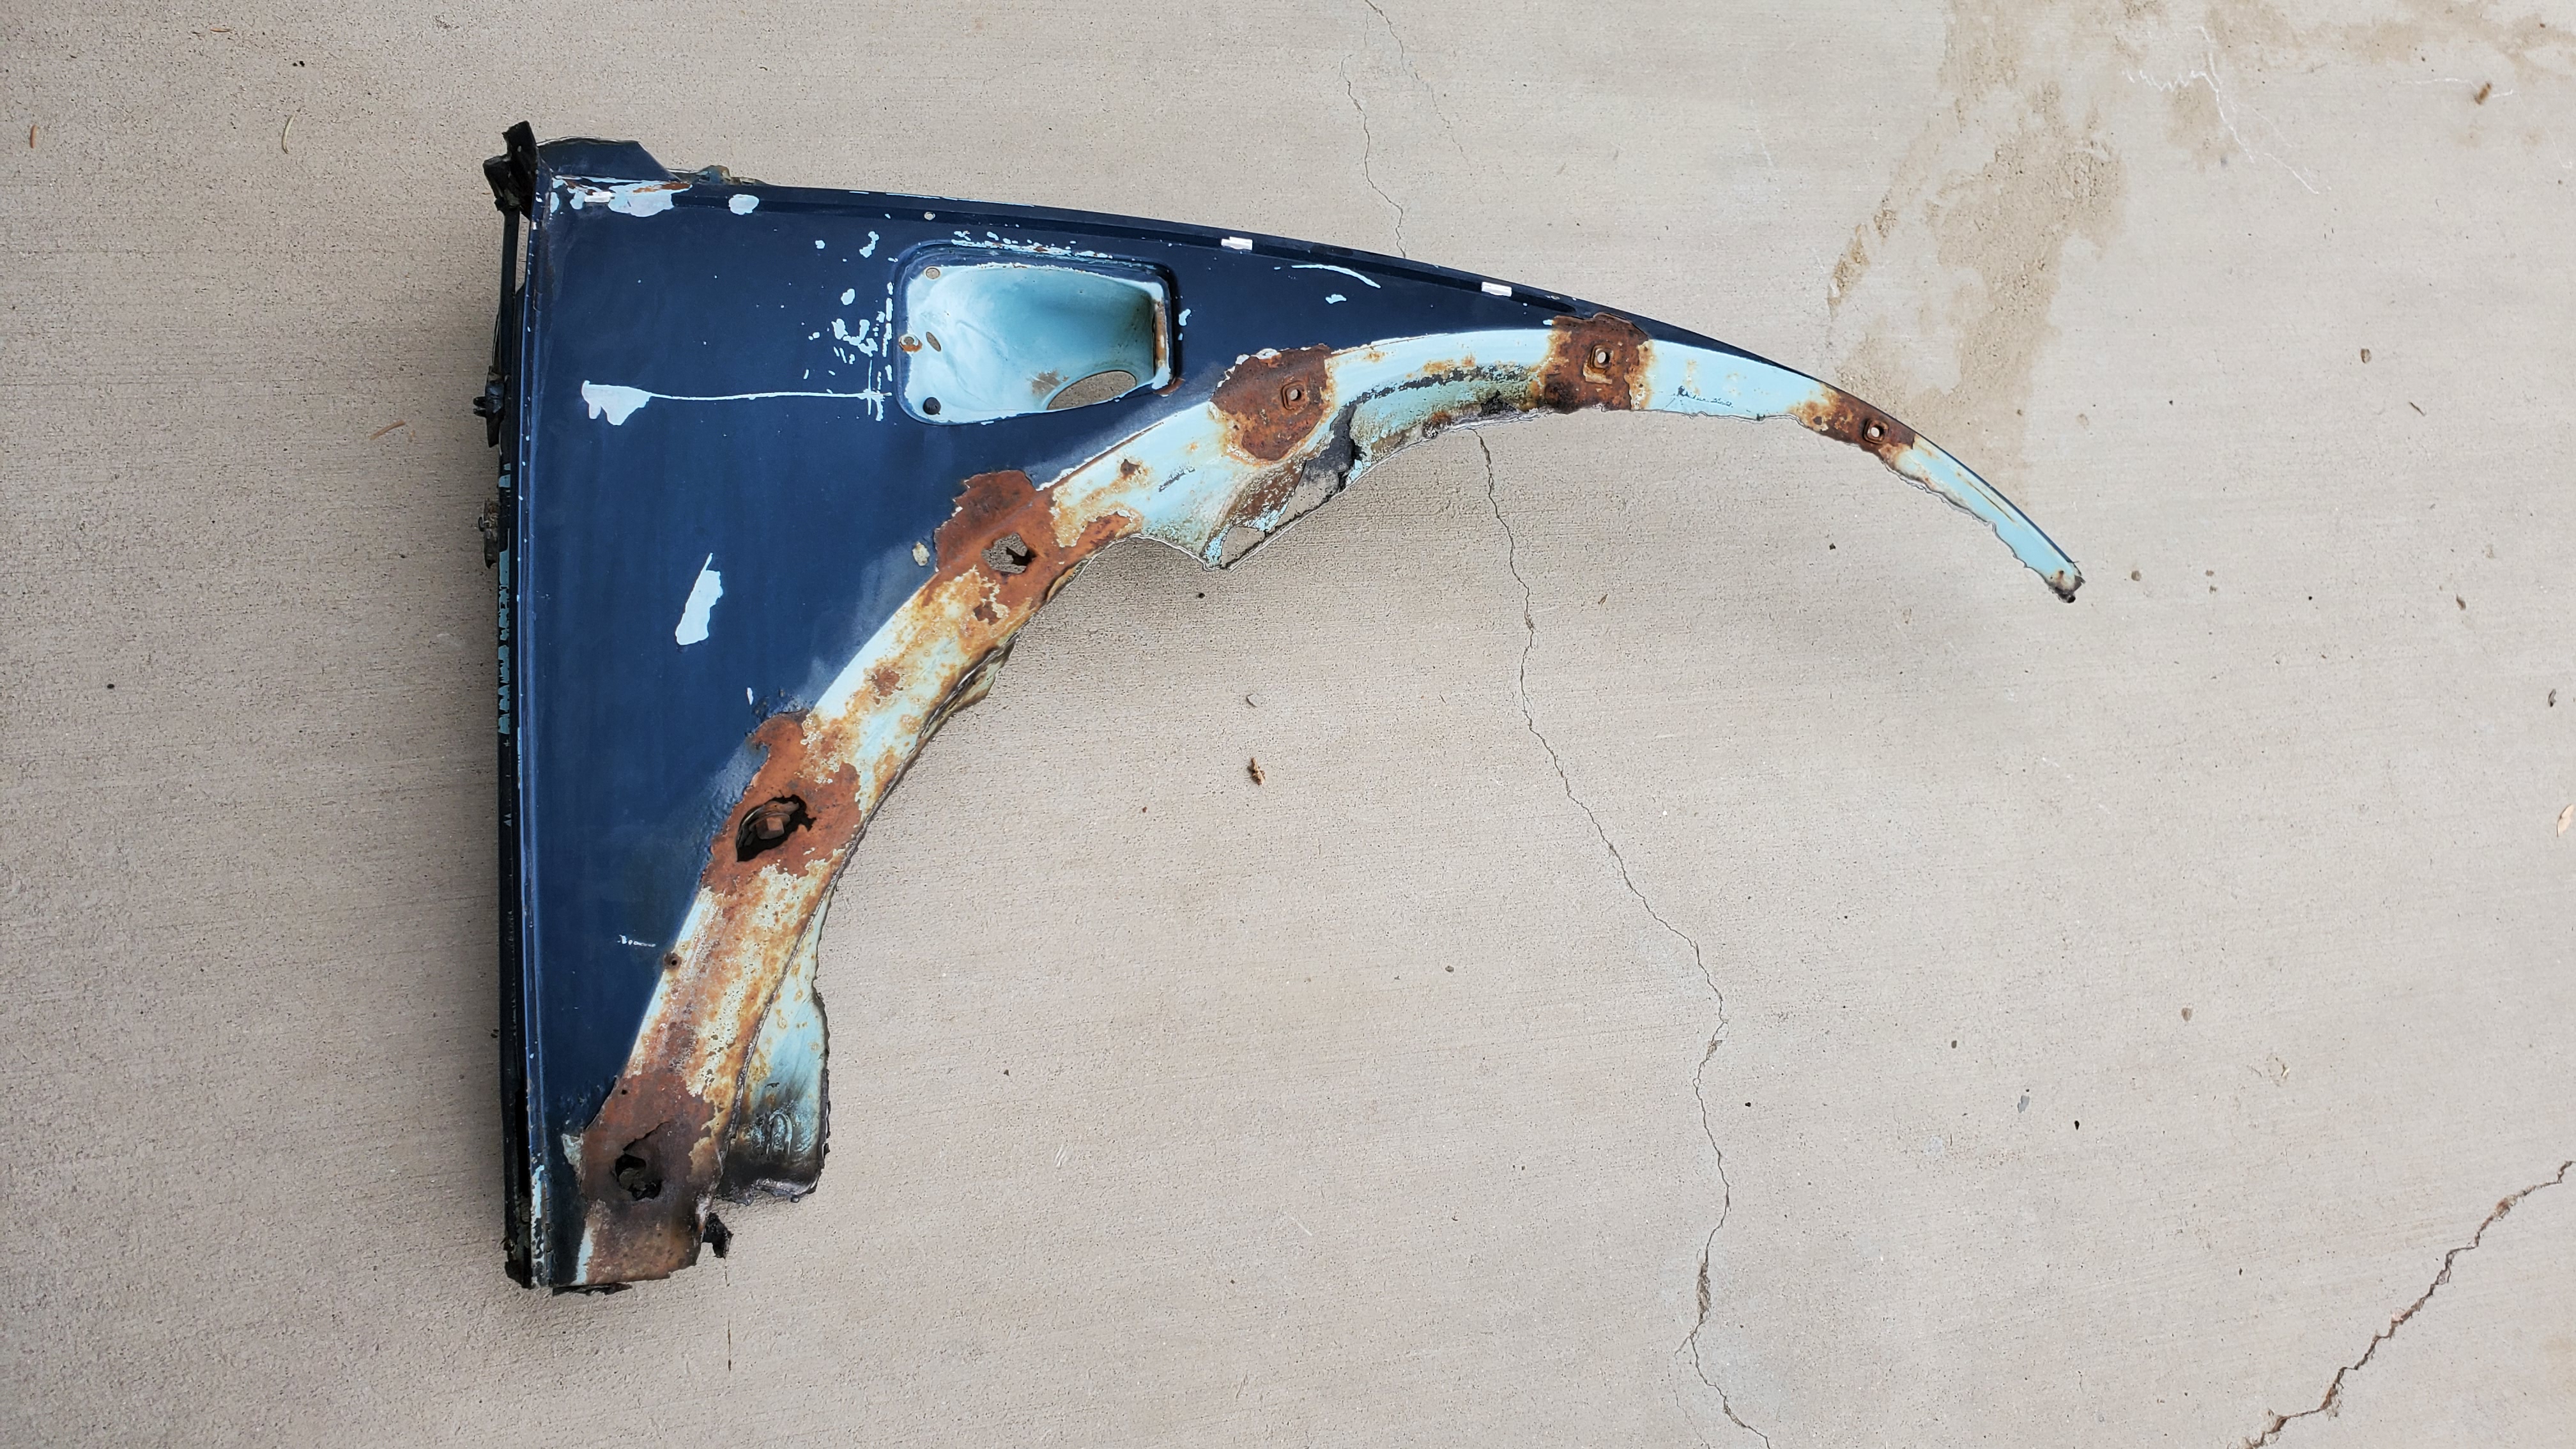
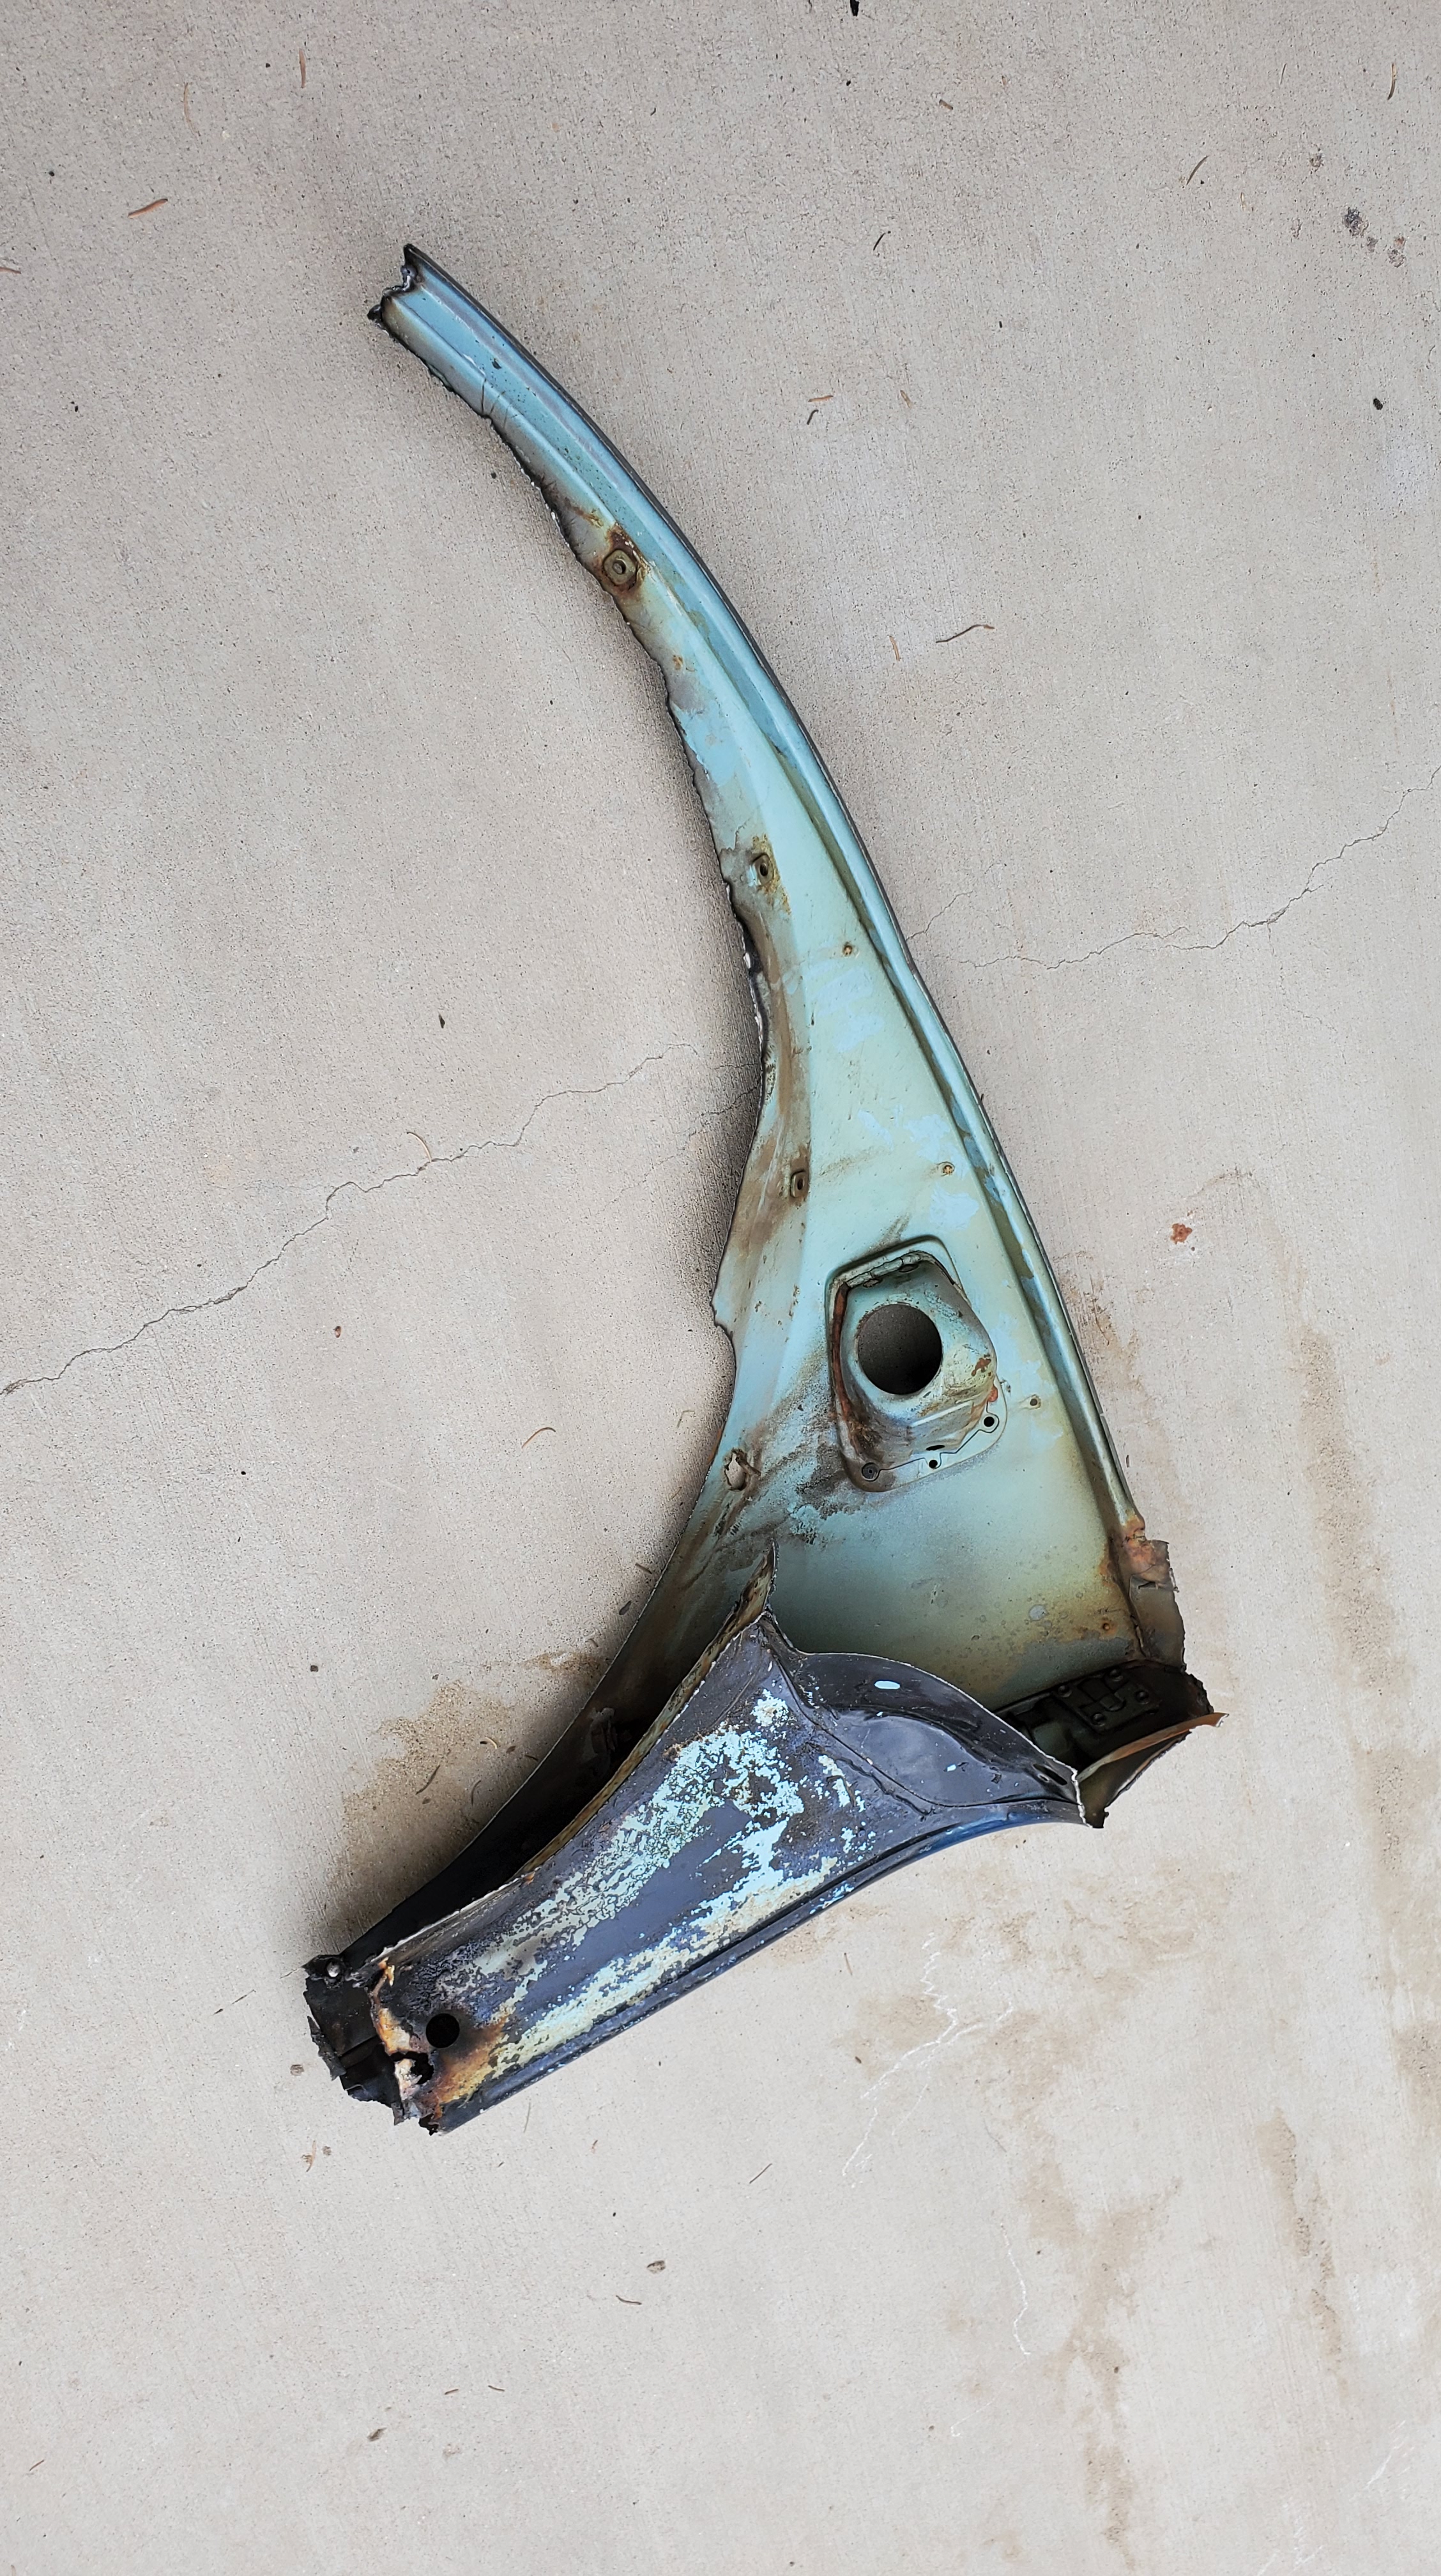
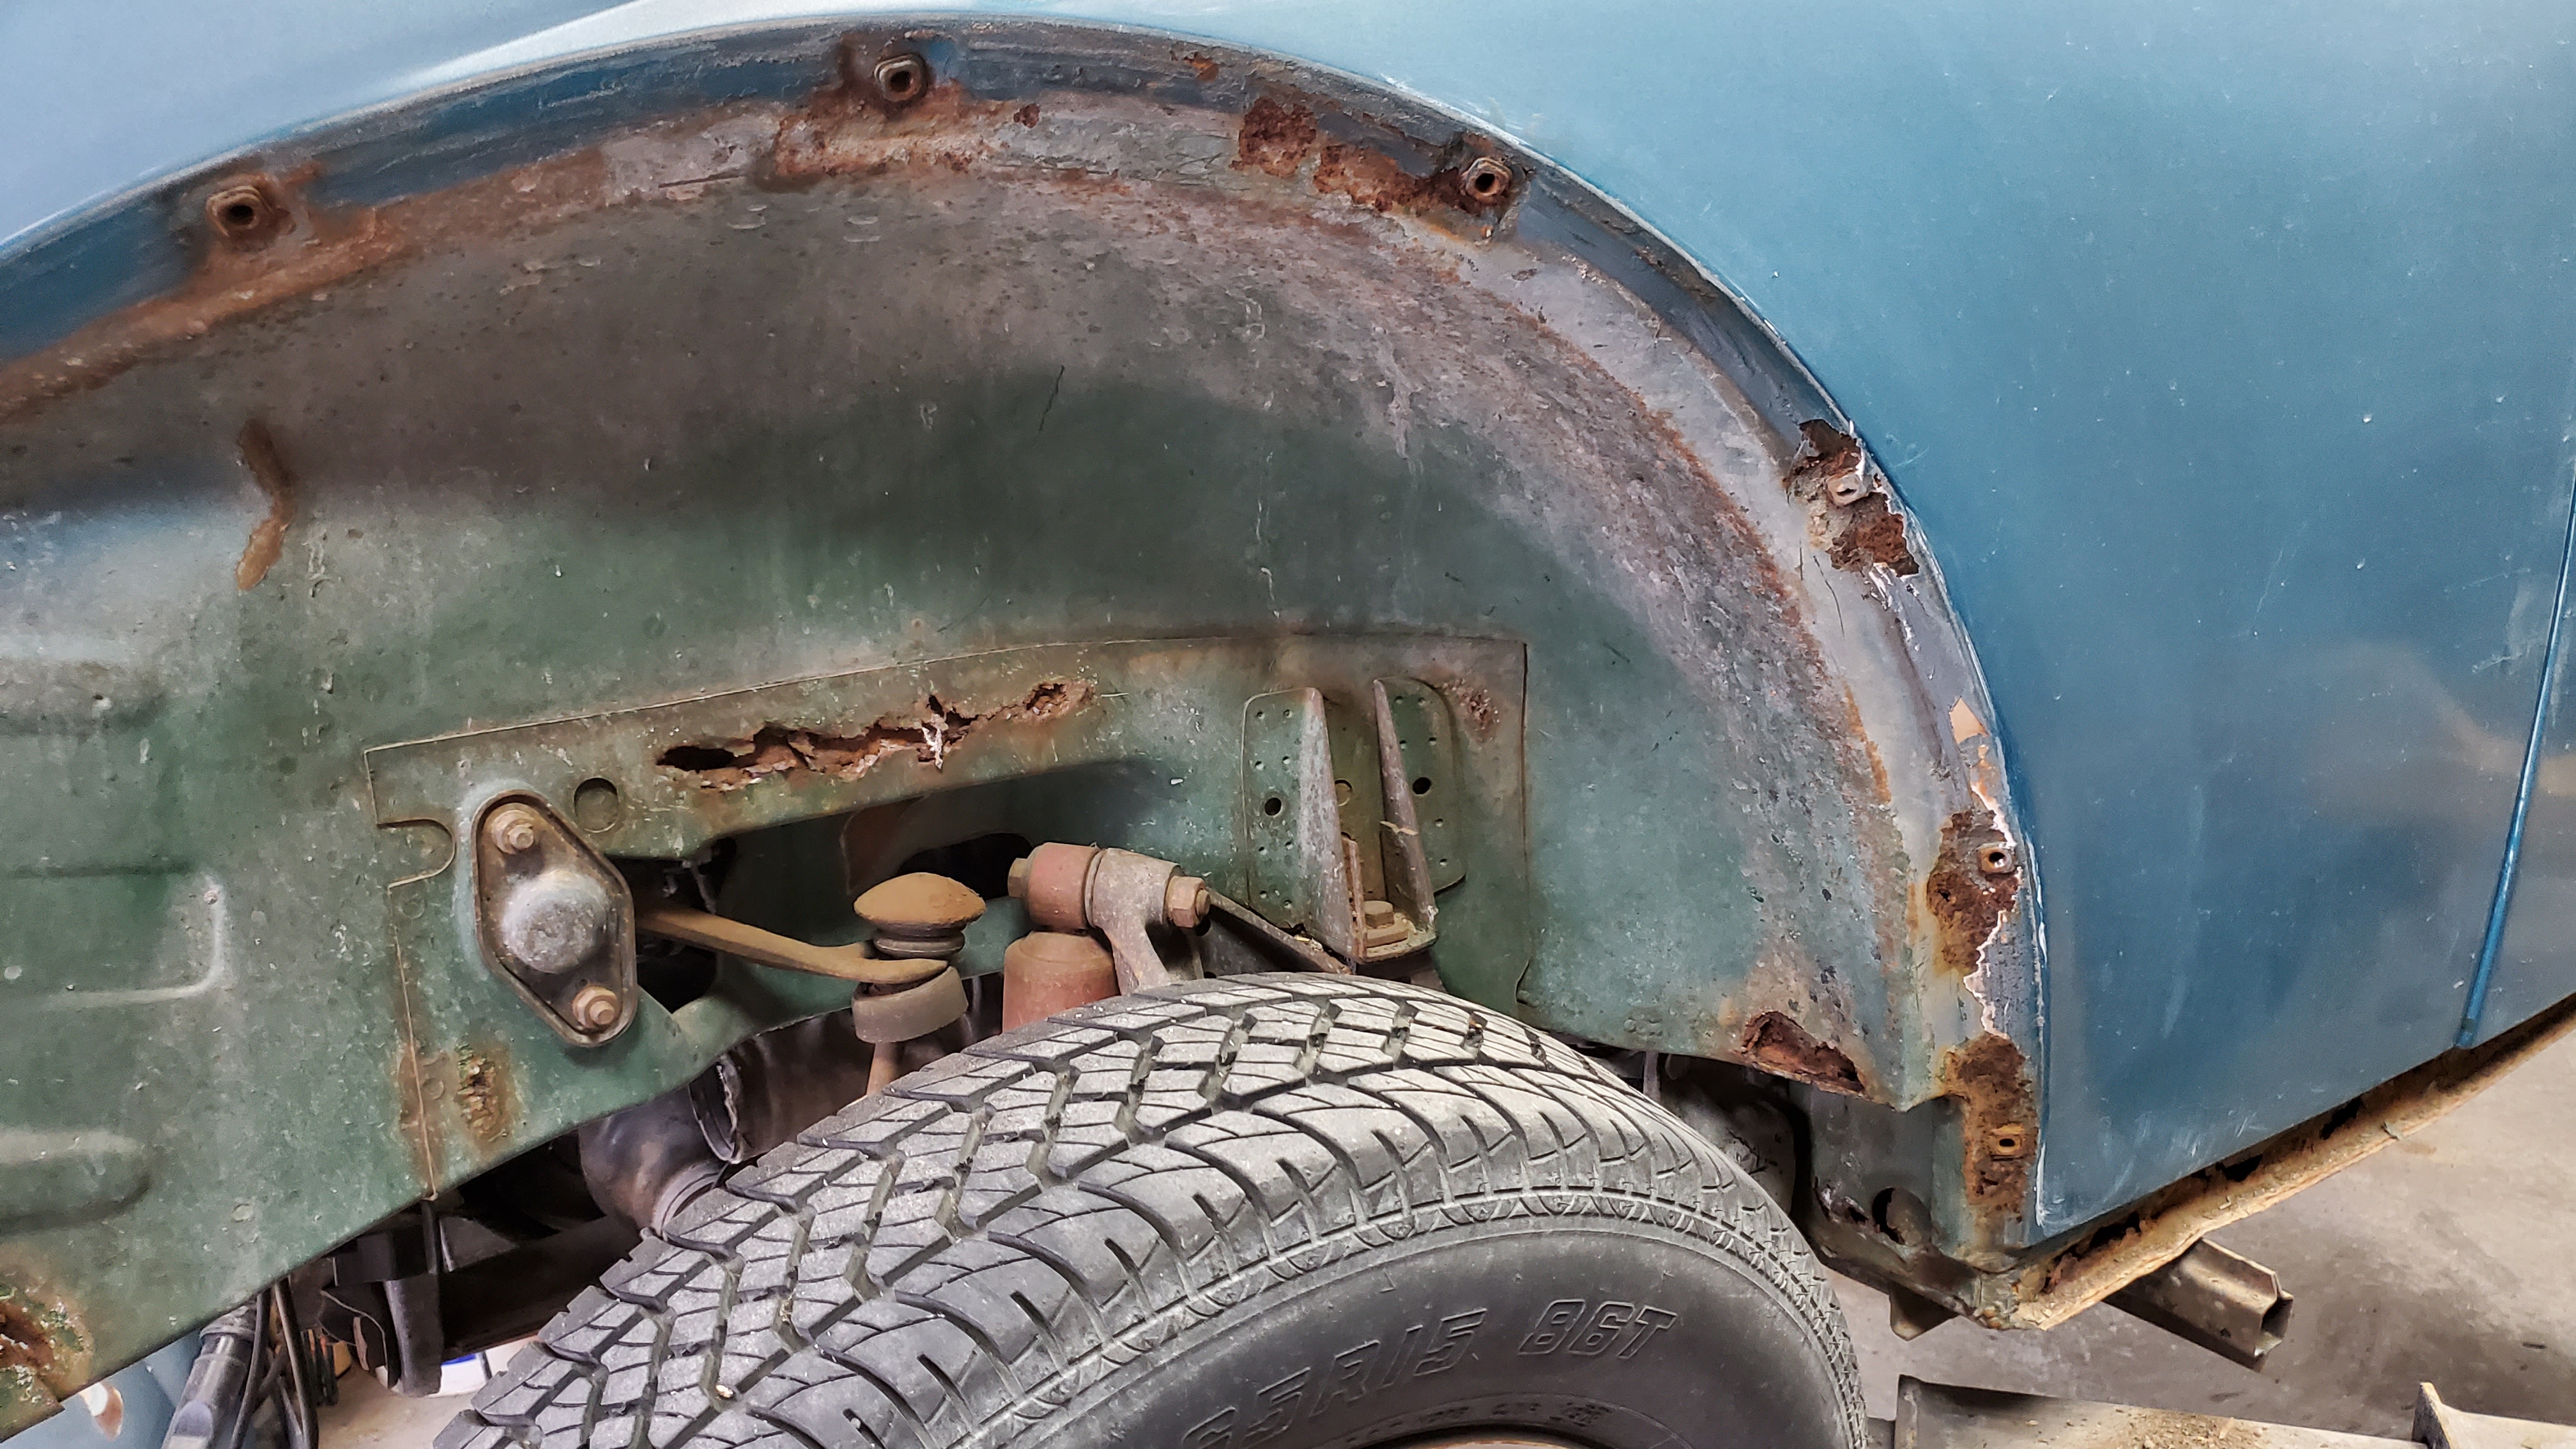
The passenger side had quite a bit of filler in it, and there is bad damage to the front and rear quarter panels on this side. The A-pillar has been flattened out and doesn’t have a curve to it like it should, and the rear has a crease from where something hooked and dragged across it. Both areas were dressed to look decent with body filler, and the damage is a lot more apparent after removing the filler.

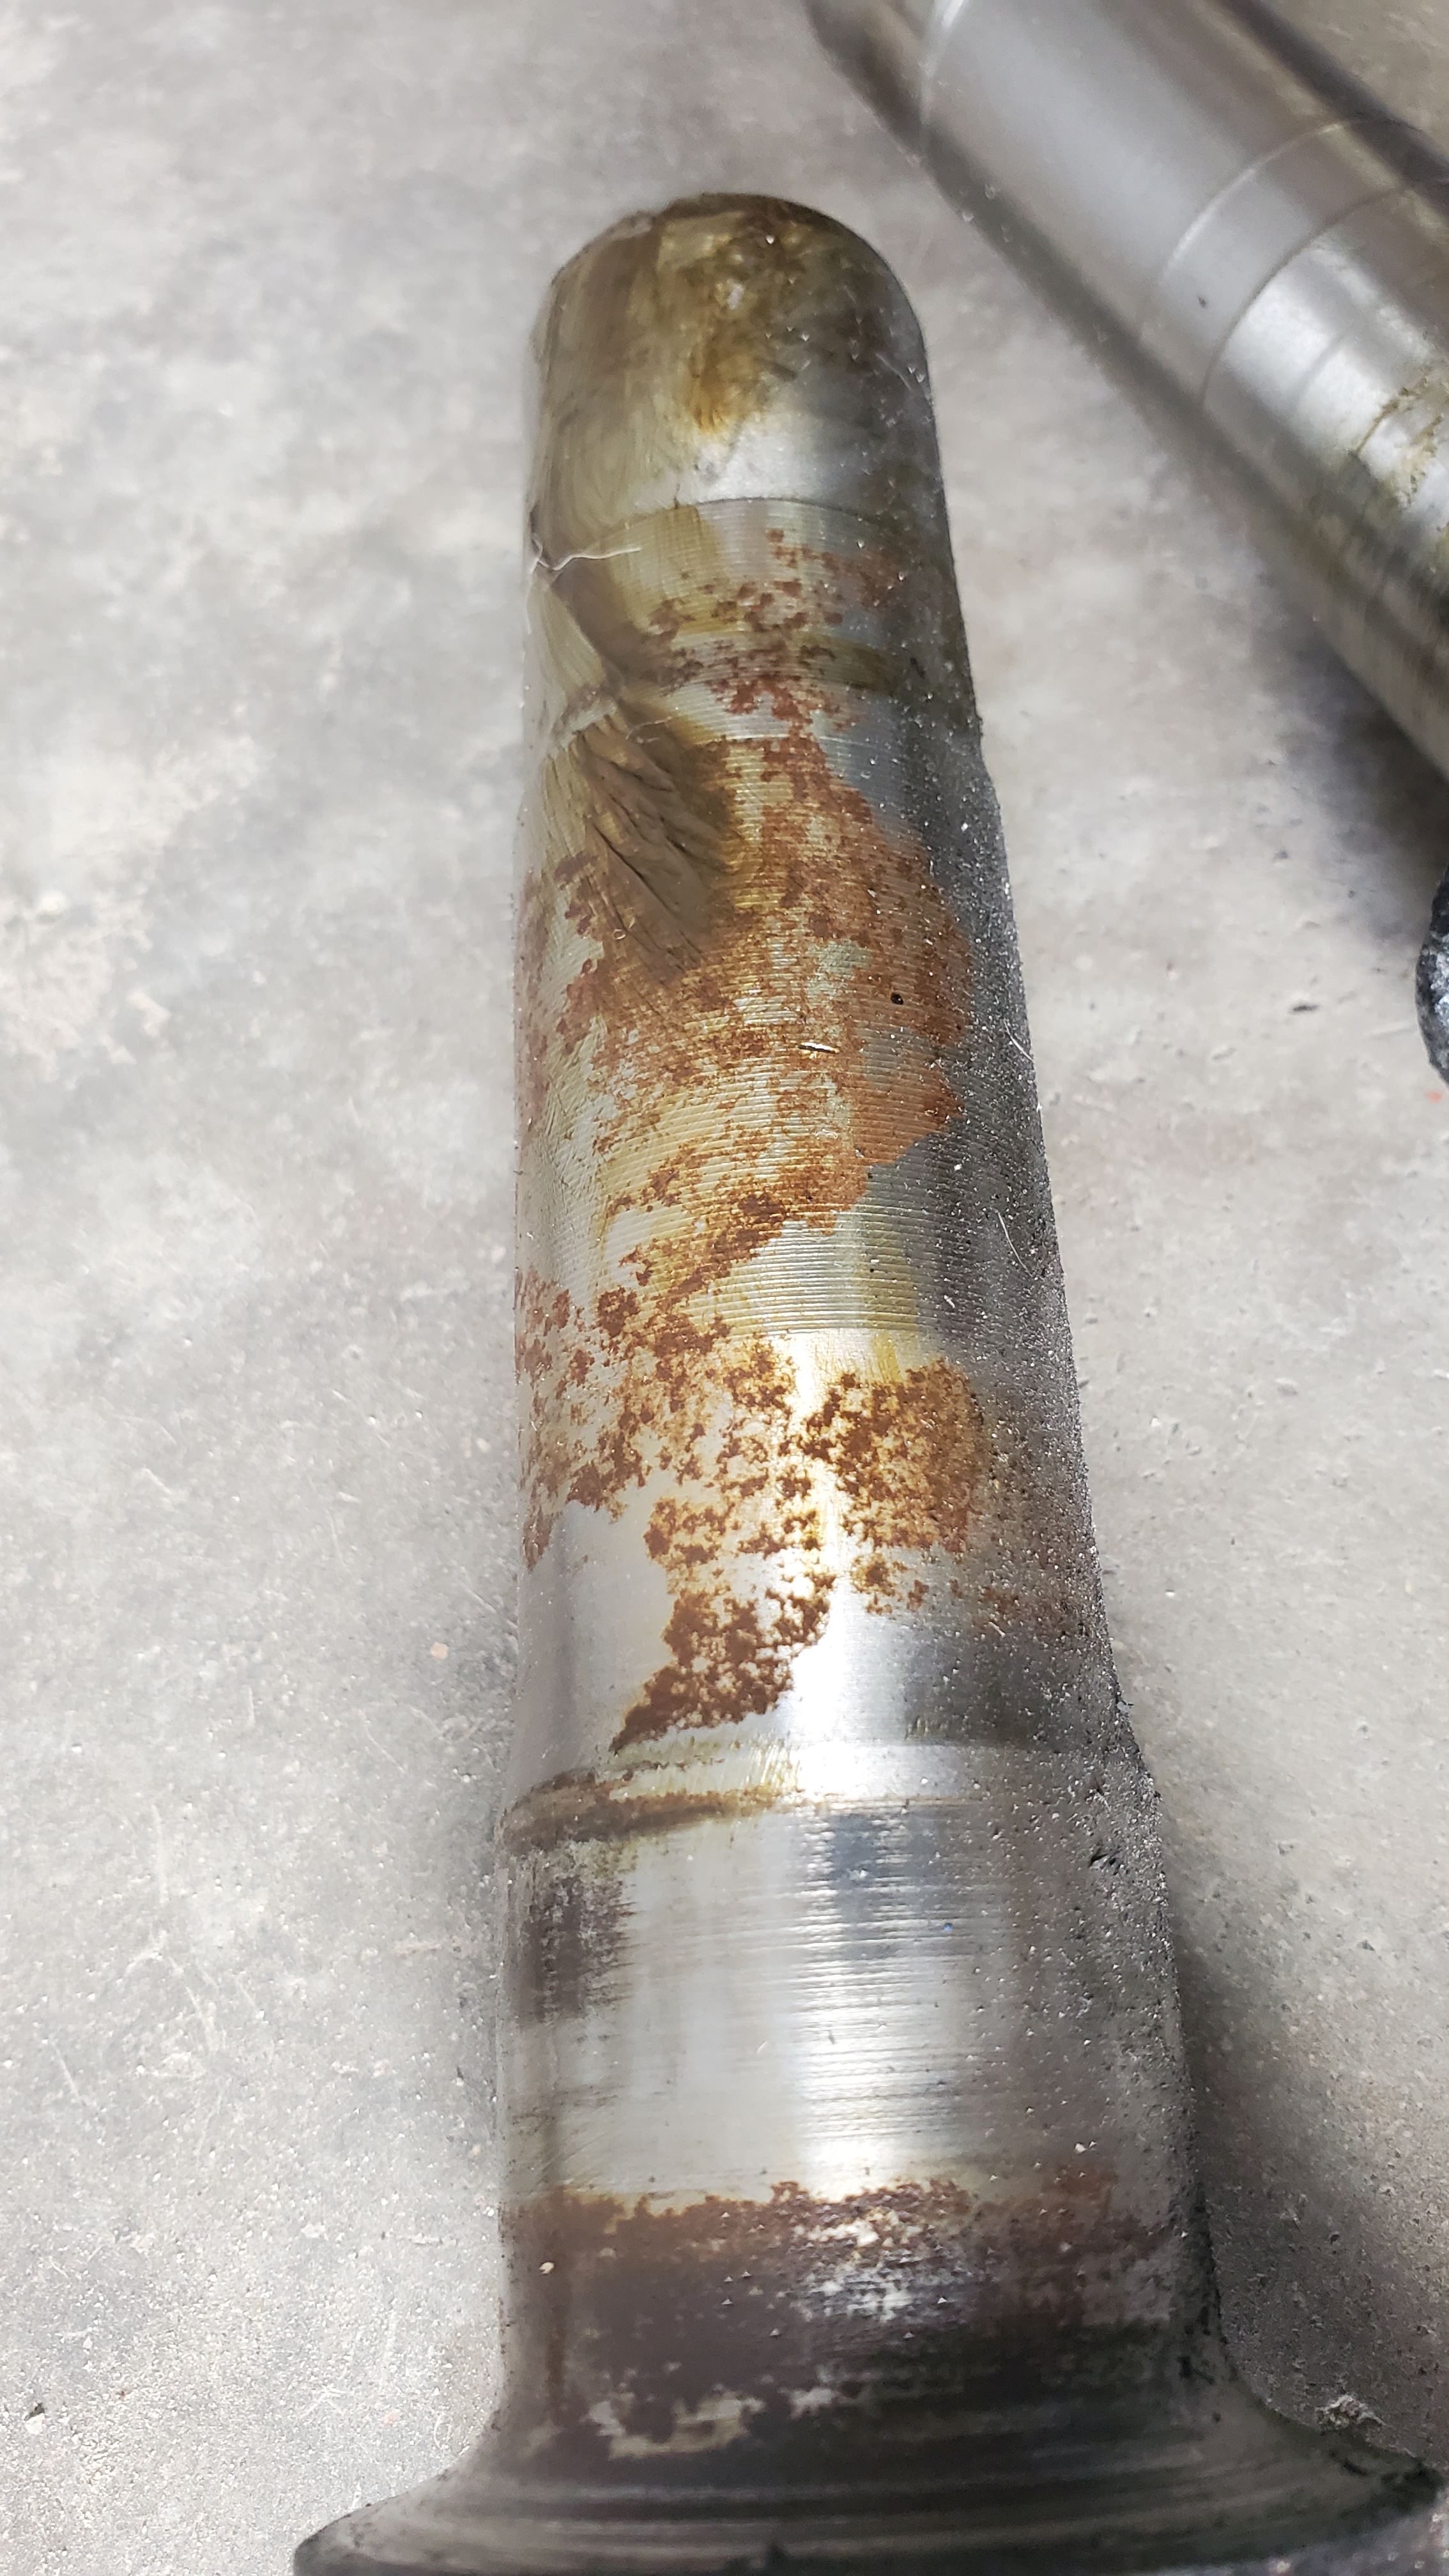
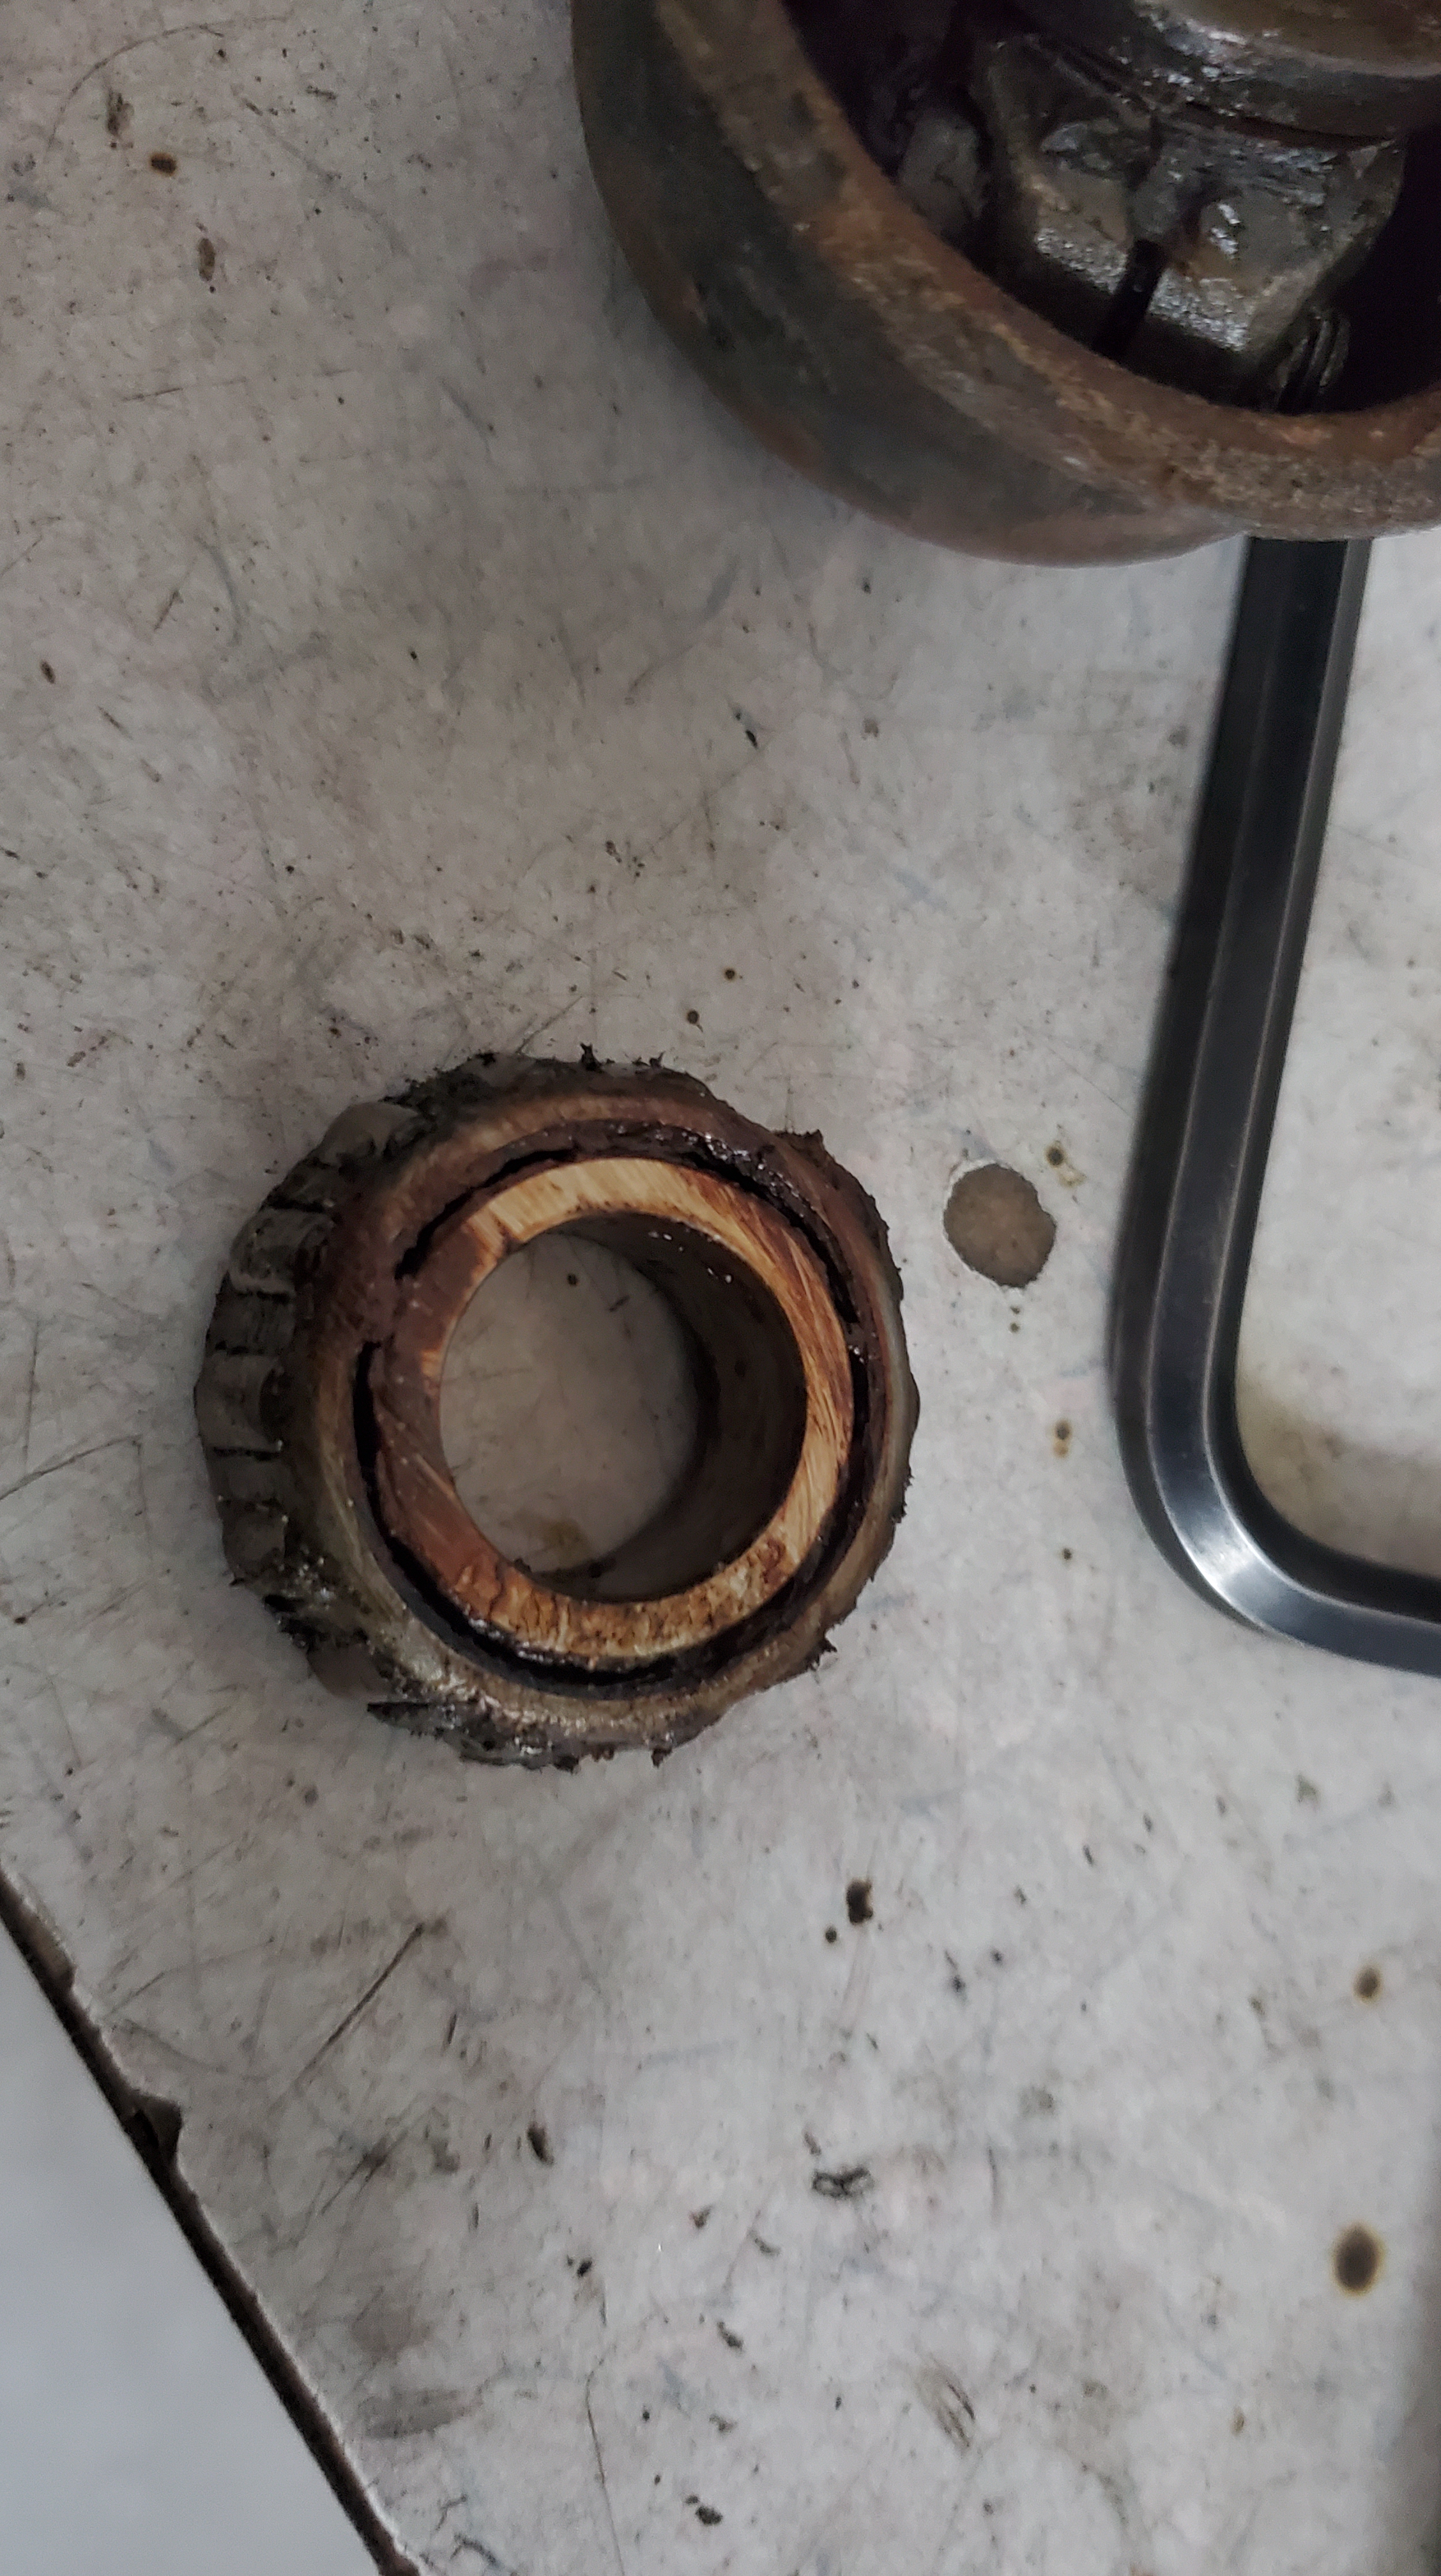
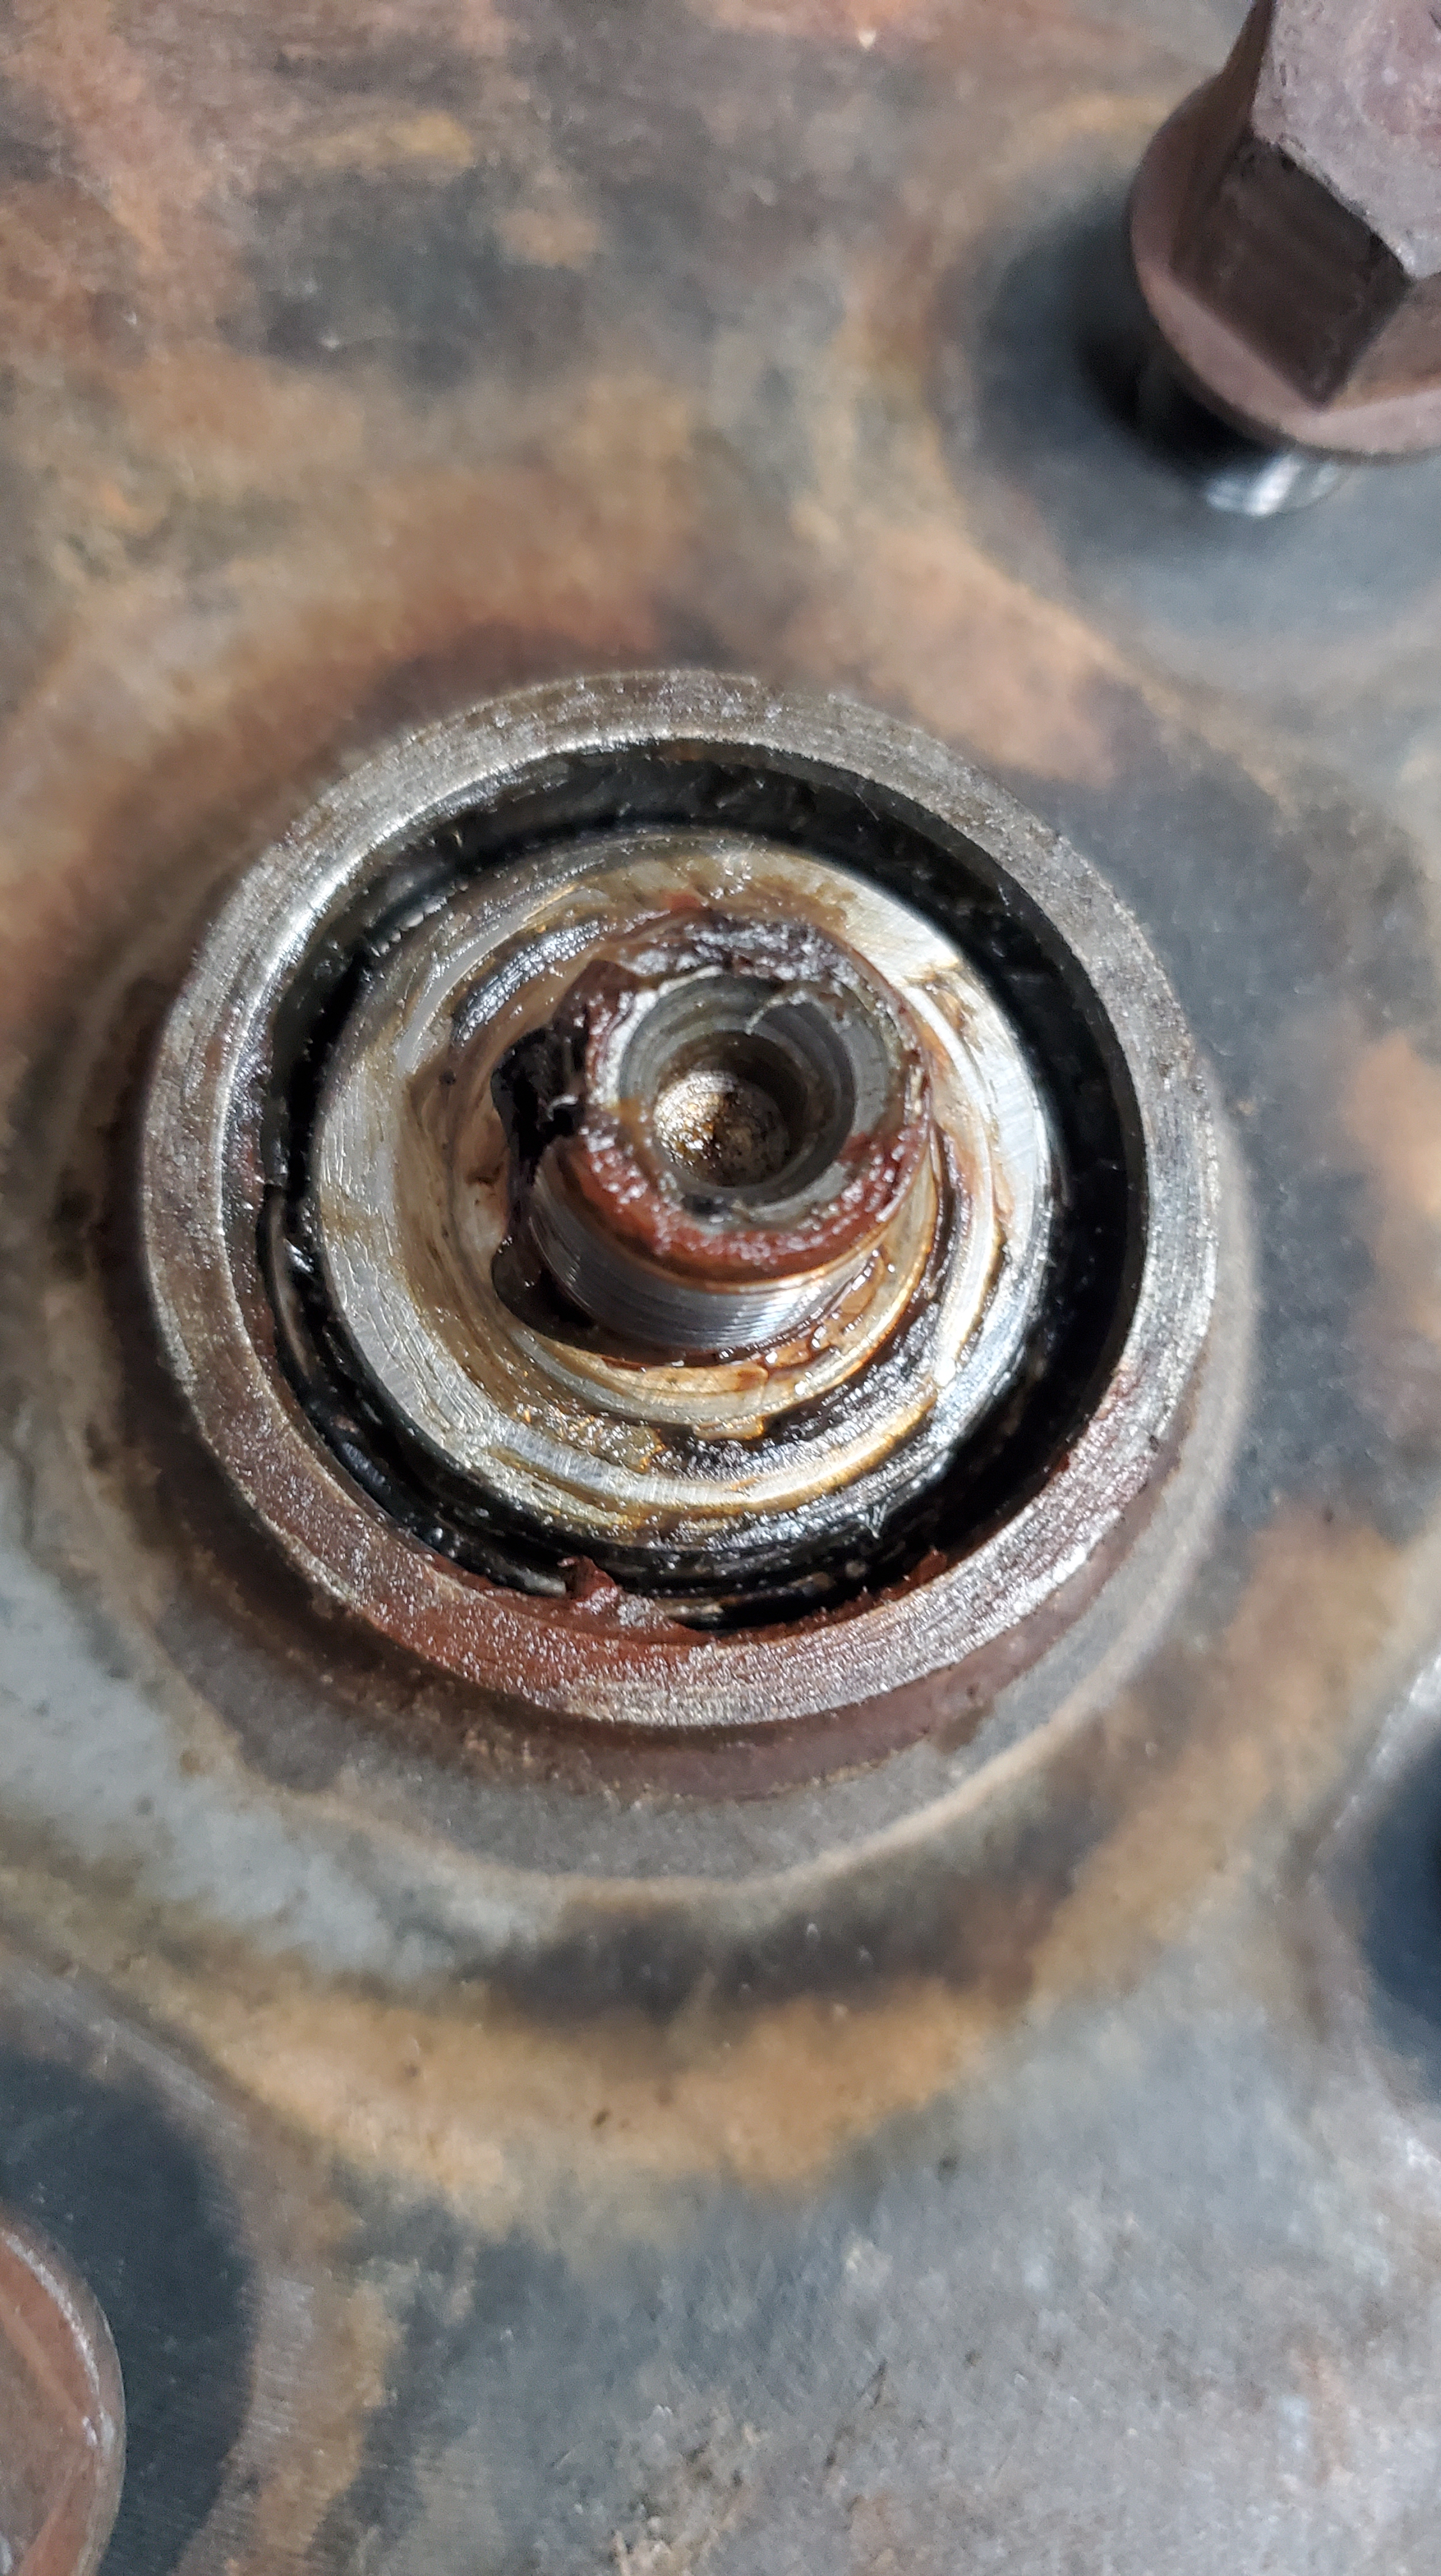
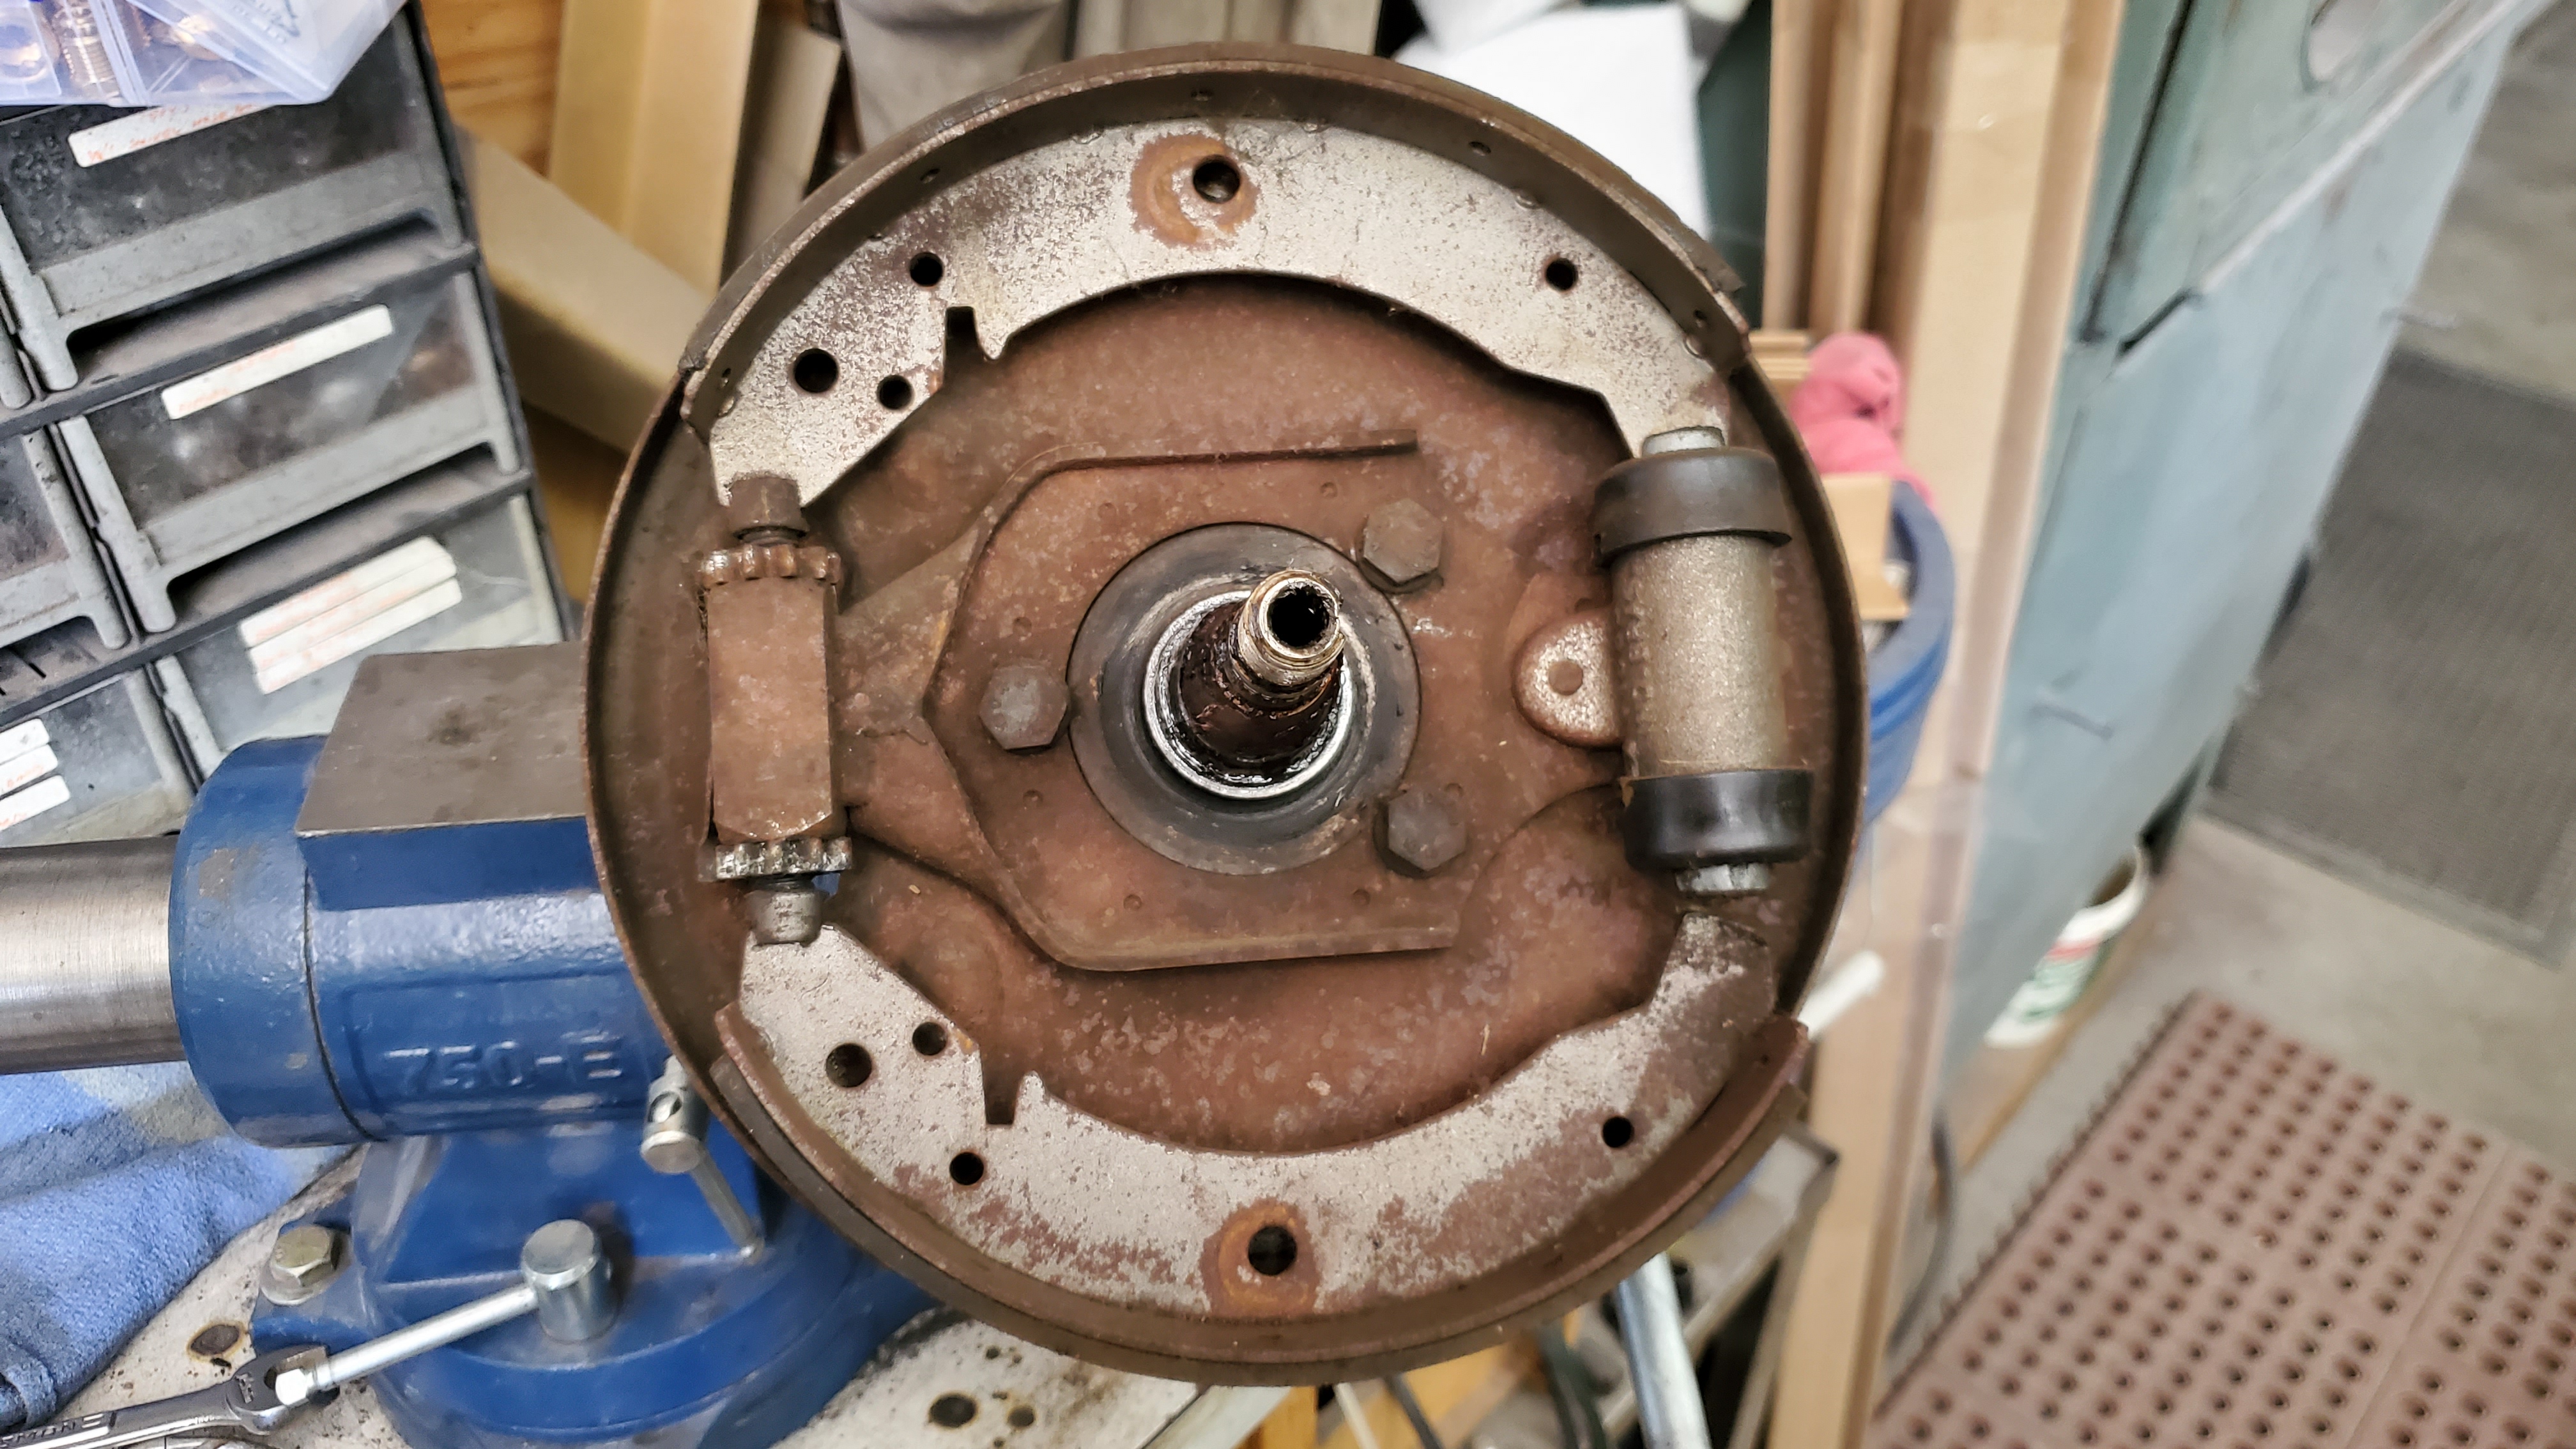
With the new arms in the shop, I was able to finish up the front end of the car. I pulled the OE arms, that hadn’t been greased as they should, and took the brakes apart. This is what happens to bearings that have grease applied to them, and aren’t packed. There was very minimal grease in the bearings on both sides, and one side had the brake shoes installed upside down.
The shoes have different angles on each end, and the angled end goes on the adjuster with the flat end on the wheel cylinder. Just opposite of this. The slots in the shoes are for the e-brake bar if the shoes are used on the rear and should be at the top by the wheel cylinder.
The front beam measured out straight, but there was dent in the side from the previous accident. I installed some beam braces on the shock towers to reinforce the front end.
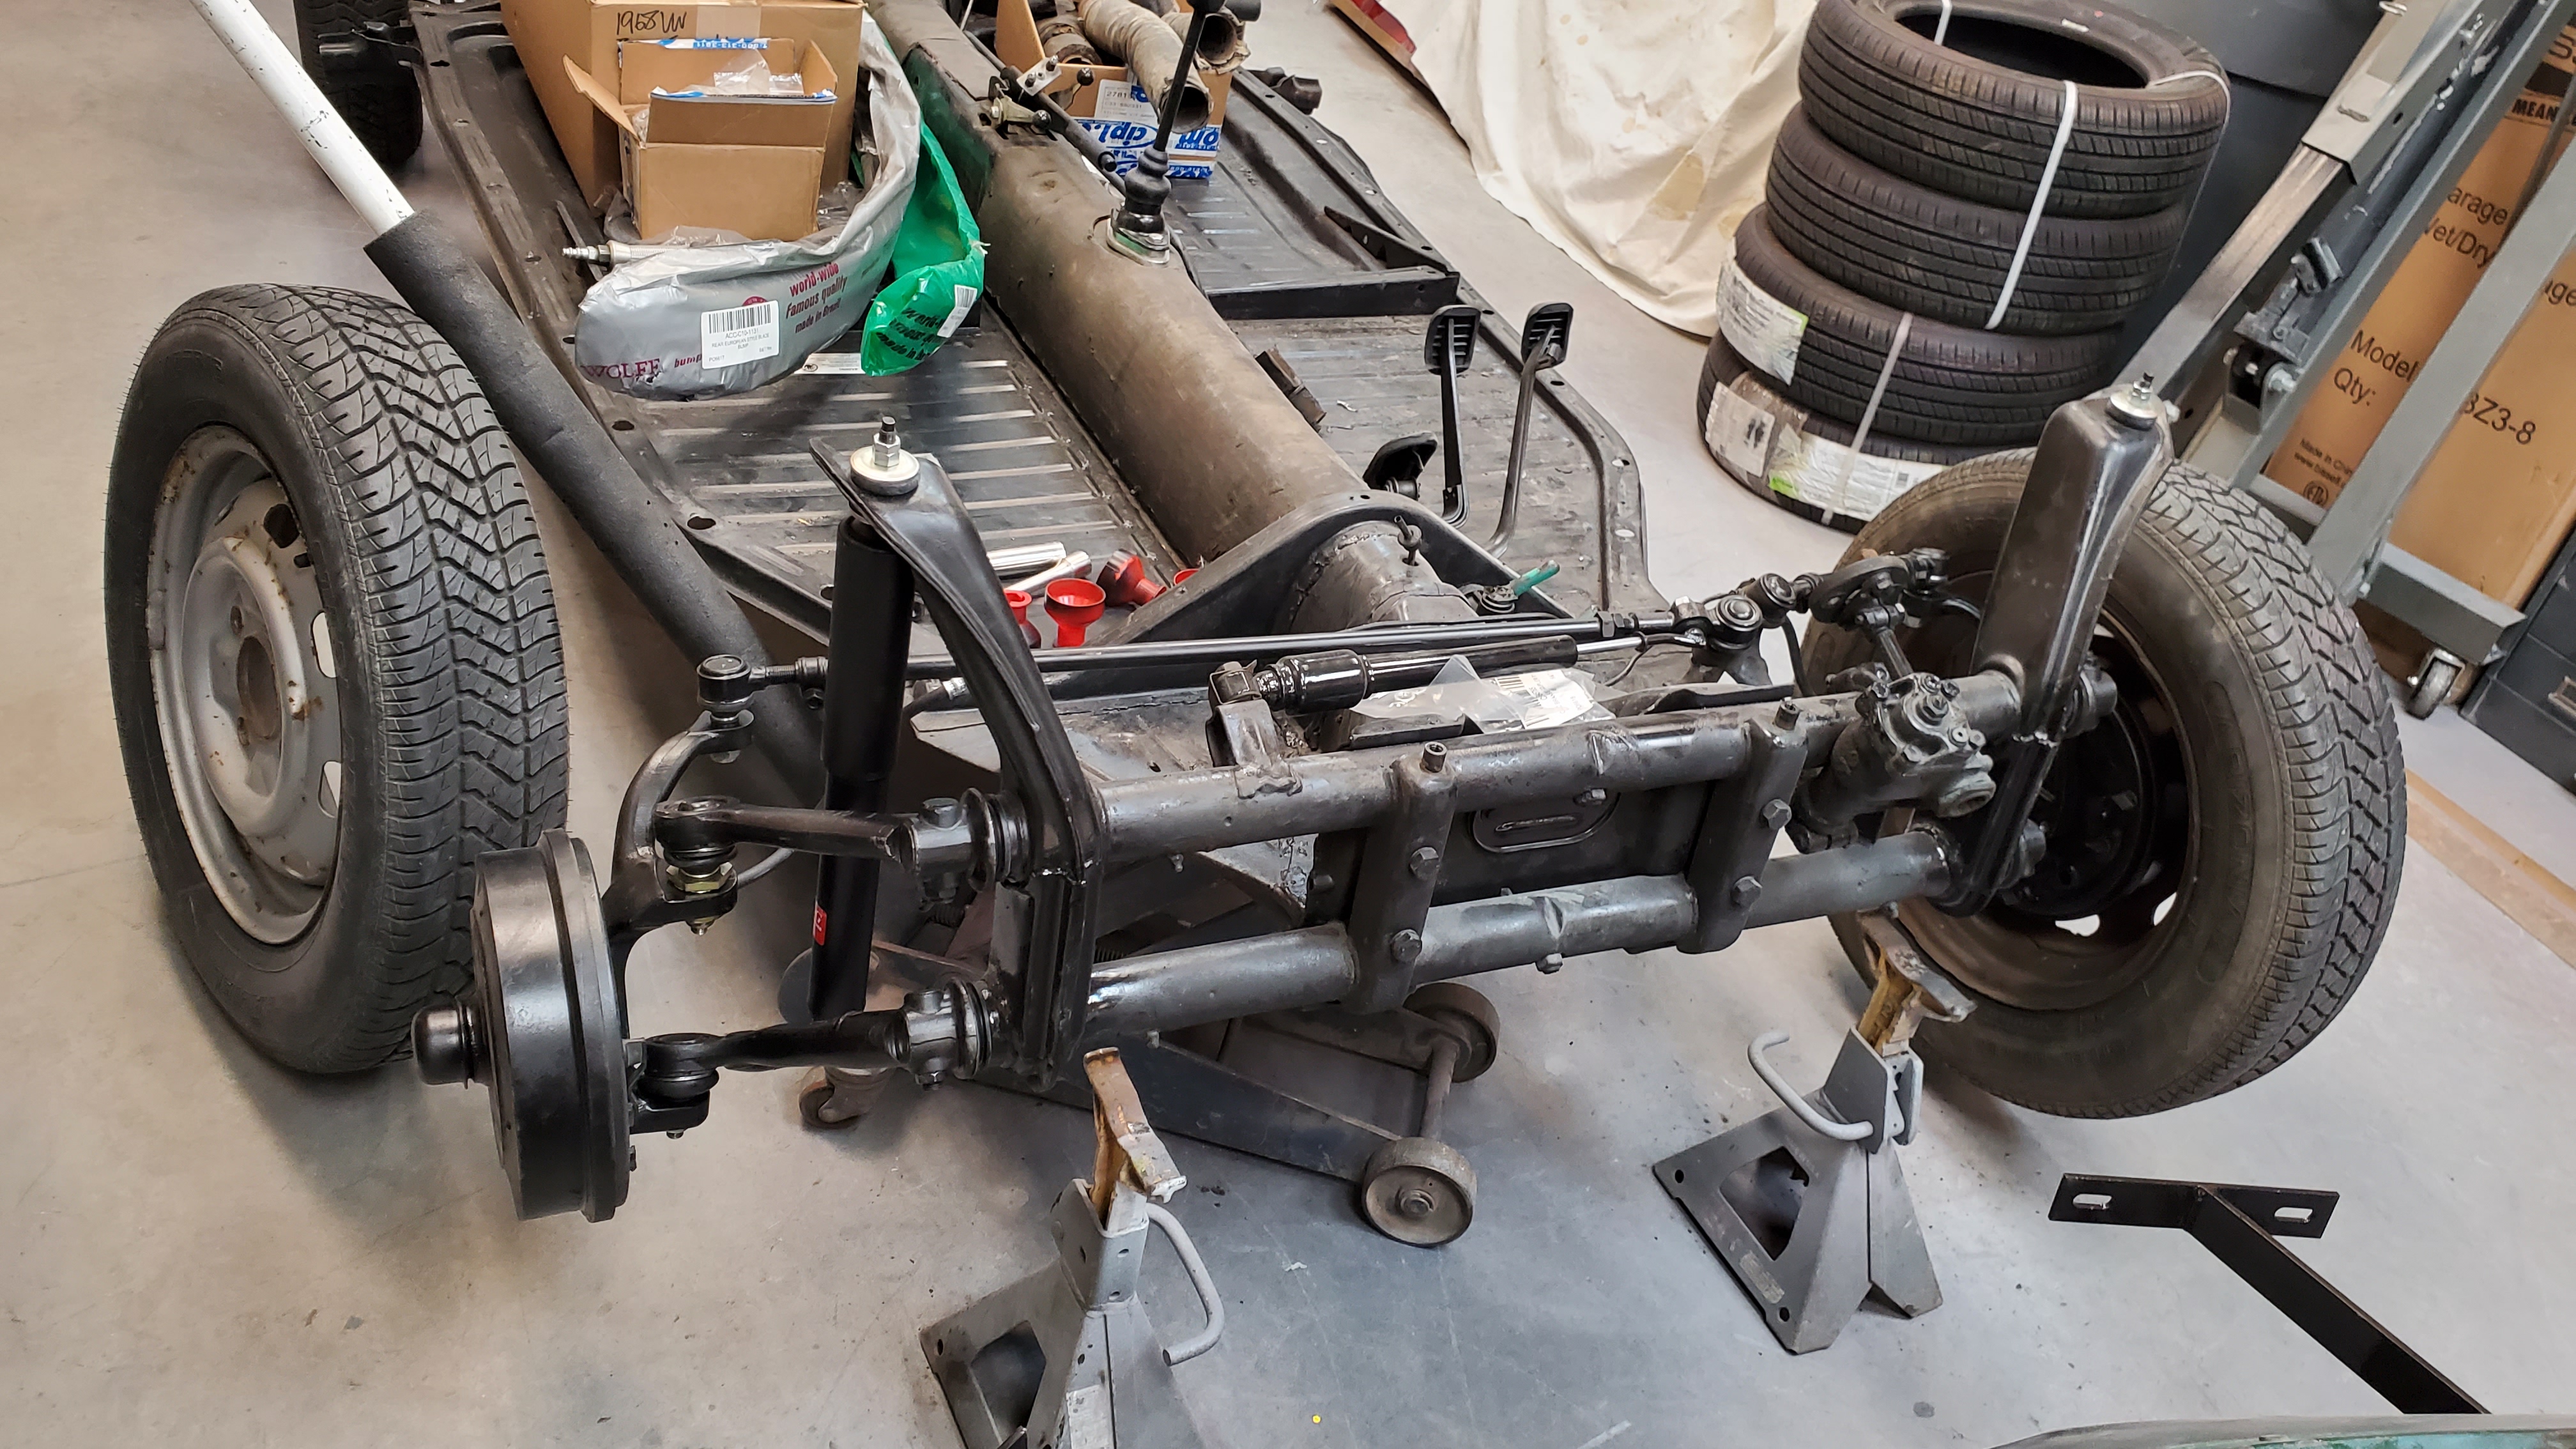
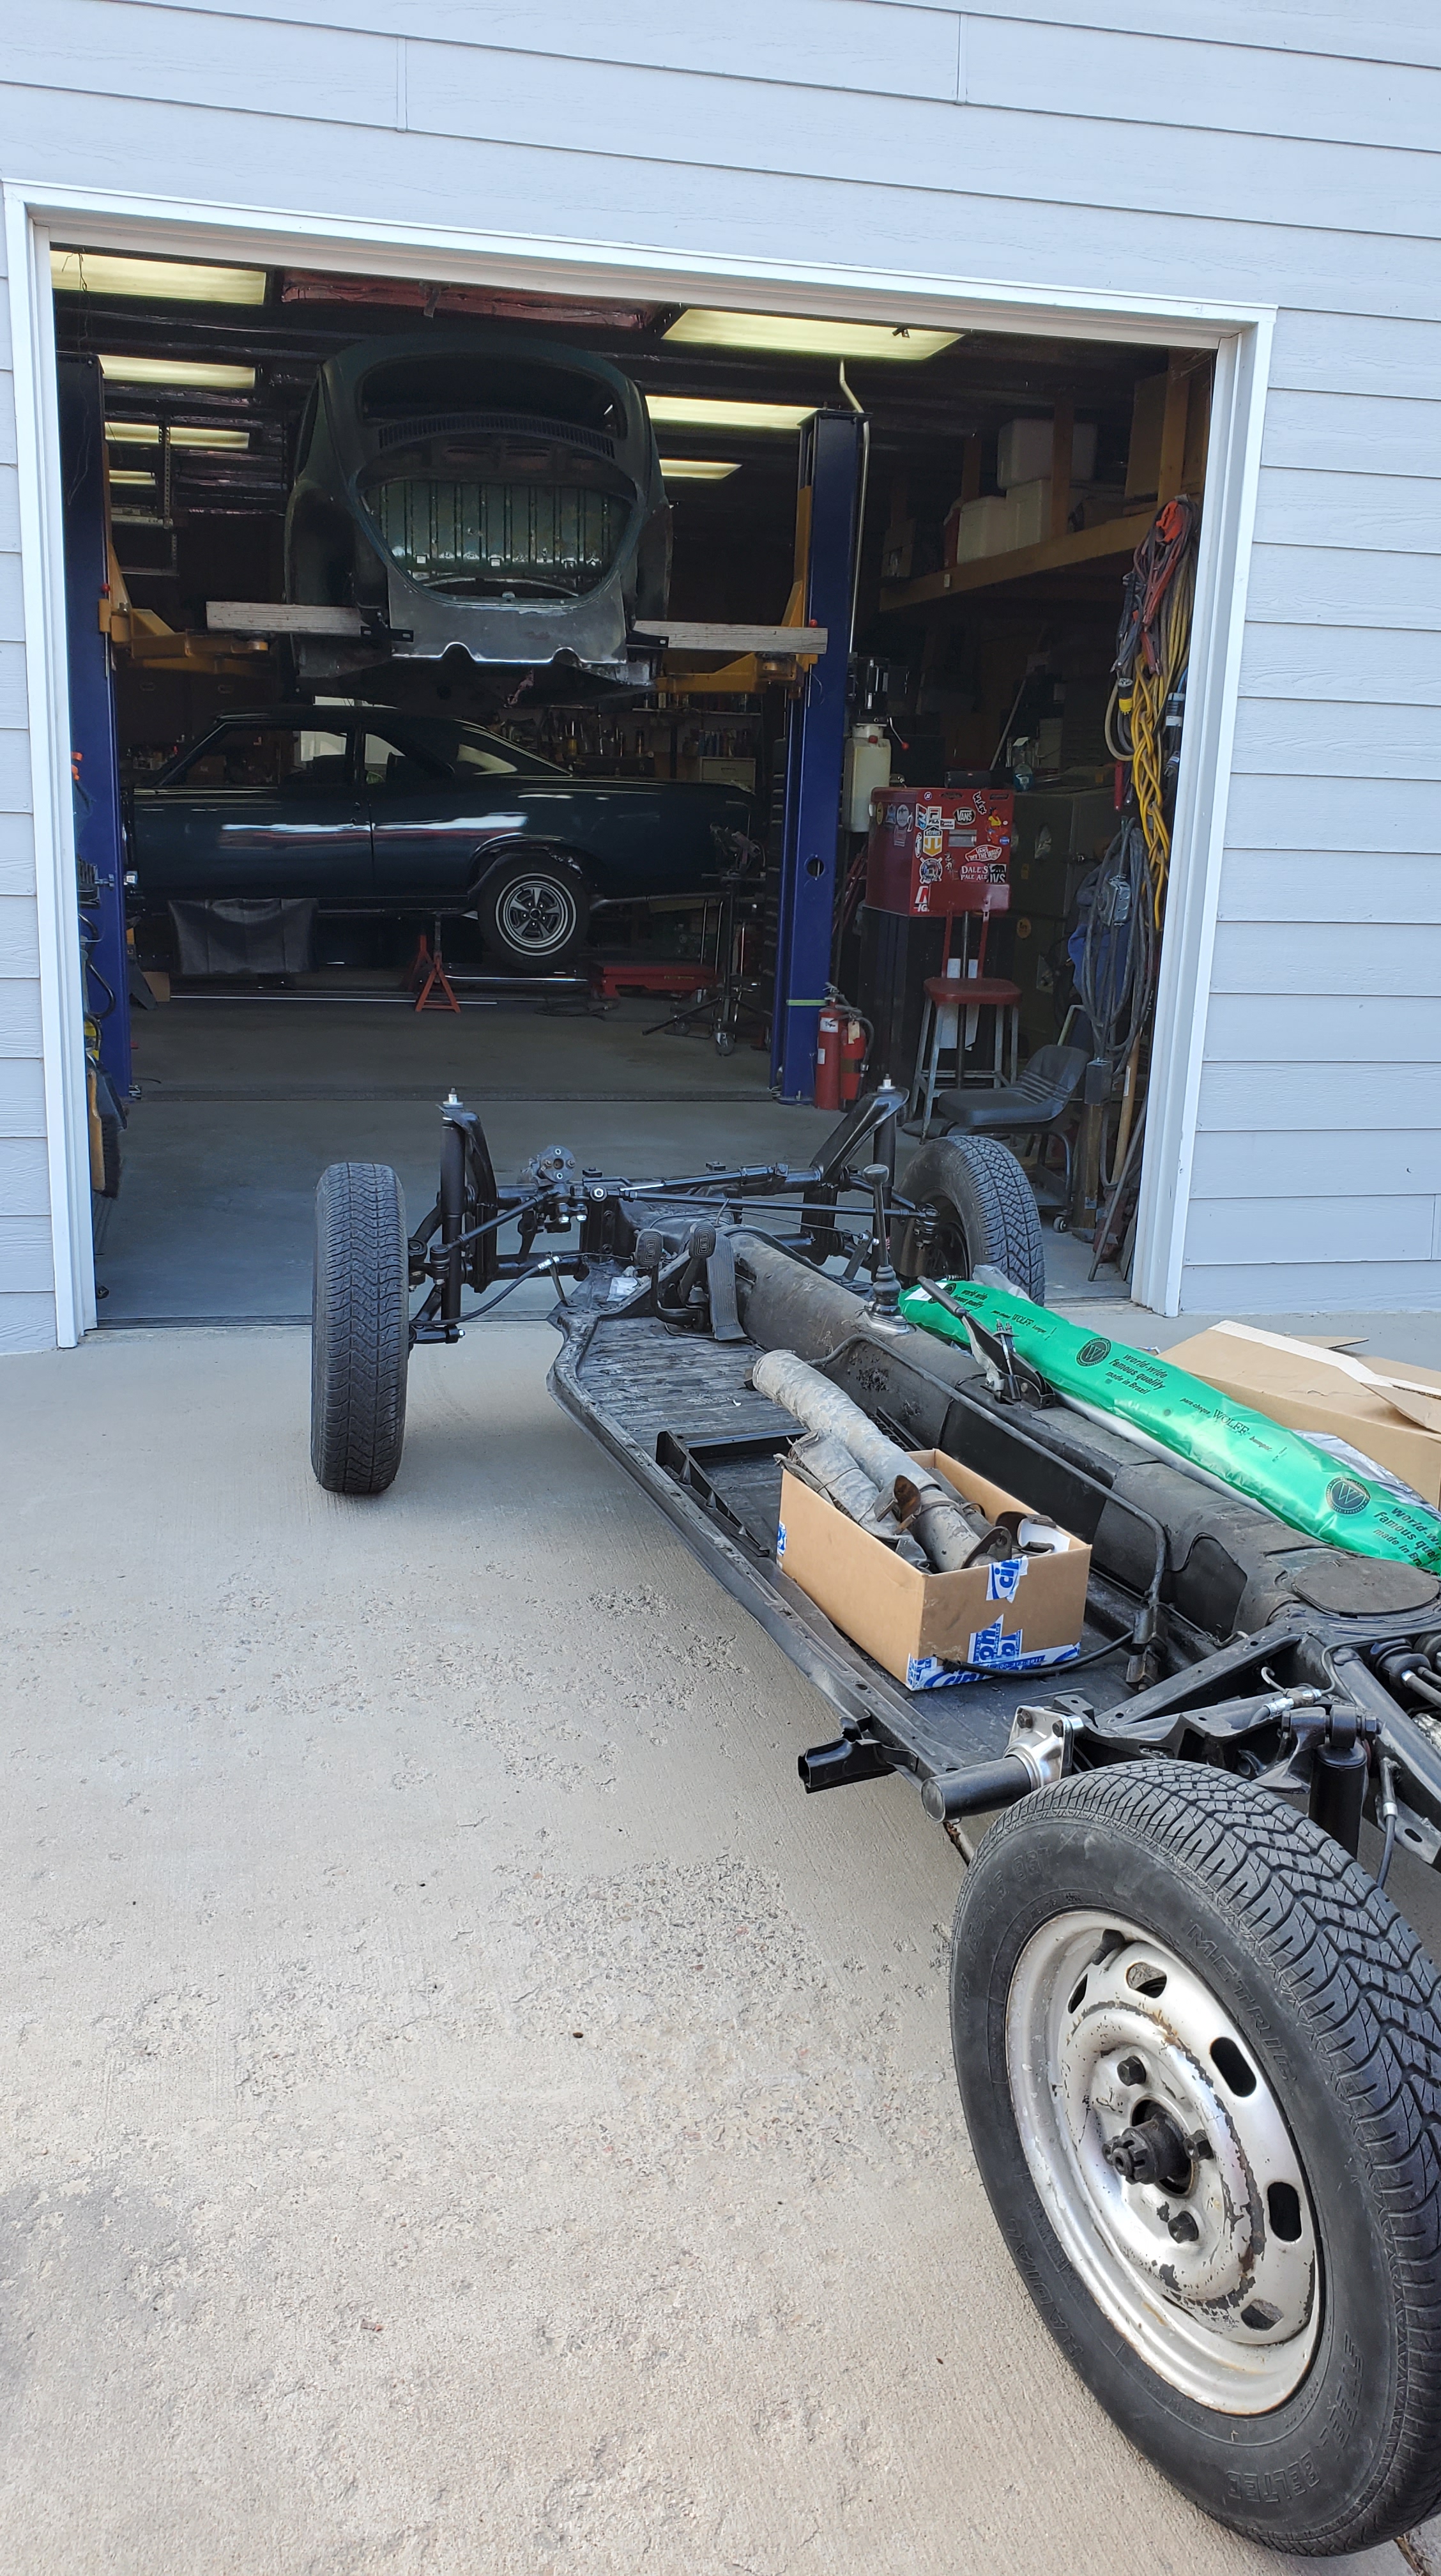
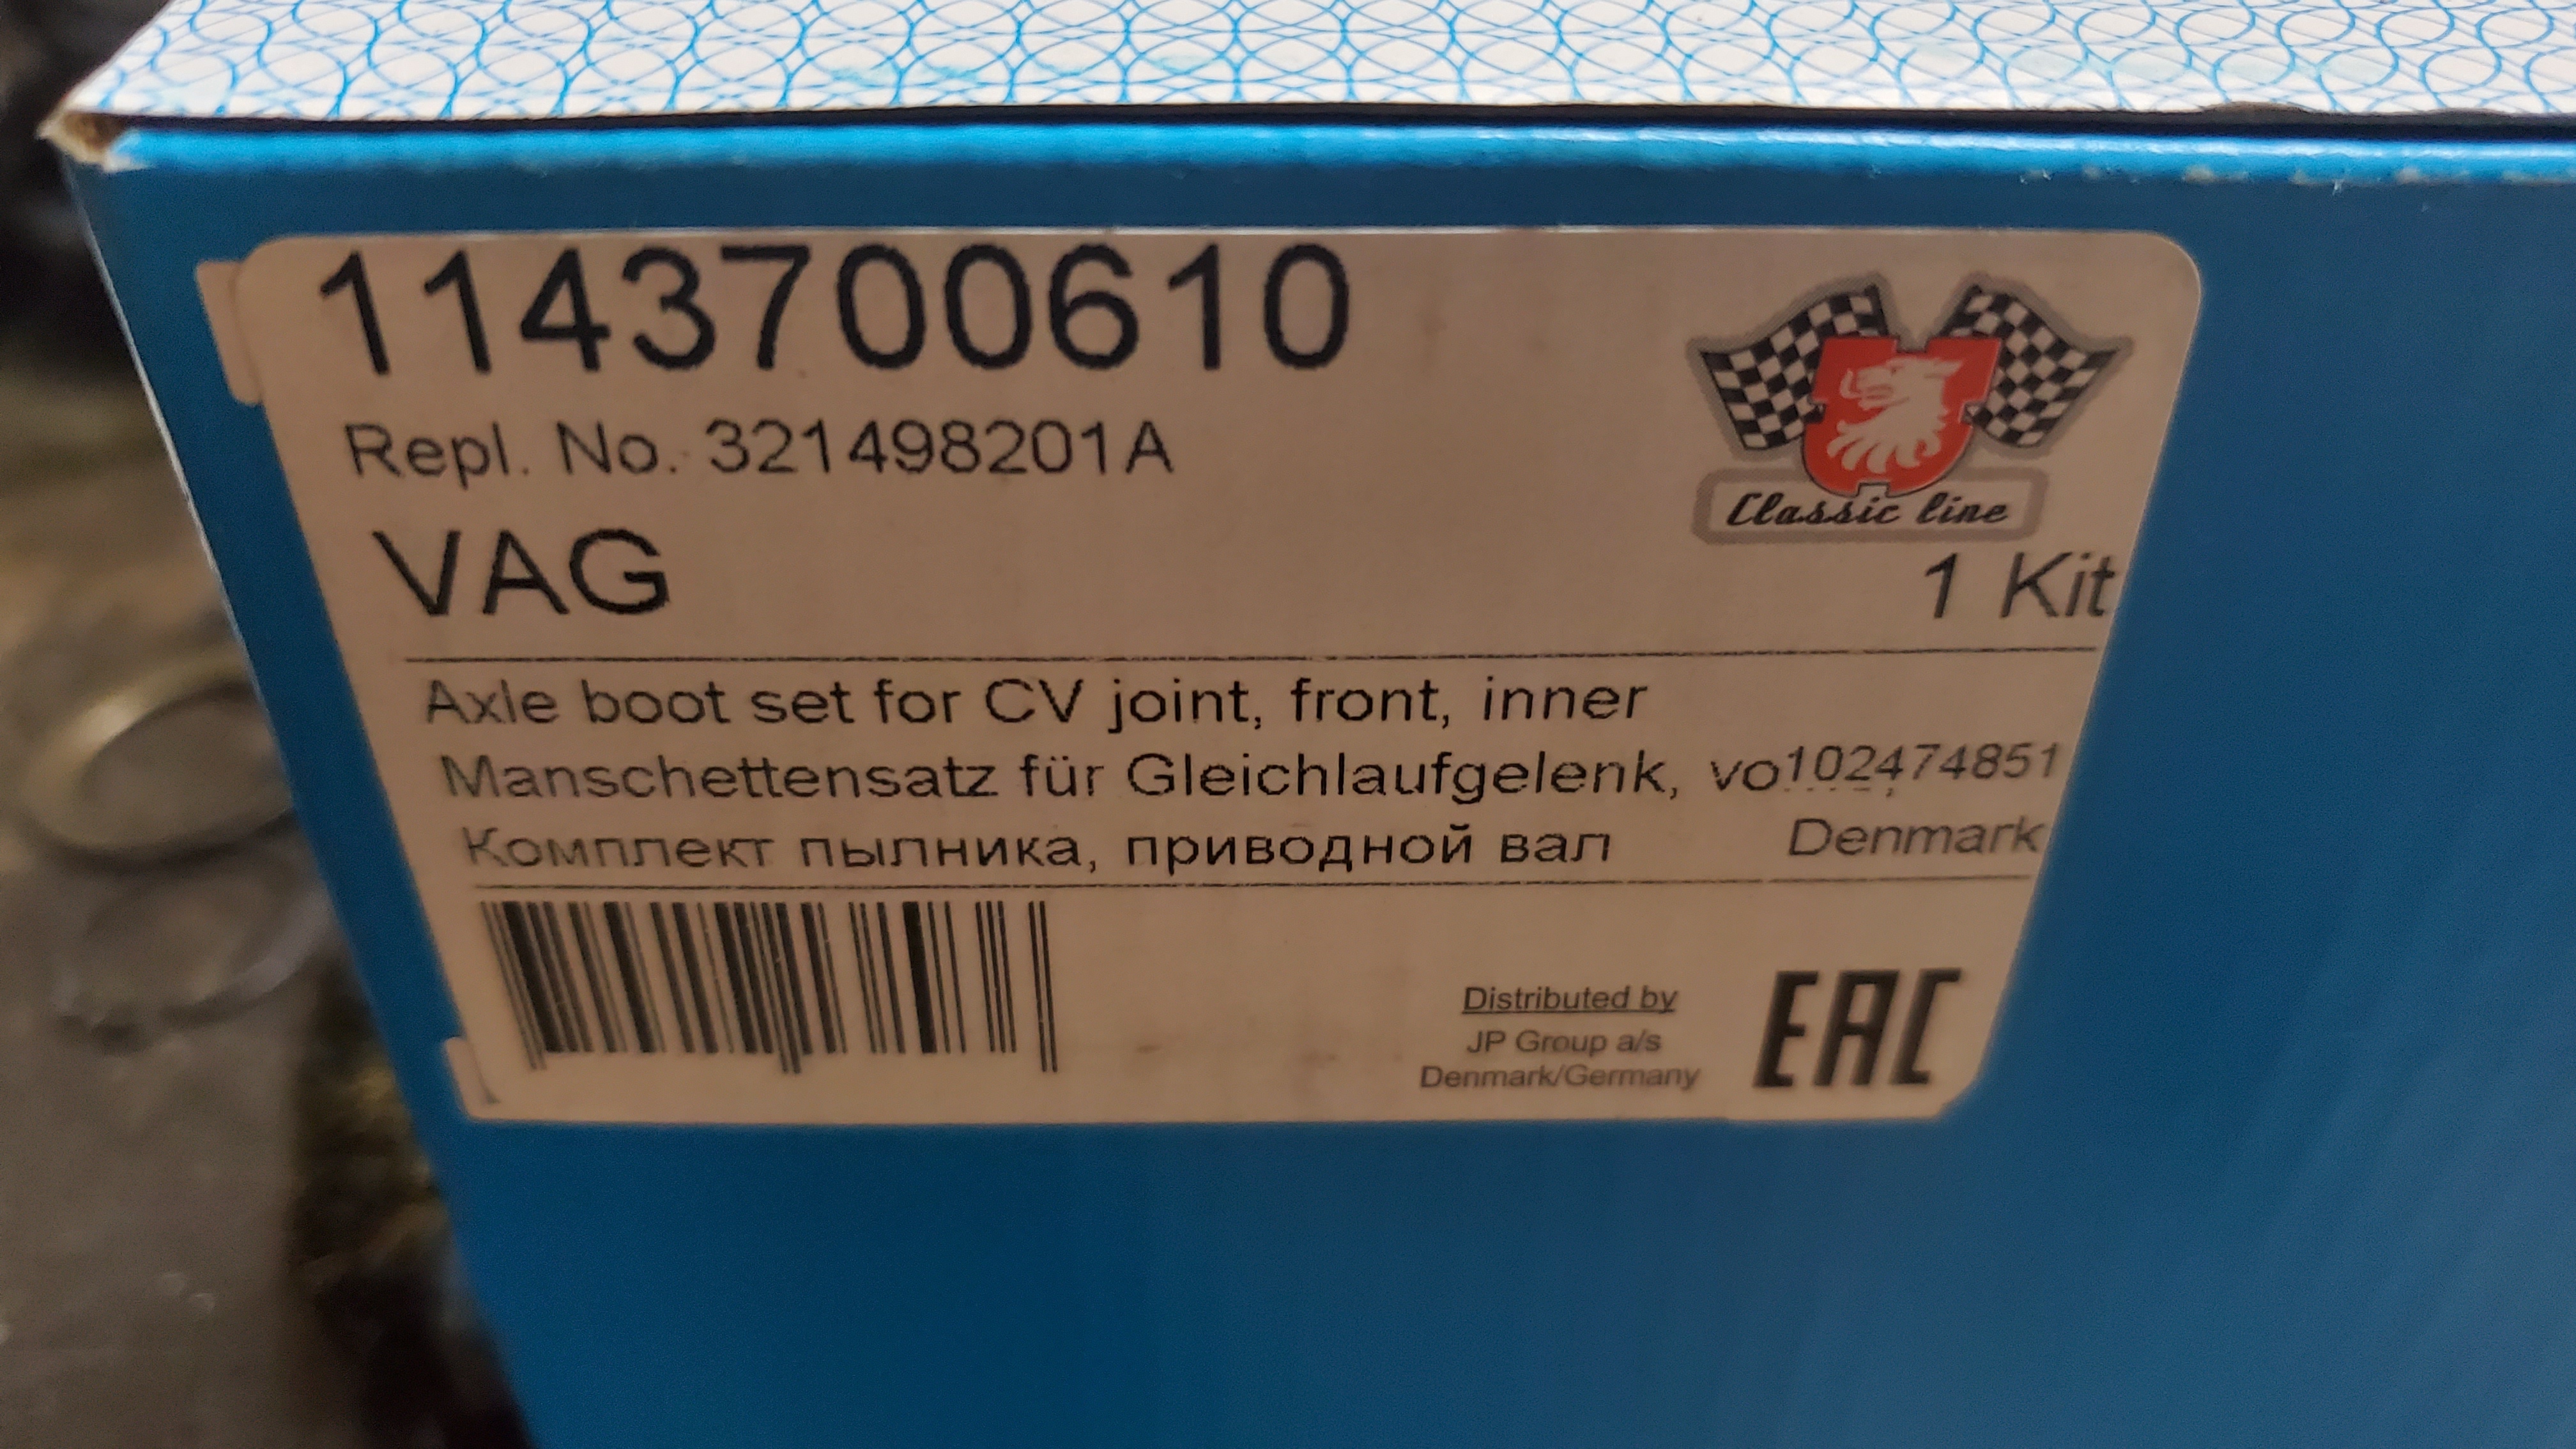
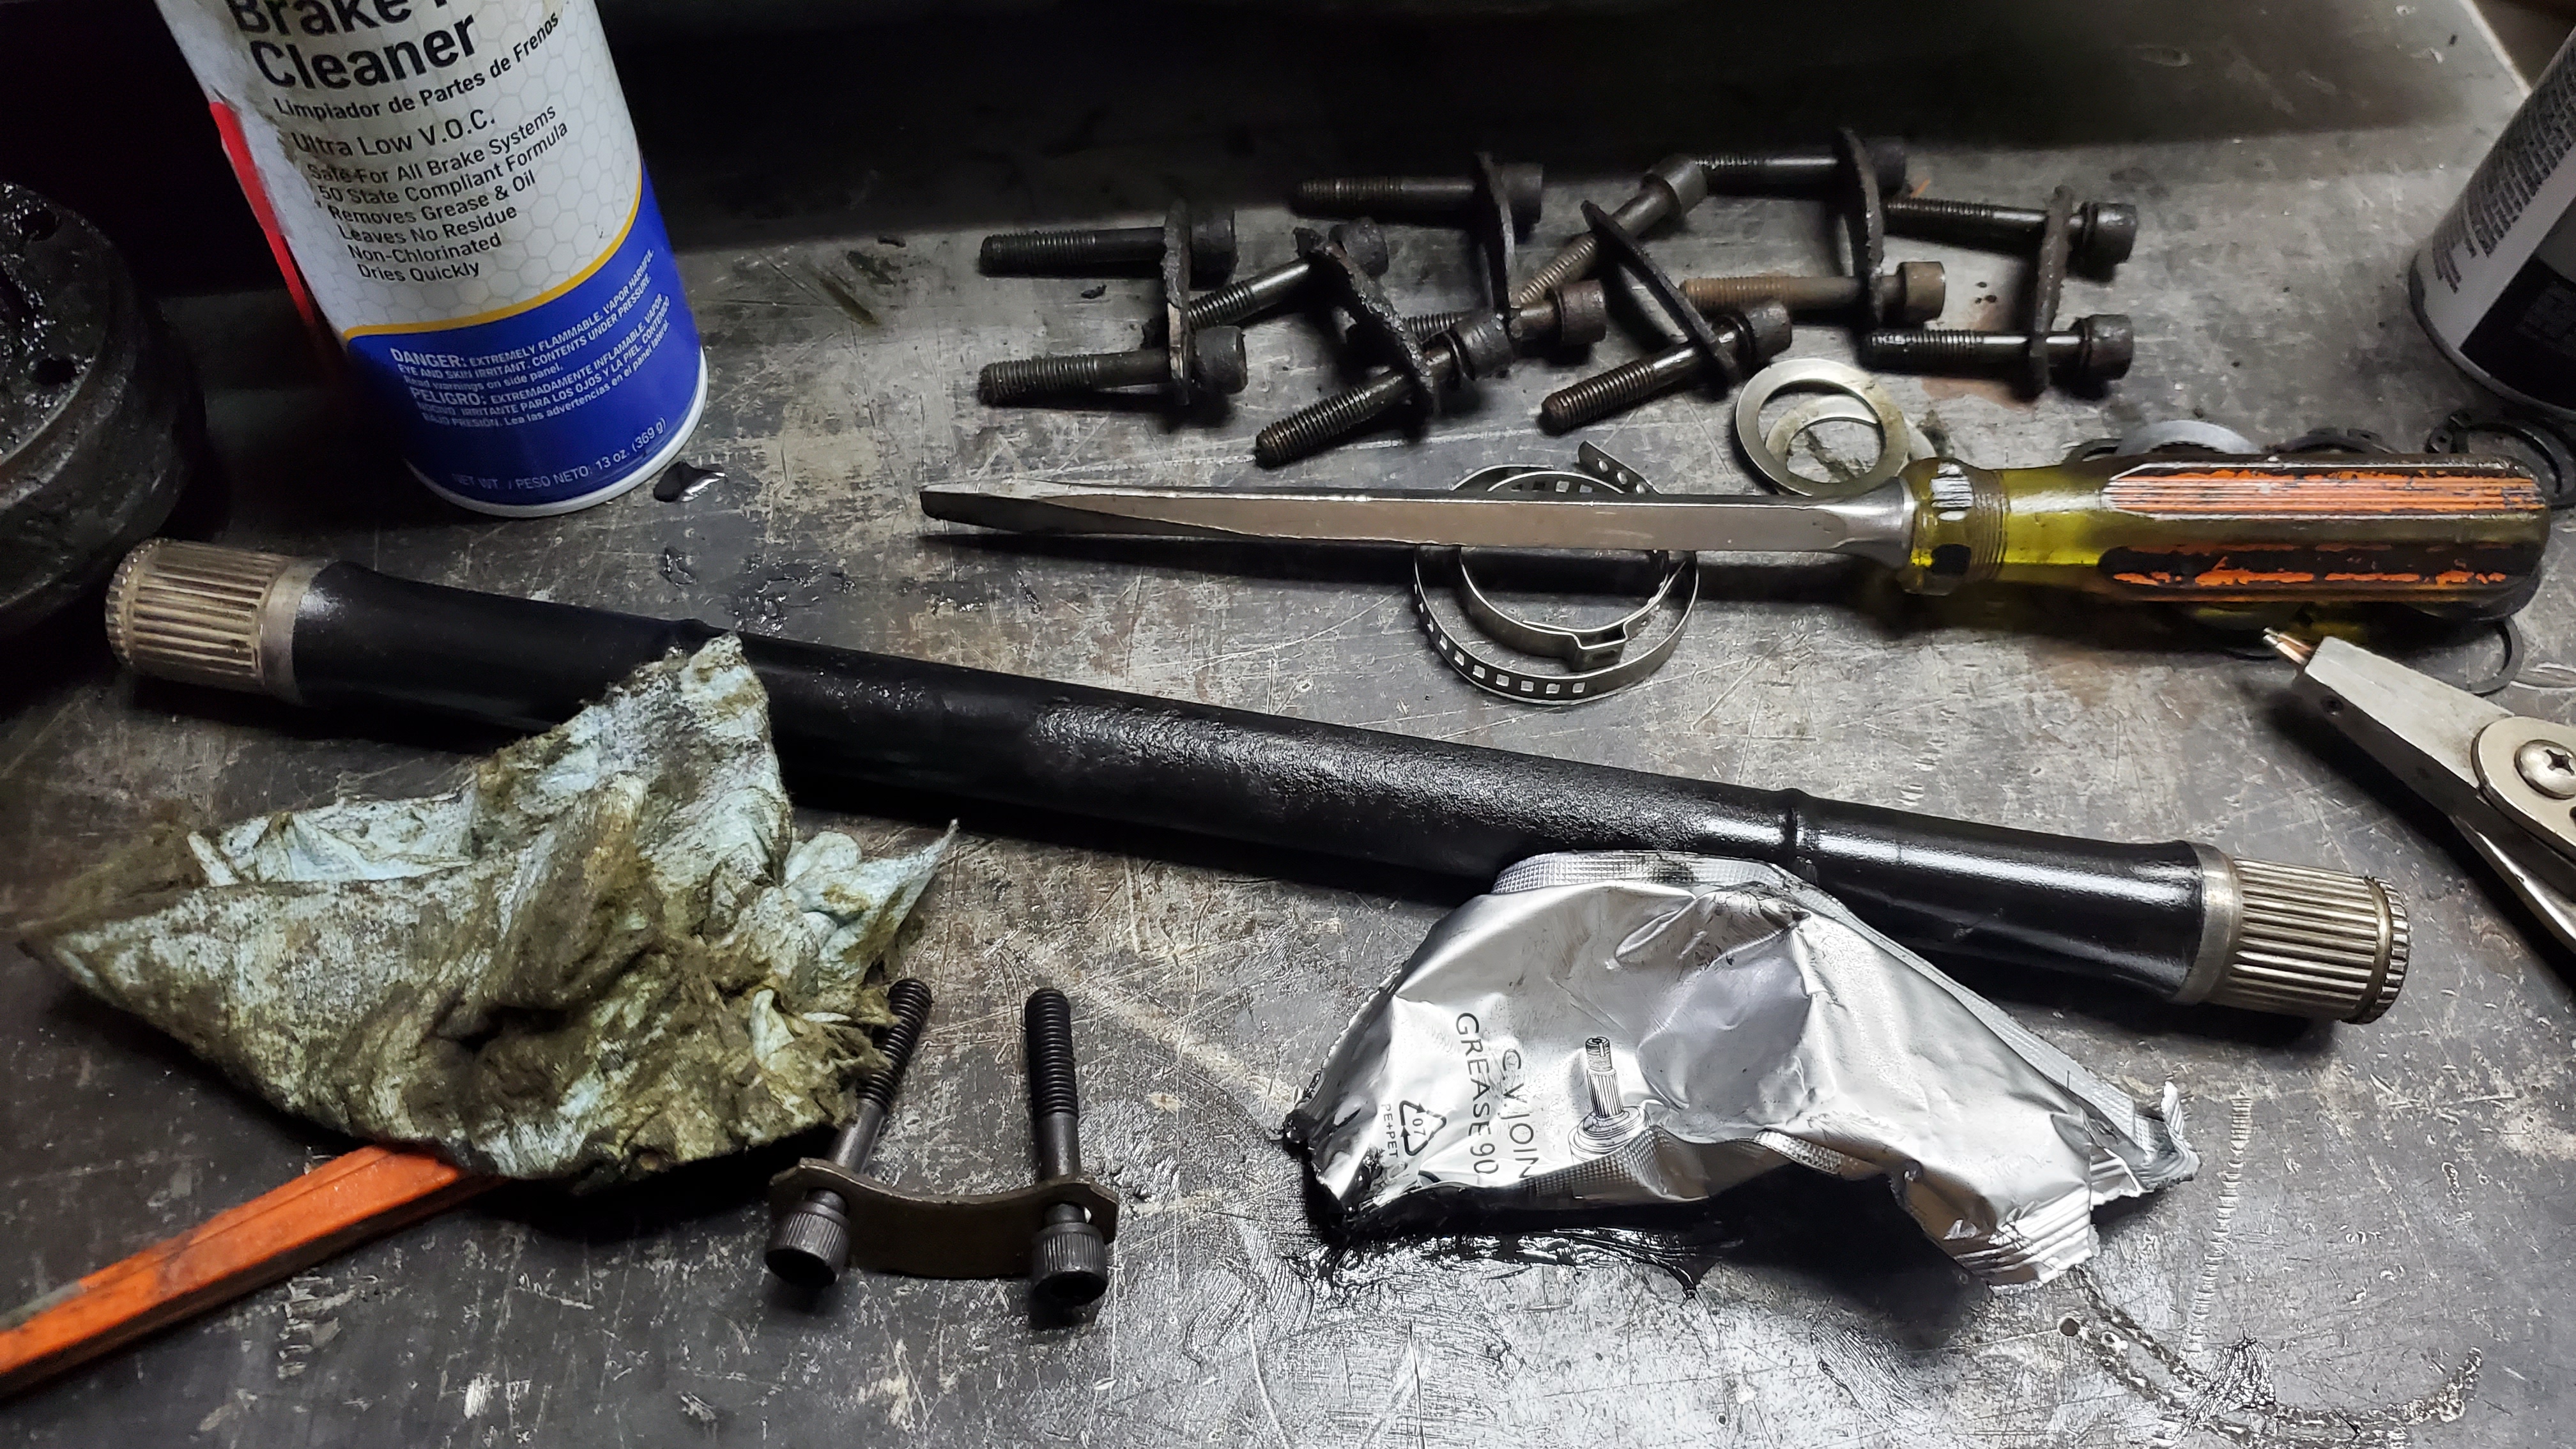
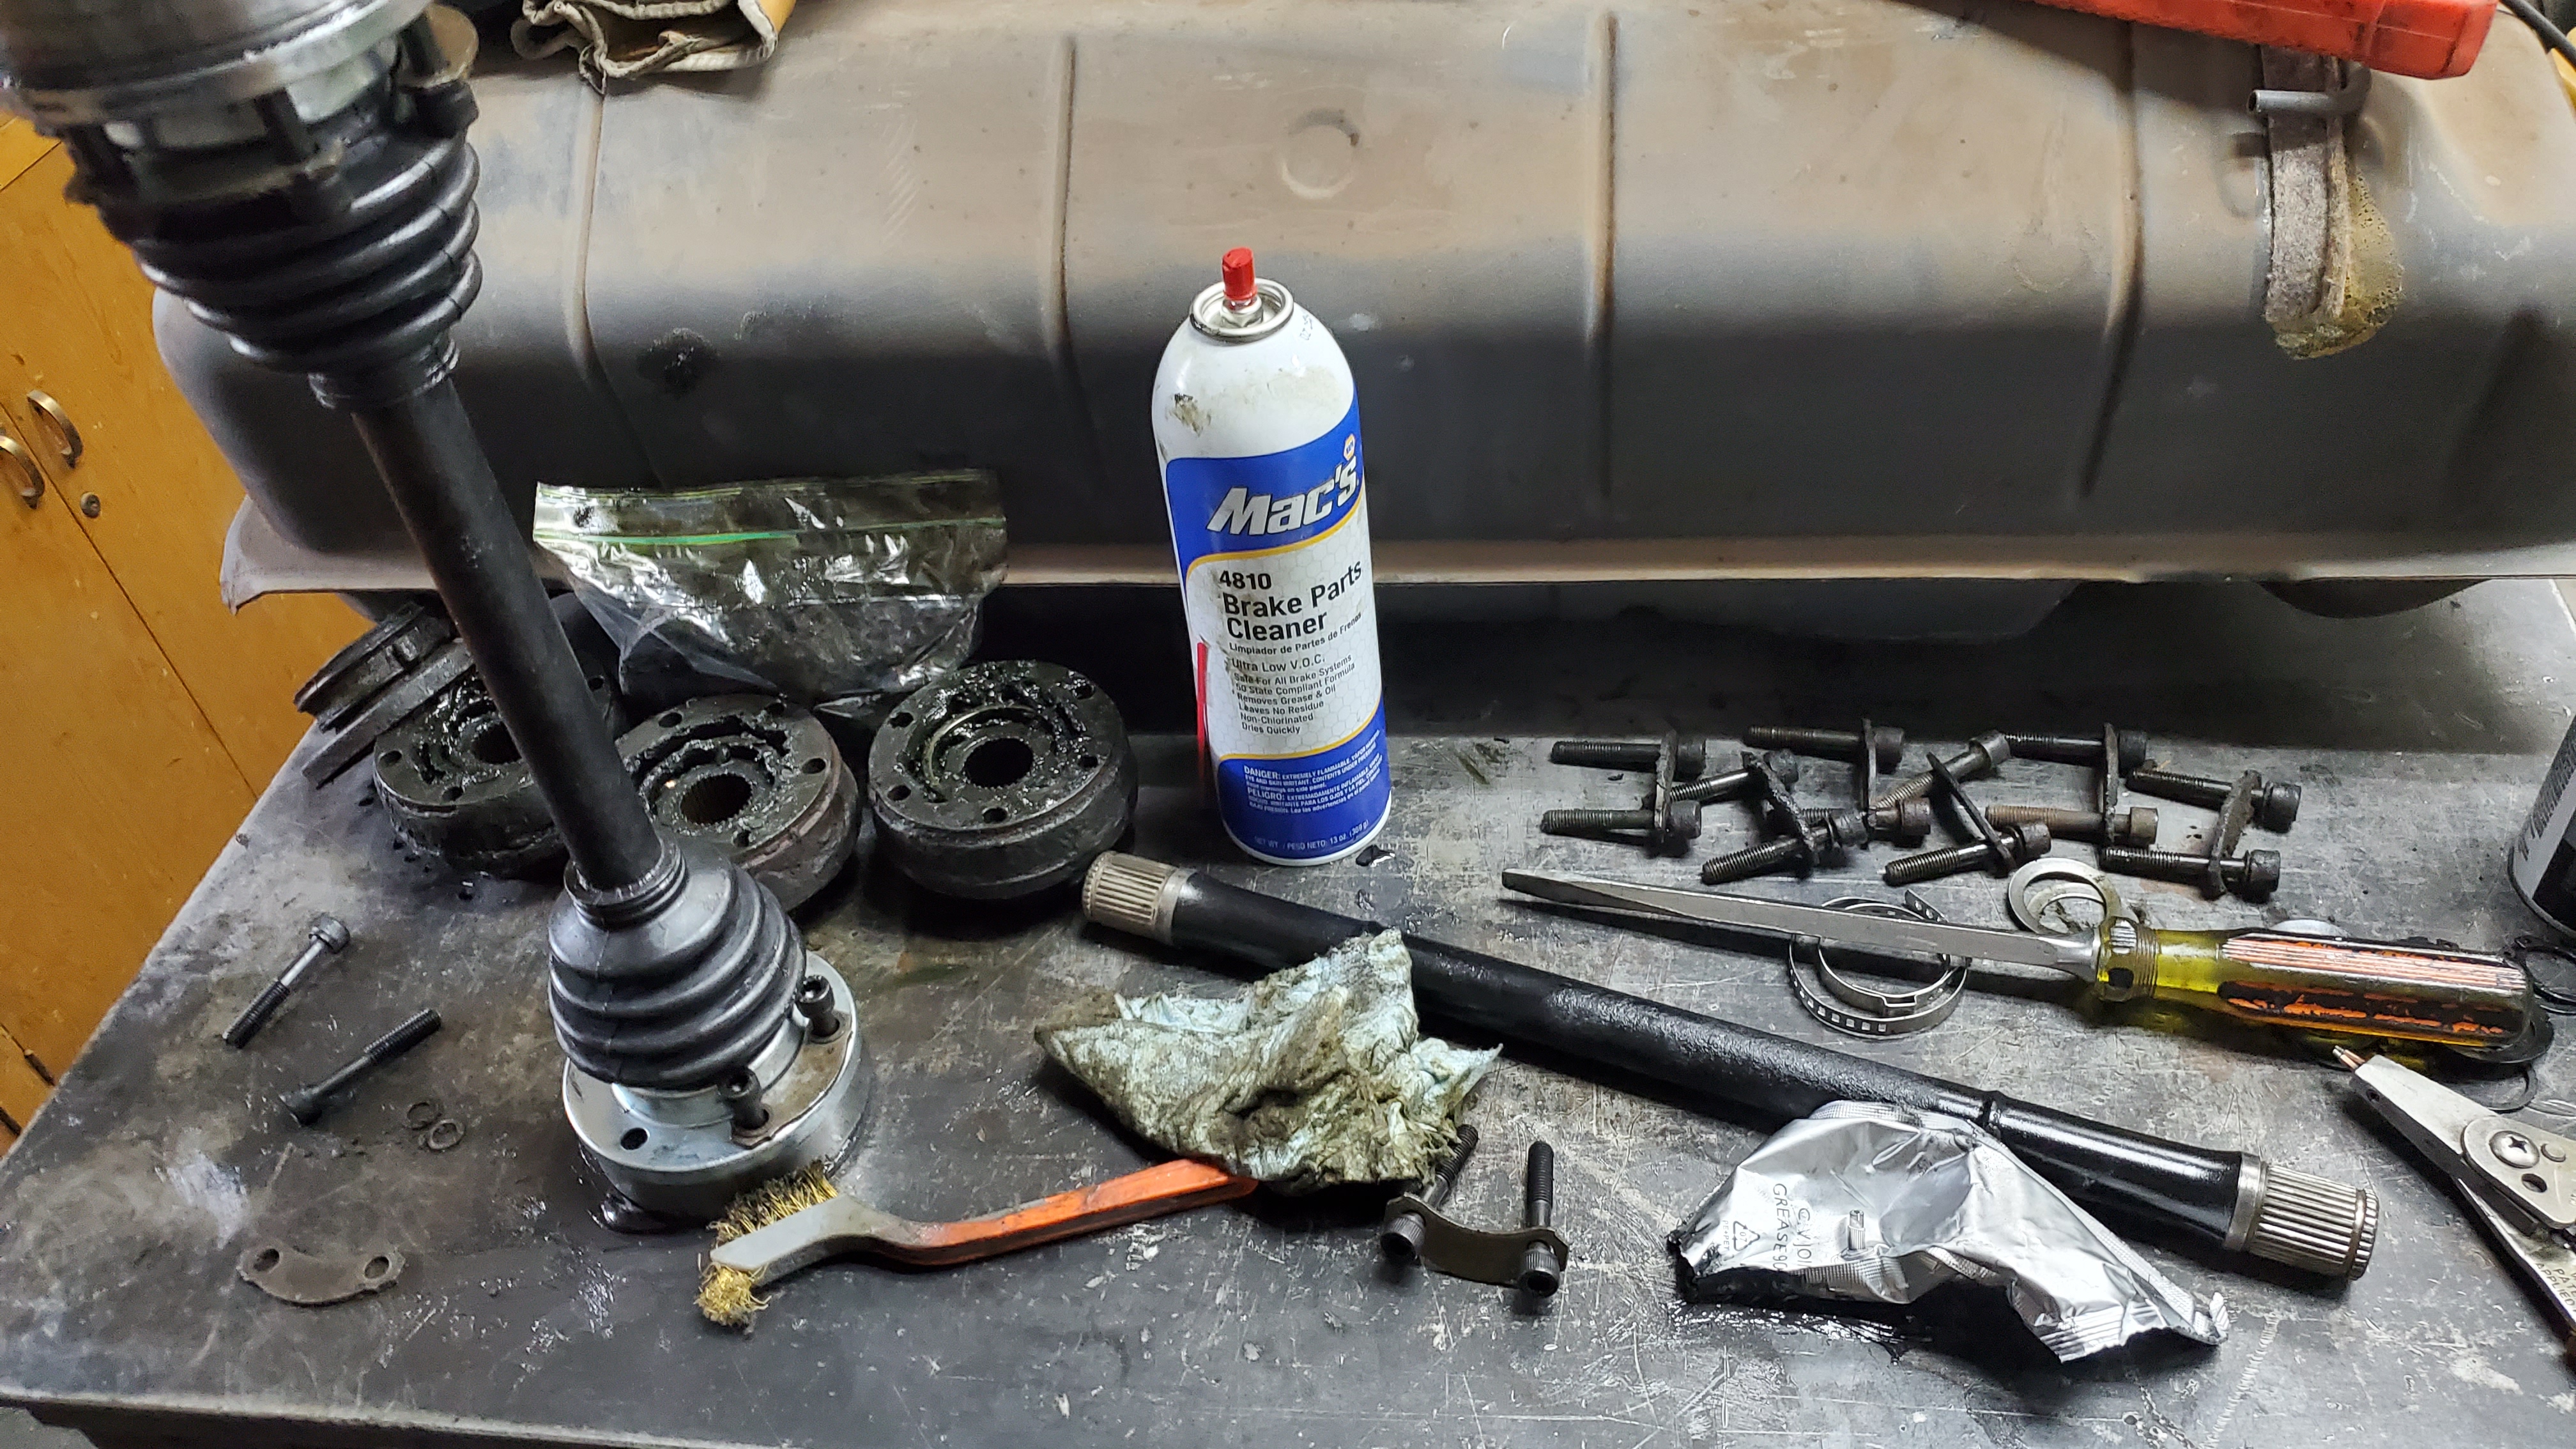
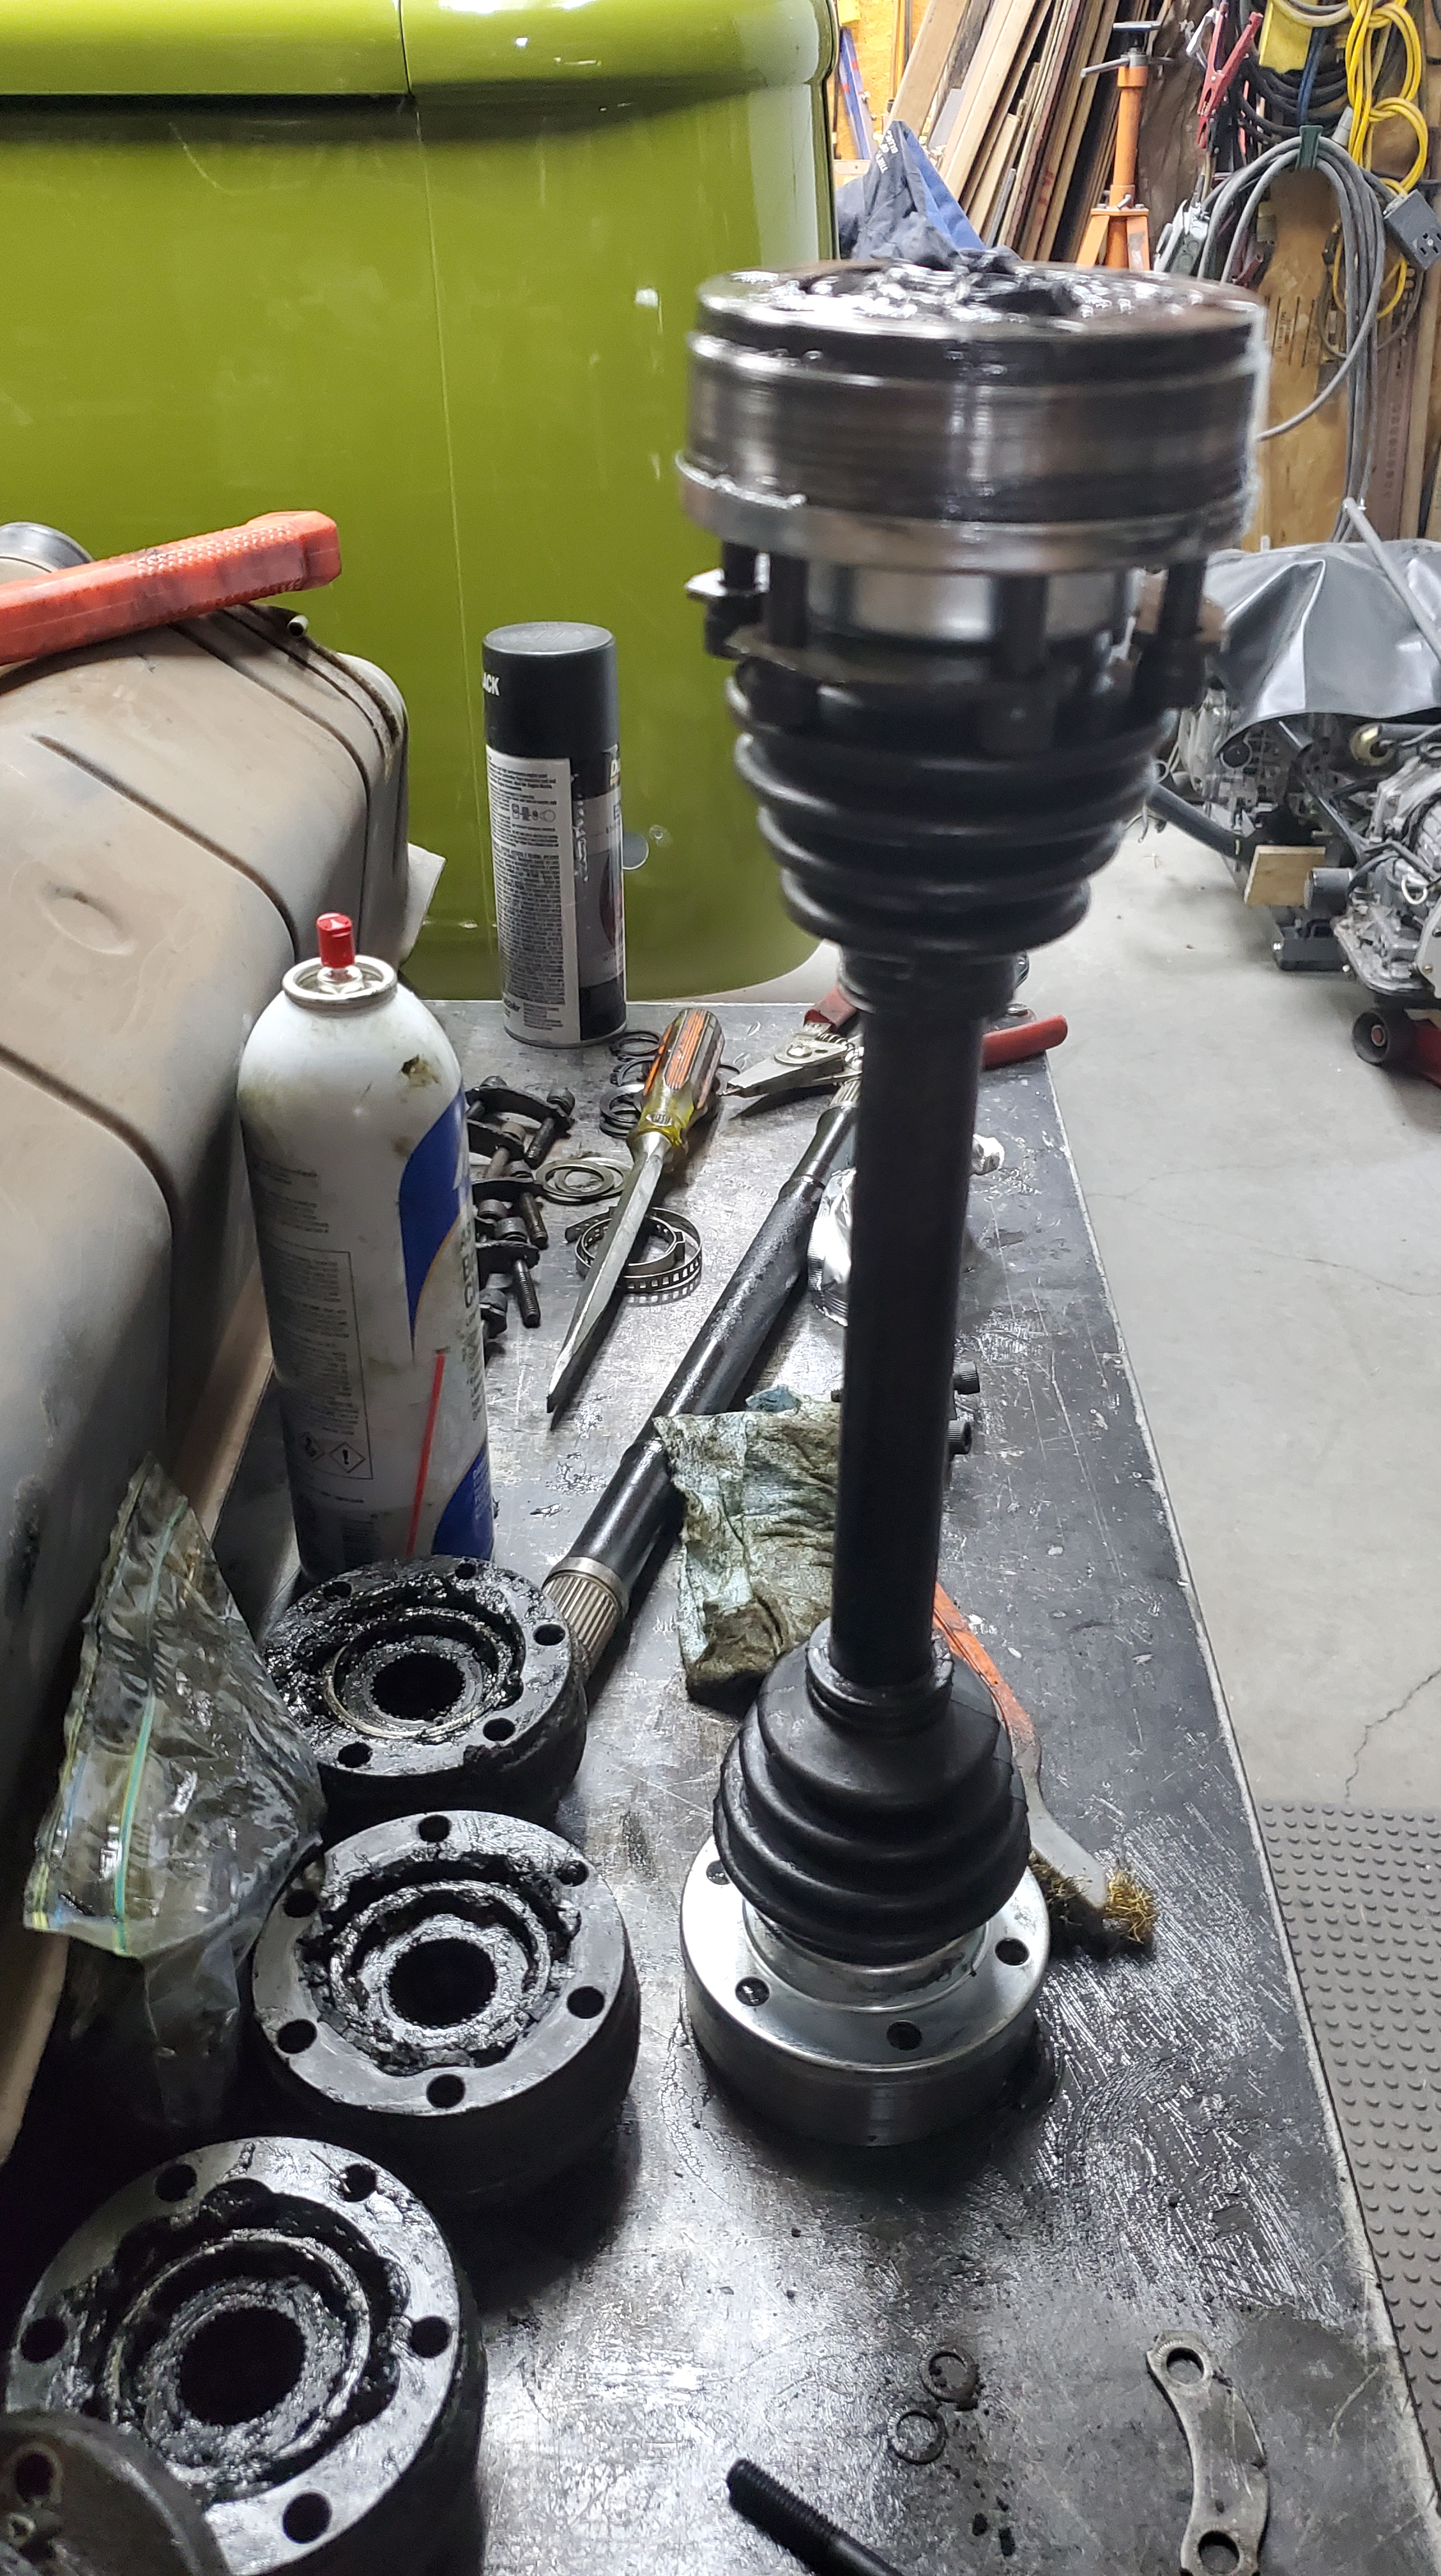
The German CV joints came in as well, and the original axles were taken apart, taped, blasted, taped for paint, and painted before reassembly with new boots and hardware. You have to clean the bolt links and reuse those along with the axle shaft.
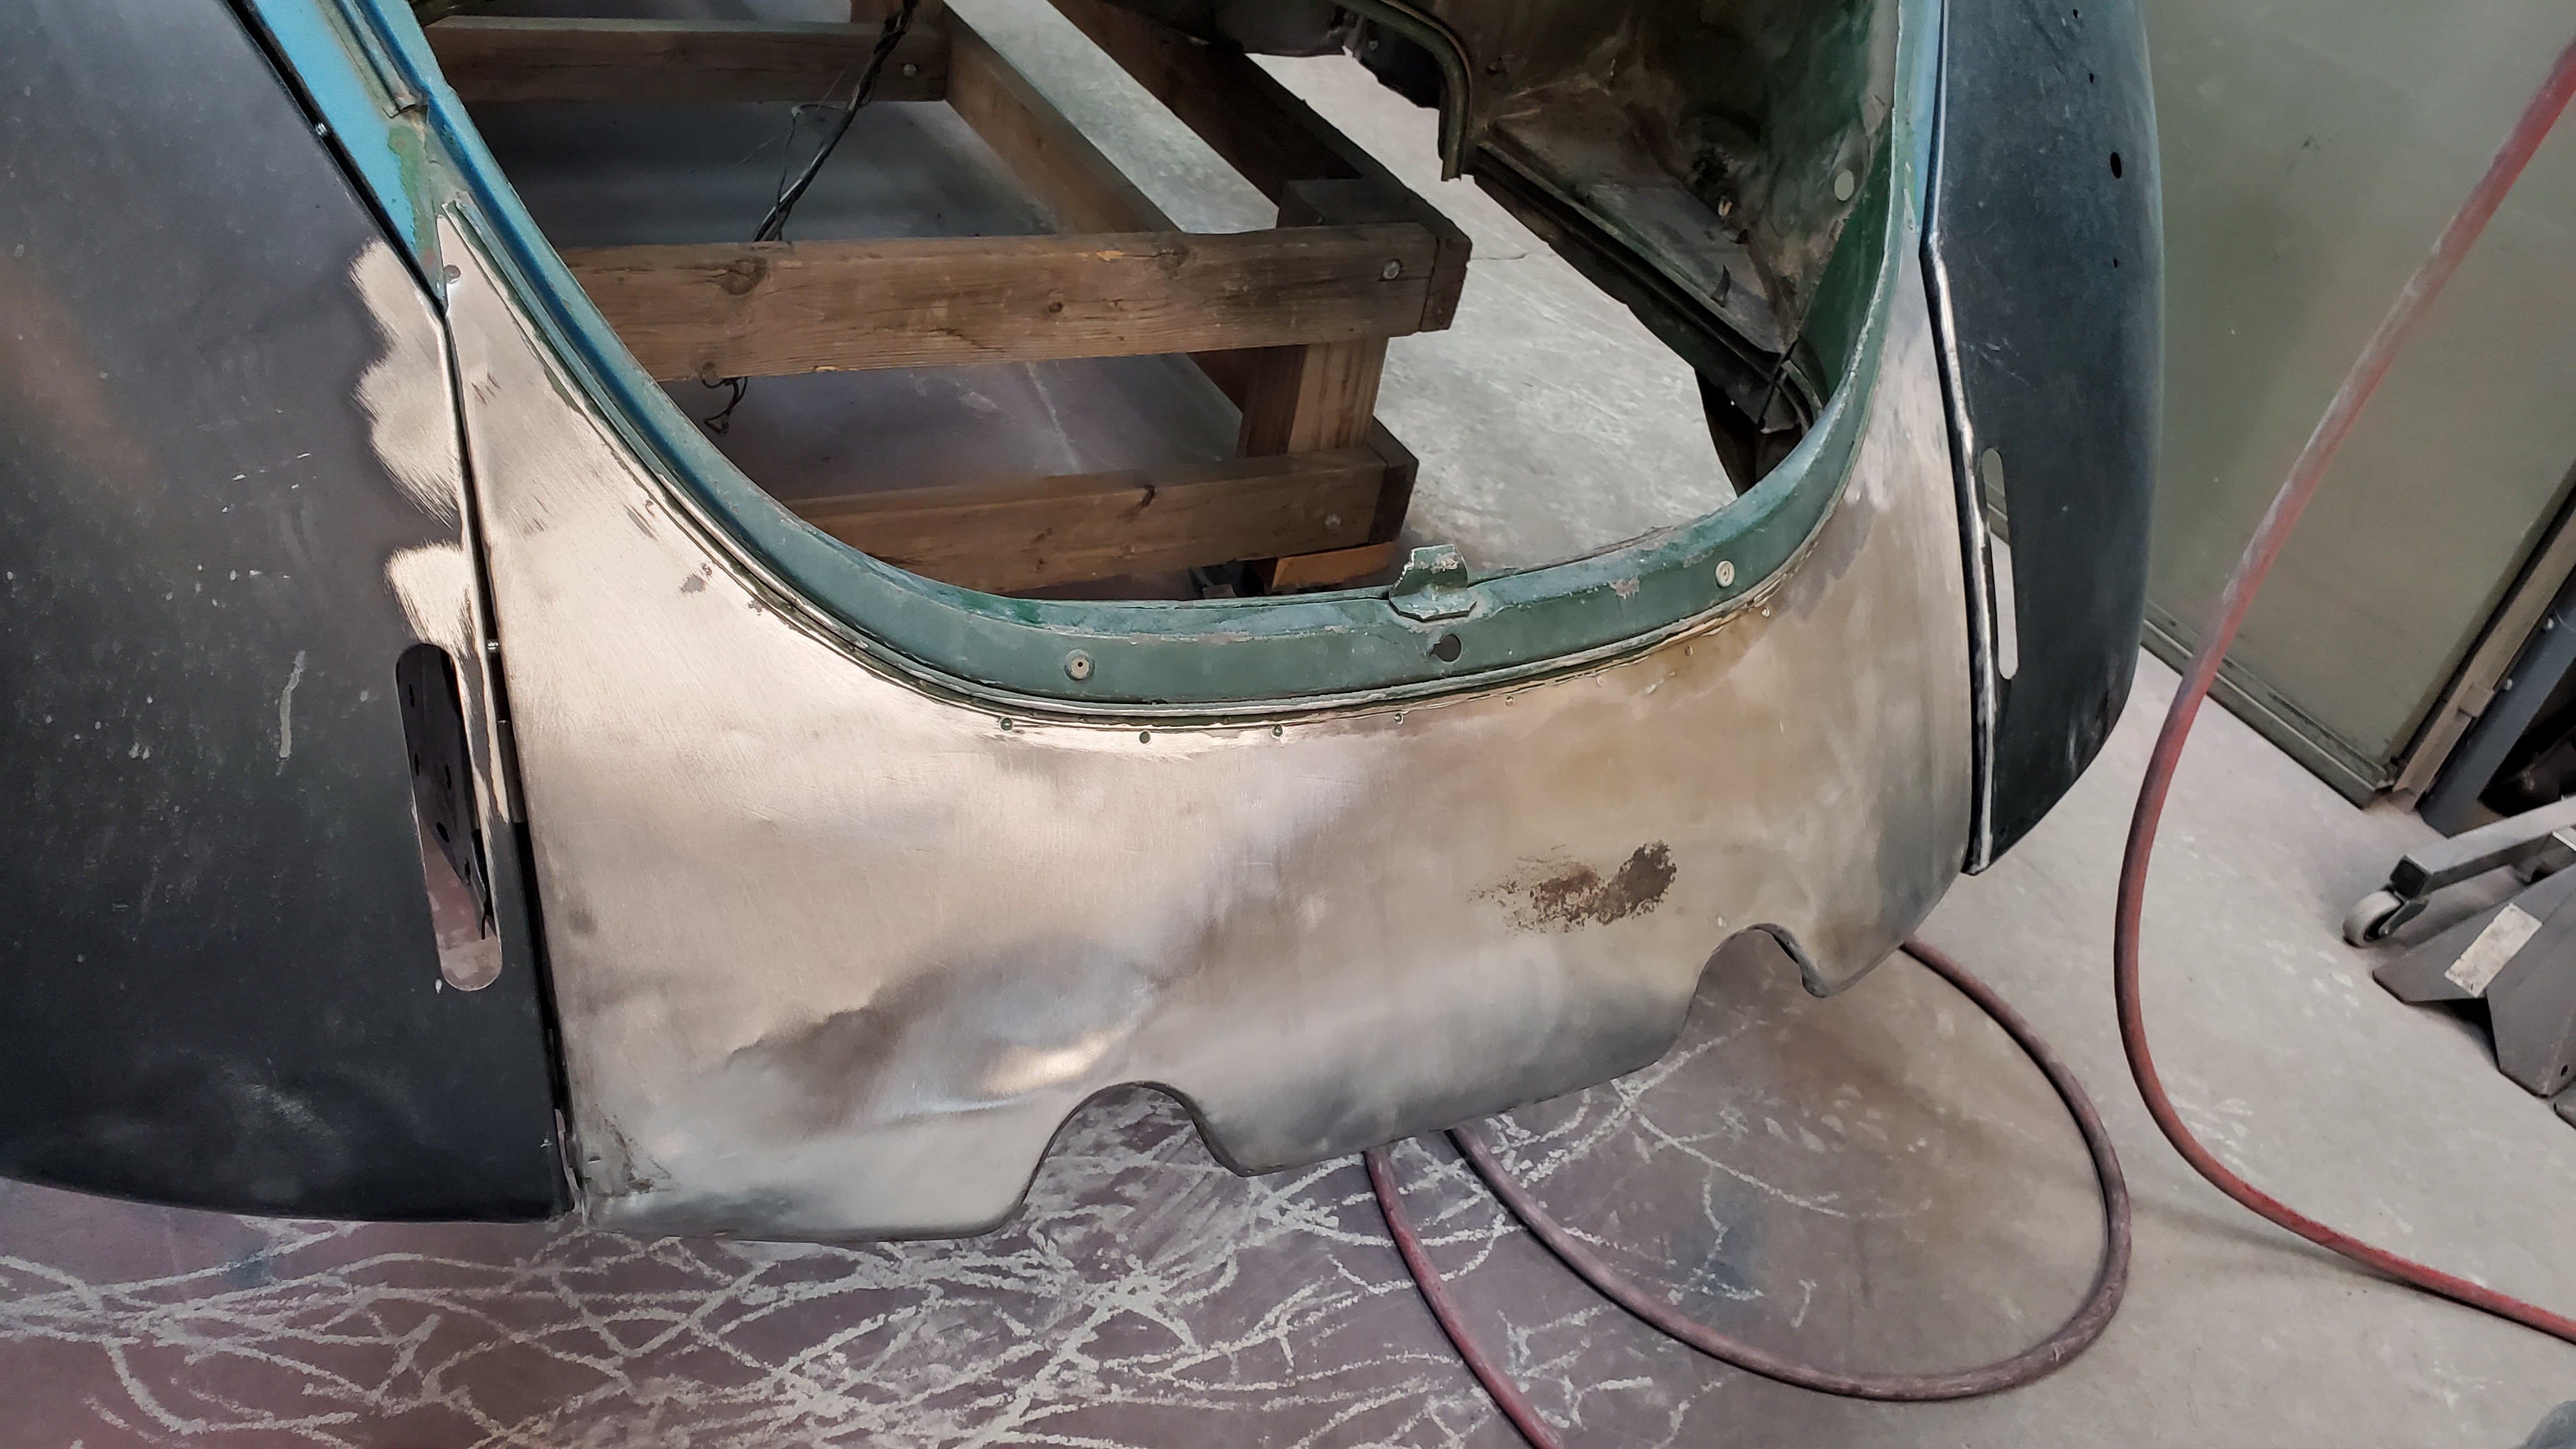
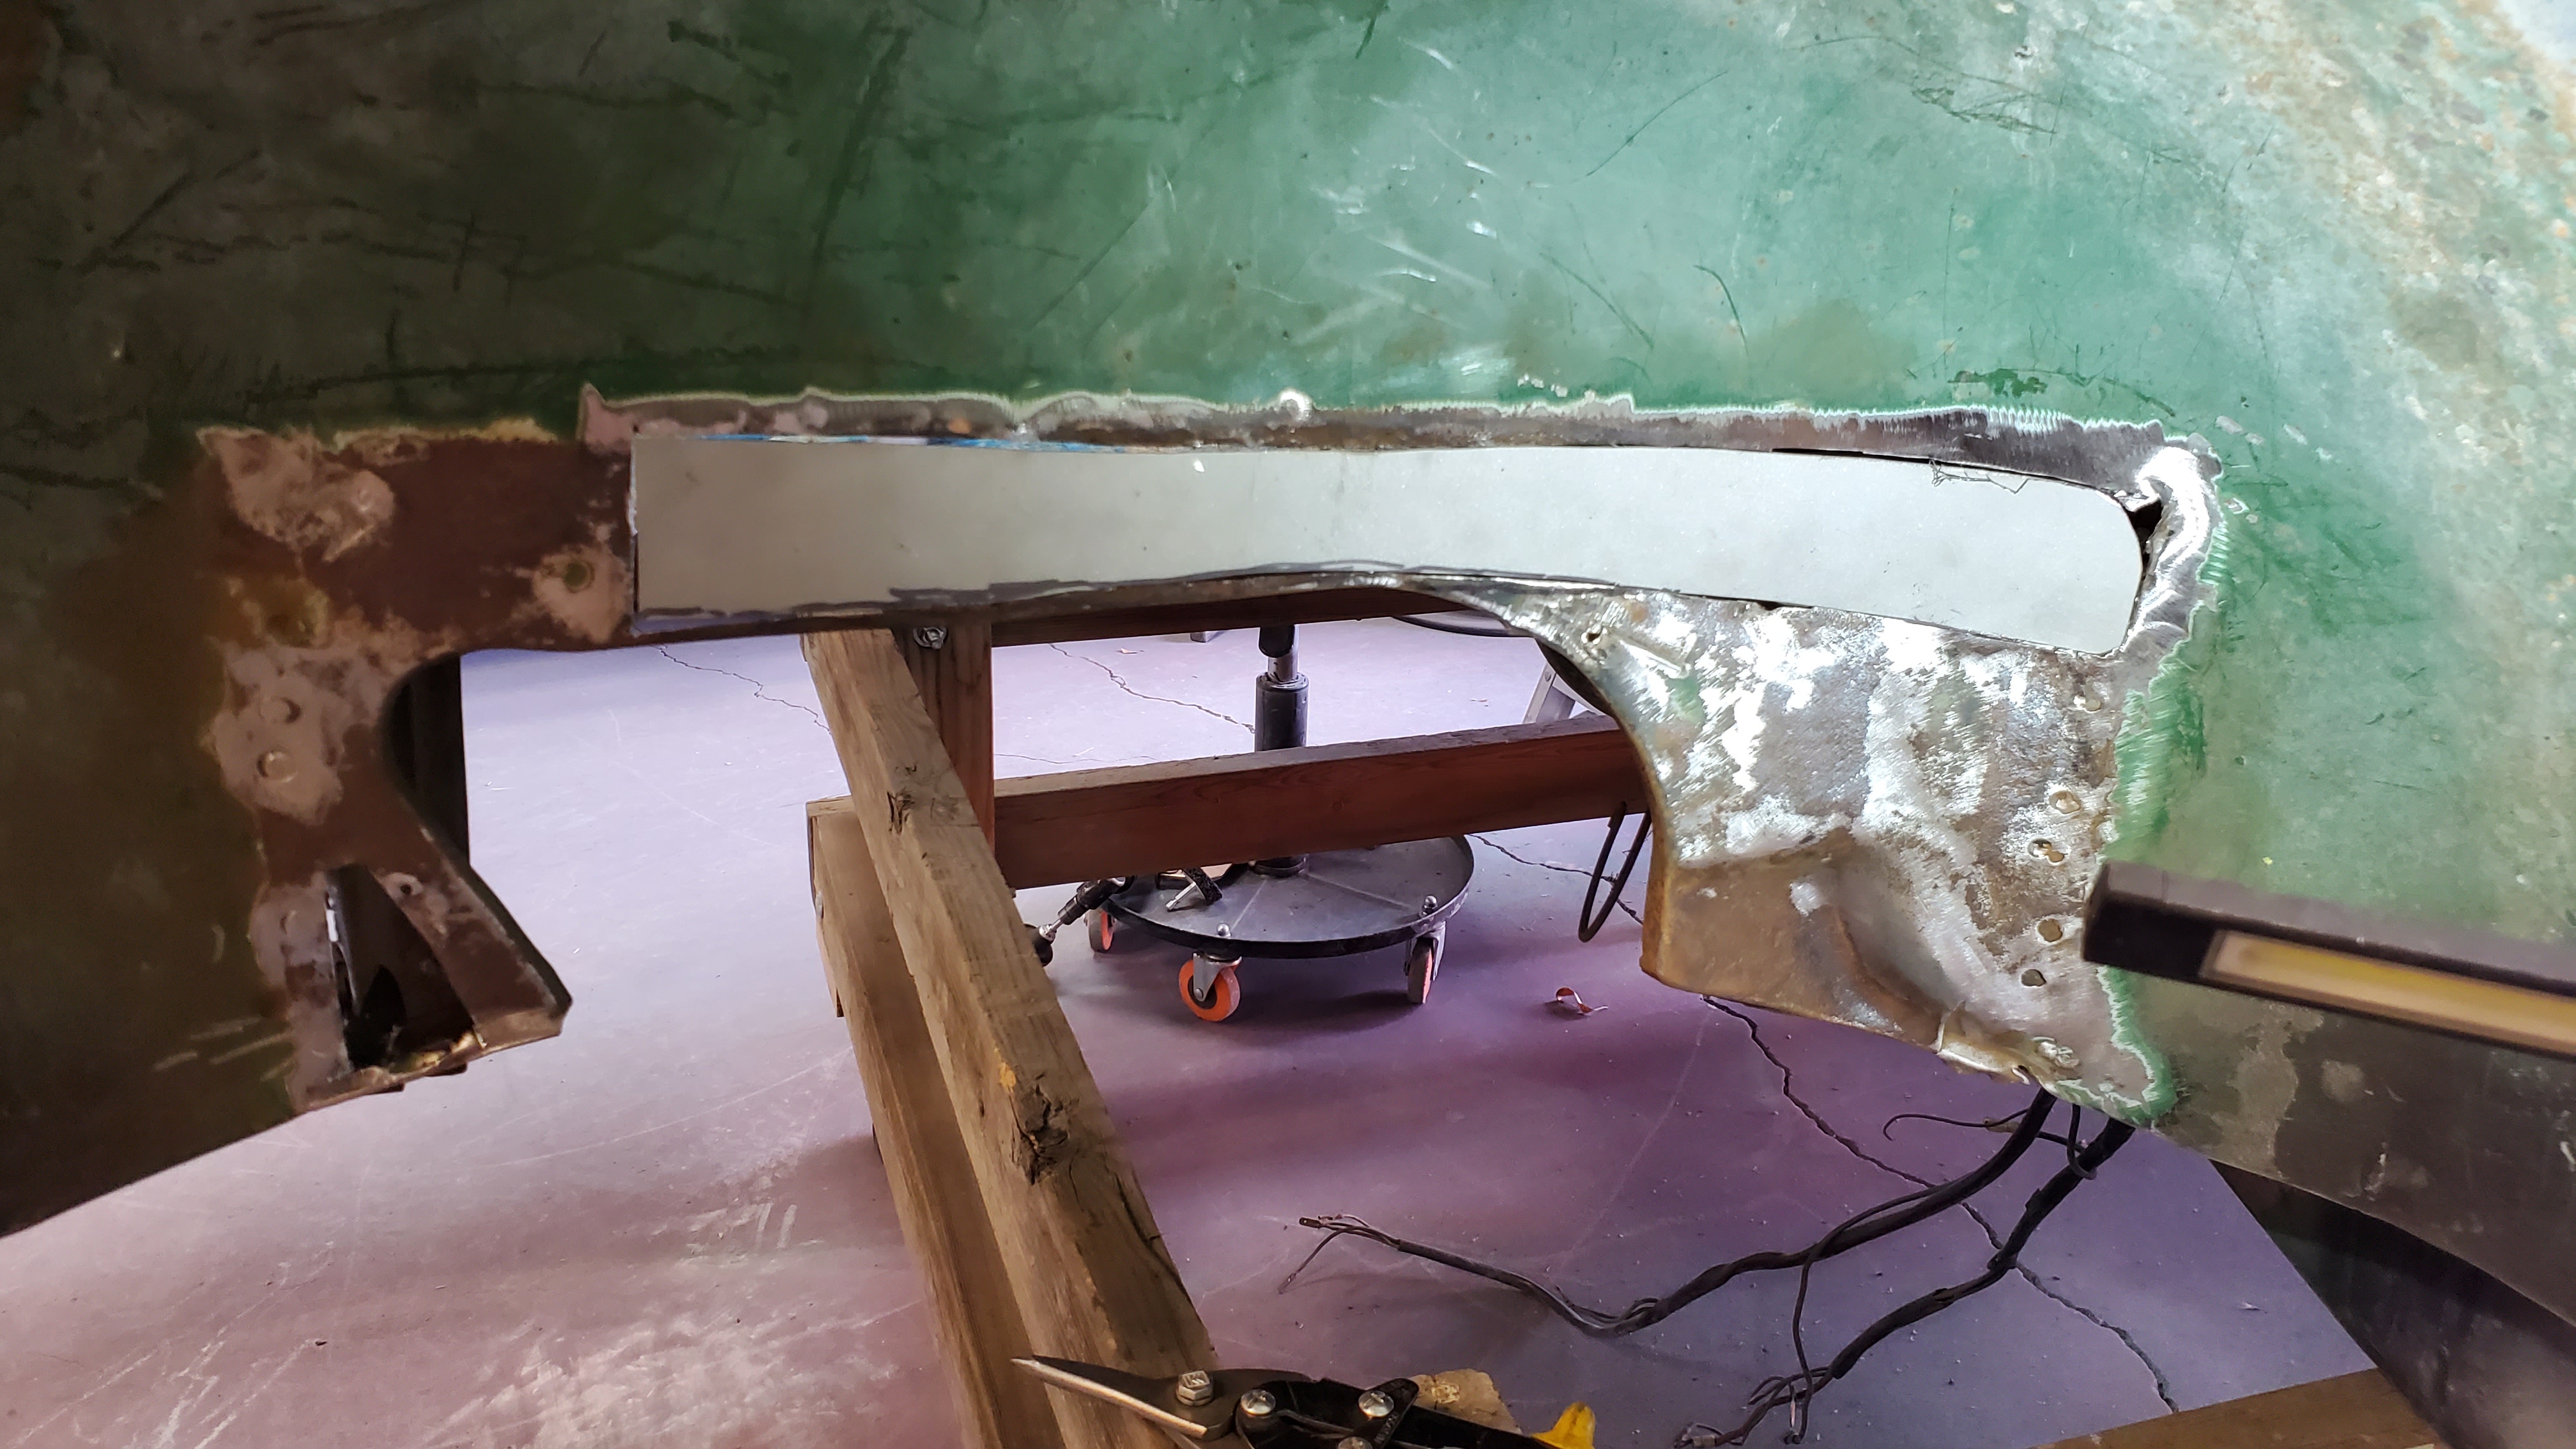
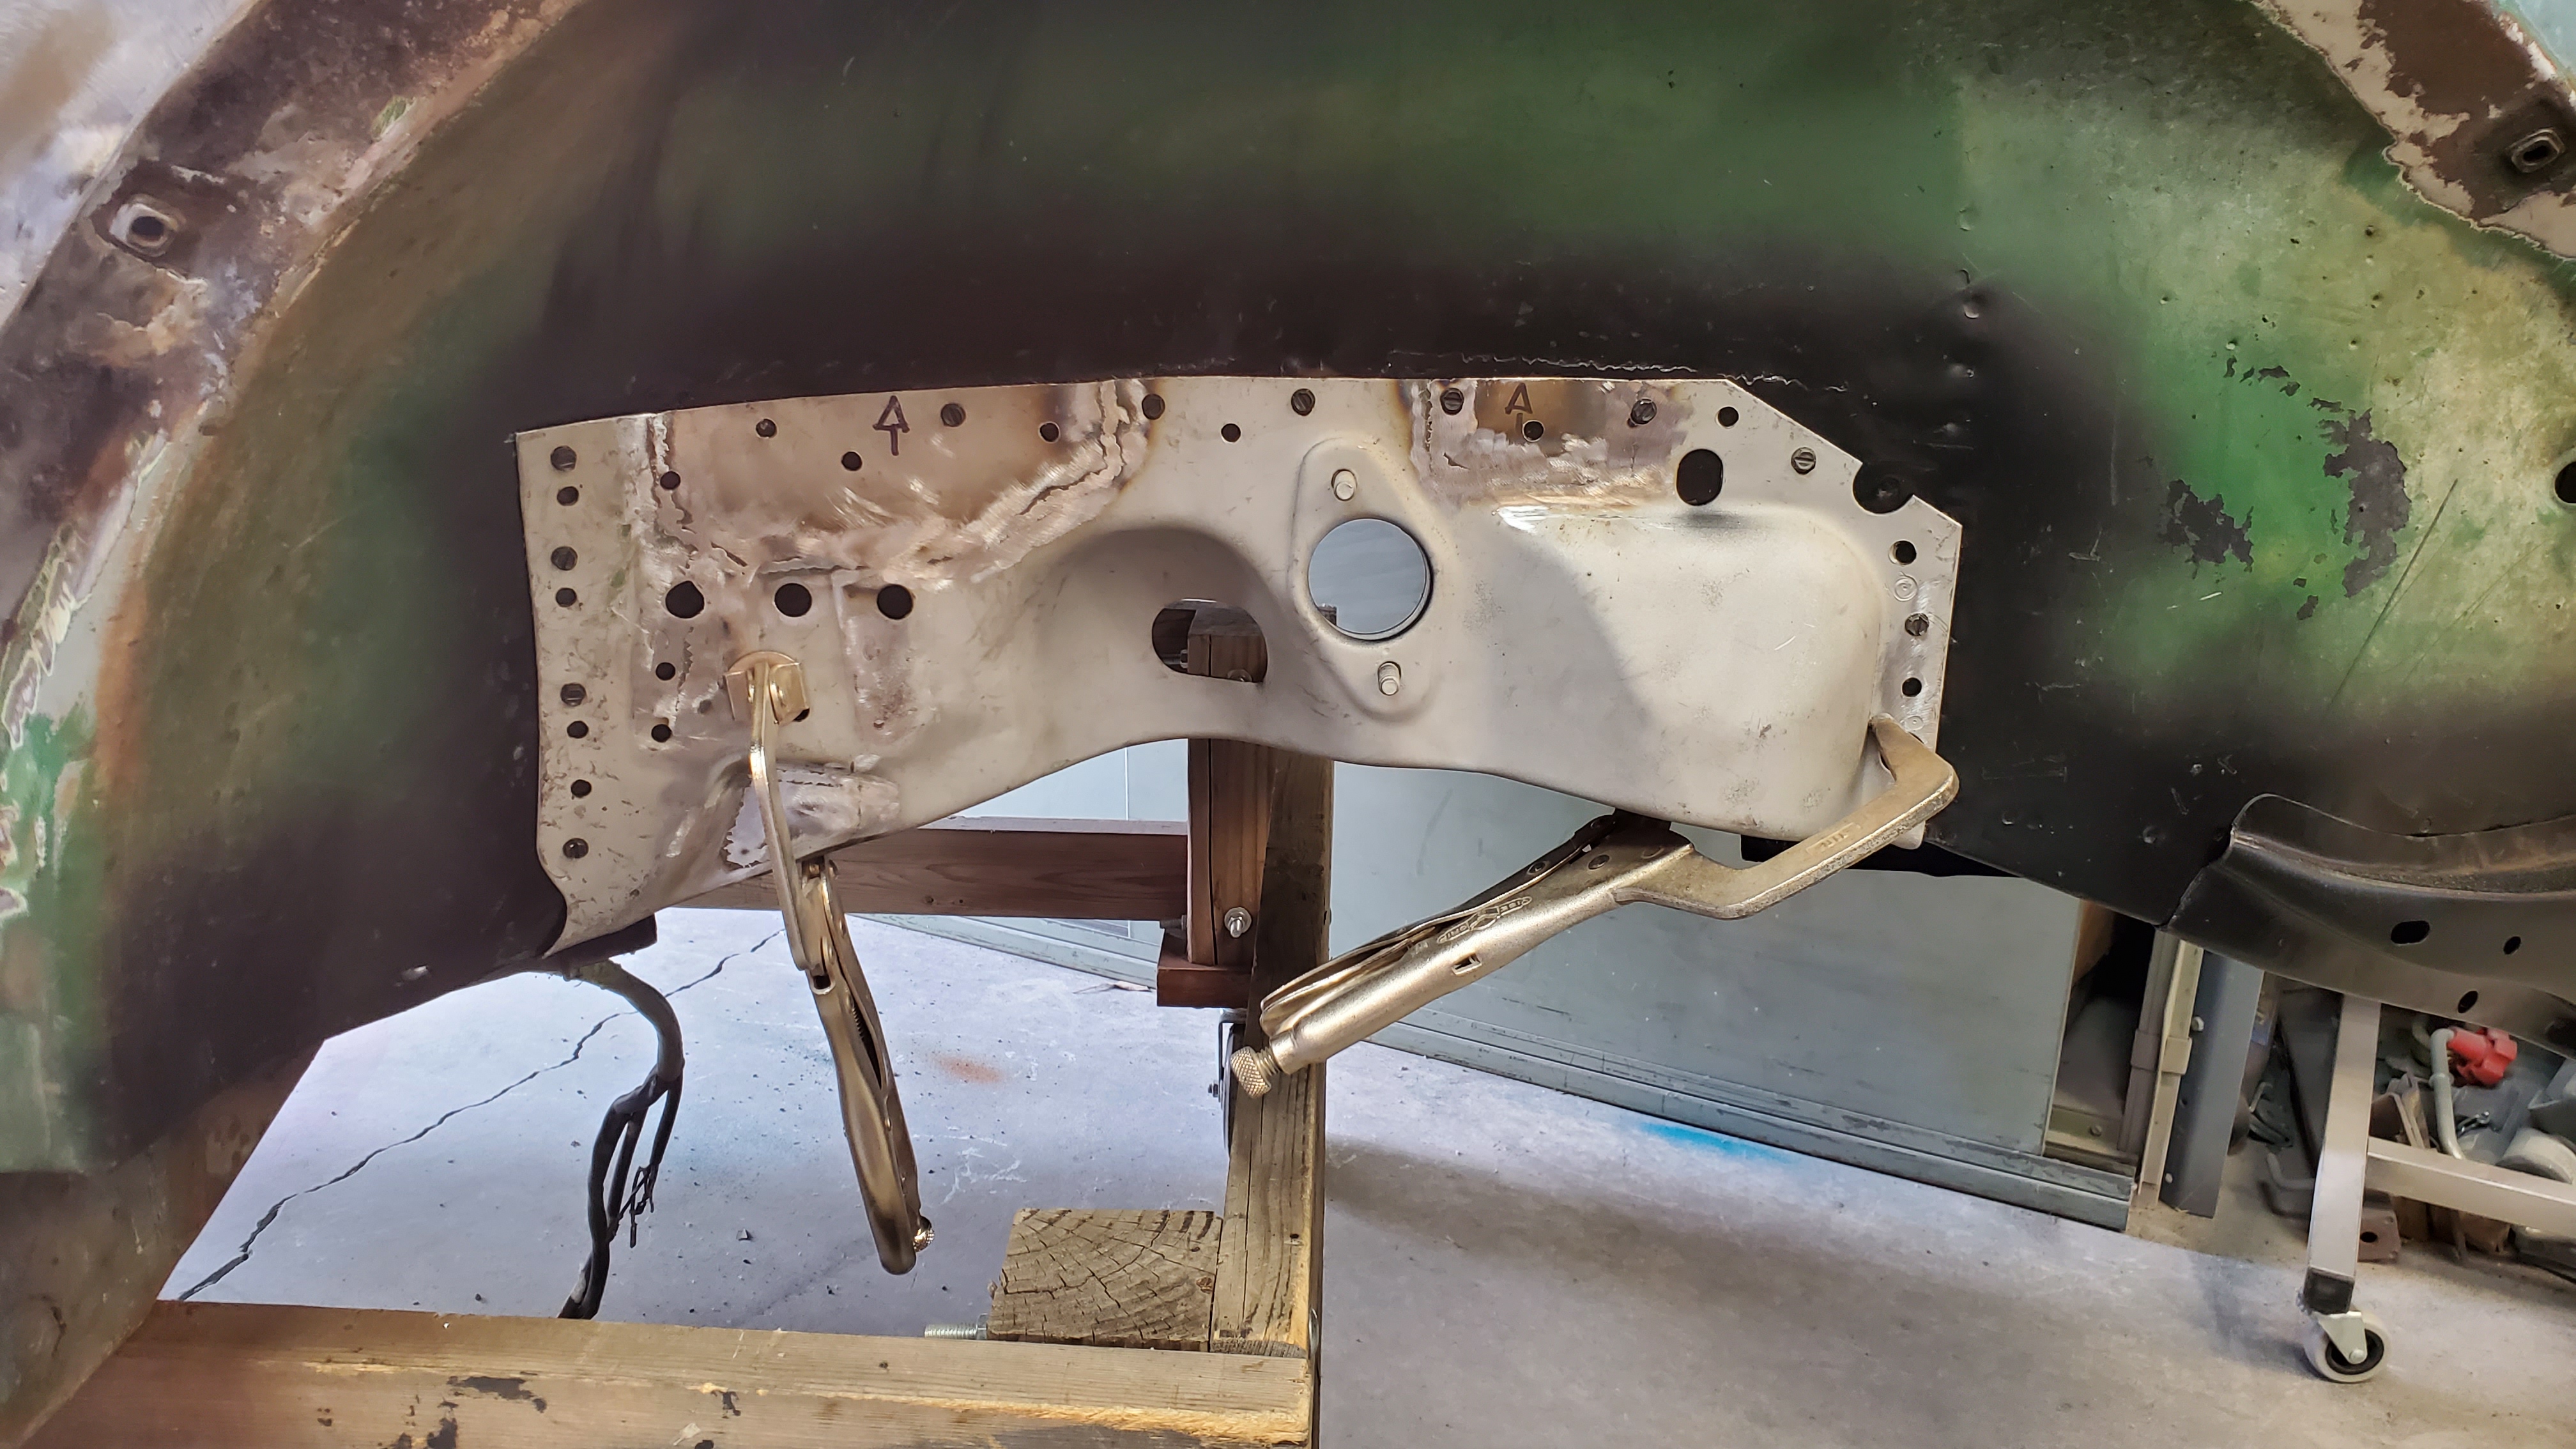
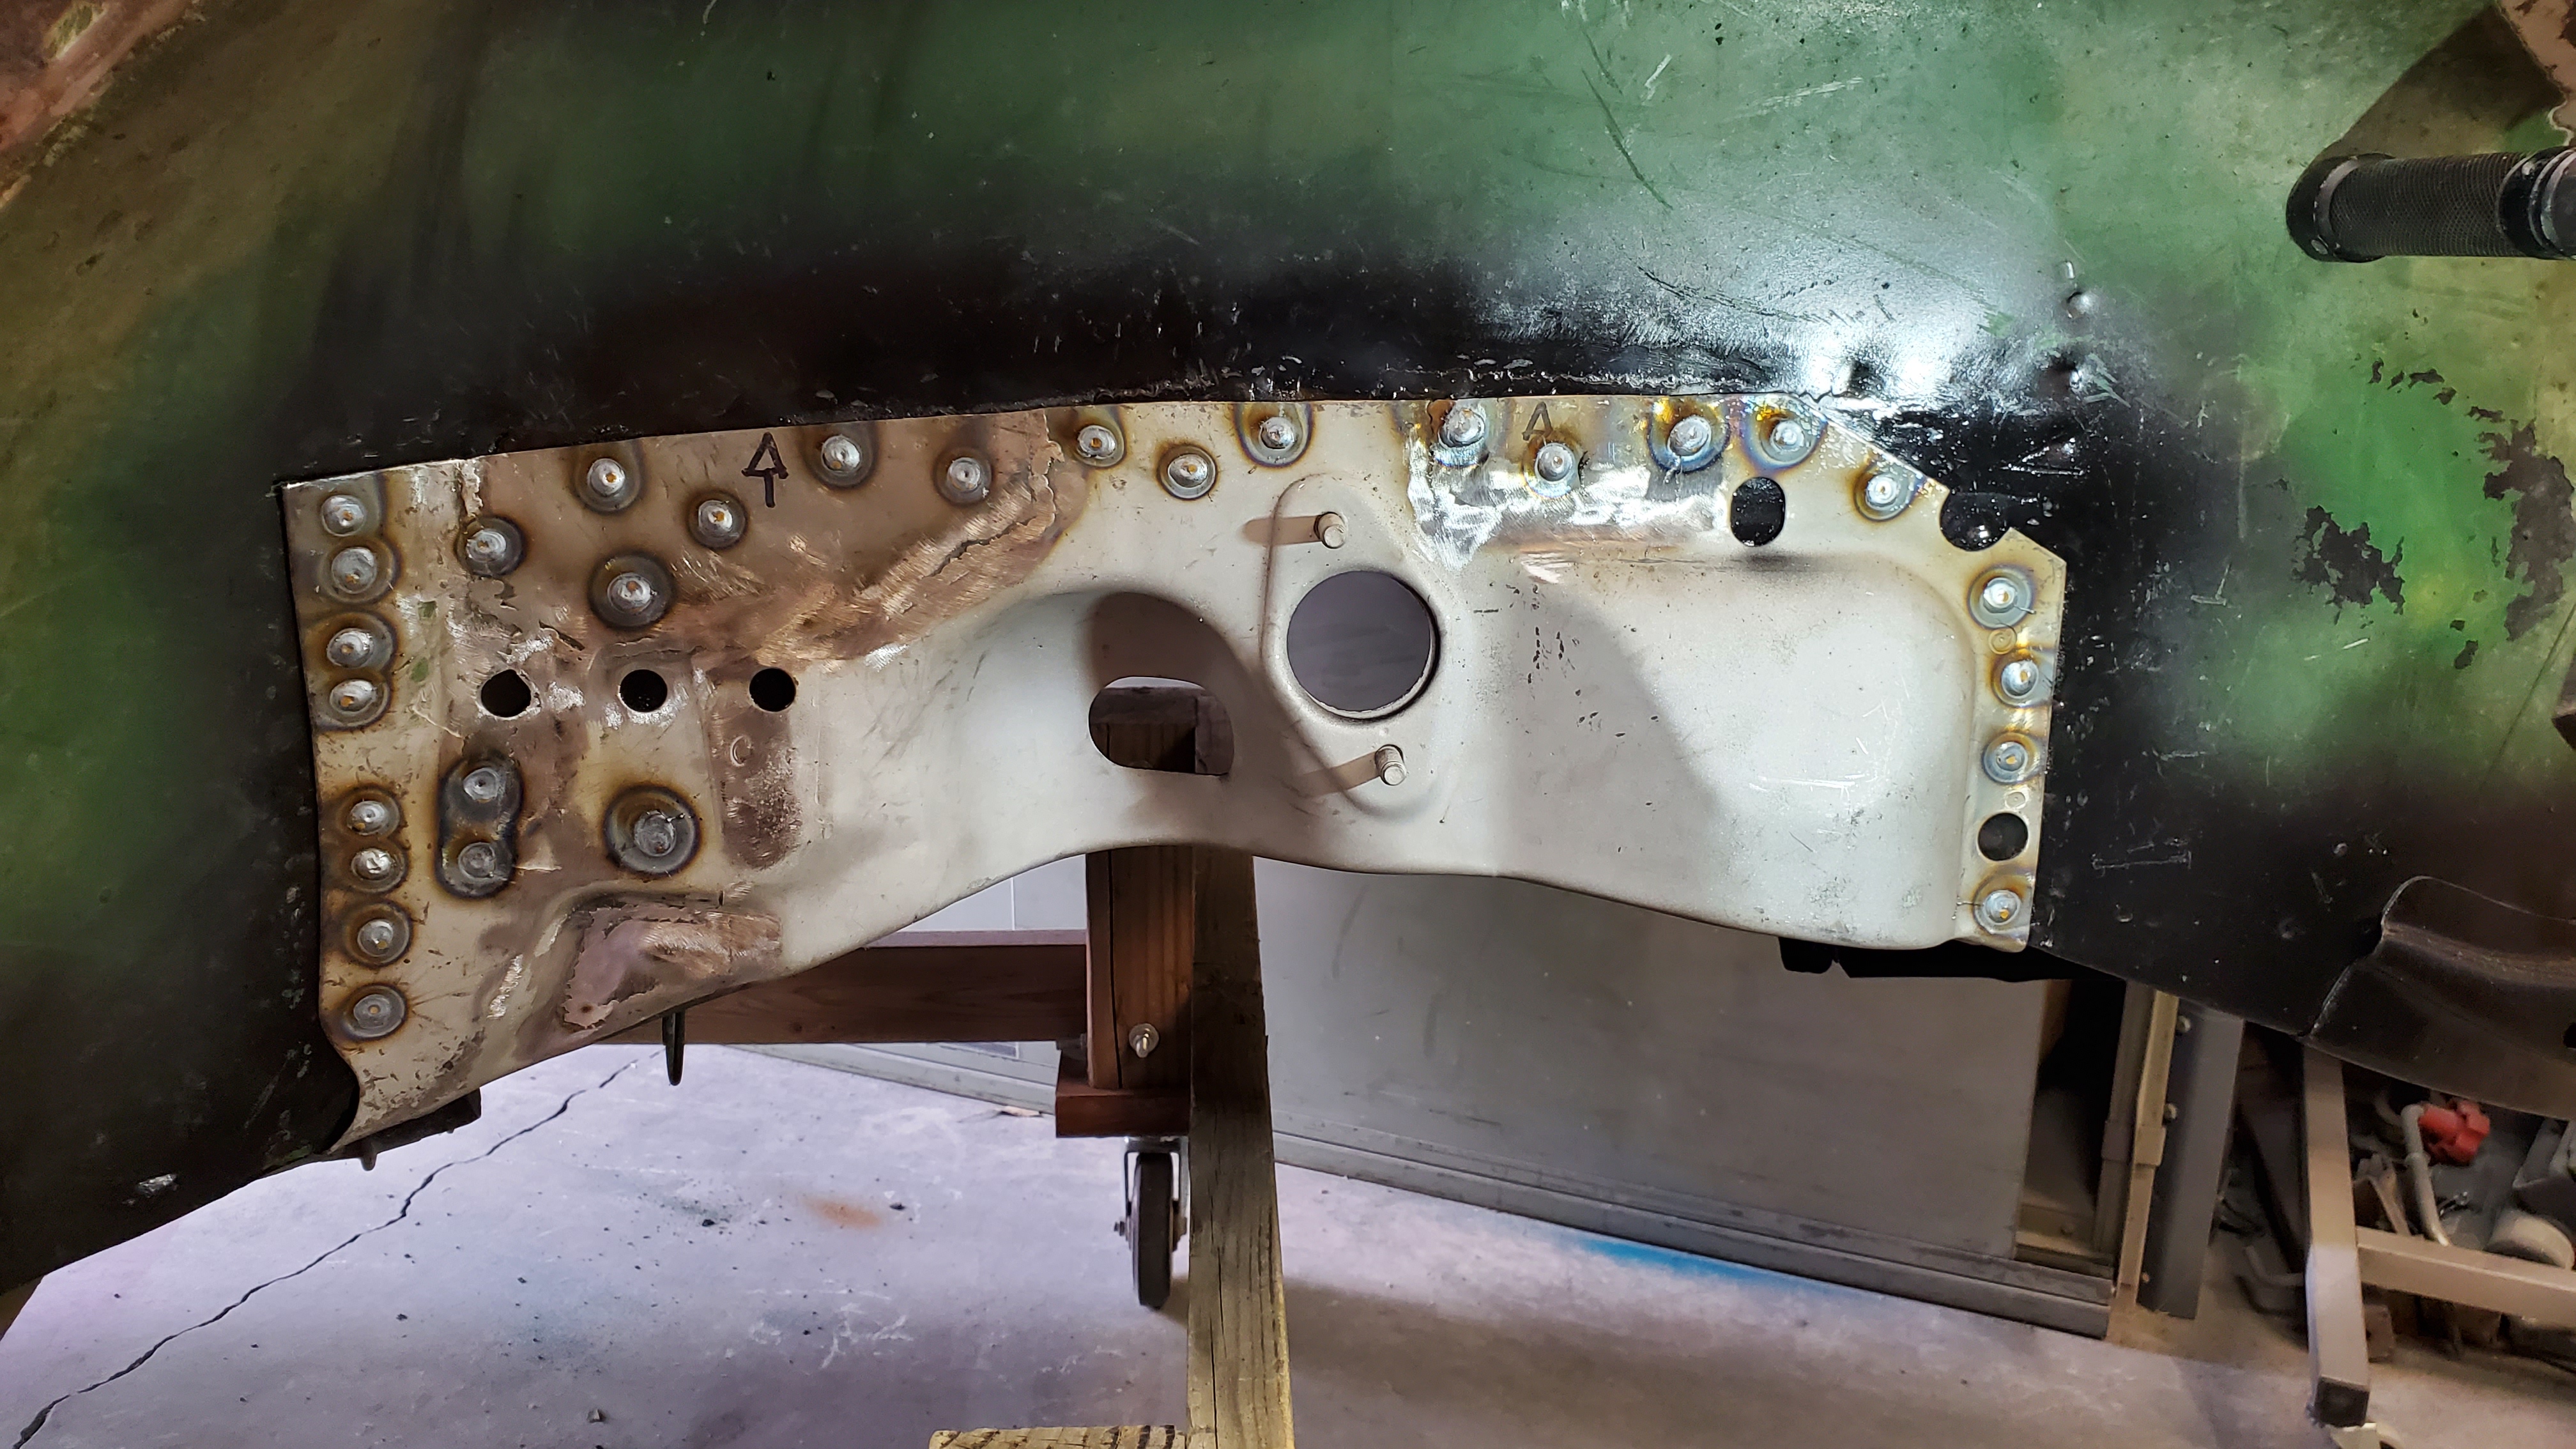
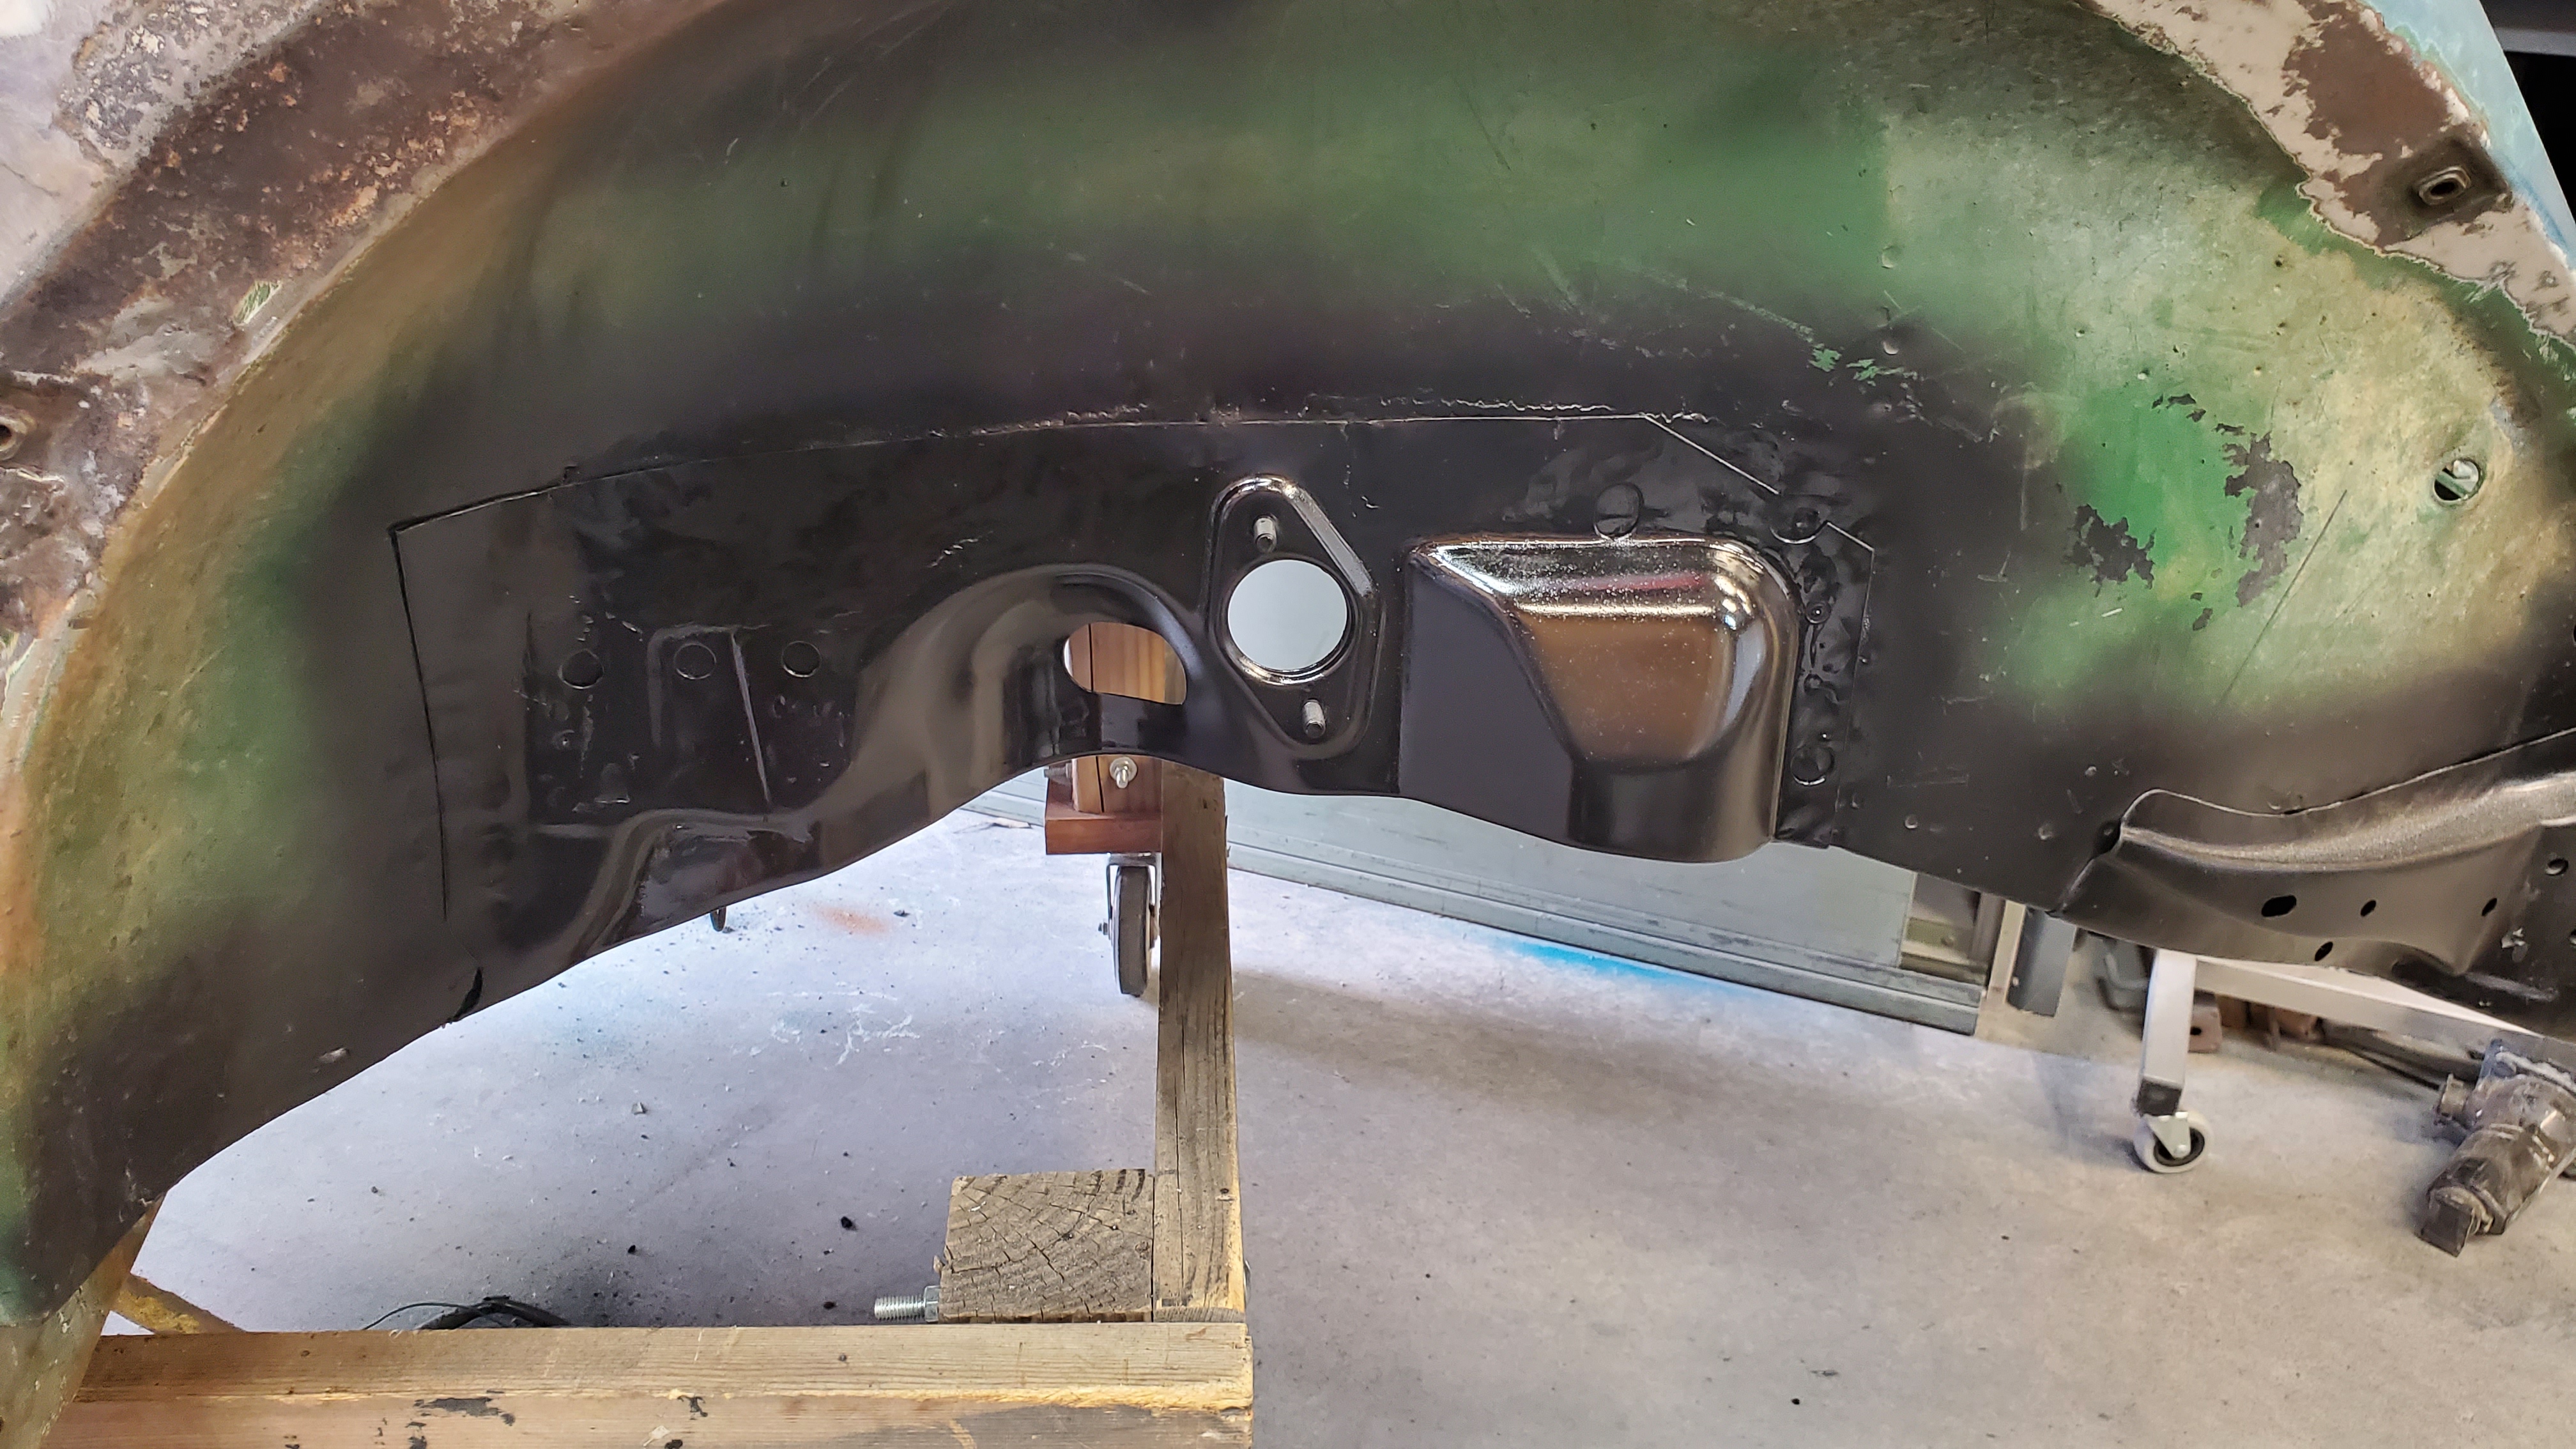
Both rear body mounts were rusted pretty decent on both sides. I remove the mount, remove the mount plate, and do repairs to the wheel well, and build outward. After the wheel well is repaired, I repair the mount plate, and weld it back on the car. The mount will be located on the panel after the body is fit to the pan for the last time.

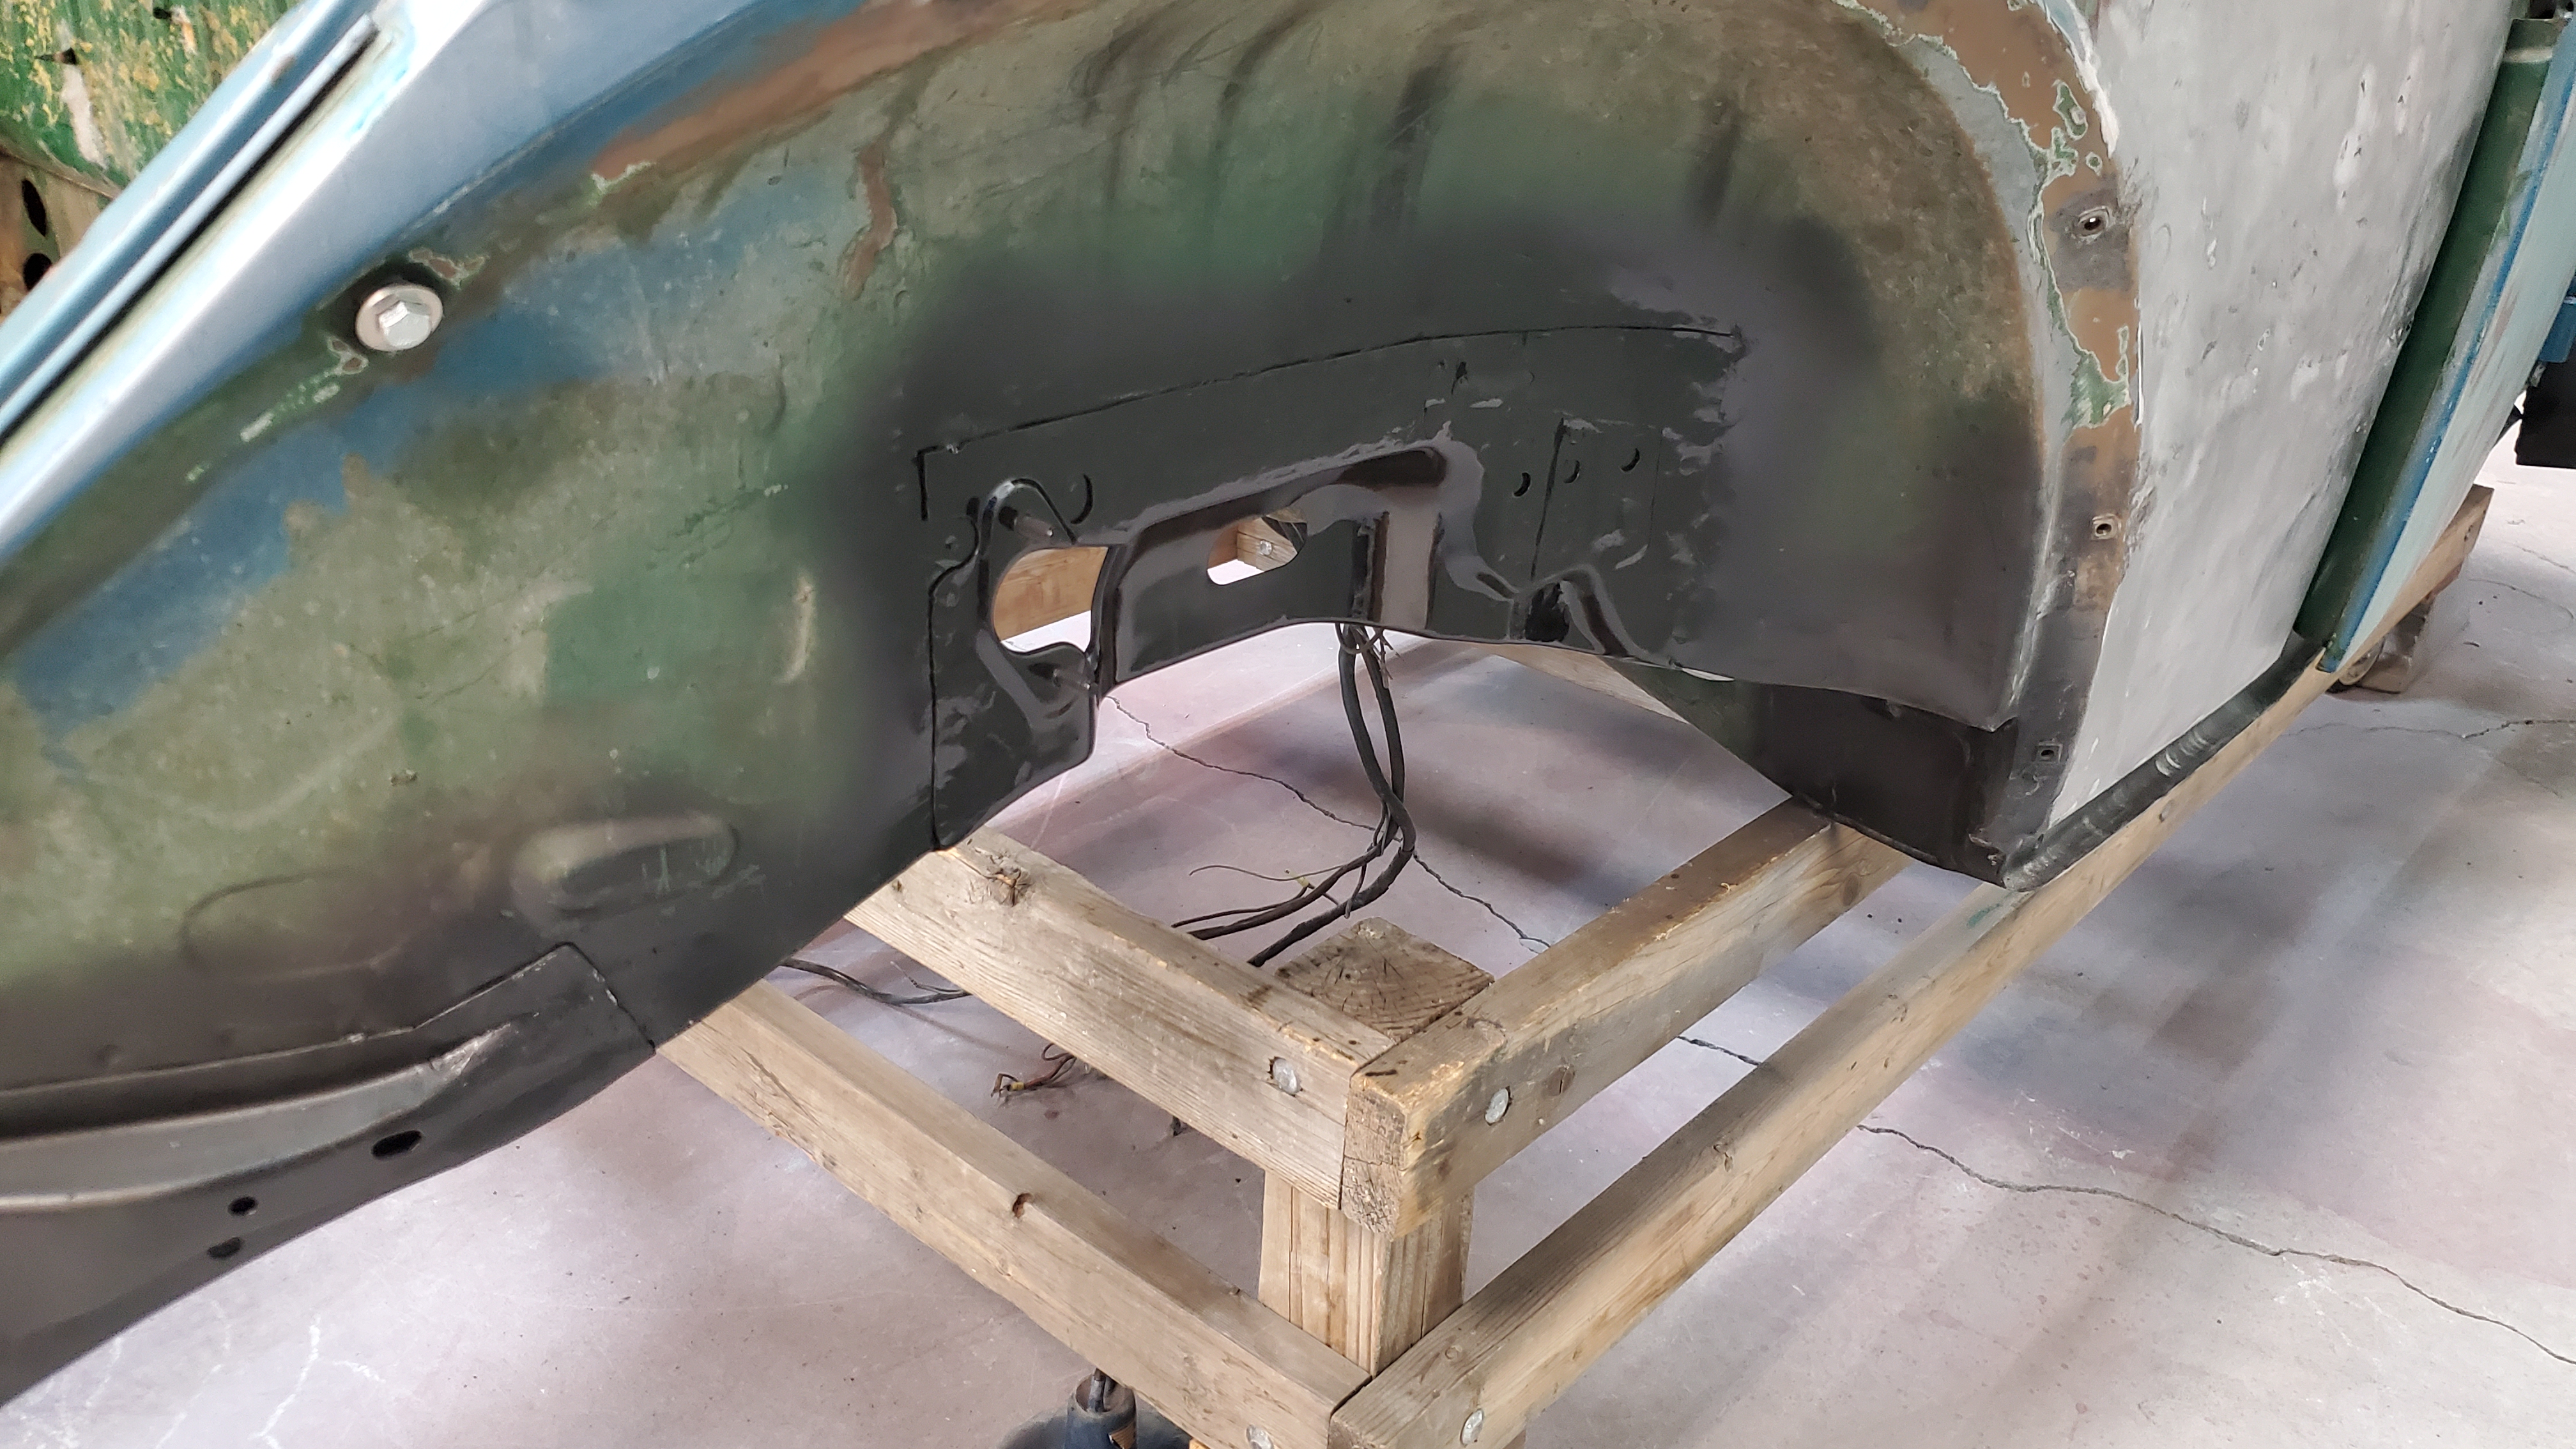
The driver’s side was the same way, but was really hiding the rust a little better. The same process of repairing the body and repairing the panel before welding it all together is used.
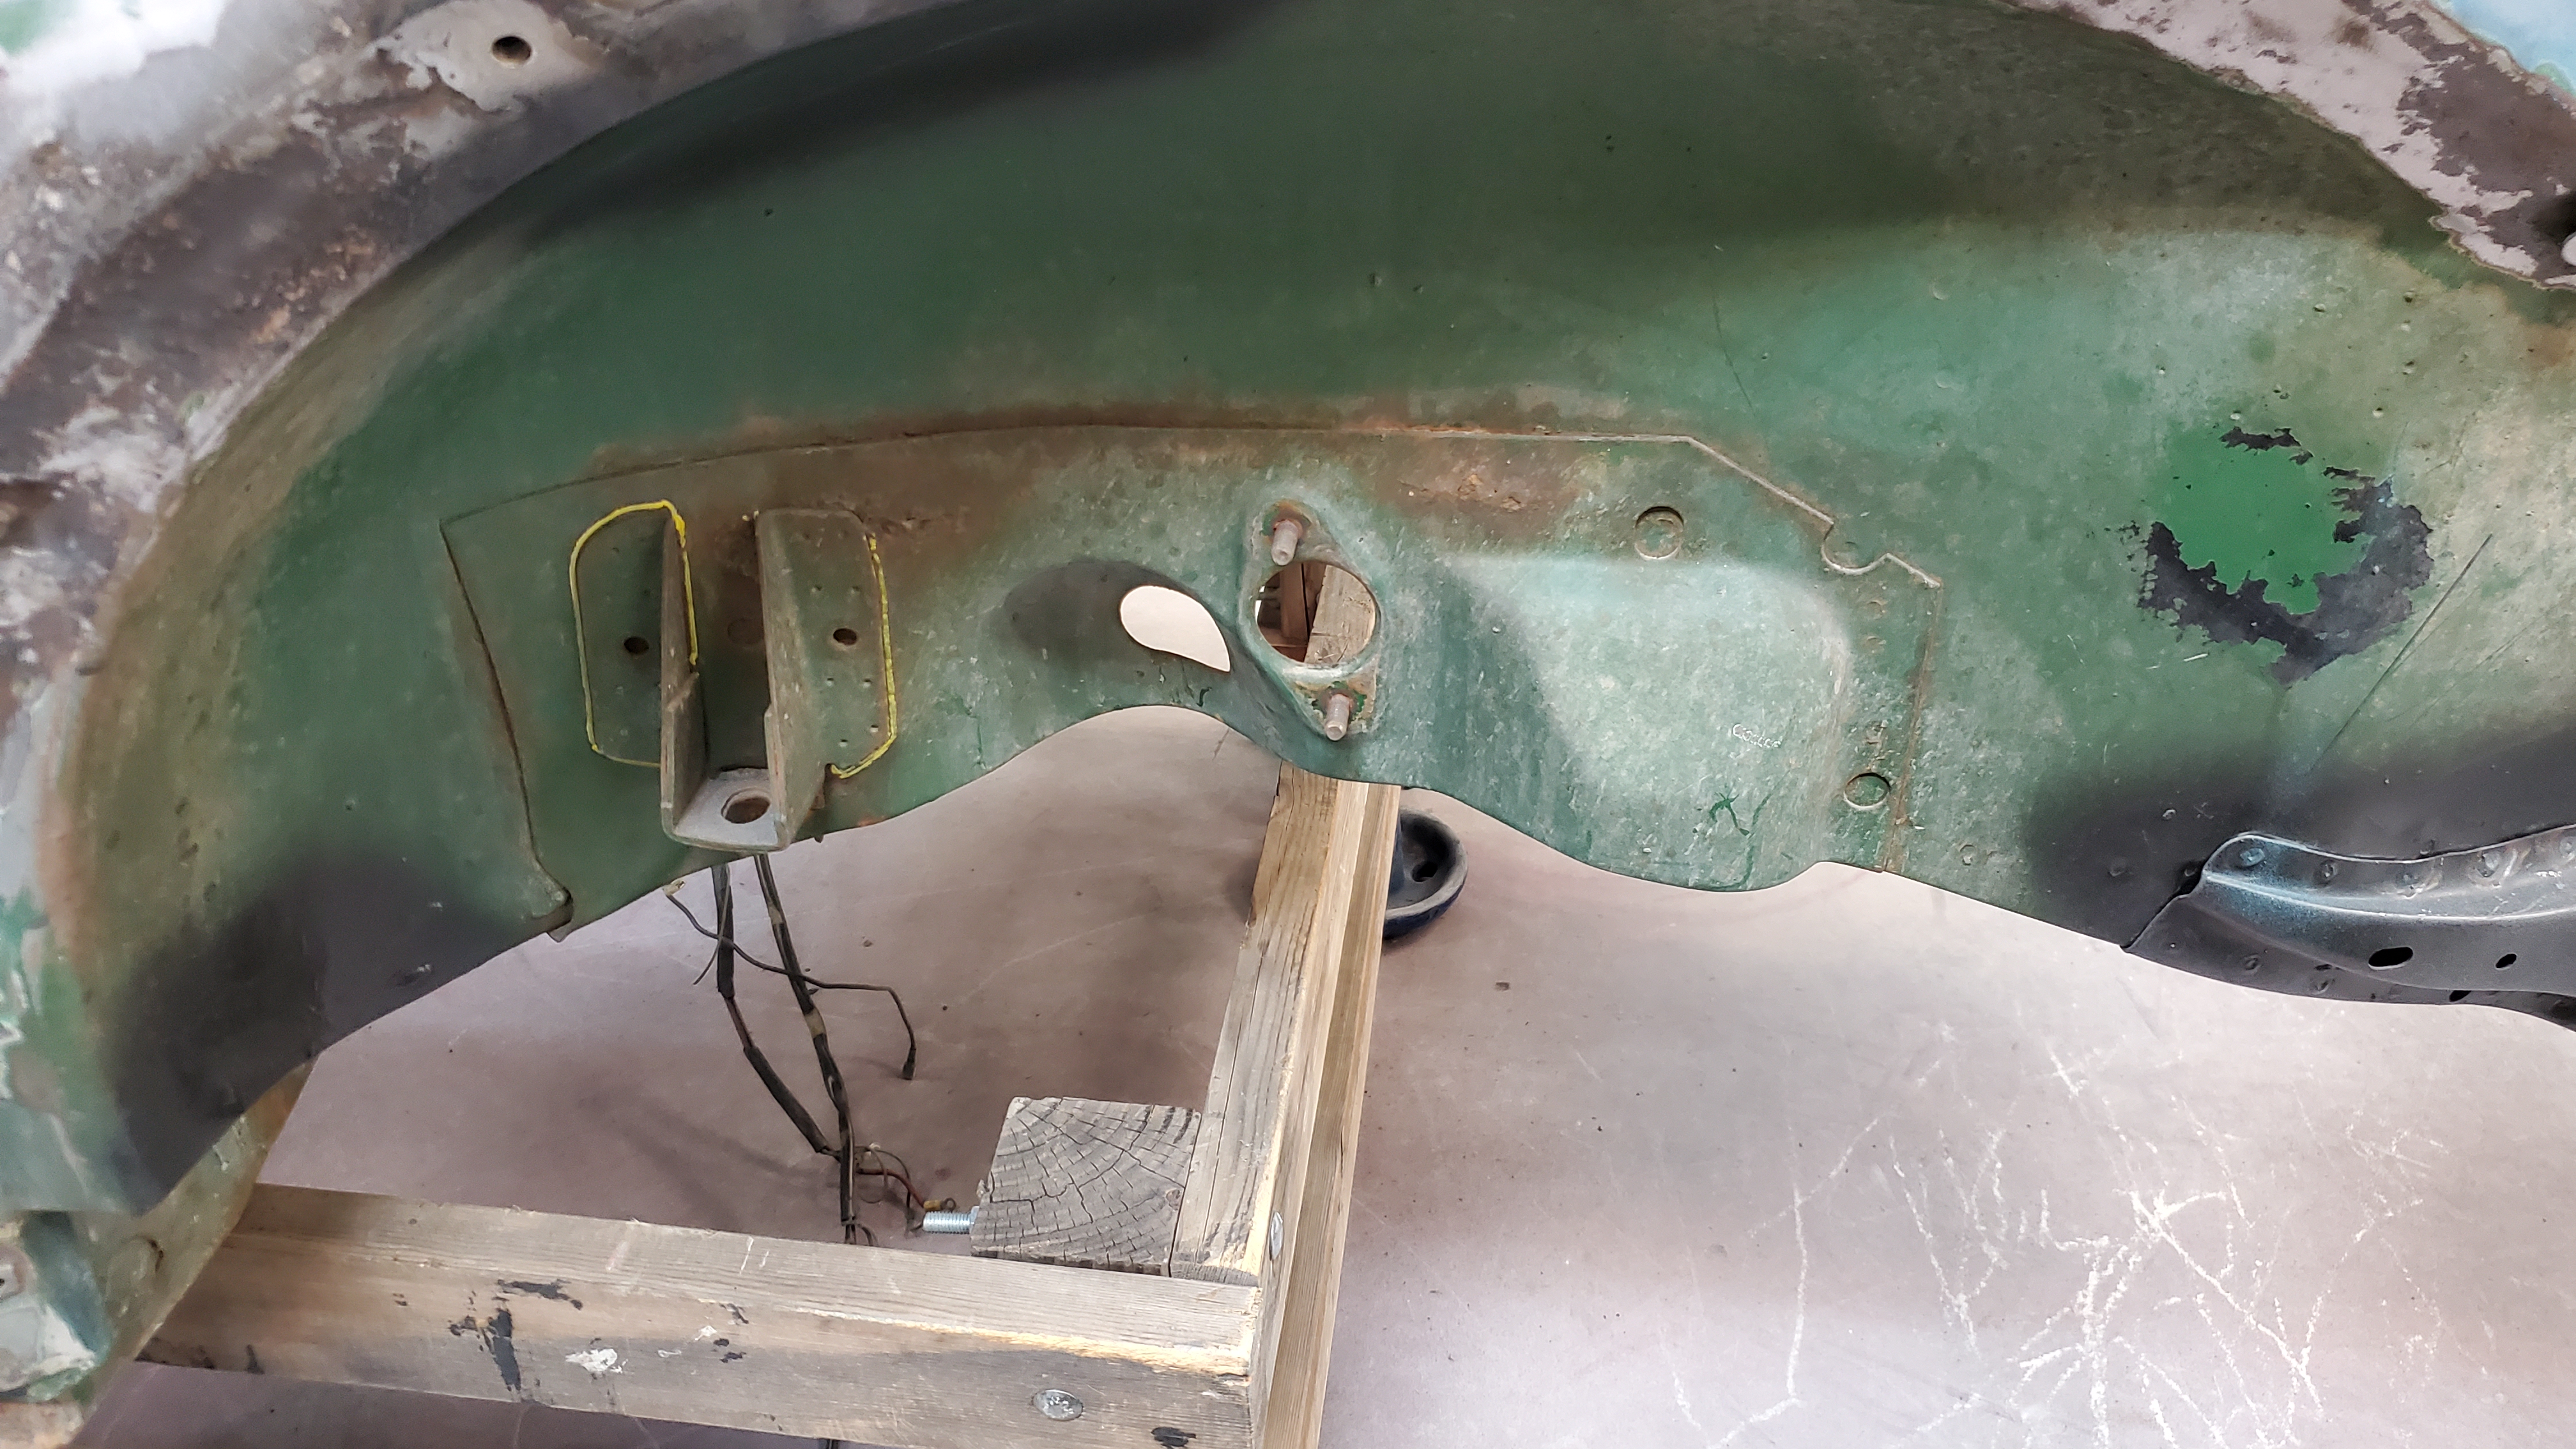
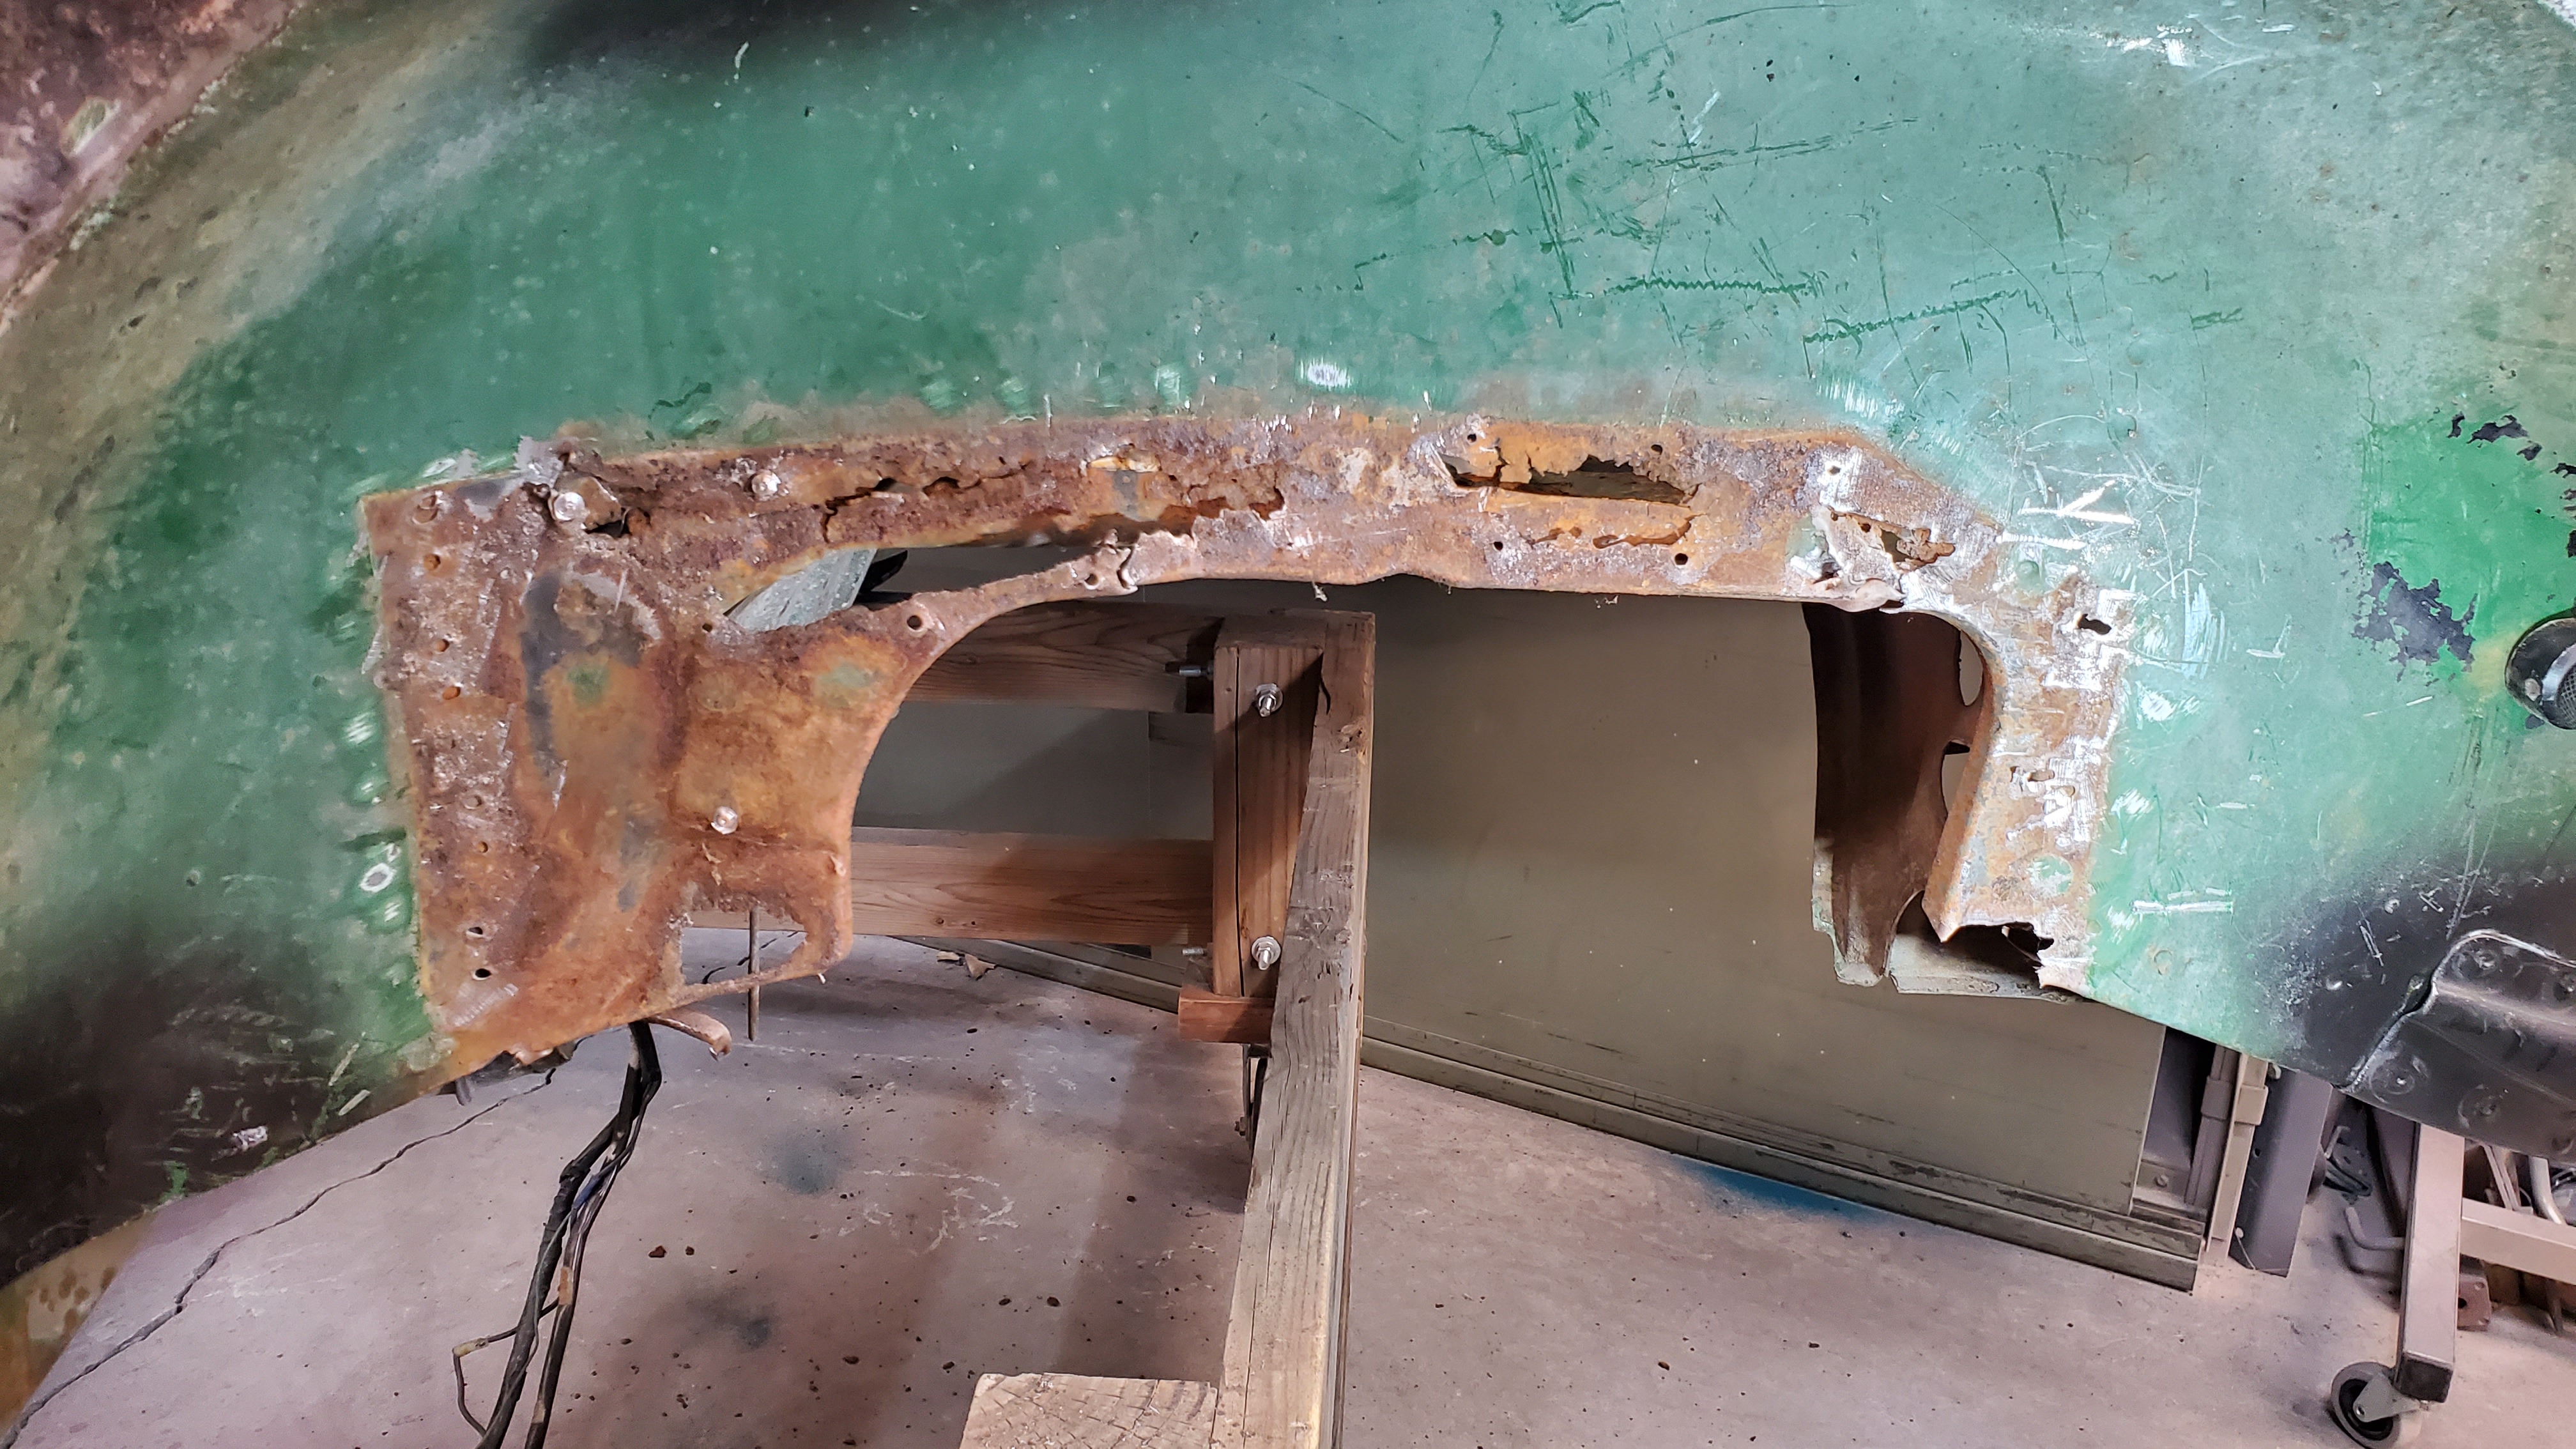

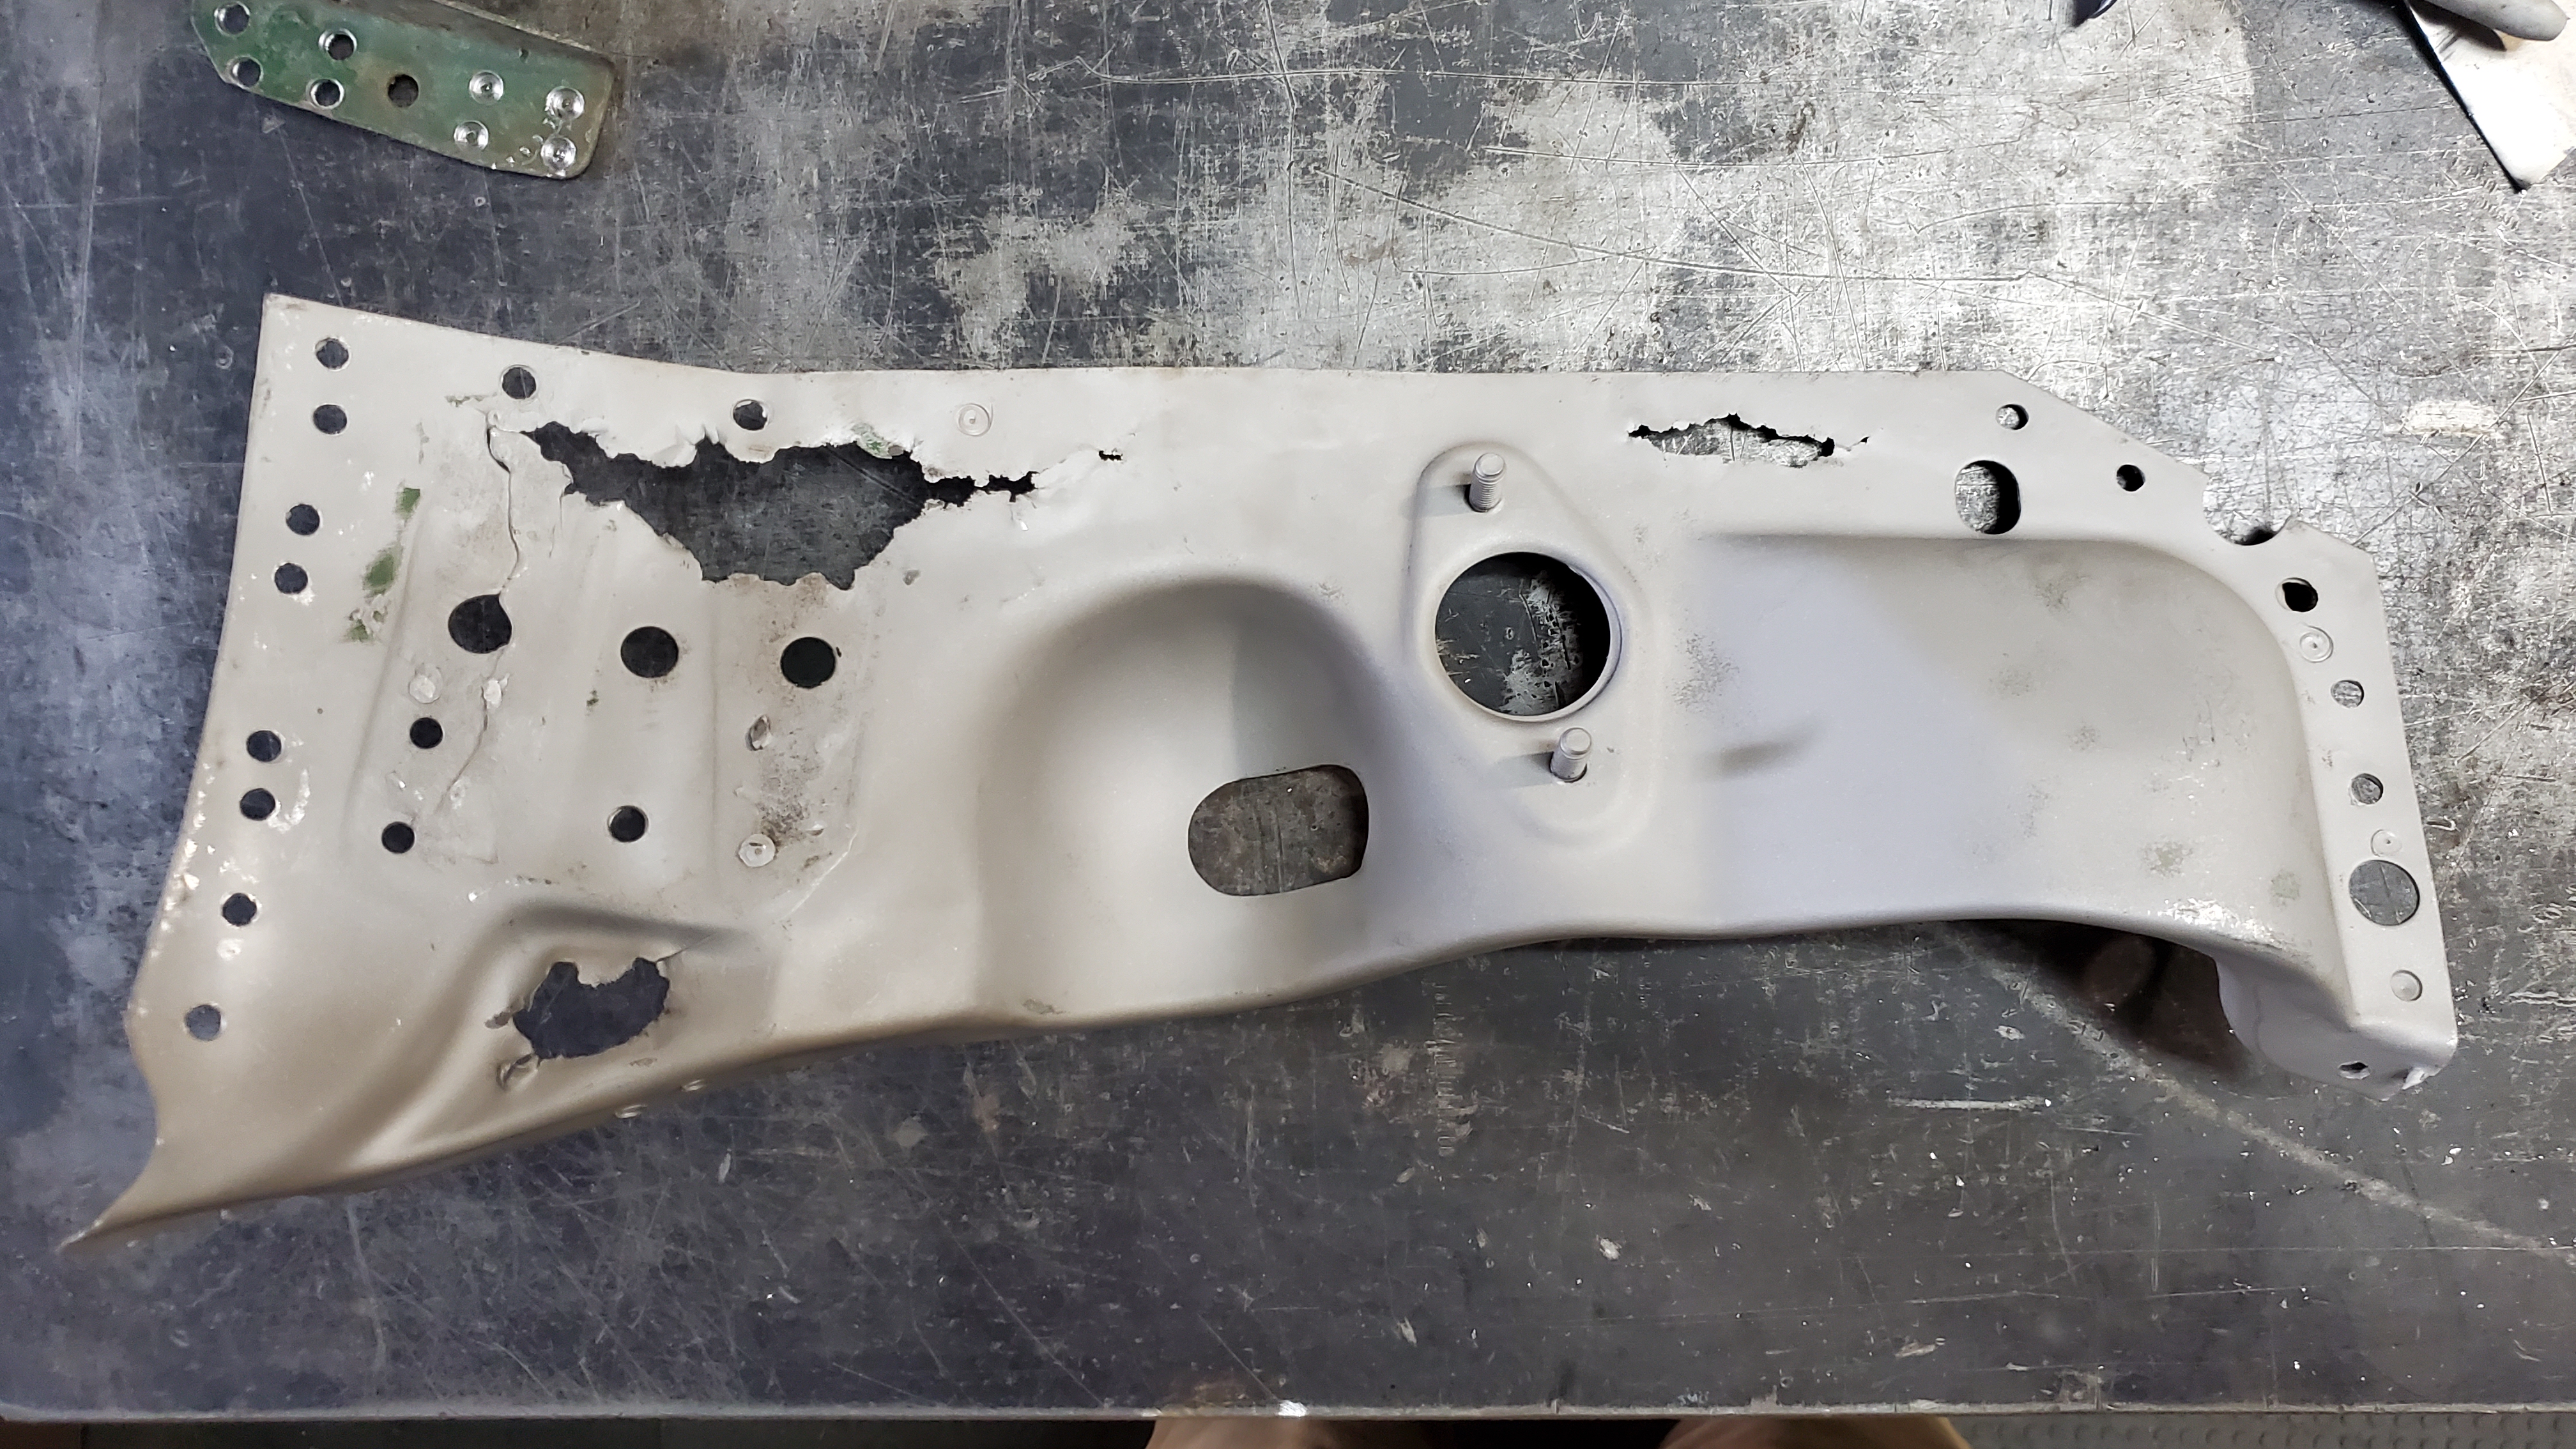
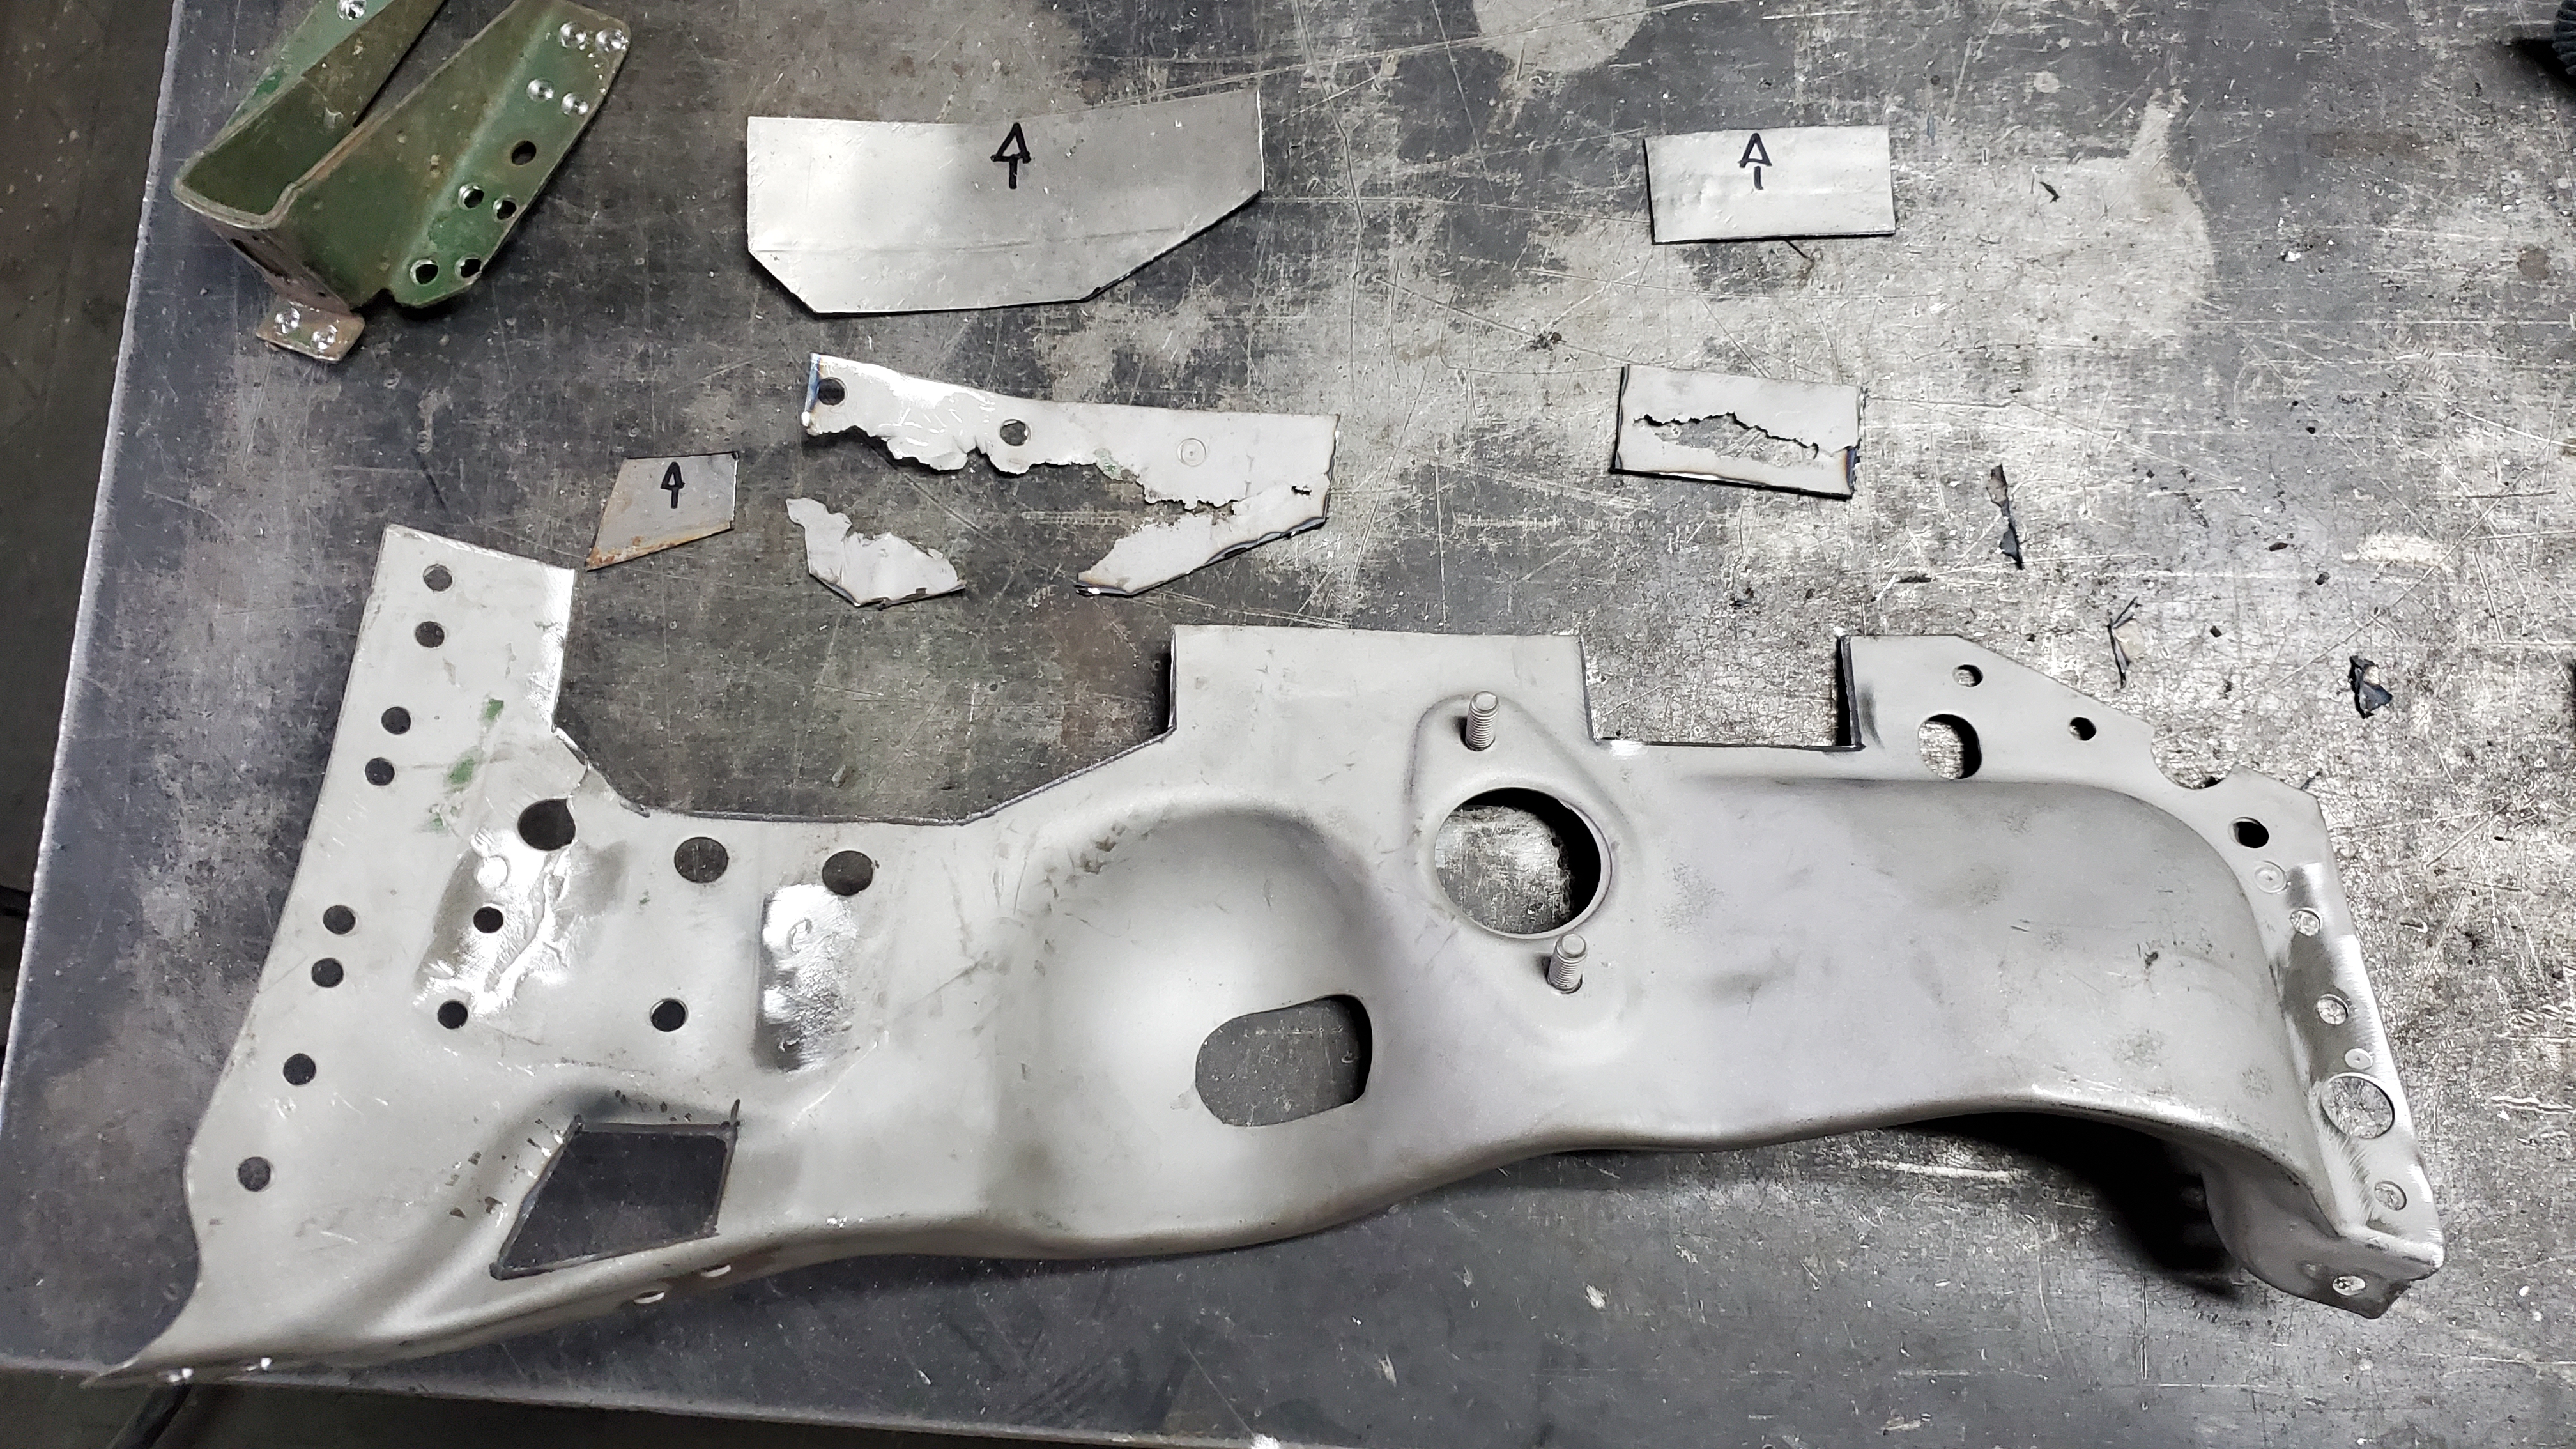
This is a break down of the repair to the panel before it is mounted on the car again. I took the pieces that were rusted out, made panels the same shape, welded them into the panel, dressed the welds, drilled the holes, mounted and fit the panel, welded it to the body, dressed the welds, and painted it to prevent rust.
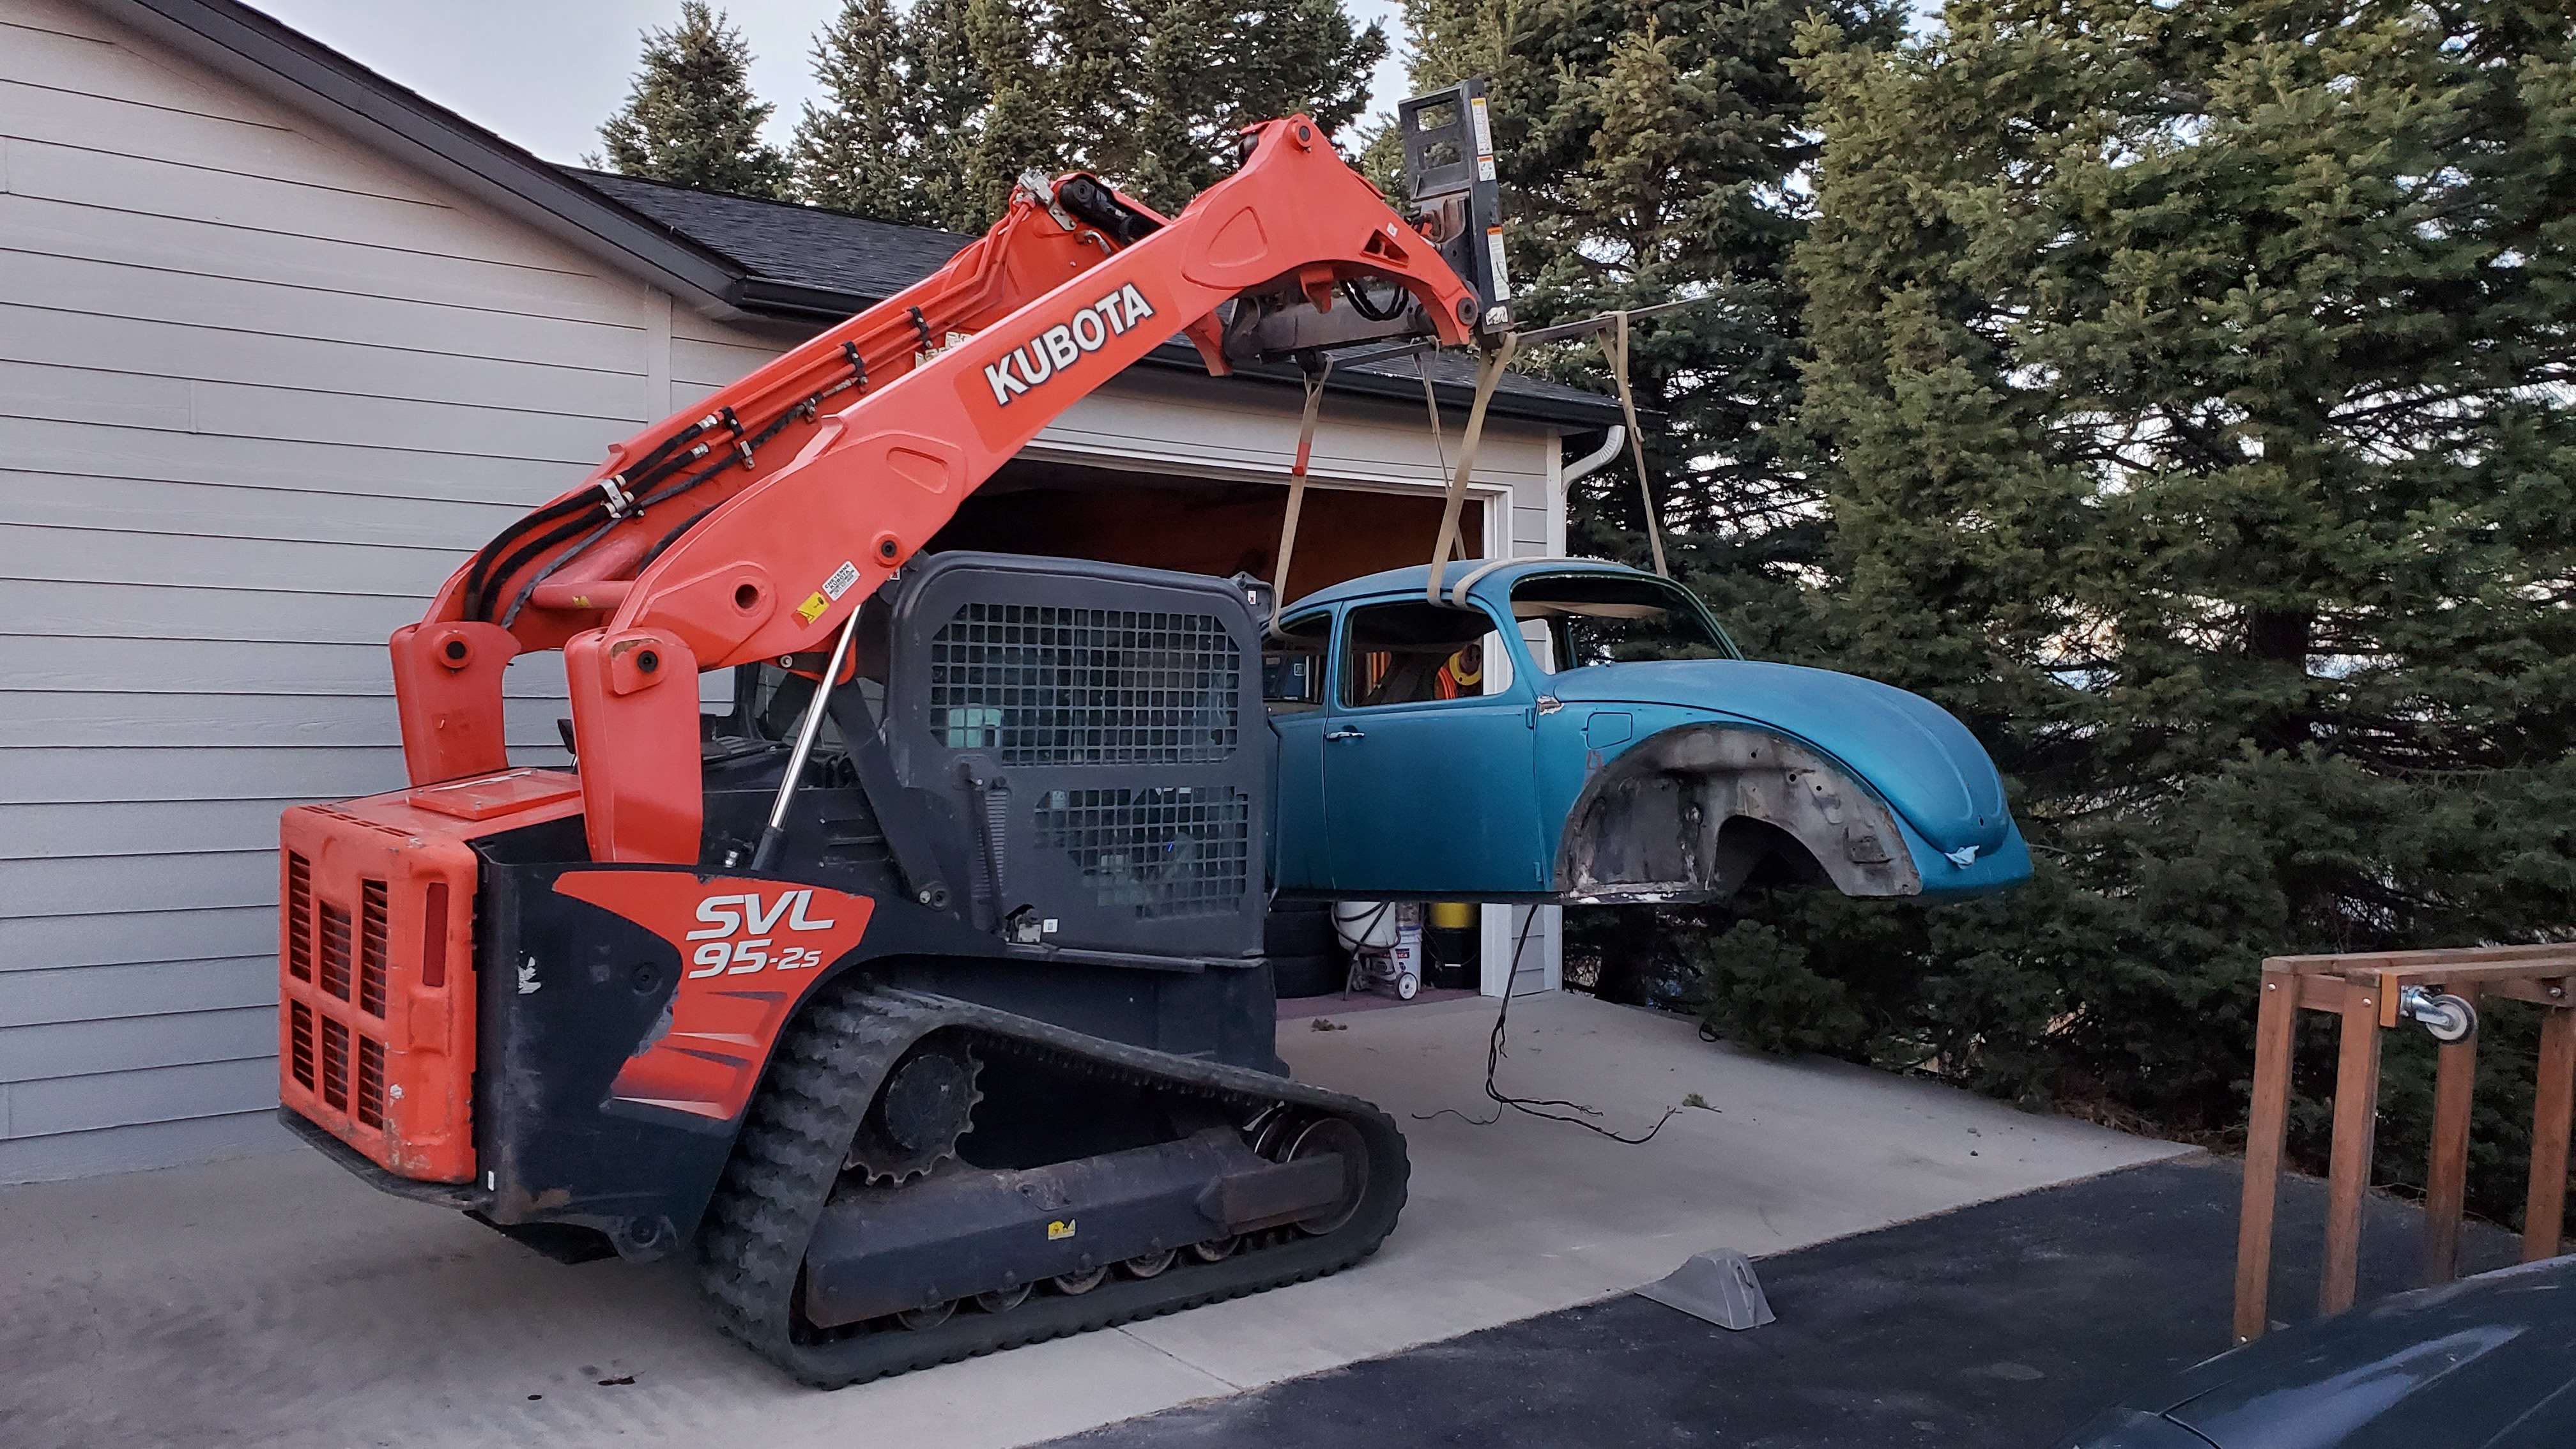
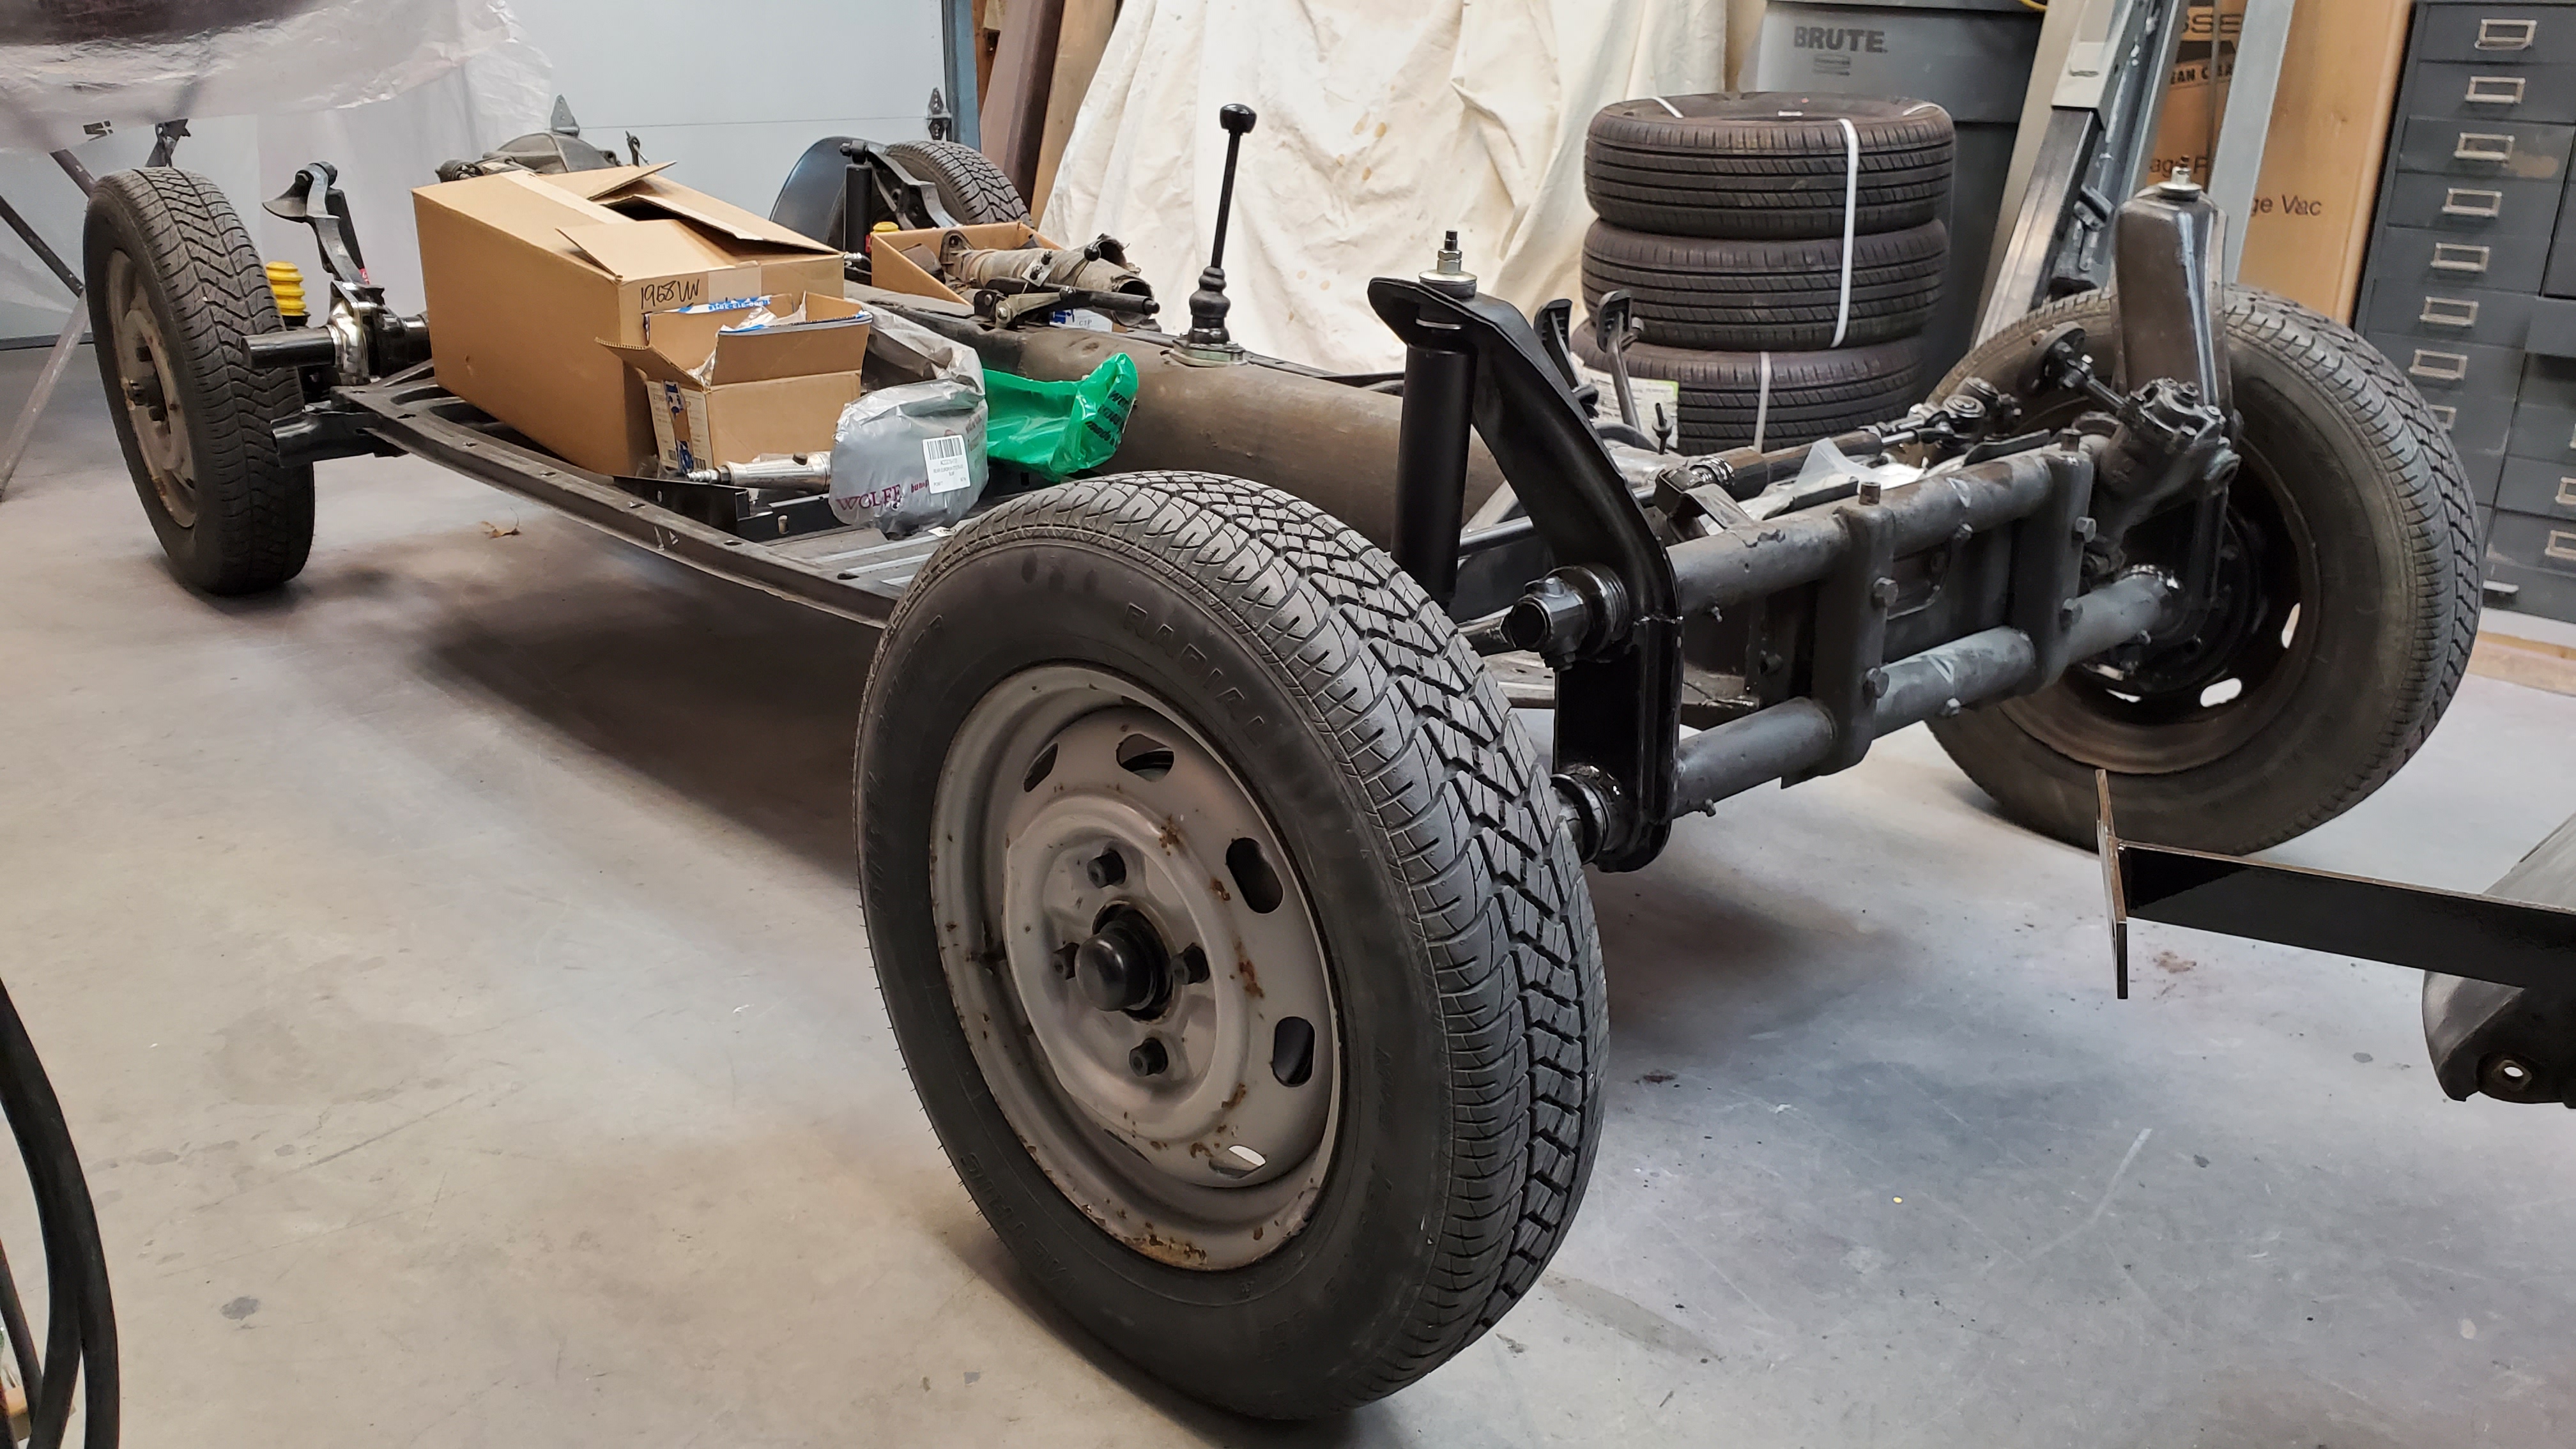
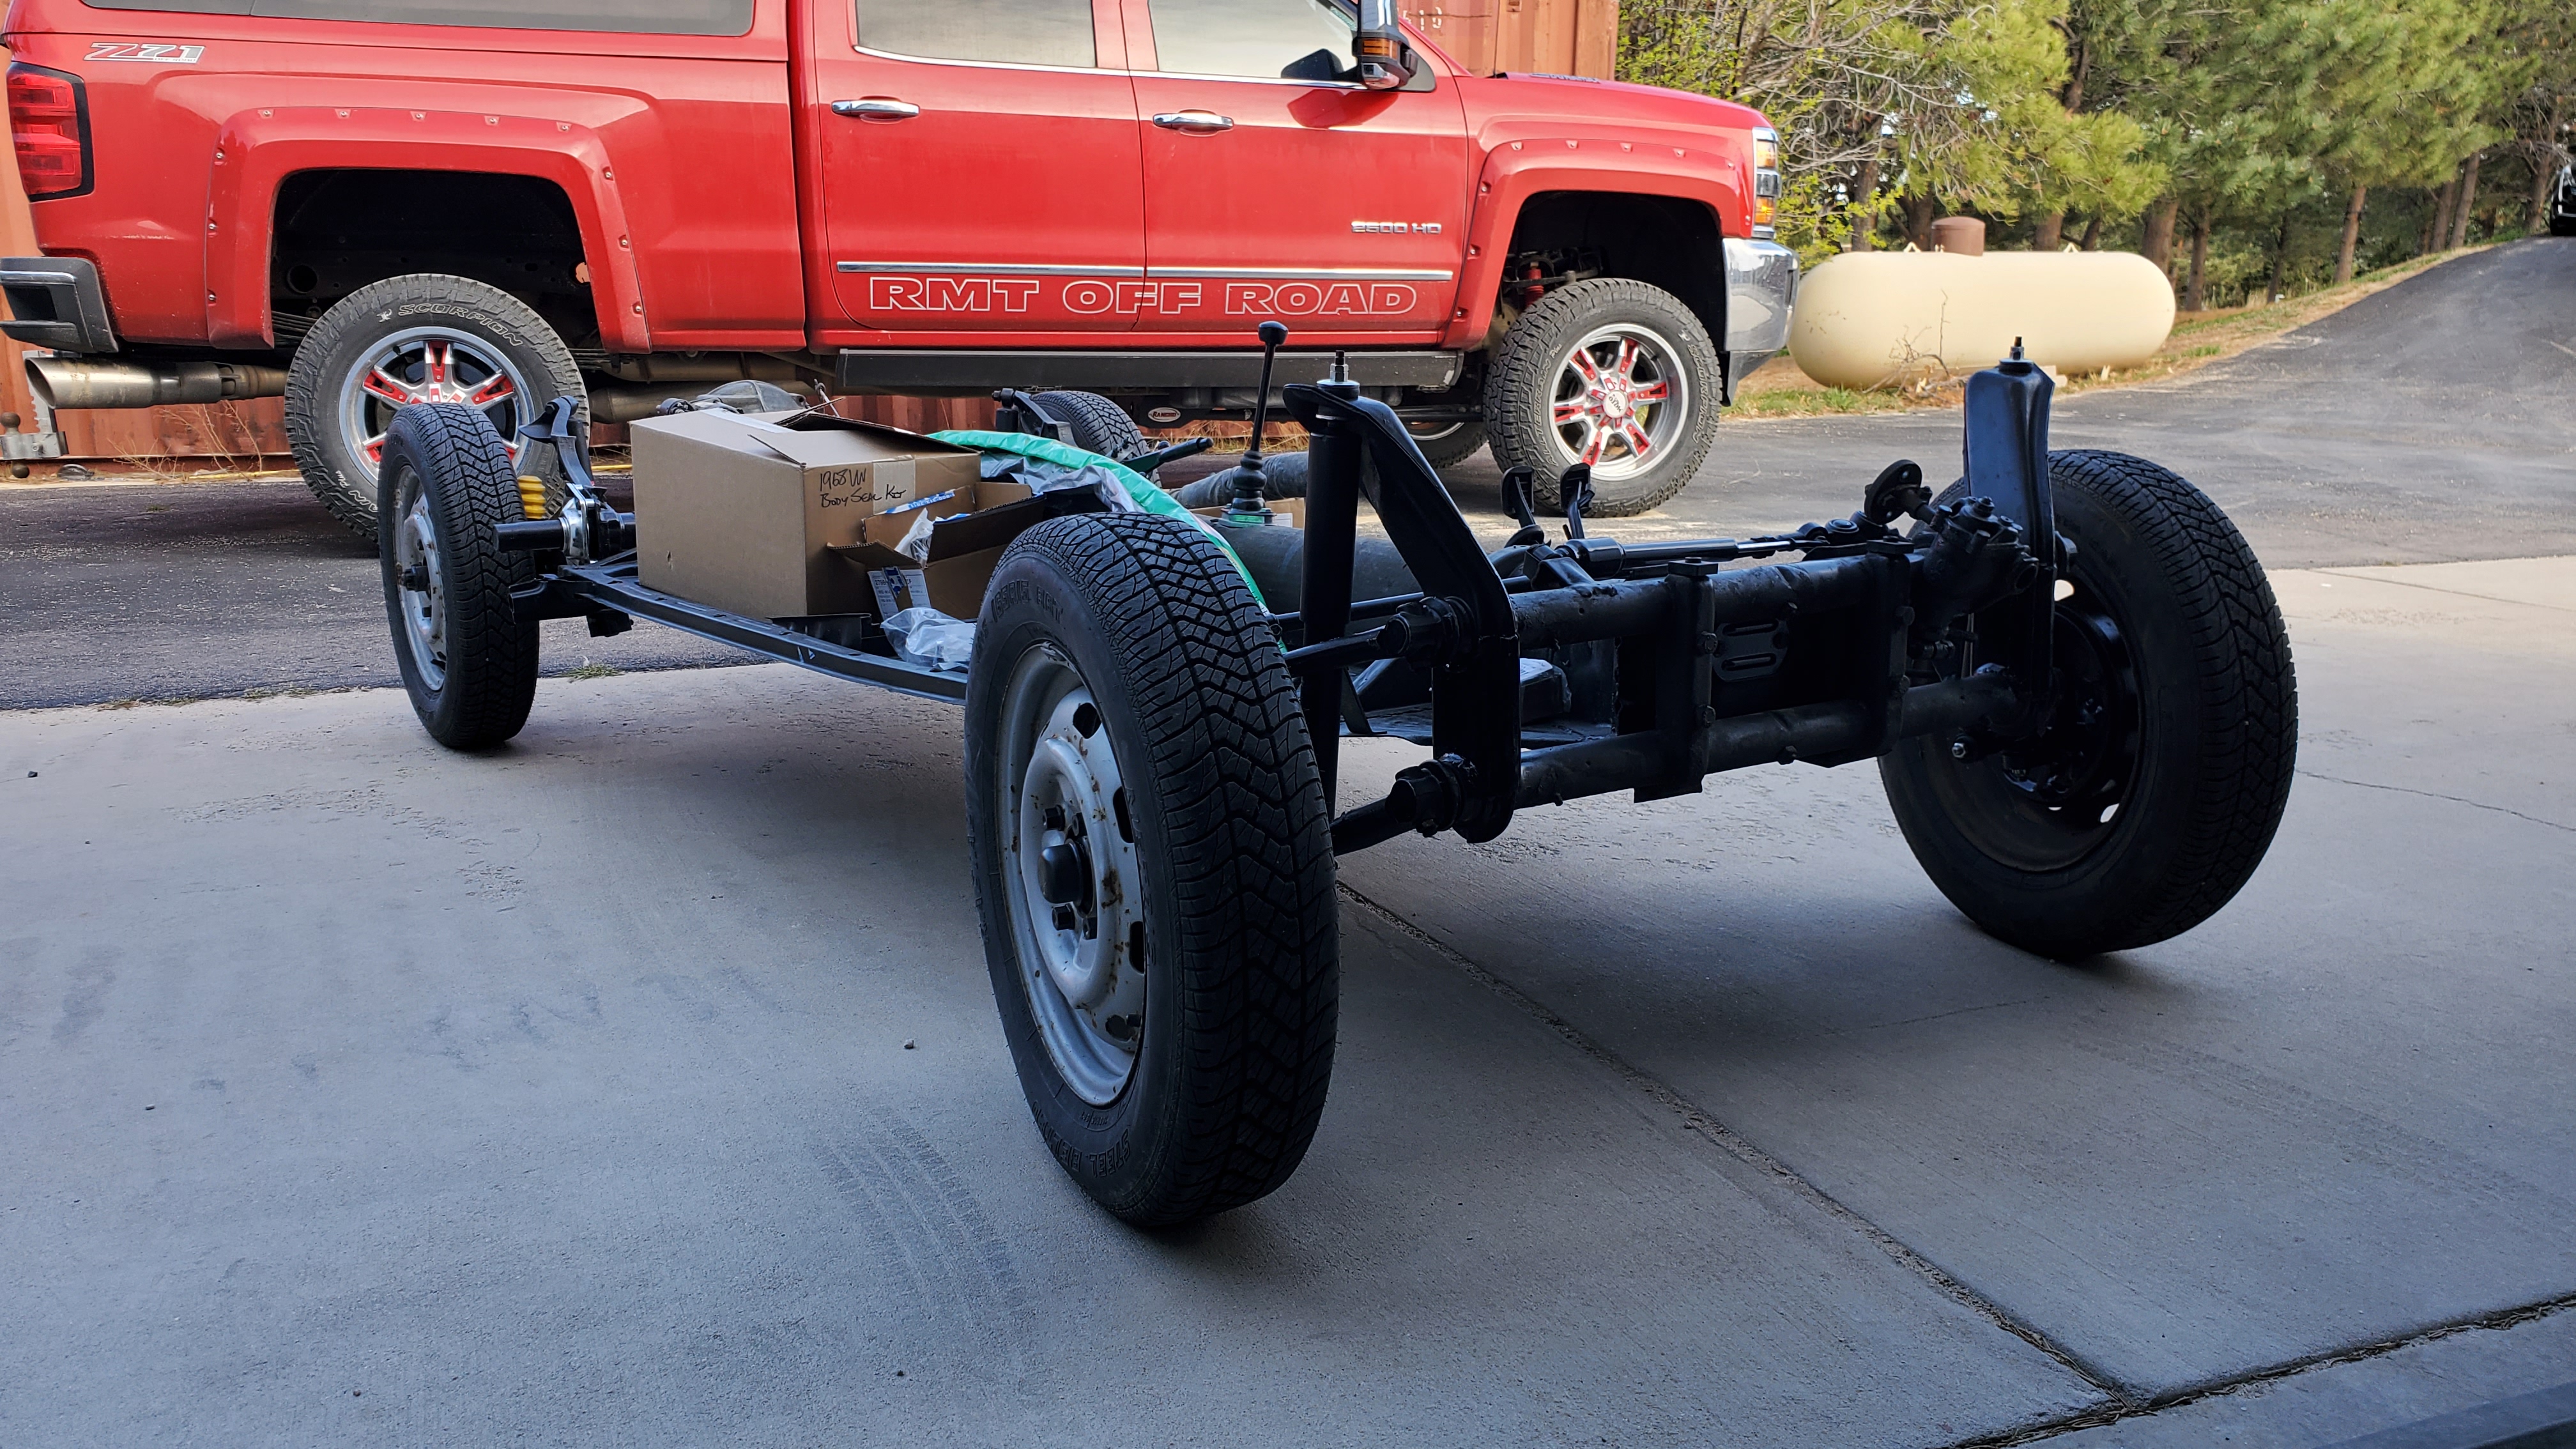
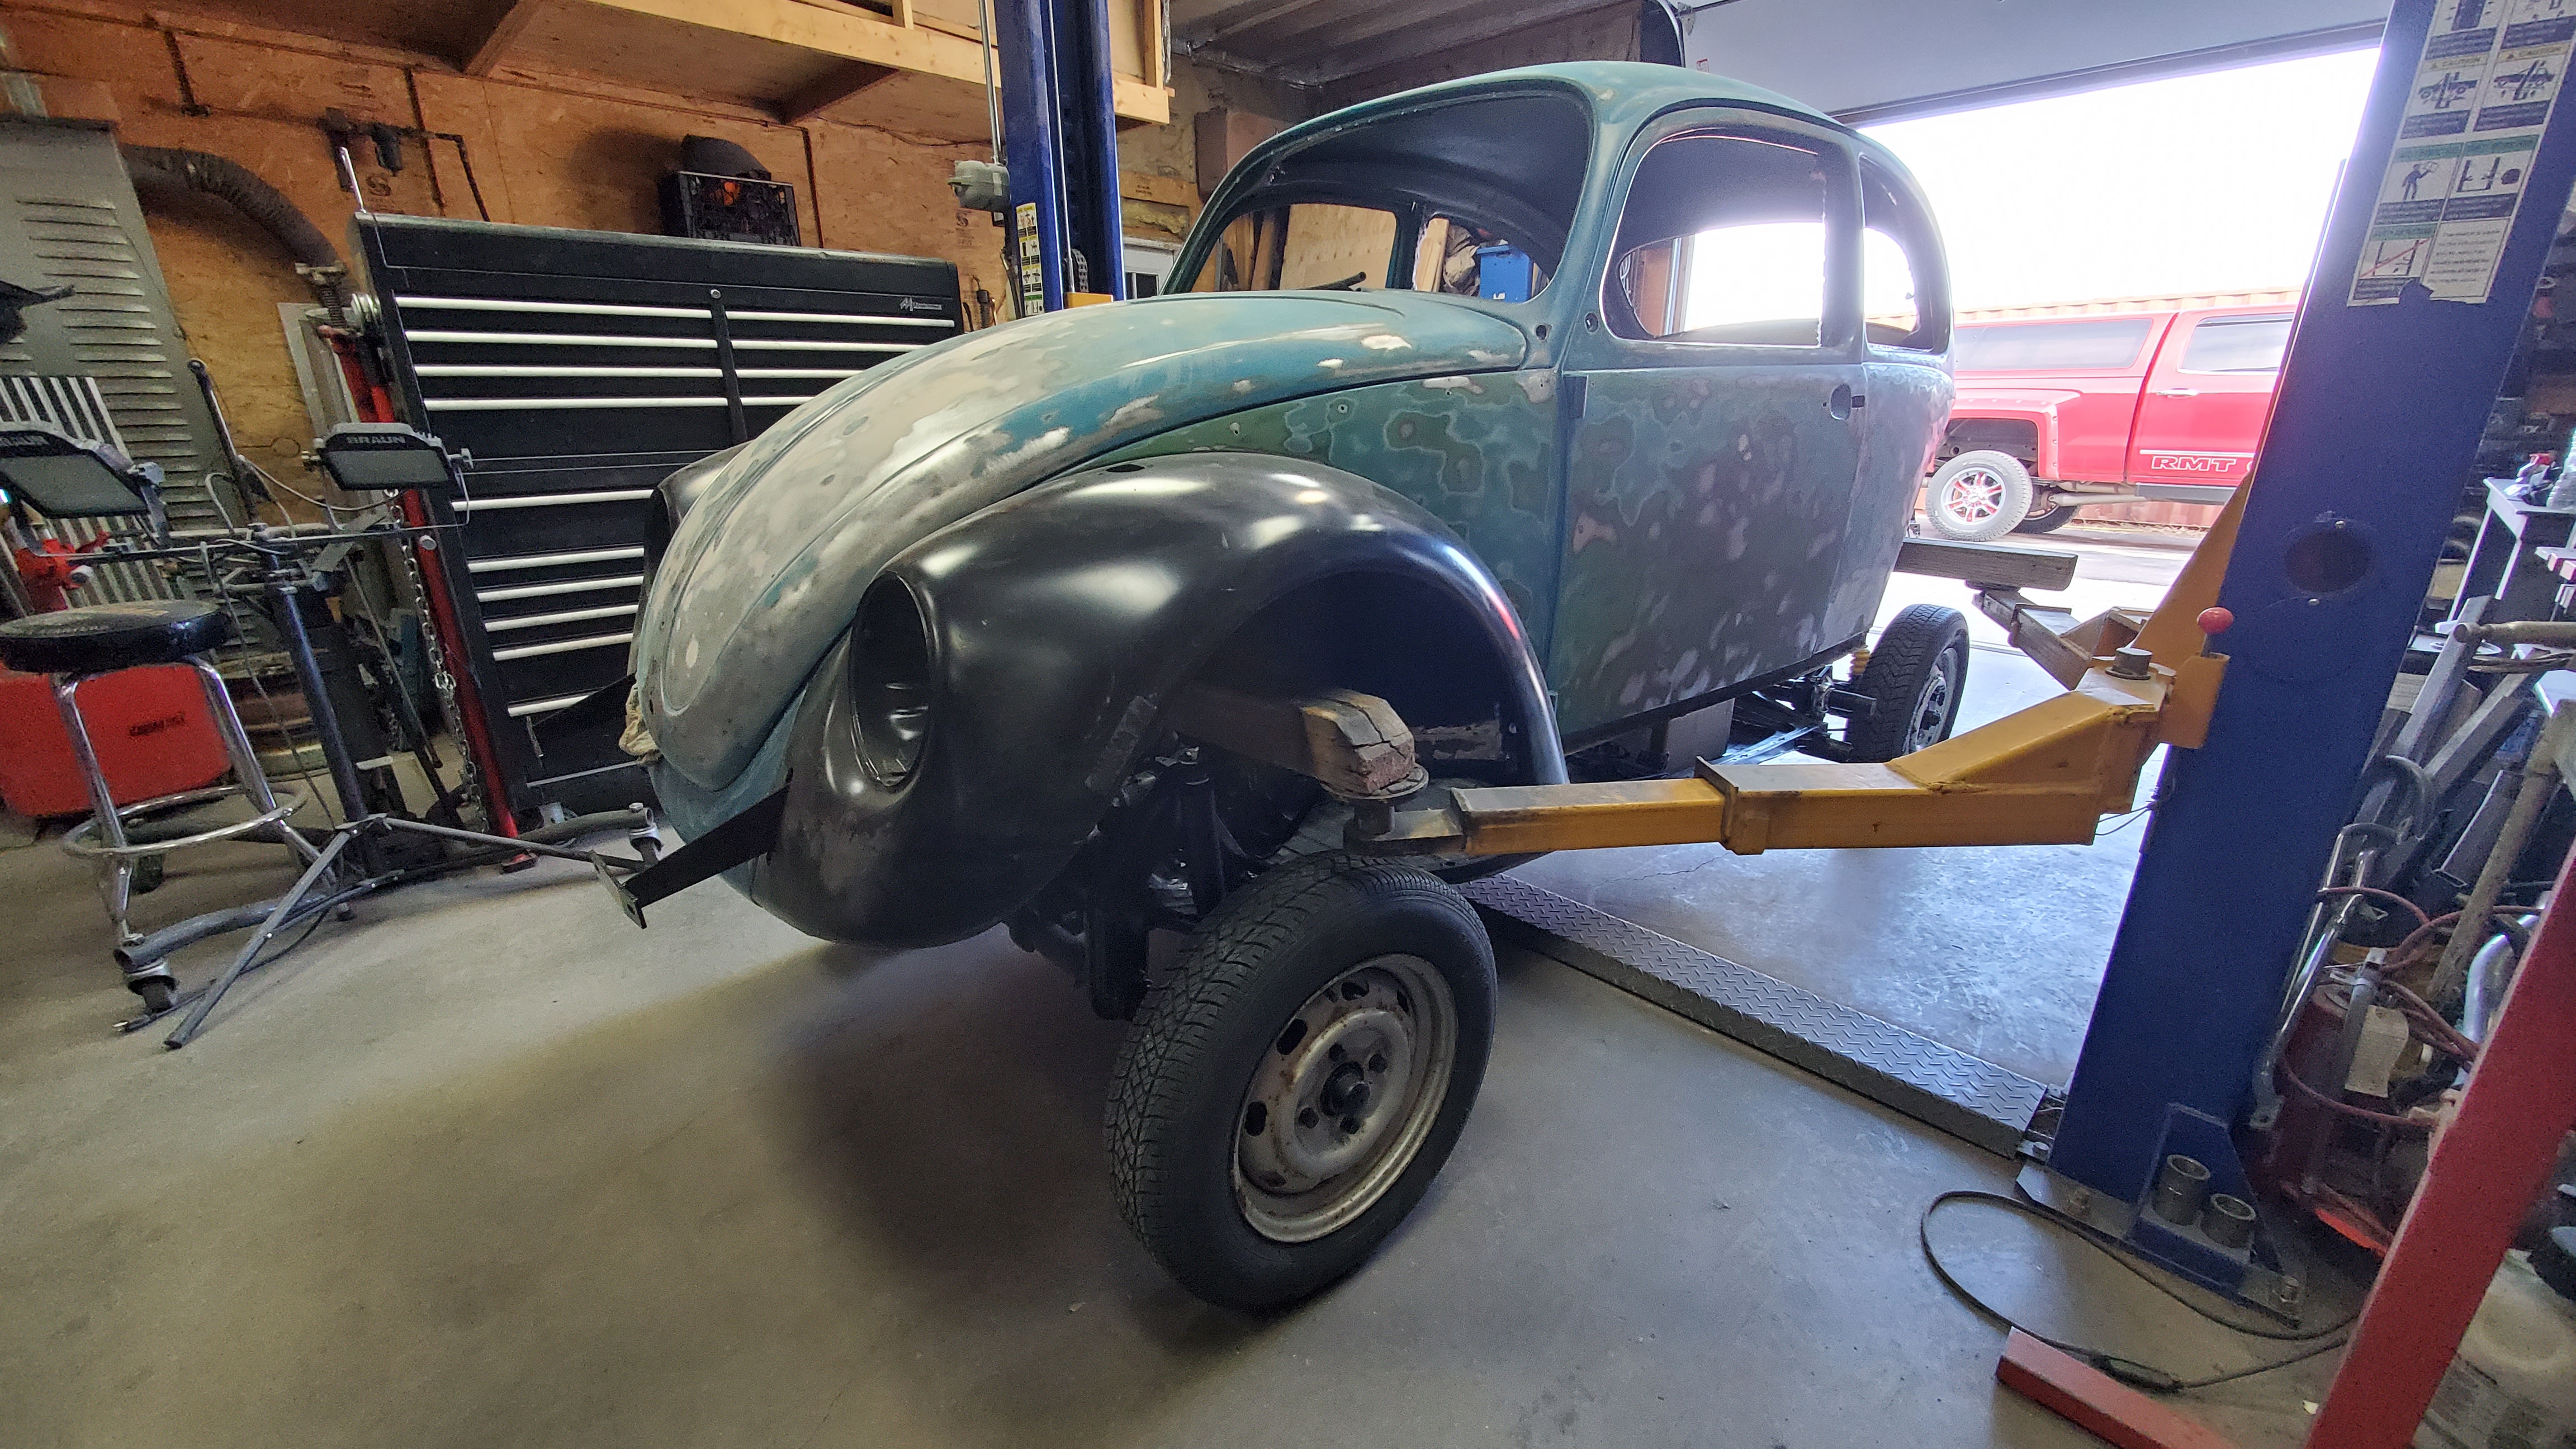
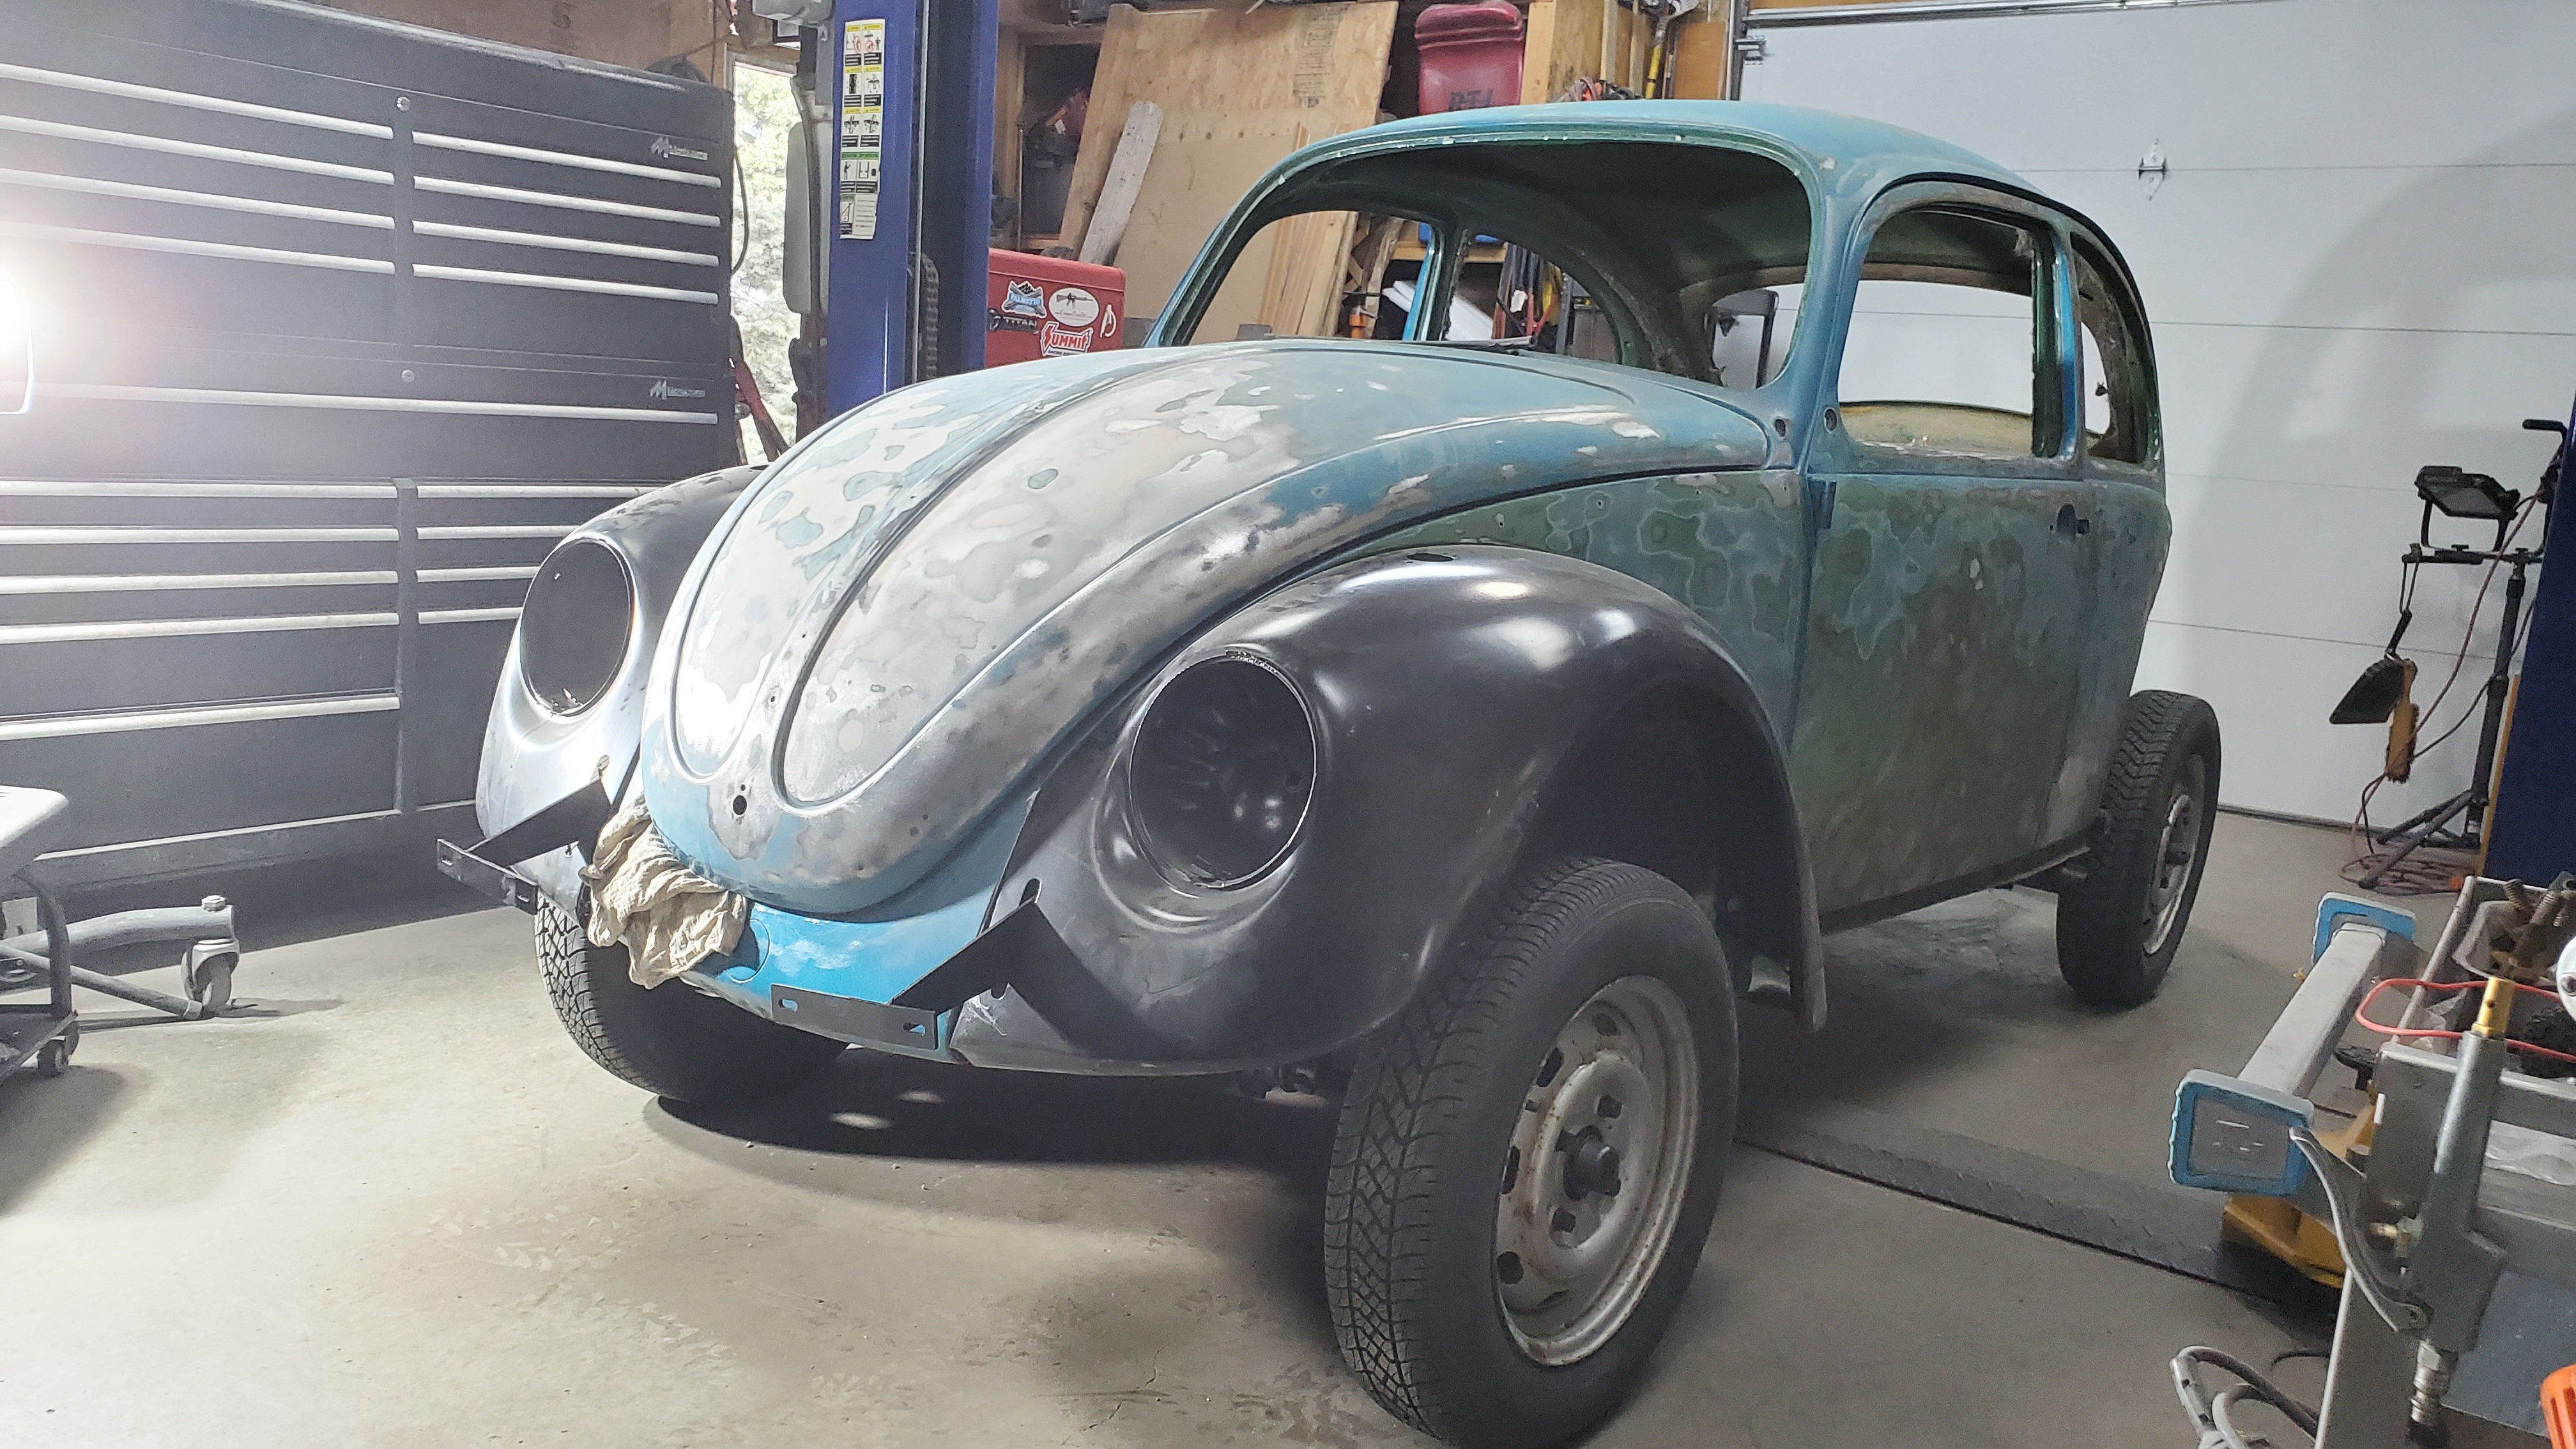
Now that the body mounts are done and the last of the pan parts came in and were installed, the body is ready to be mated to the pan. It definitely has a lot more ground clearance than when it came in the shop.
Copyright 2022-26
