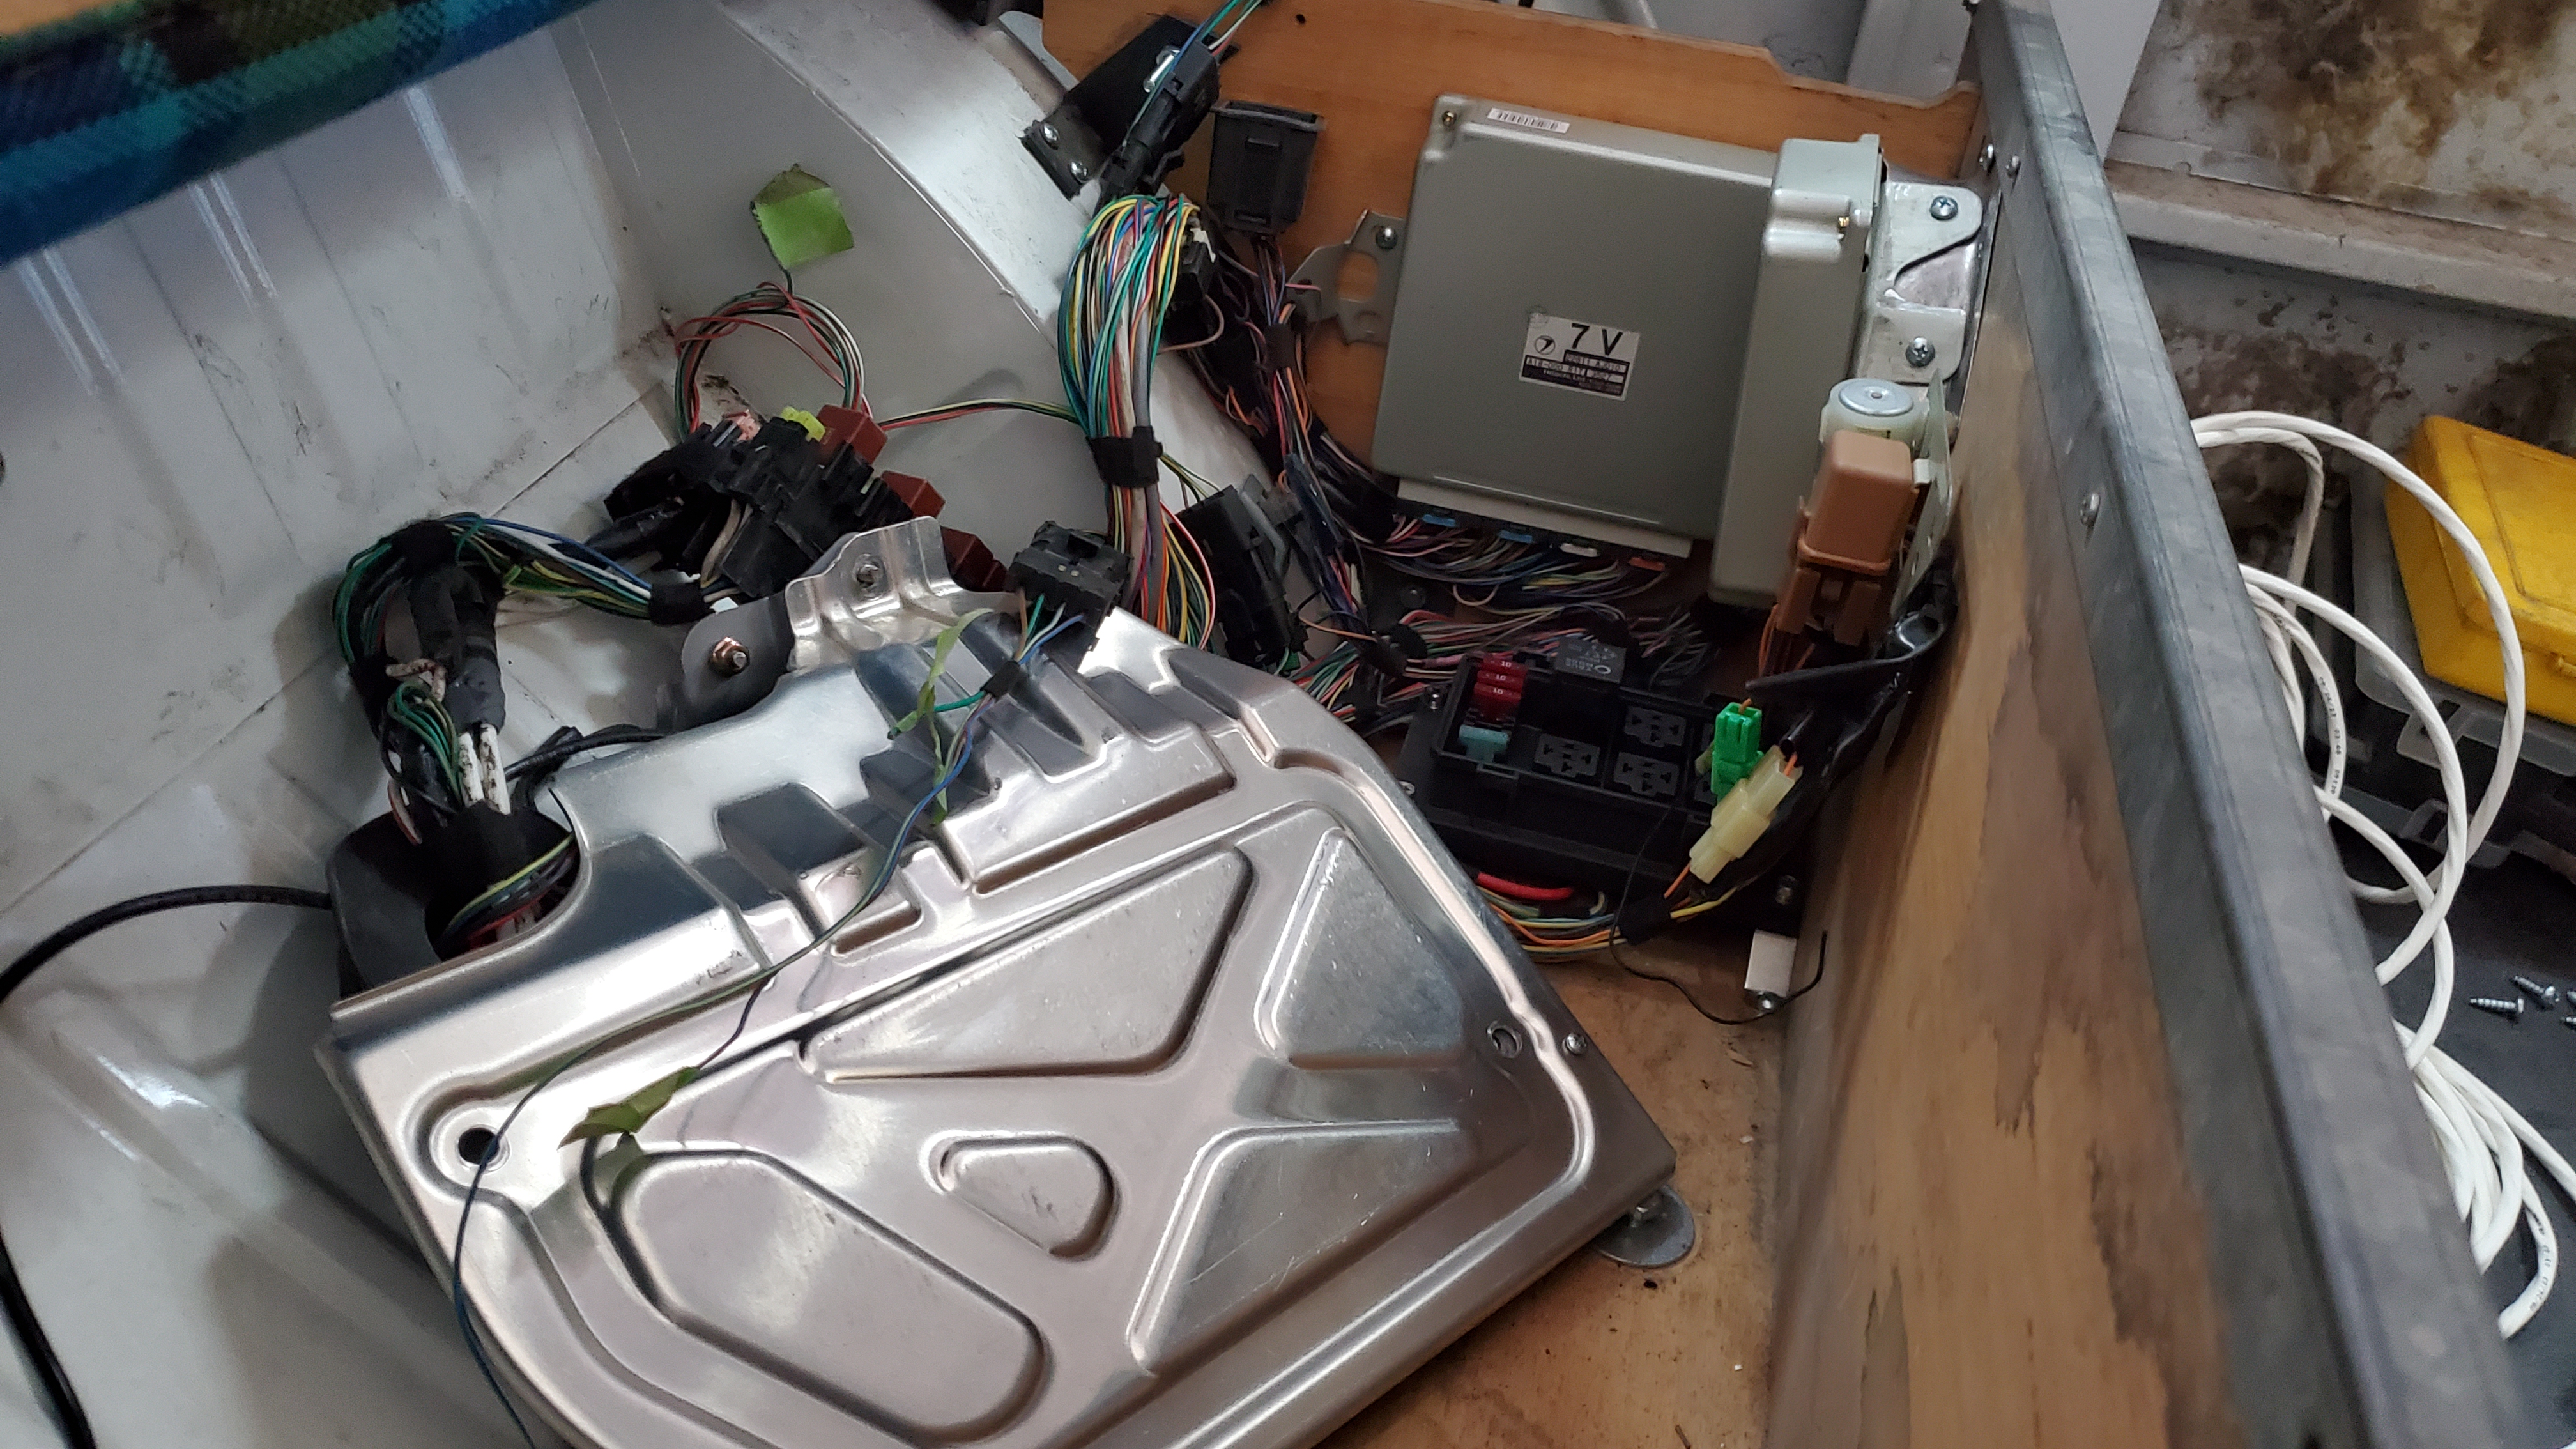
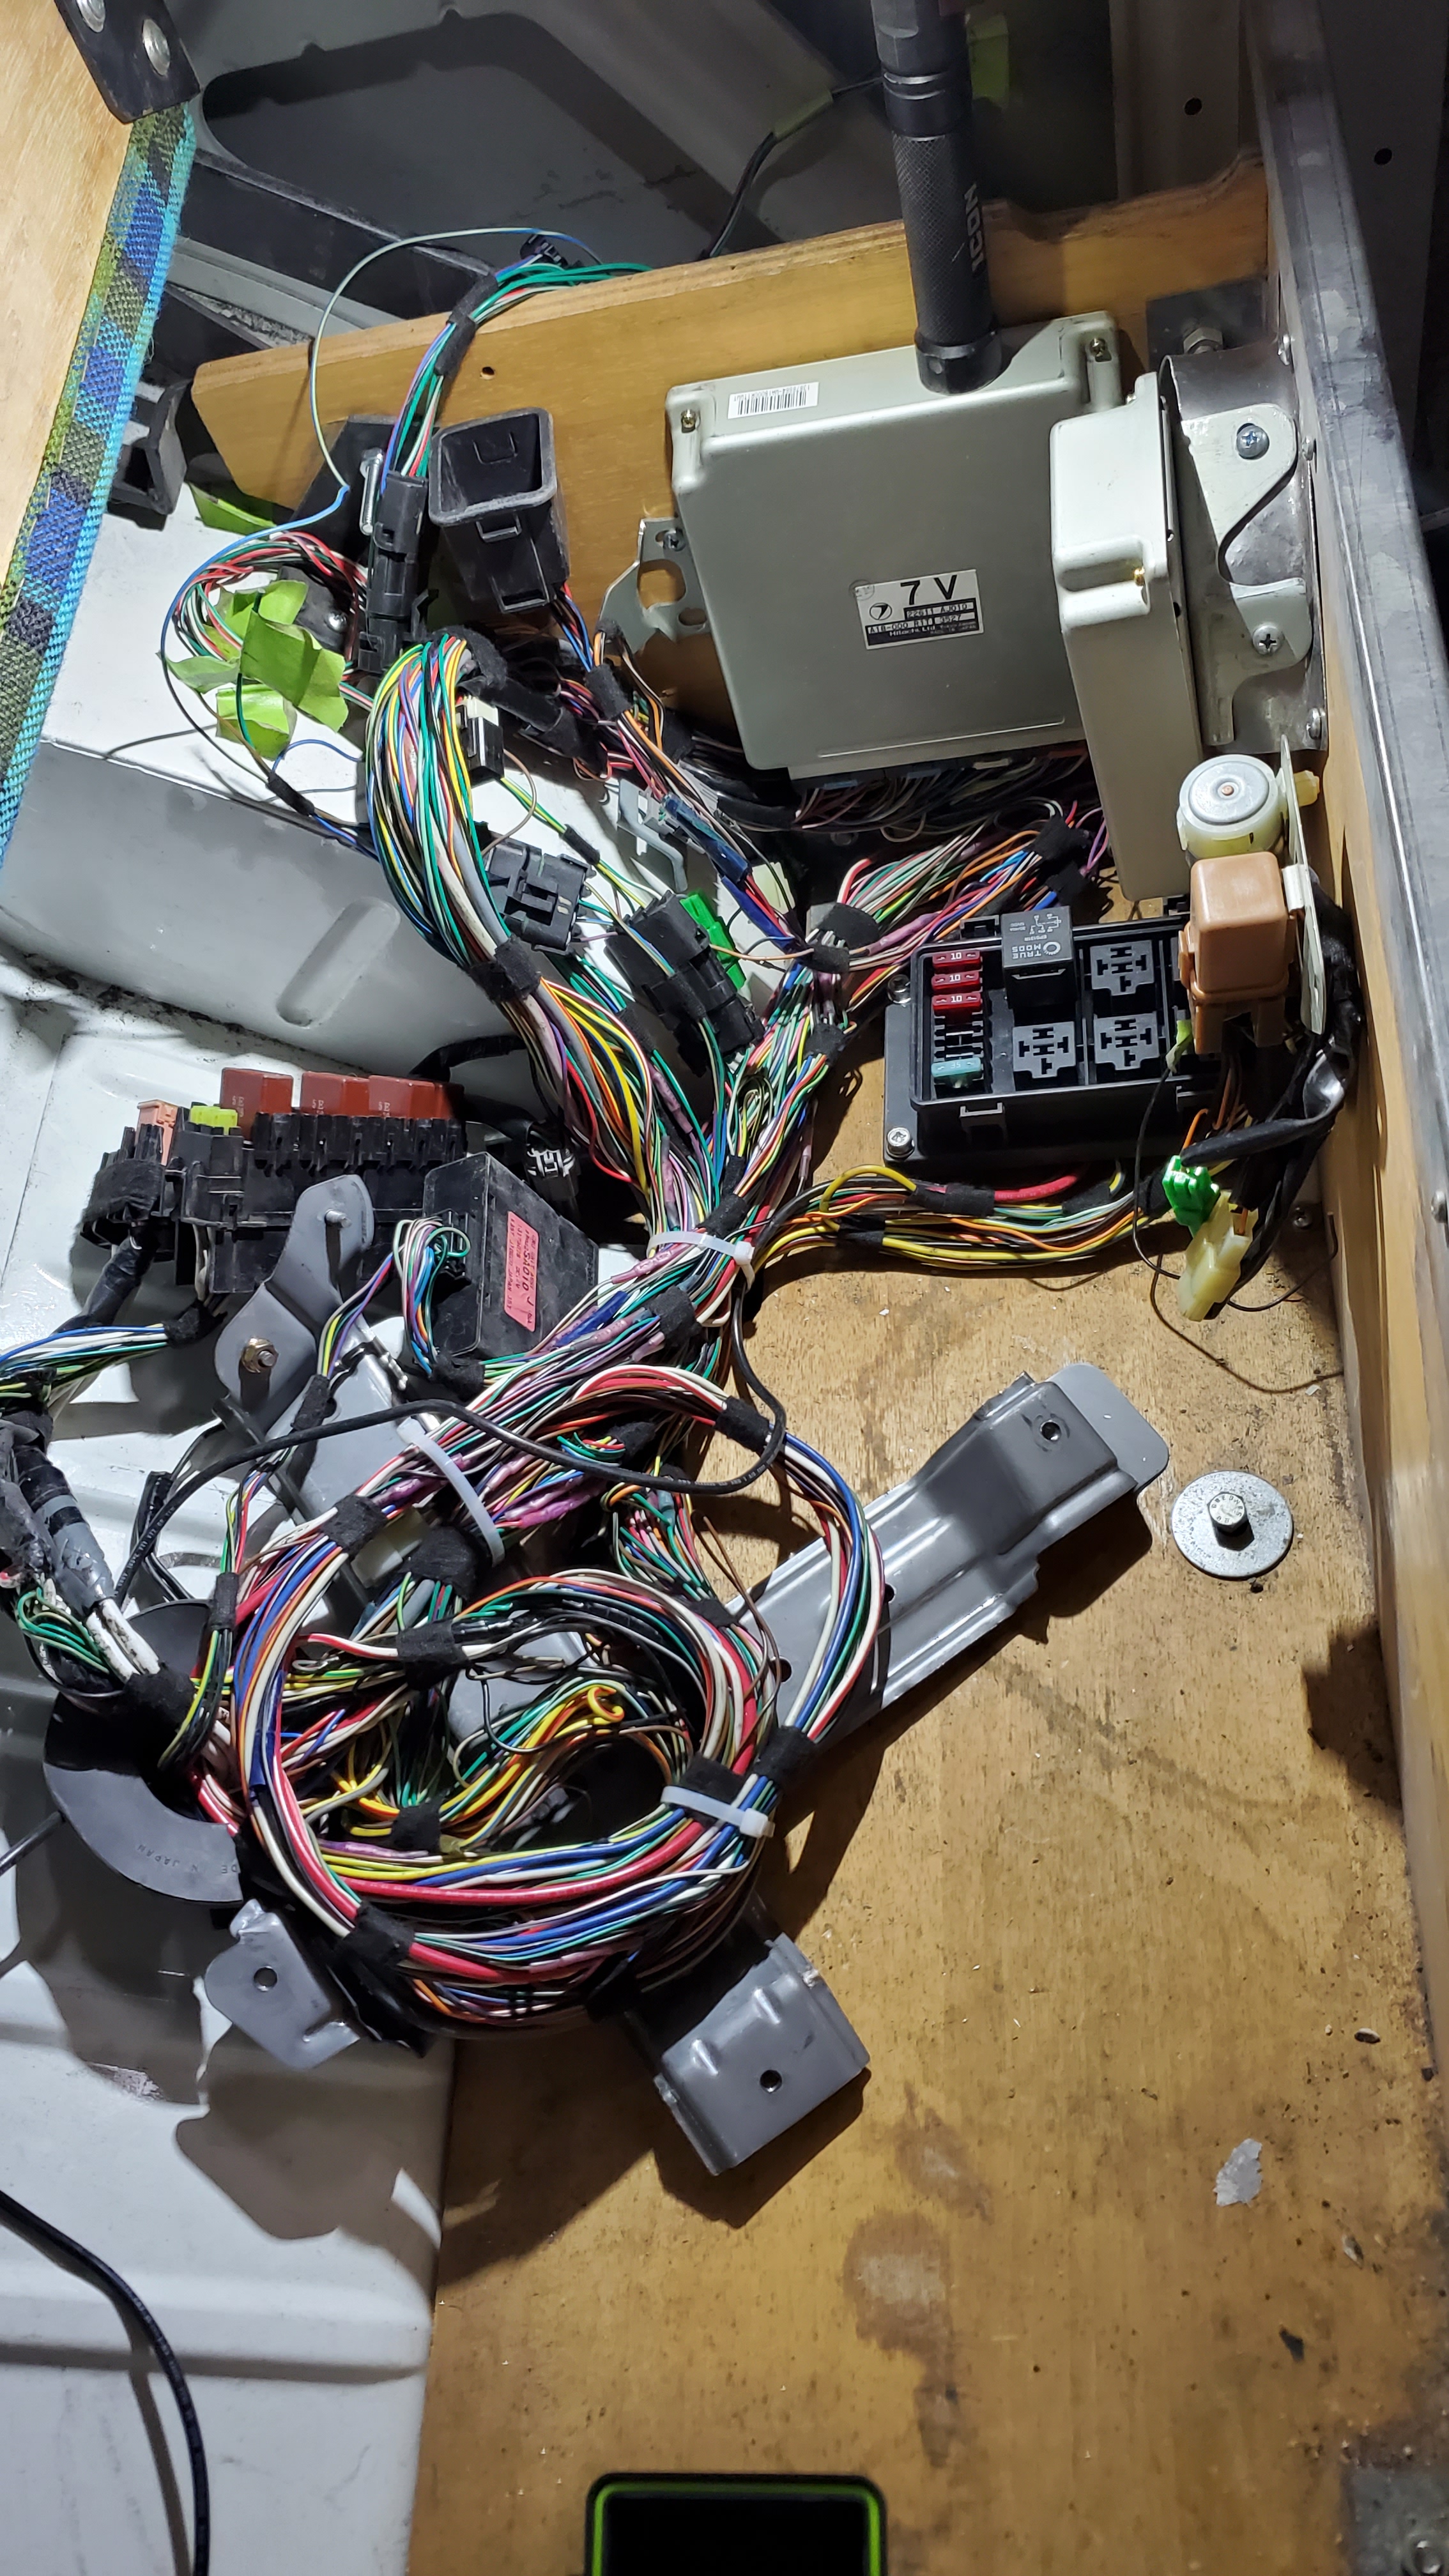
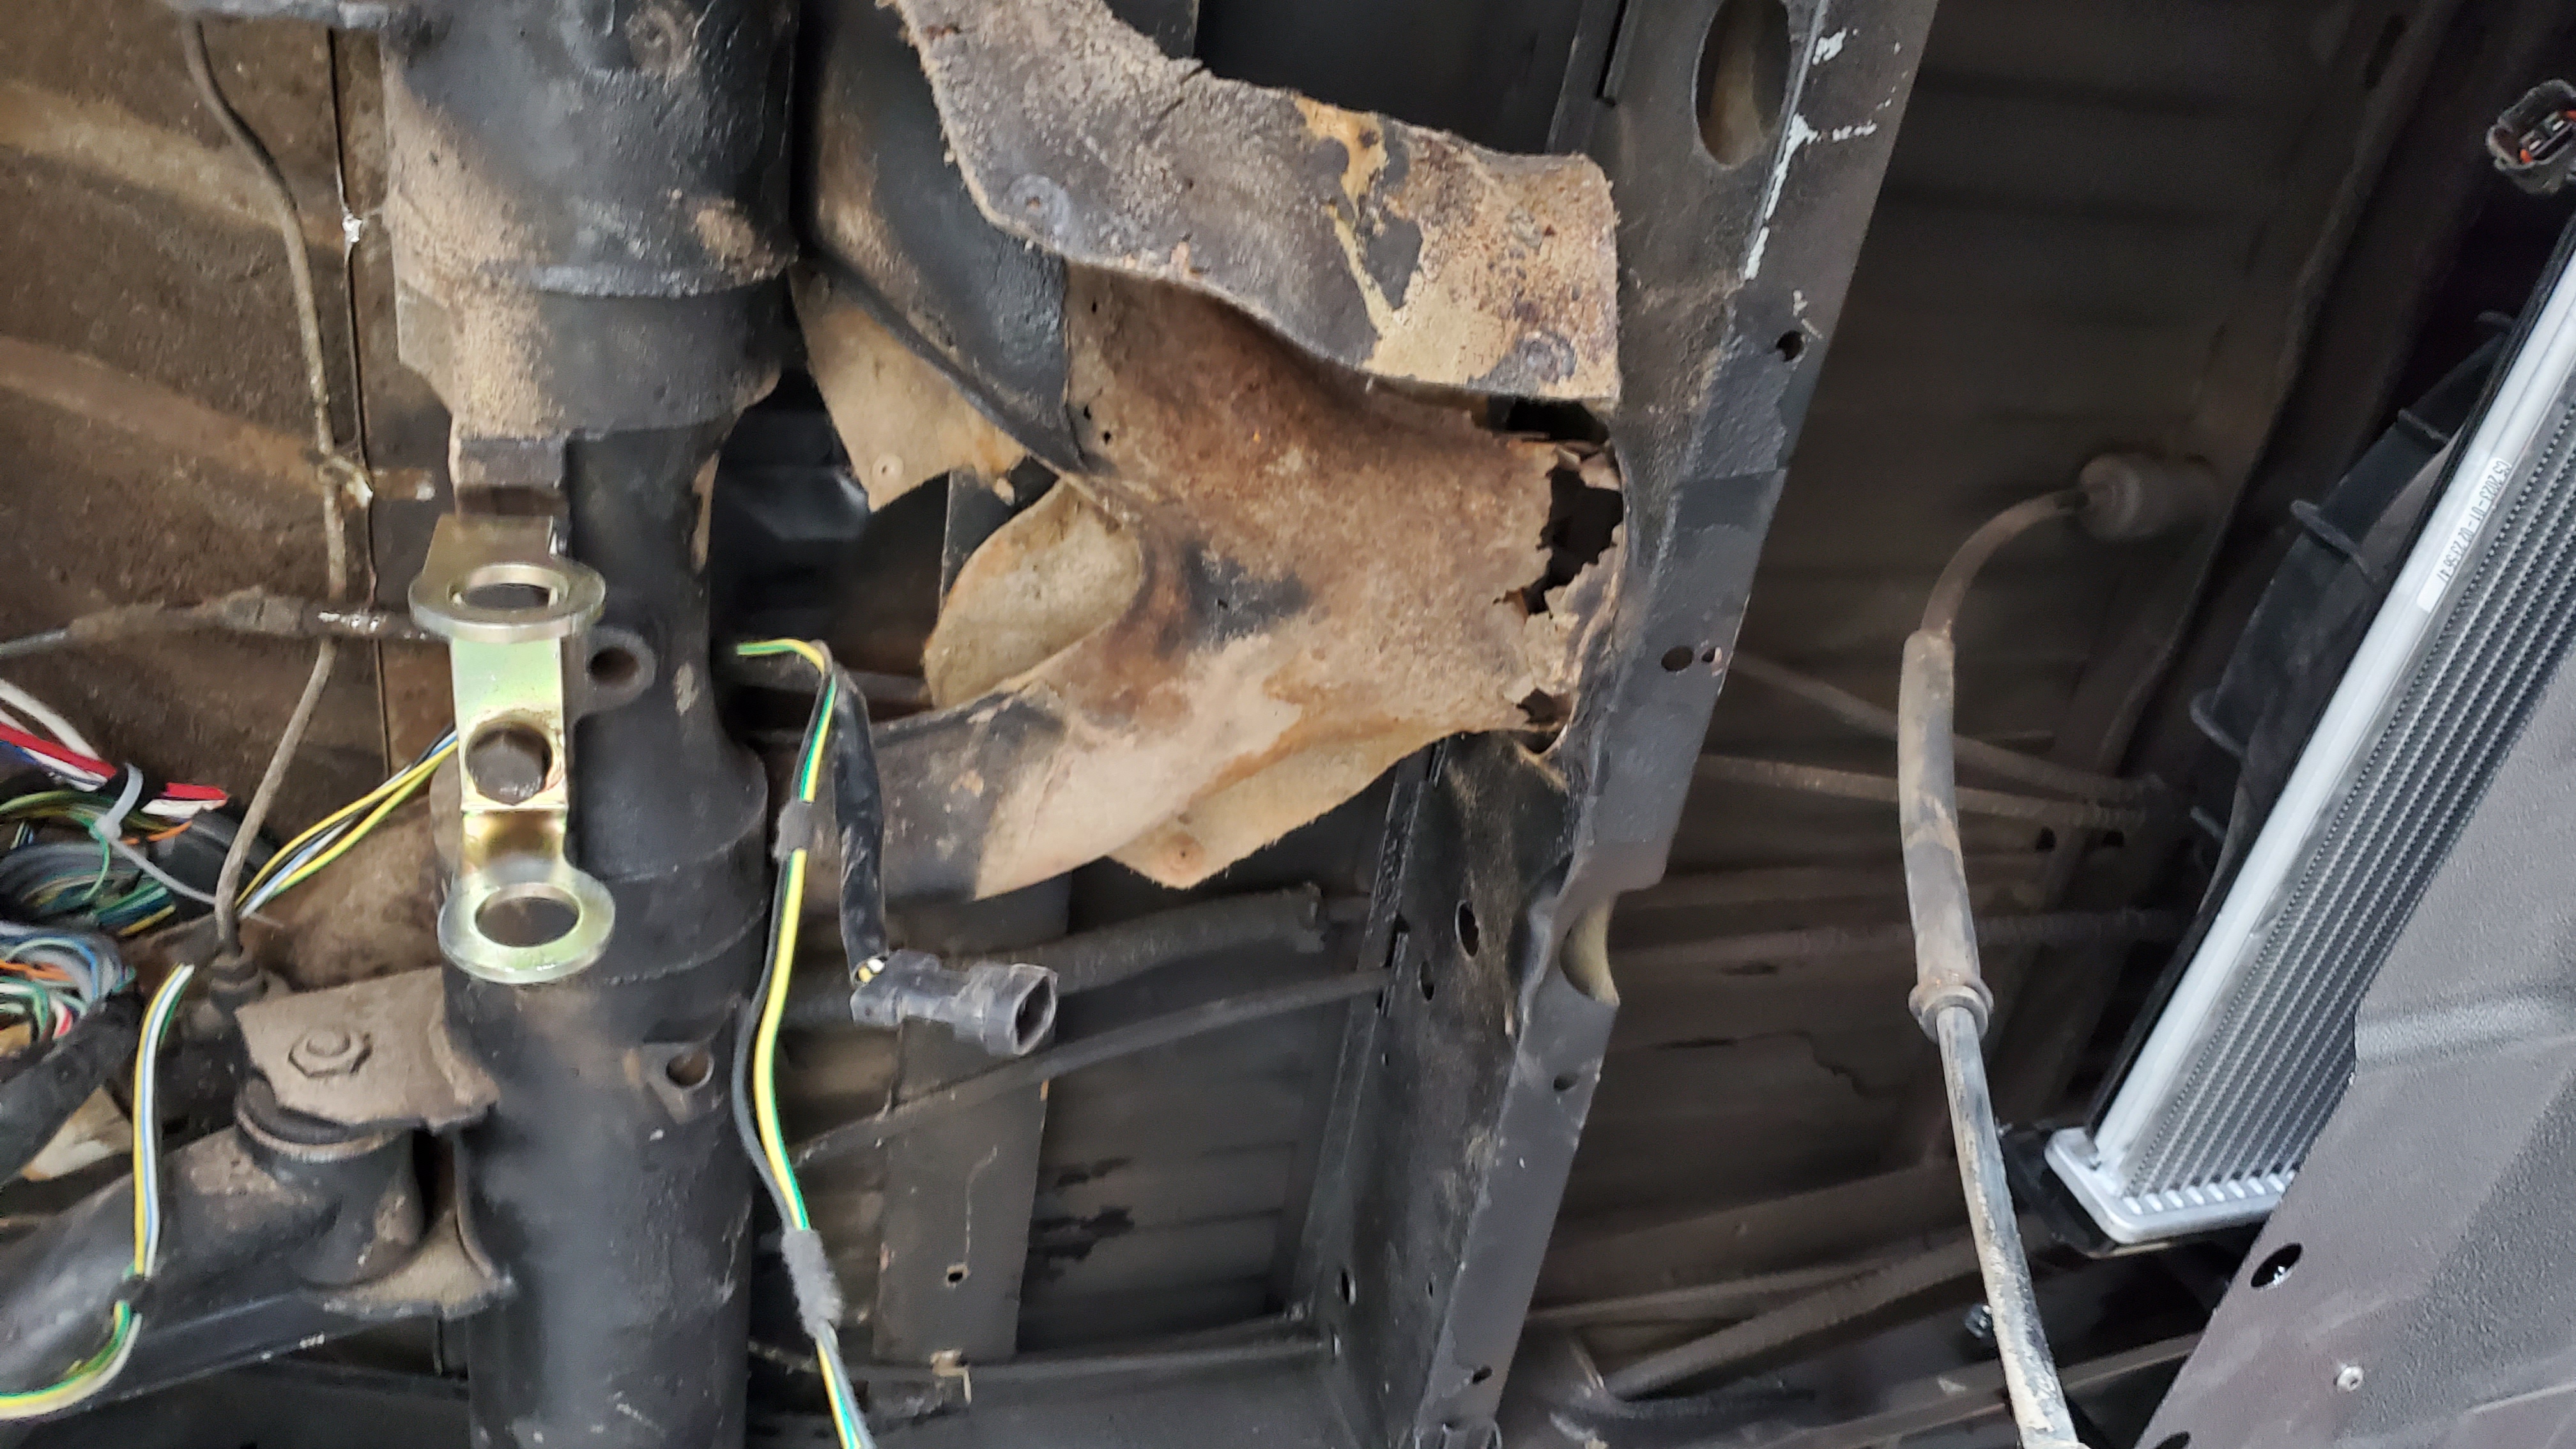
After finishing the transmission, it was time to return to the front wheel well patch for welding and sealing. The main harness was carefully wrapped with the original Subaru ECU shield box to keep it organized and protect the wiring from wear or damage.

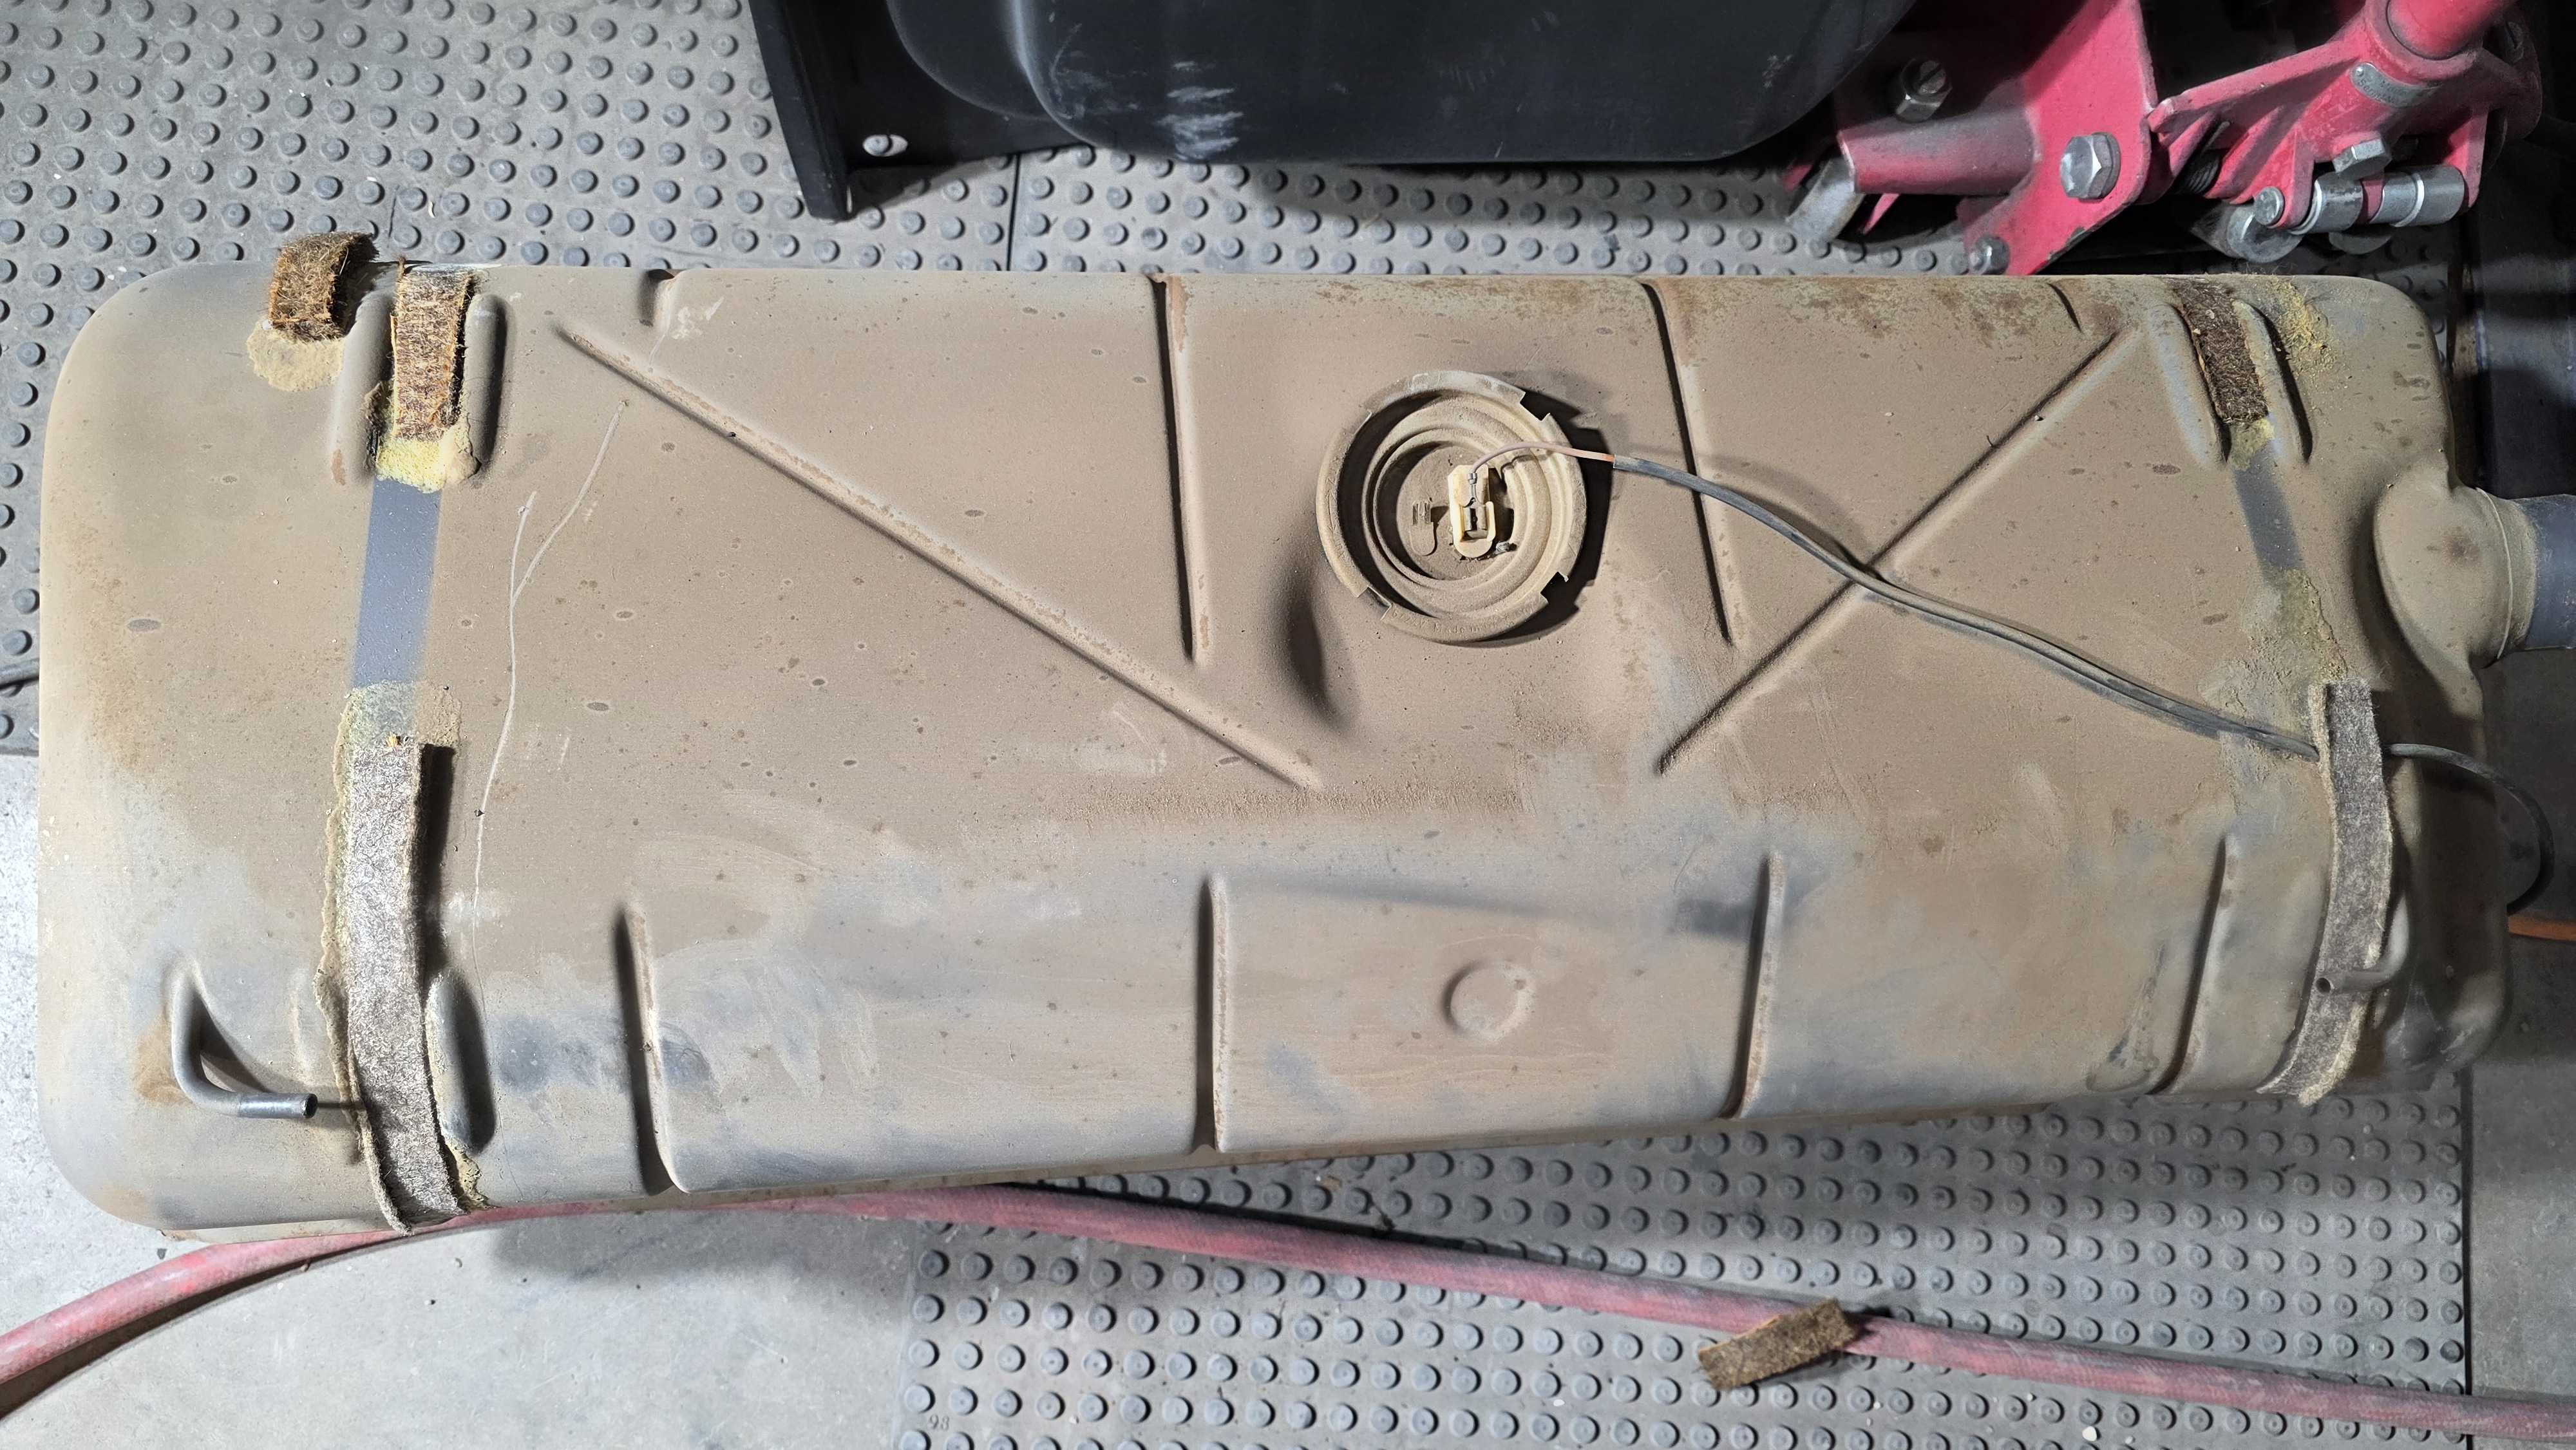
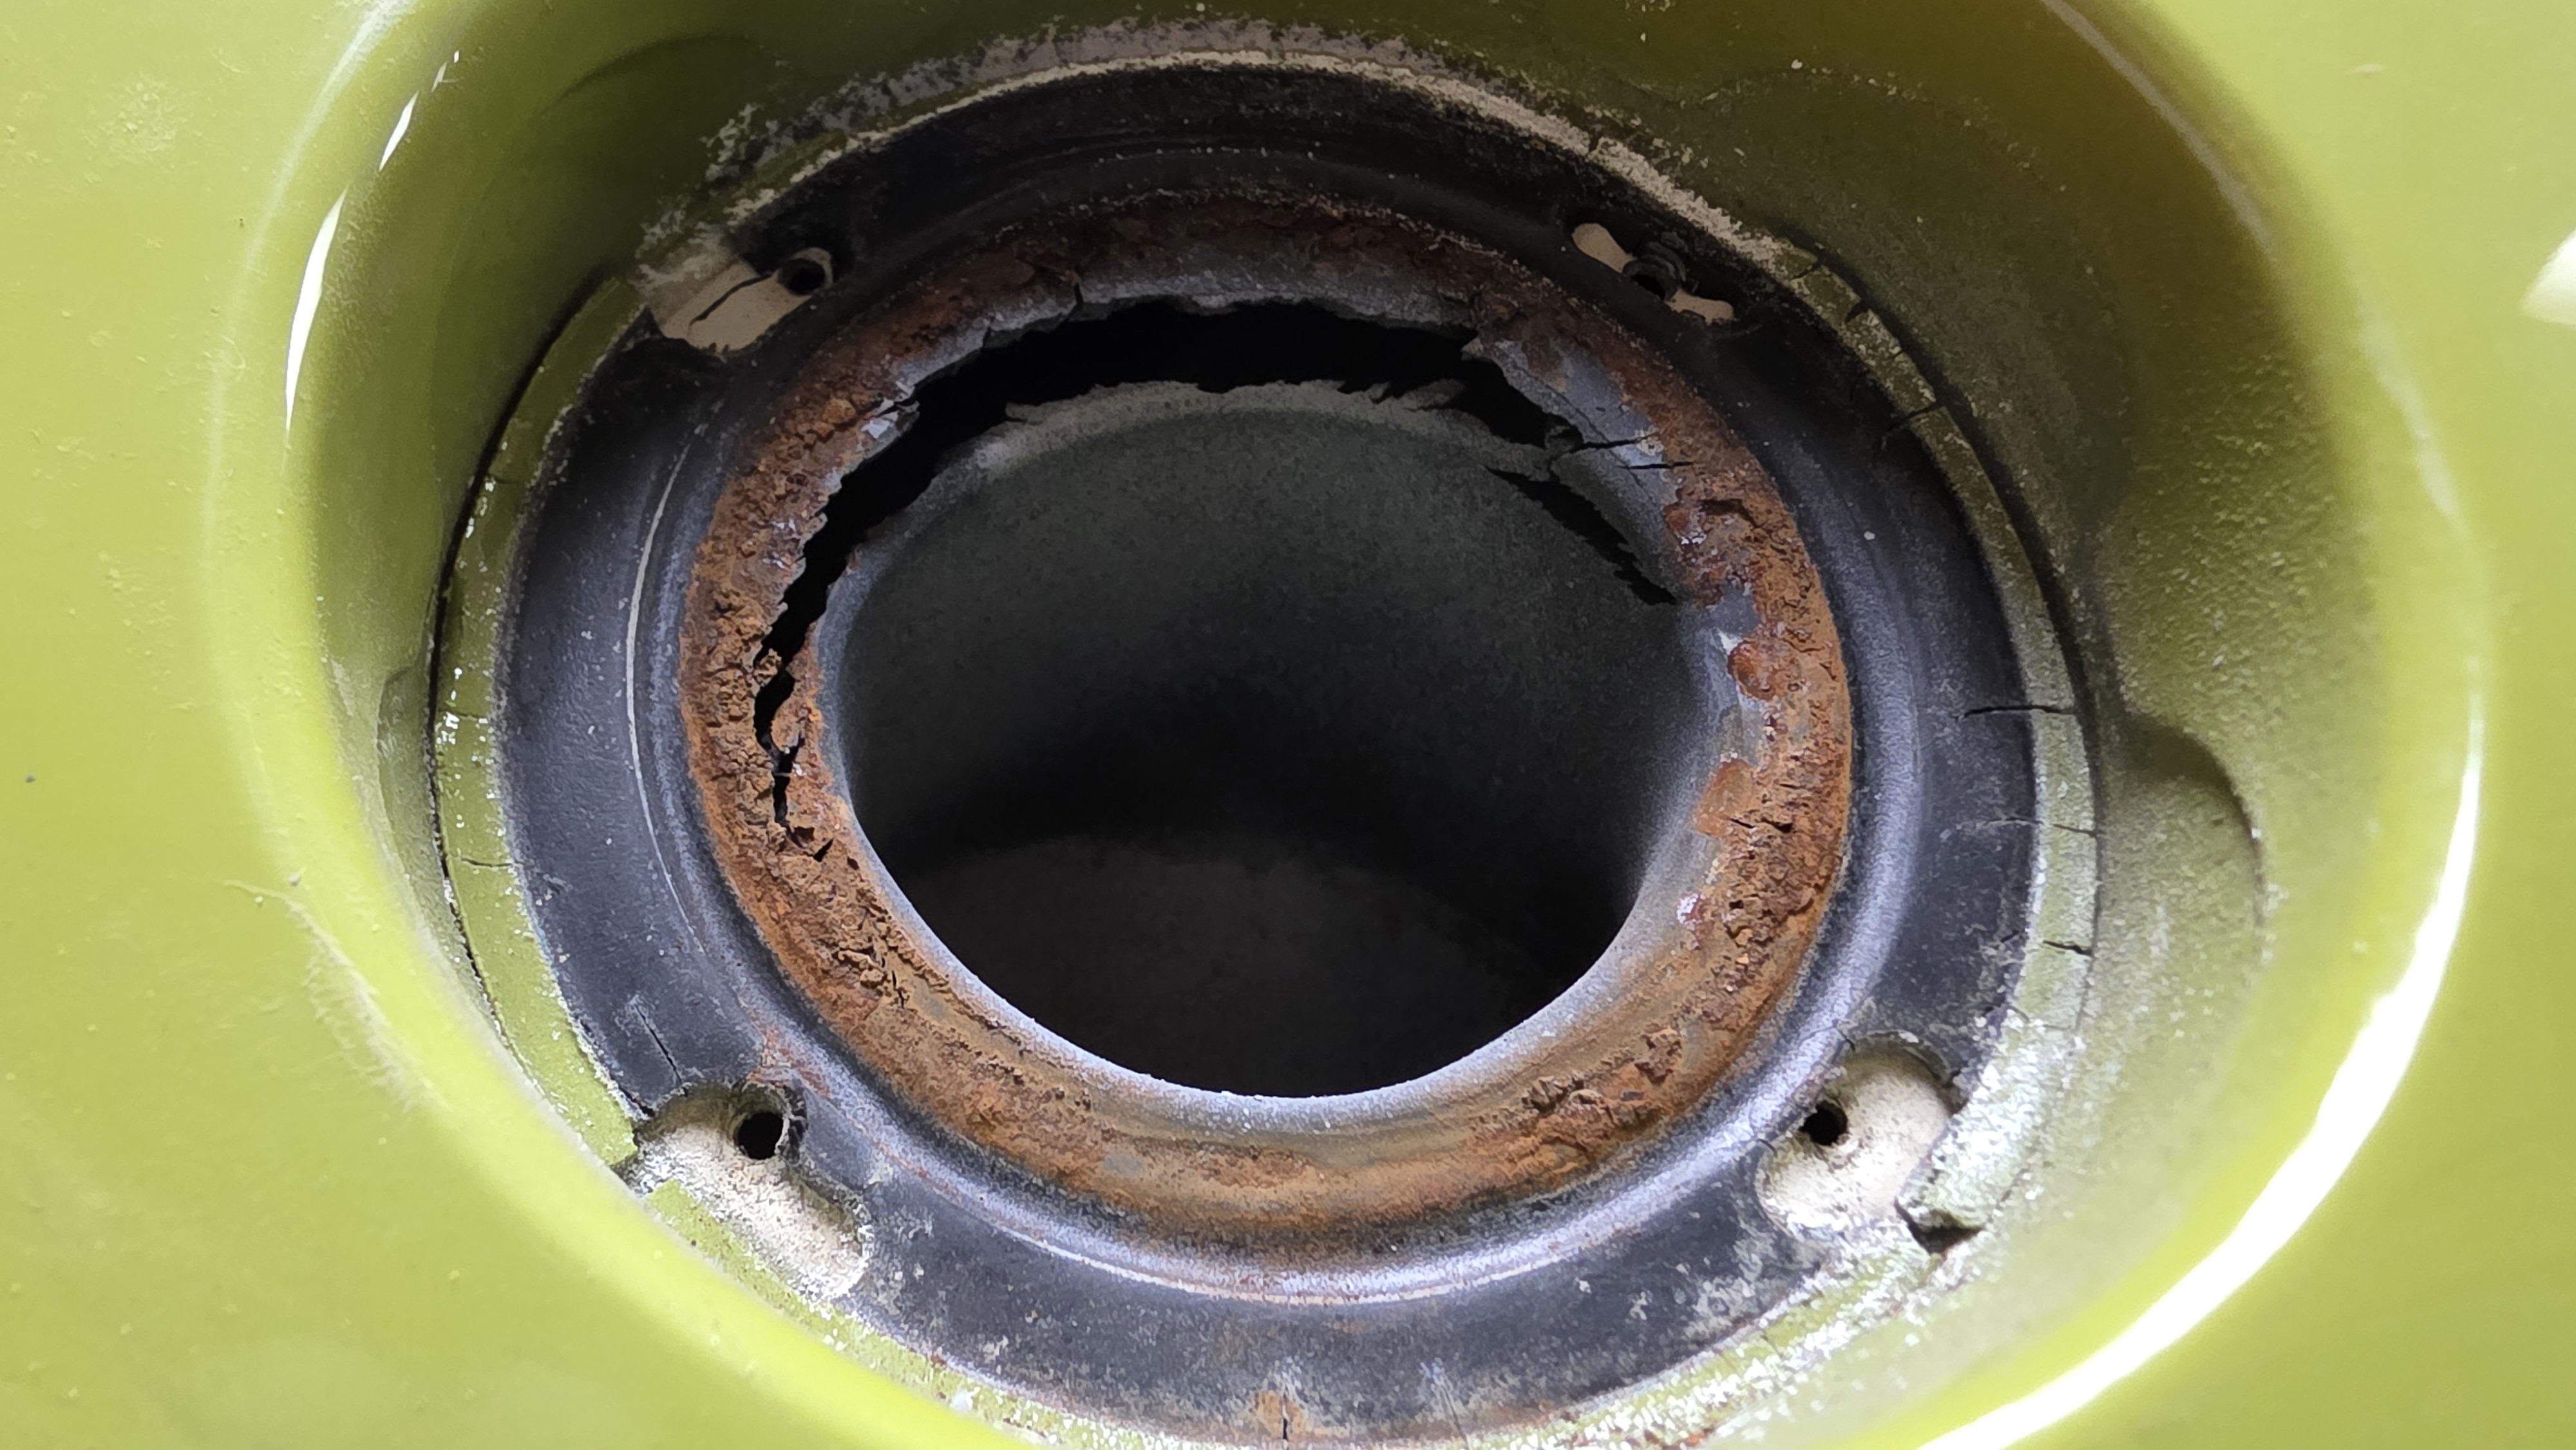
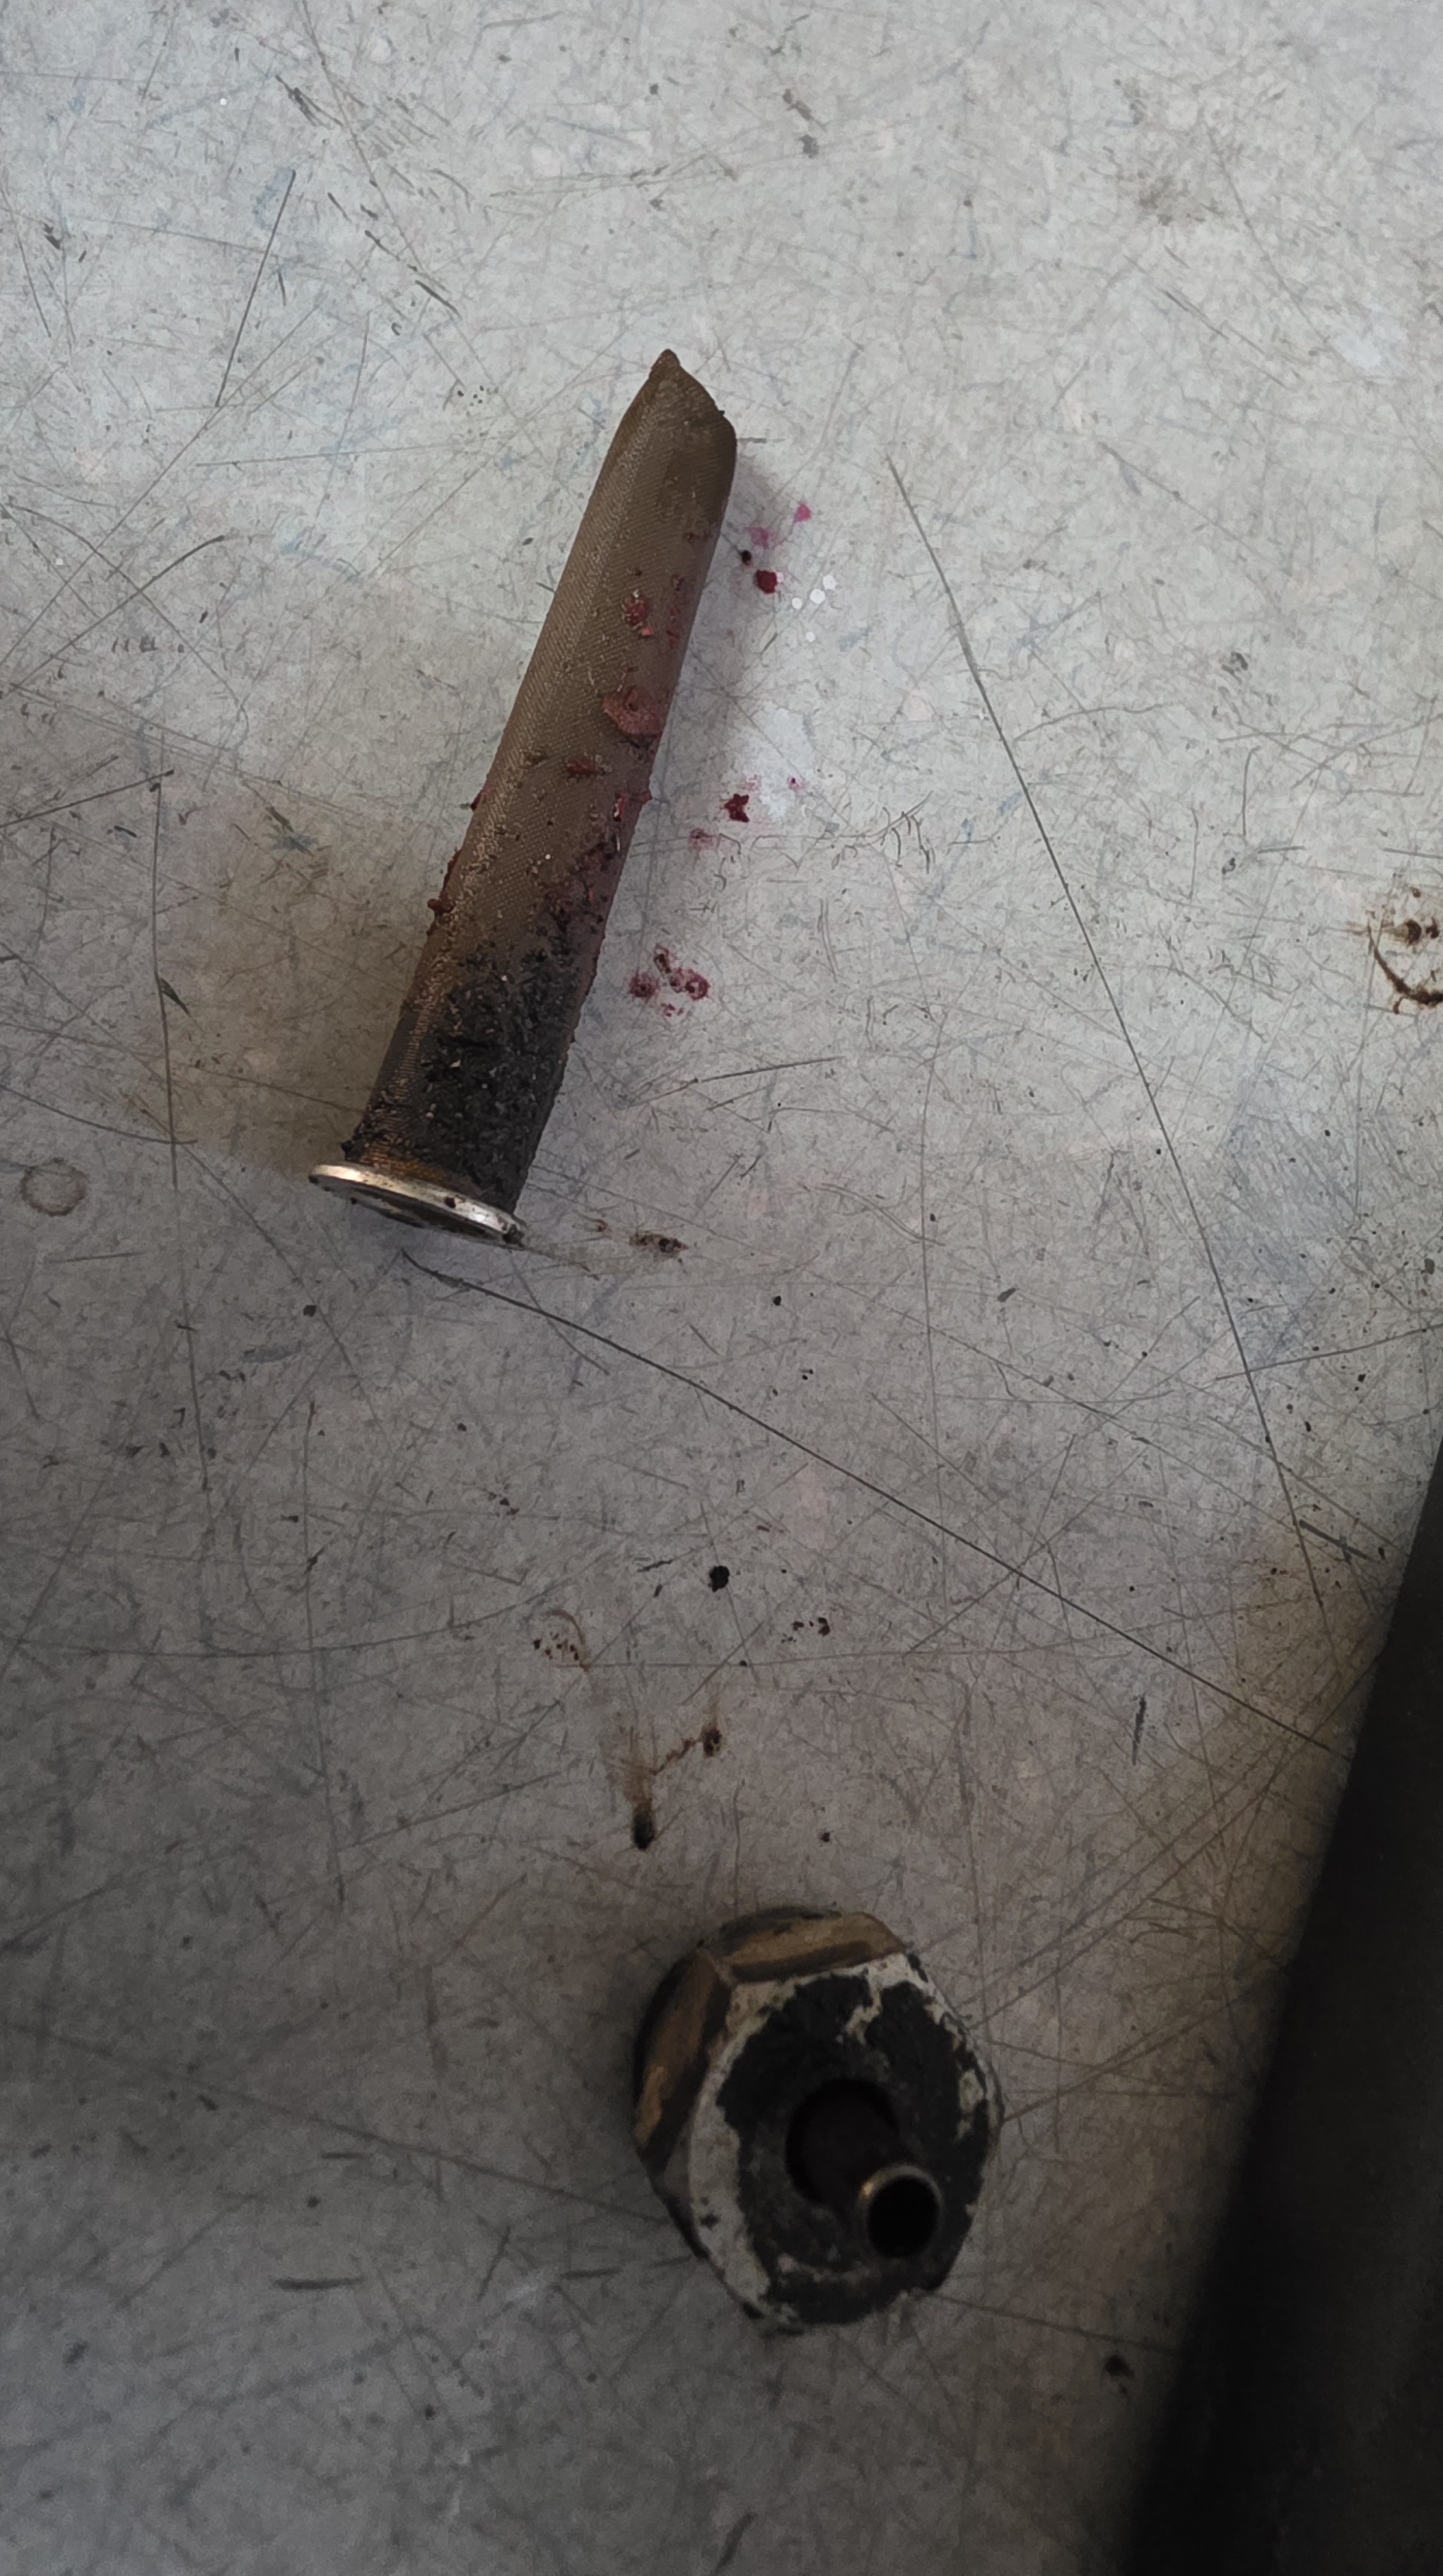
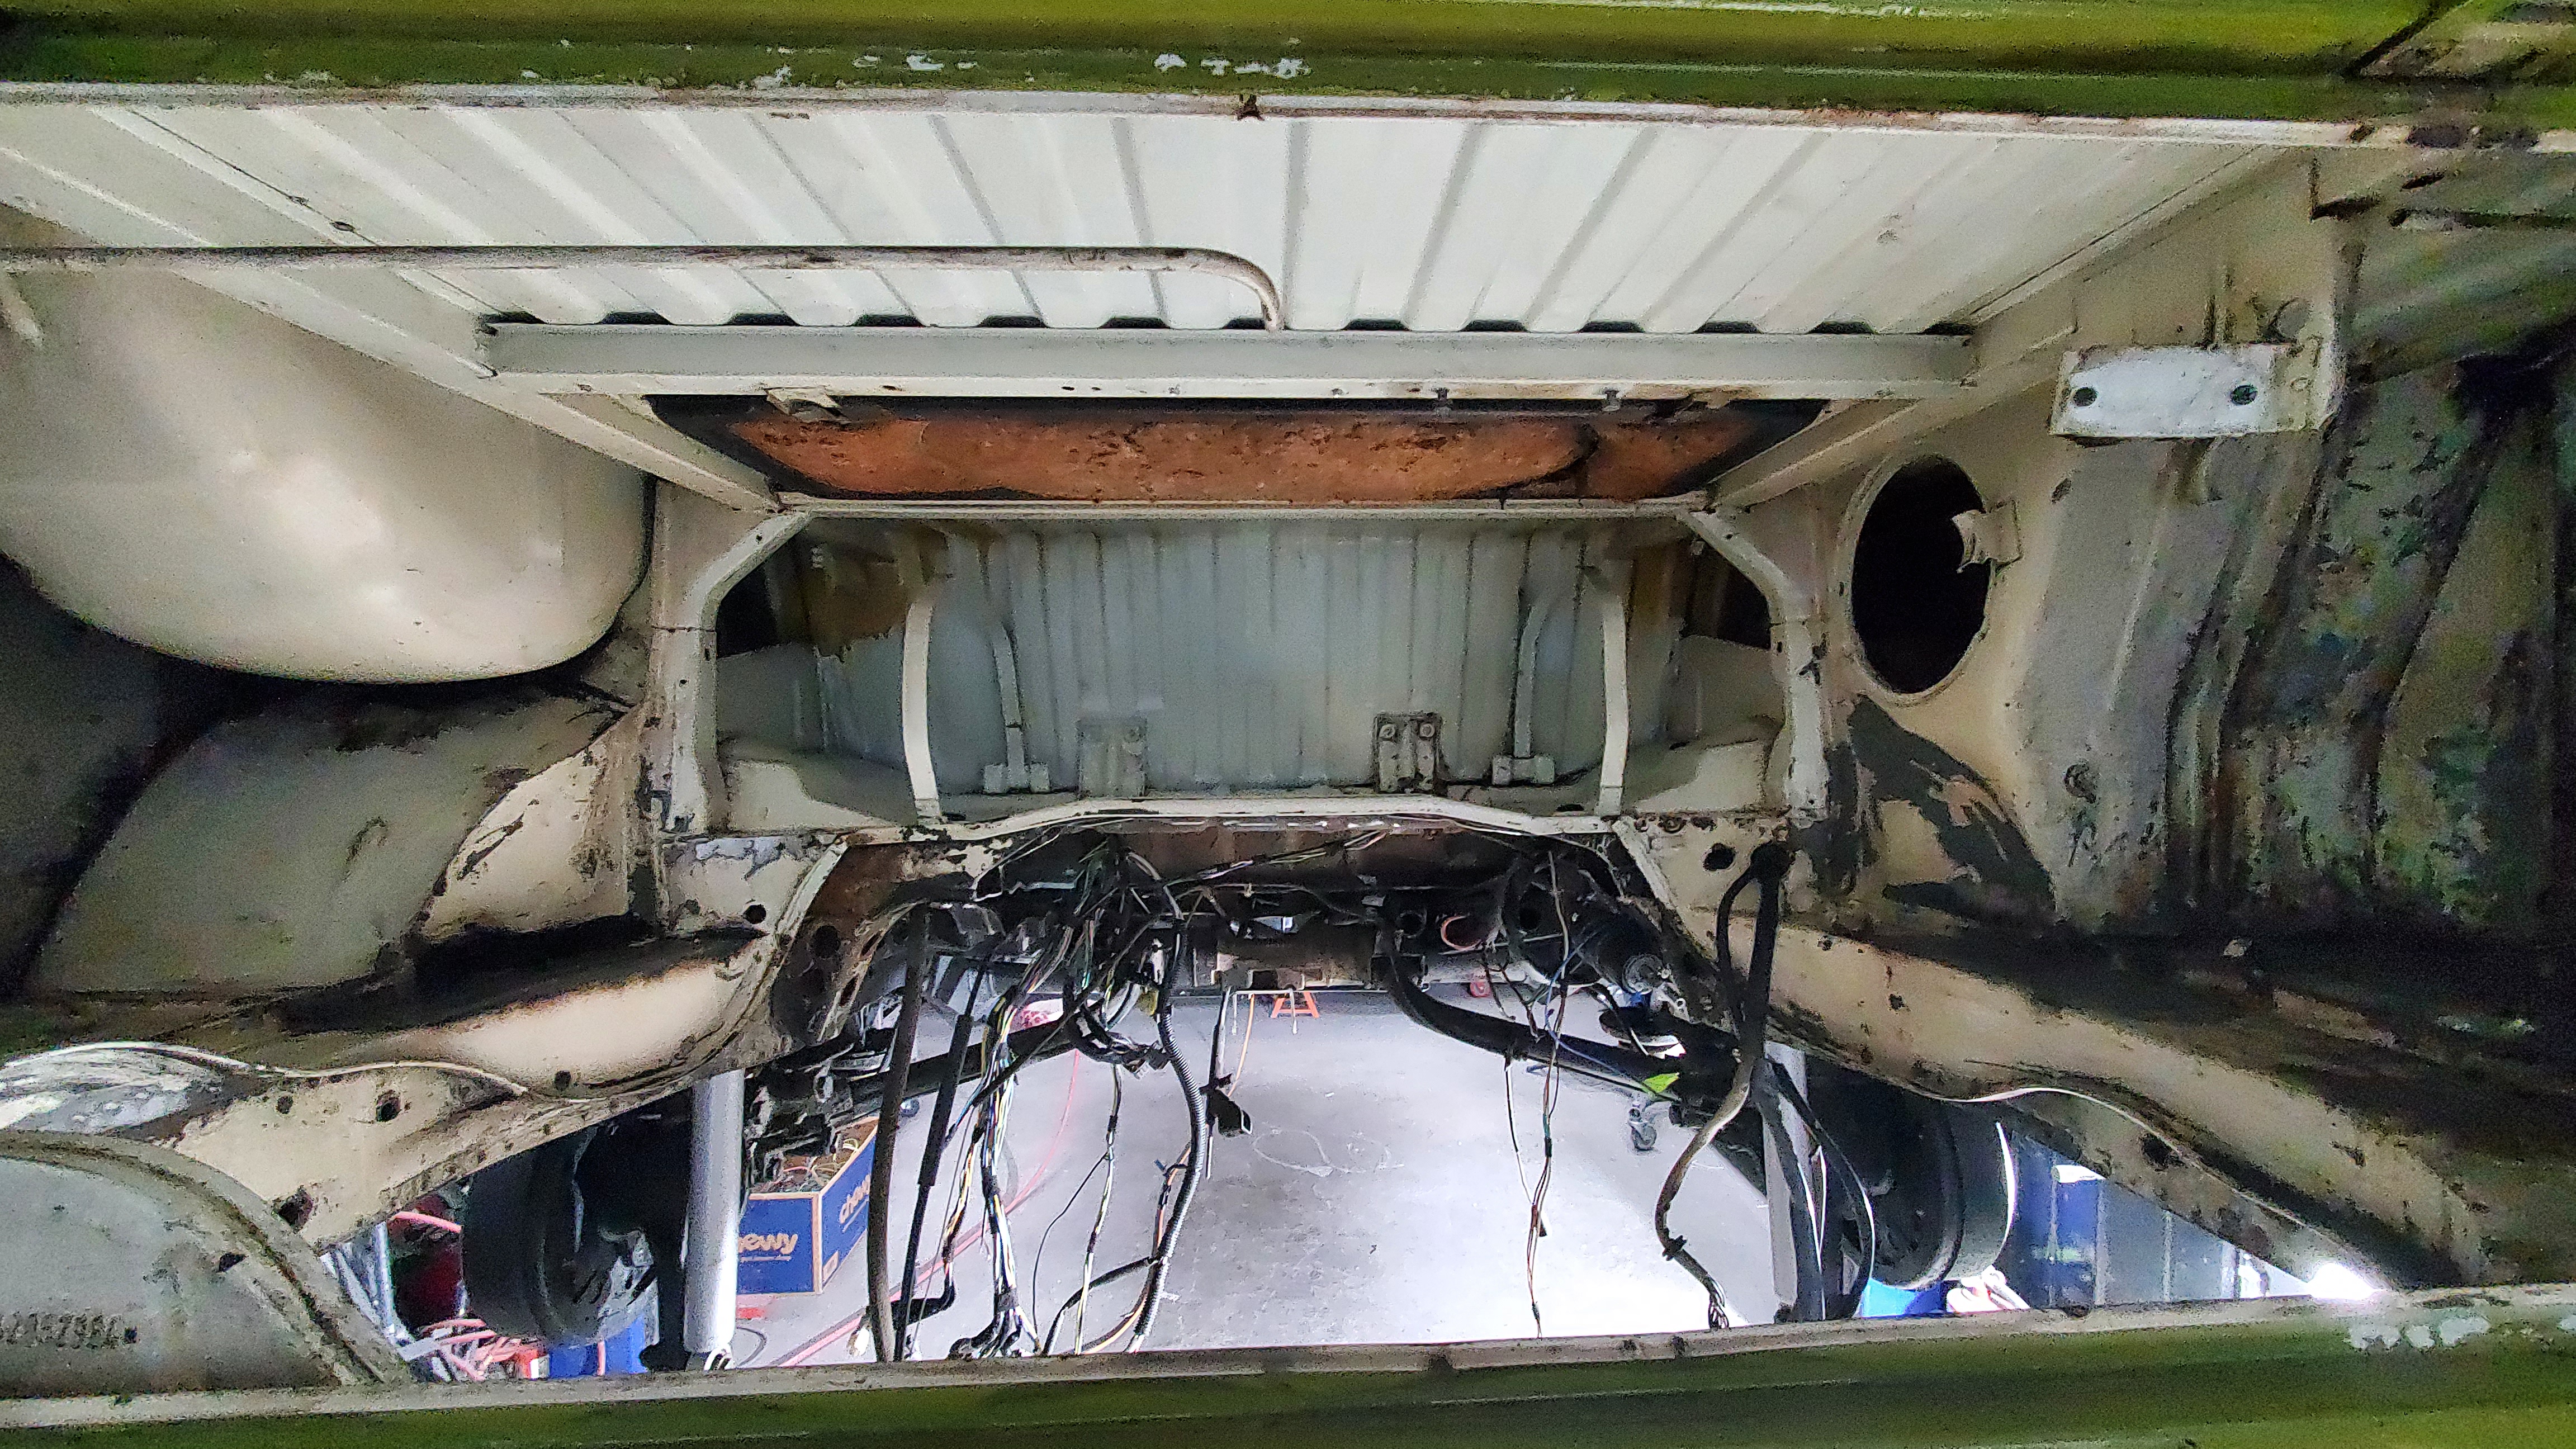
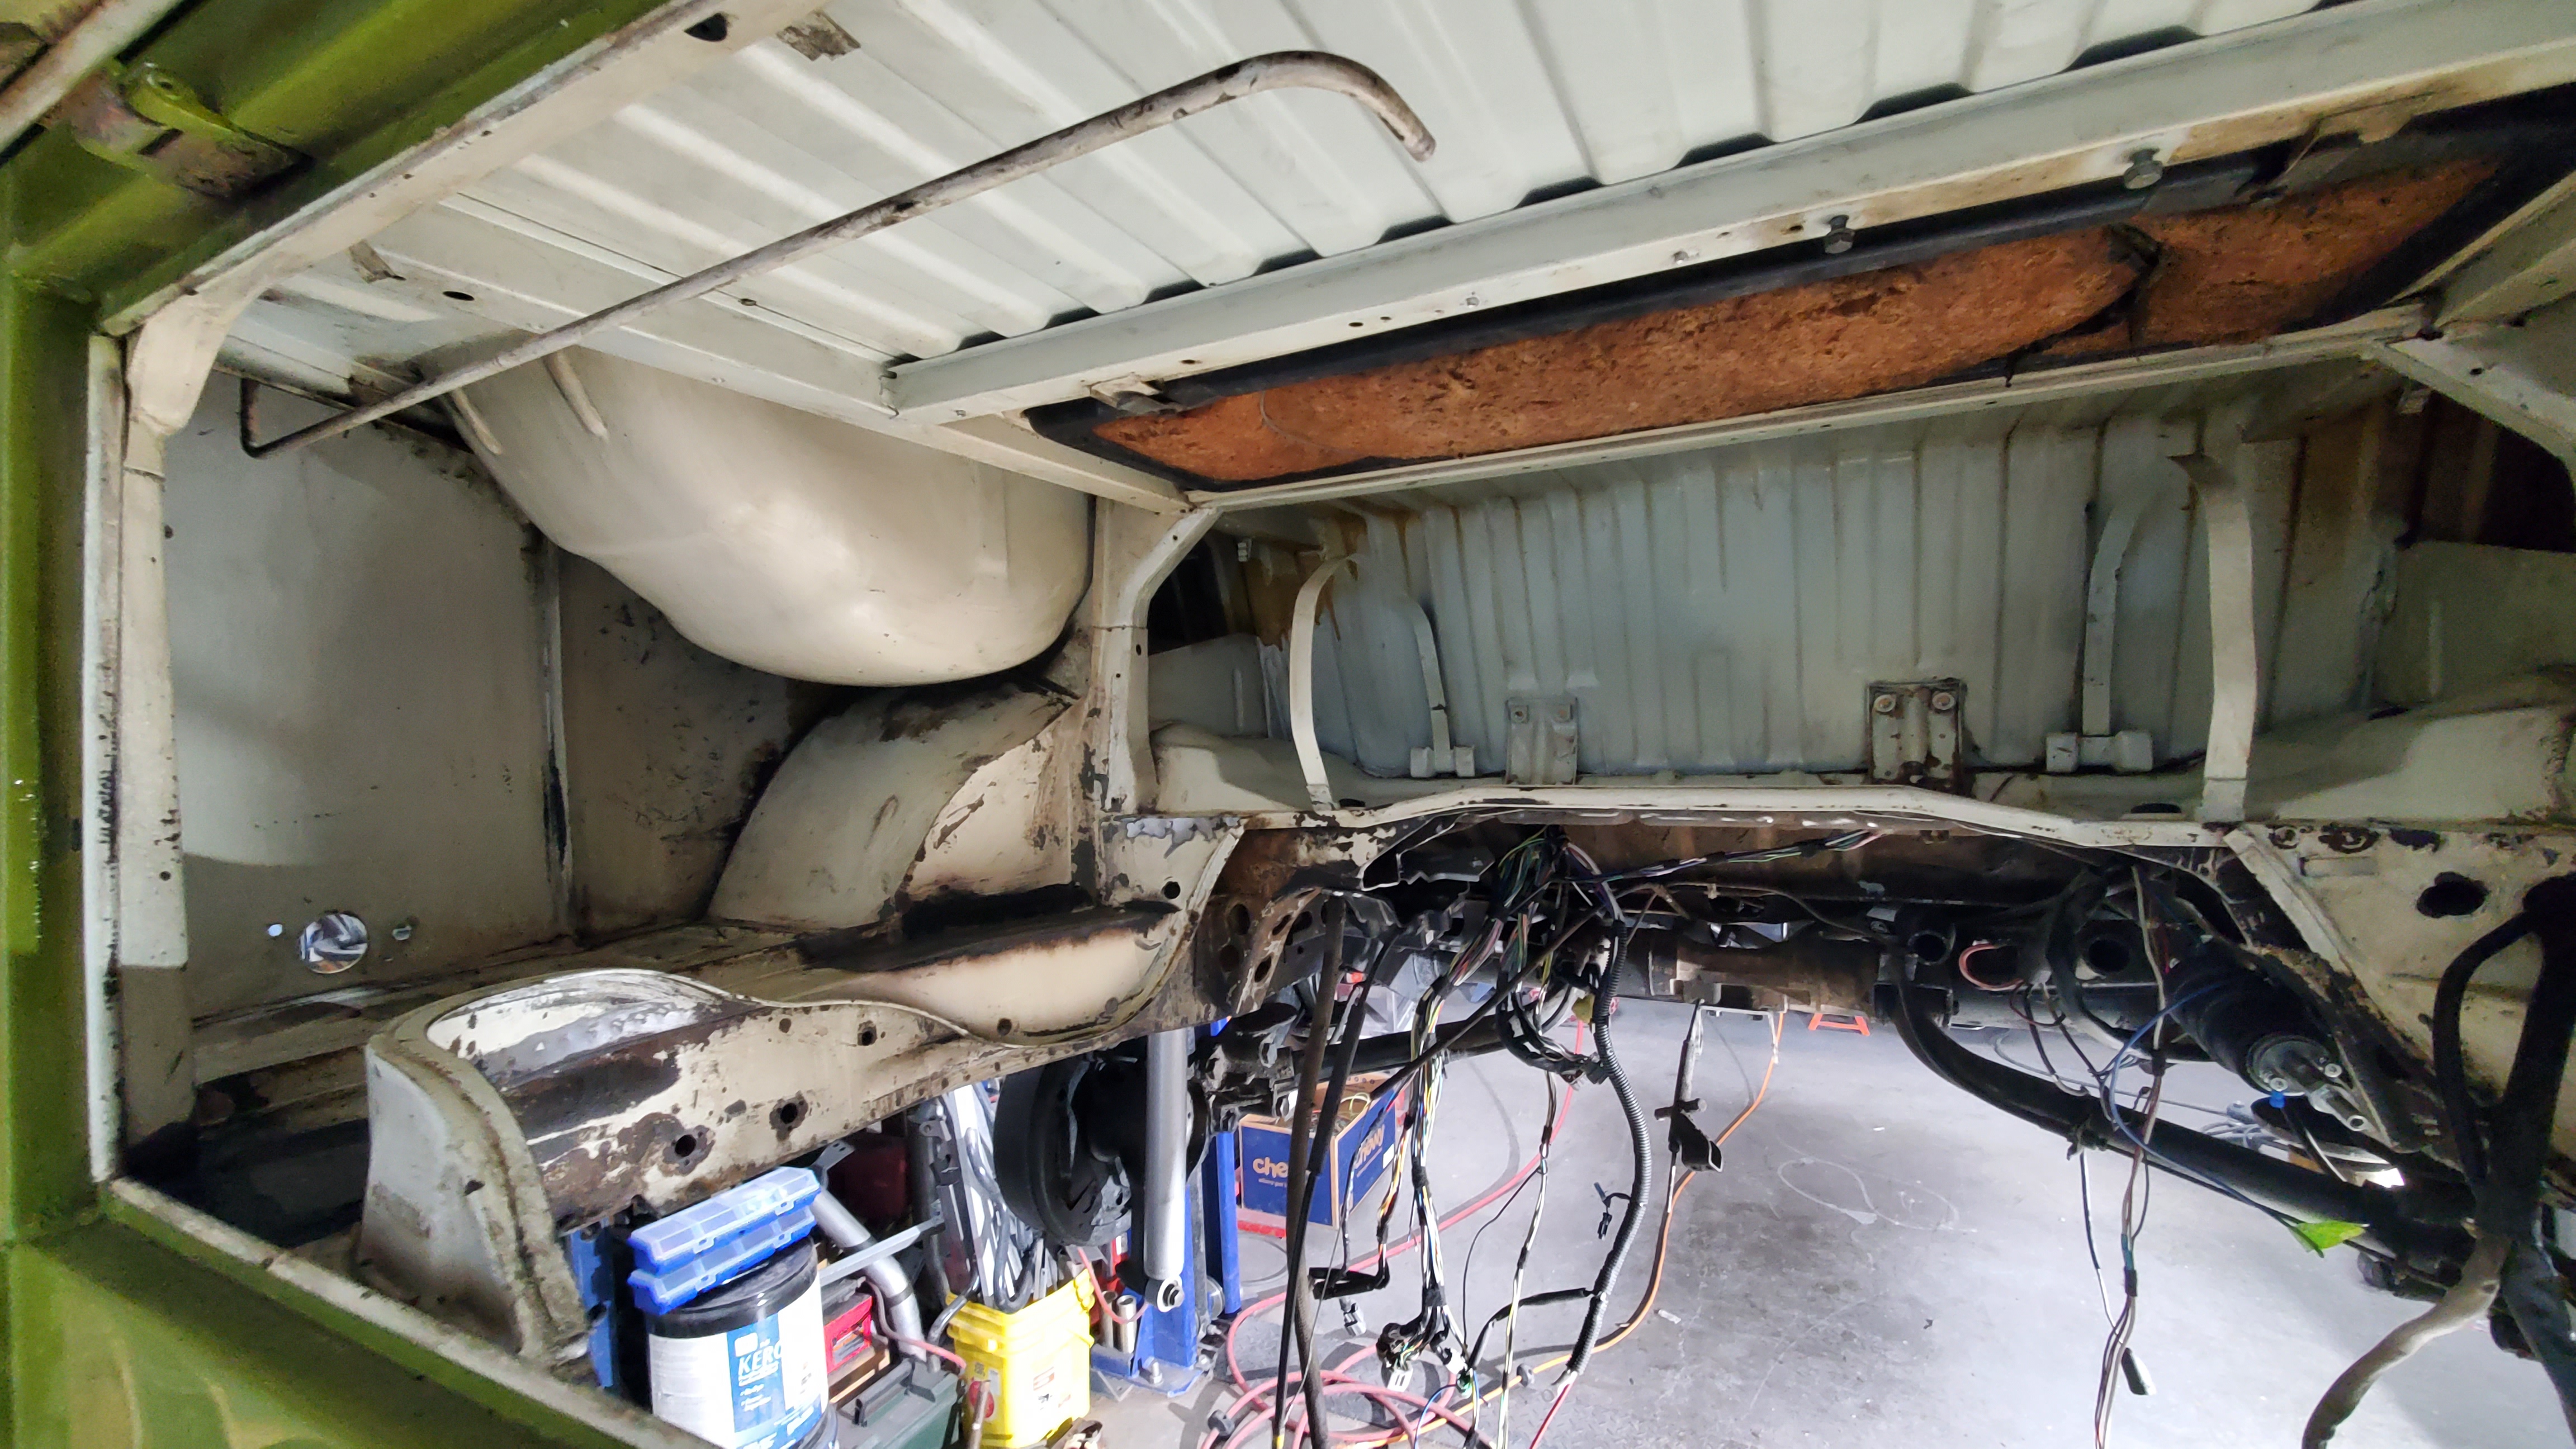
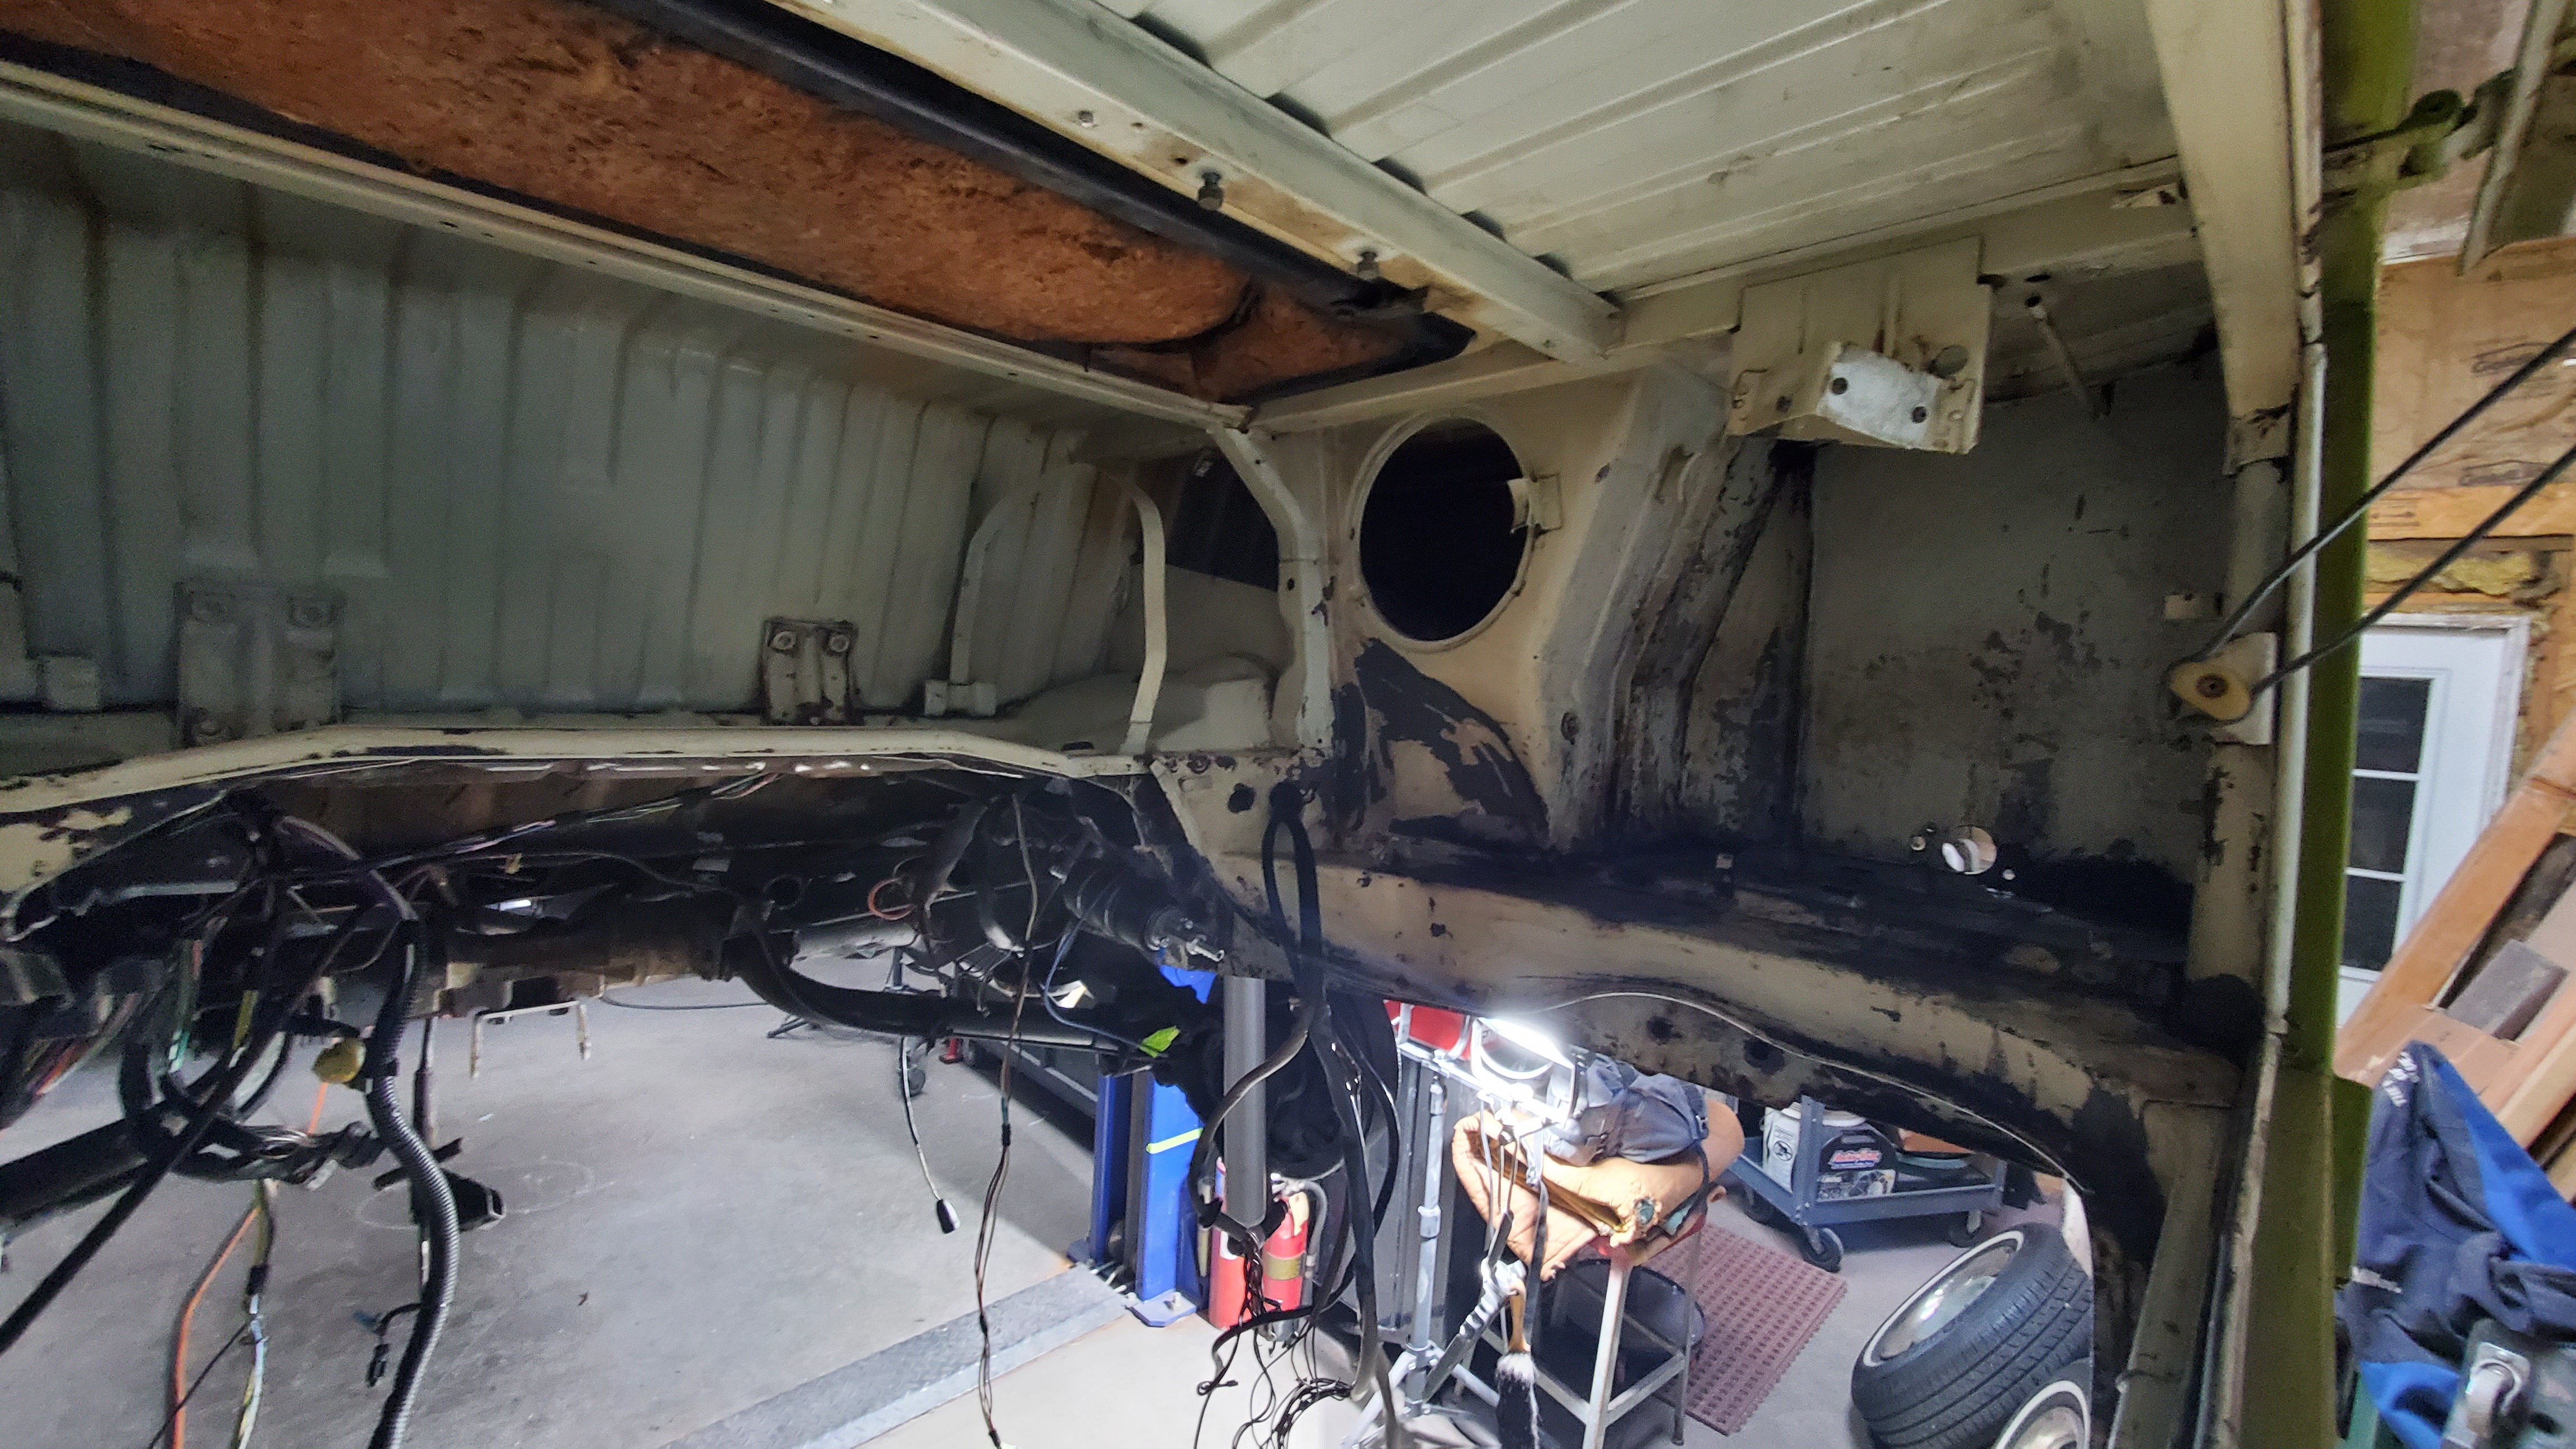
The gas tank was removed to clean the engine bay for painting, making sure everything was in good condition. The tank itself was fine with no major damage, but the fill neck was poorly condition and had rust on the screen. The damaged screen and rubber fill neck were replaced with new, high-quality parts for better durability. The pitcock was also cleaned and resealed to prevent leaks and ensure good performance. This careful work not only improves the look of the engine bay but also helps the vehicle last longer and work reliably on the road.
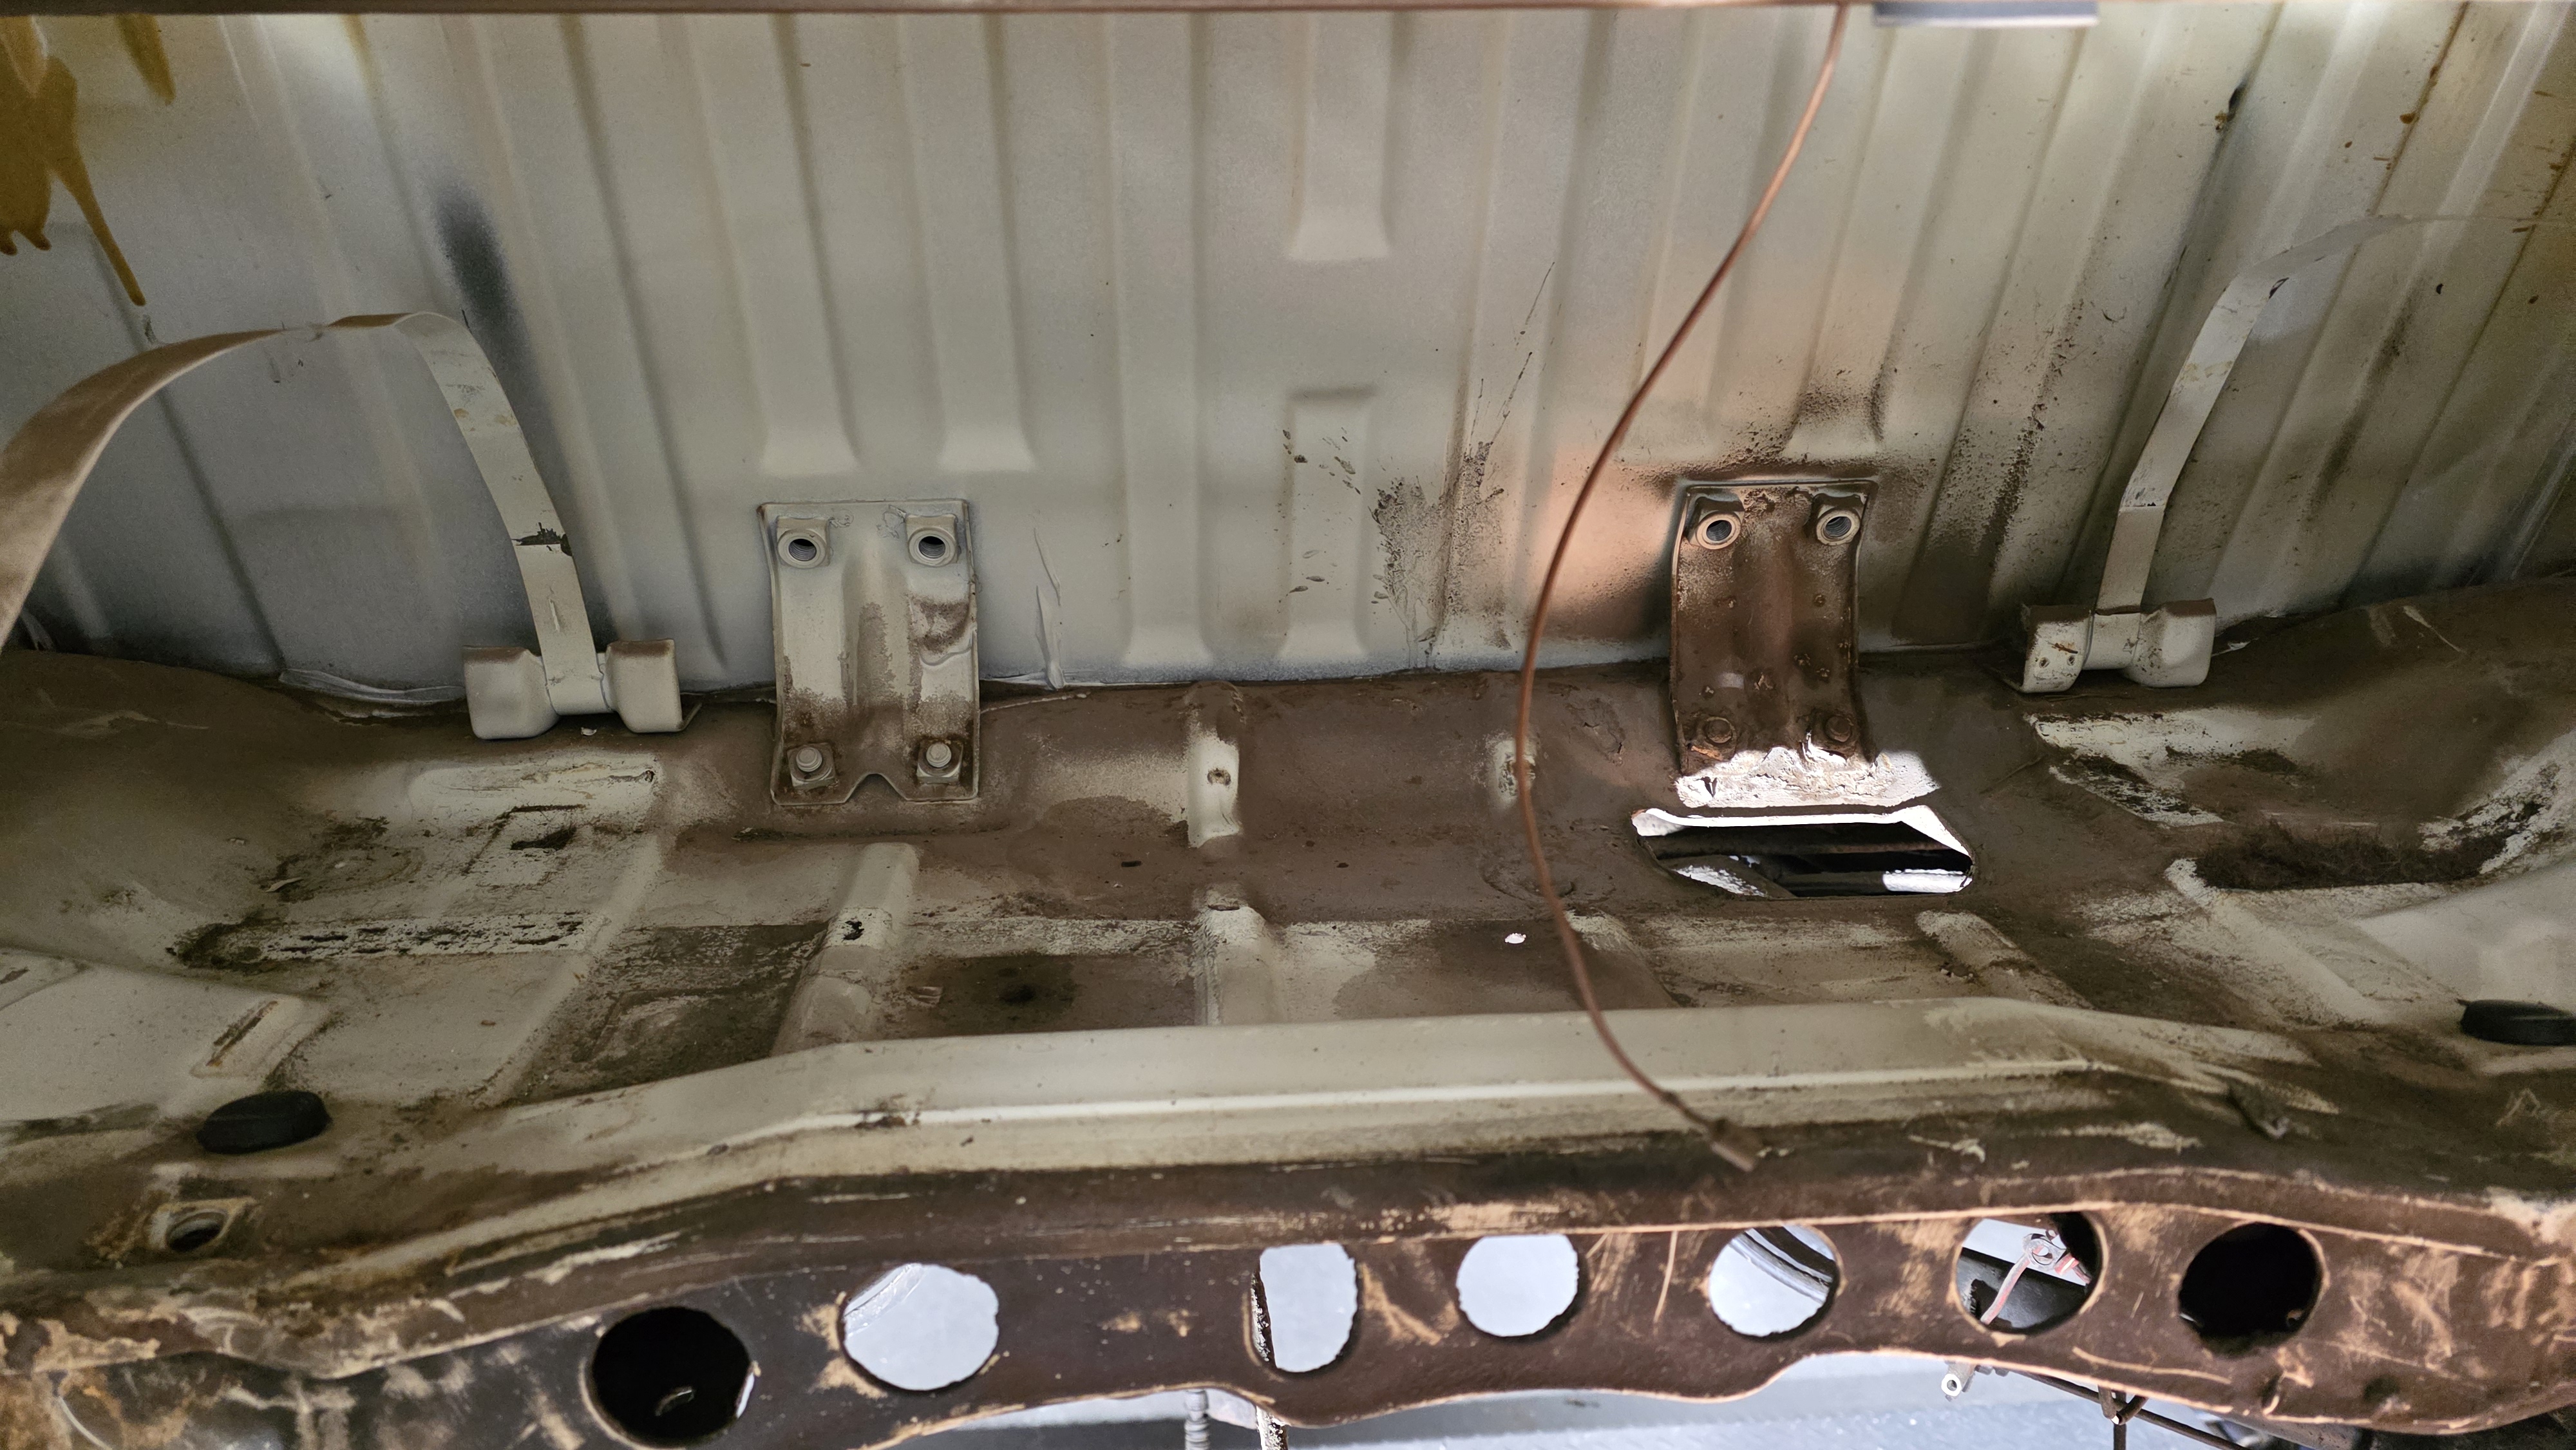
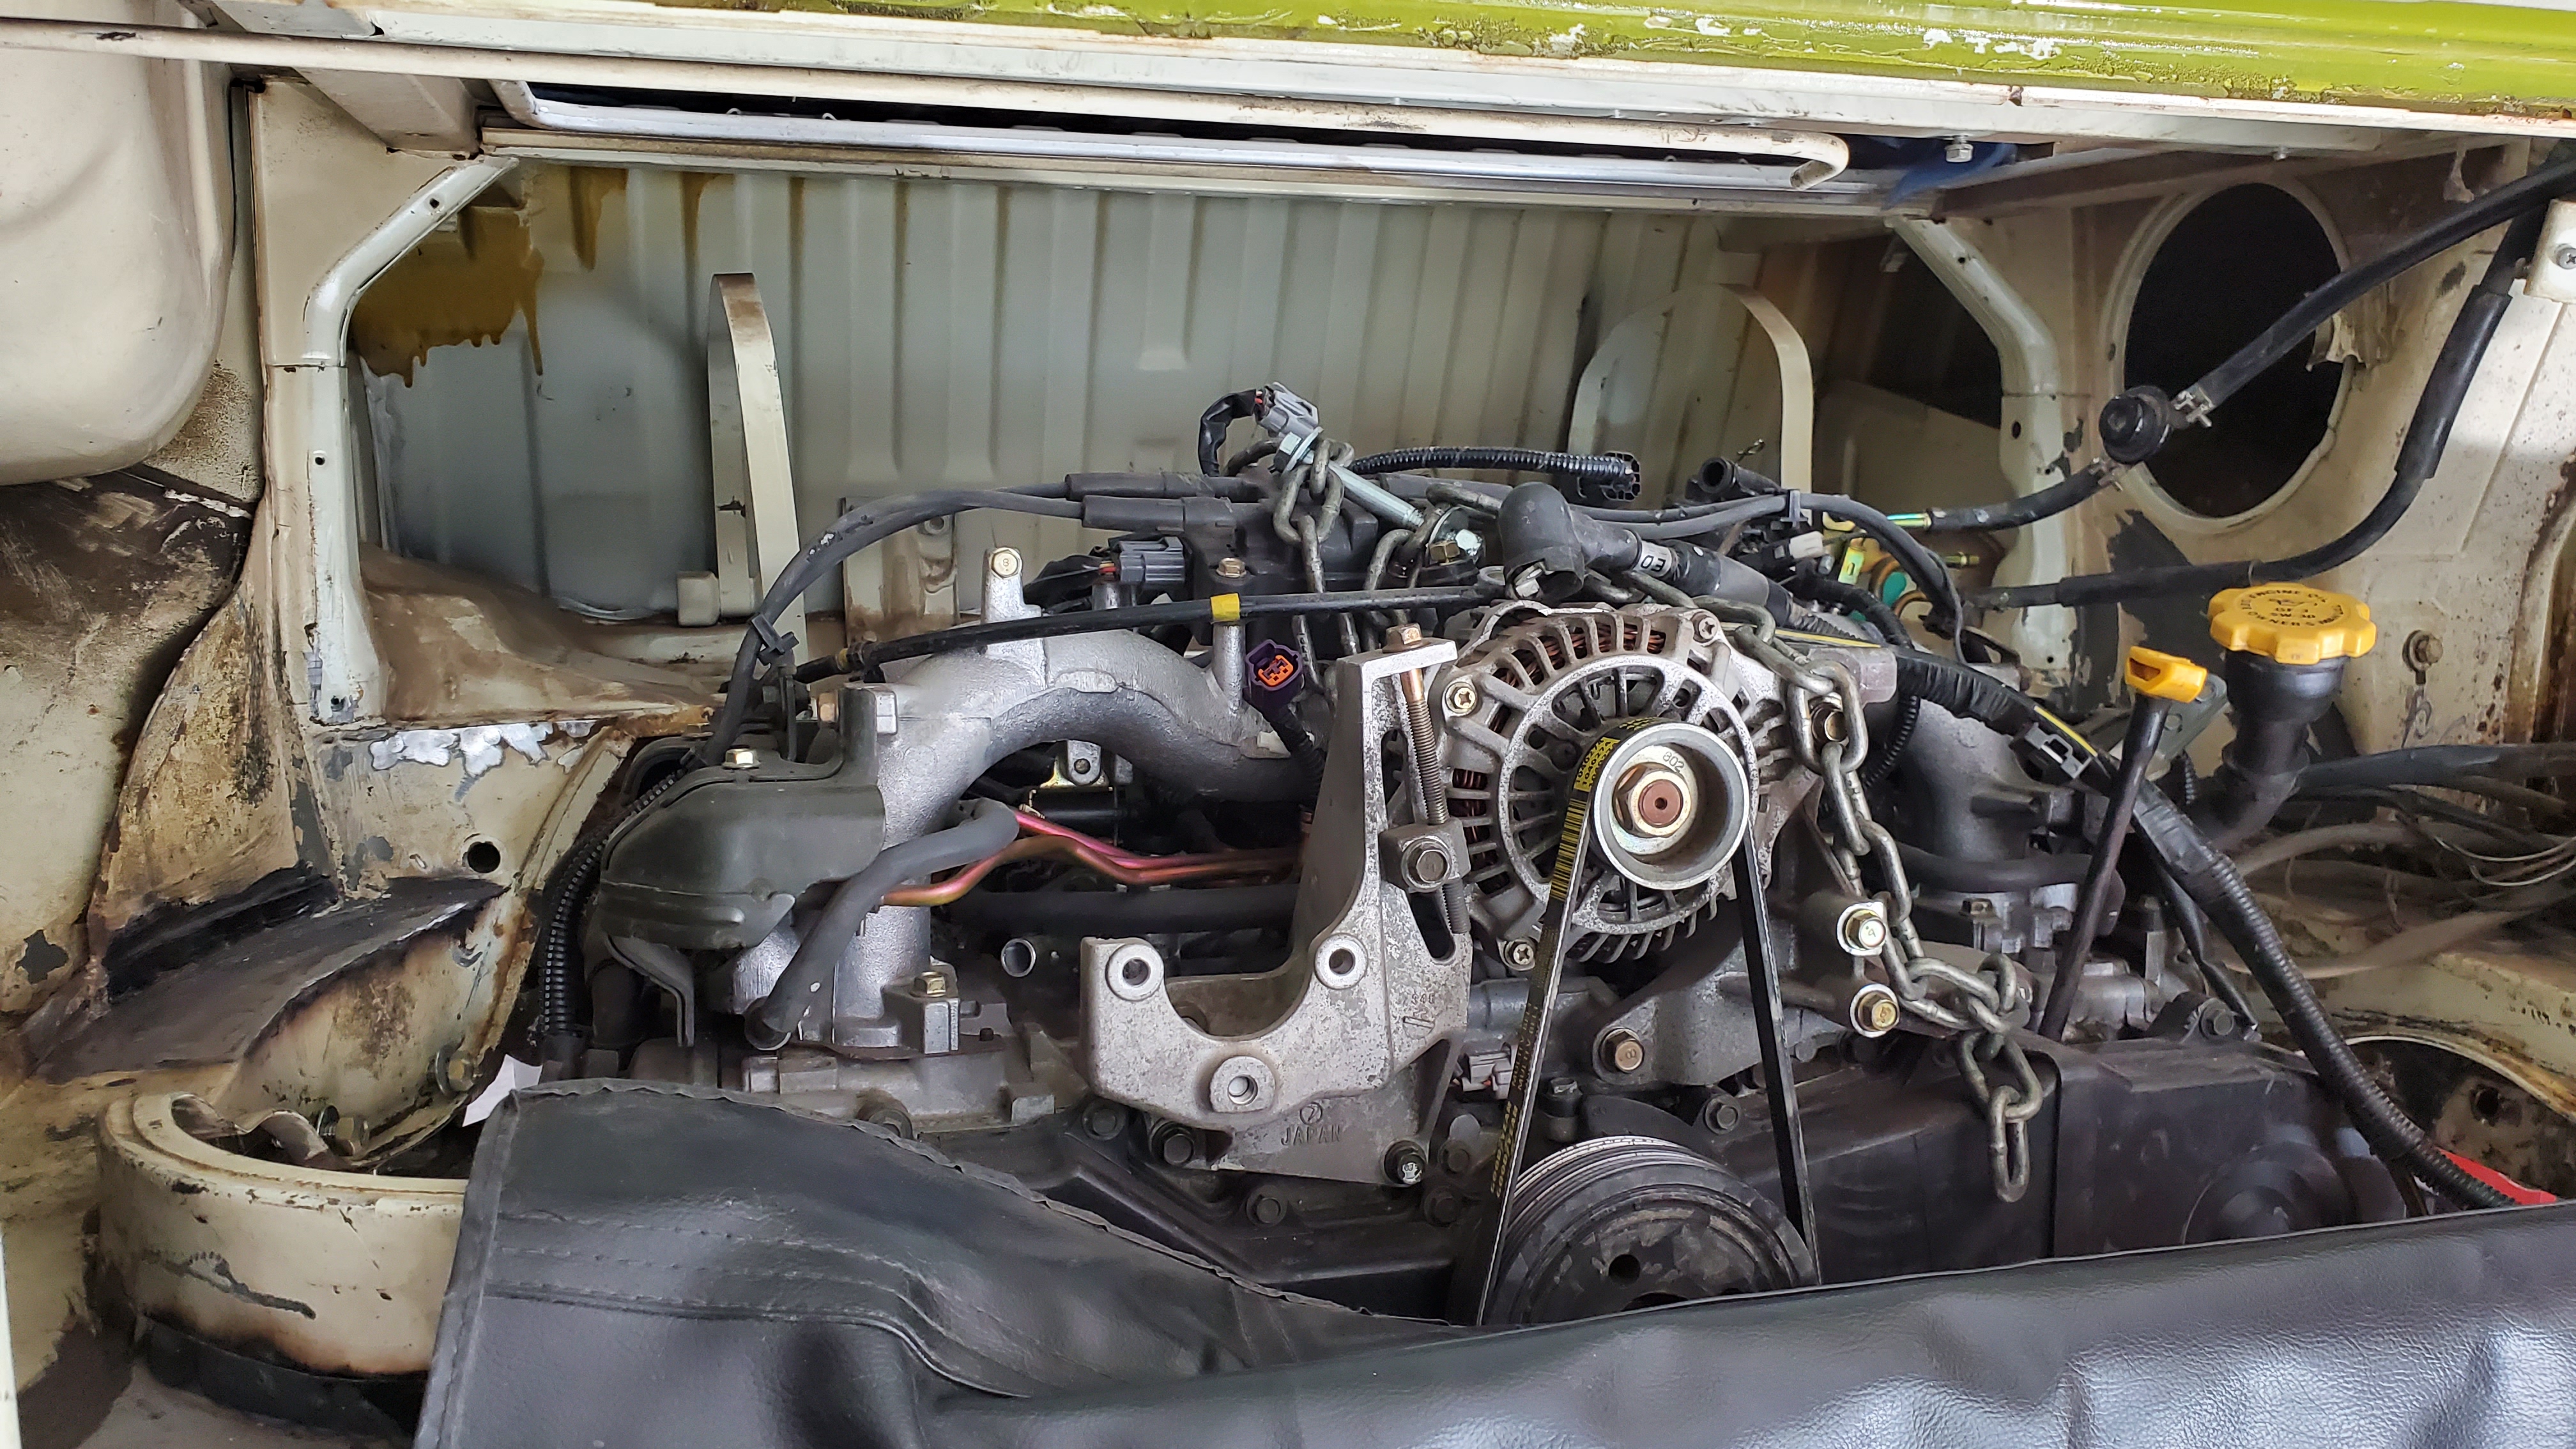
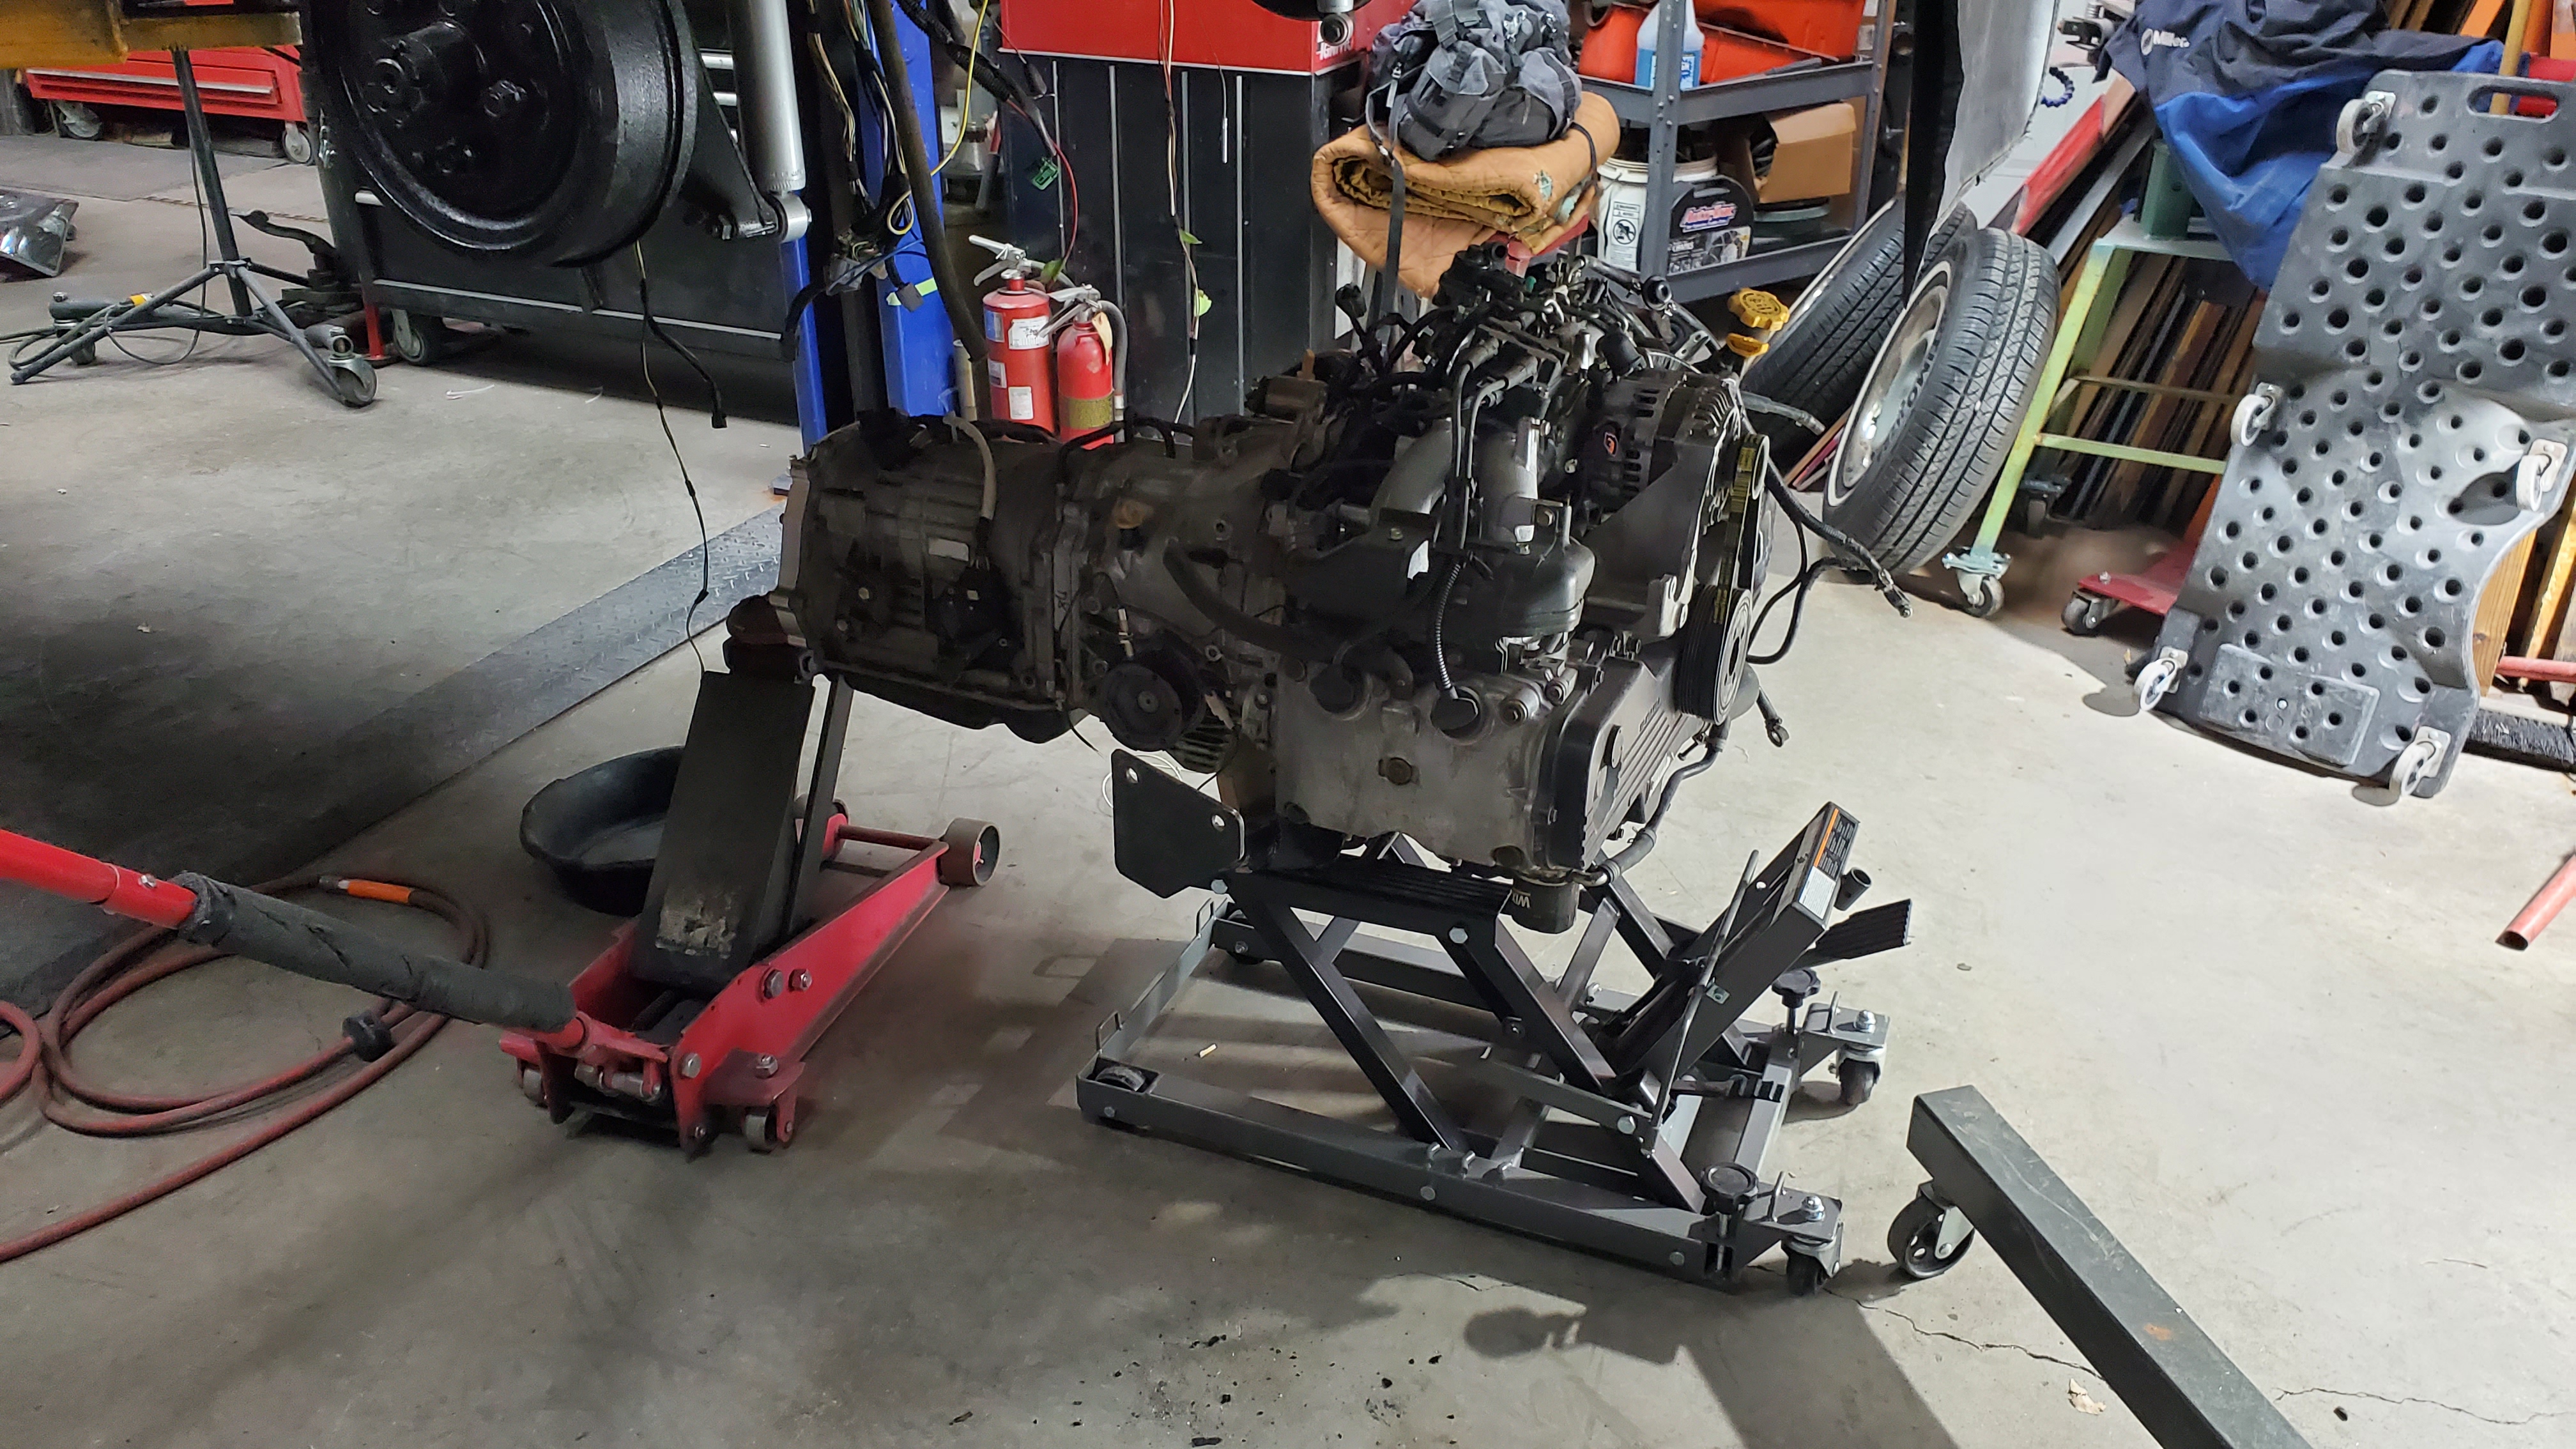
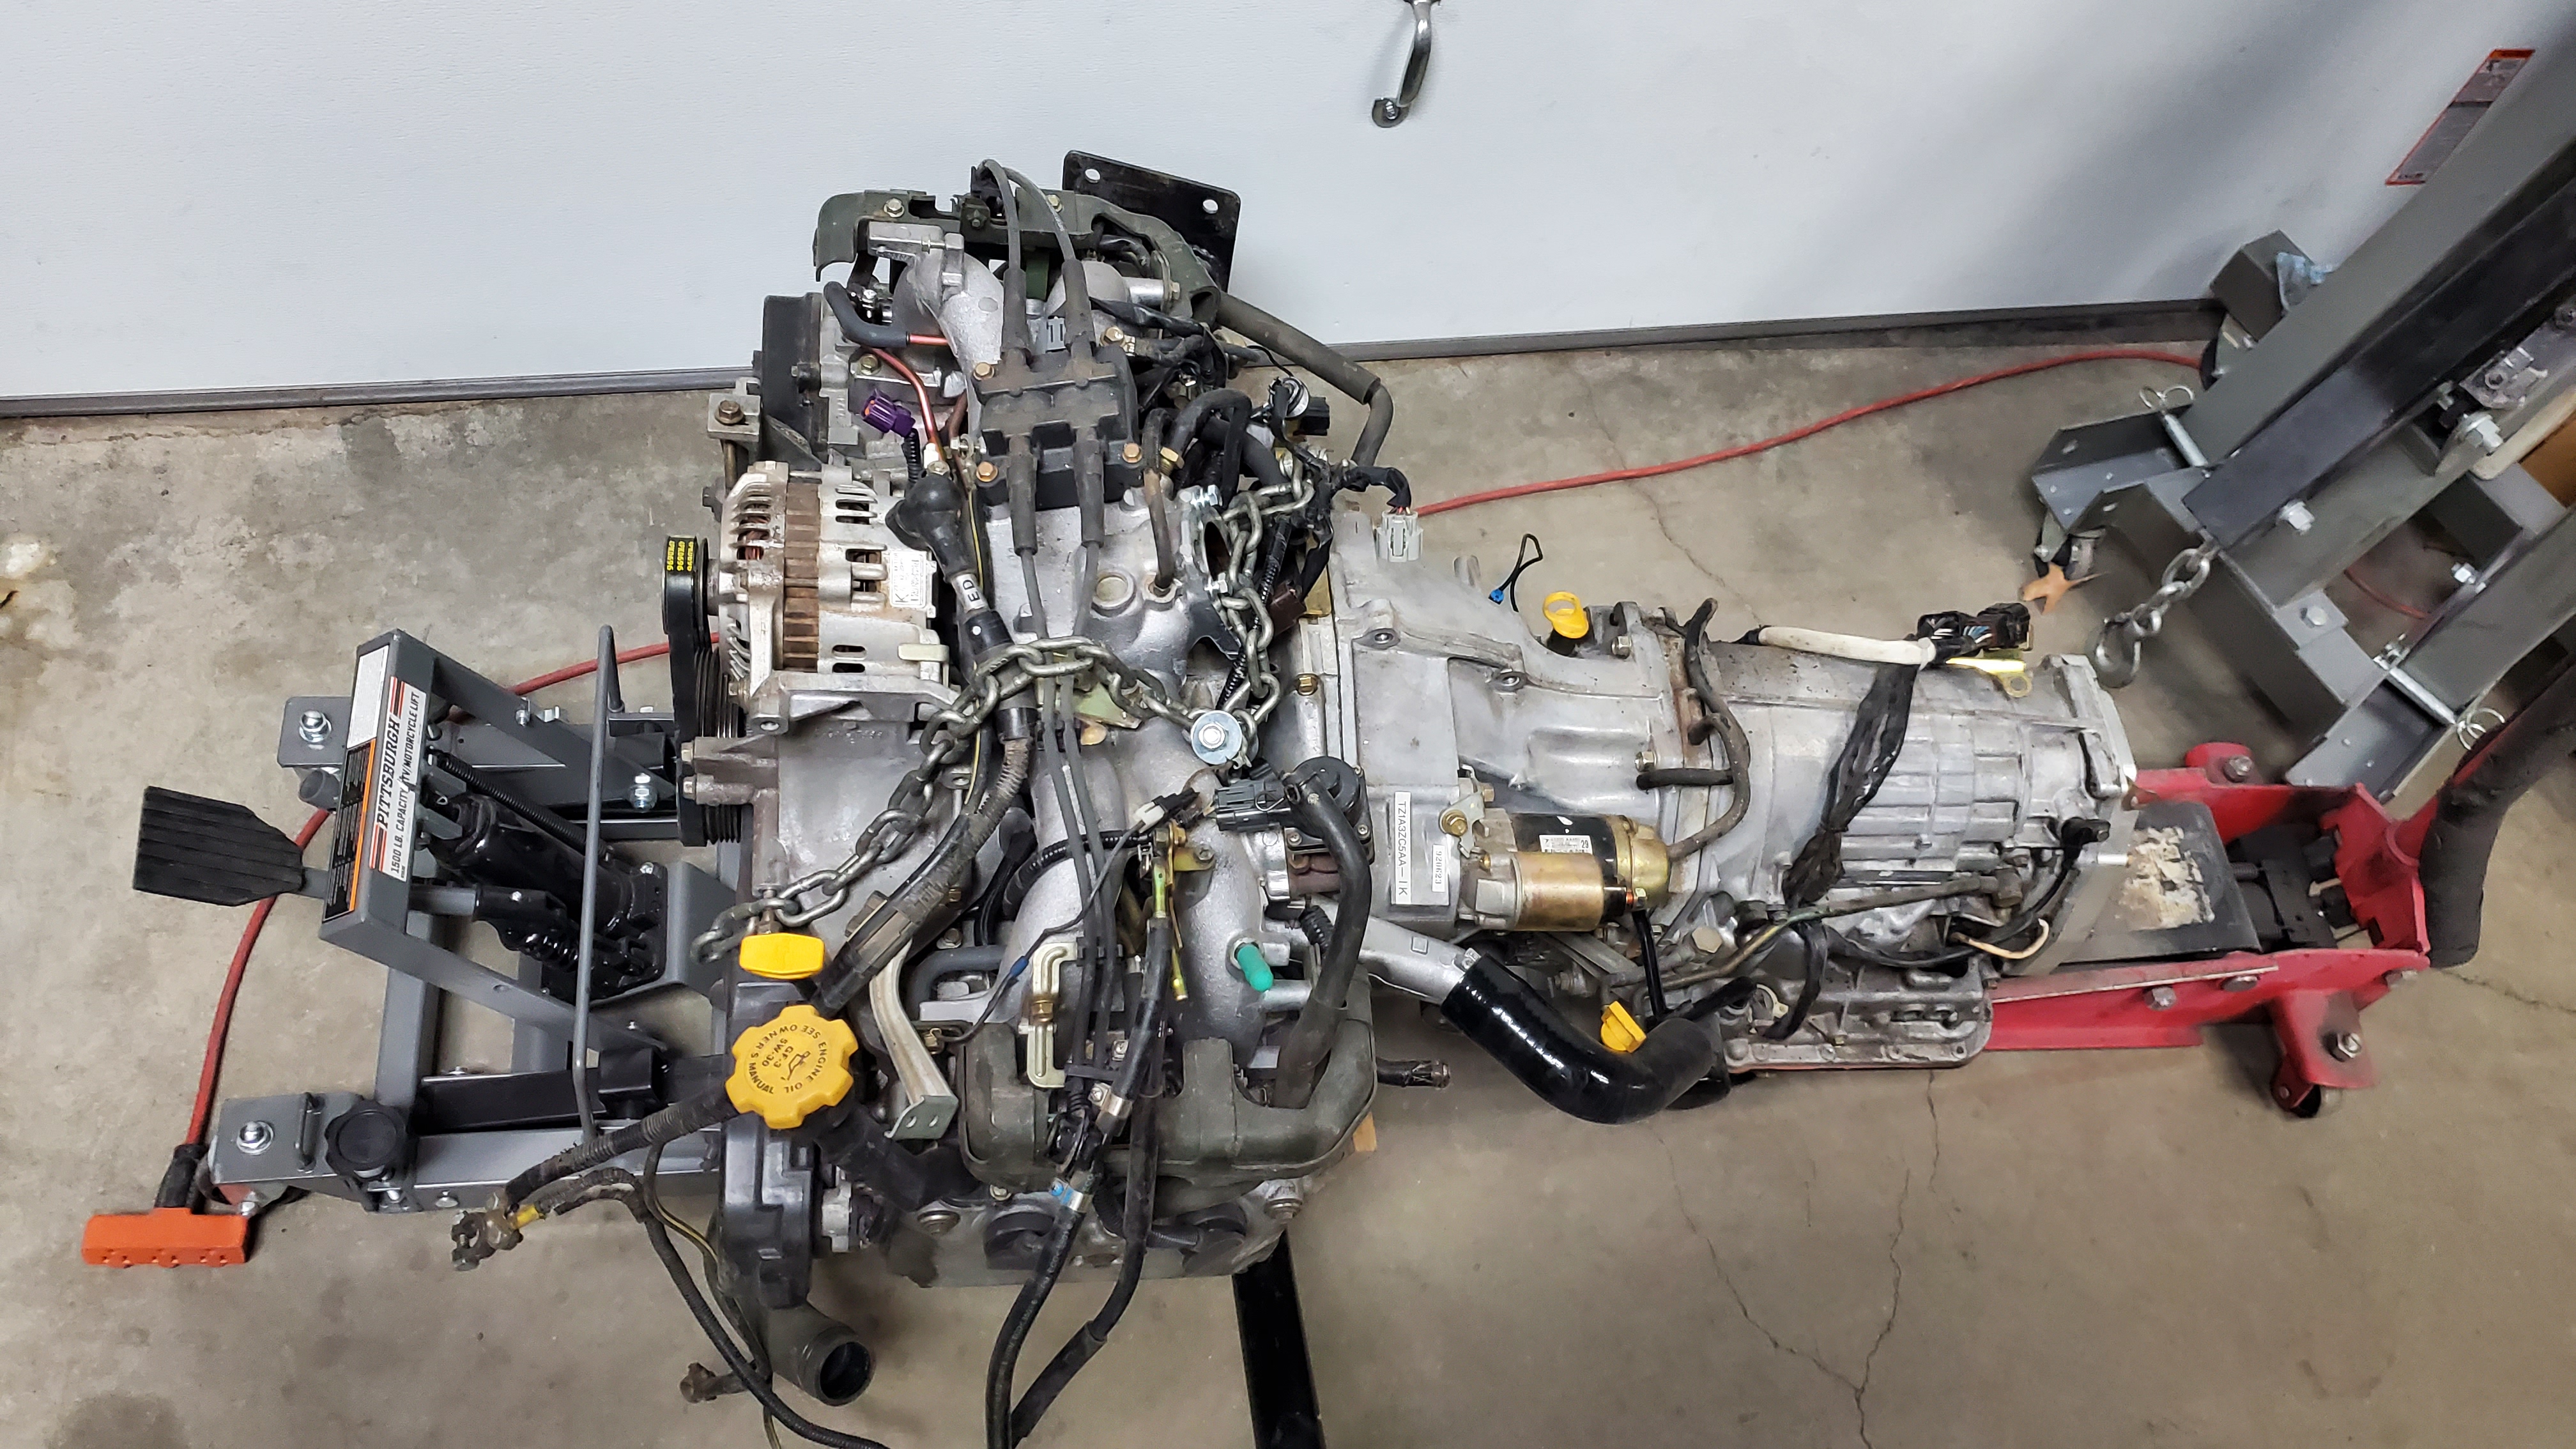
The engine and transmission were removed and reinstalled in the bus several times to ensure they fit properly with the cross member and coolant lines. This careful adjustment helped avoid any issues during operation, leading to better performance and reliability. The nuts for the engine support bar were also tacked in place for easier future maintenance, allowing quicker access for repairs or adjustments. This proactive approach improves maintenance and provides reassurance that the engine is secure and easy to service later.
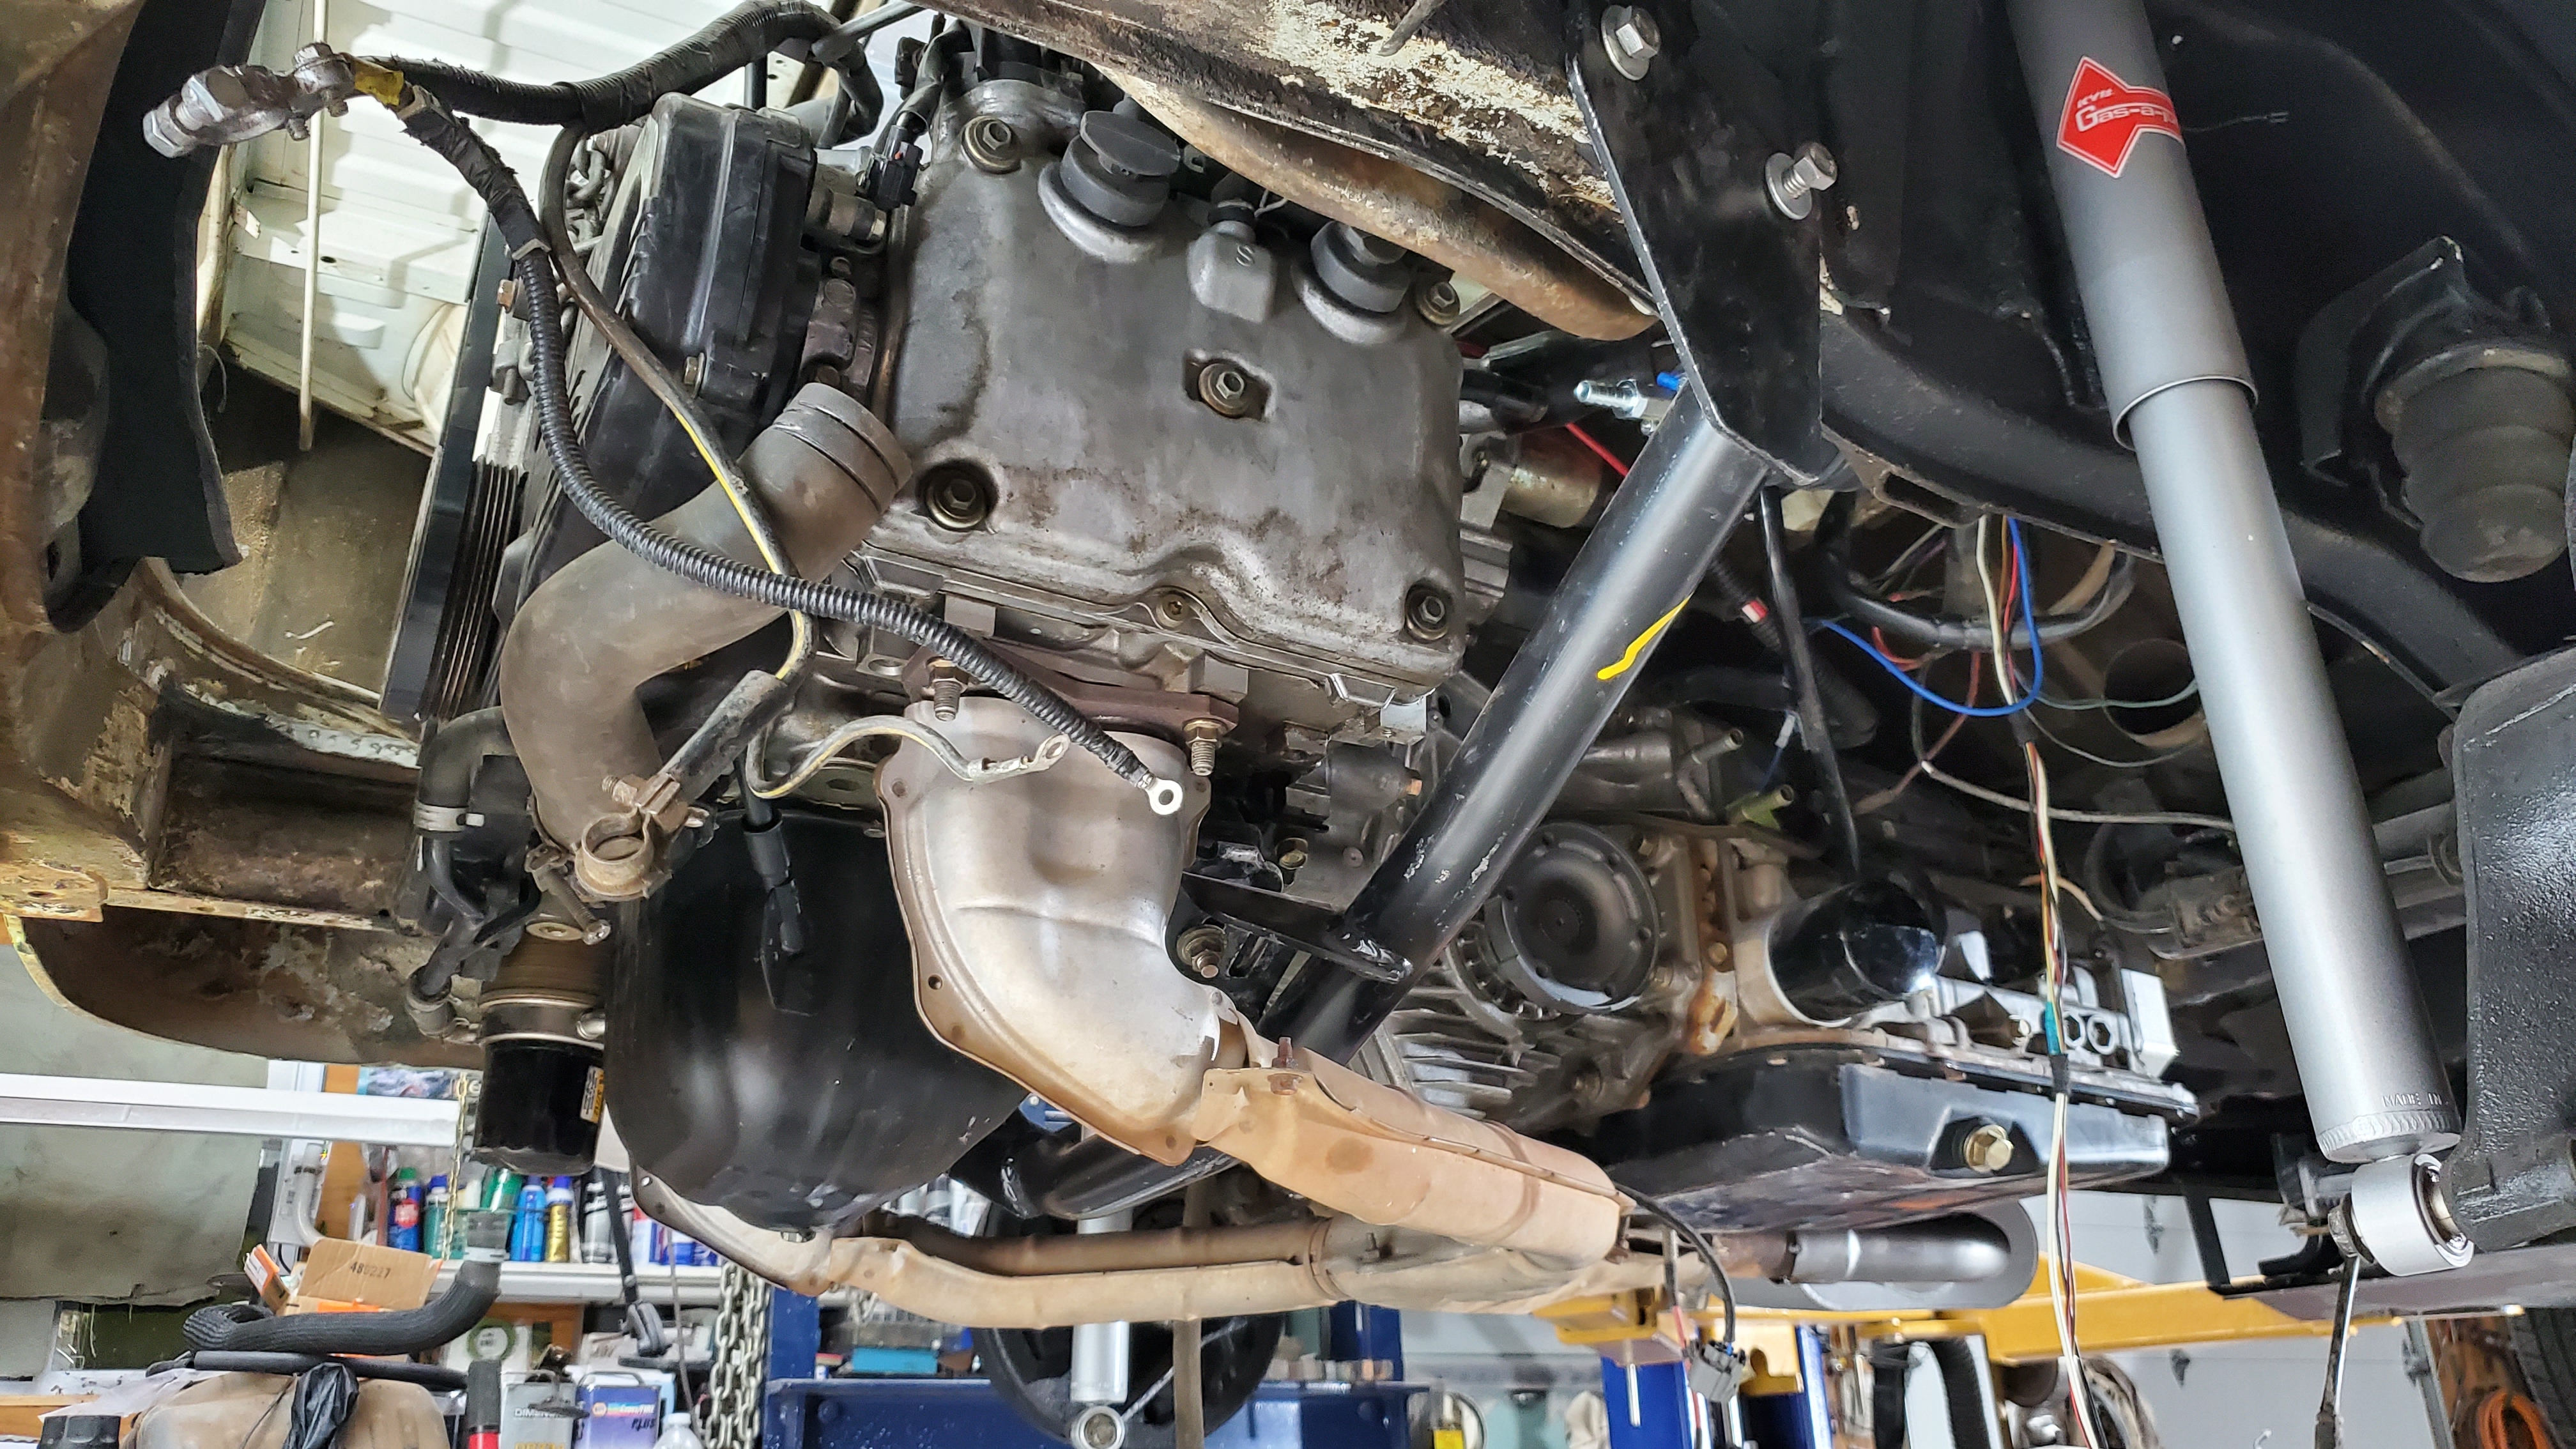
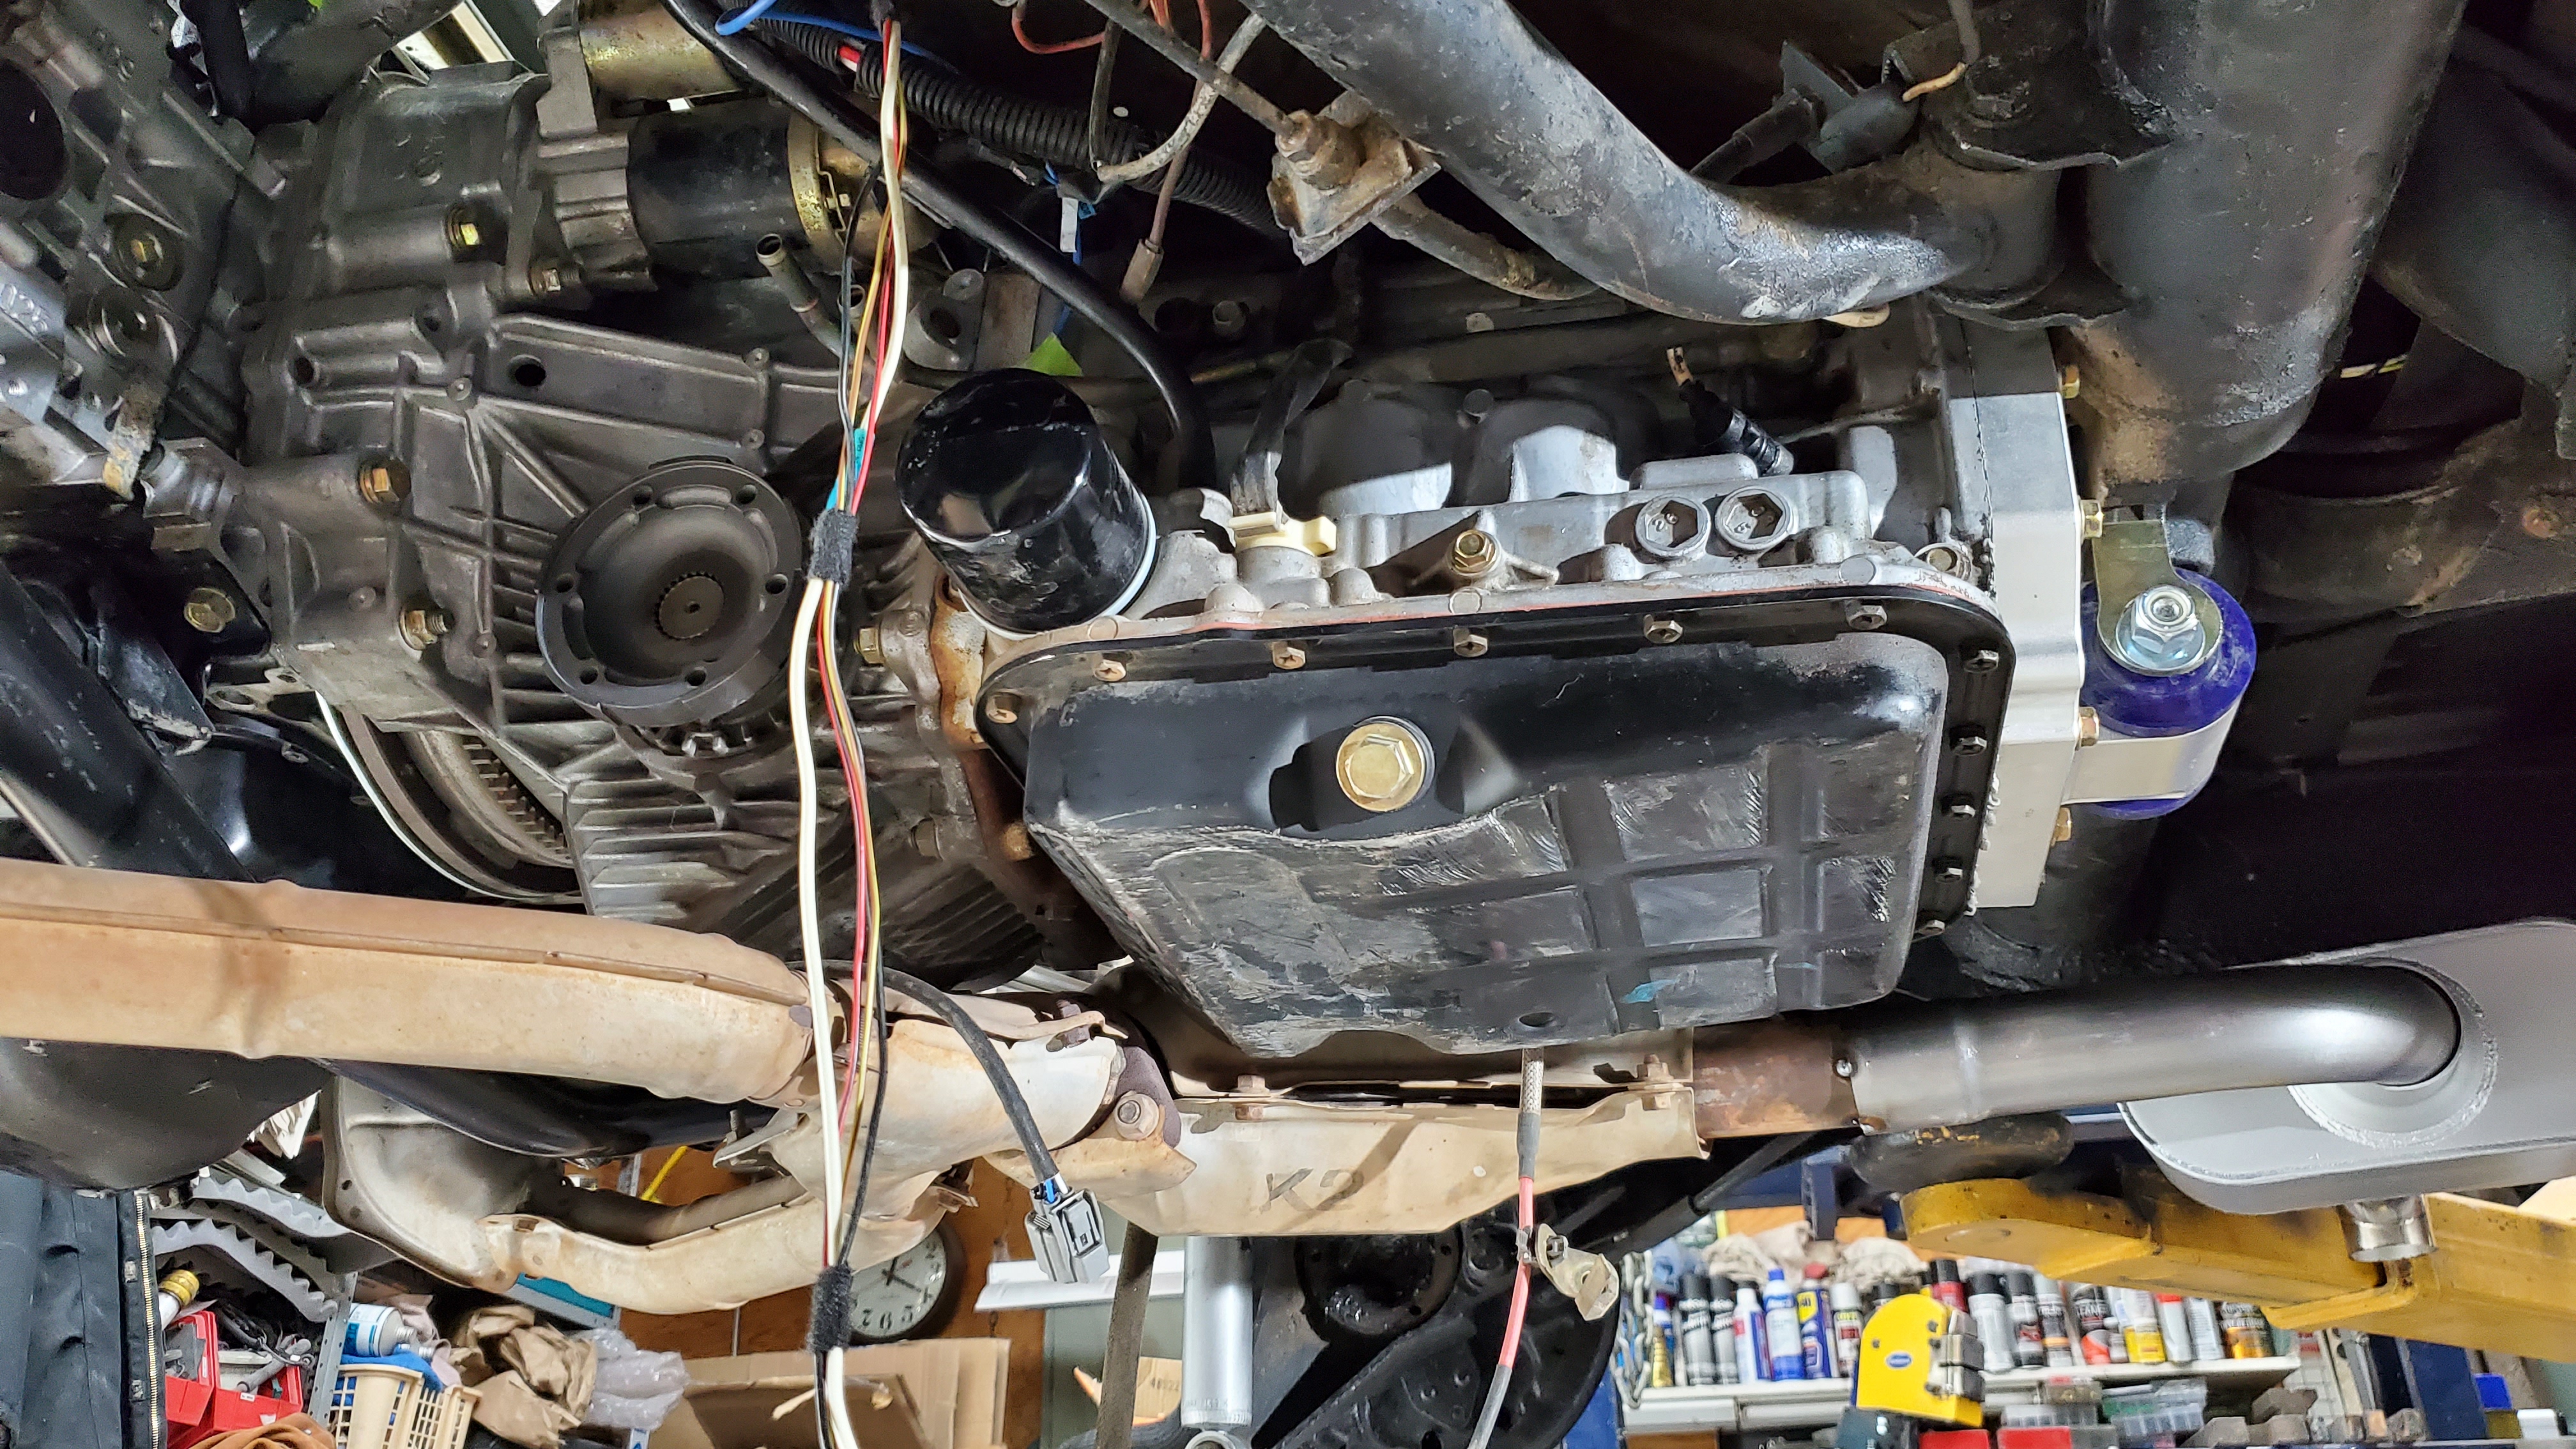
The exhaust was designed to exit in front of the rear wheel, simplifying the routing and improving performance by reducing back pressure. Wiring was organized and extended for the components, ensuring secure and accessible connections for maintenance. The system layout allowed for efficient airflow and optimal engine performance, while all electrical components were neatly arranged to reduce interference and enhance reliability.

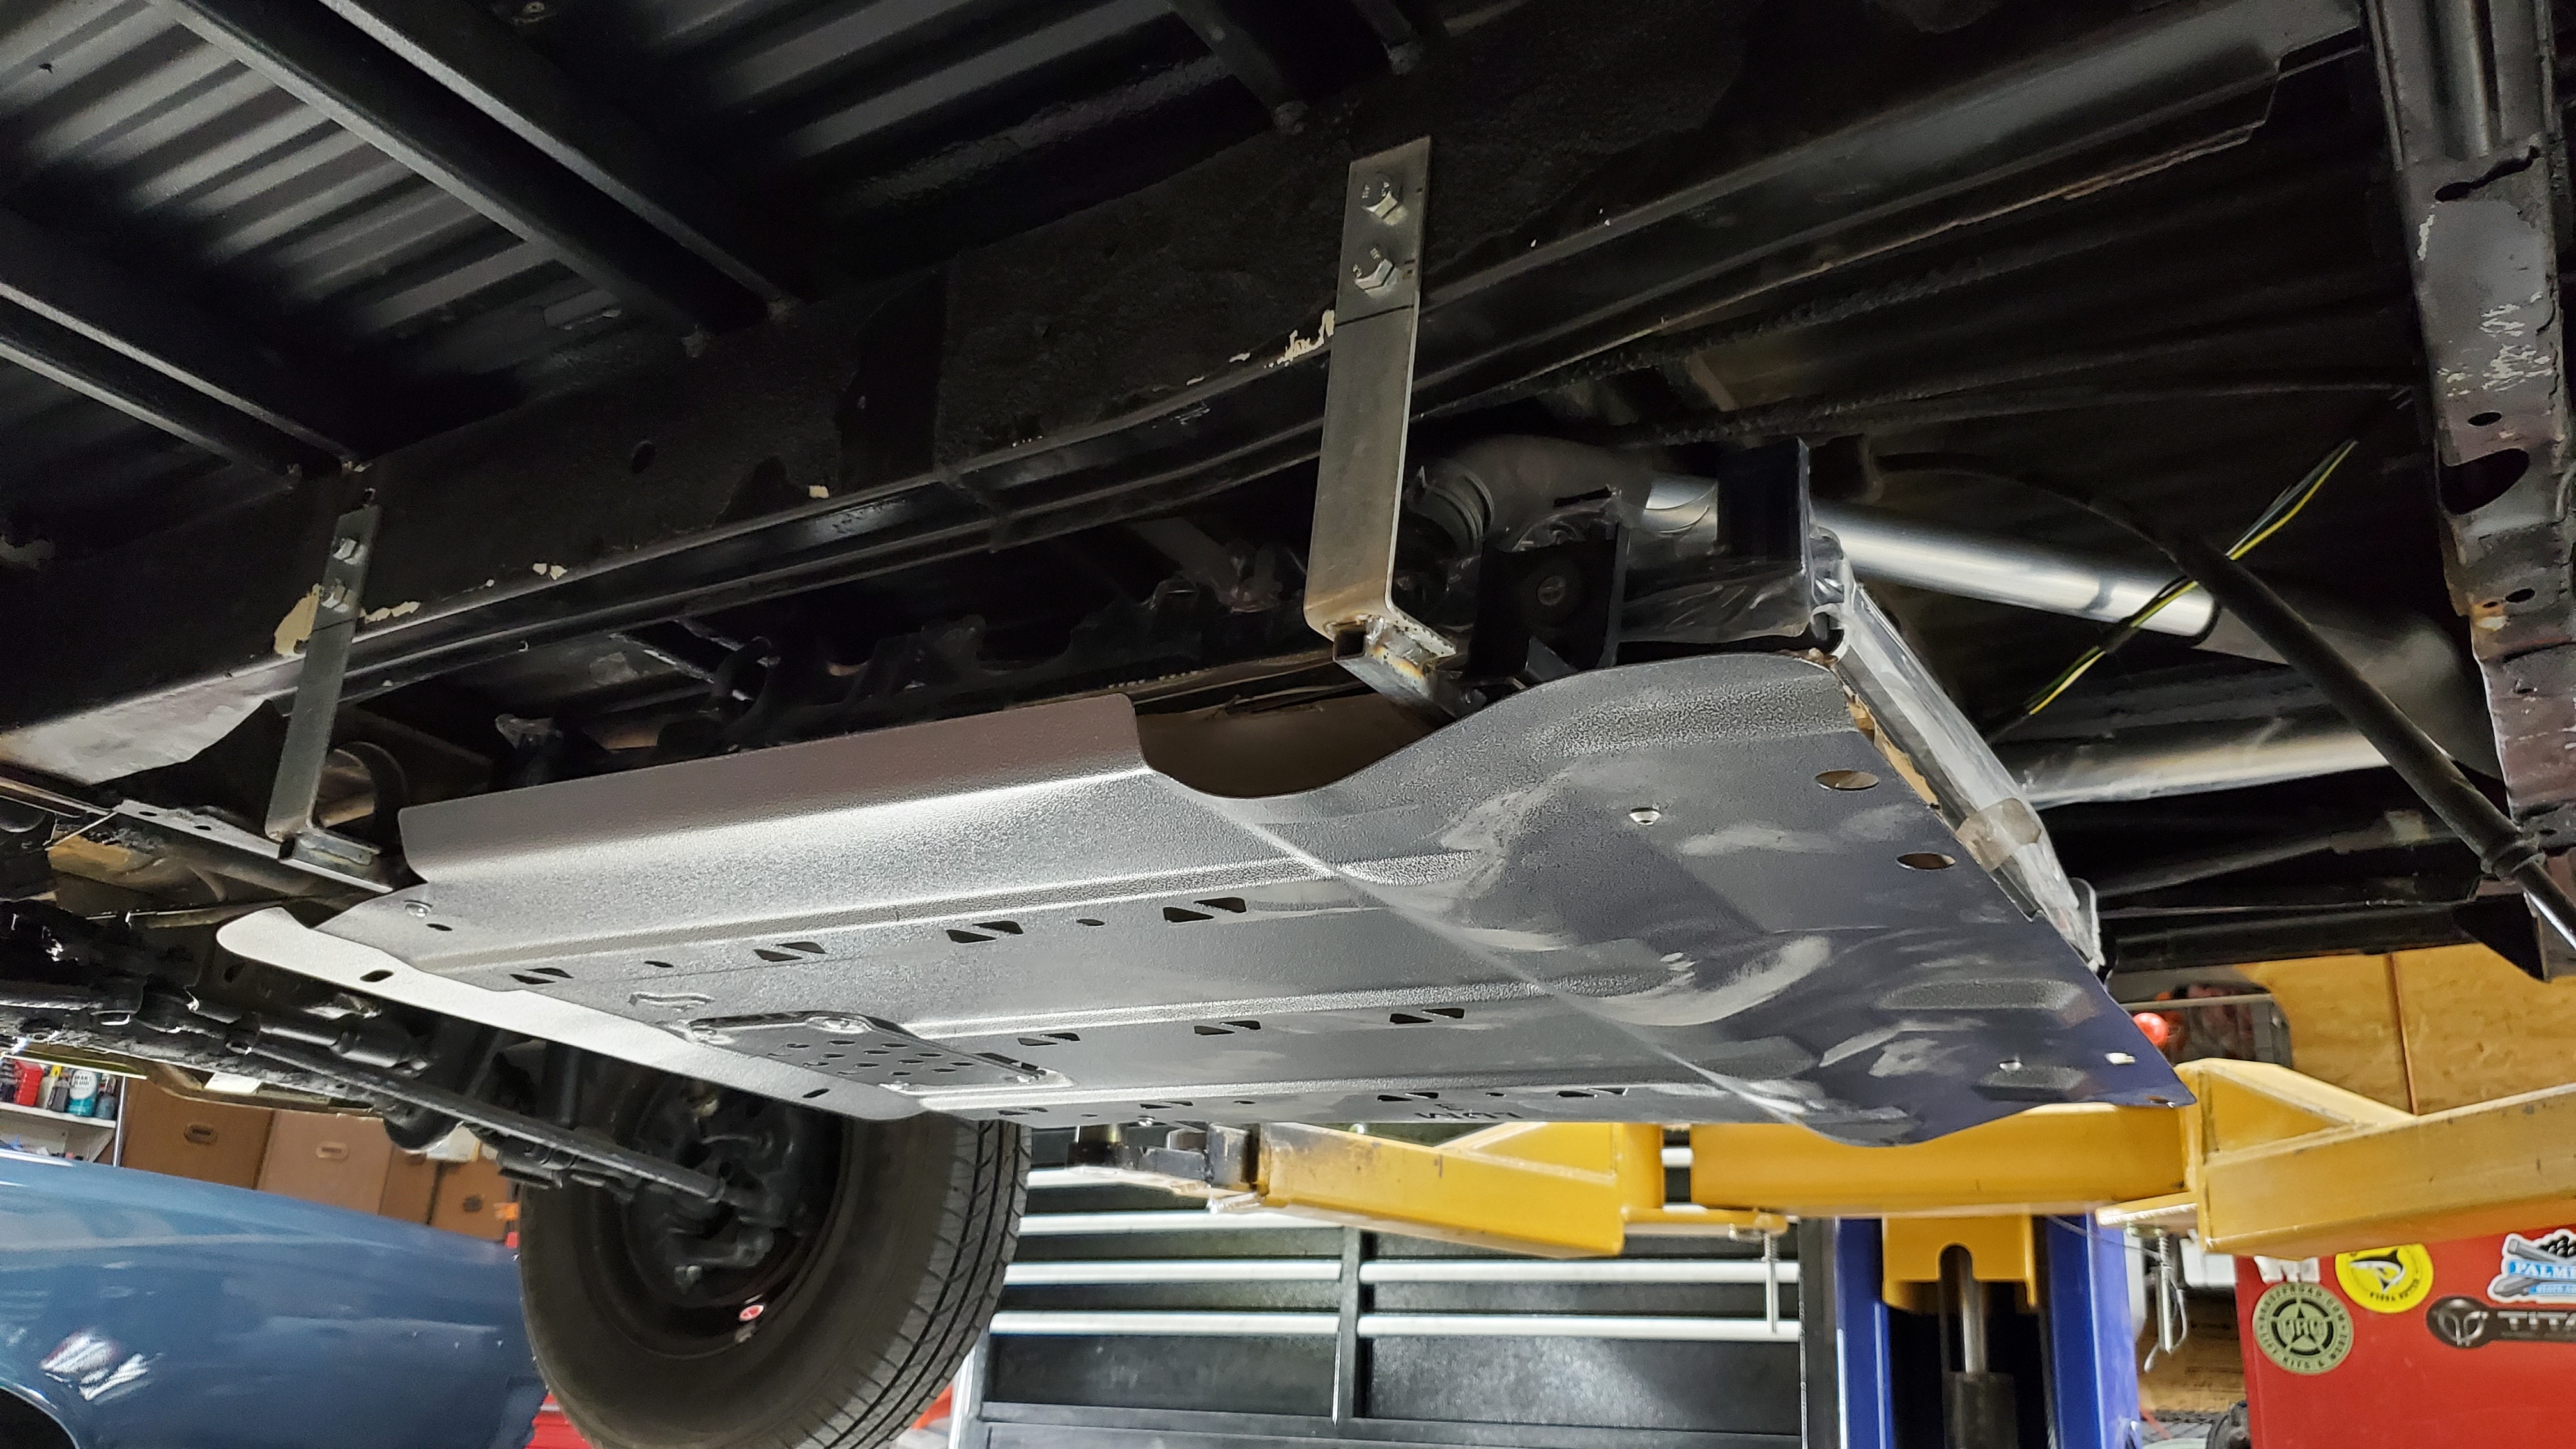
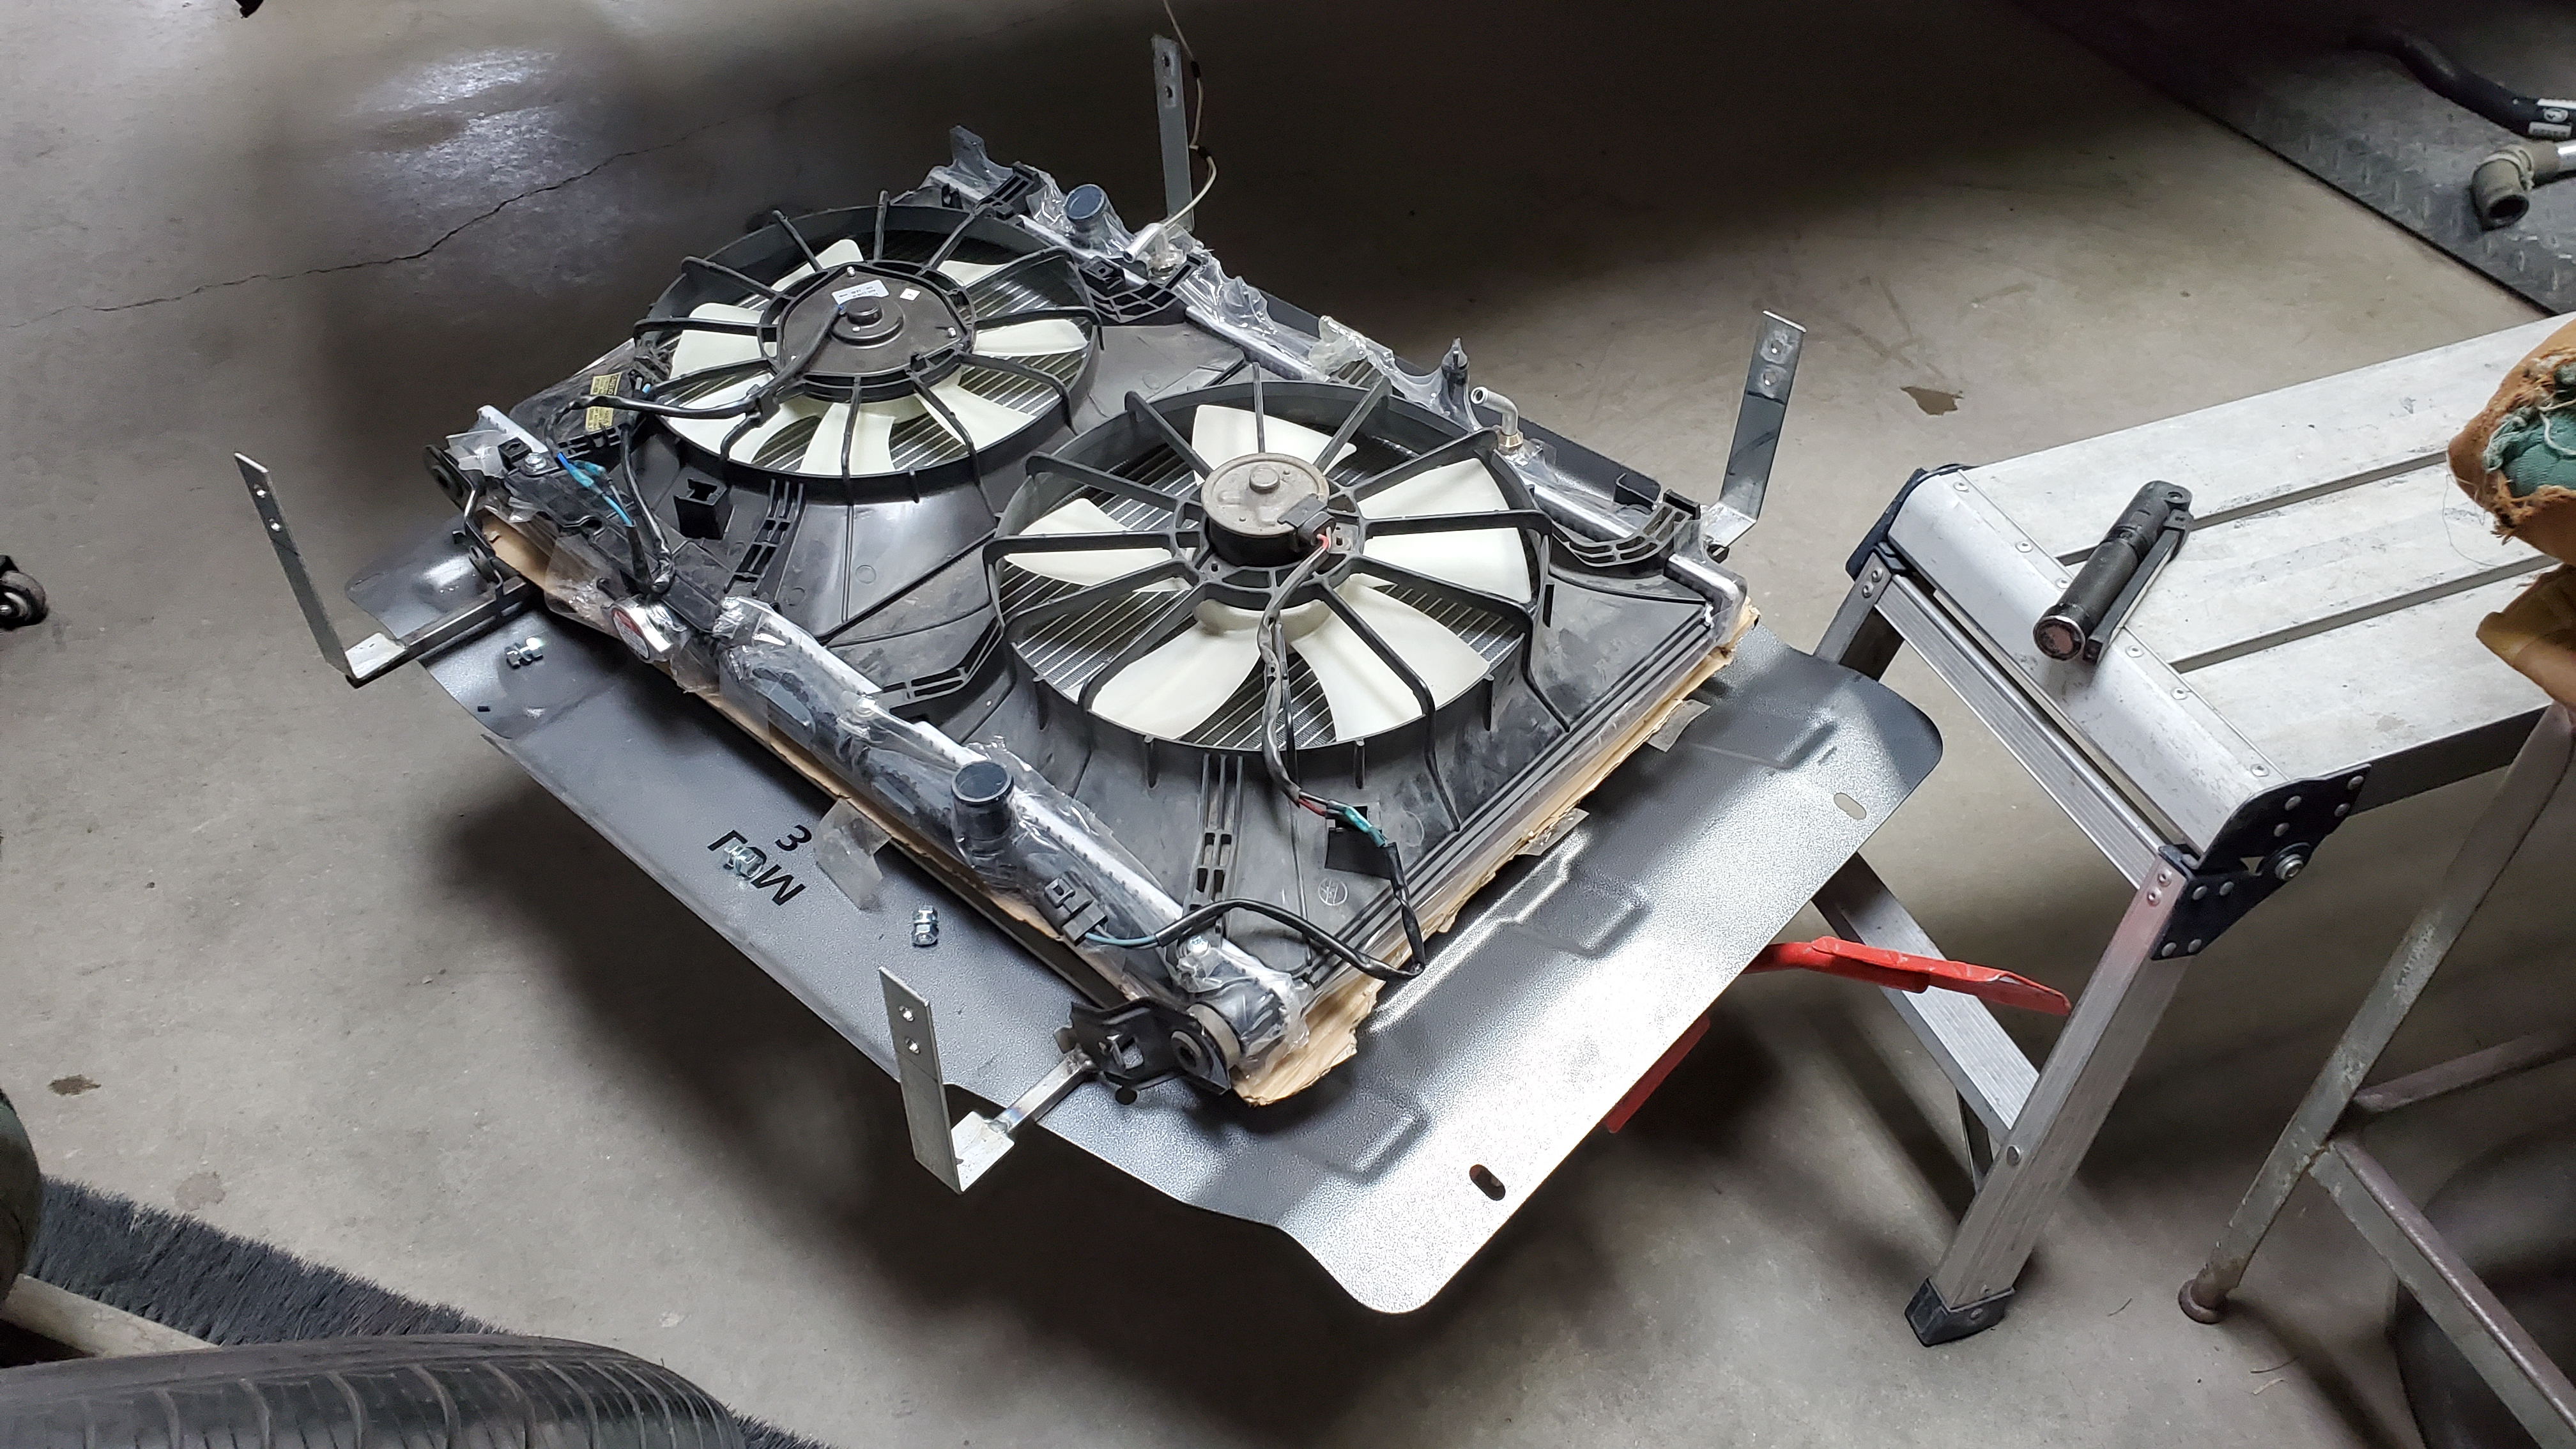
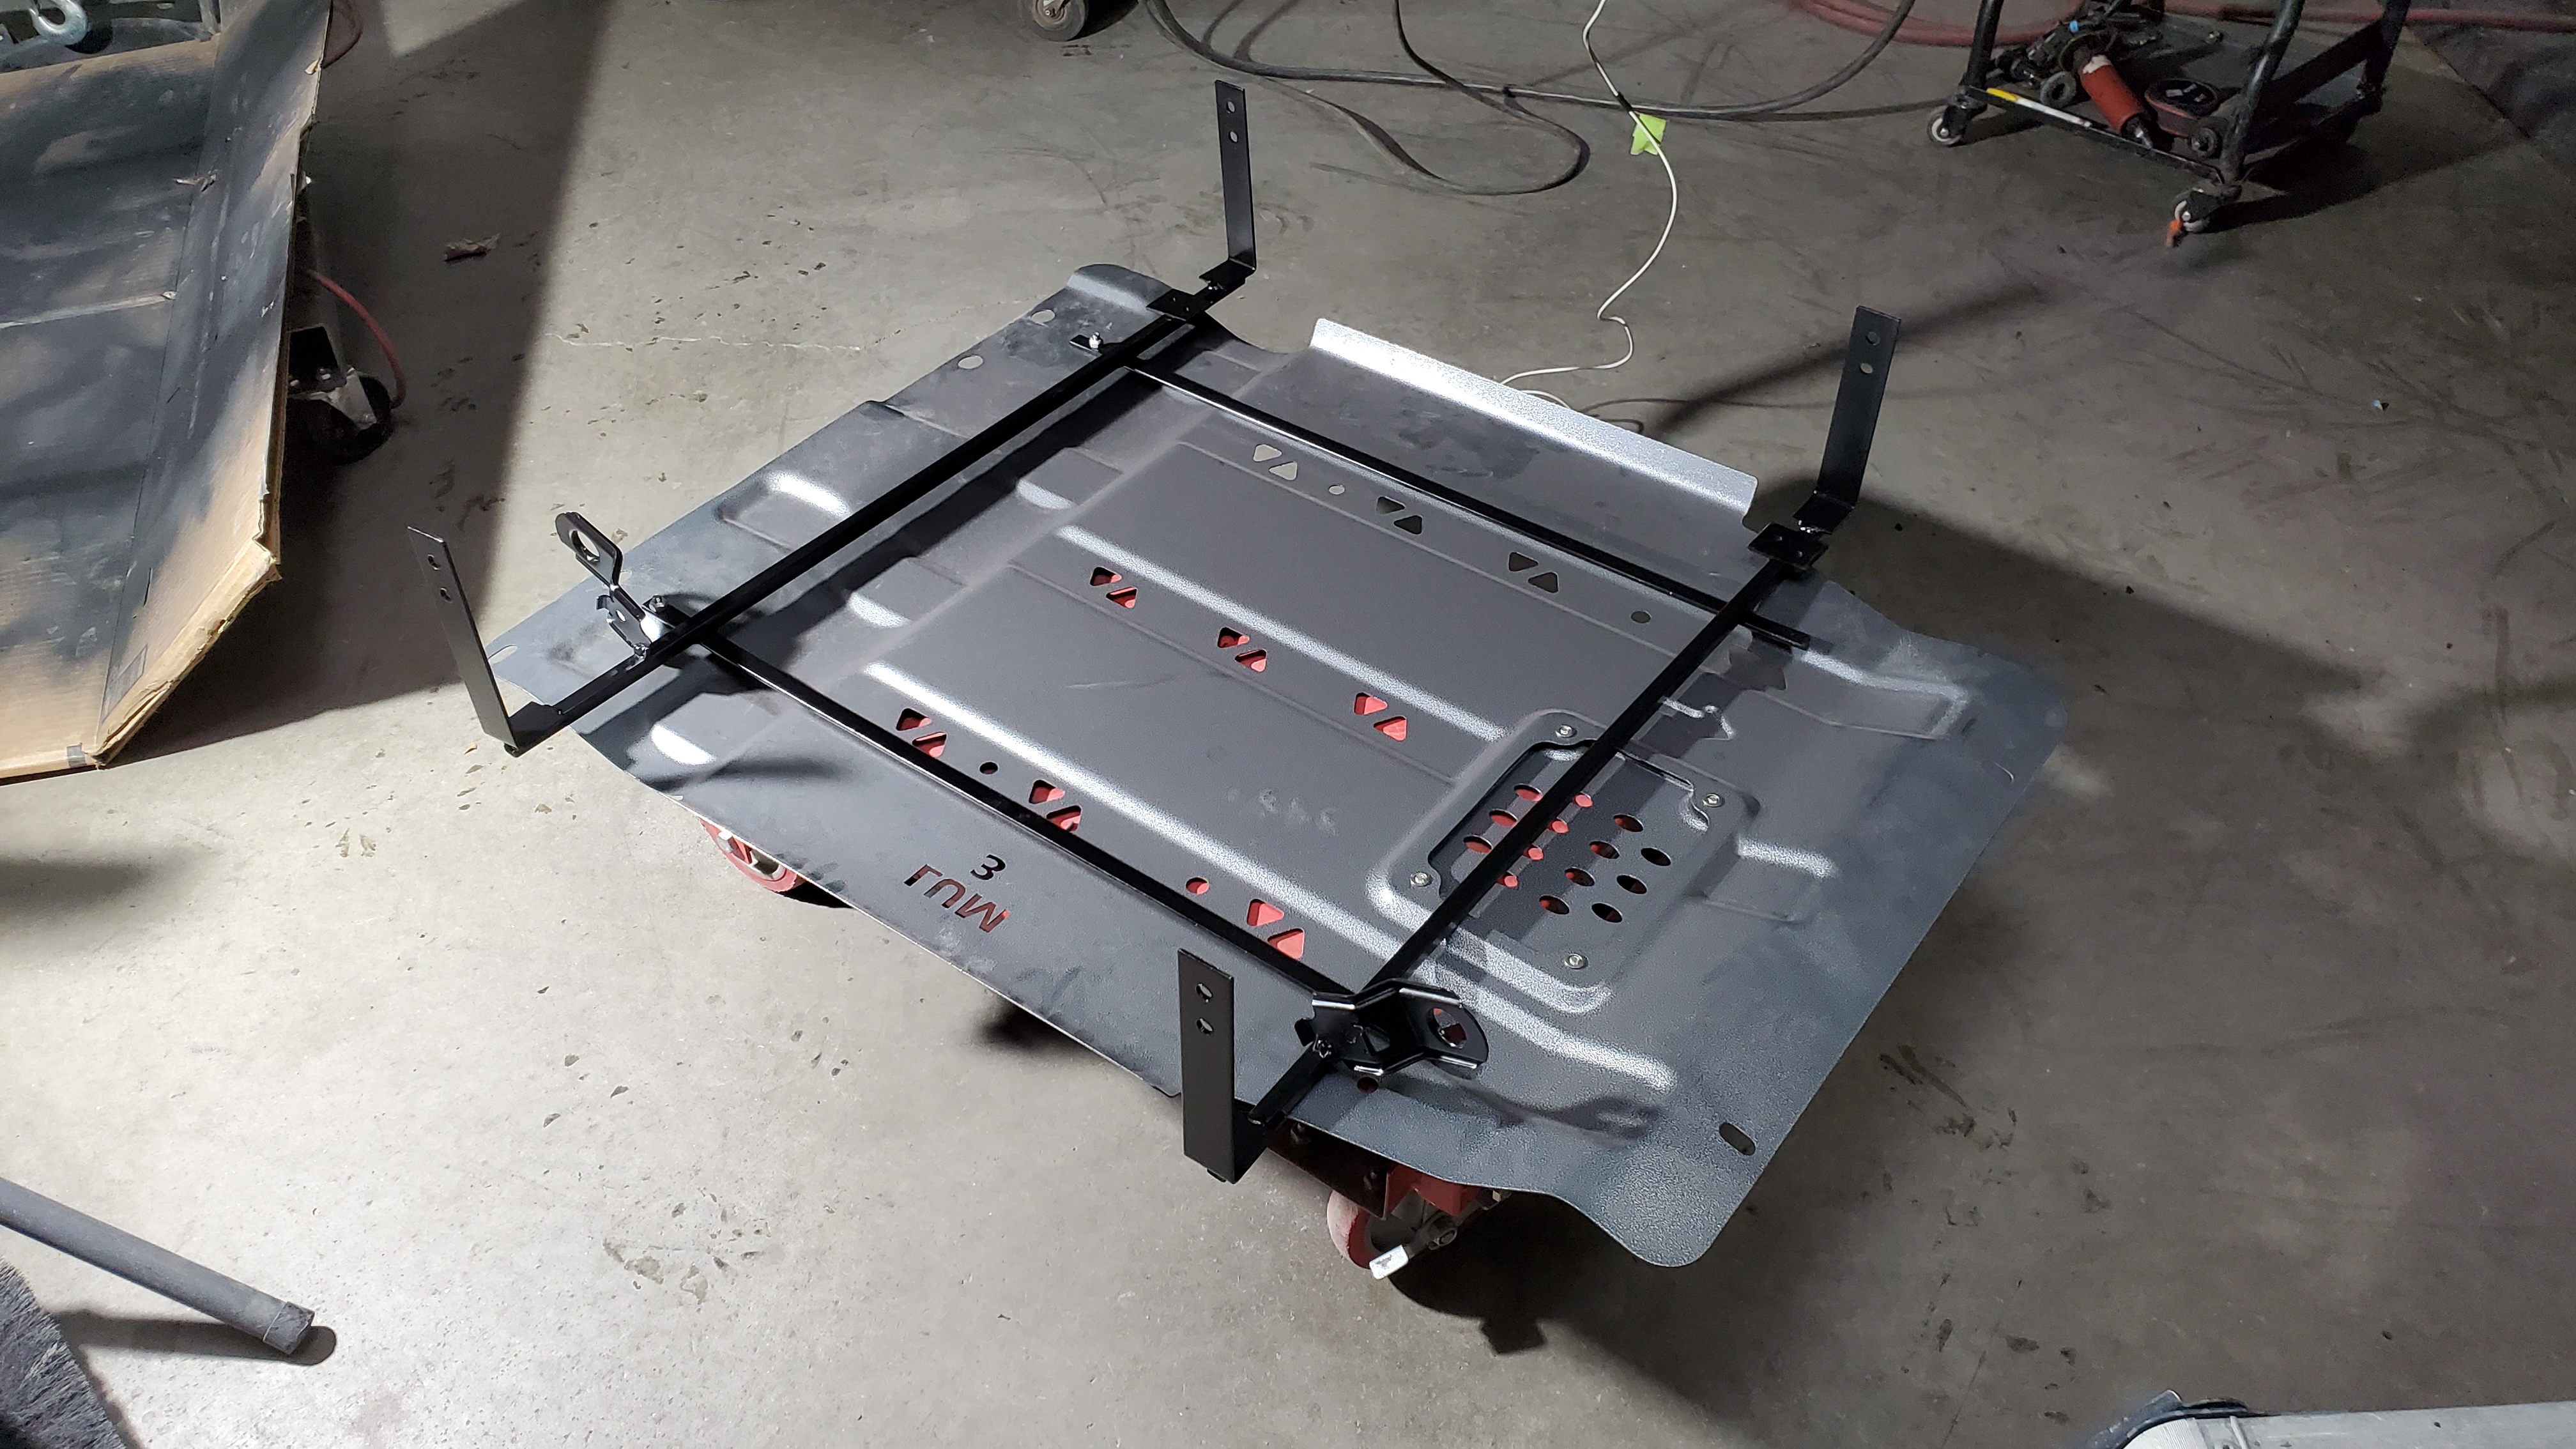
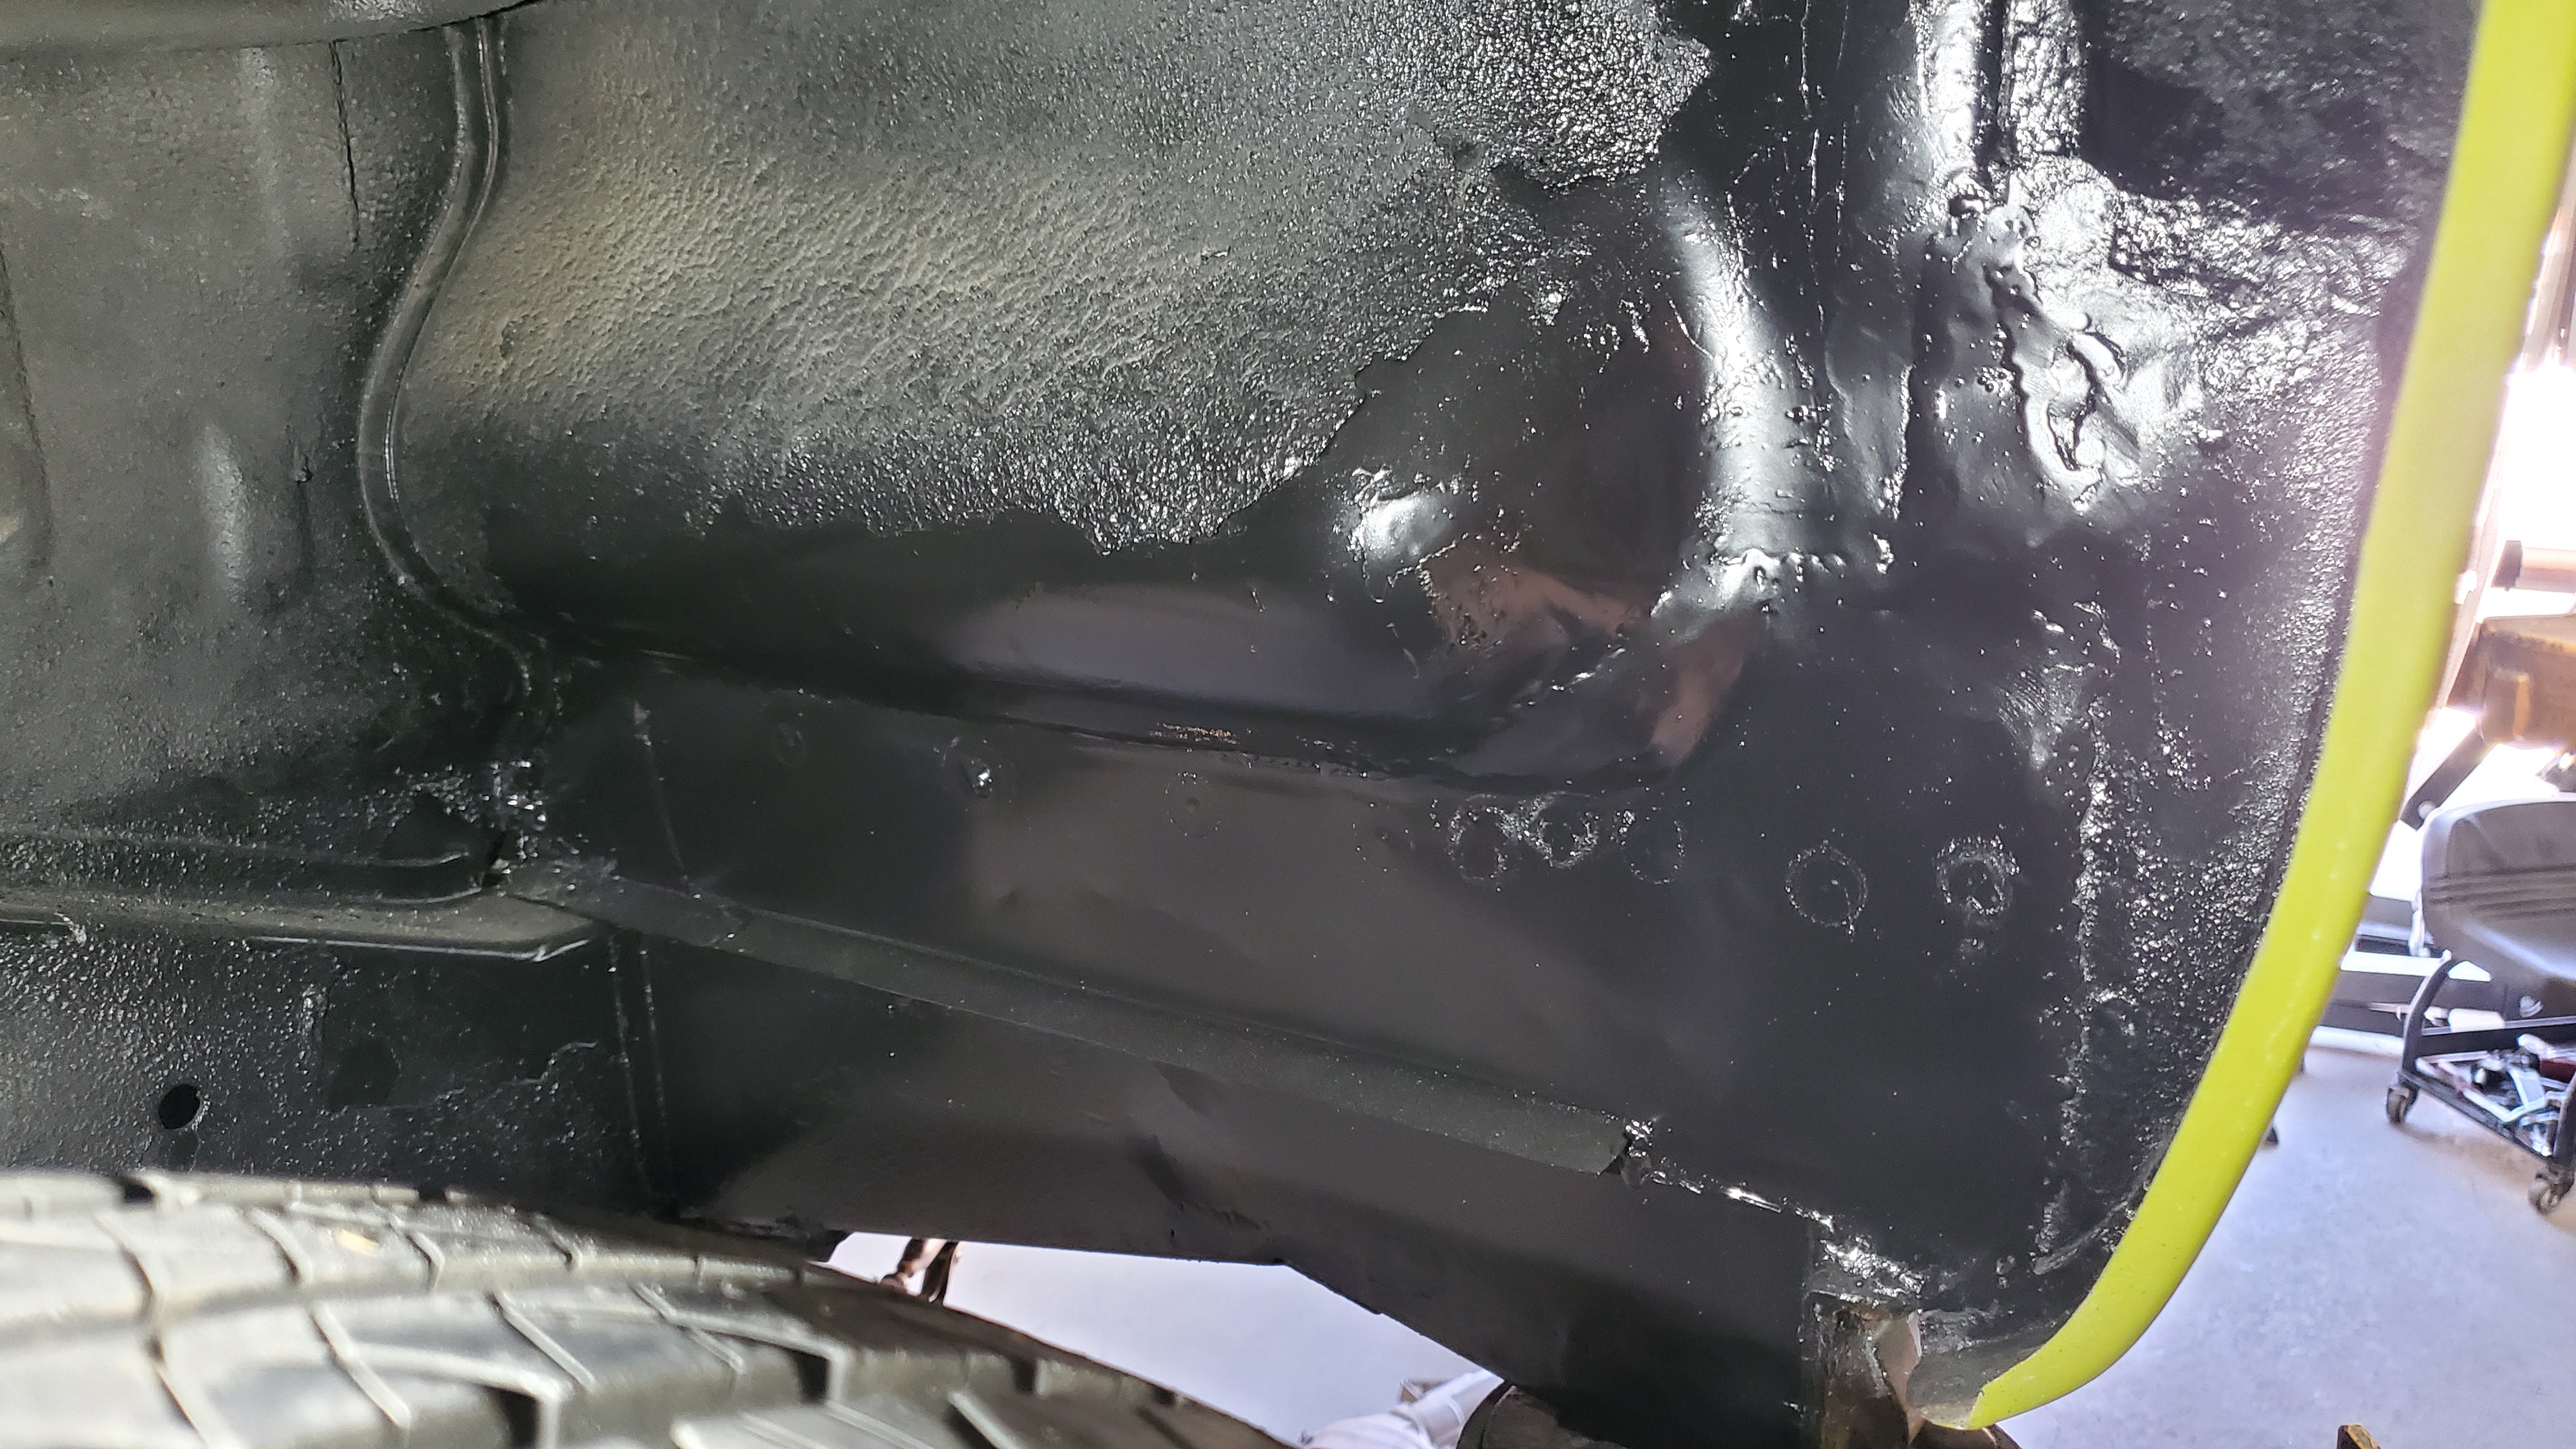
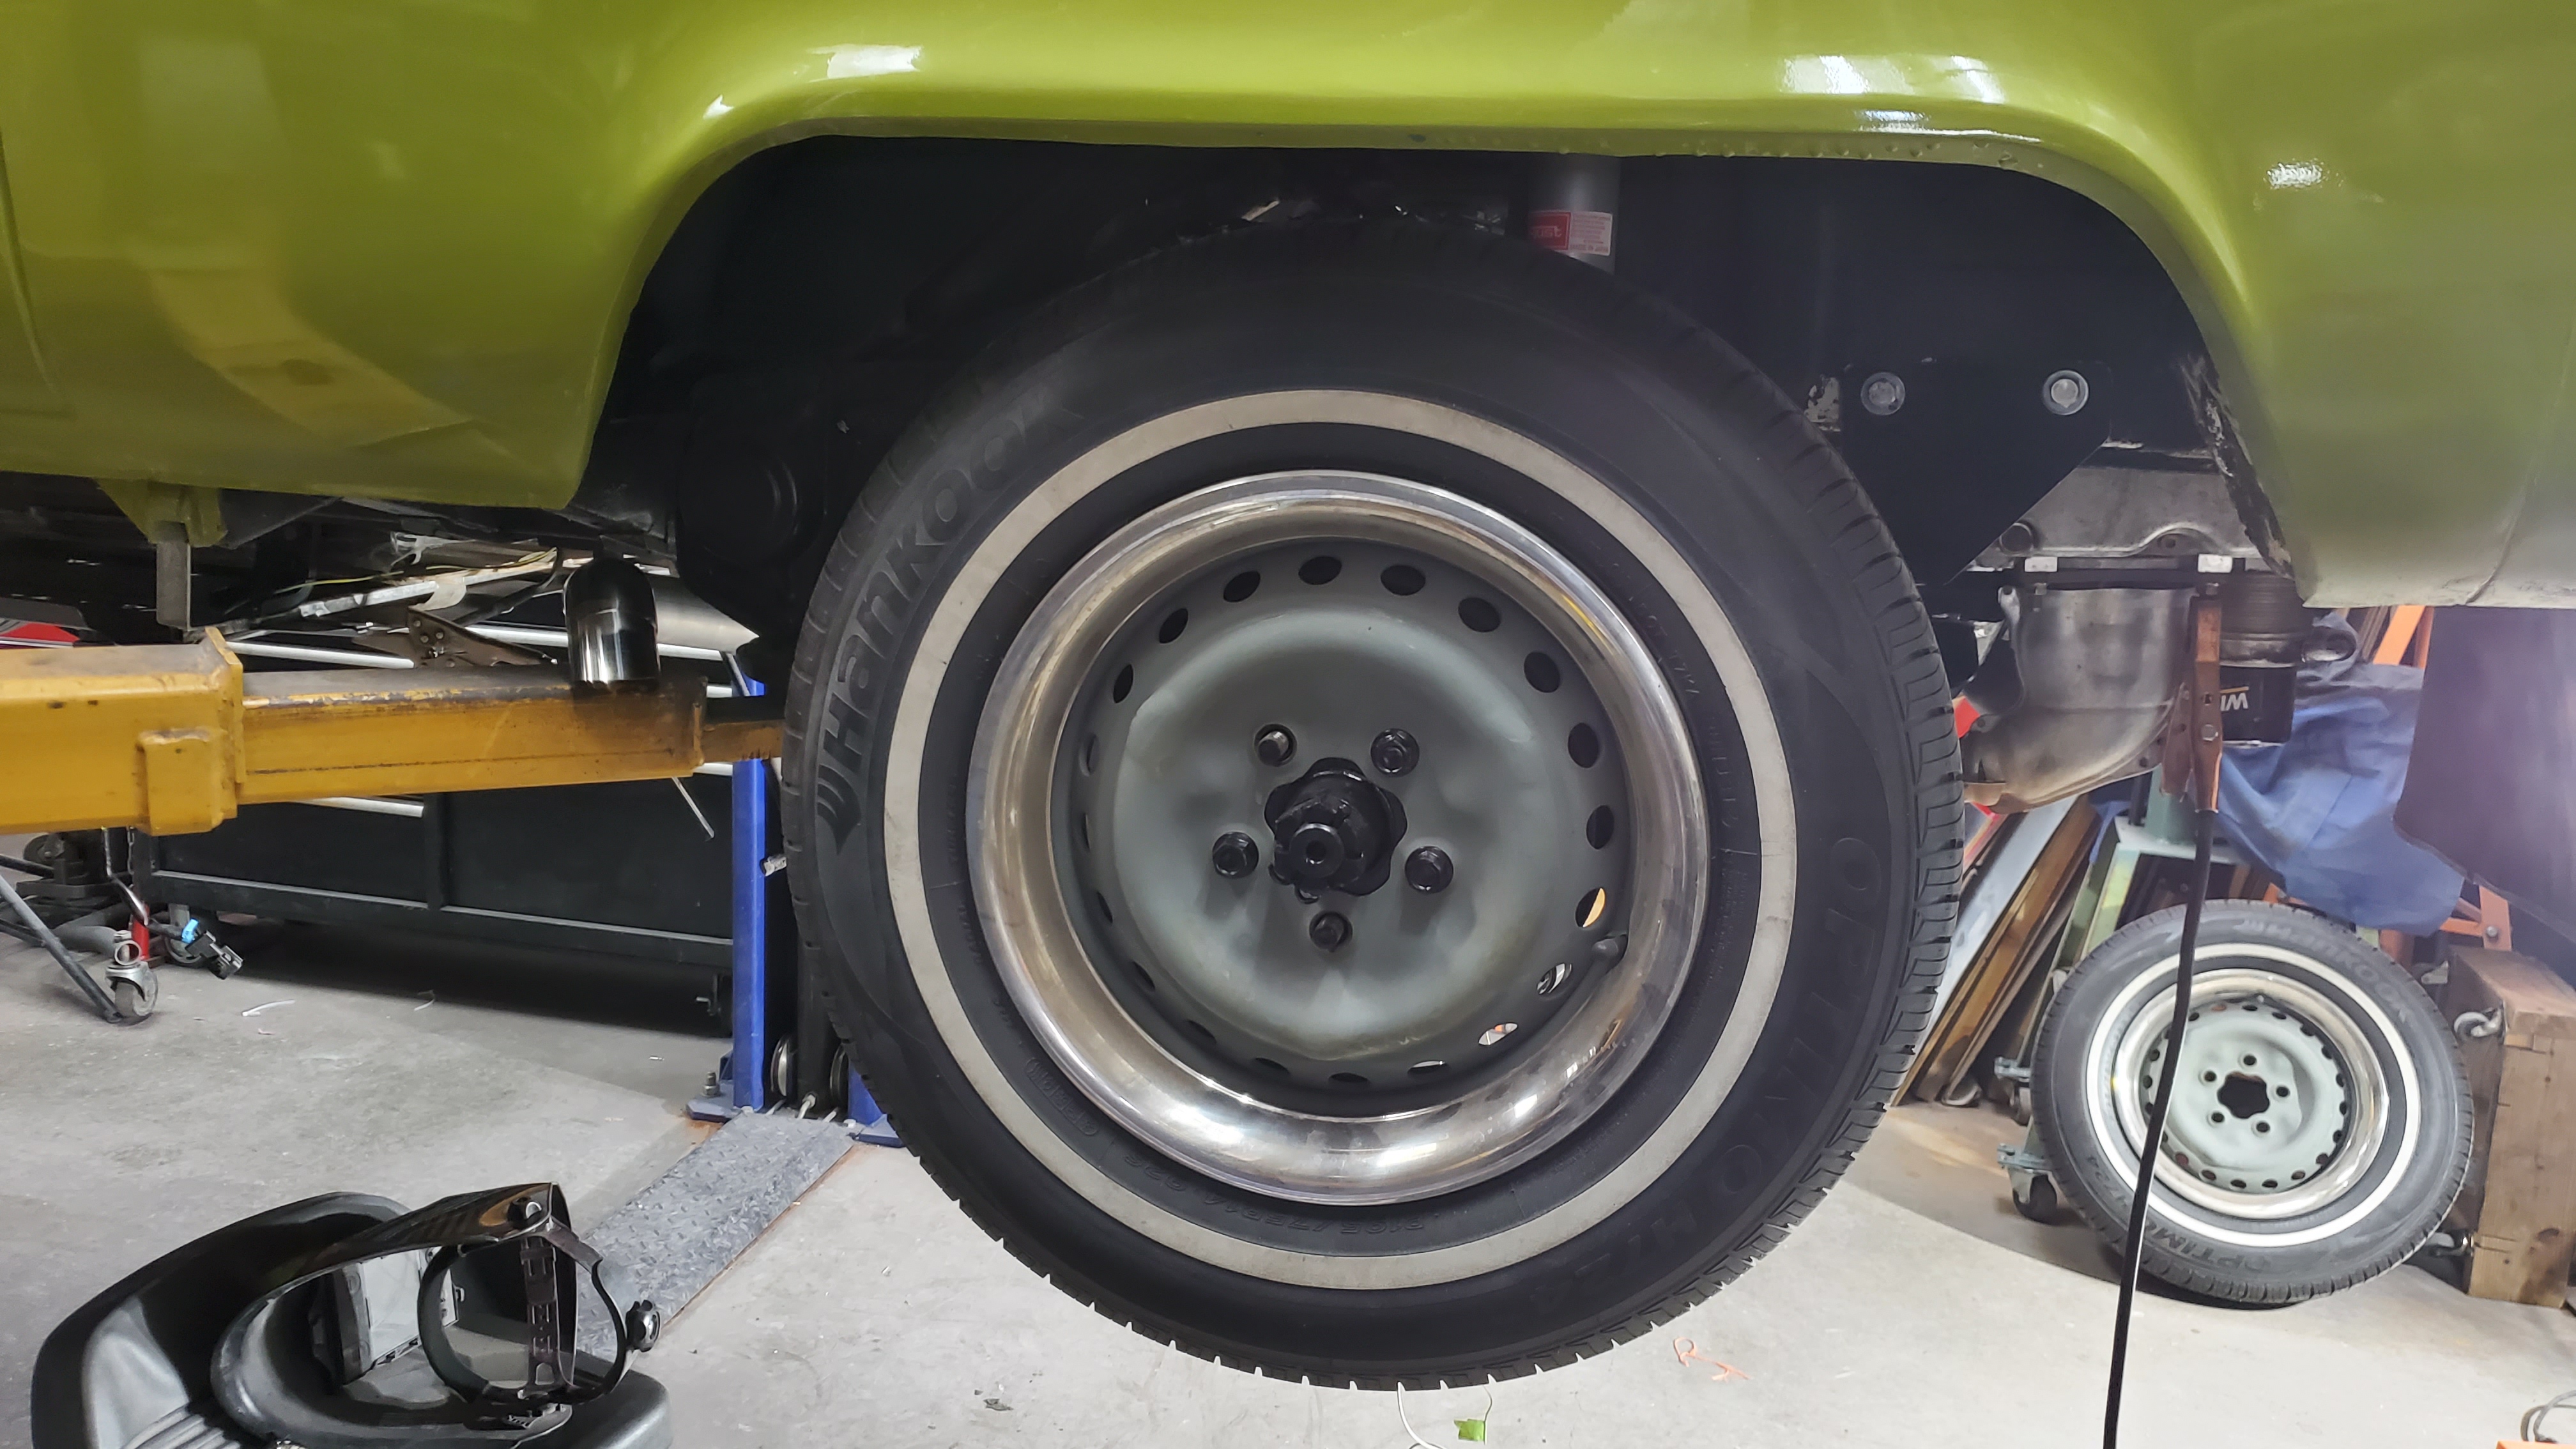
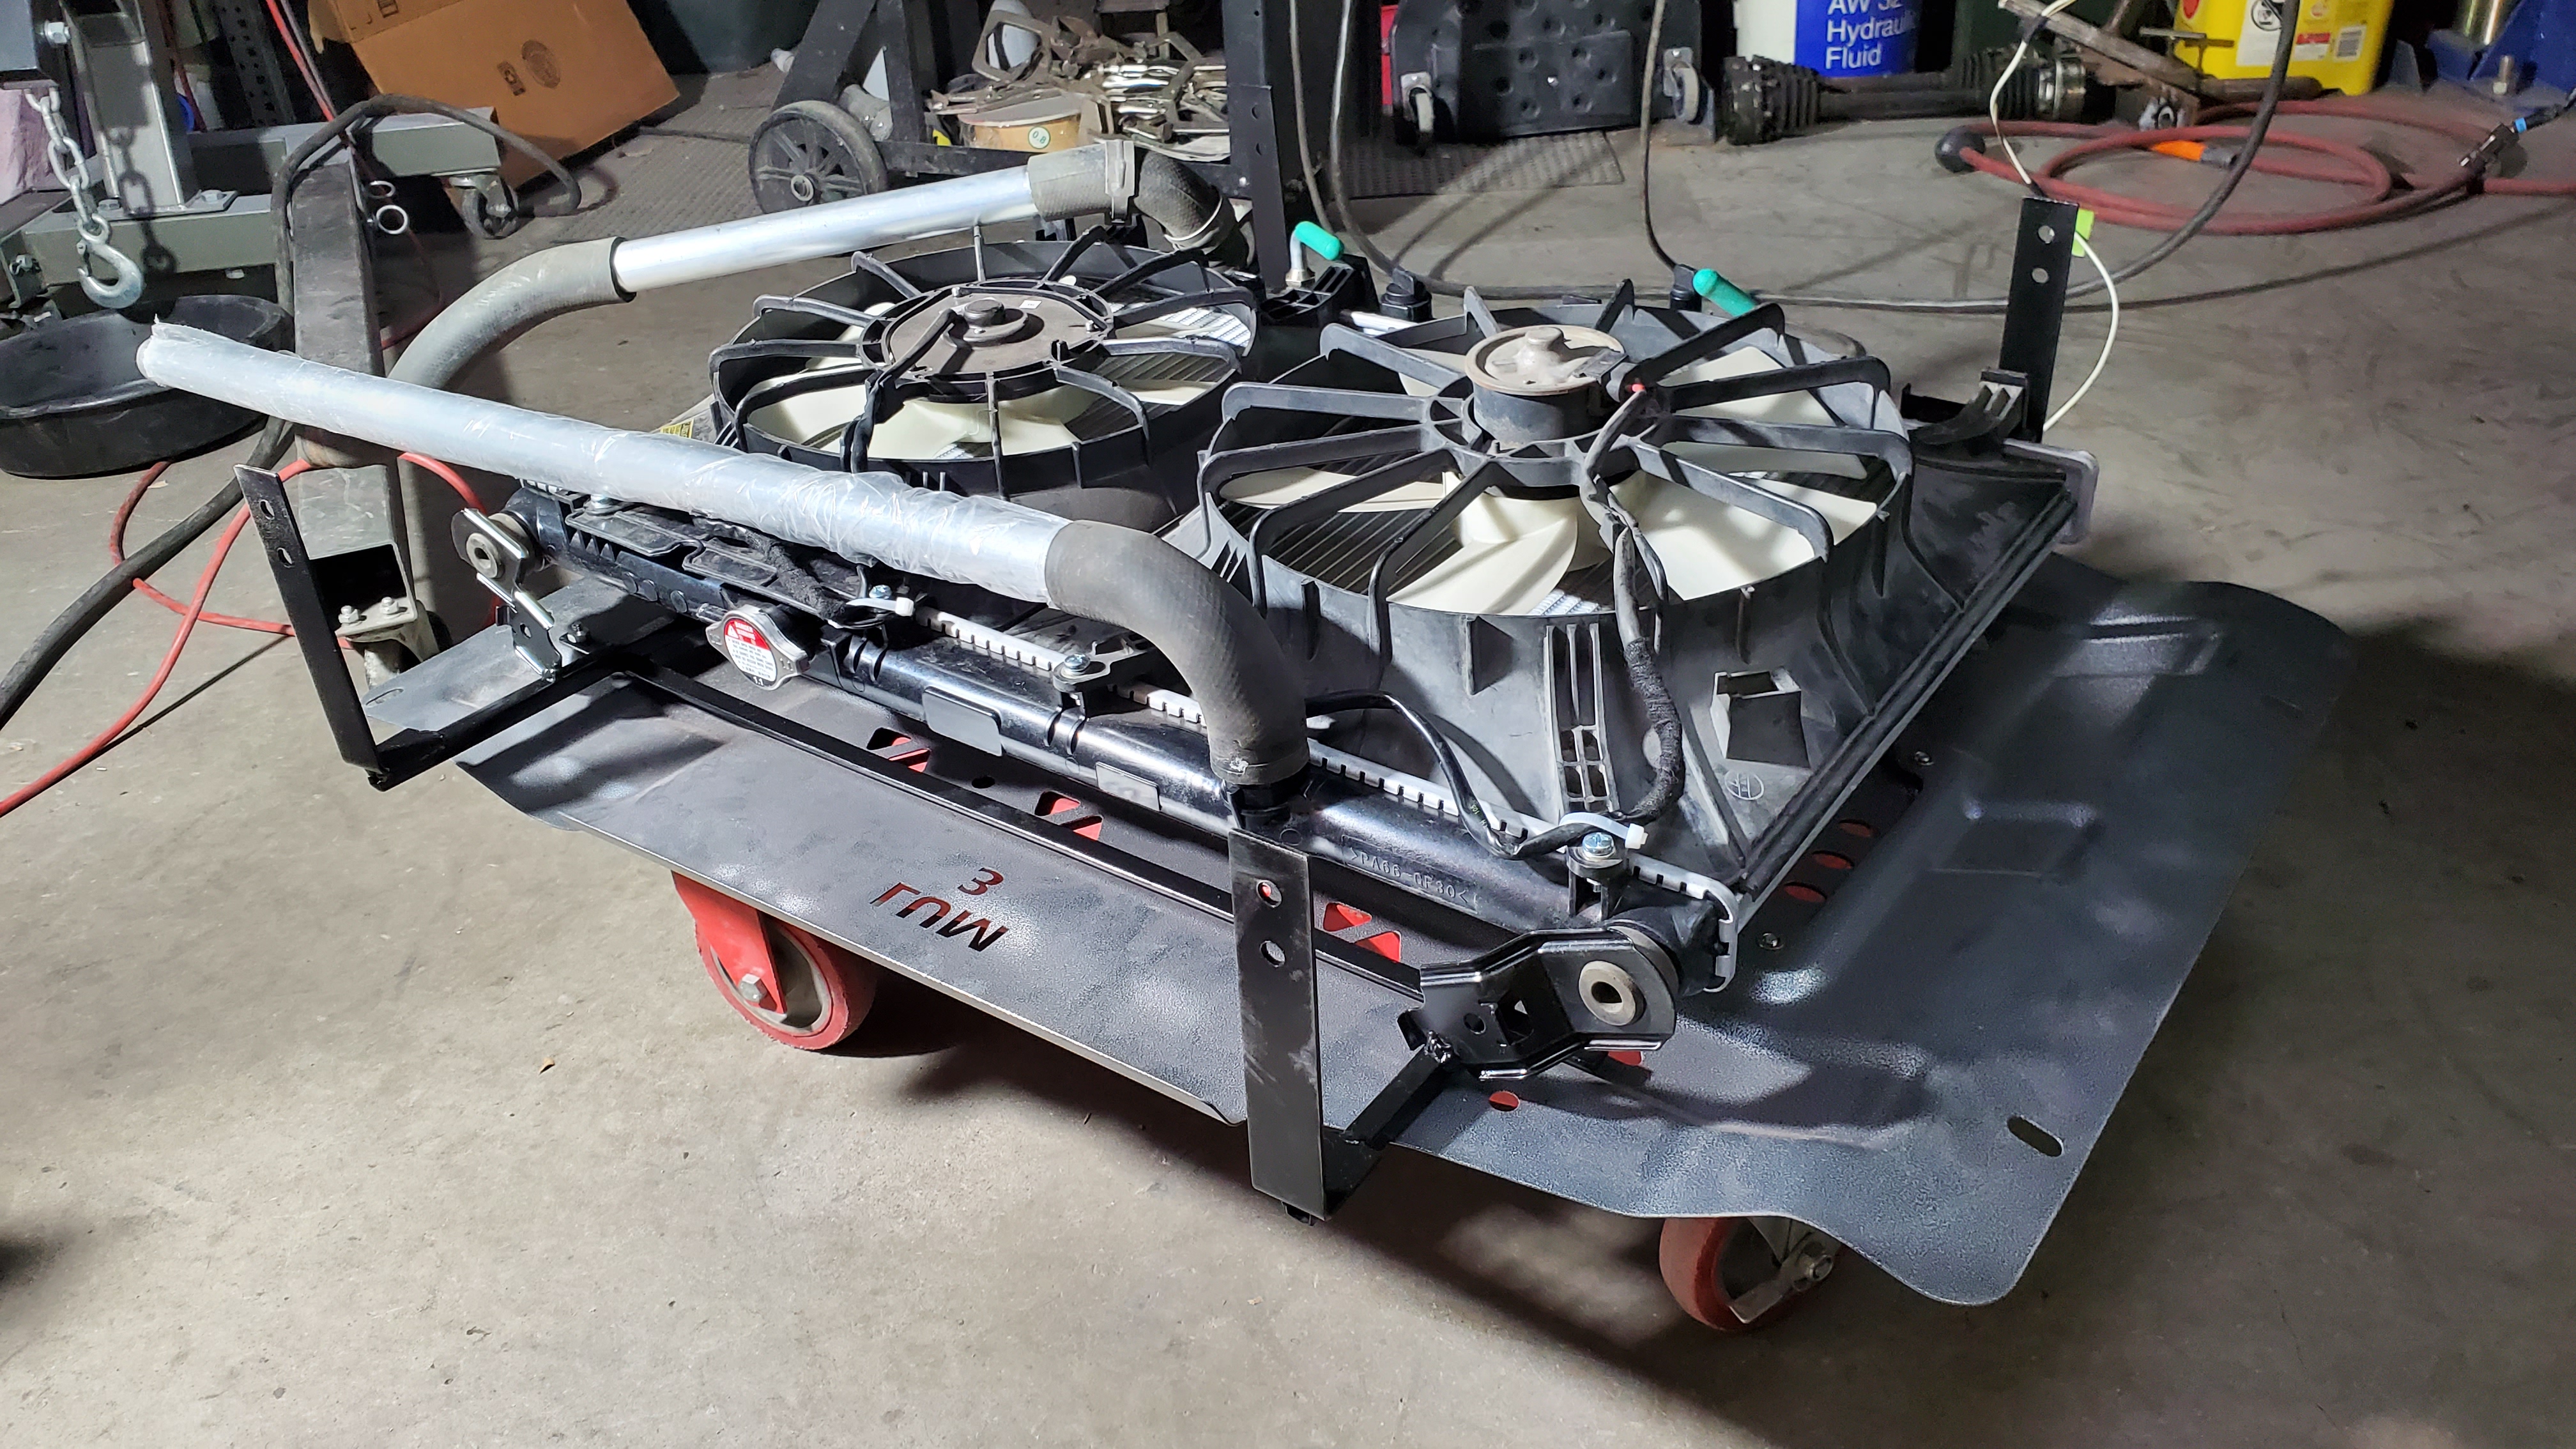
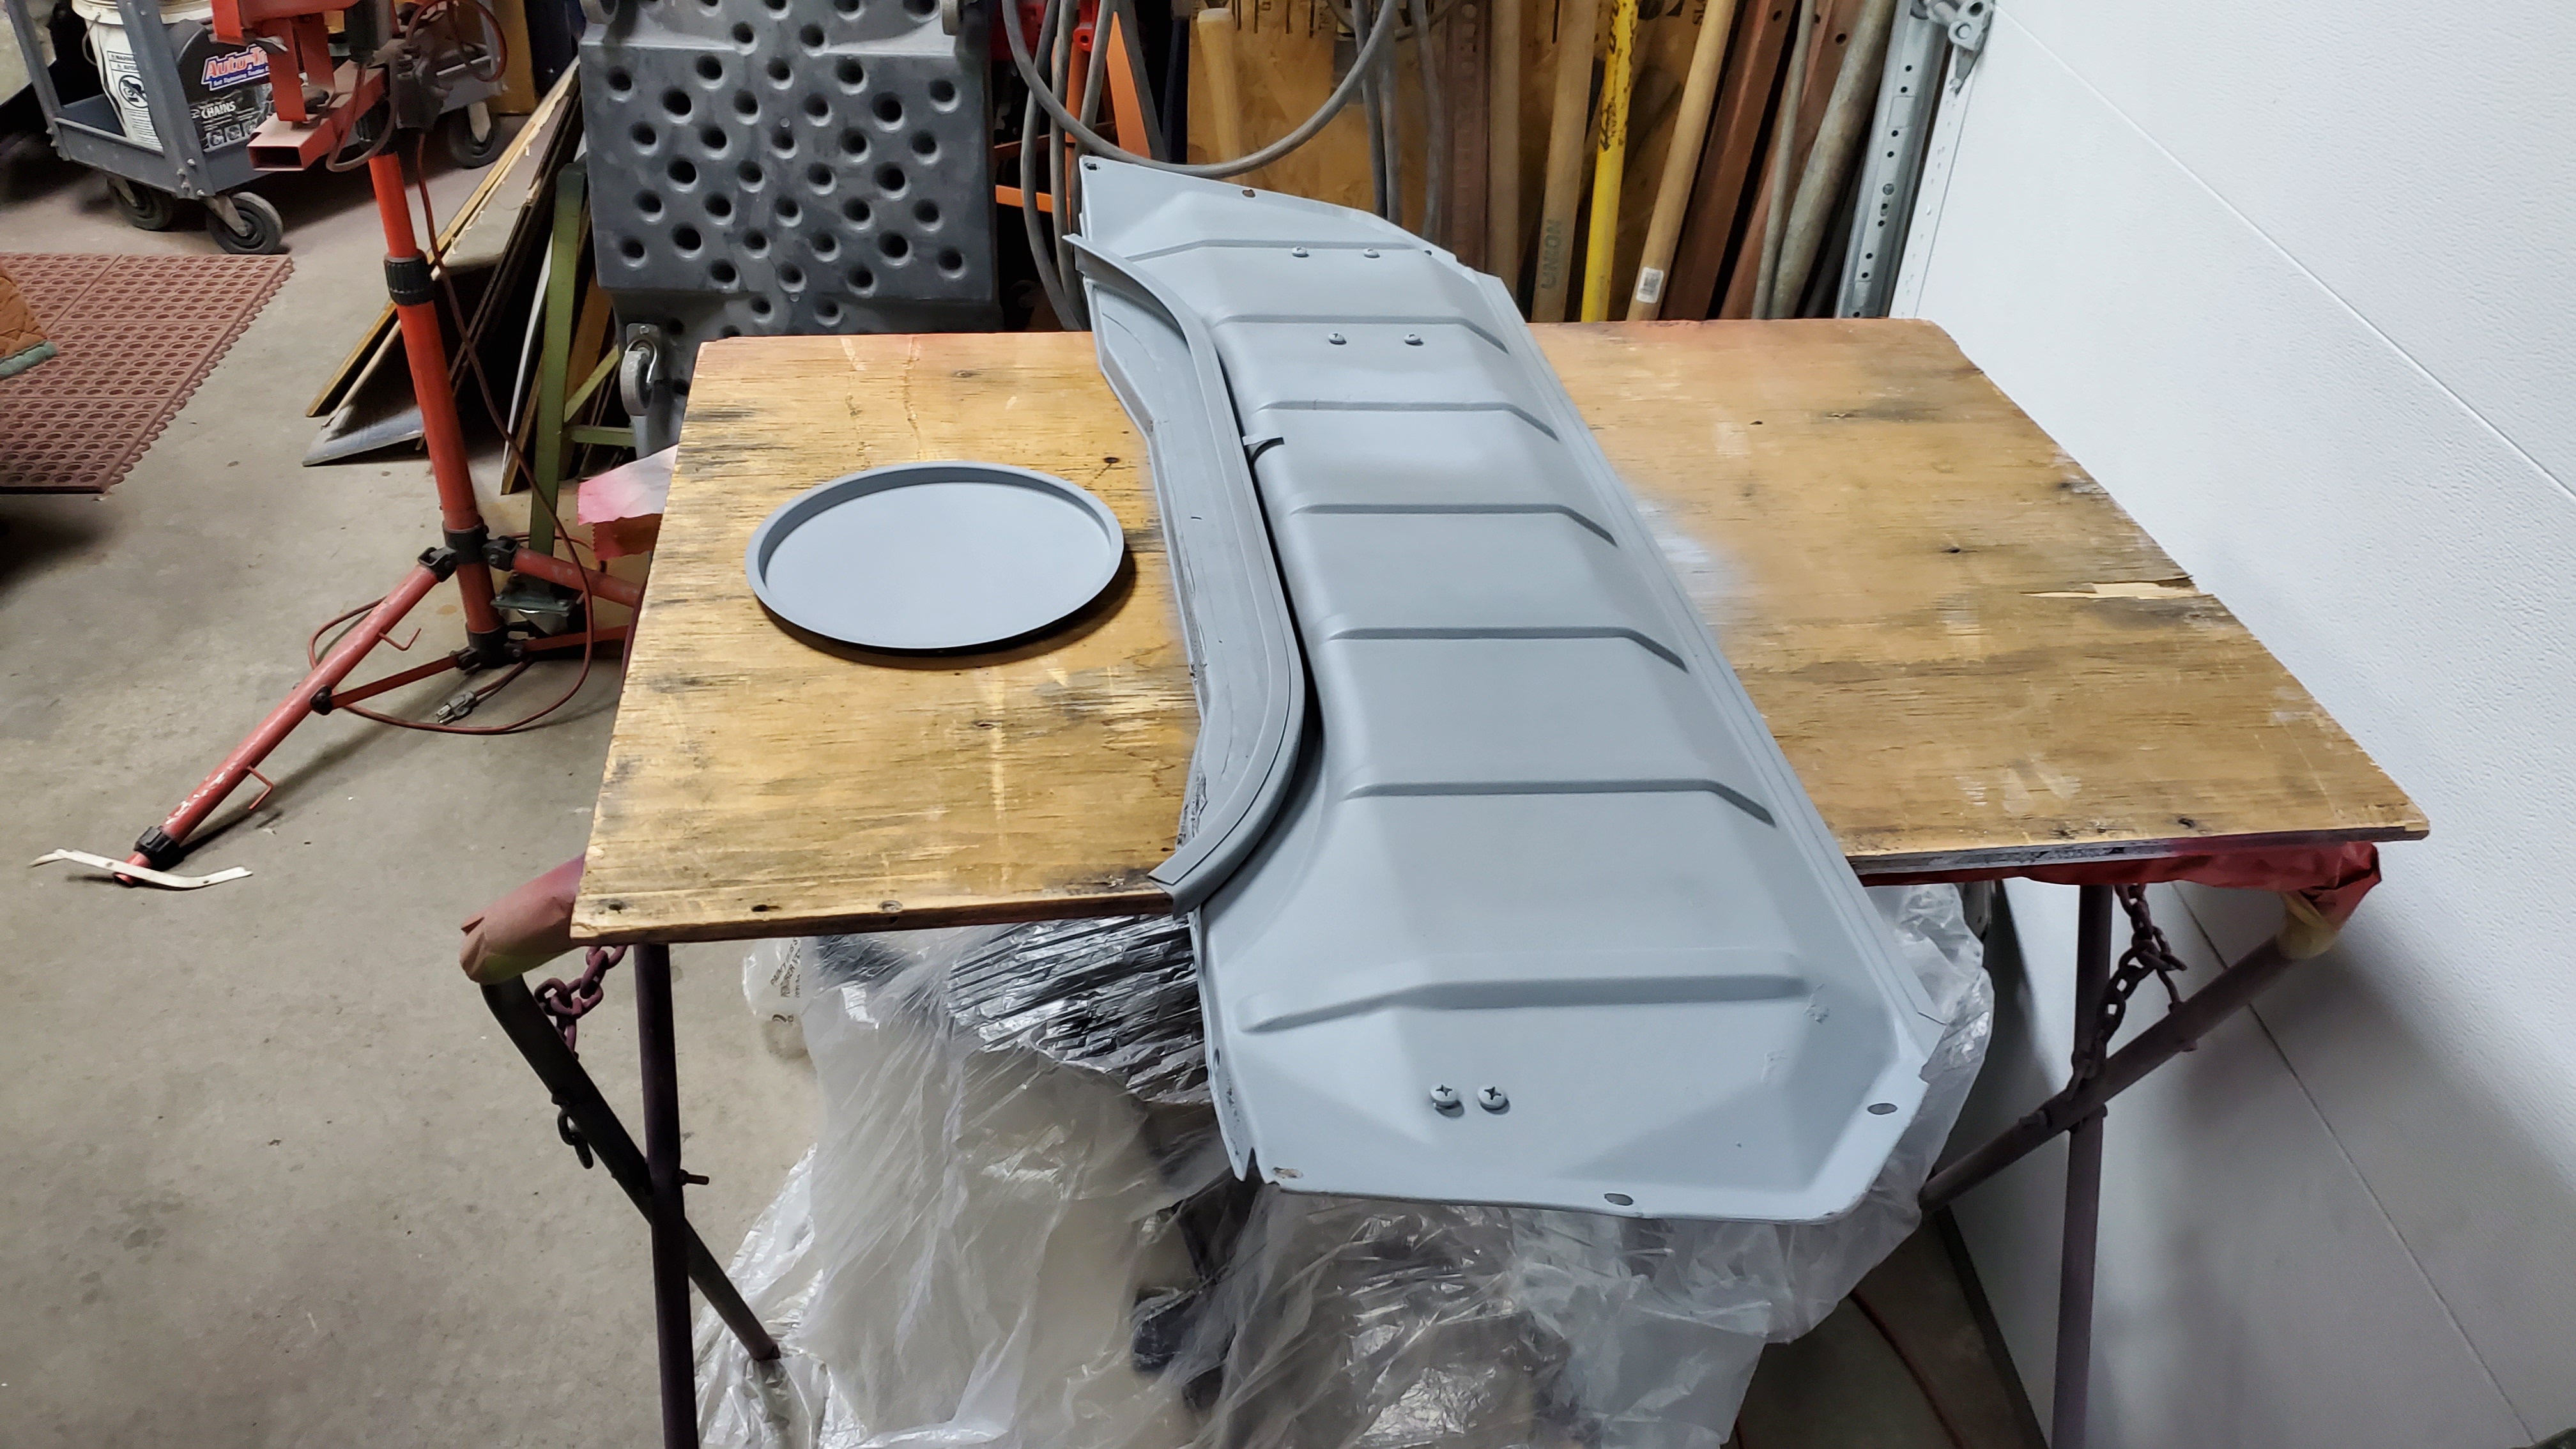
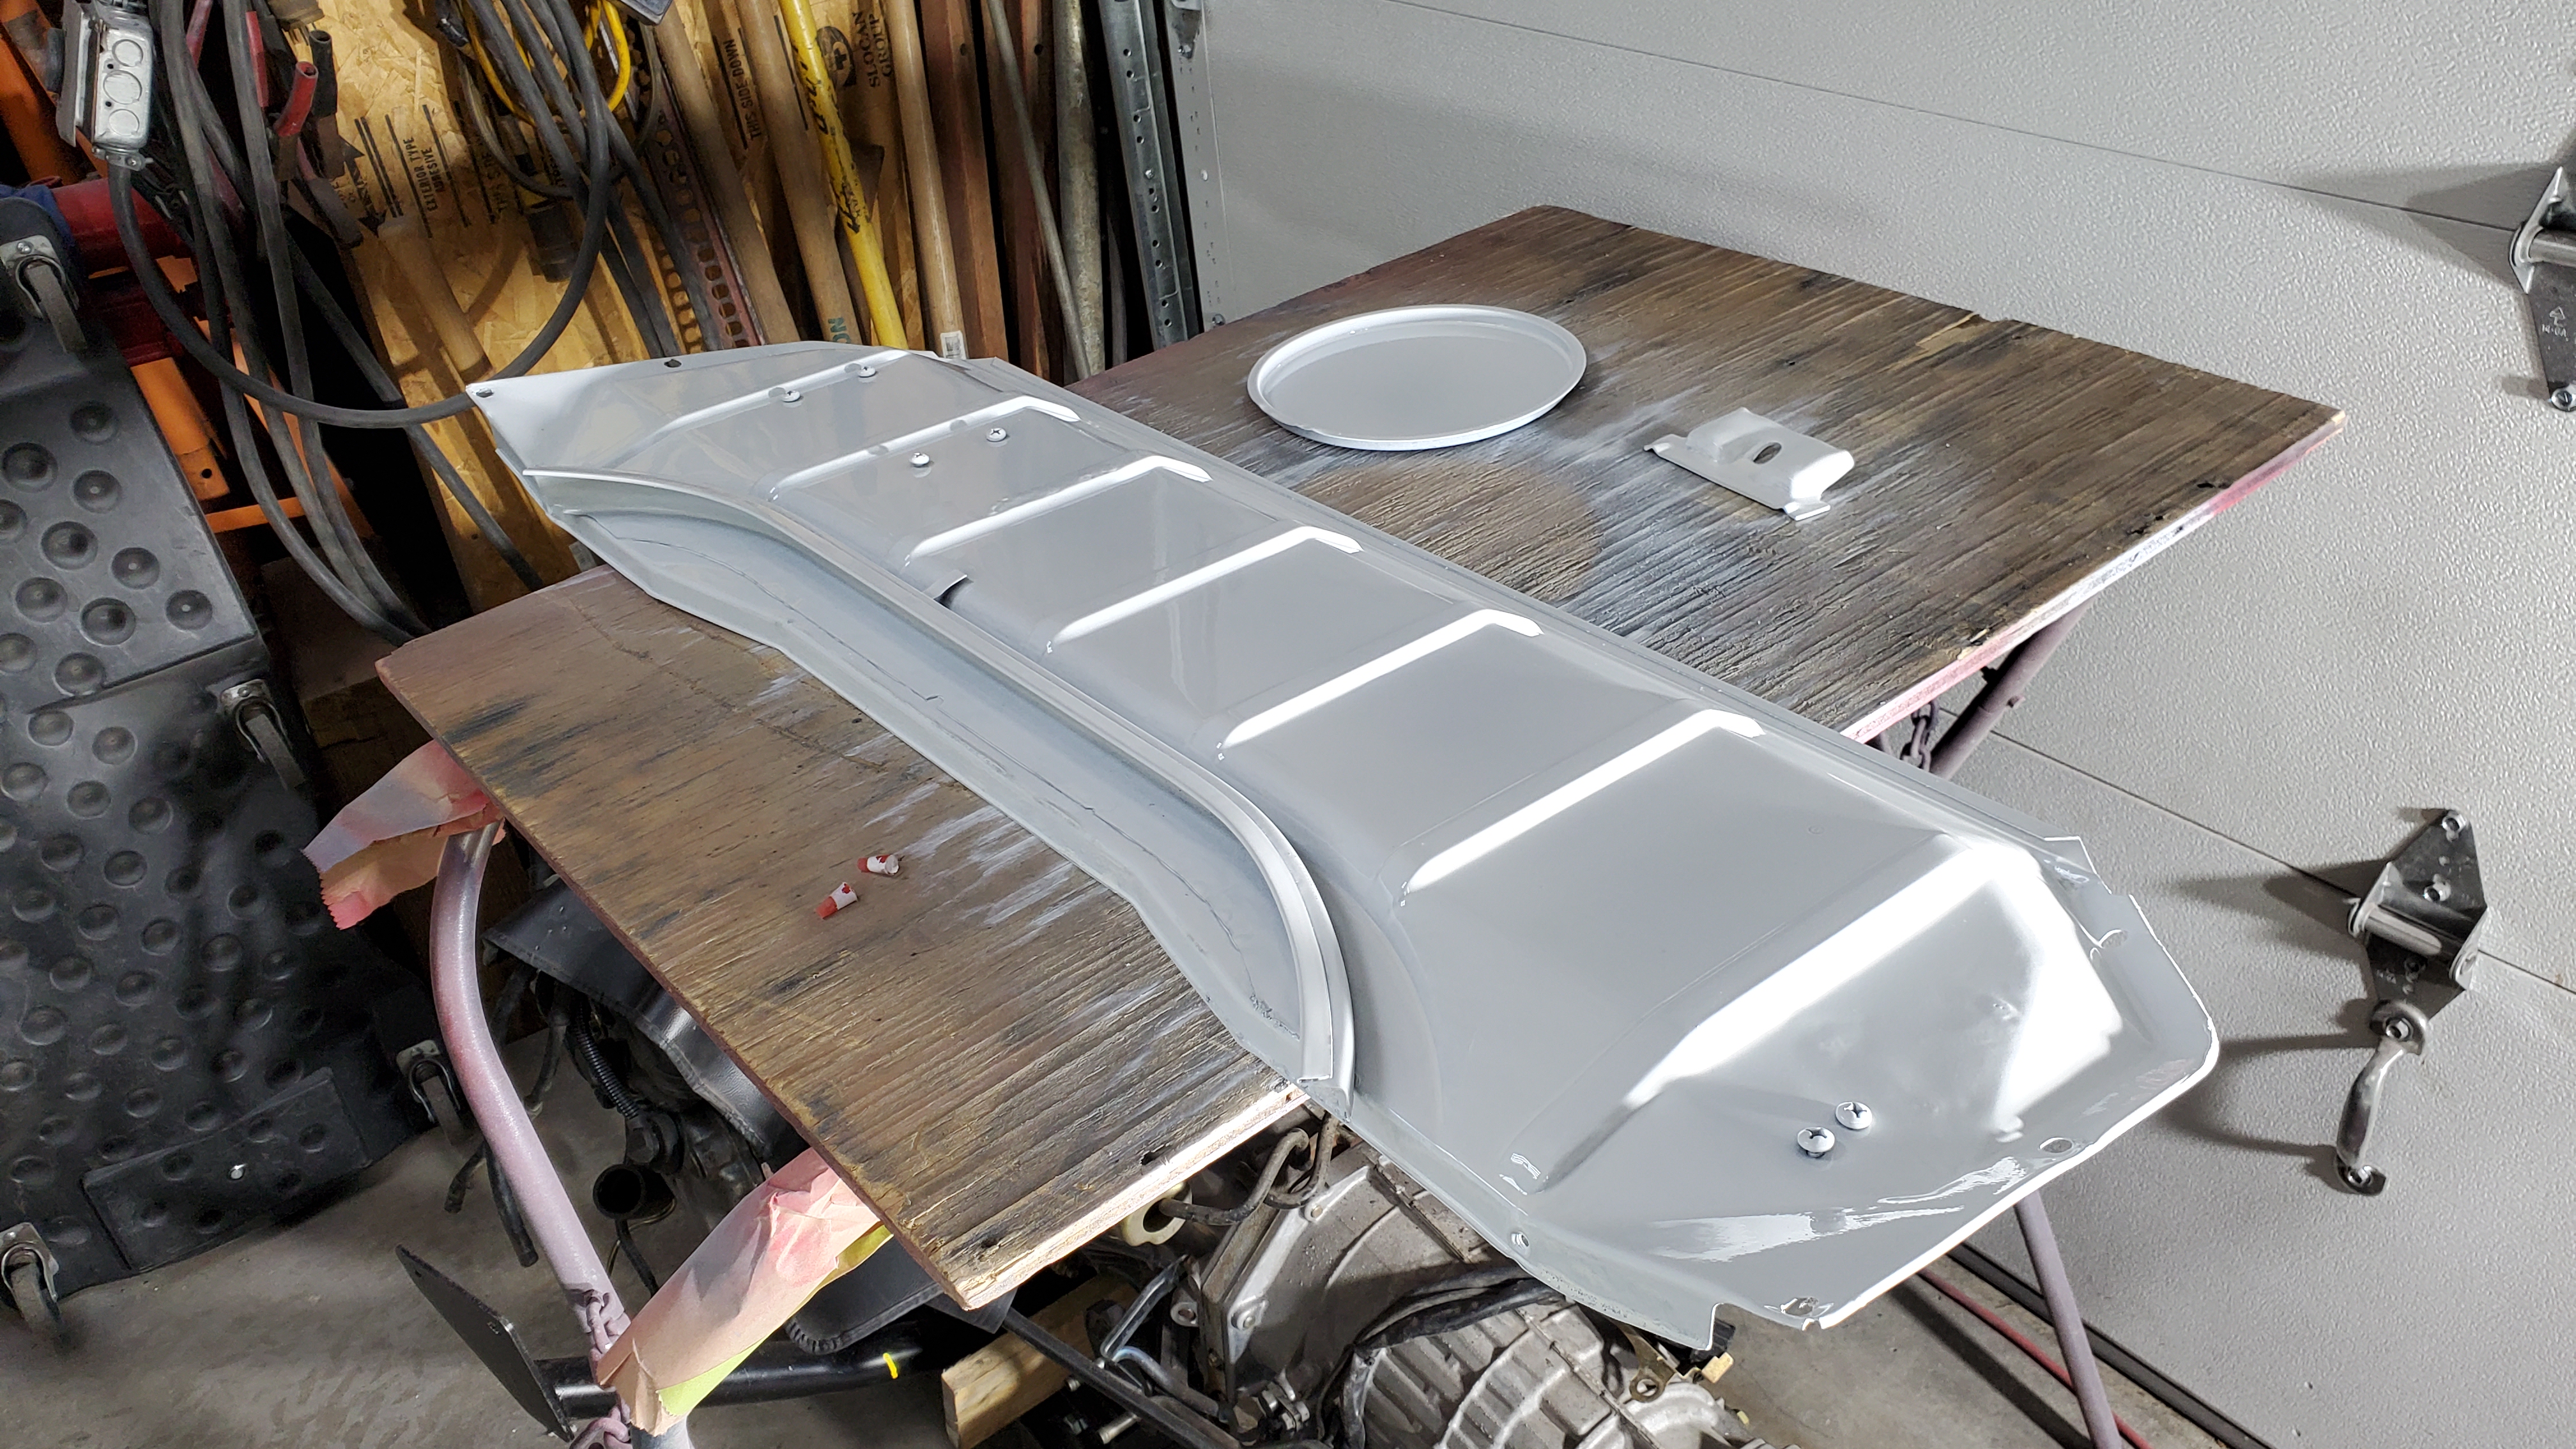
Once everything was adjusted to fit the bus, it was carefully taken out for cleaning and painting. The radiator support was lowered, cleaned, and painted to prevent rust. With the protective materials removed from the radiator face, the radiator was ready for installation after the bus received undercoating. I used a scraper to clear rust and debris from the underside of the bus. Additionally, I employed a wire brush and a rotary brush on a drill where necessary, before applying undercoating to protect against moisture and road salt. Every step was important to improve the bus’s appearance and extend its lifespan.
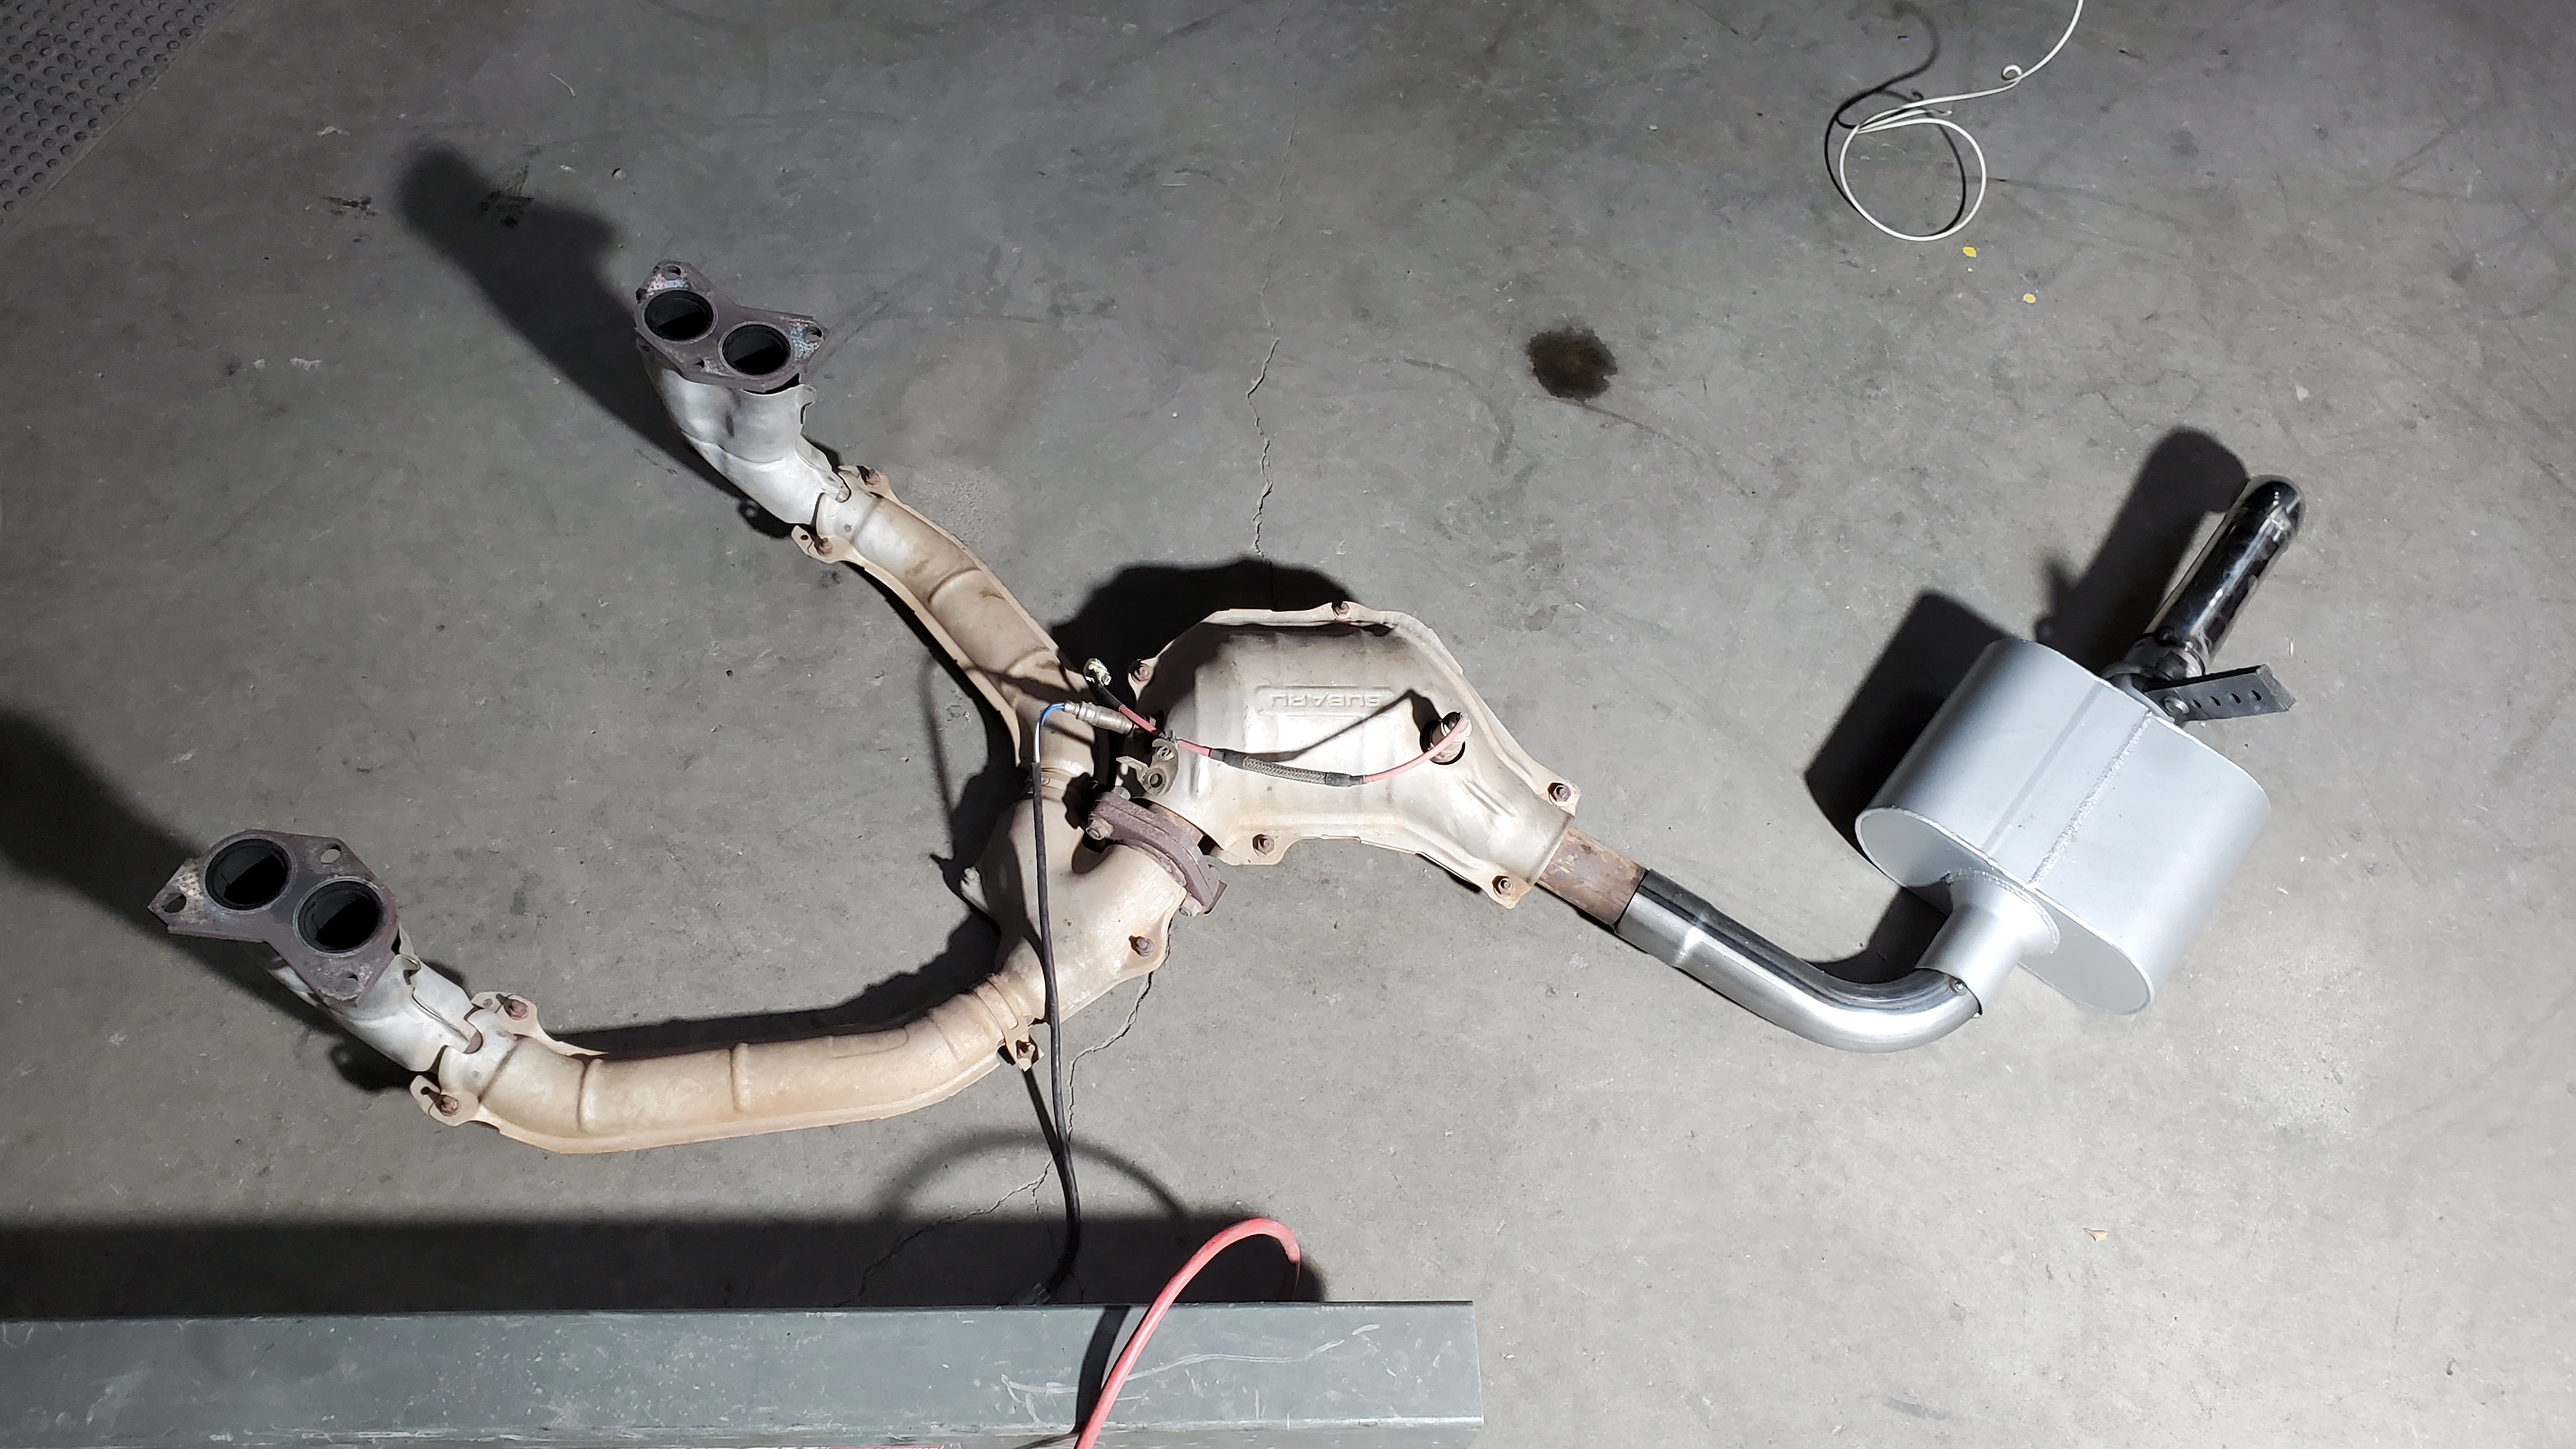
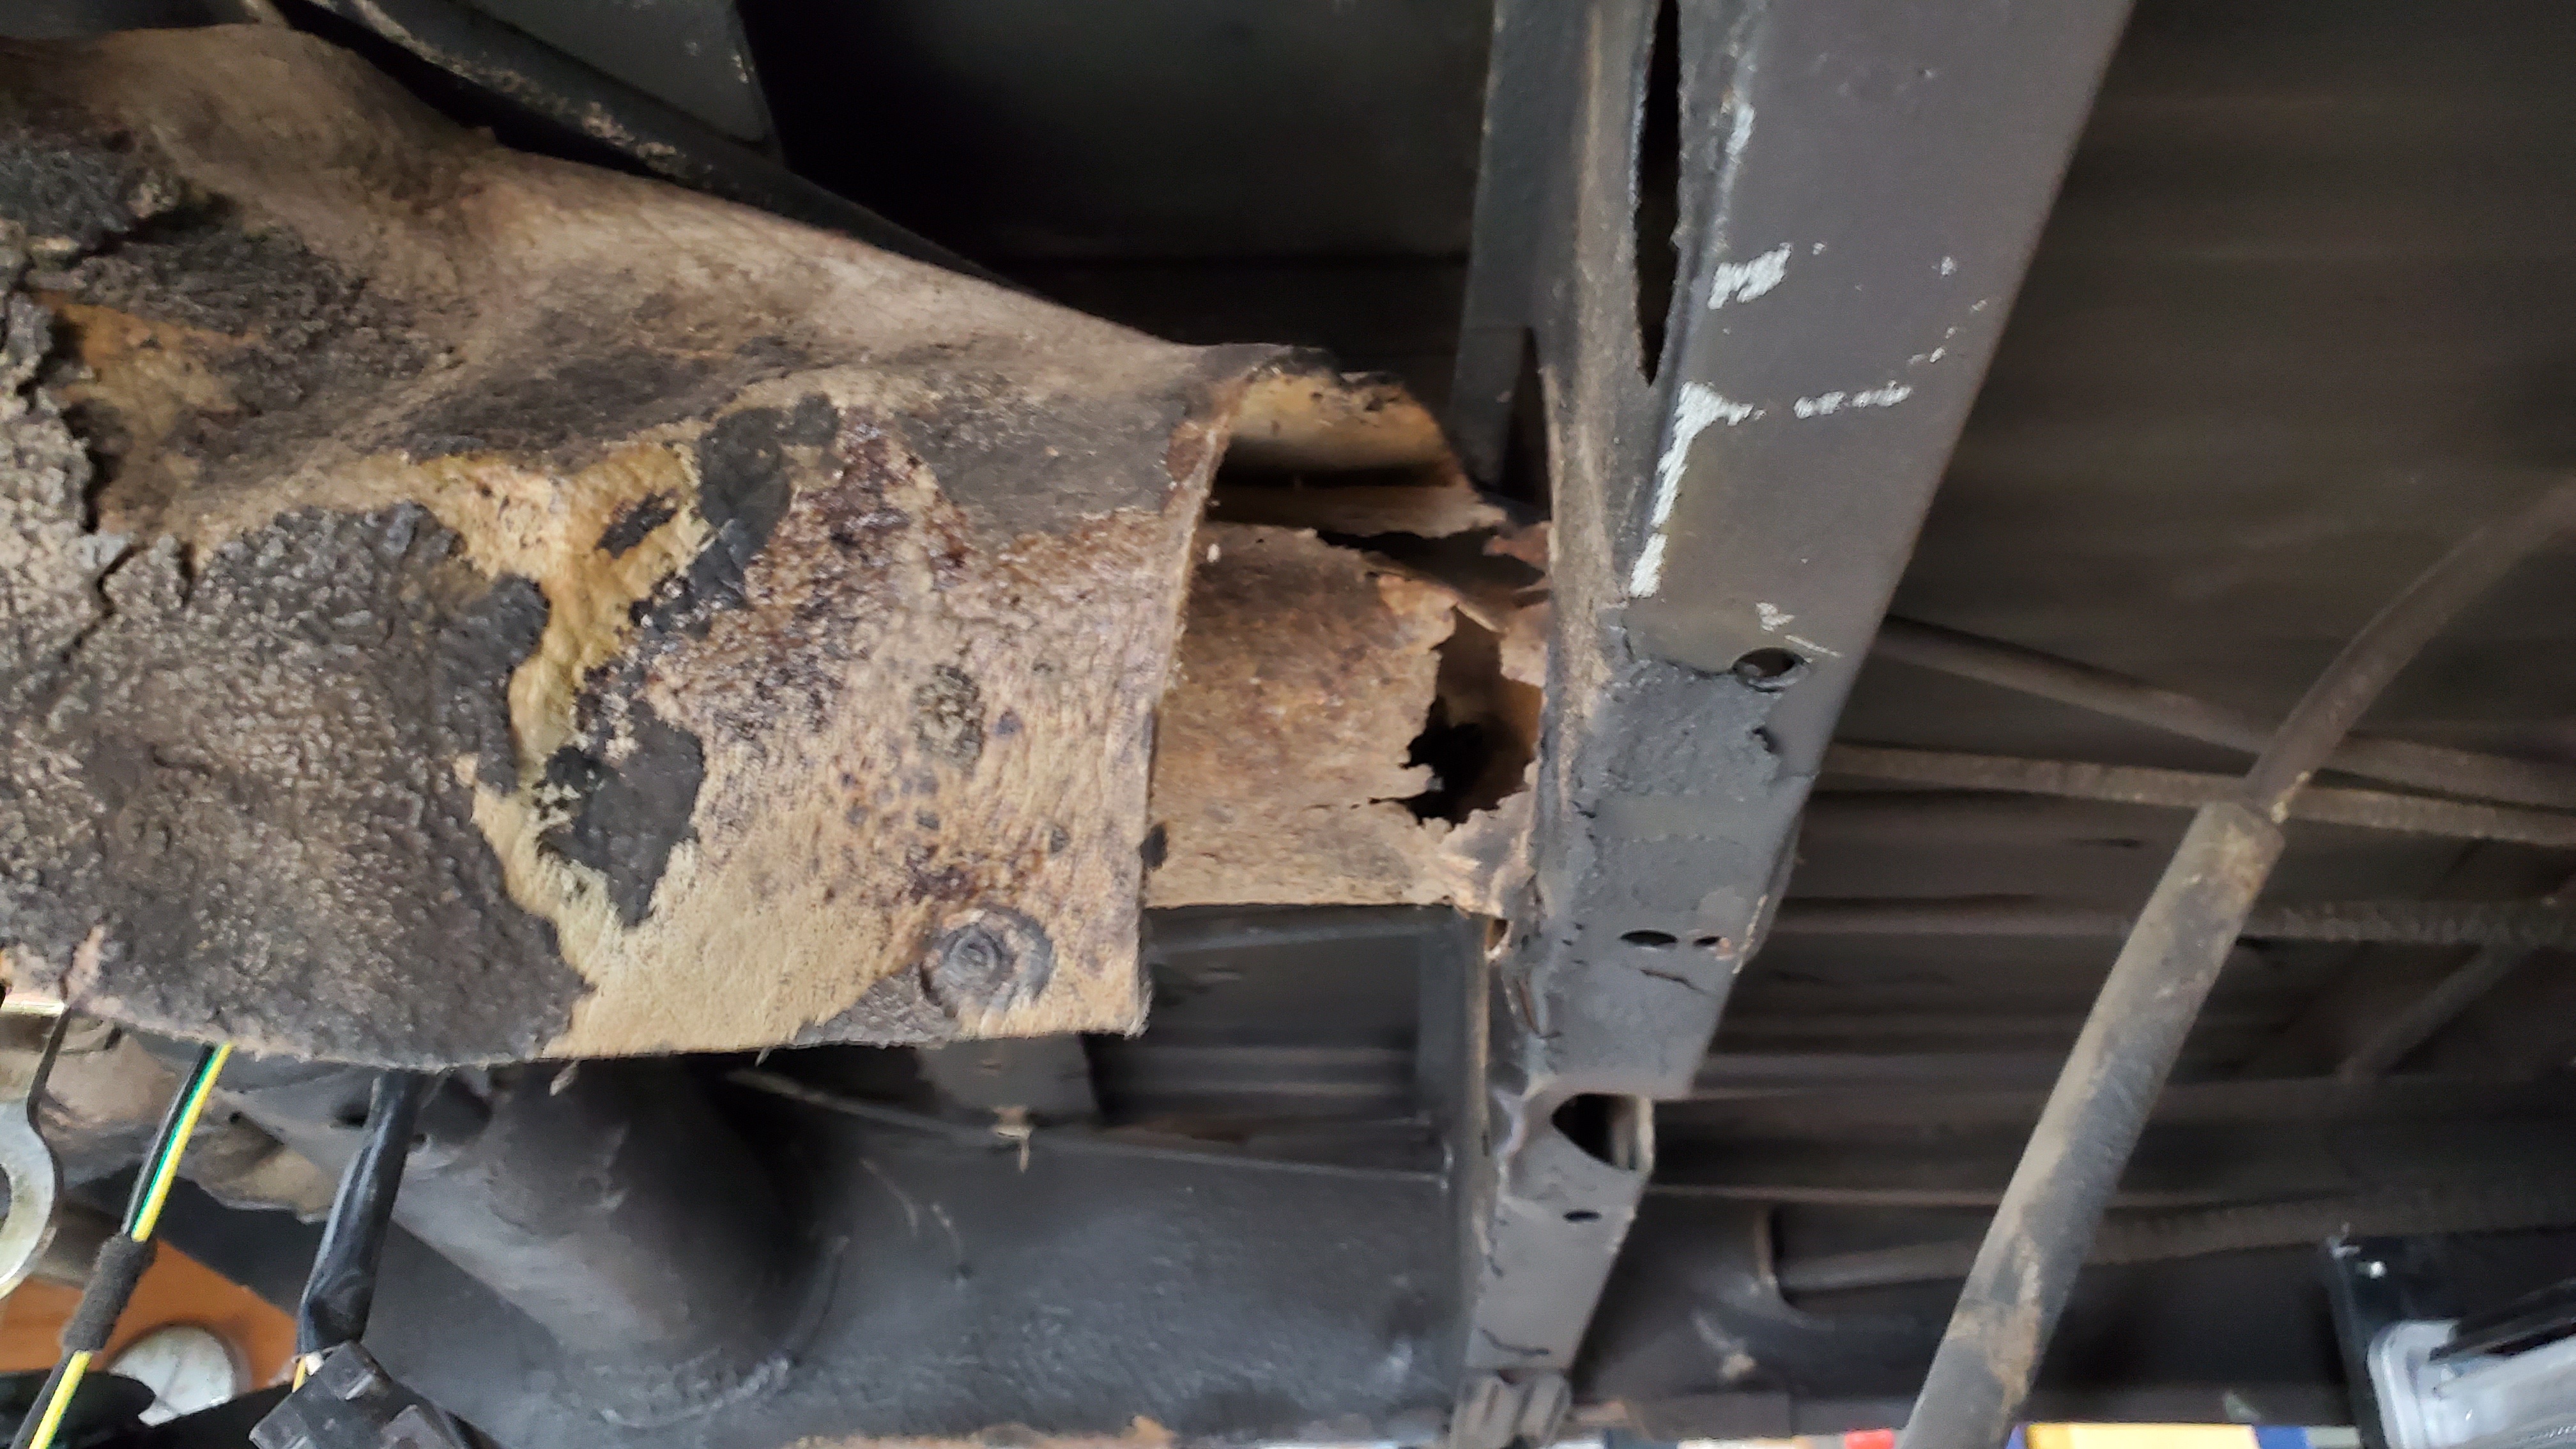
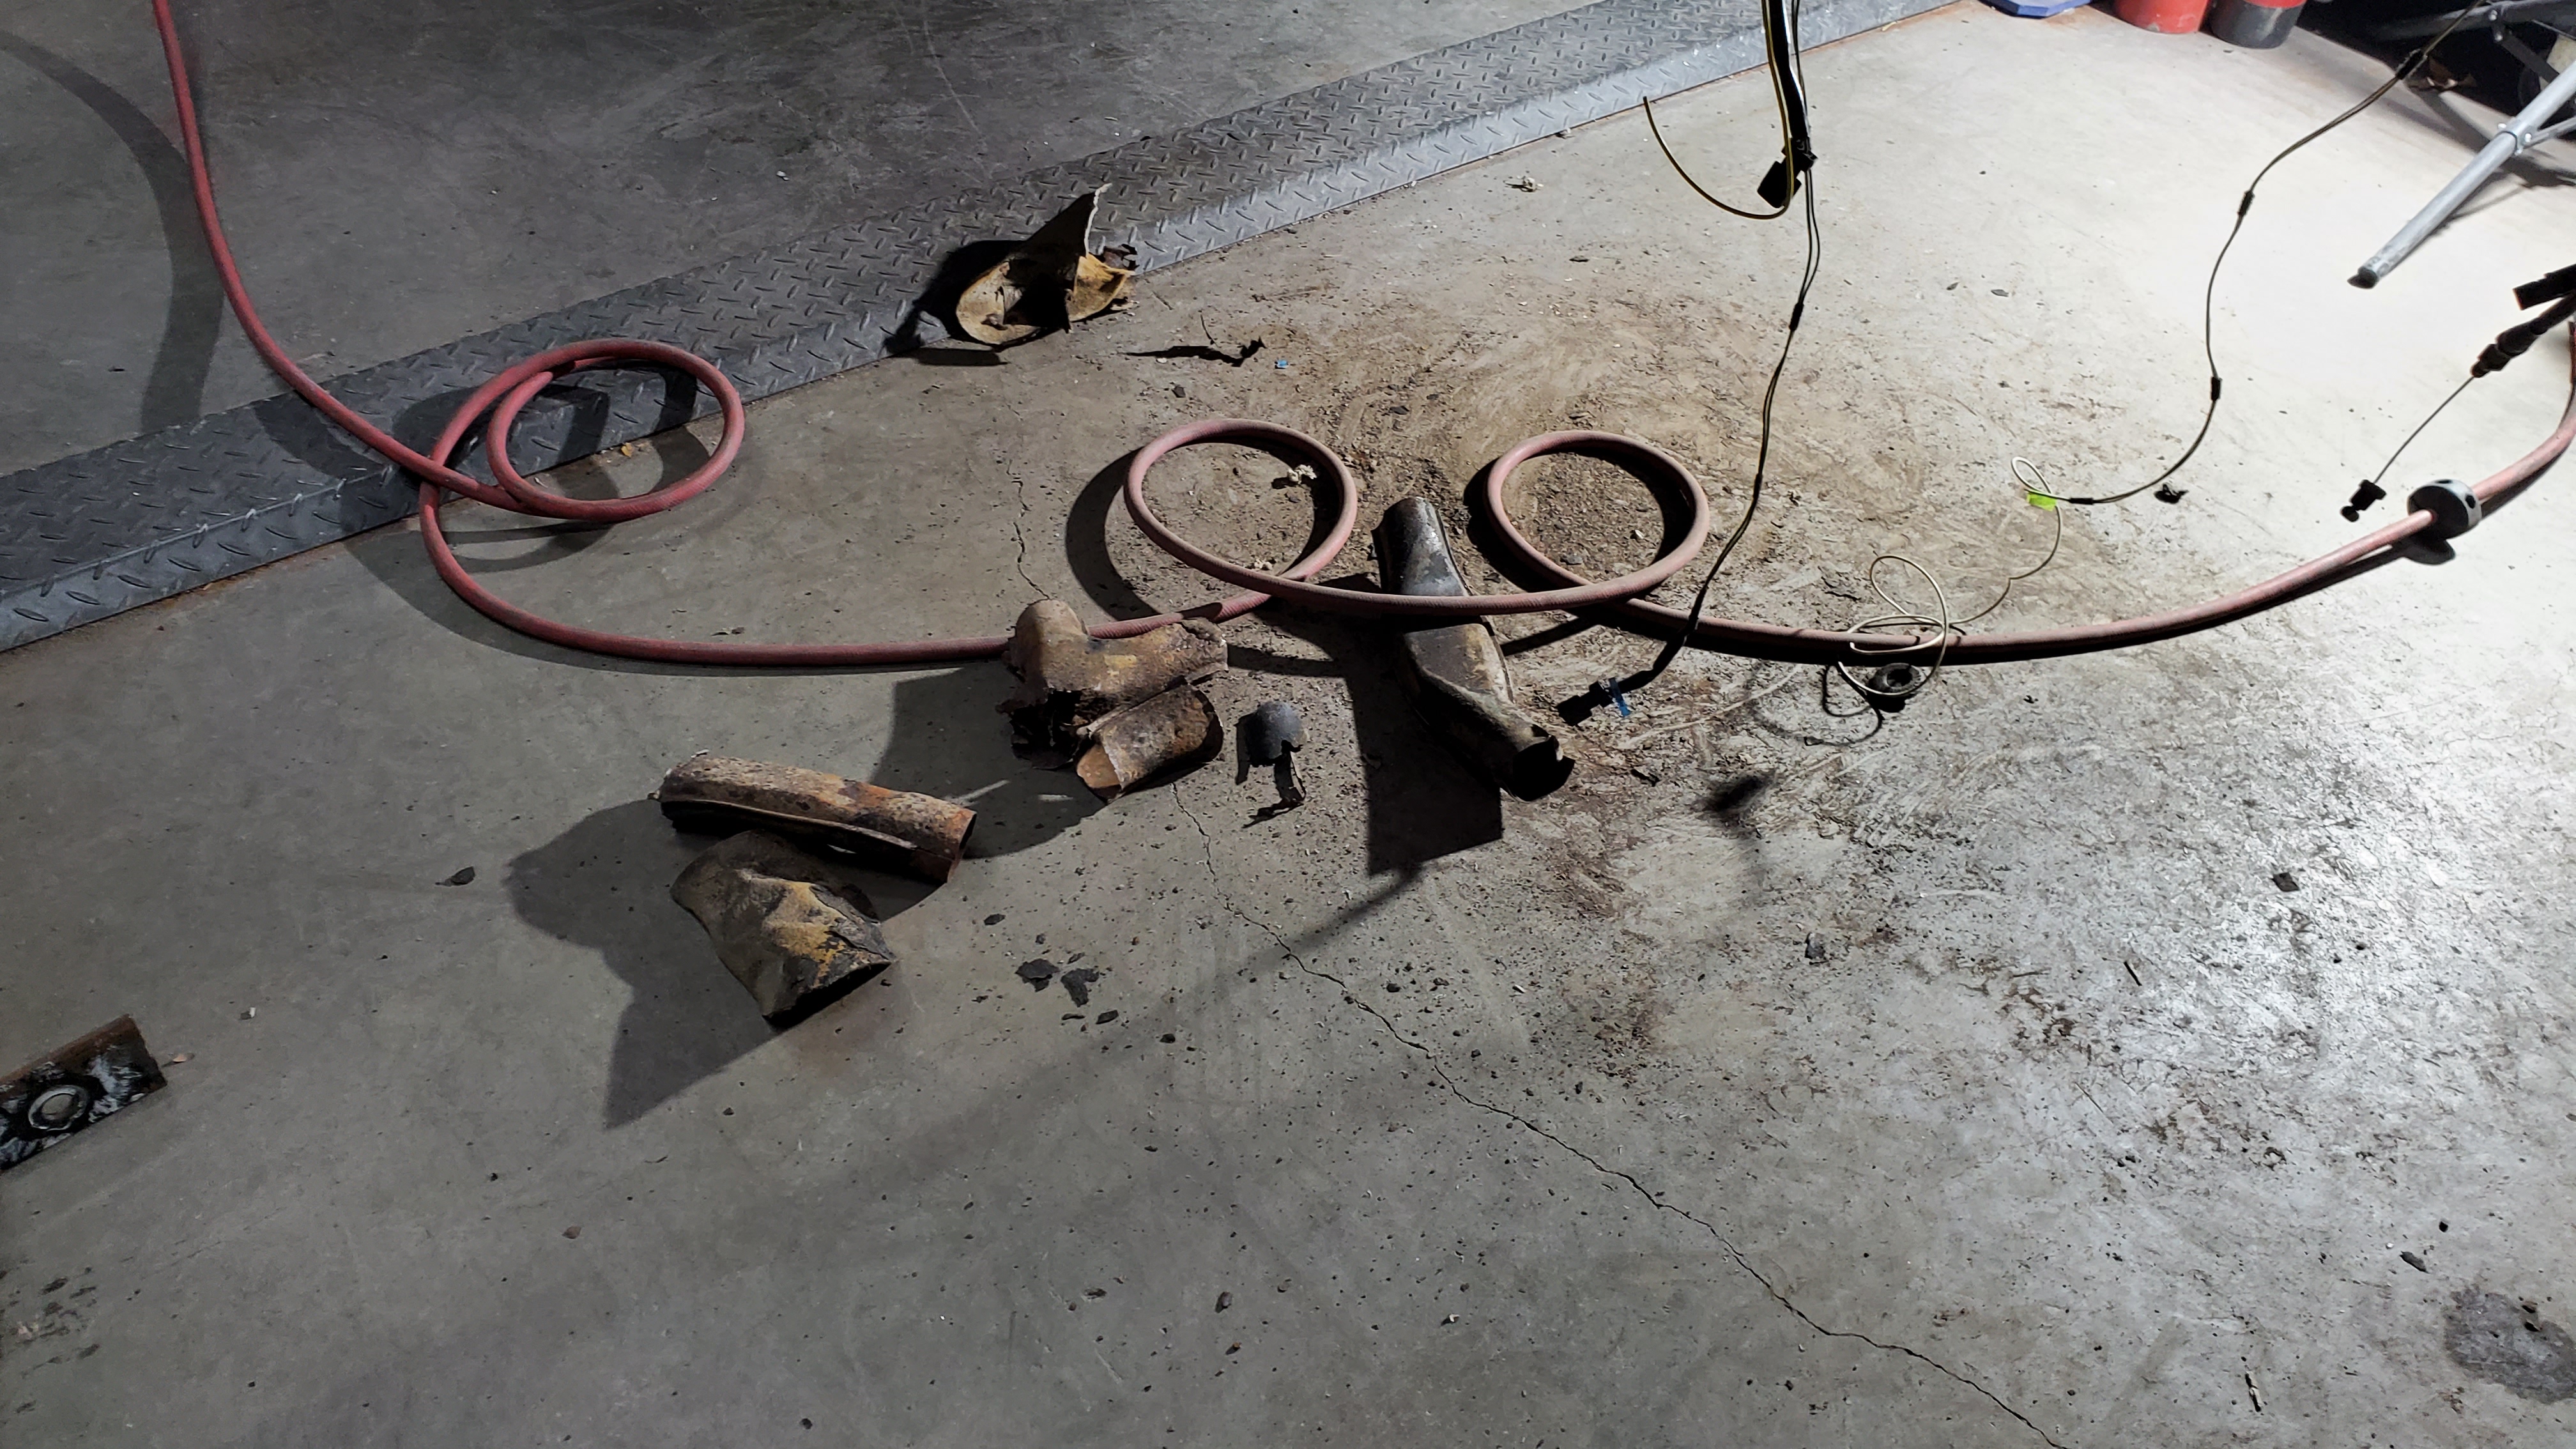
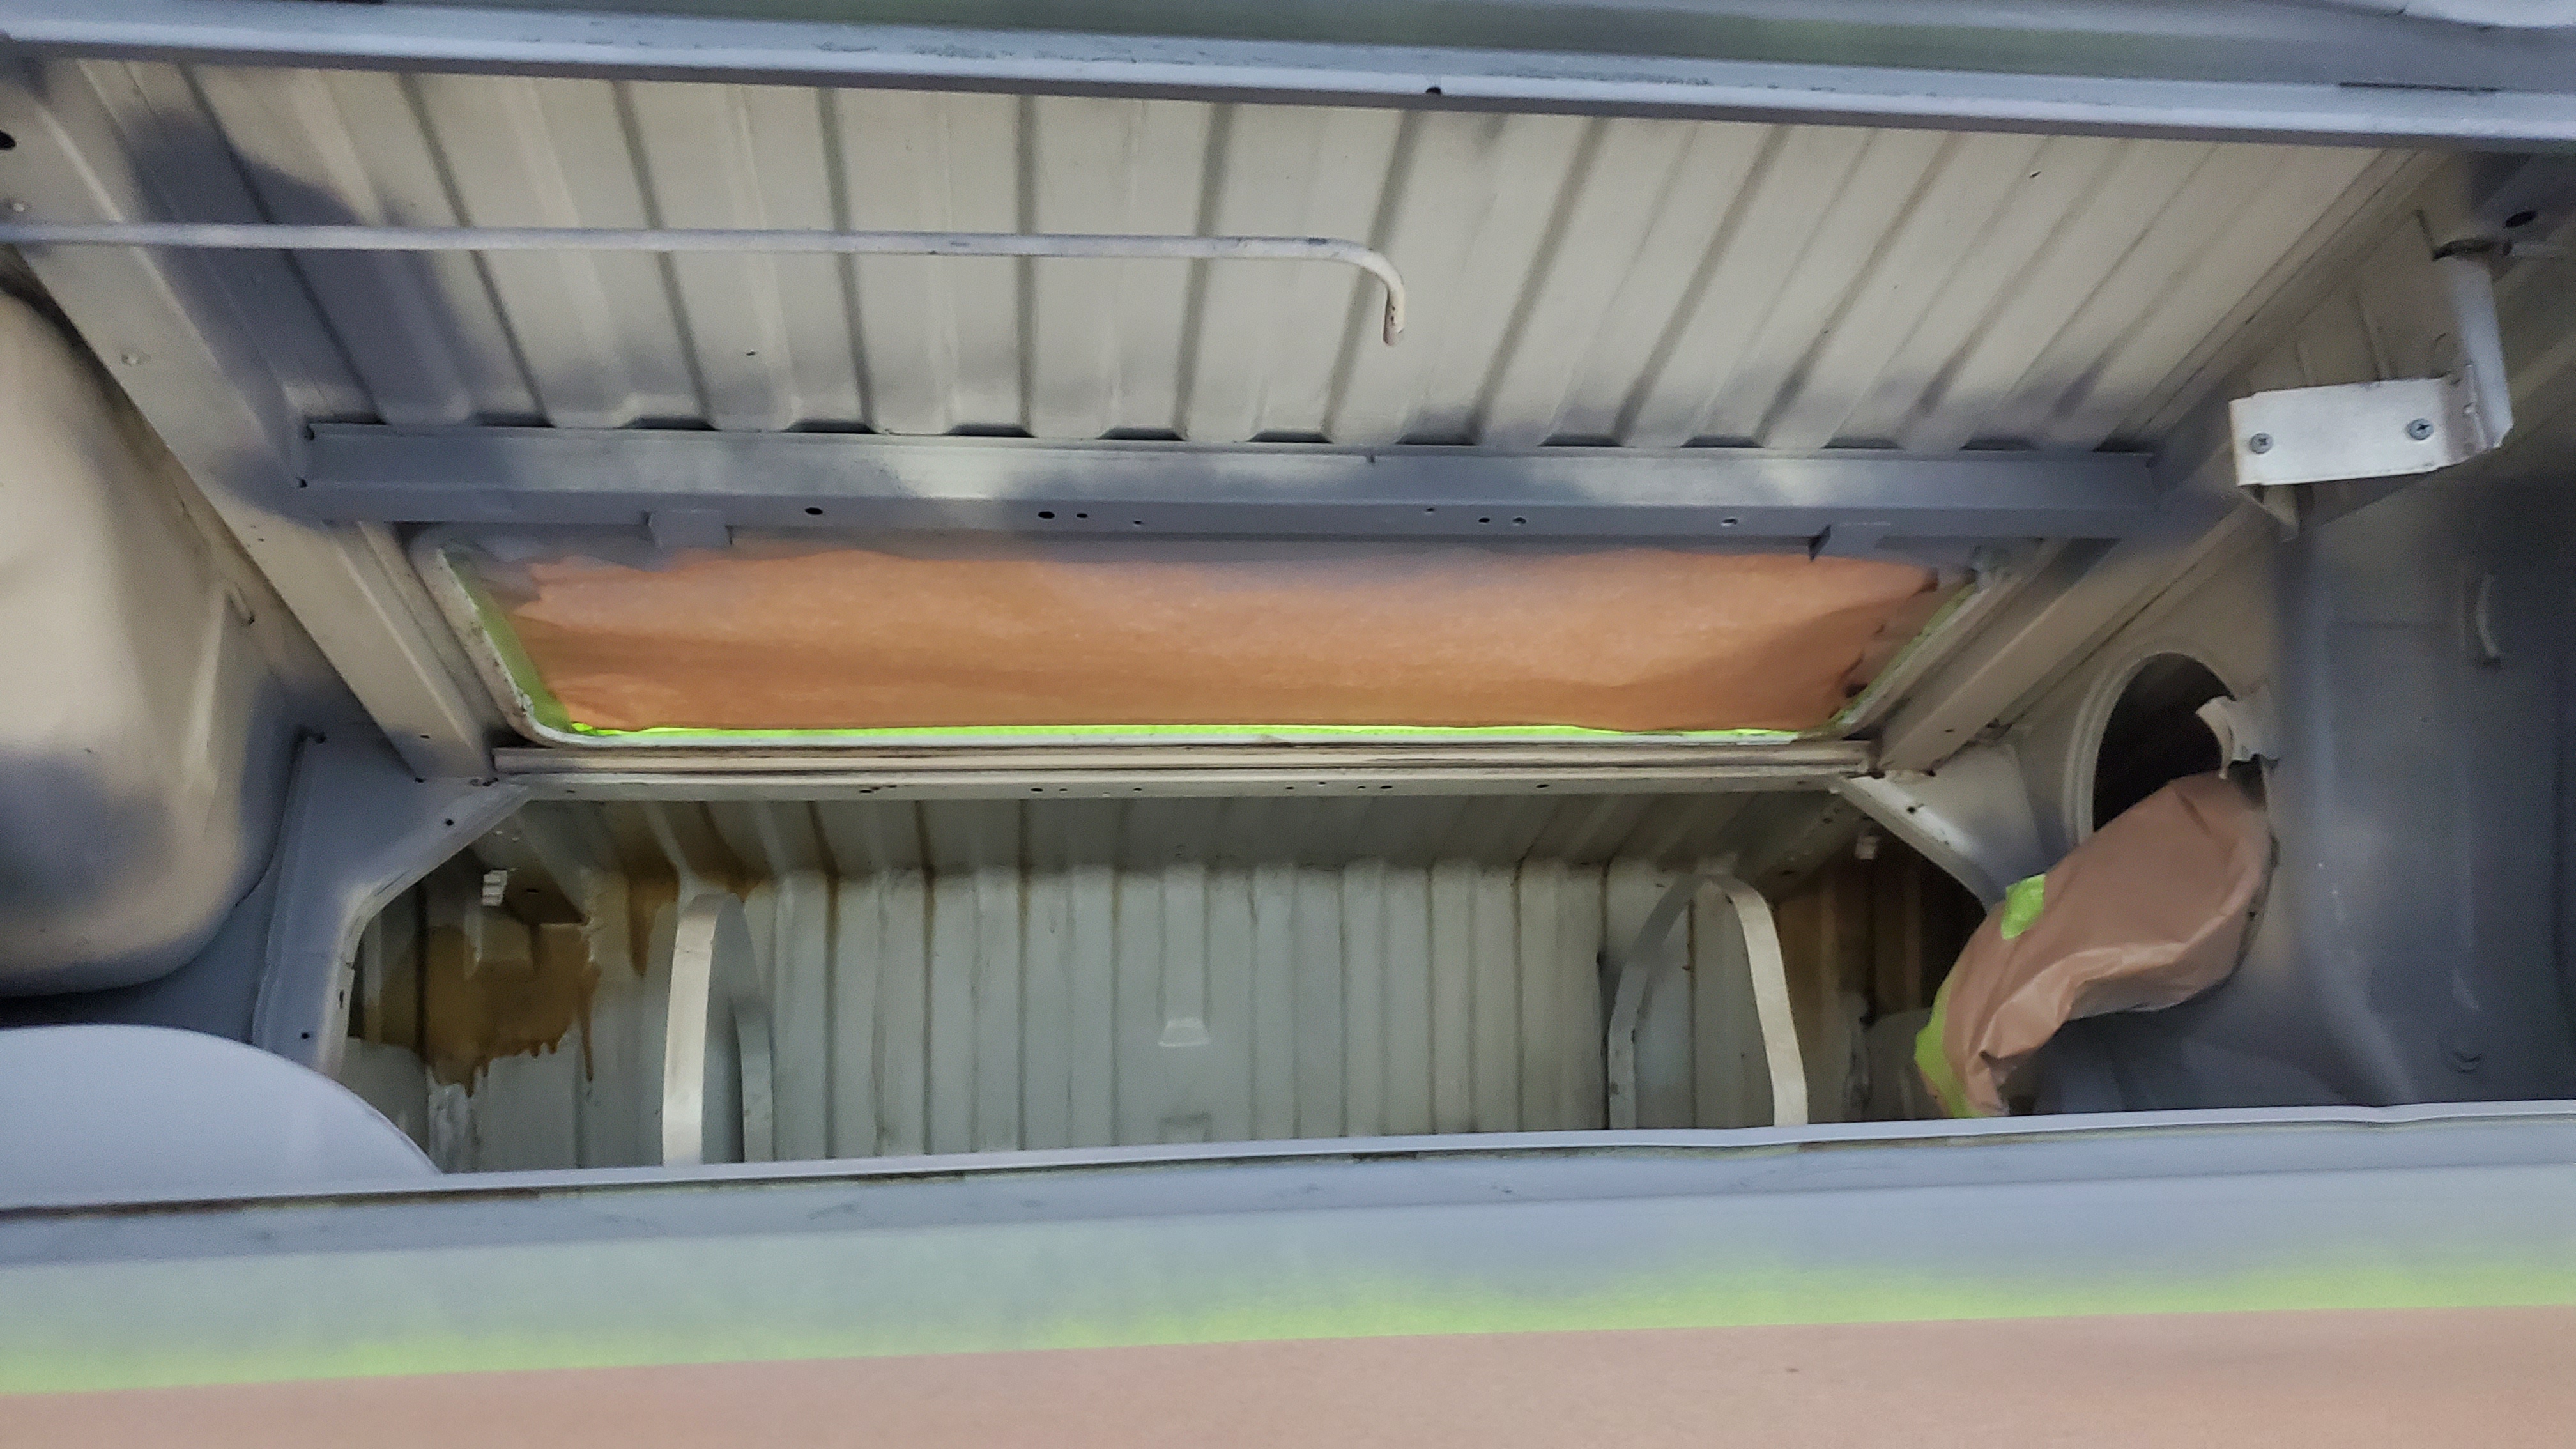
The exhaust was finish welded off the bus, and the support bar nuts were also welded. The remaining center heat tube in the rear was removed to make space for coolant lines, improving flow and efficiency. This change enhances system performance and allows easier access for maintenance, ensuring smooth operation without the issues caused by the heat tube. By optimizing the layout, we created a more effective design that can support future upgrades and repairs, while avoiding pinched lines.
The engine bay was cleaned to remove years of grime, carefully scraped to get rid of stubborn residues, and brushed with a wire brush to eliminate rust and debris. Then, it was cleaned with a rotary wire wheel to prepare it for restoration and to ensure it looked ready for inspection.
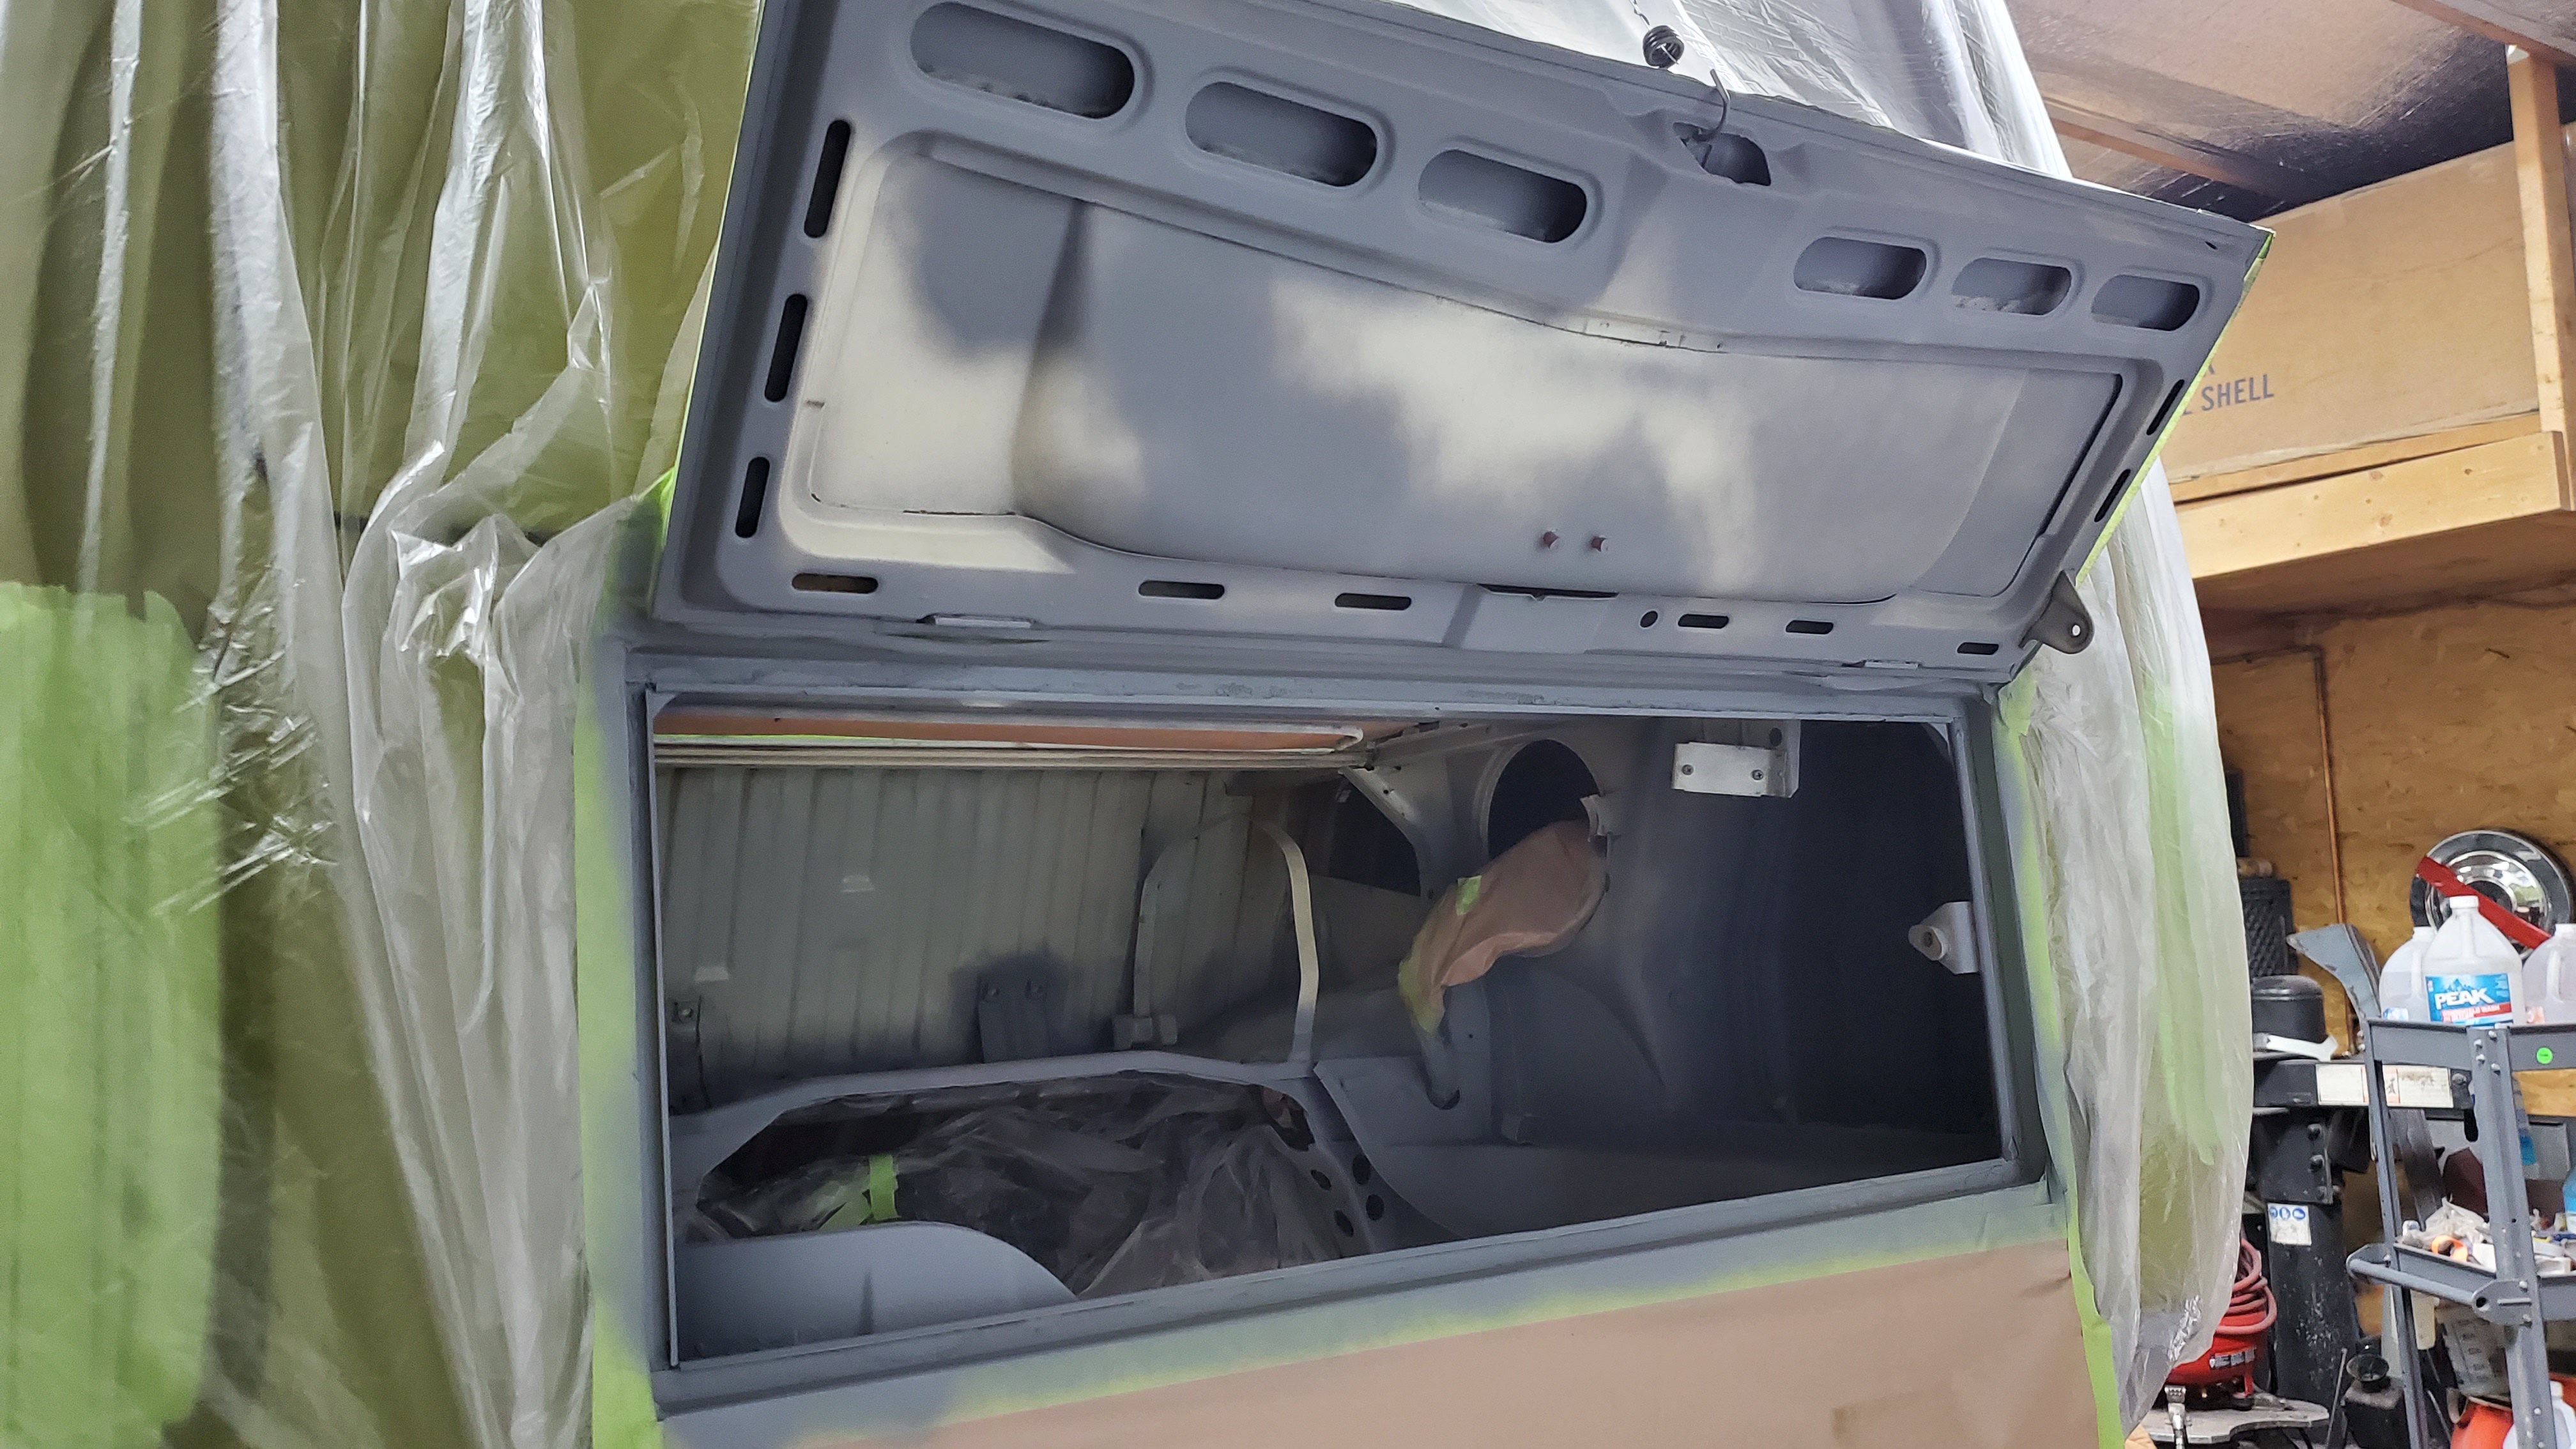
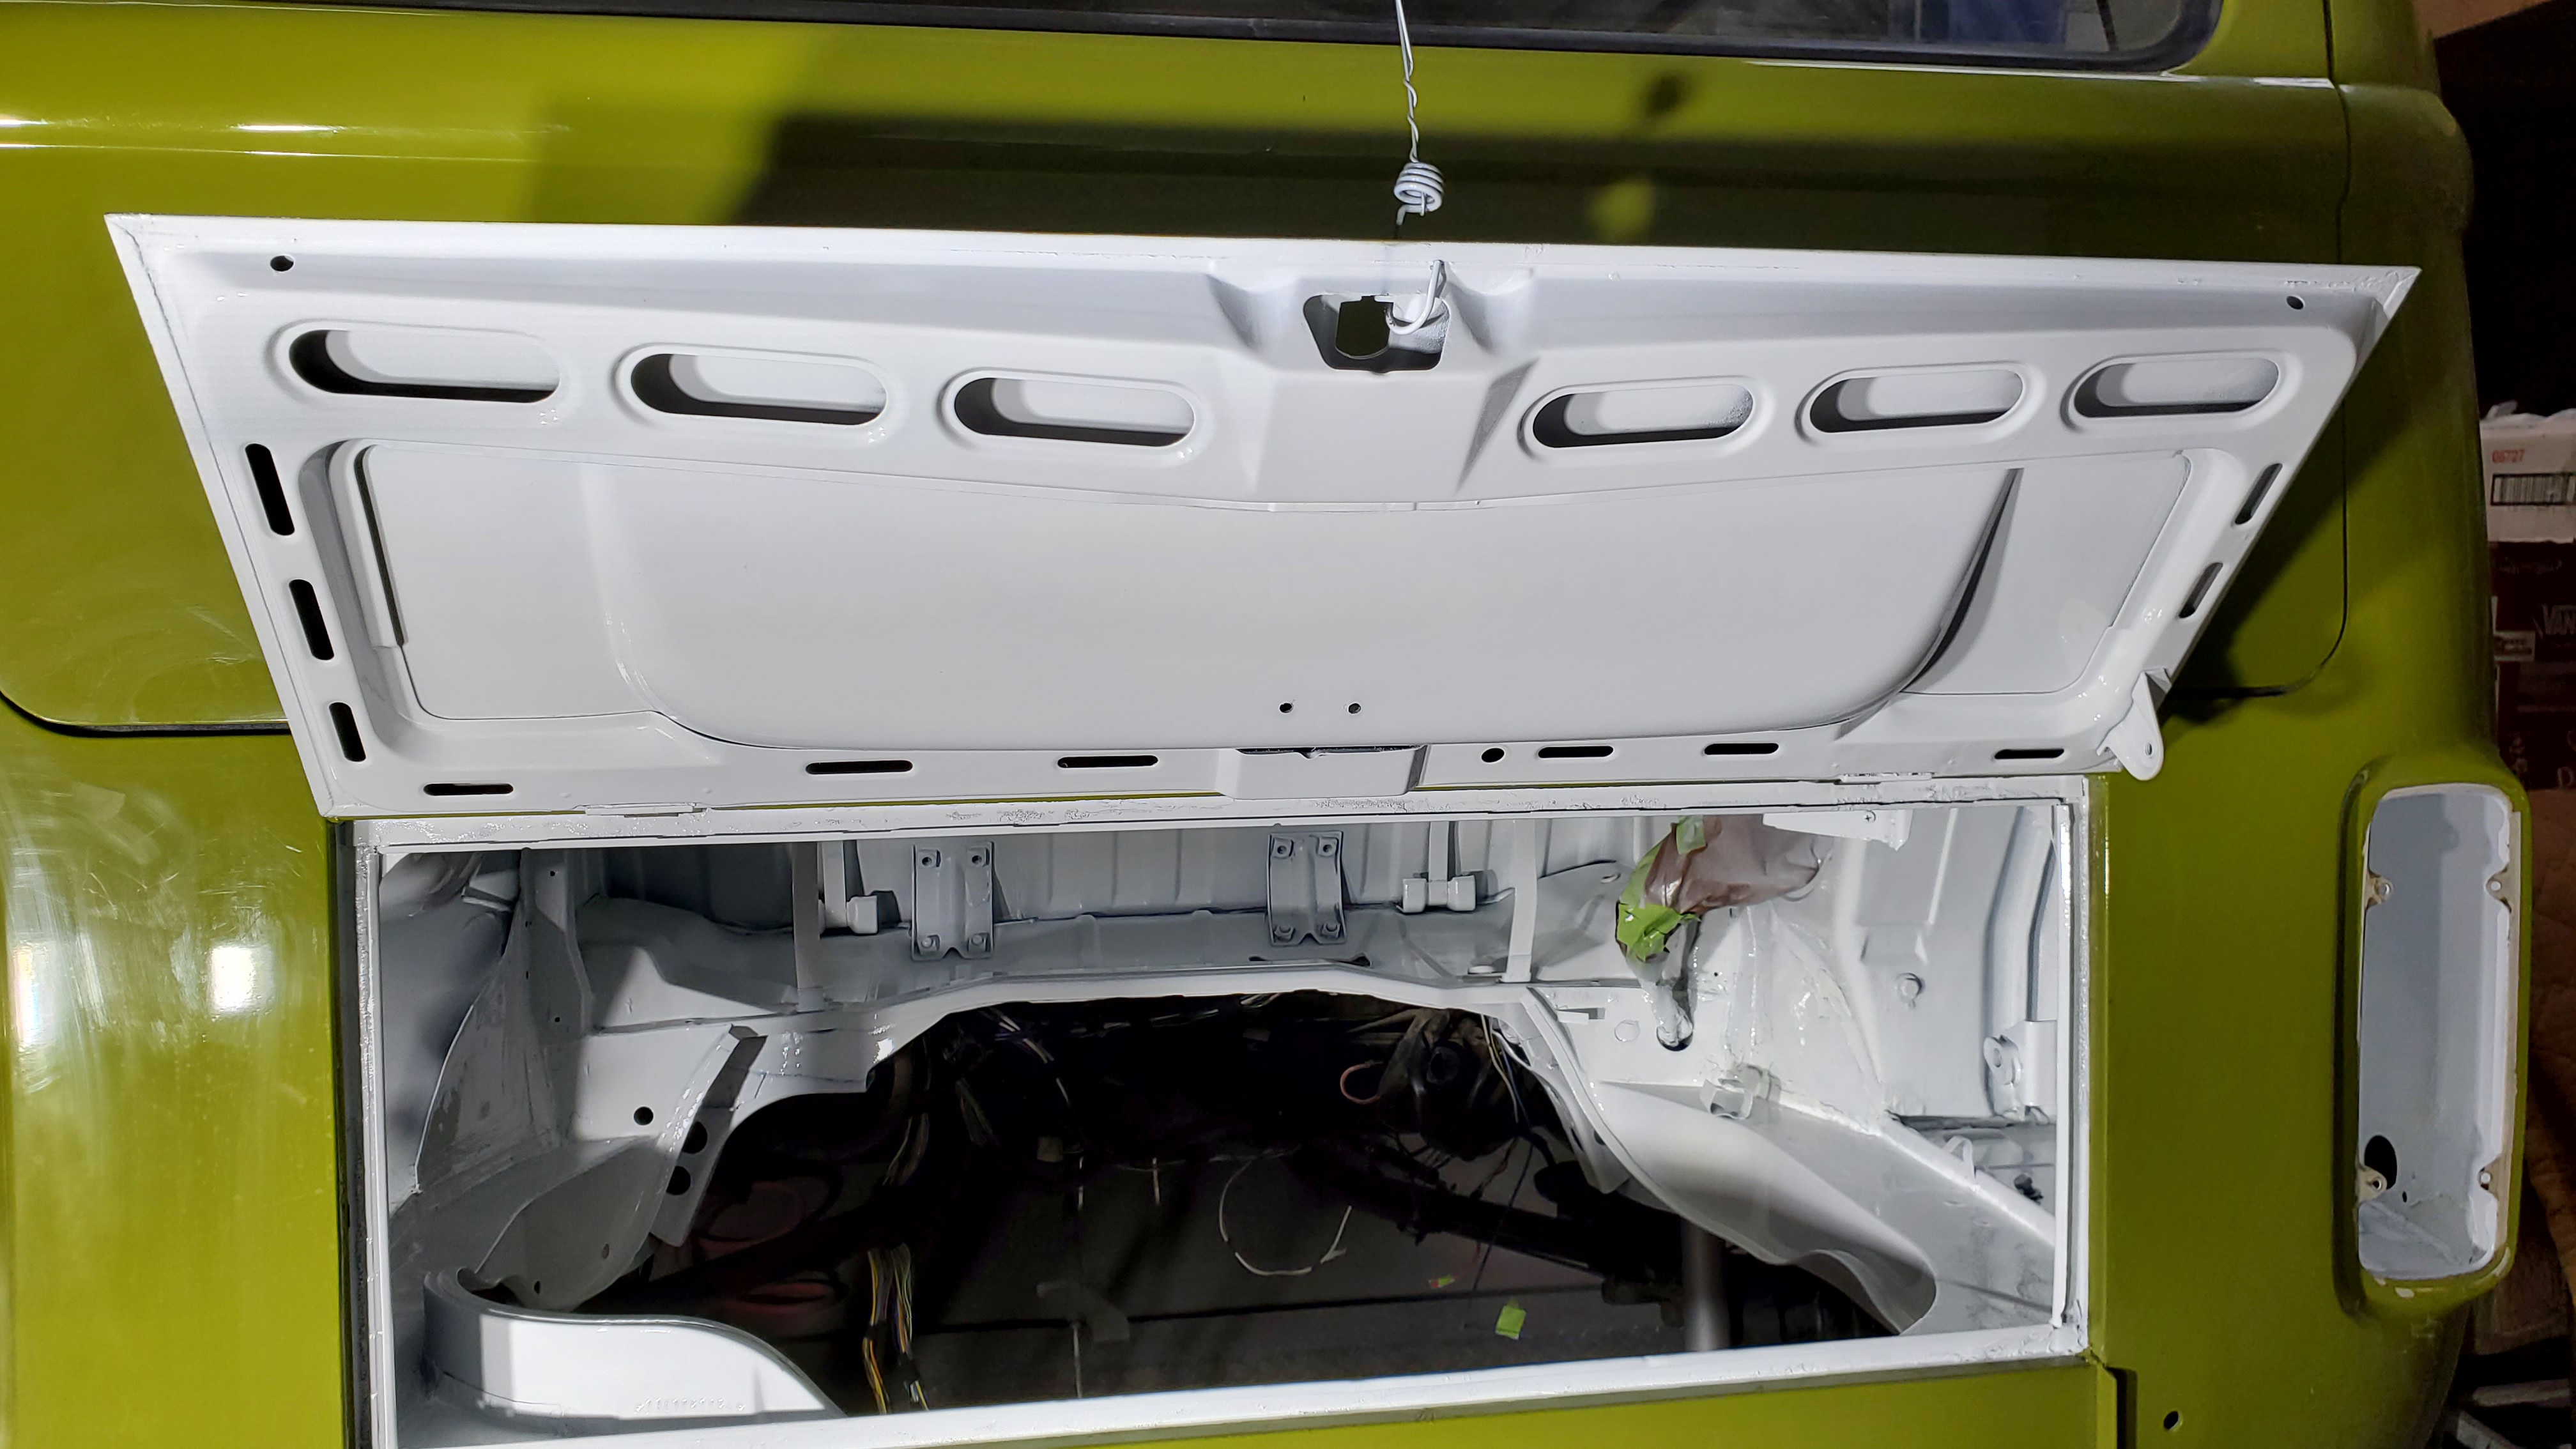
The bus was covered in plastic to protect it from paint overspray, and the rear was opened for the bay and deck lid. The tank and access covers were welded to fix drilled holes, followed by sanding to ensure a smooth surface. After fixing any imperfections, primer was applied for better adhesion, and the bus was prepared for paint. This preparation improved the bus’s appearance and helped it last longer by giving it strong protection against weather.
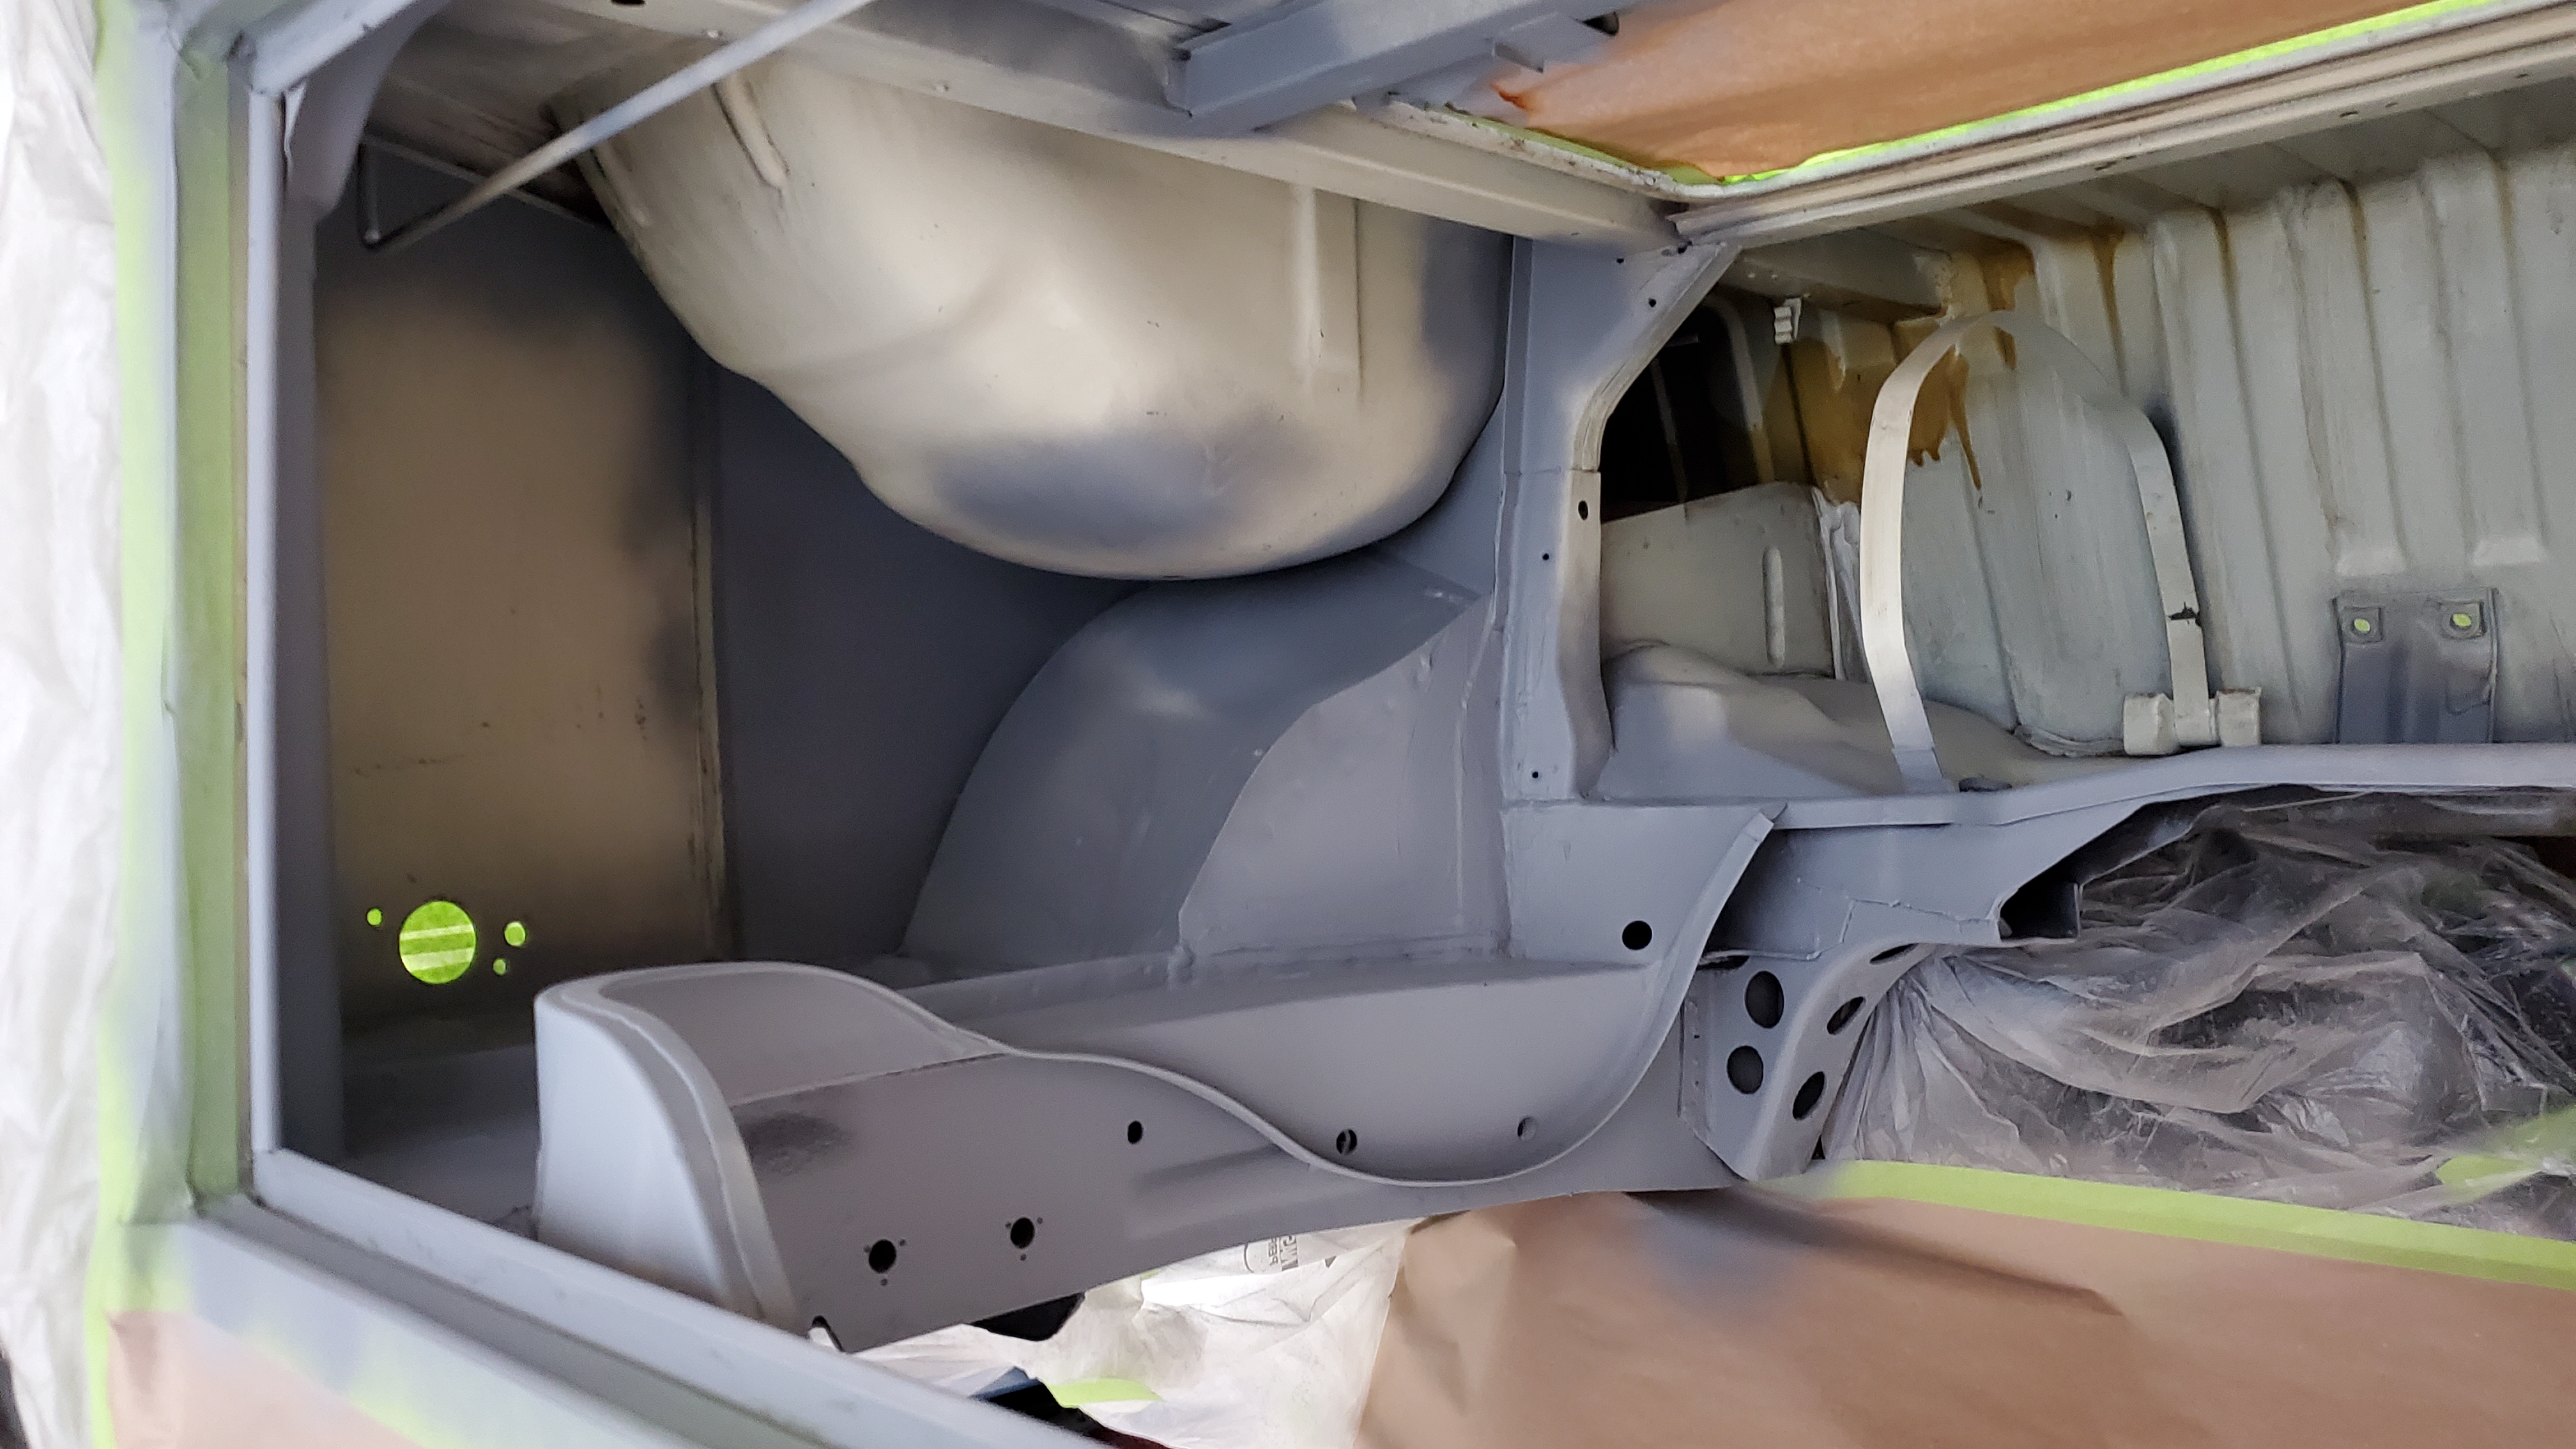
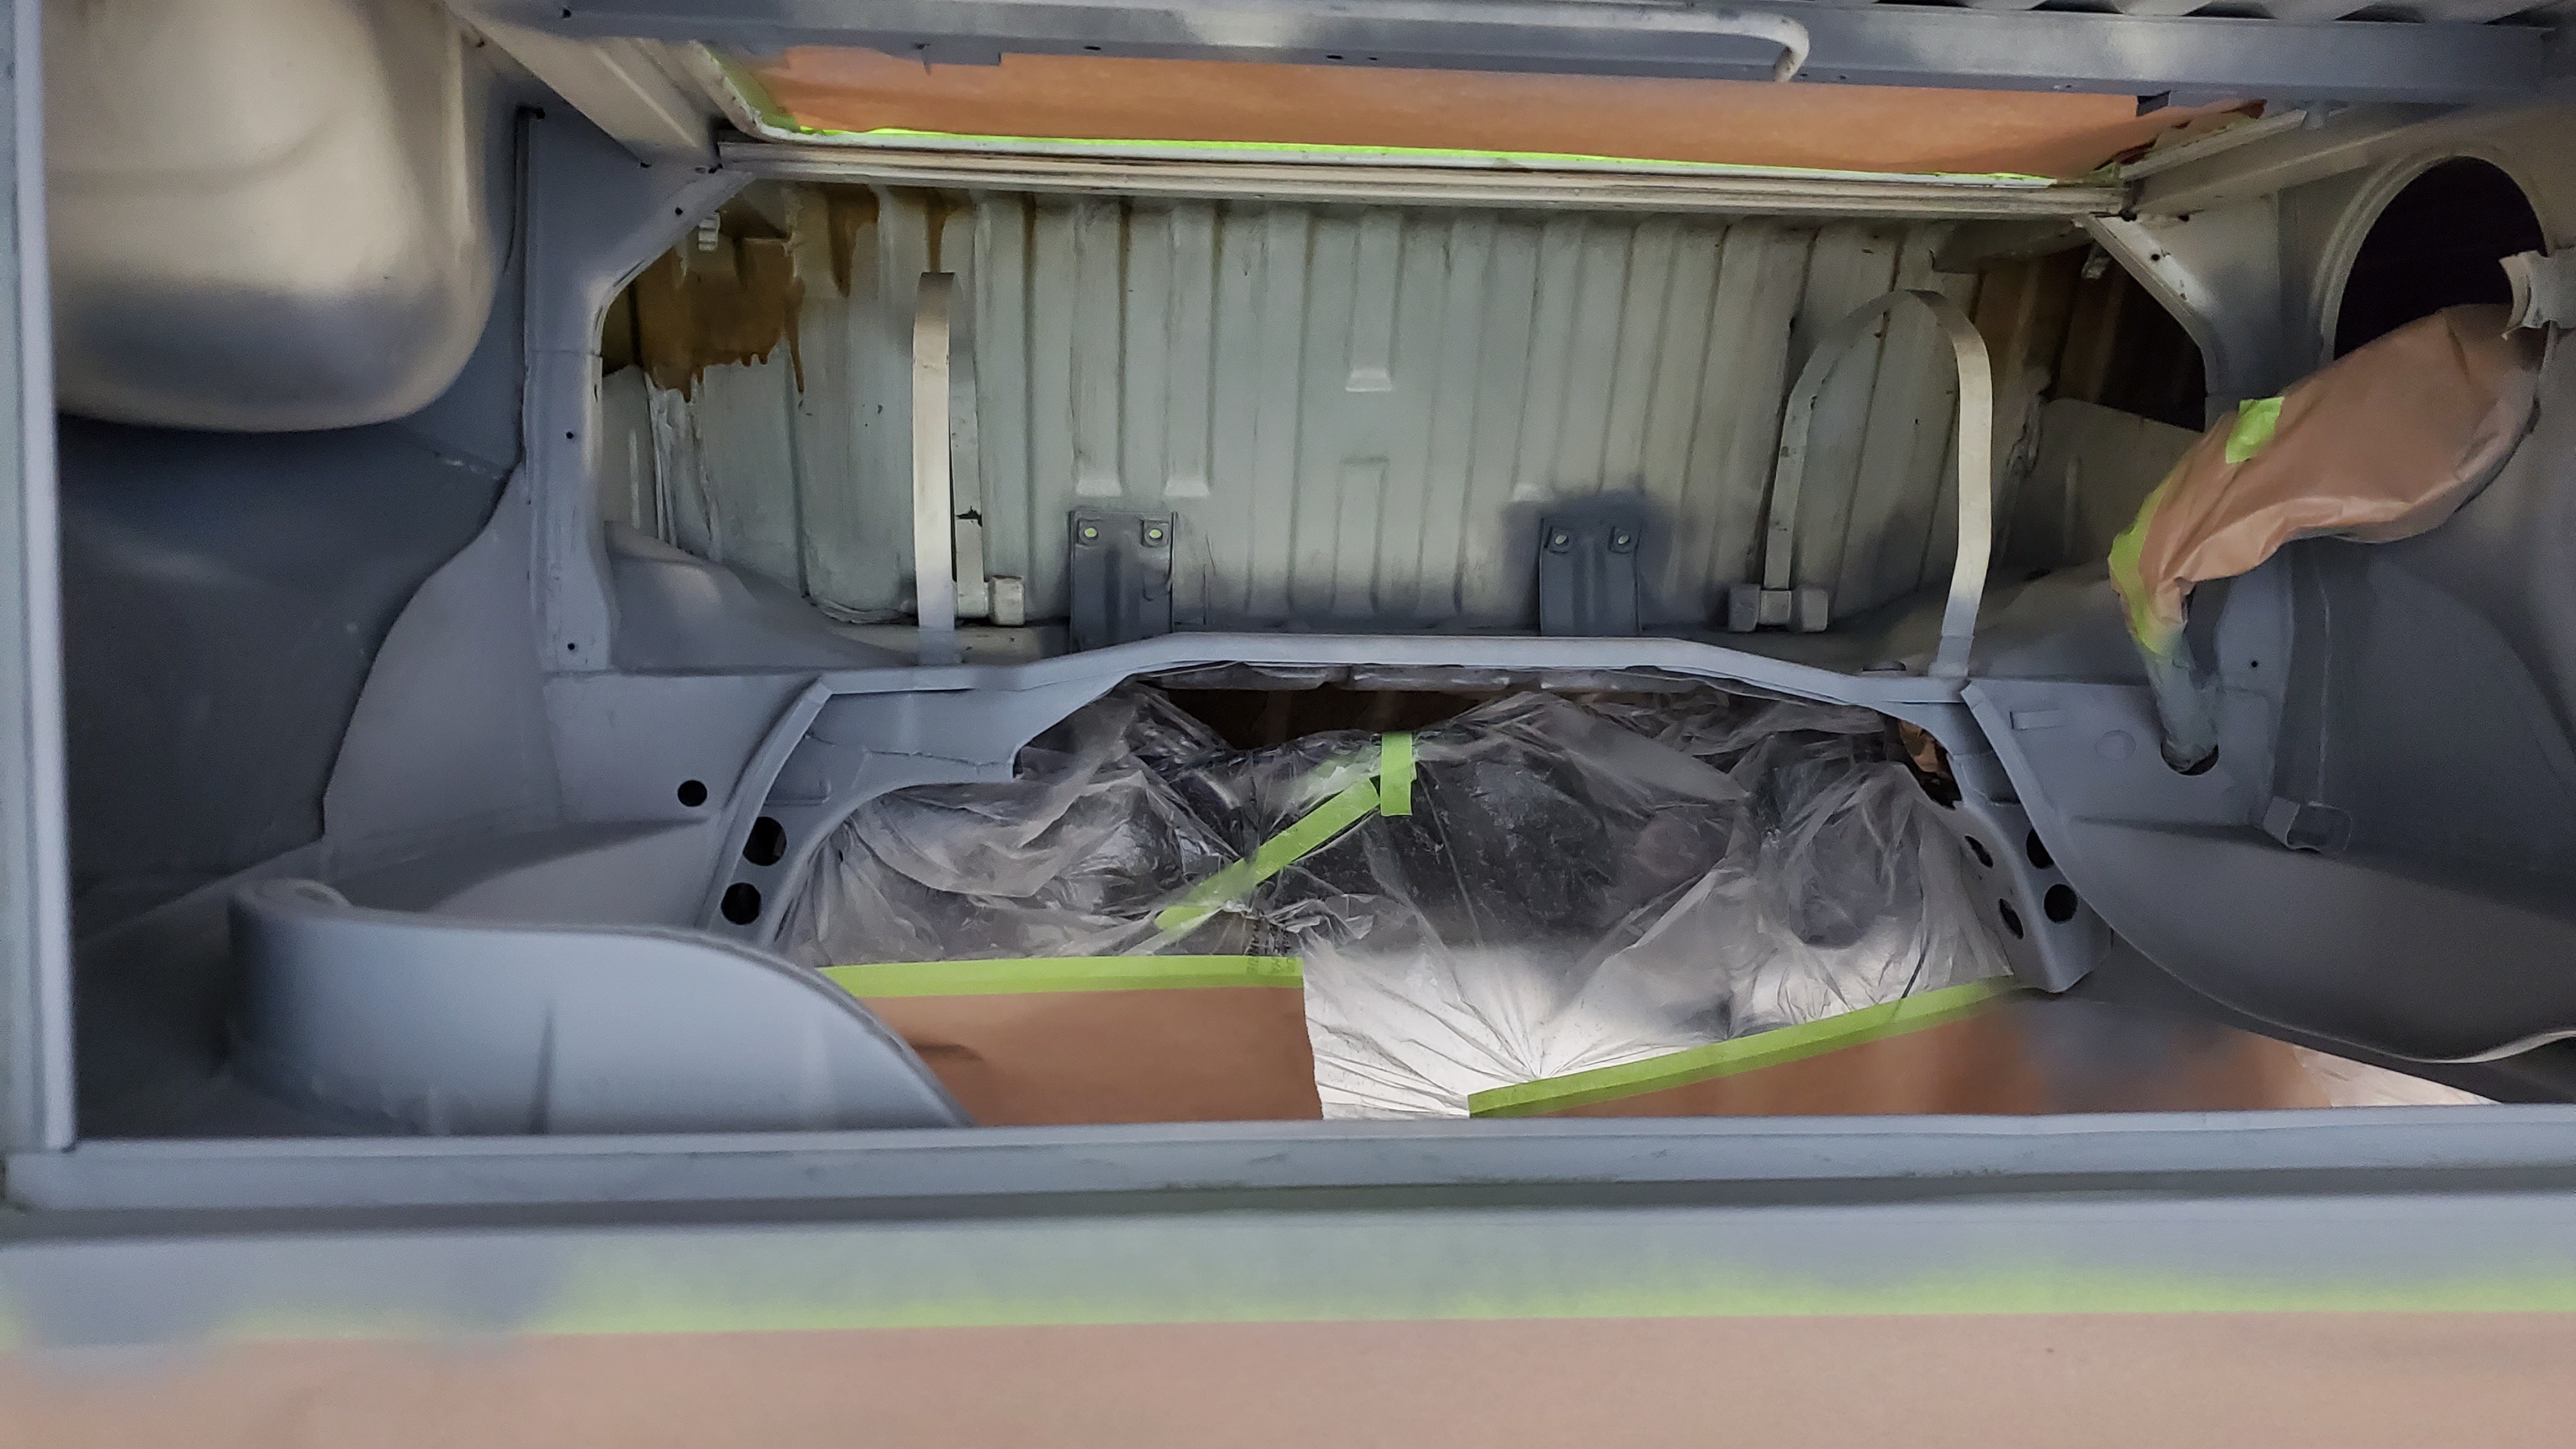
Once everything is carefully cleaned and checked, I take a moment to examine the tape one last time, looking for anything that needs more attention. It’s important to me that everything is perfect, as this final check ensures quality and provides peace of mind that the work meets high standards.
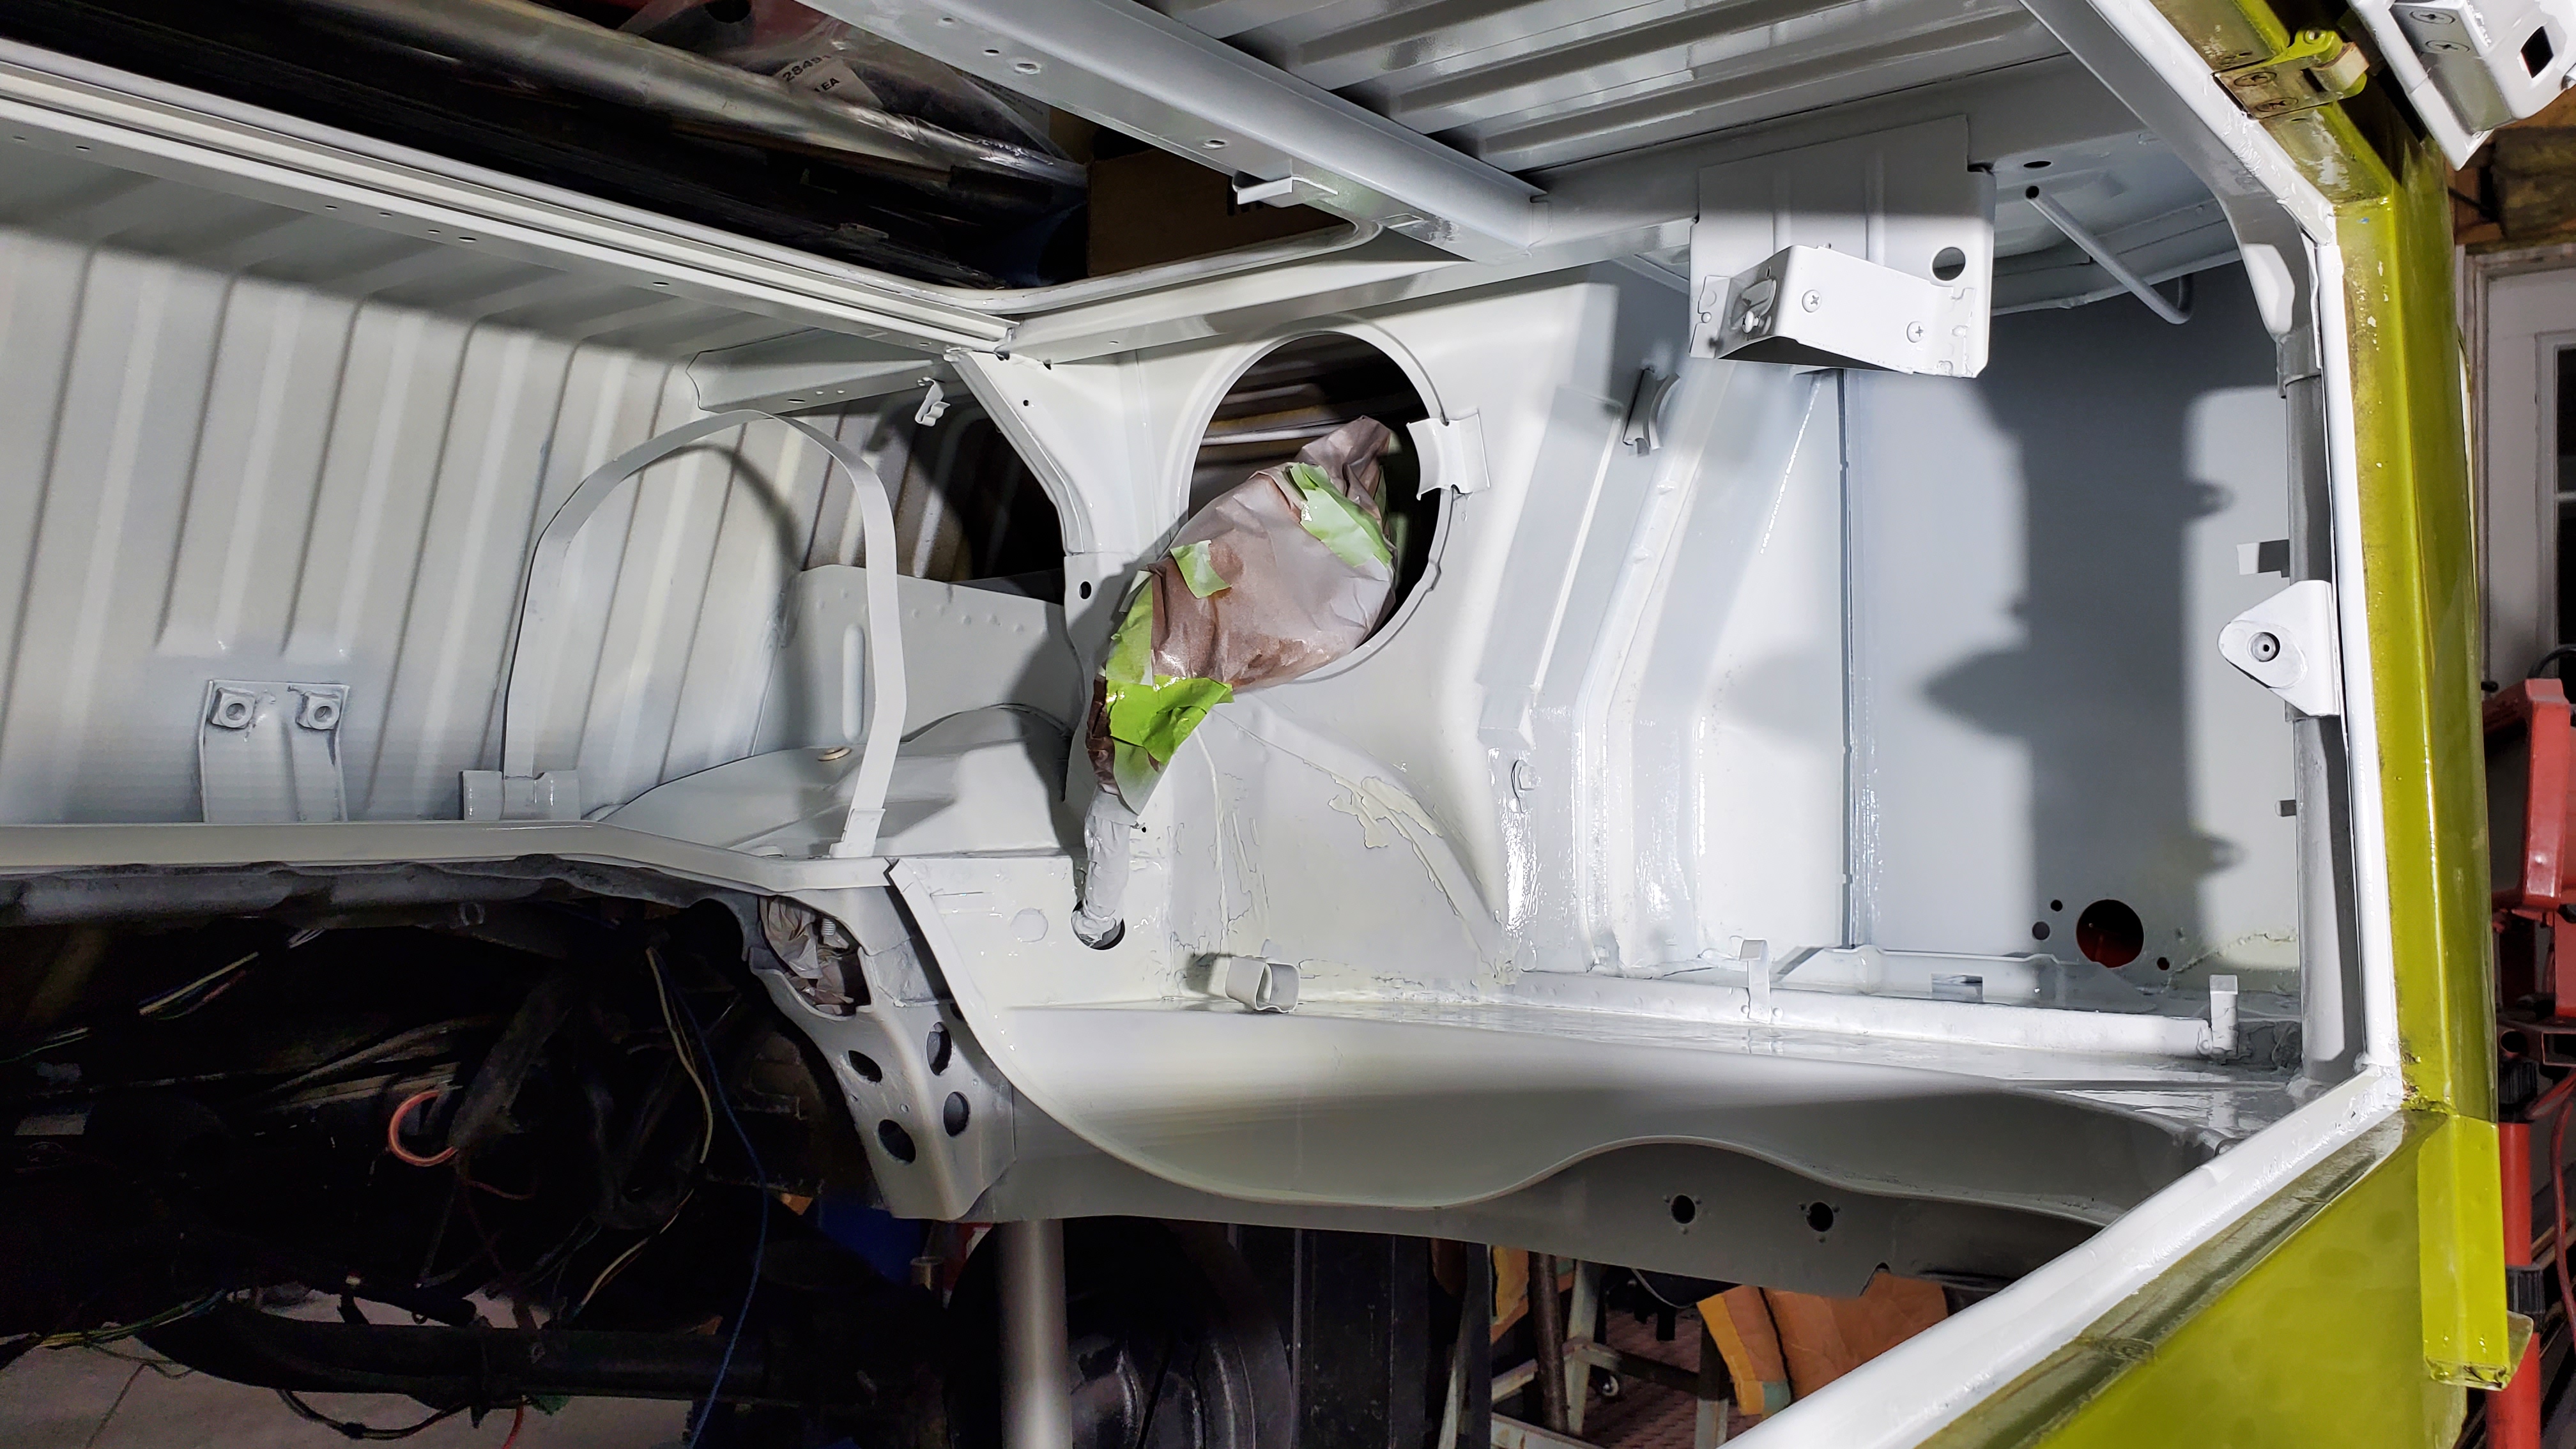

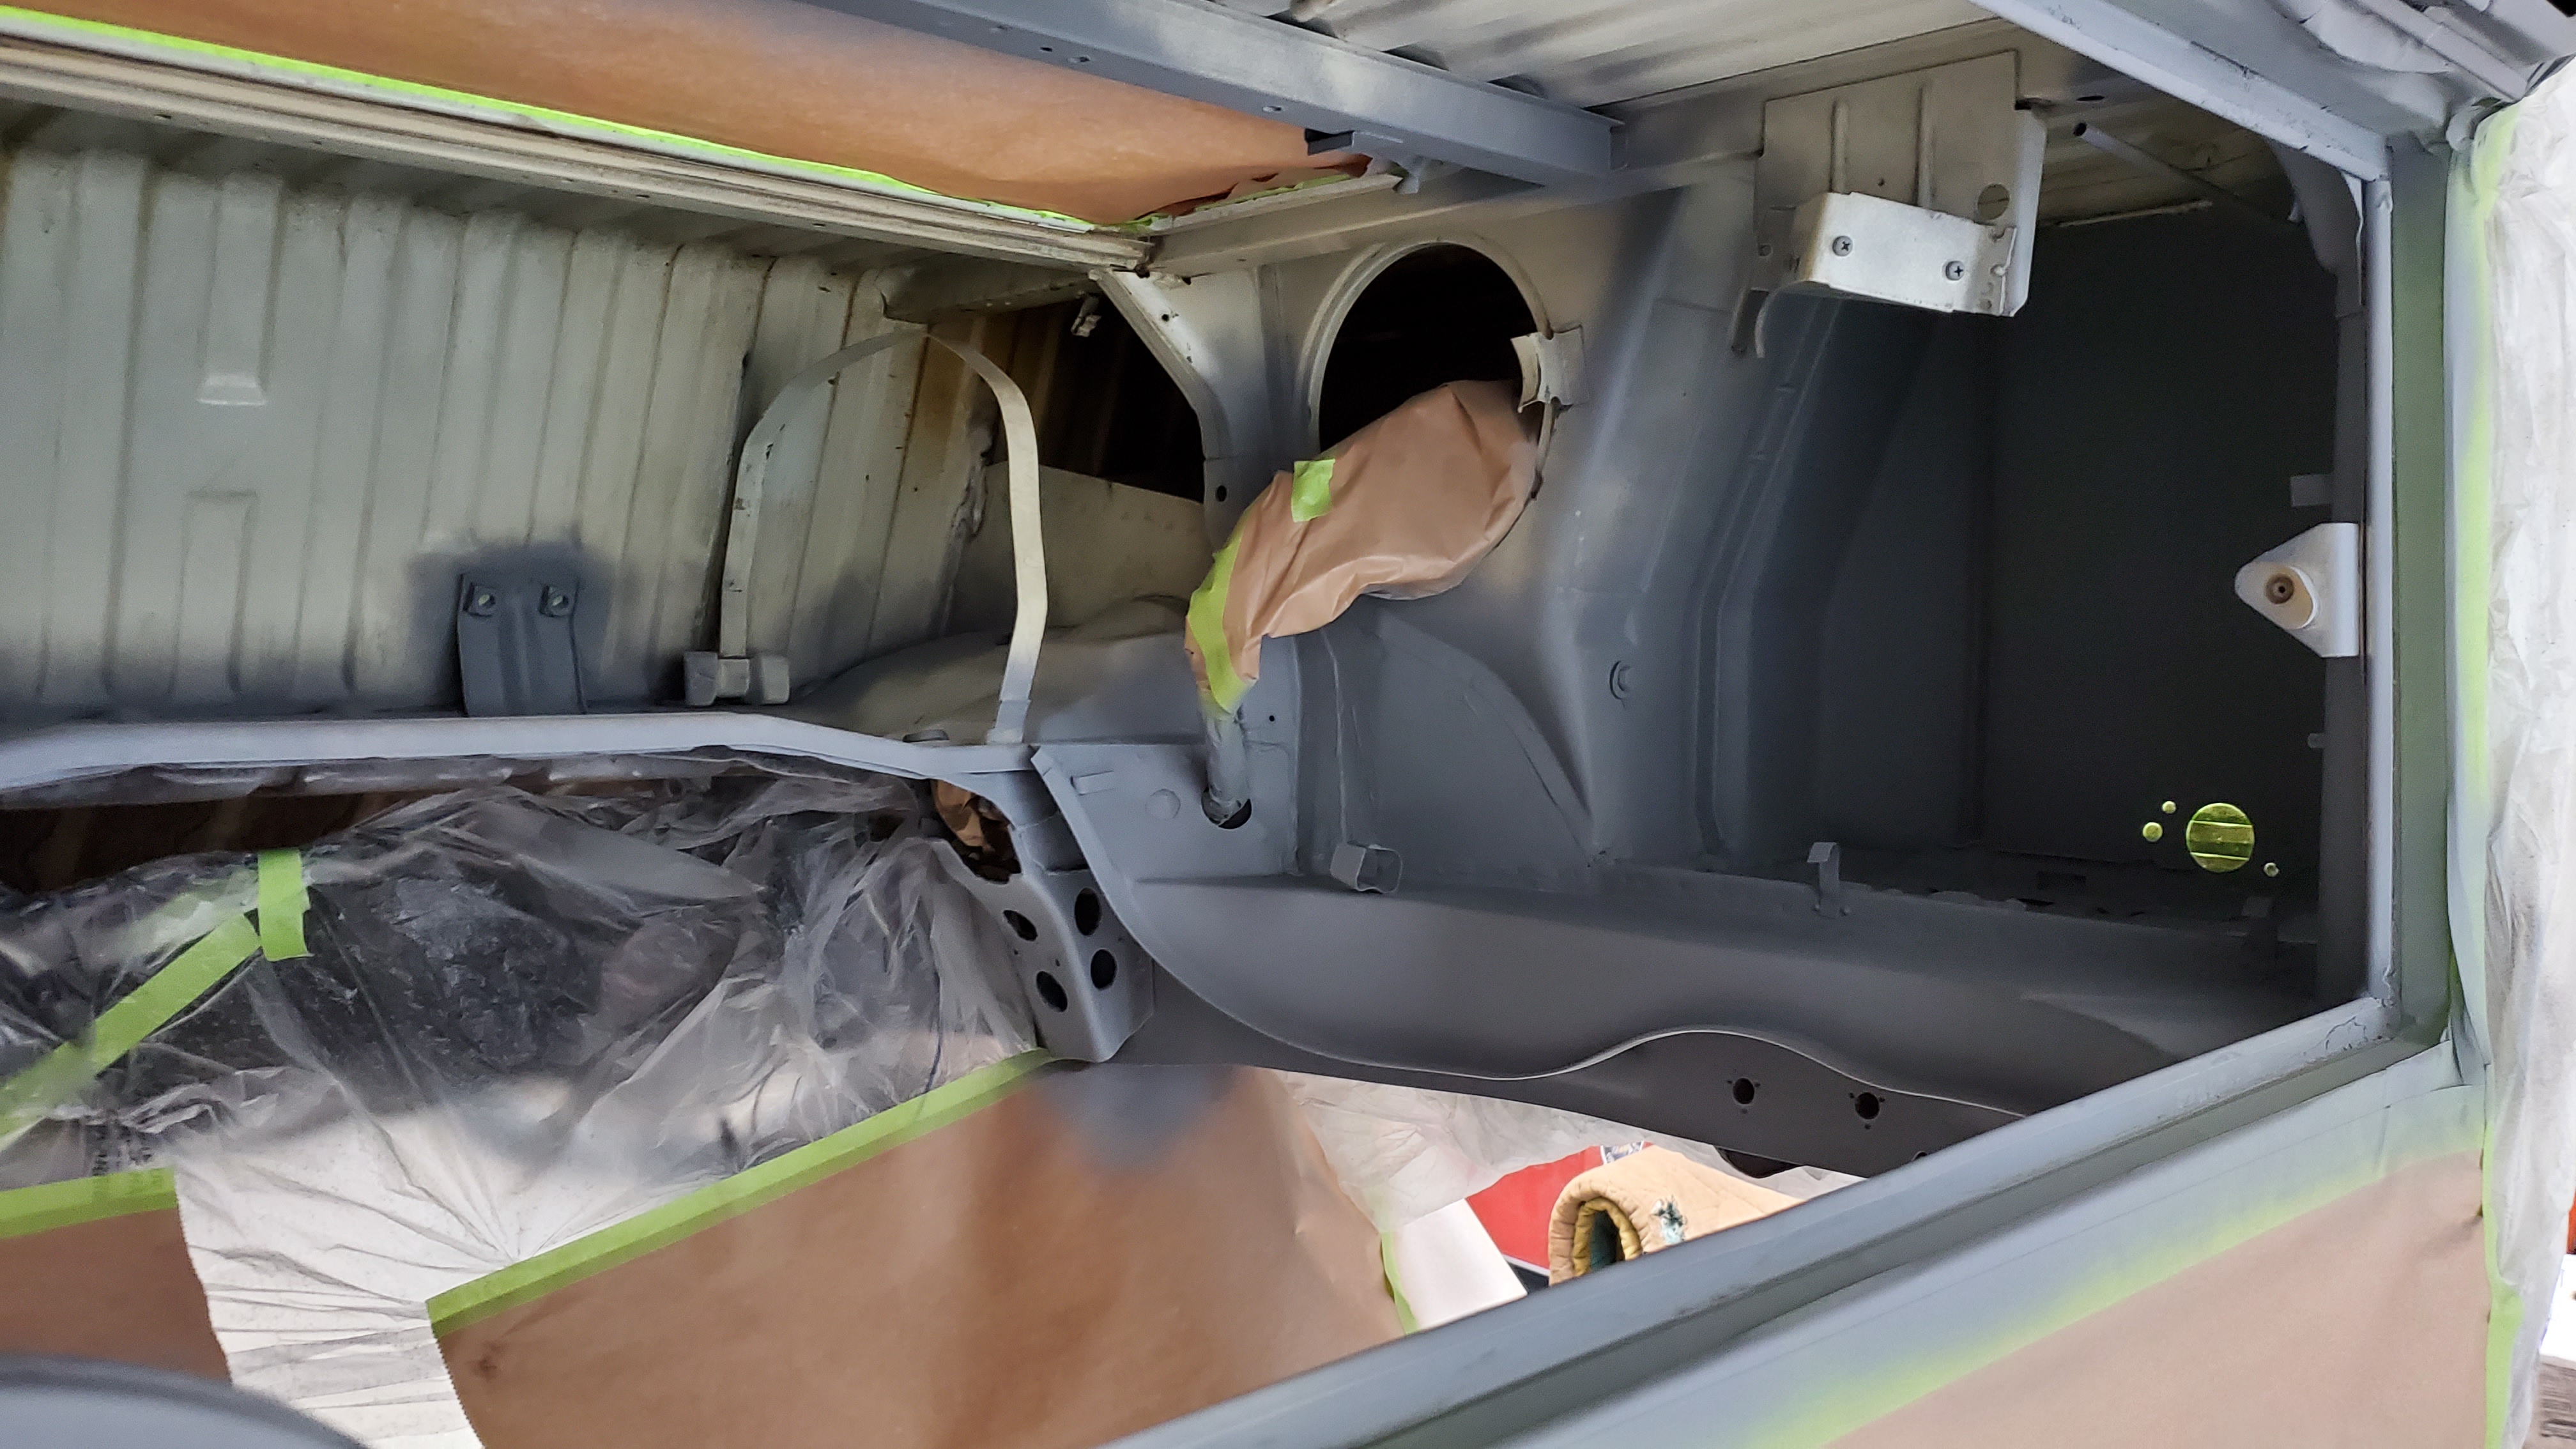
After painting and clear coating the bay area, I mask the areas for the undercoat above the transmission and wheel wells, making sure to cover adjacent spots to avoid overspray. This step is essential as it protects the new paint and prepares the surface for a smooth, durable finish. I make sure the masking tape is secure, checking for gaps, and thoroughly reviewing each corner to ensure the undercoat adheres well.
