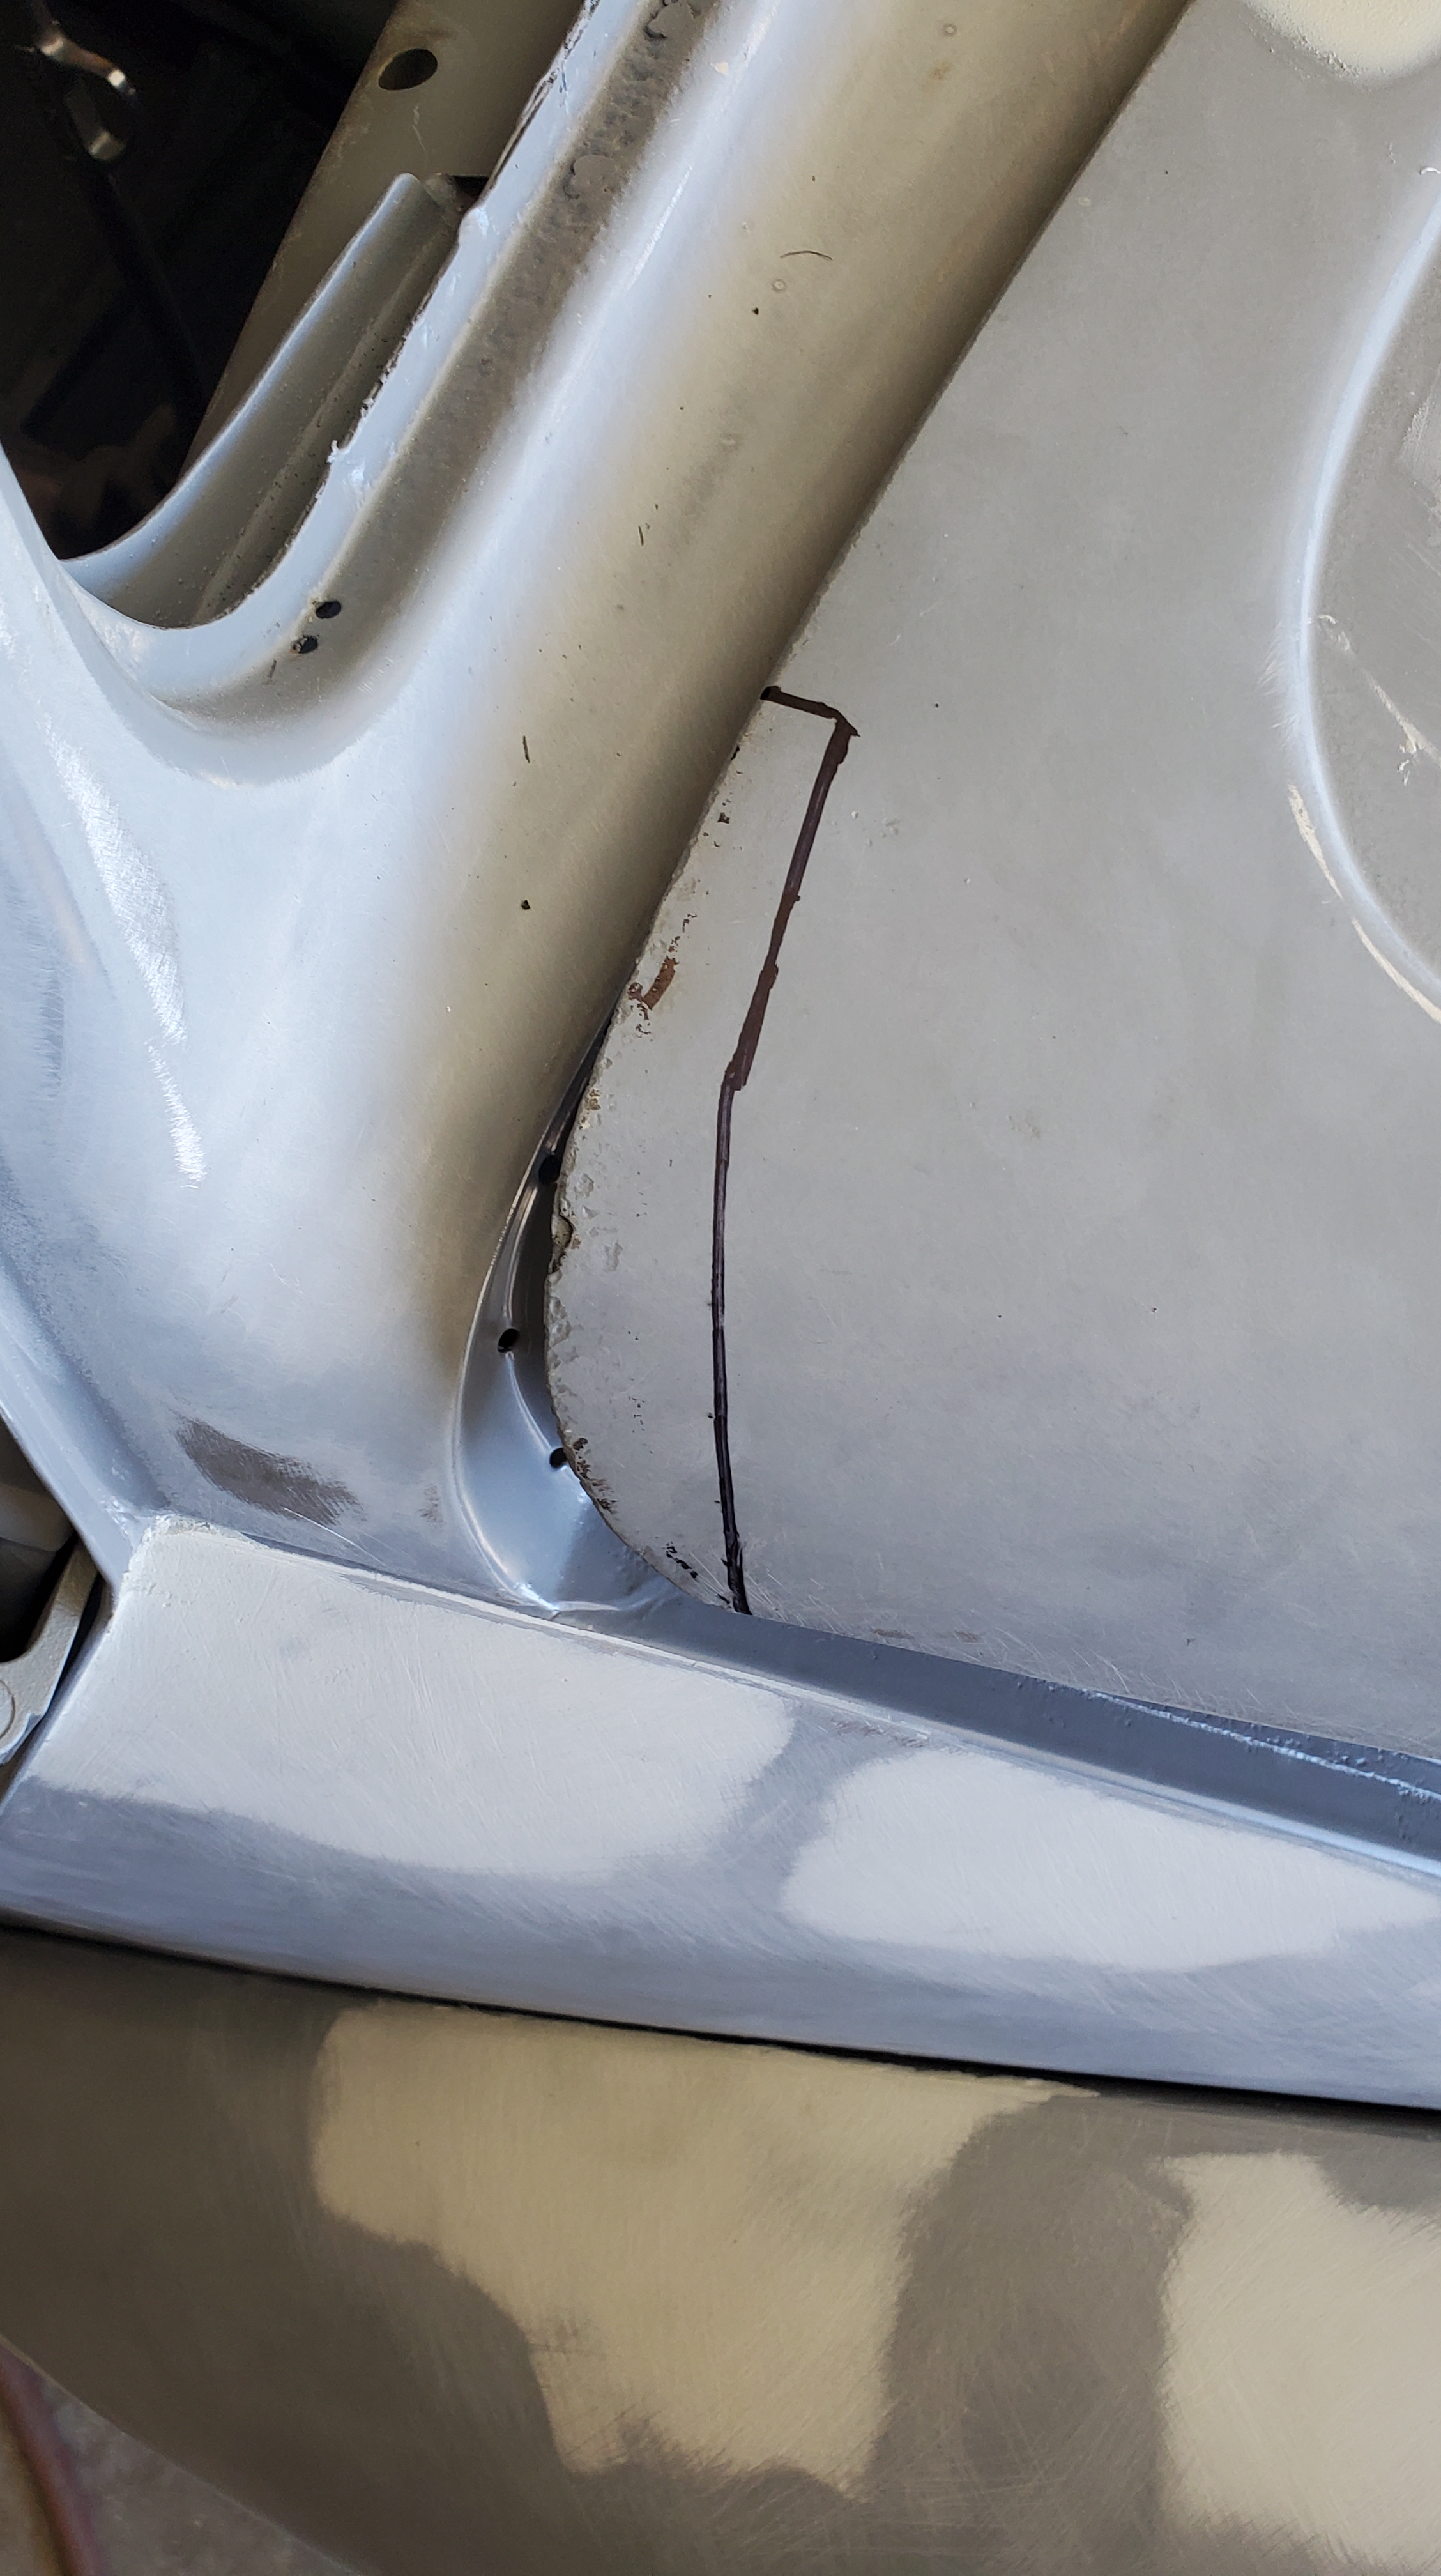
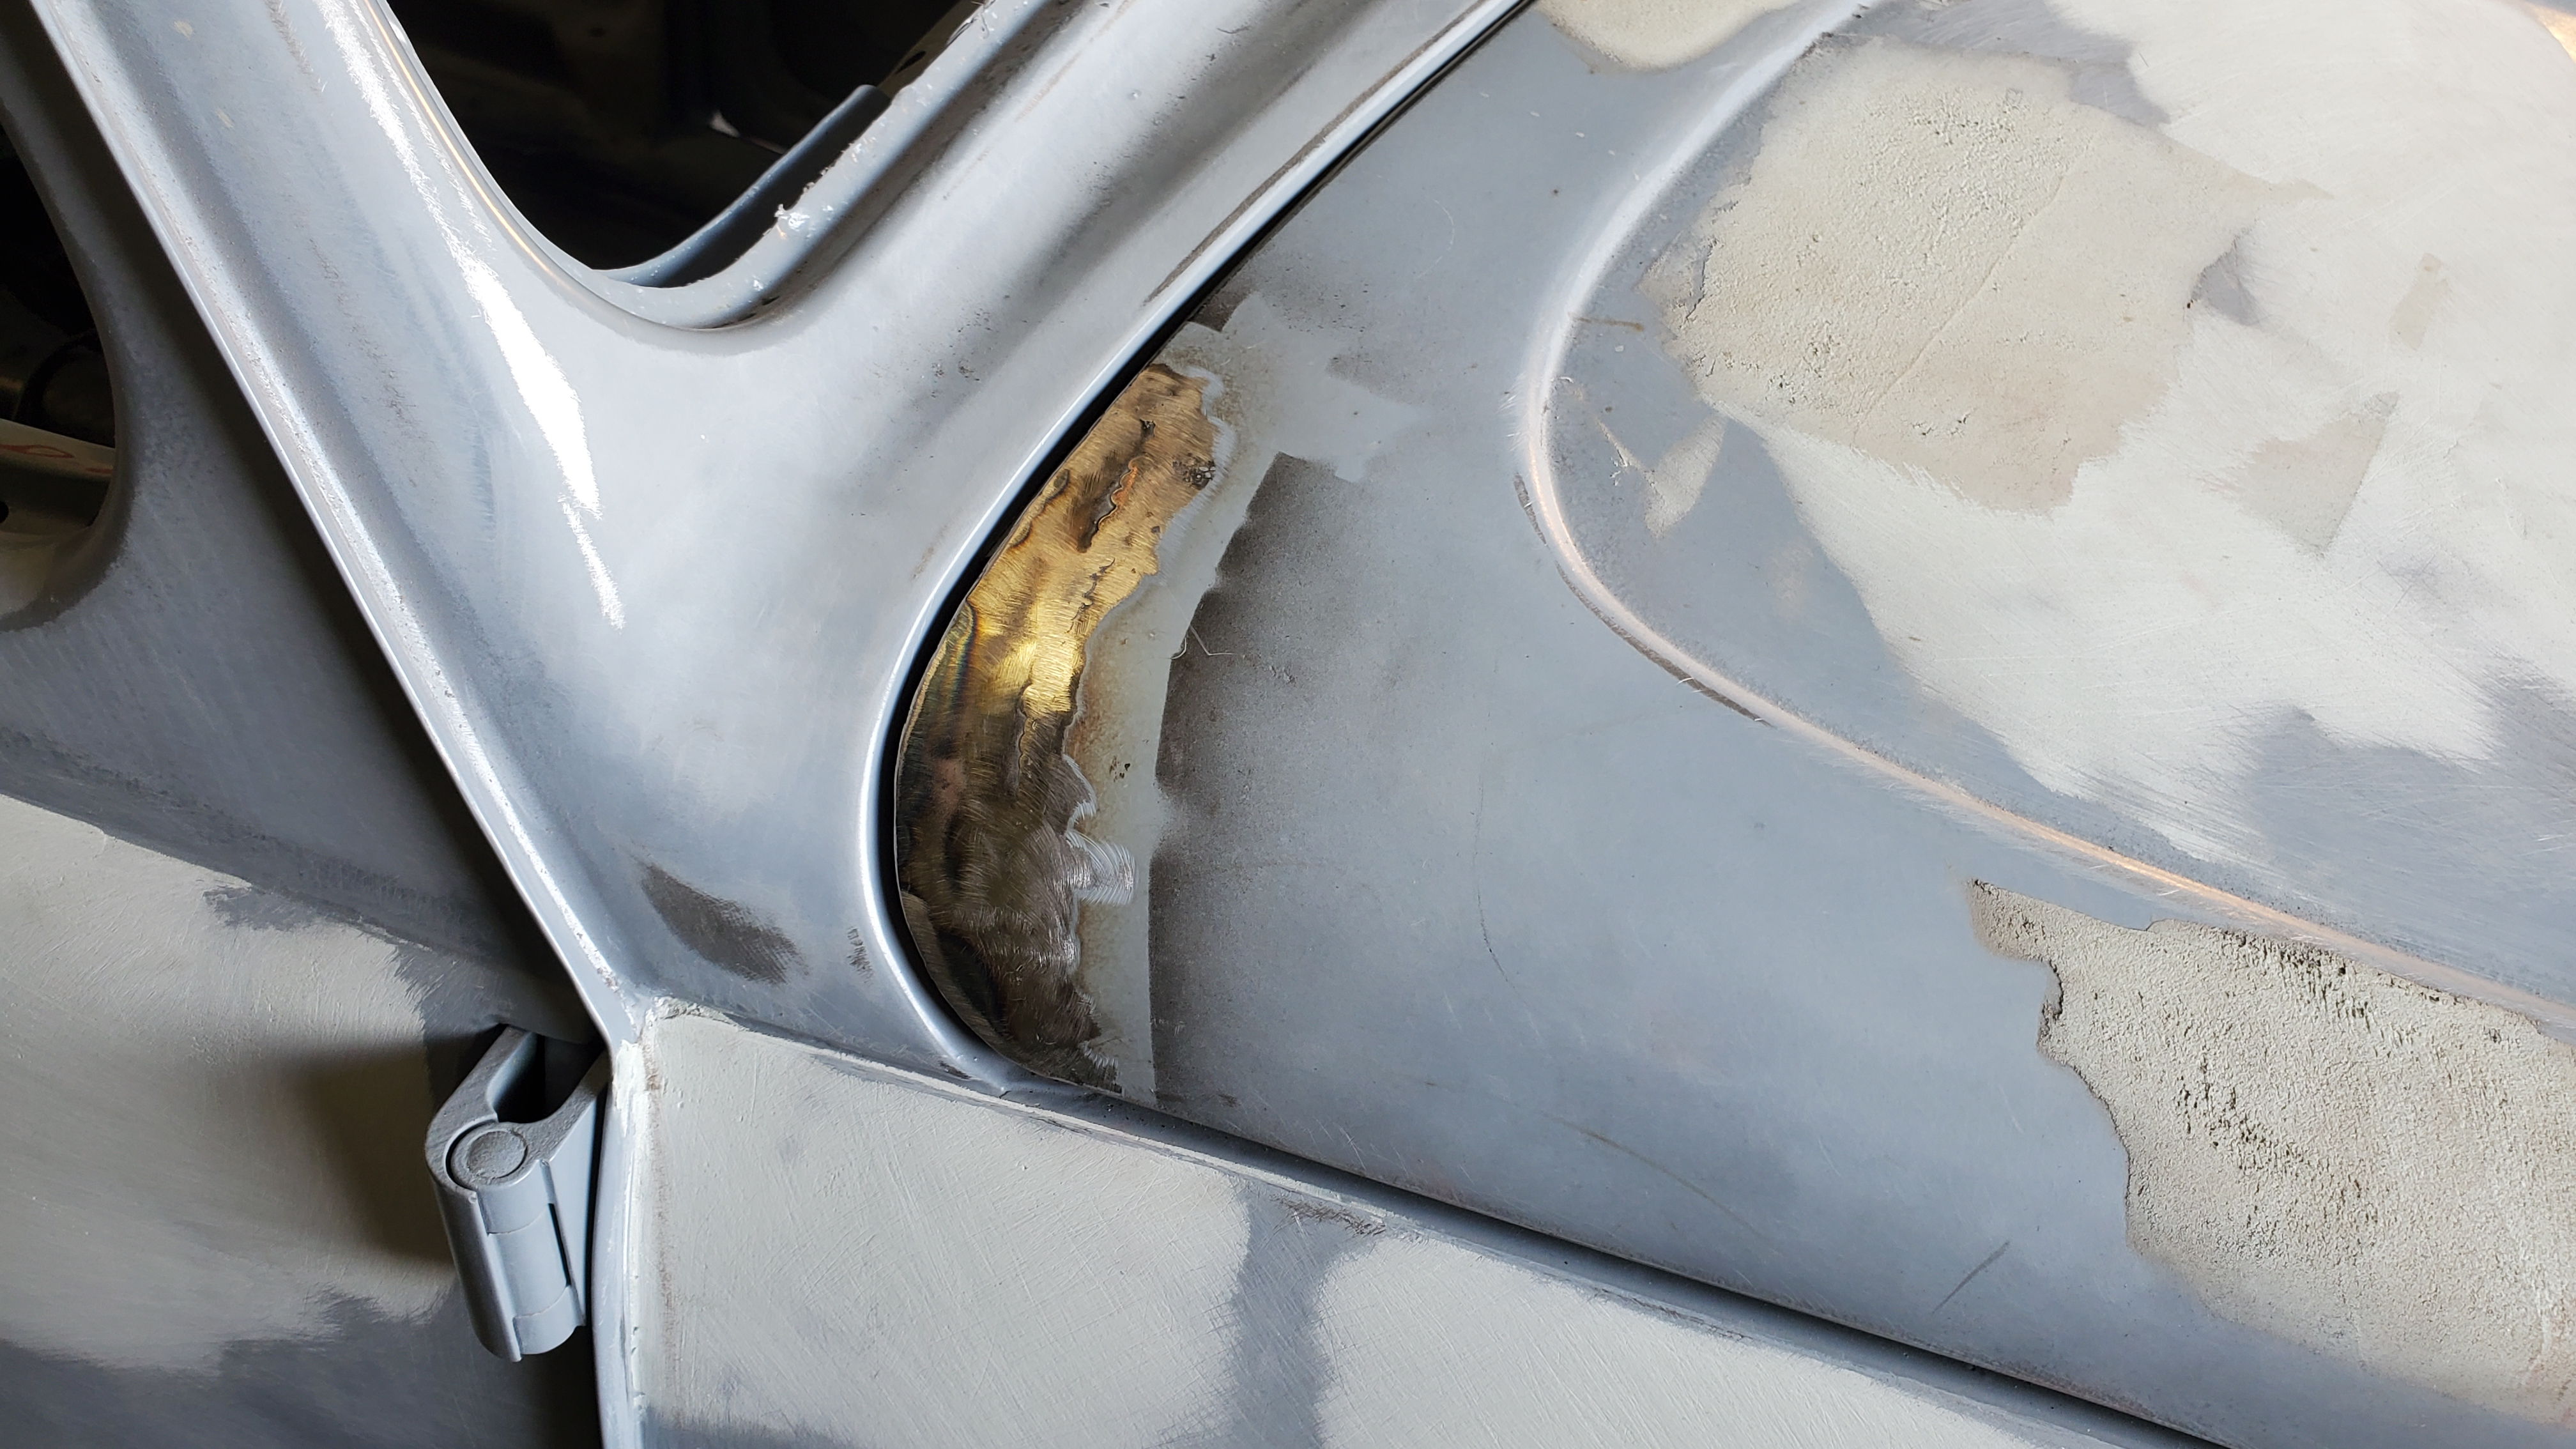
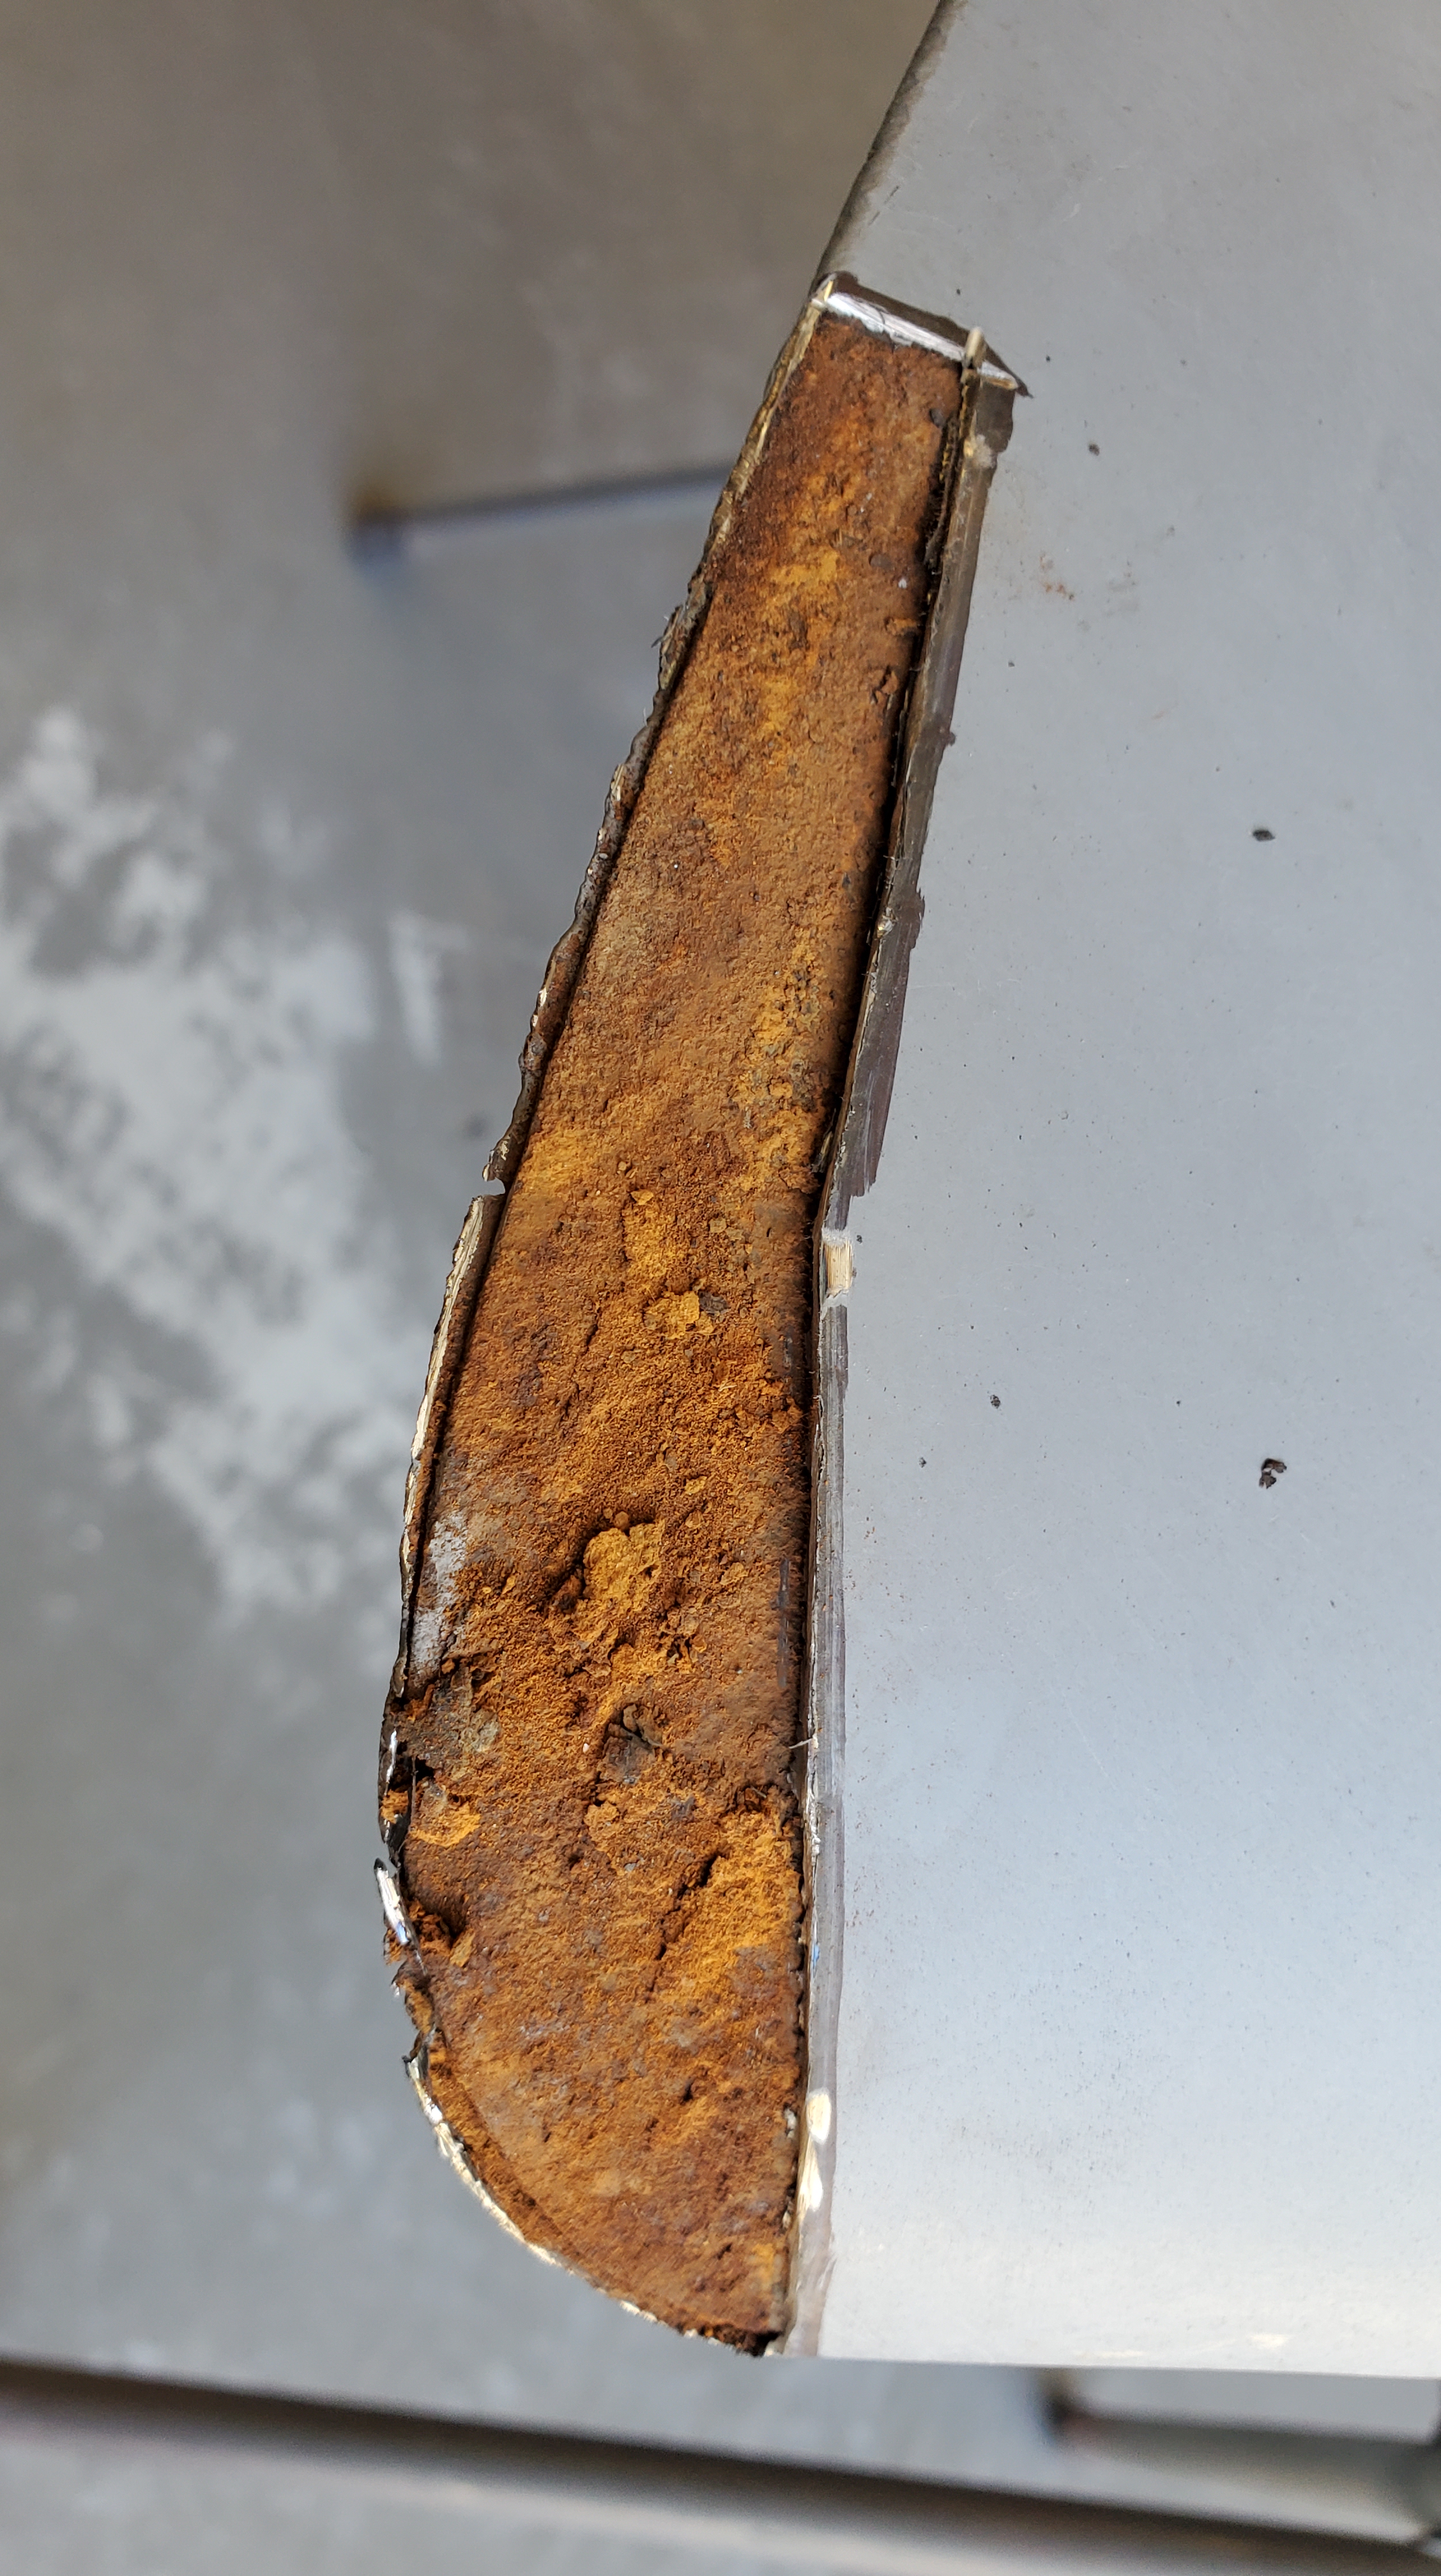
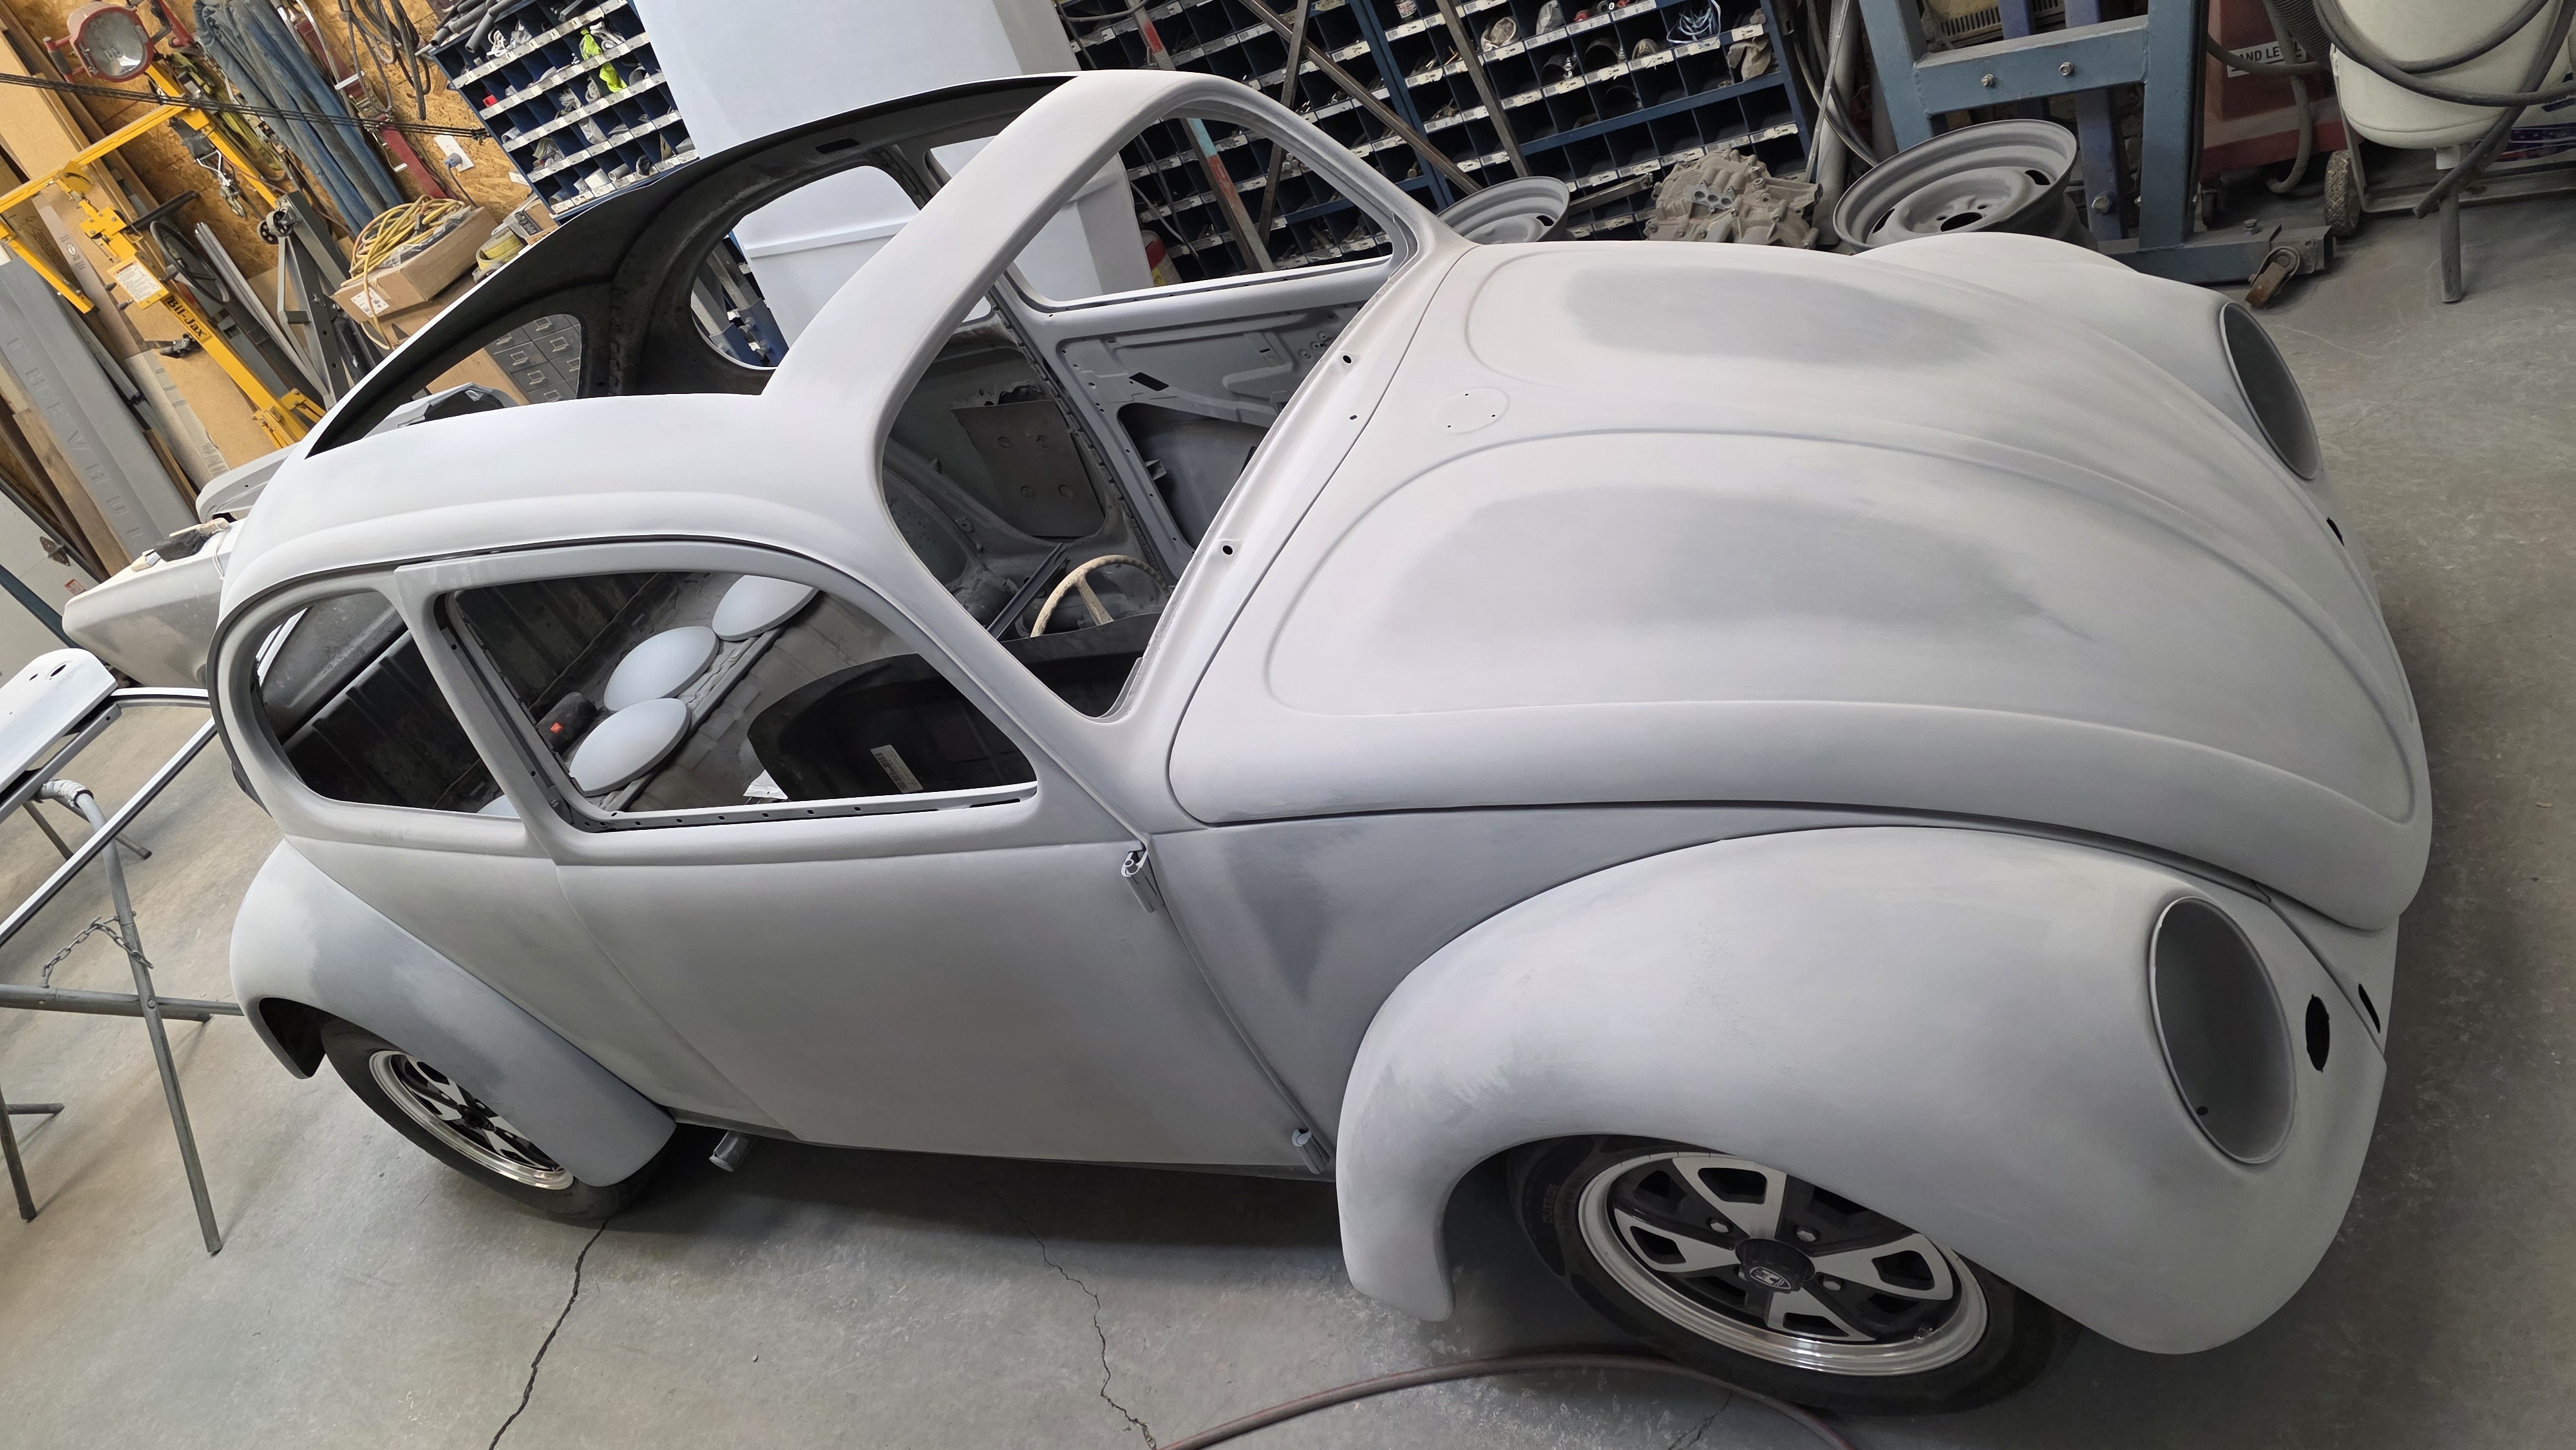
The epoxy is blocked down with 180g and I go around with a hammer and dolly to get things as close as possible before starting to do body filler. Edges of the fender to apron, and any little tears that were missed are welded on the fenders.
I started to go around the car and found some more pinholes. I cut out the top of the hood, cleaned things up and welded a repair panel before continuing with body filler.
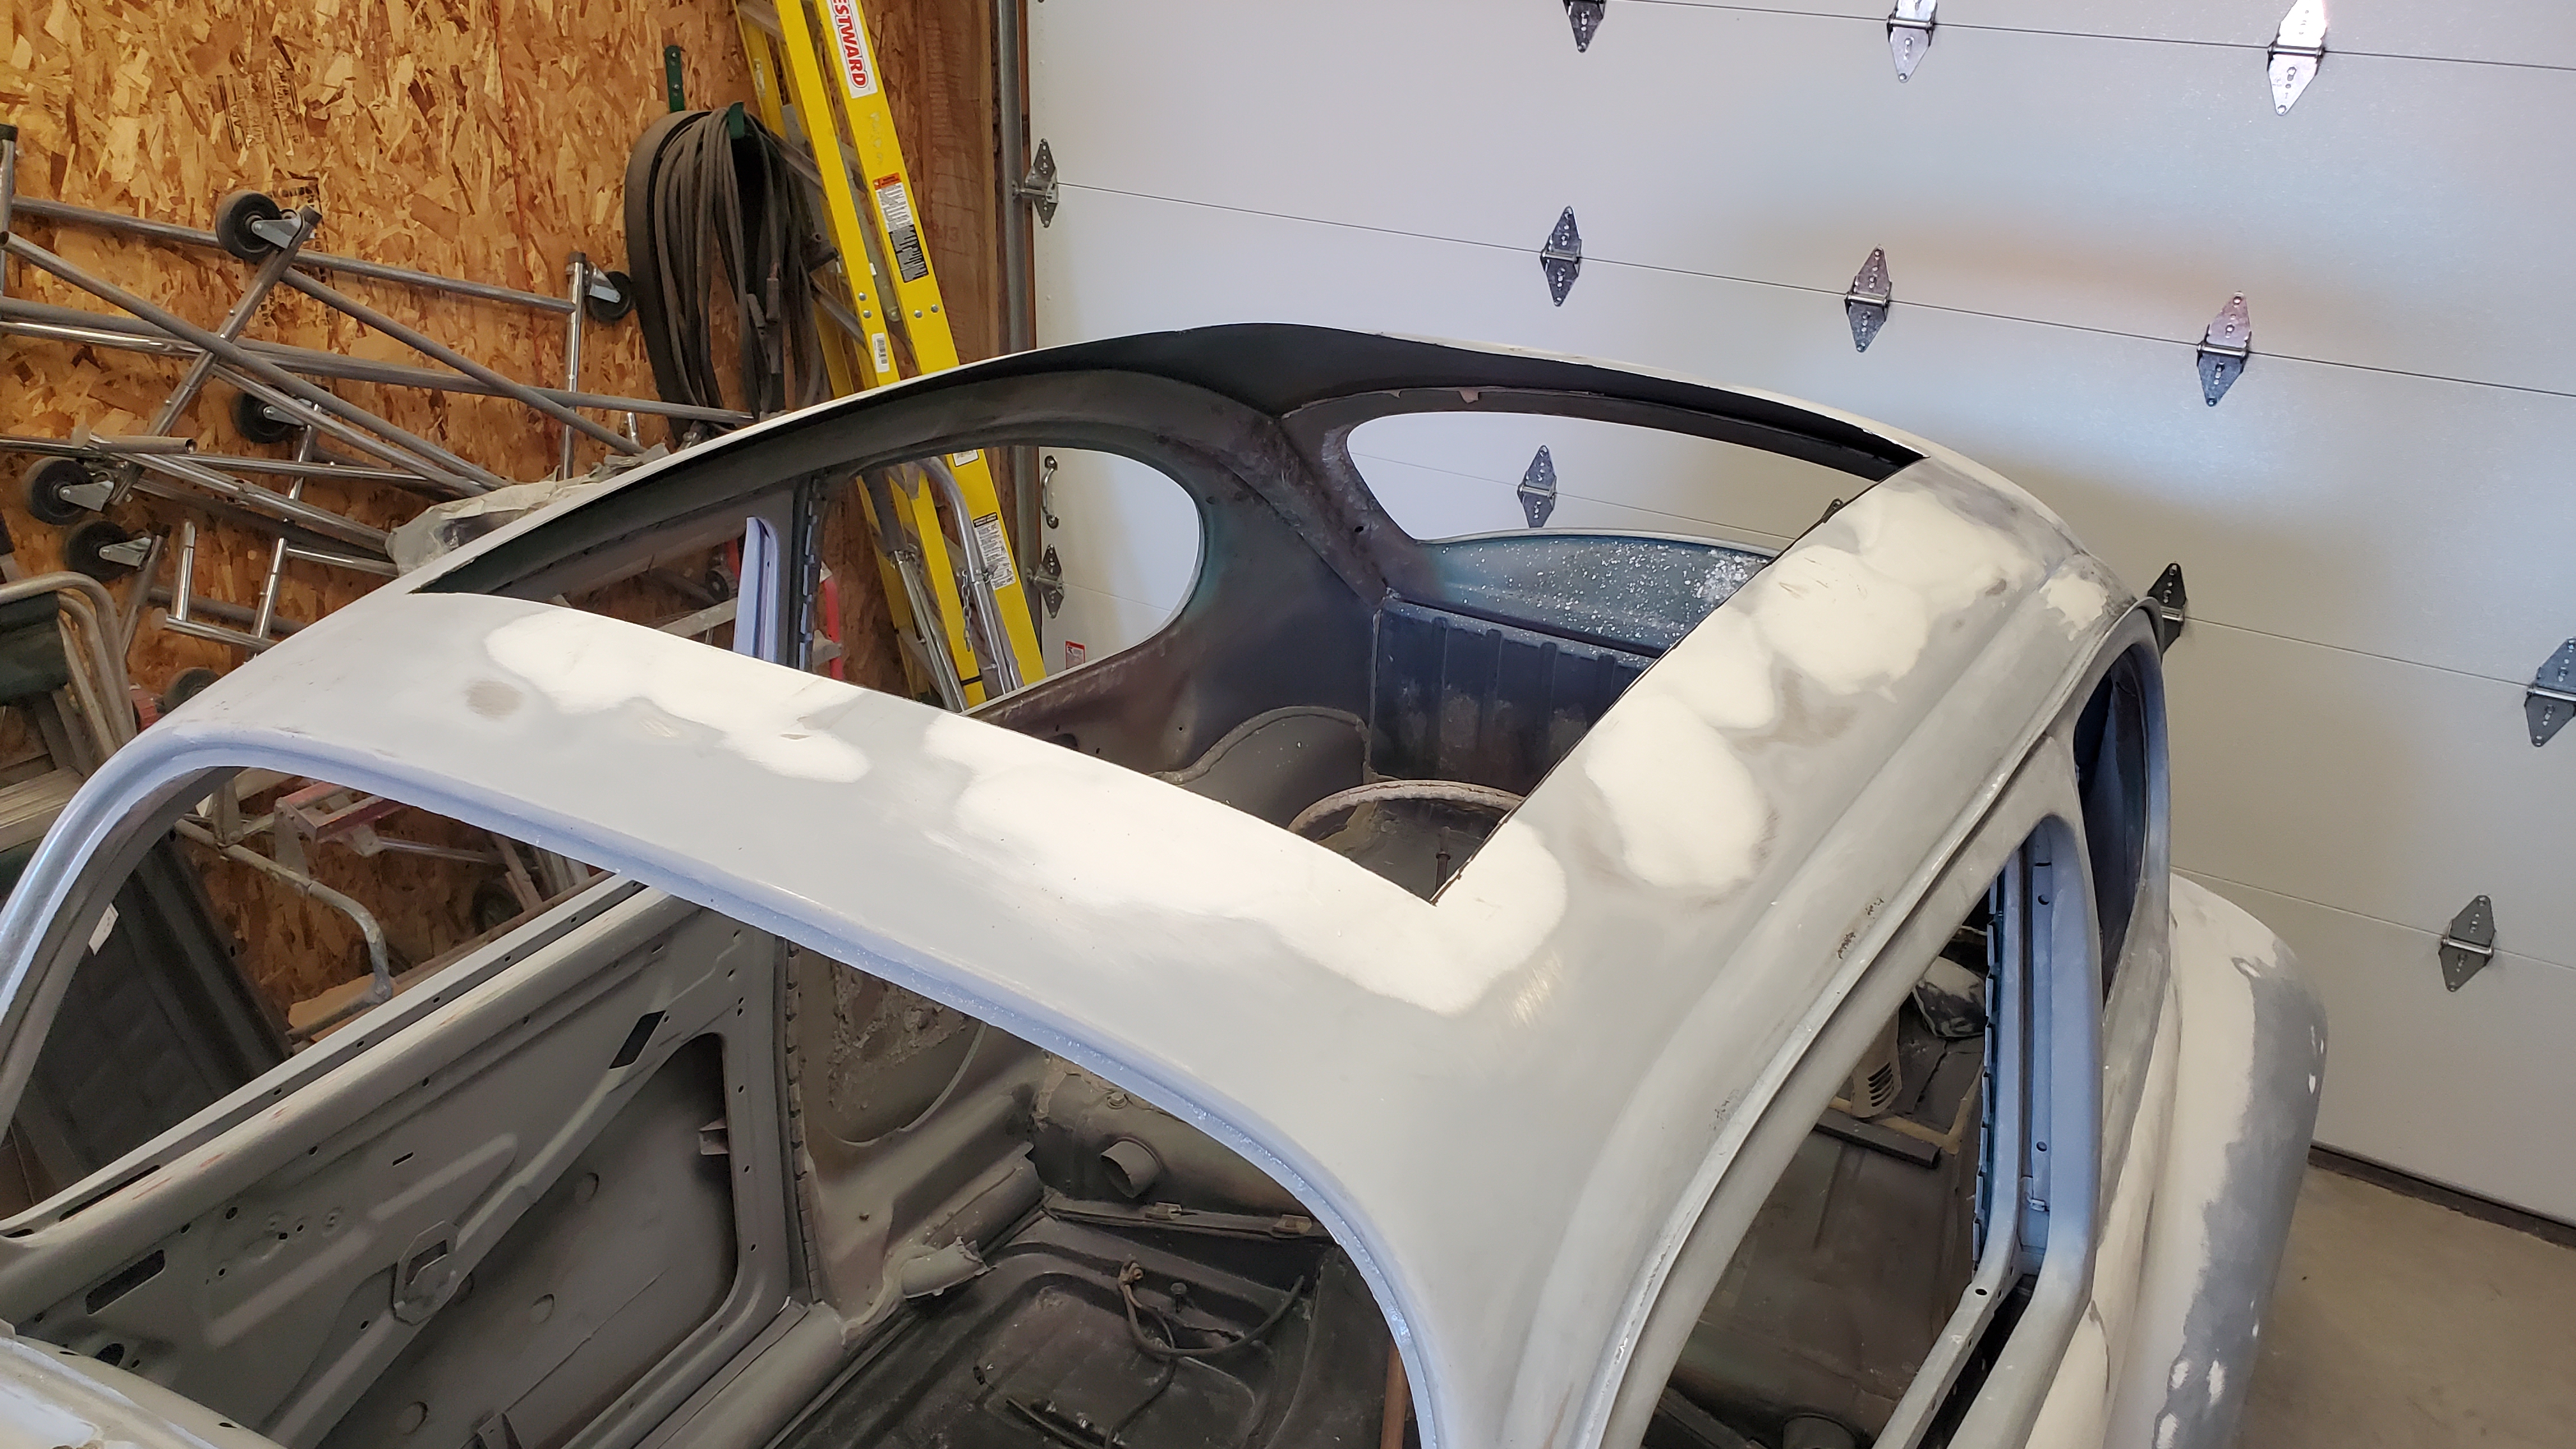
One of the things I like to do is mark low spots with tape before adding filler. It helps to see thing and move quicker before the filler starts to set. I went over the roof, found quite a few, and decided to save some time by upgrading the car to a ragtop.
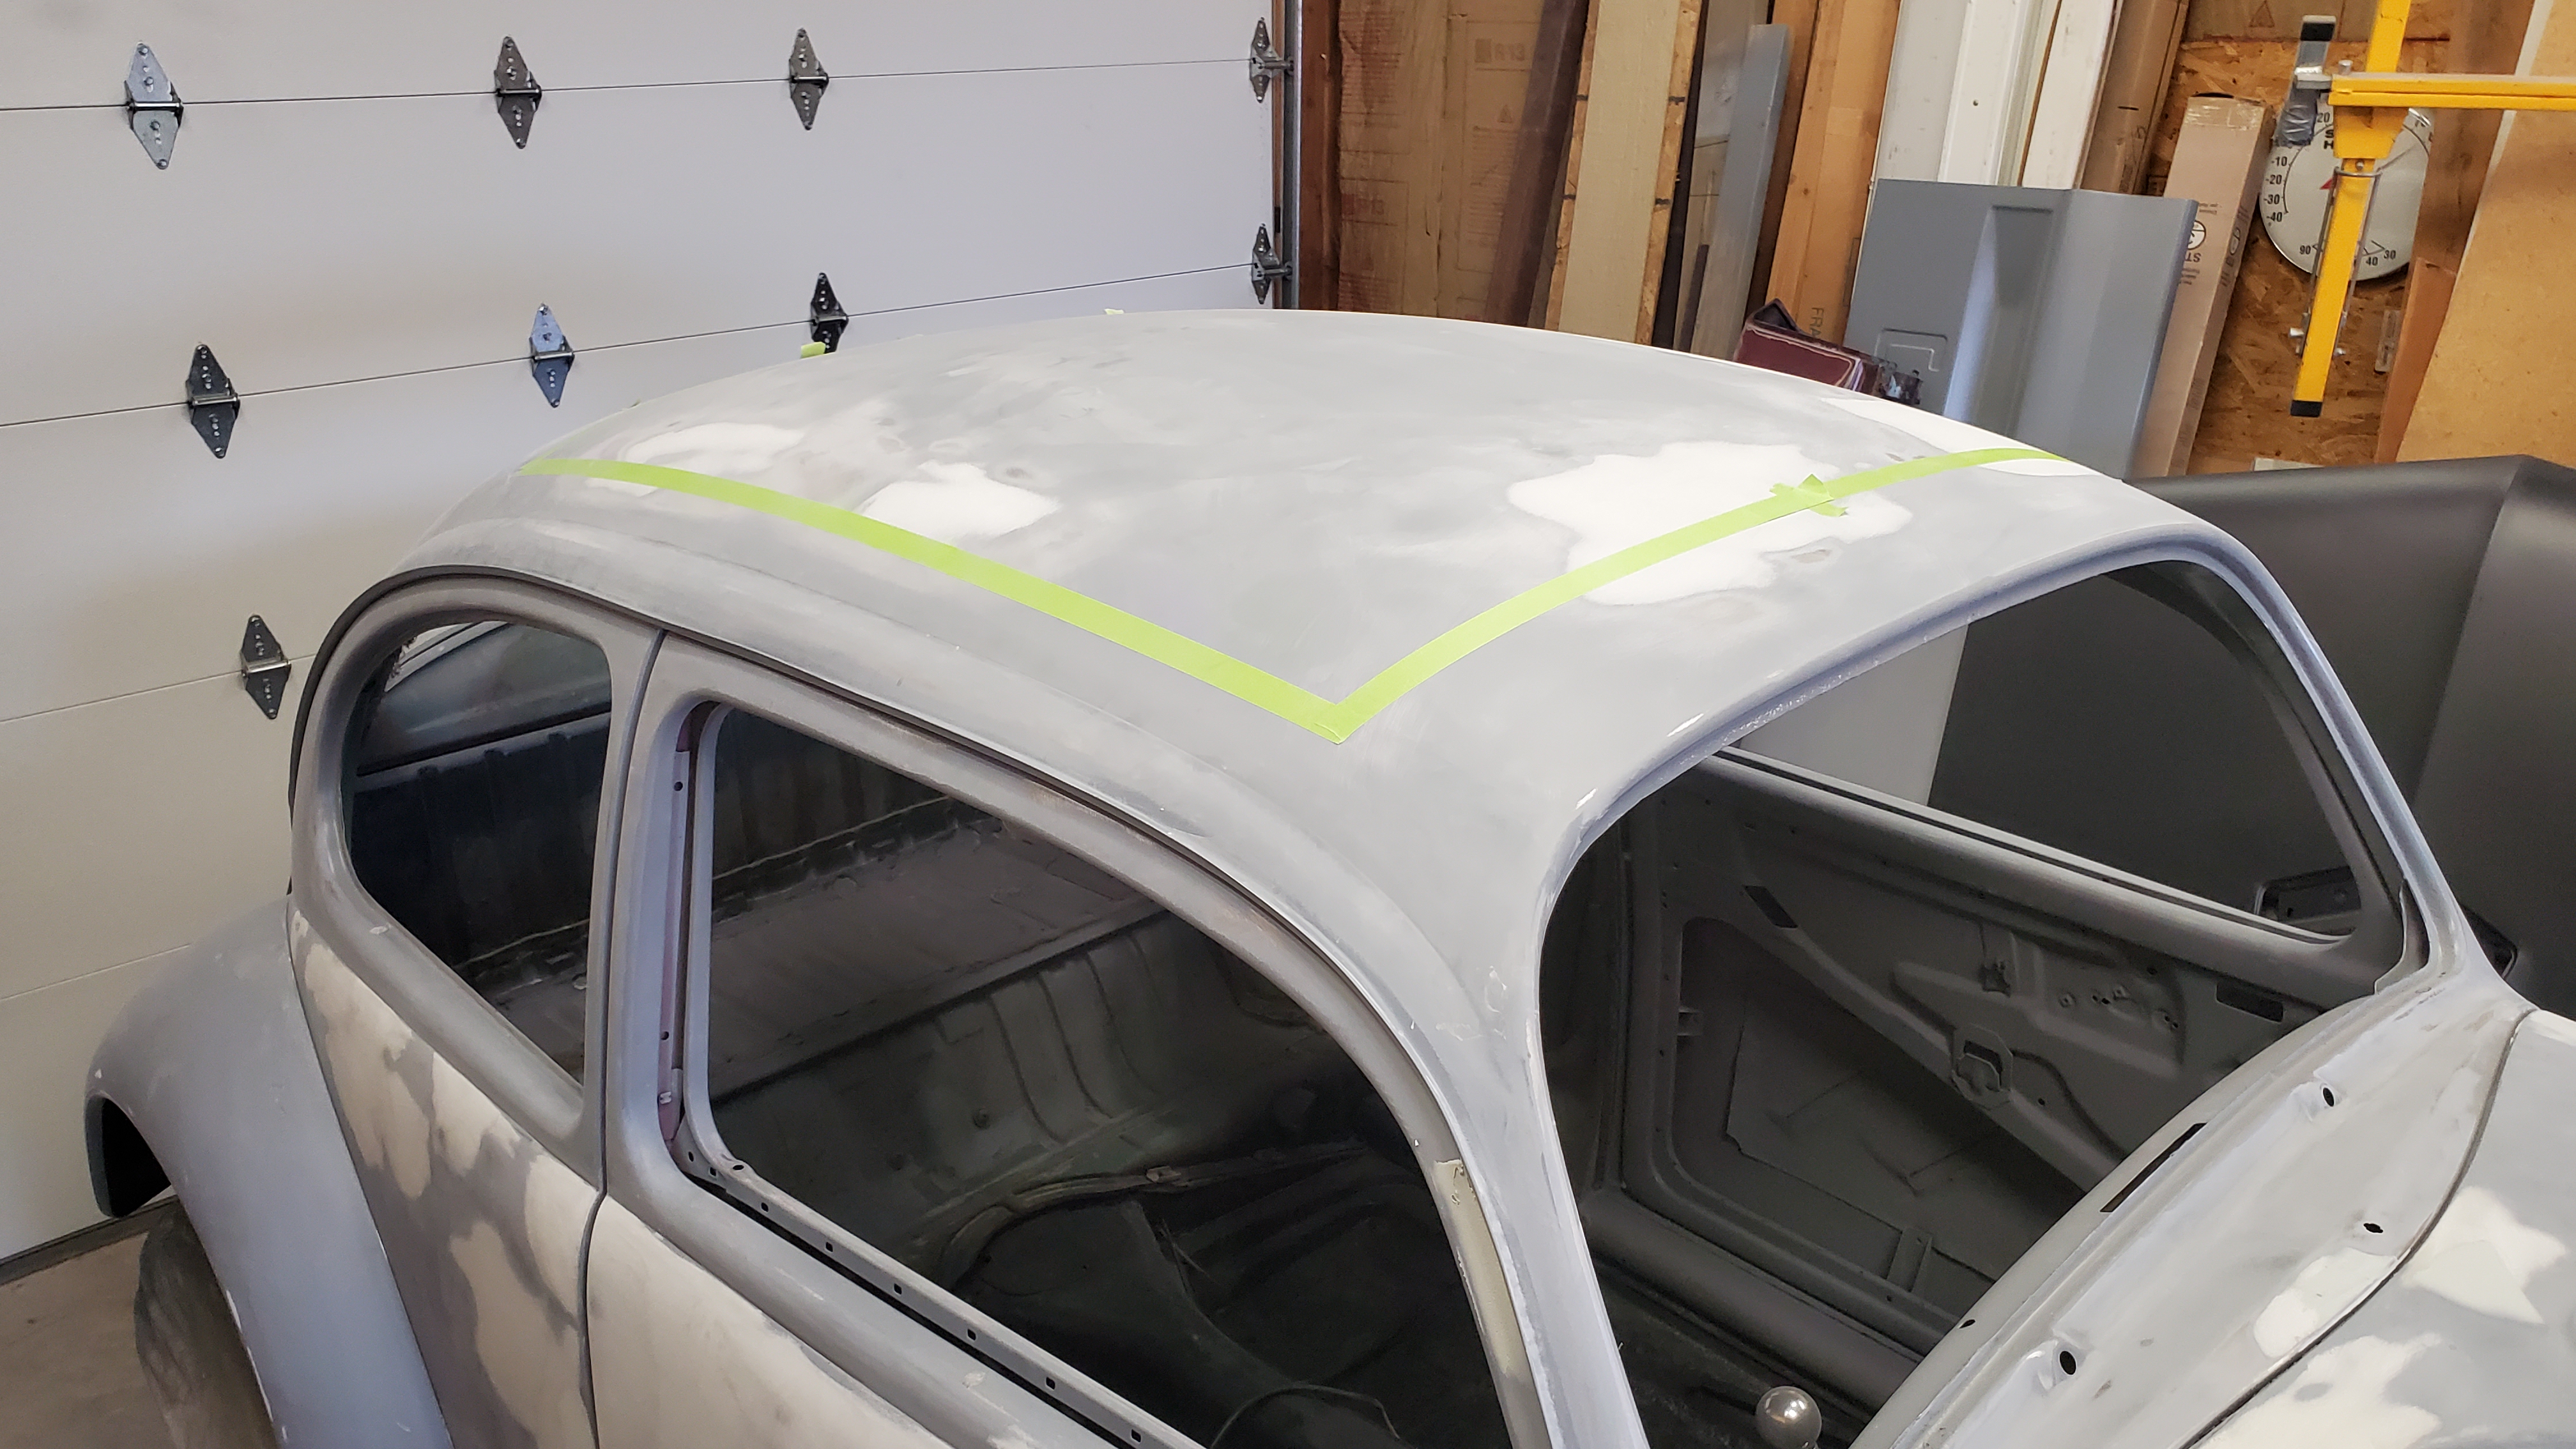
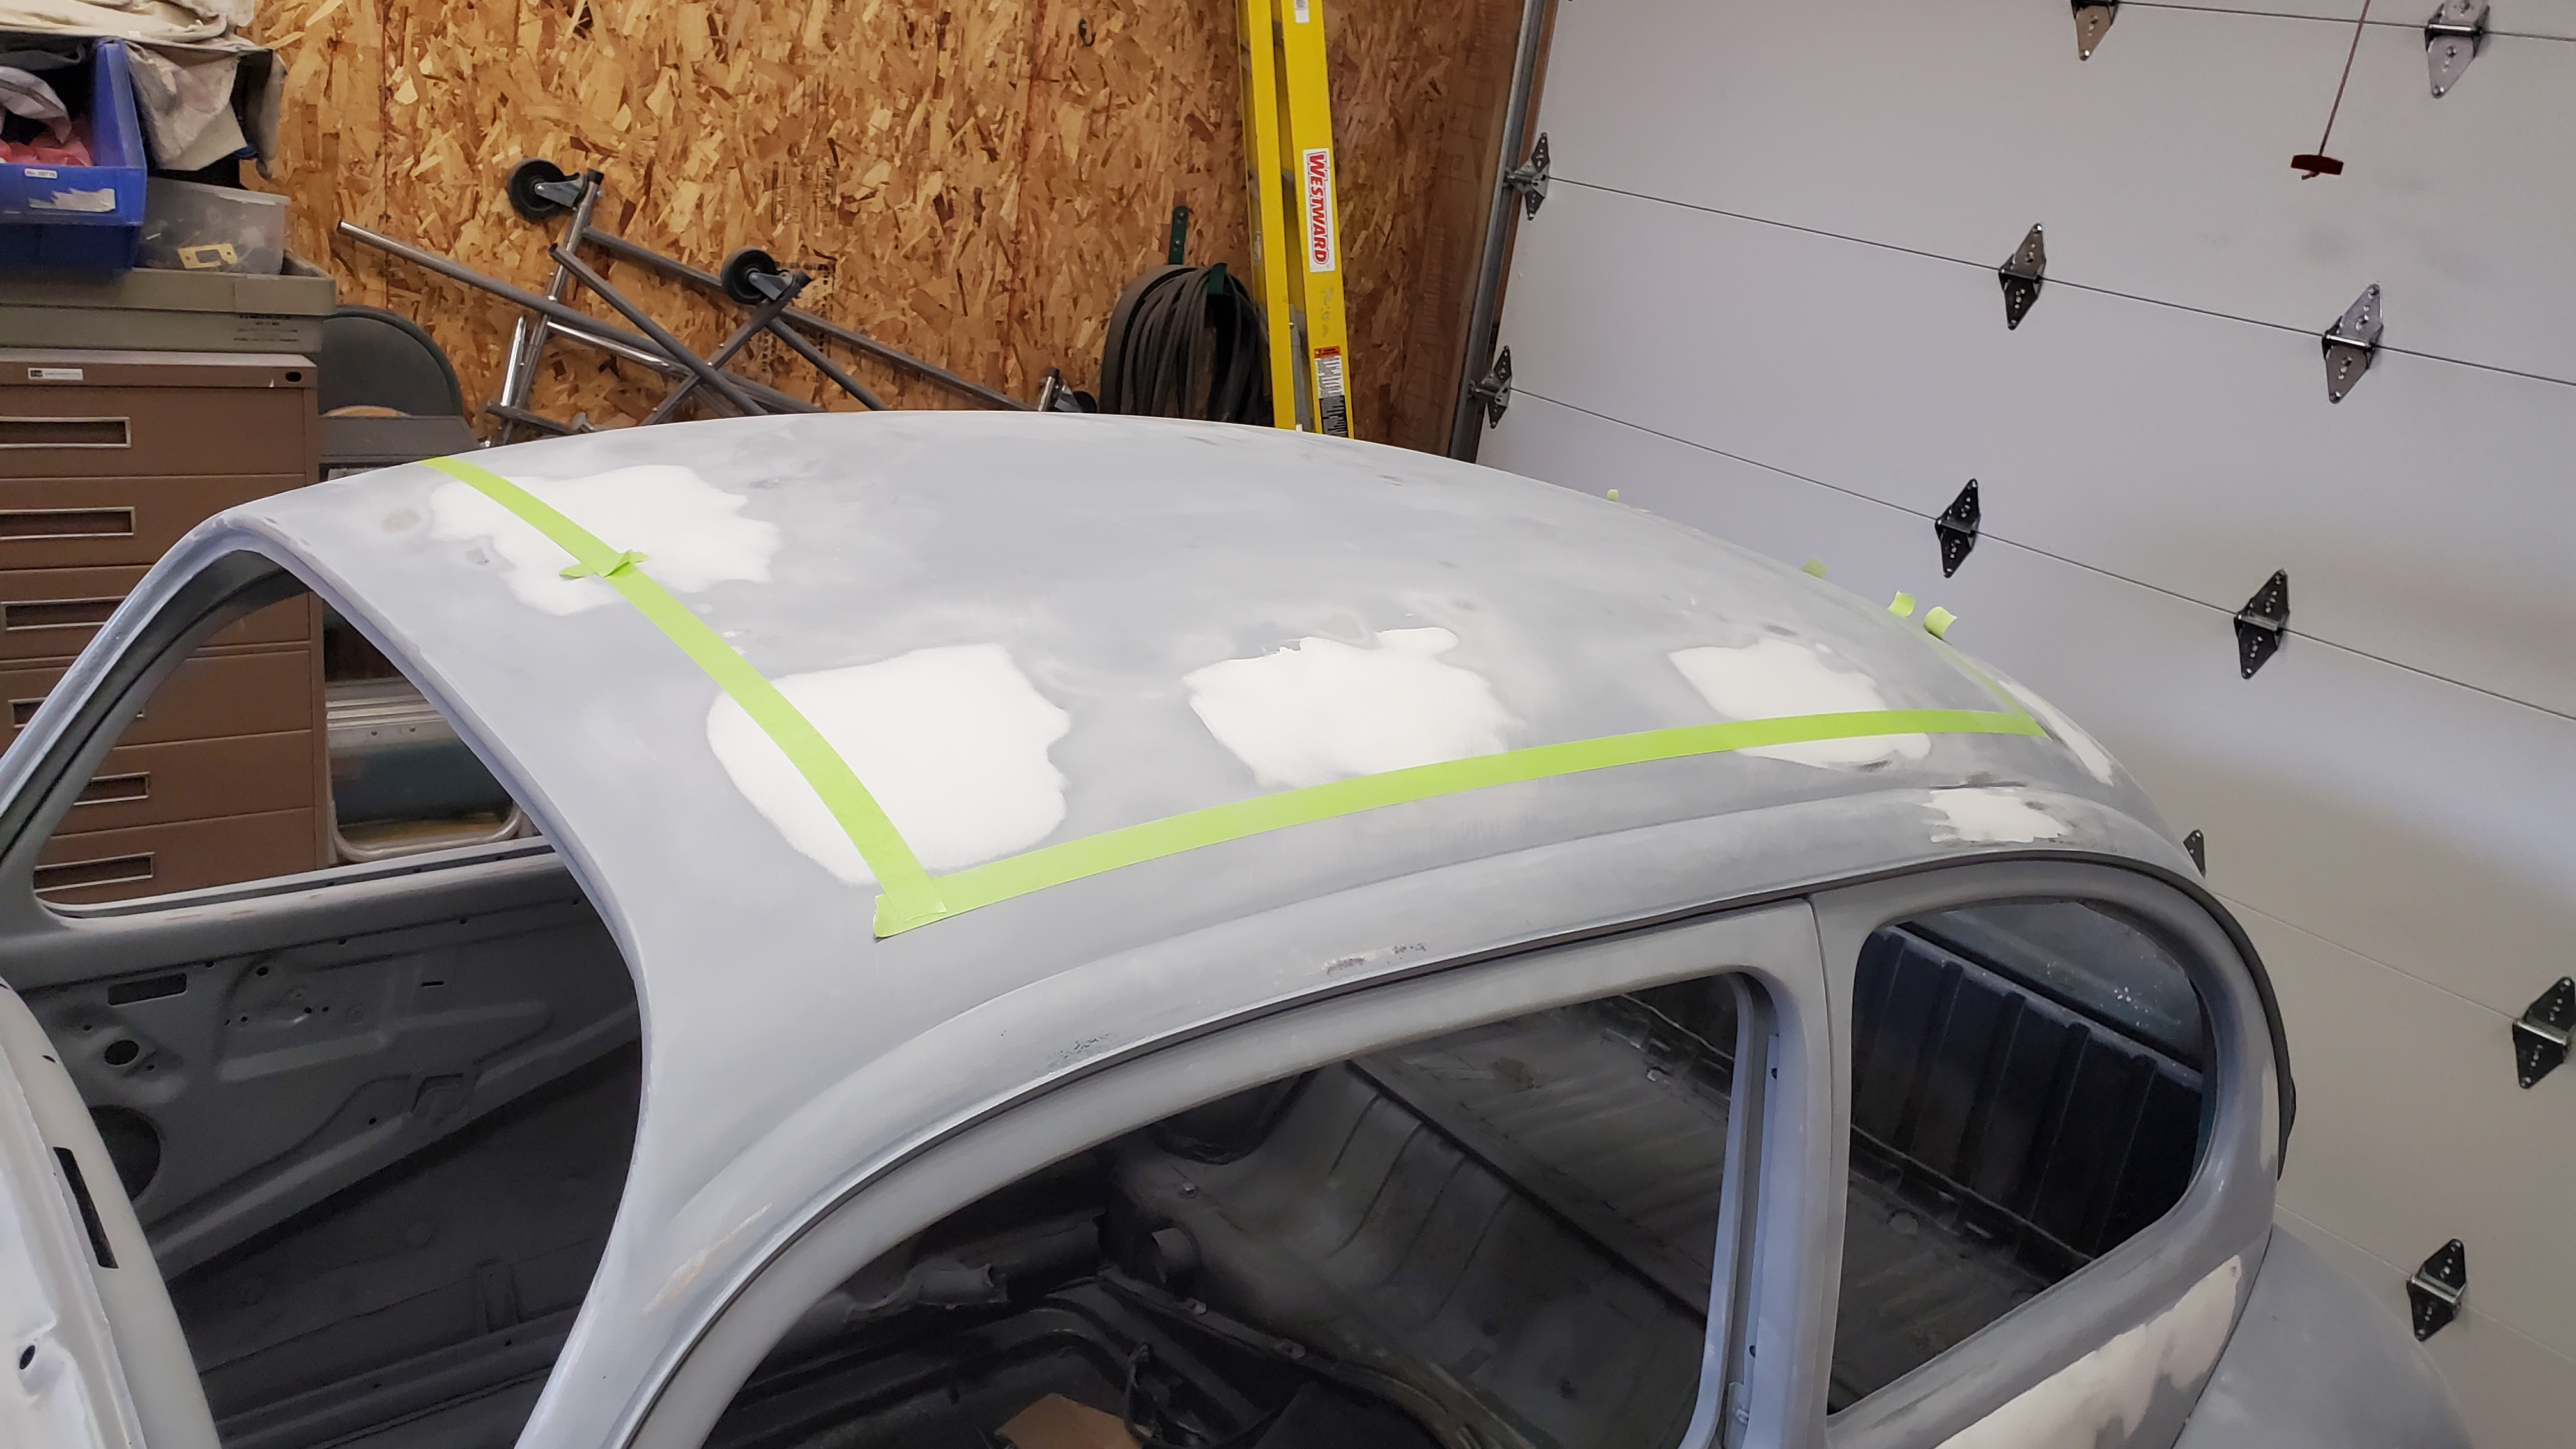
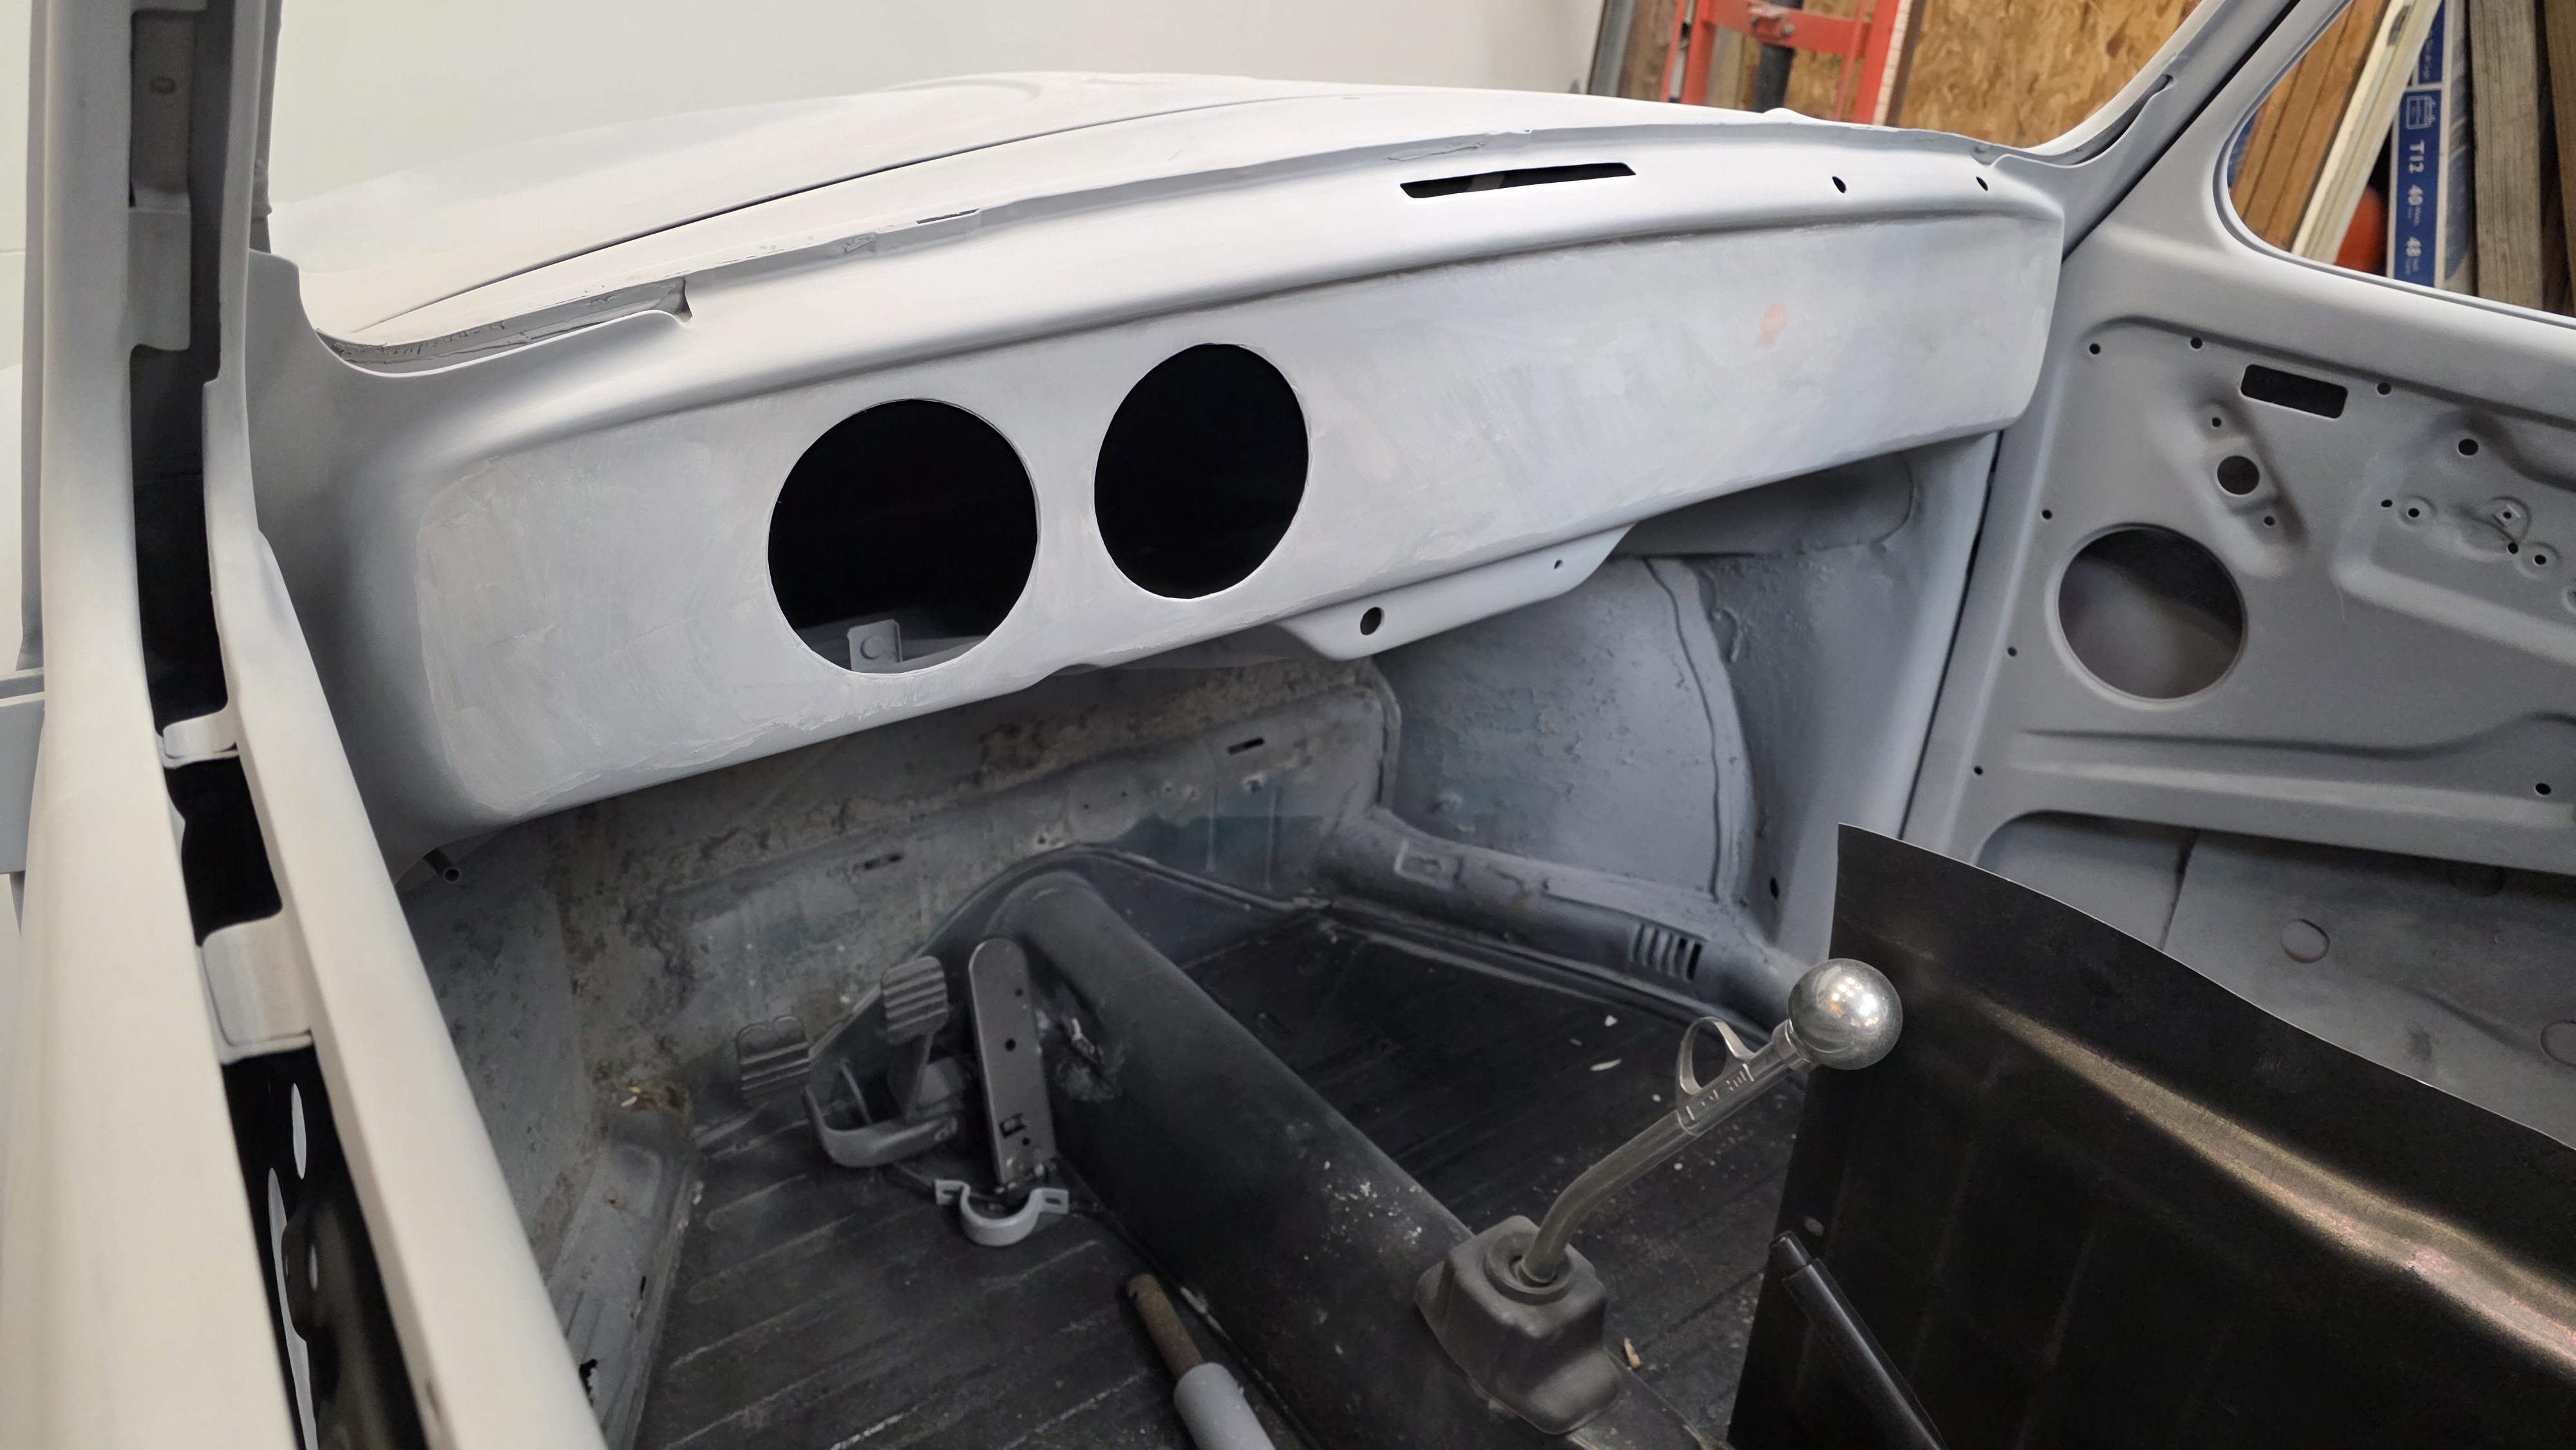
I marked out the size before ordering to make sure I liked the size. There are a few options on sizing aftermarket, and a couple brands to choose from.

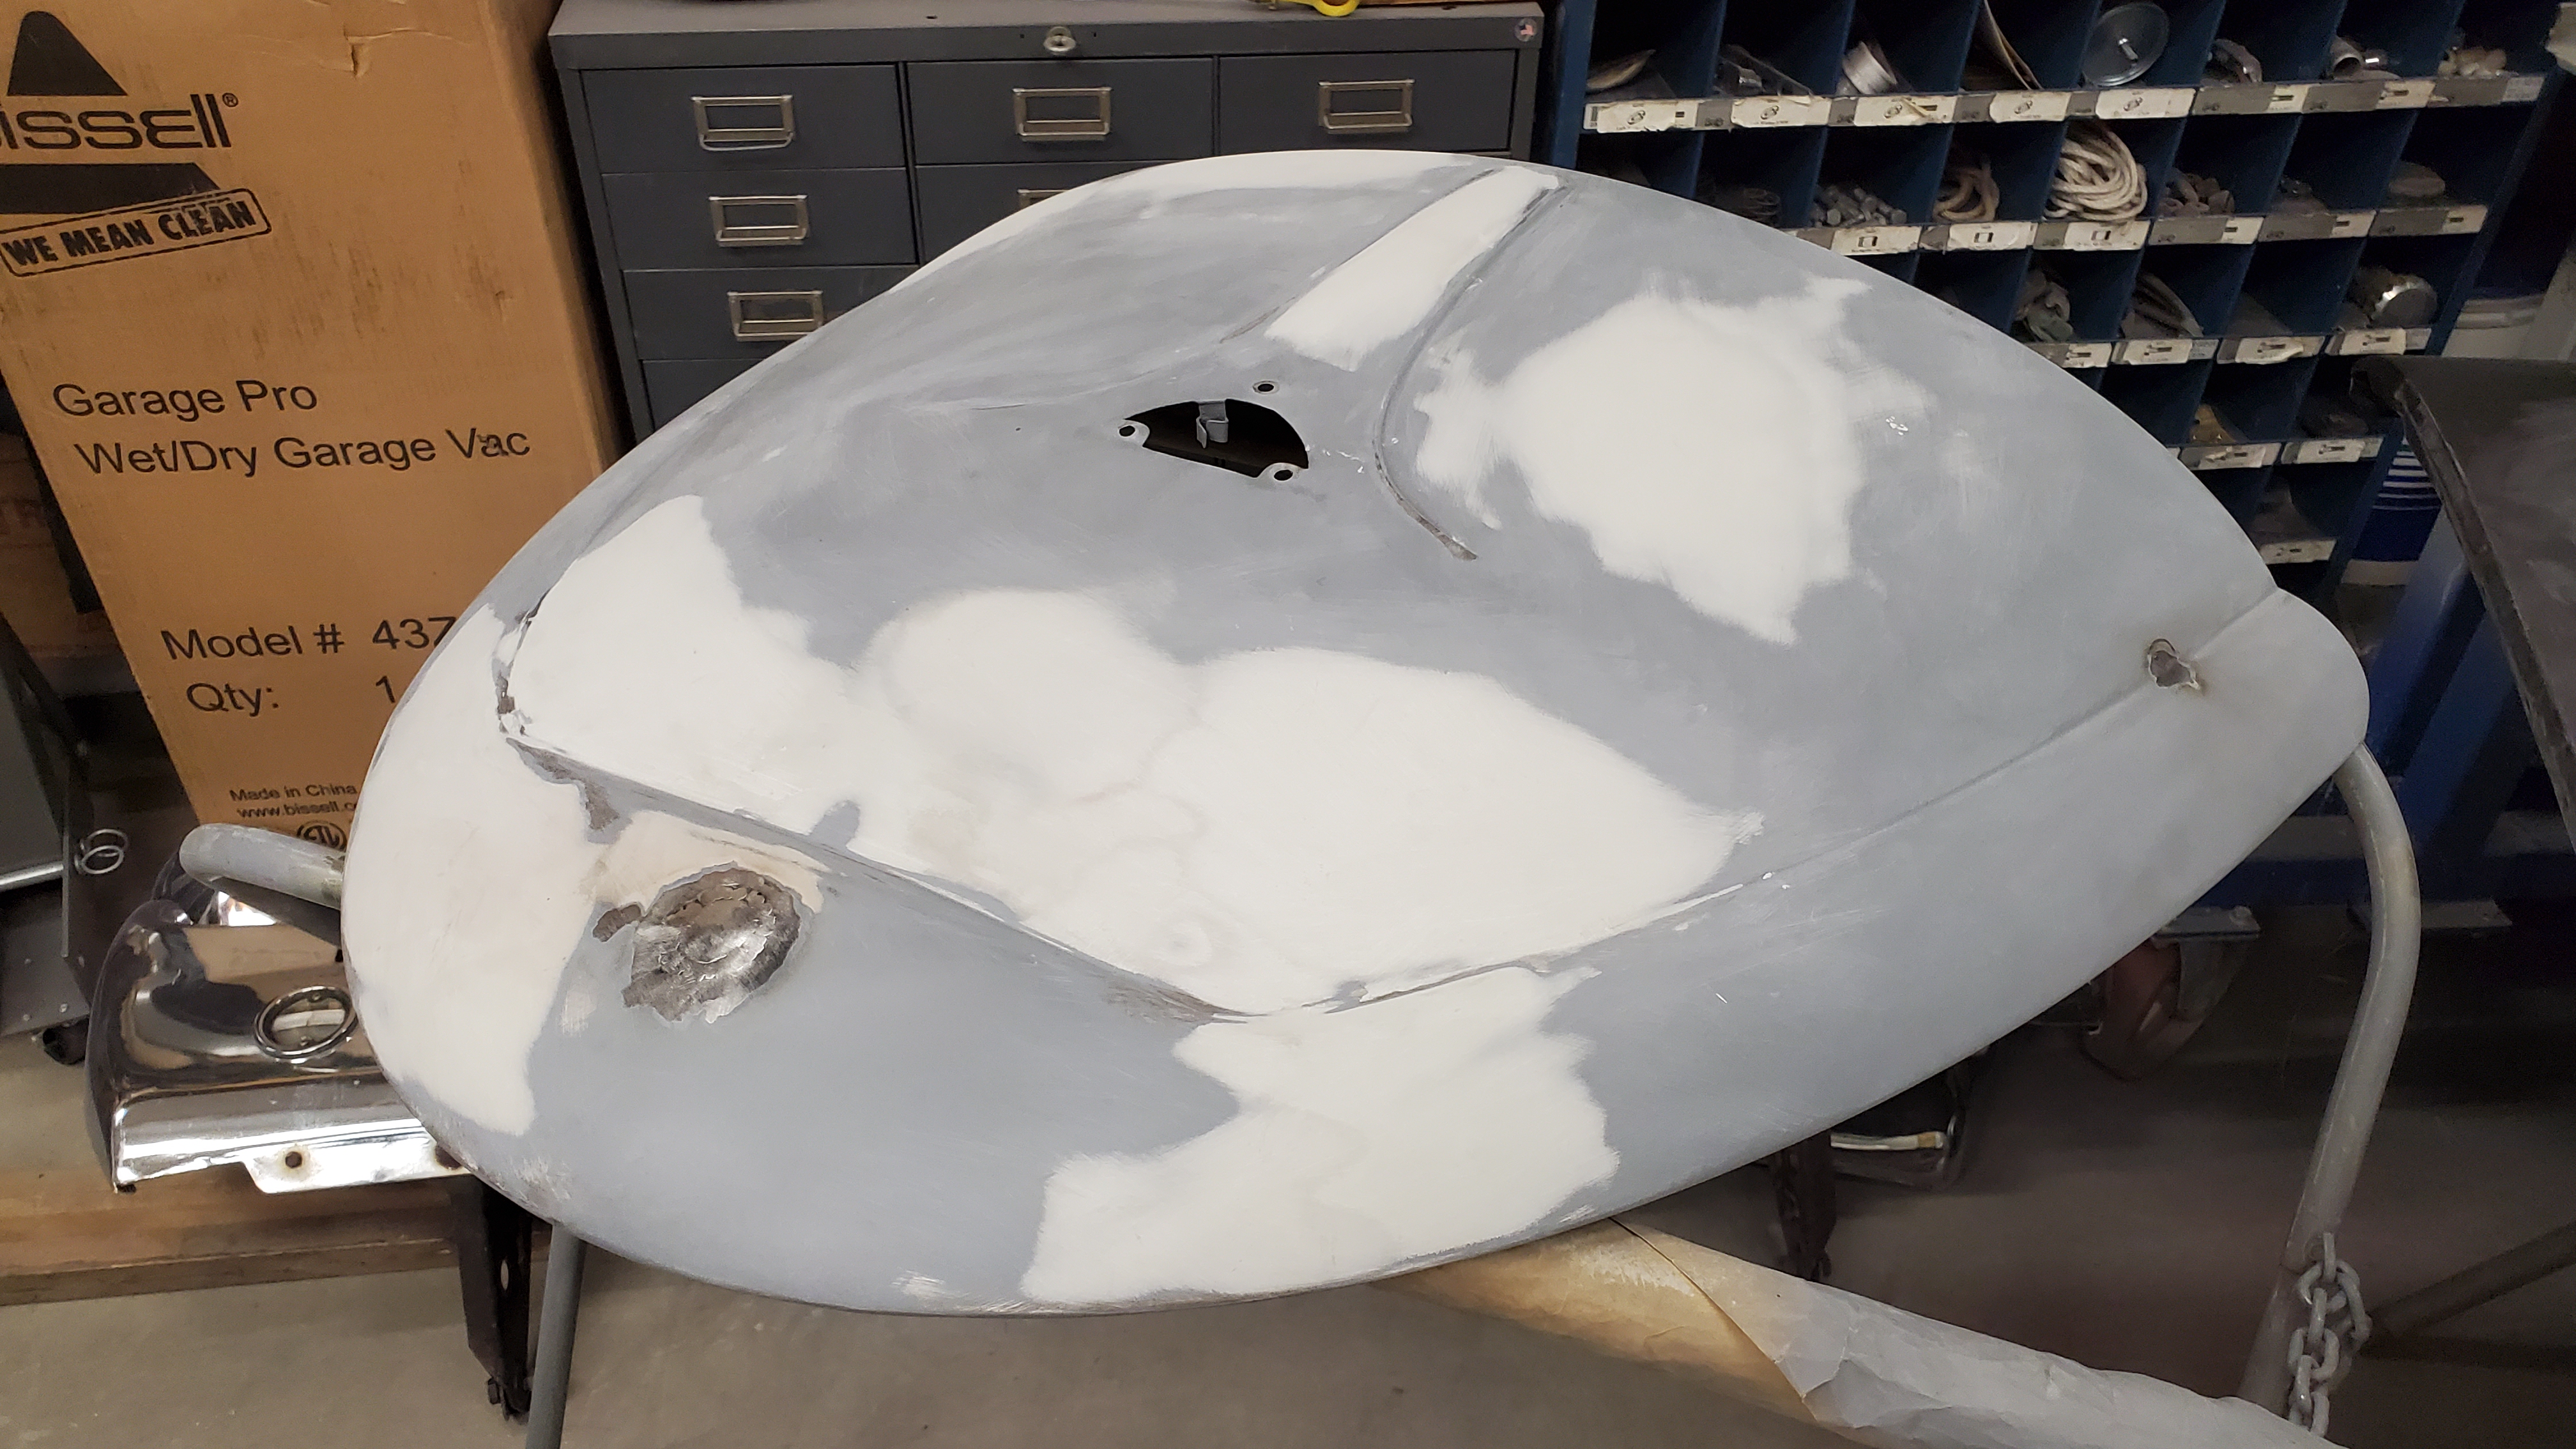
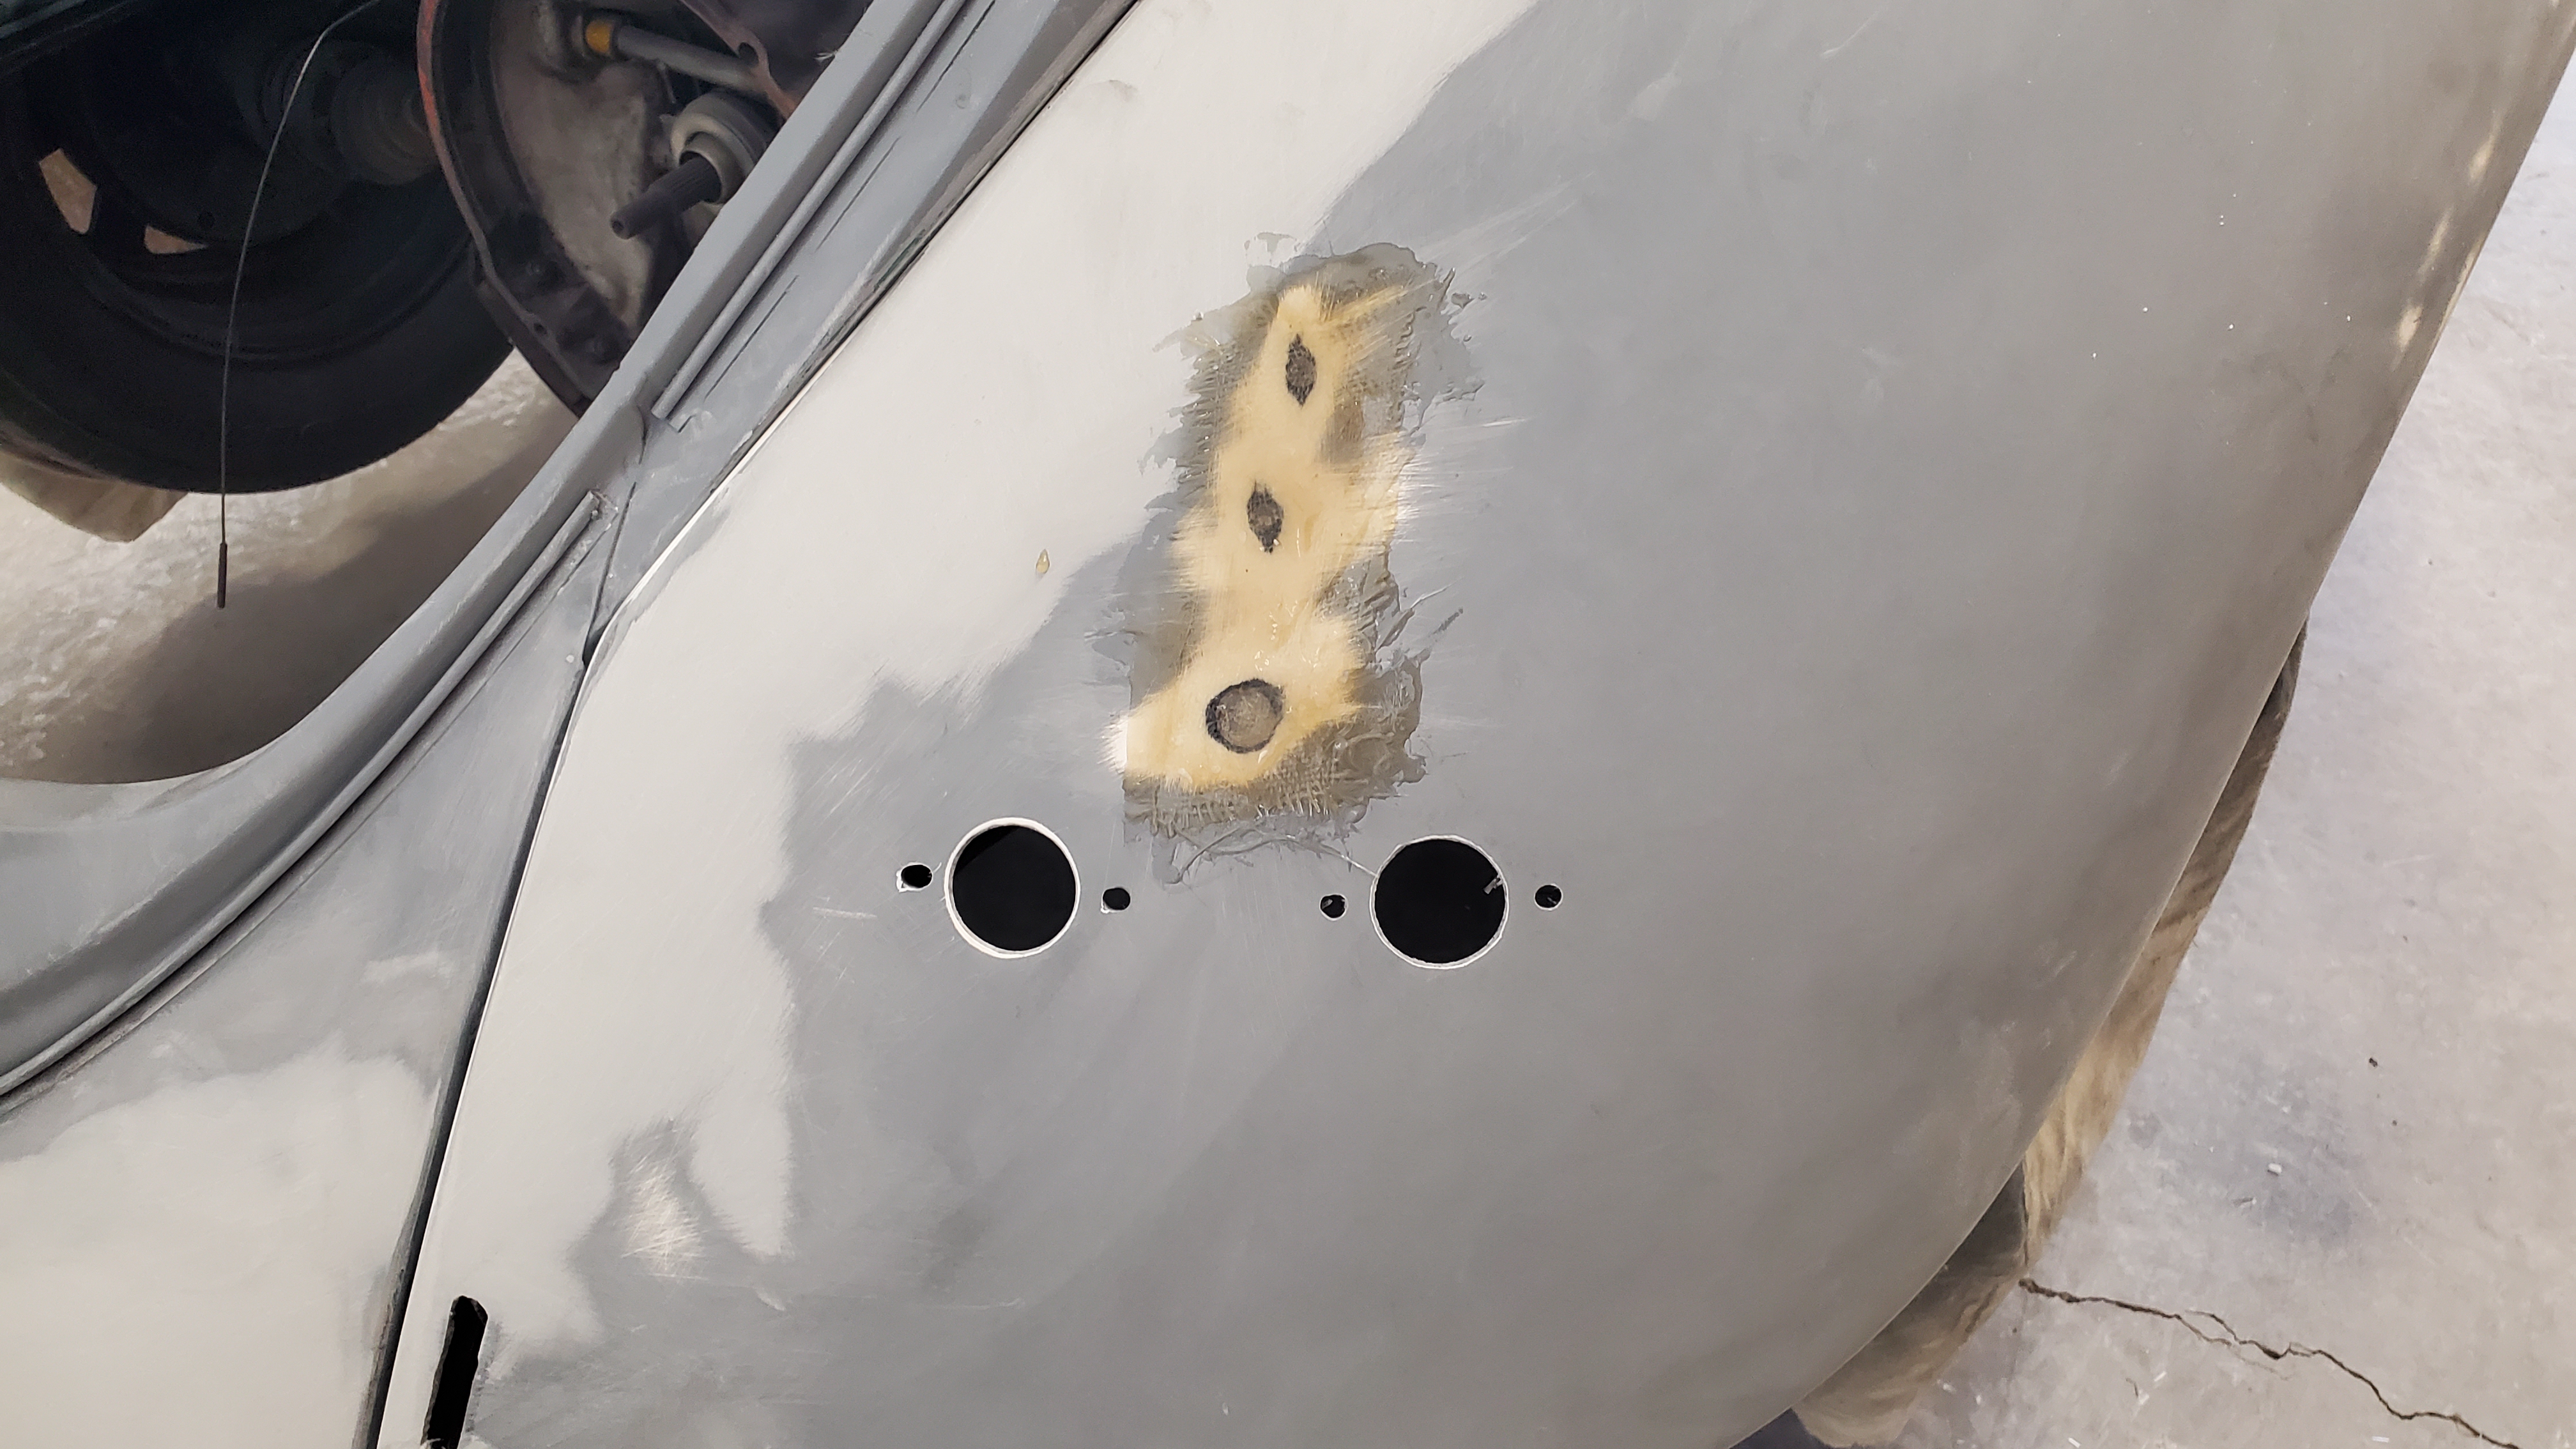
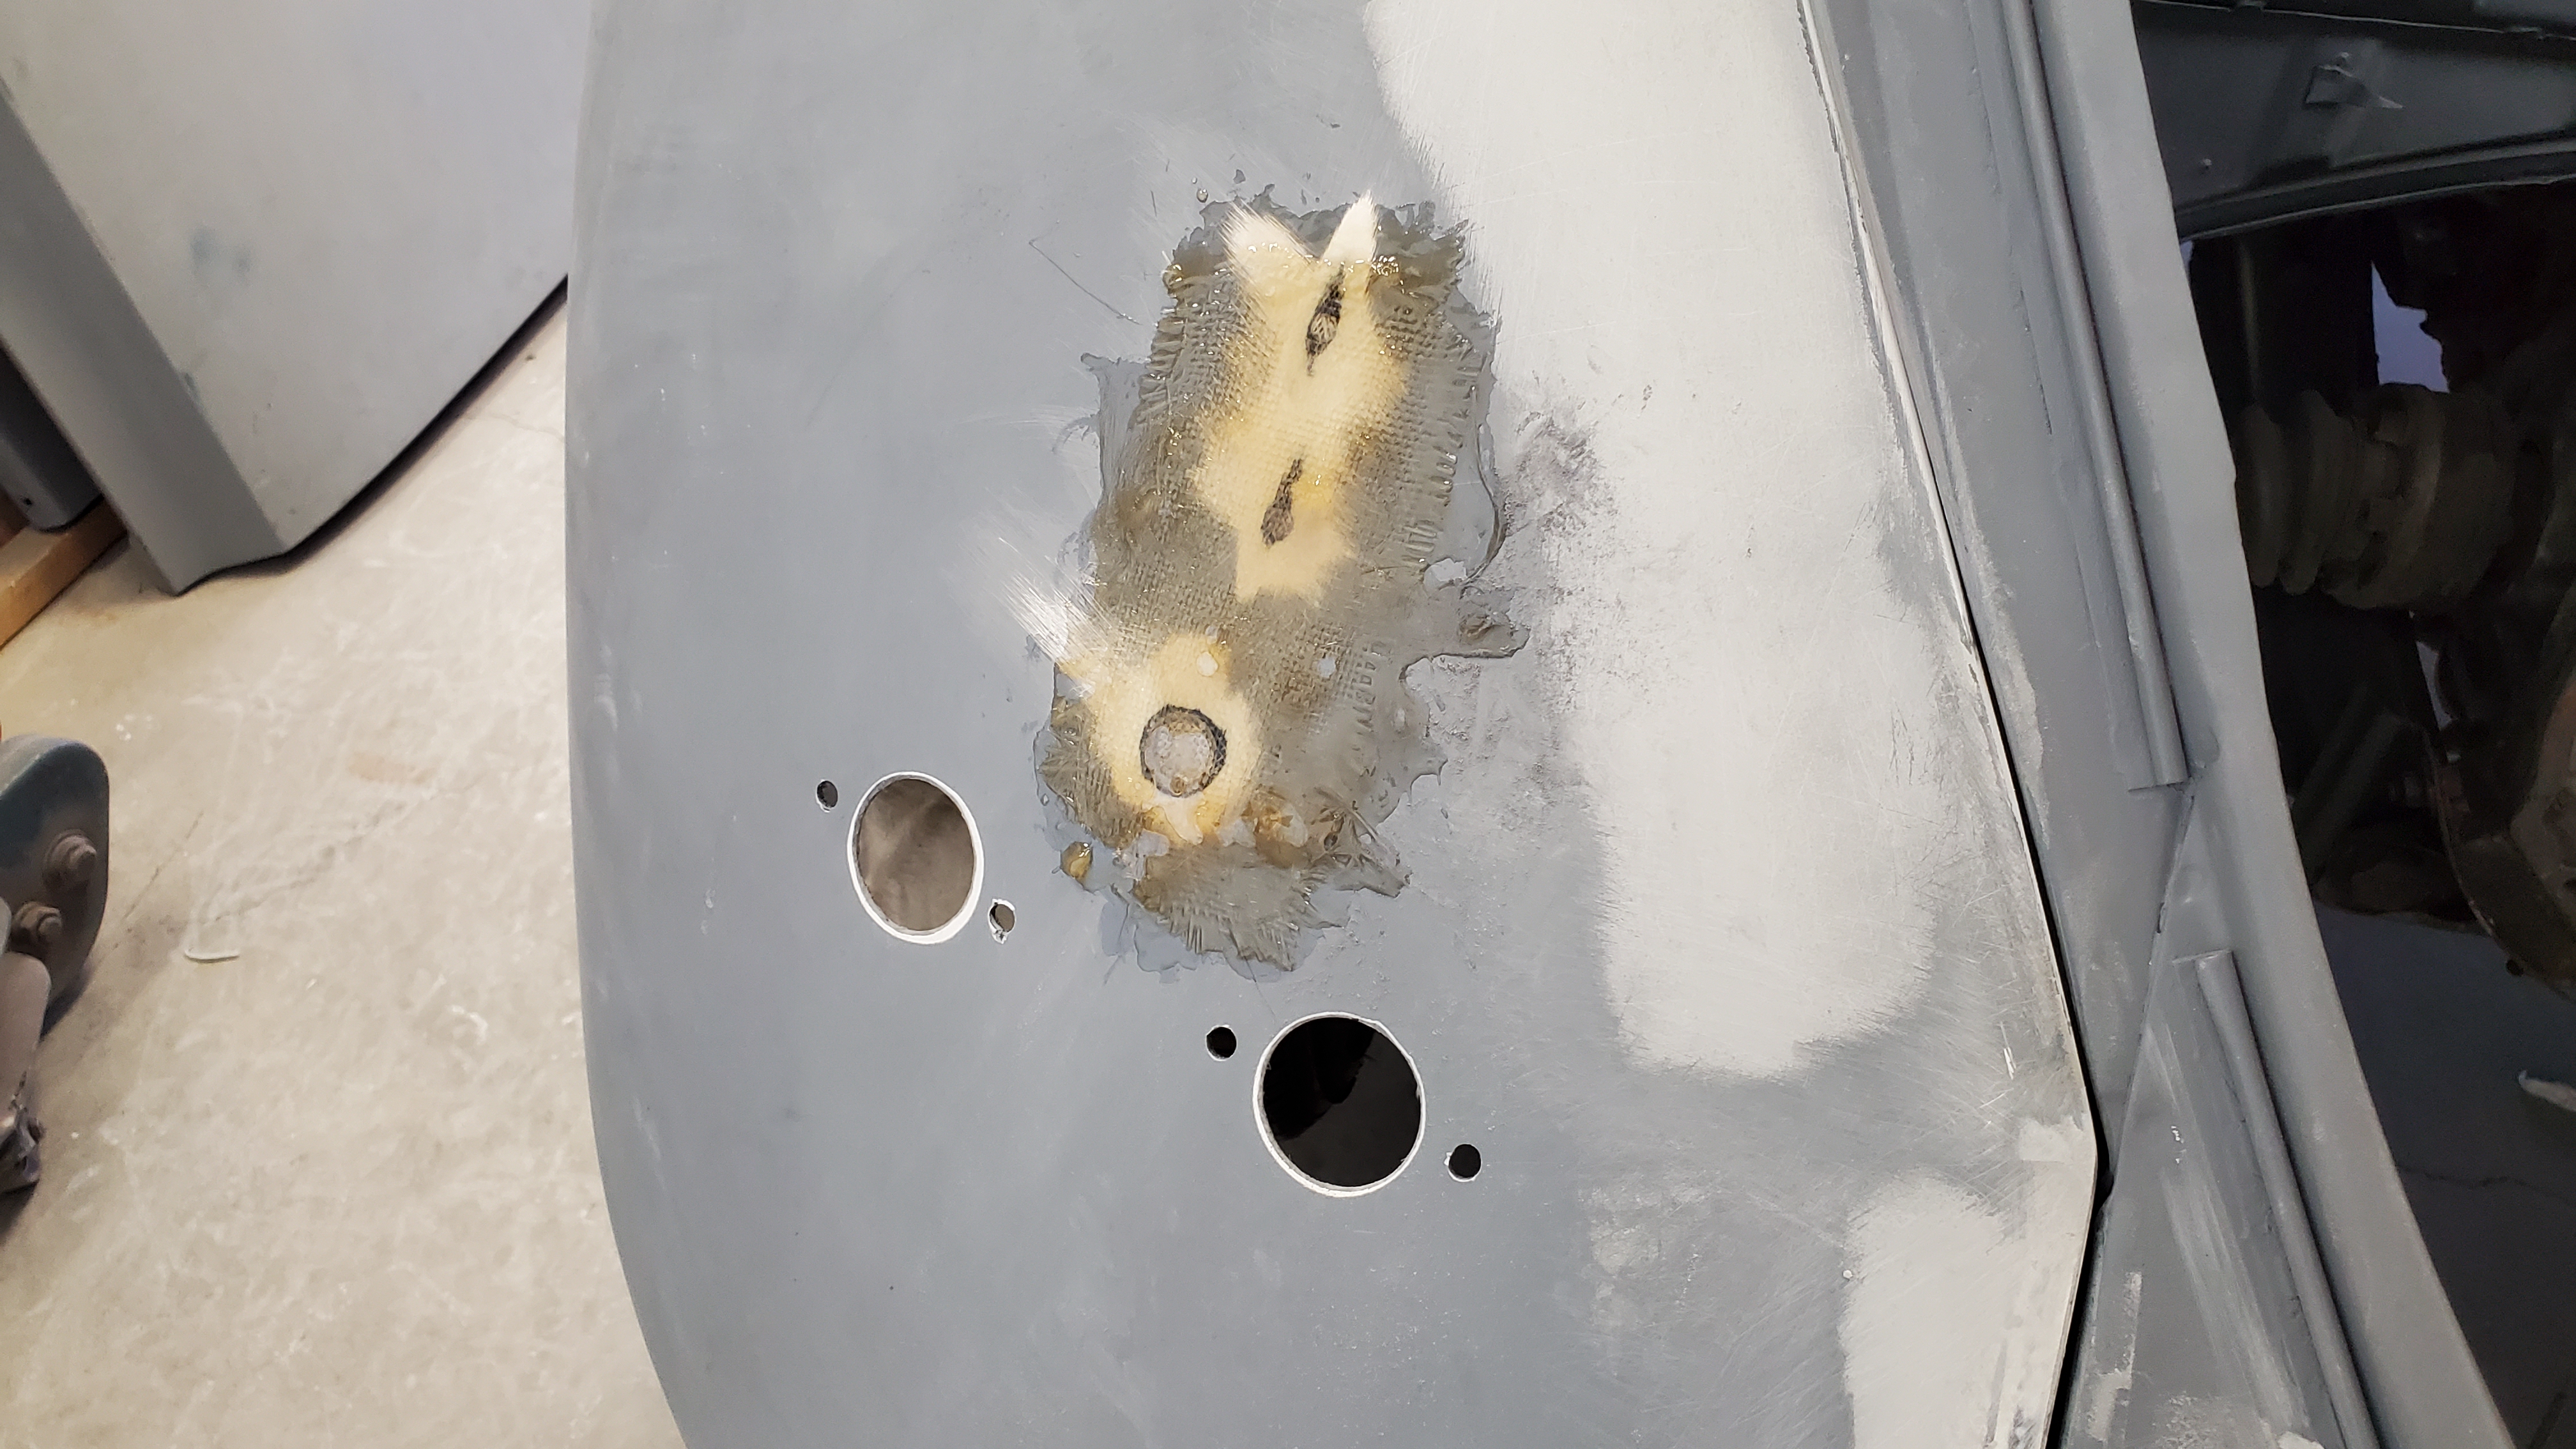
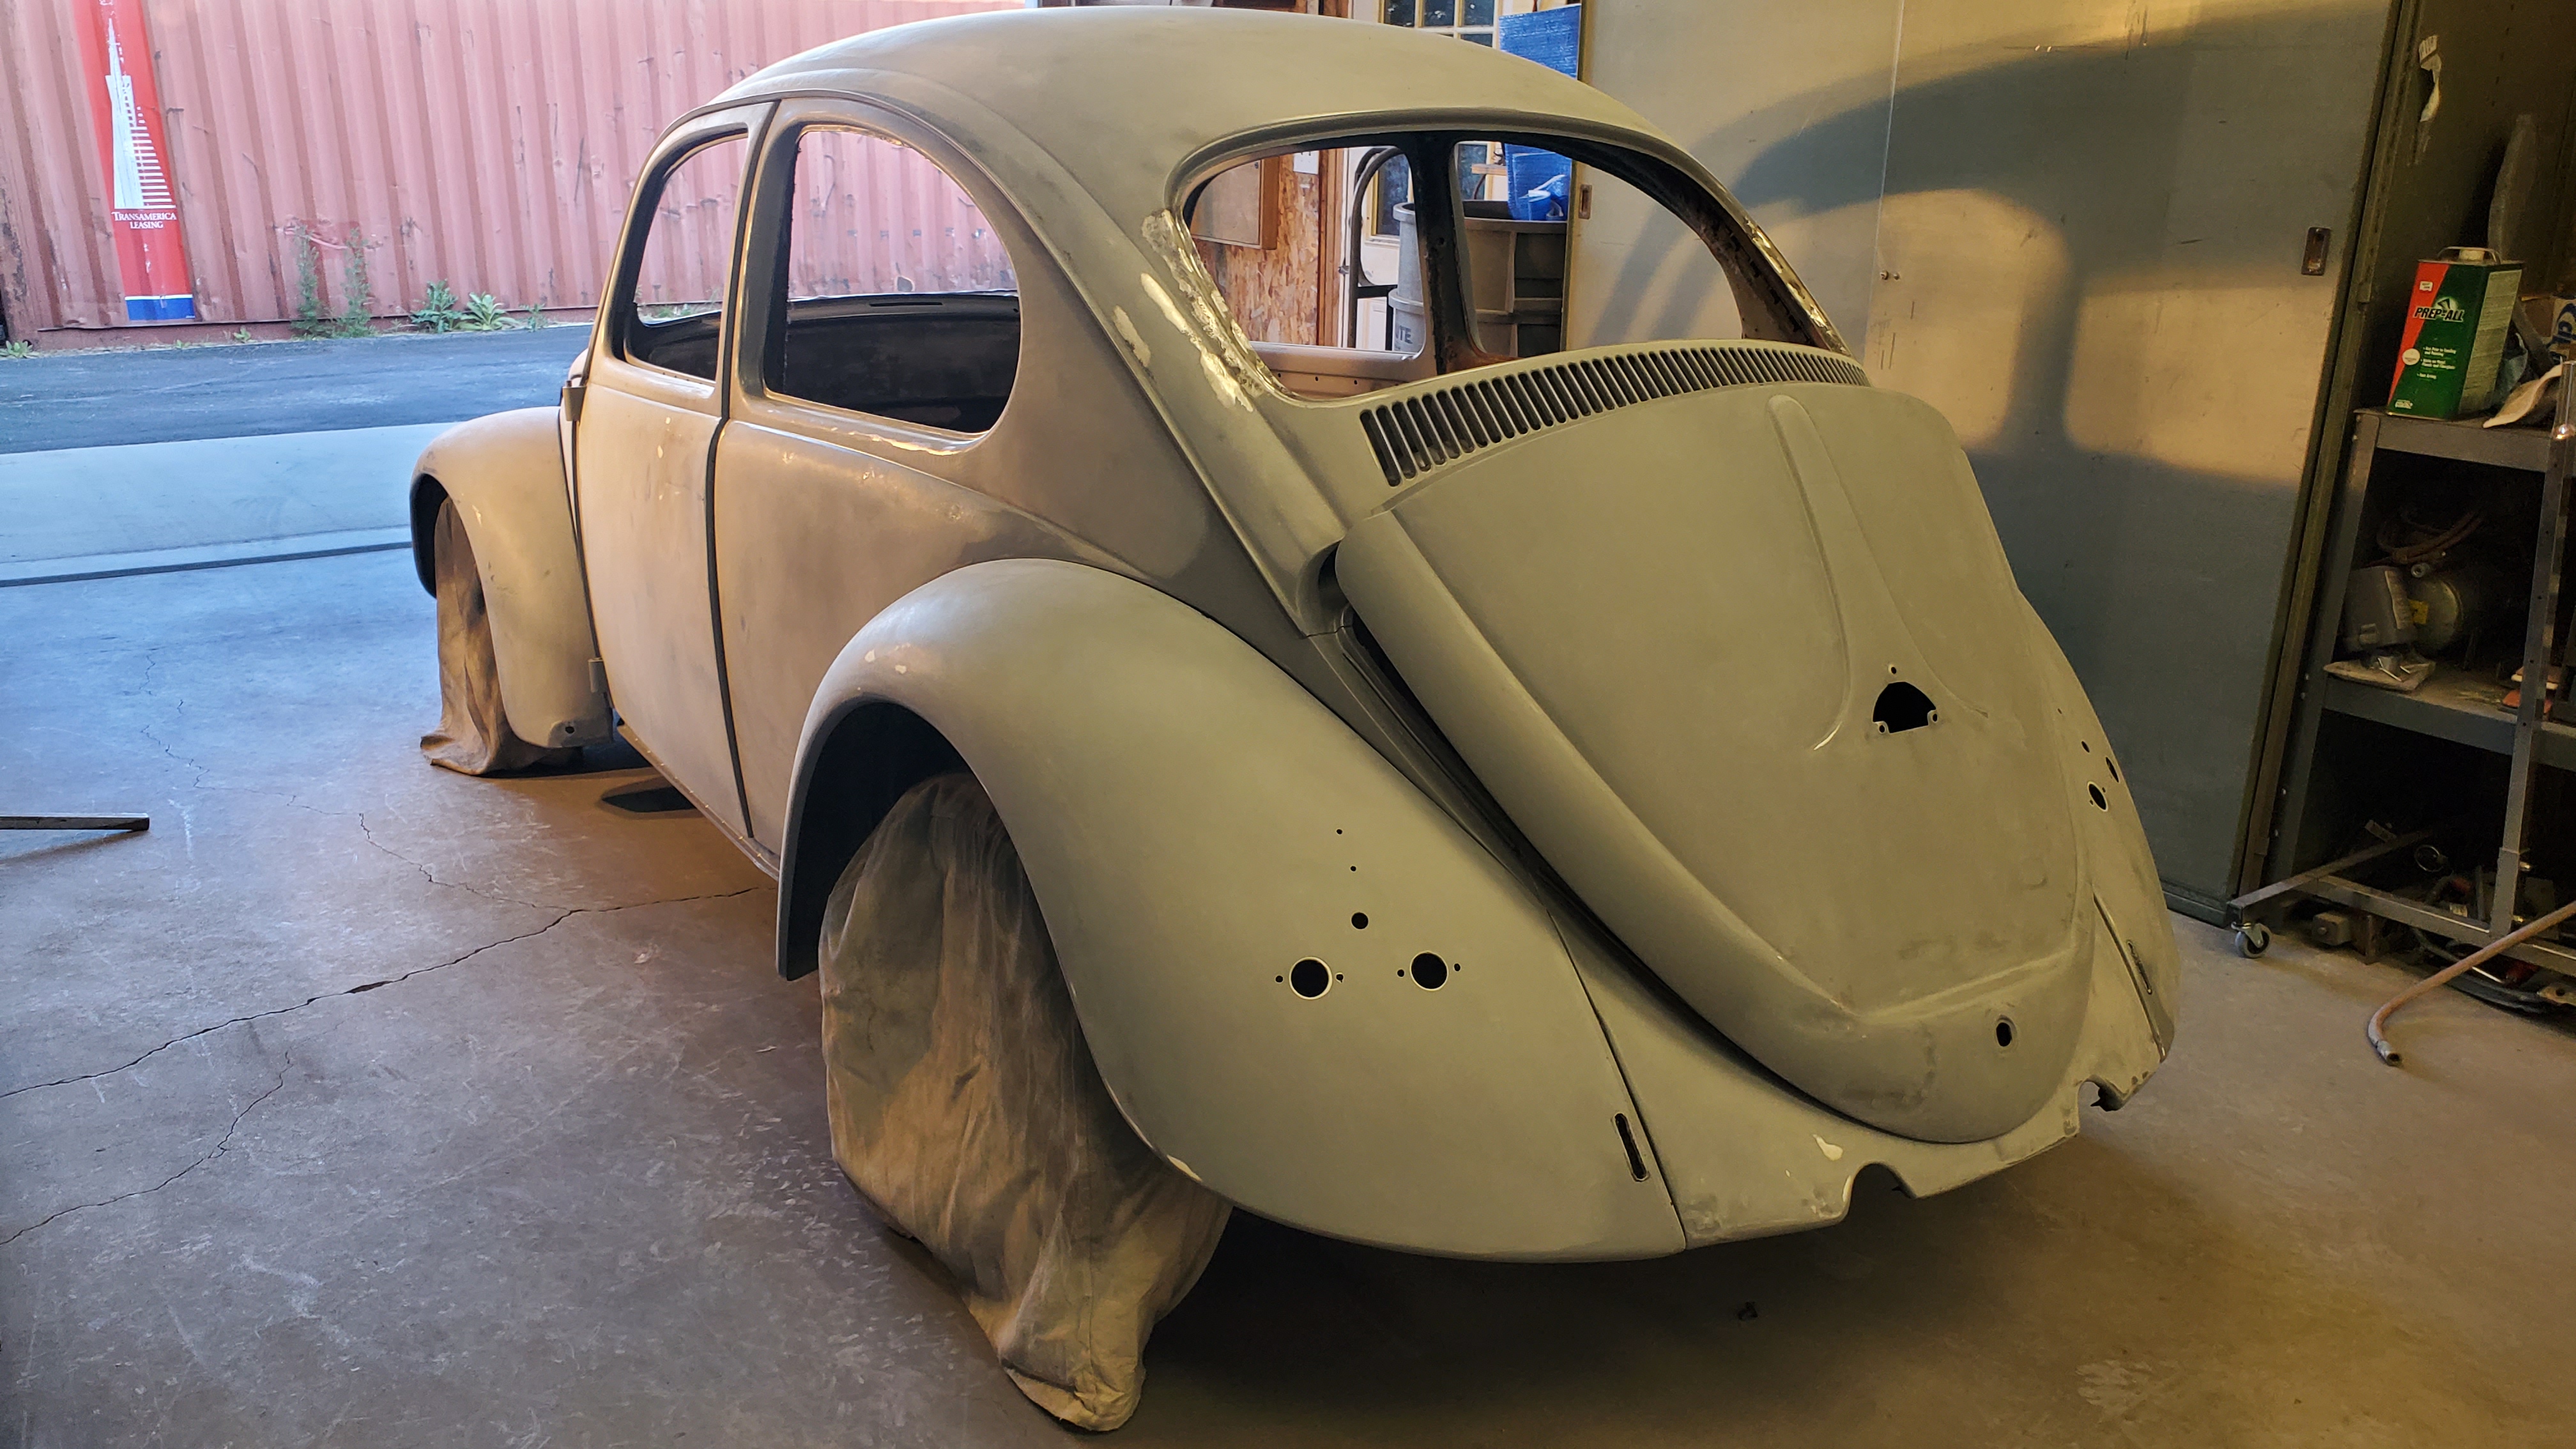
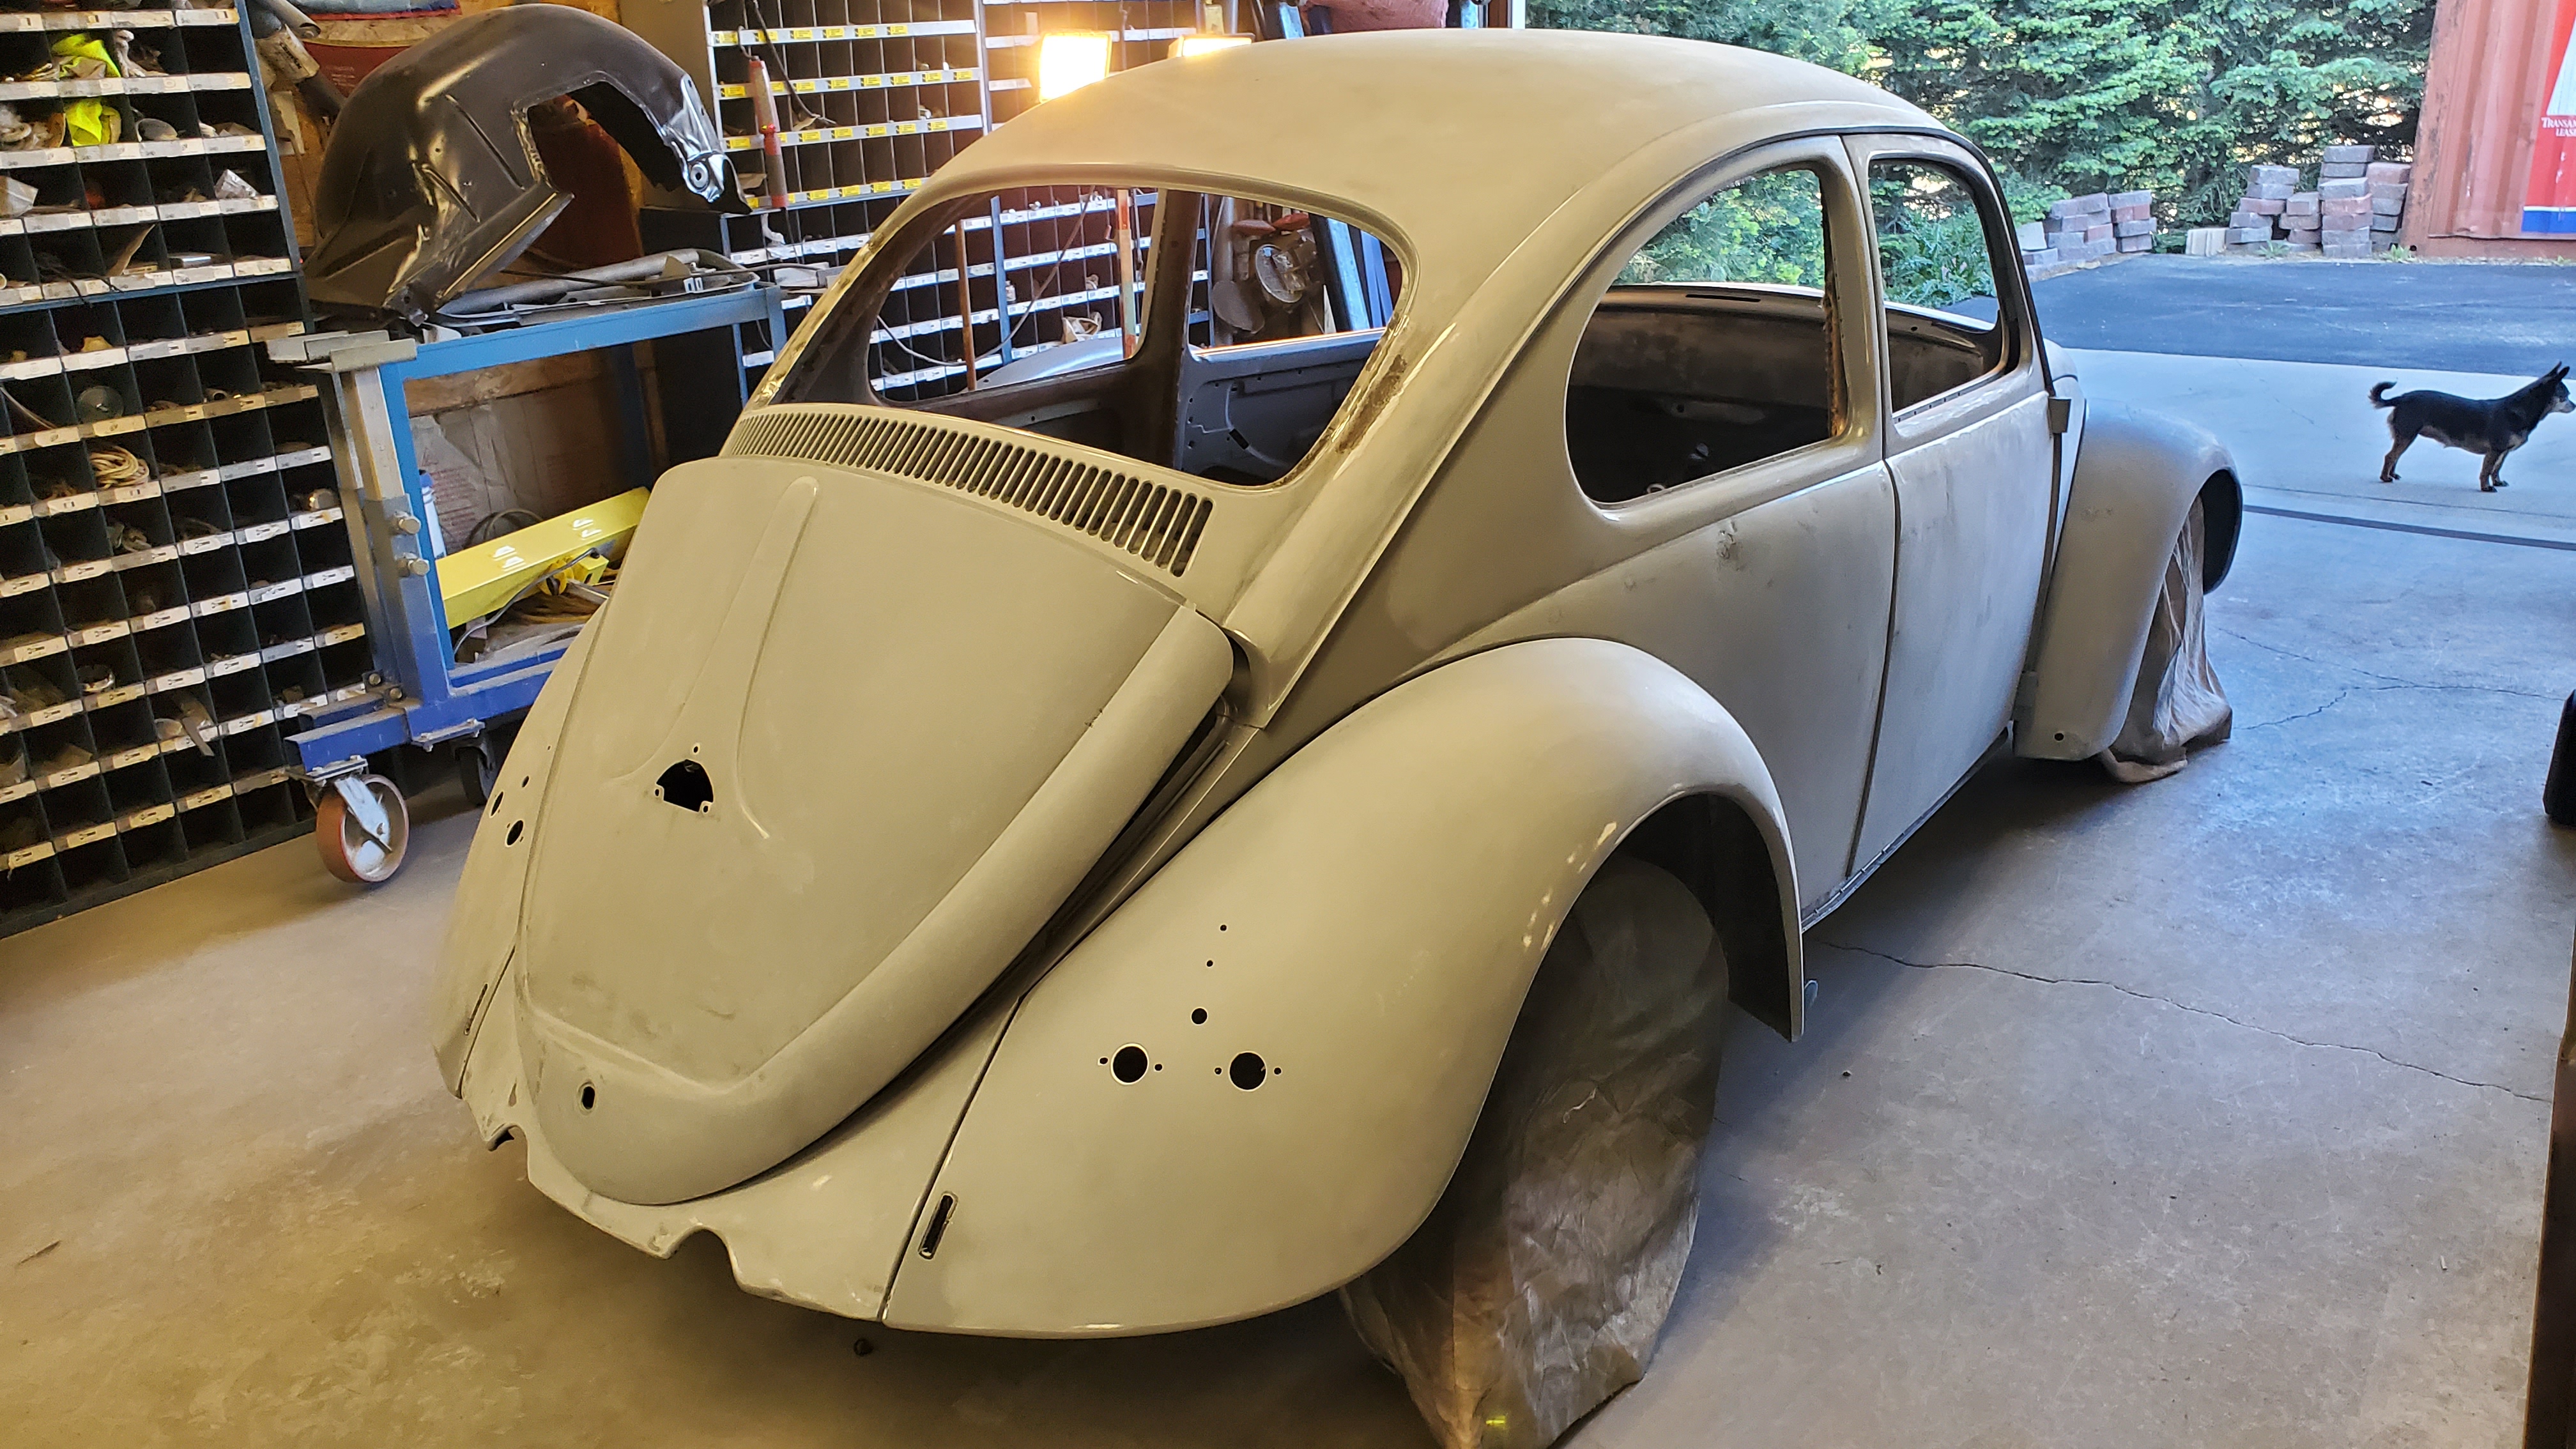
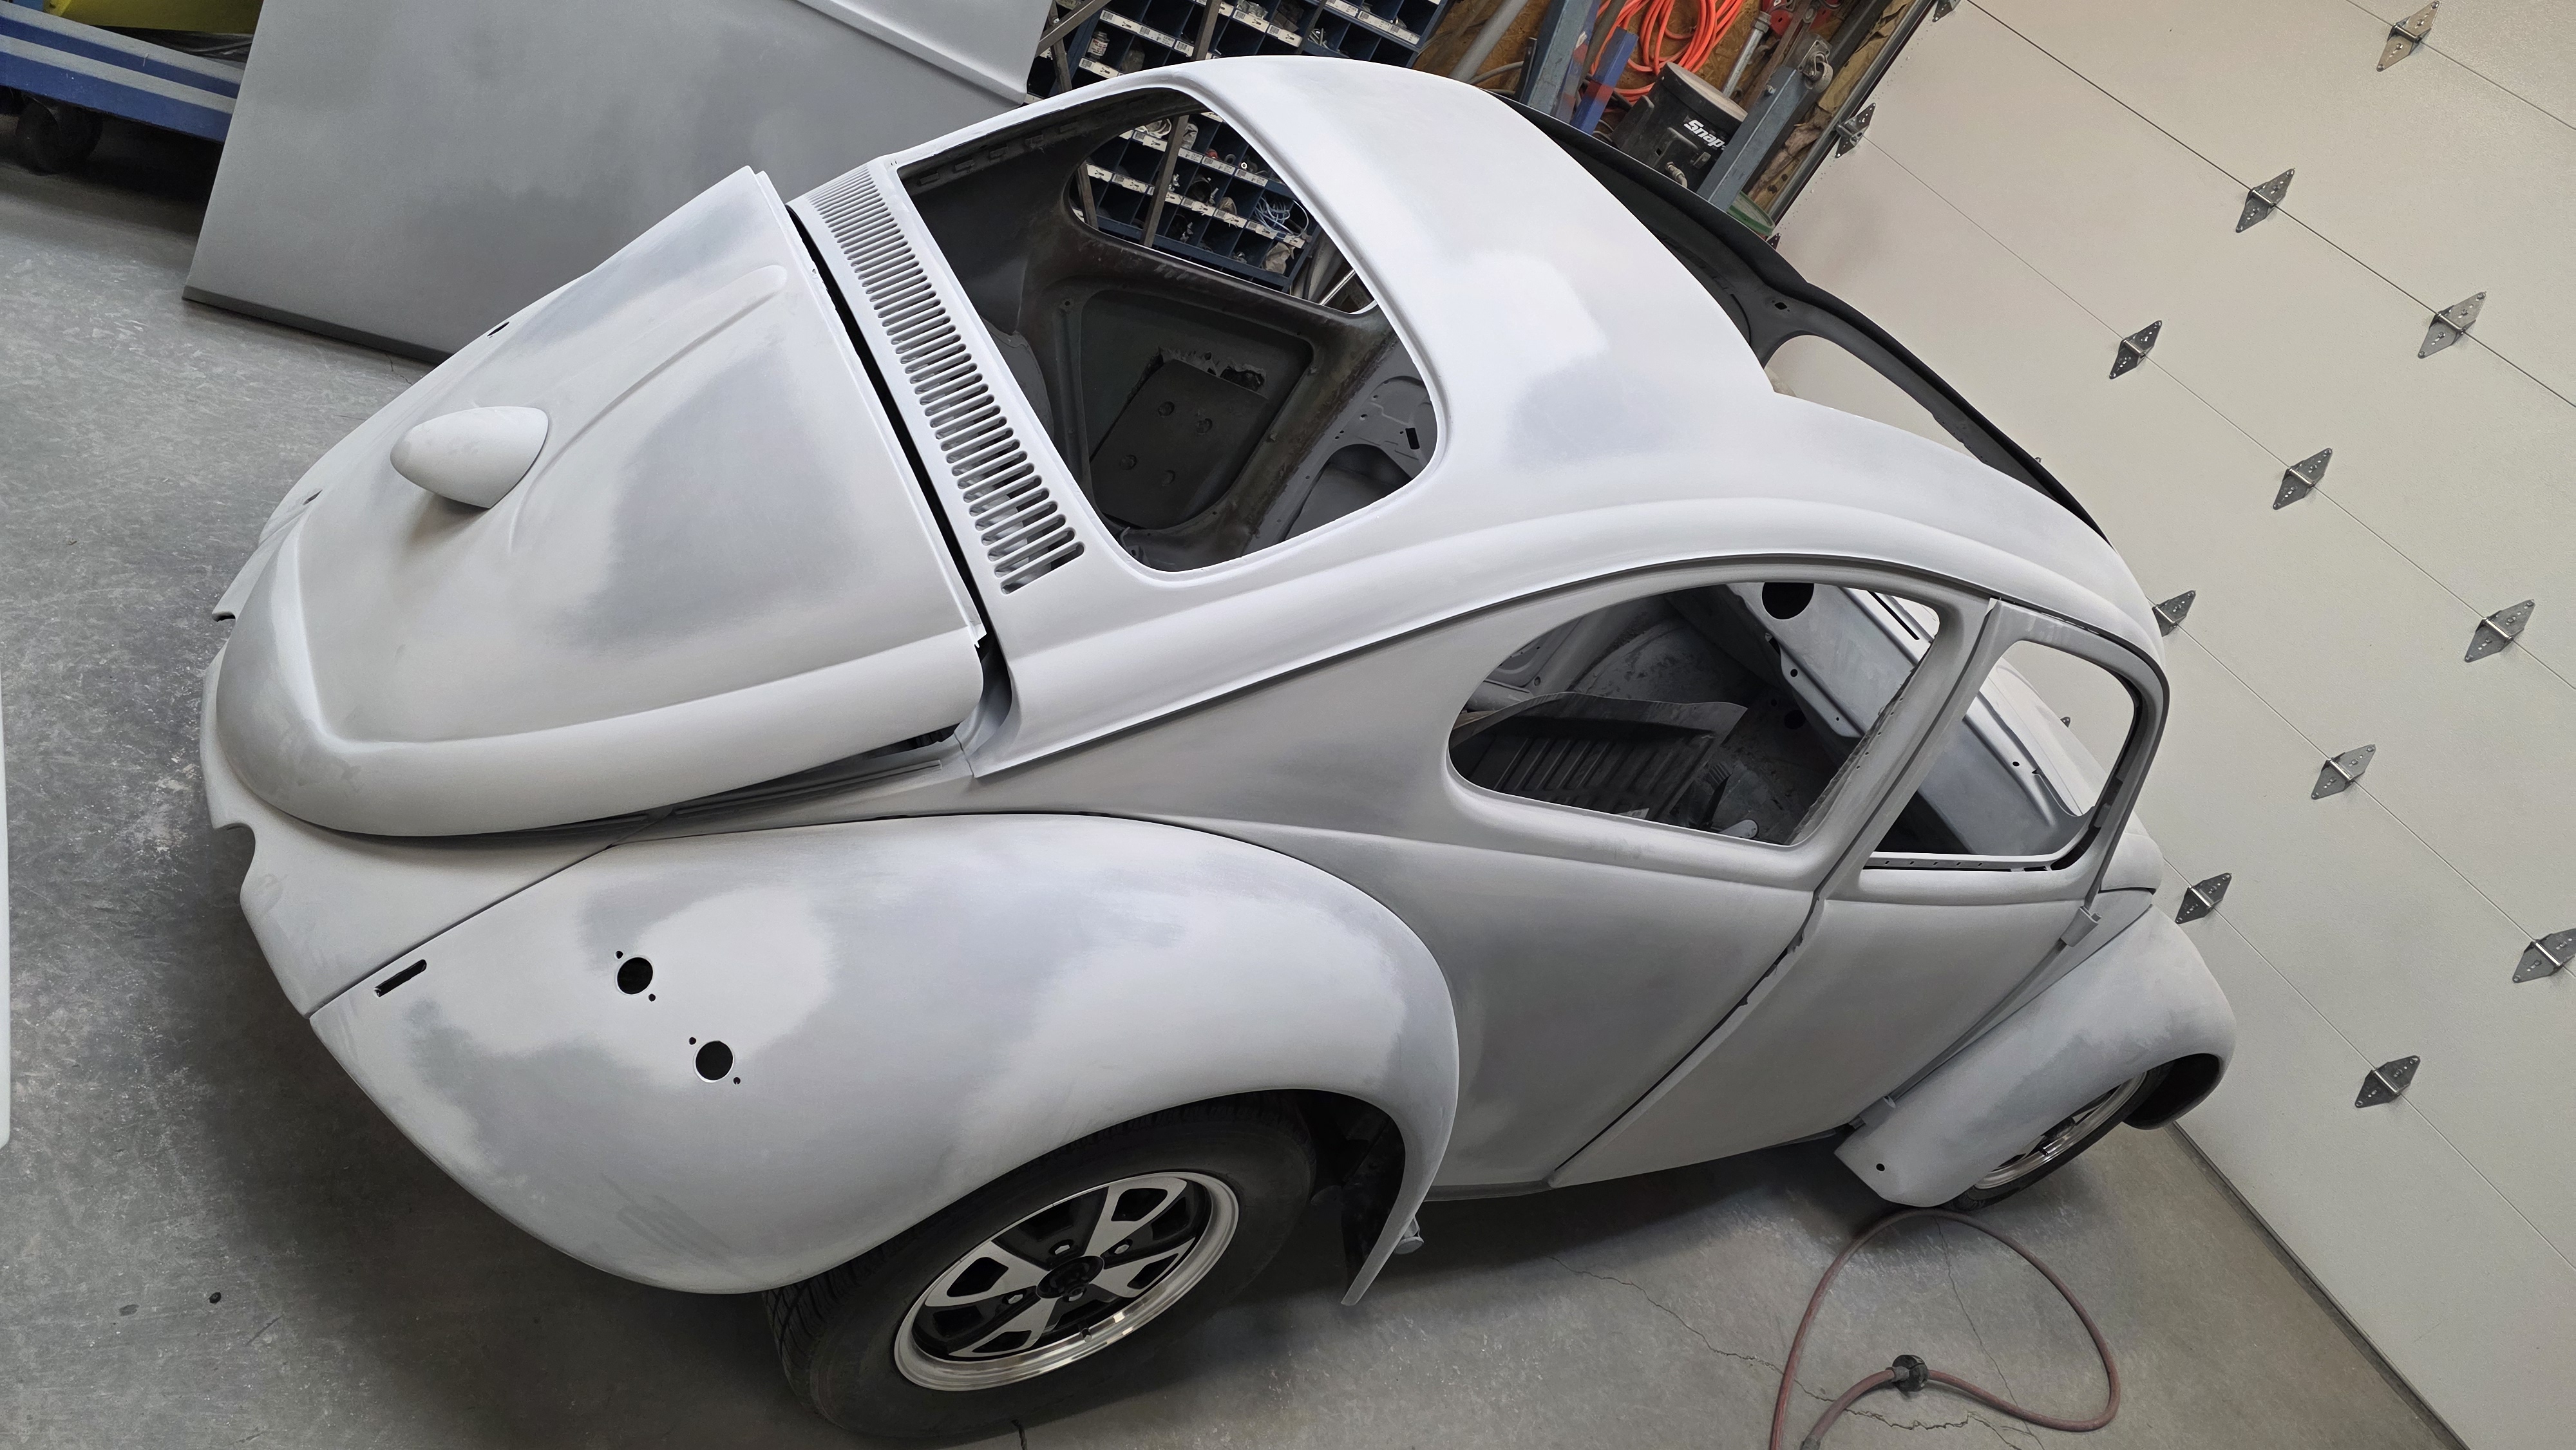
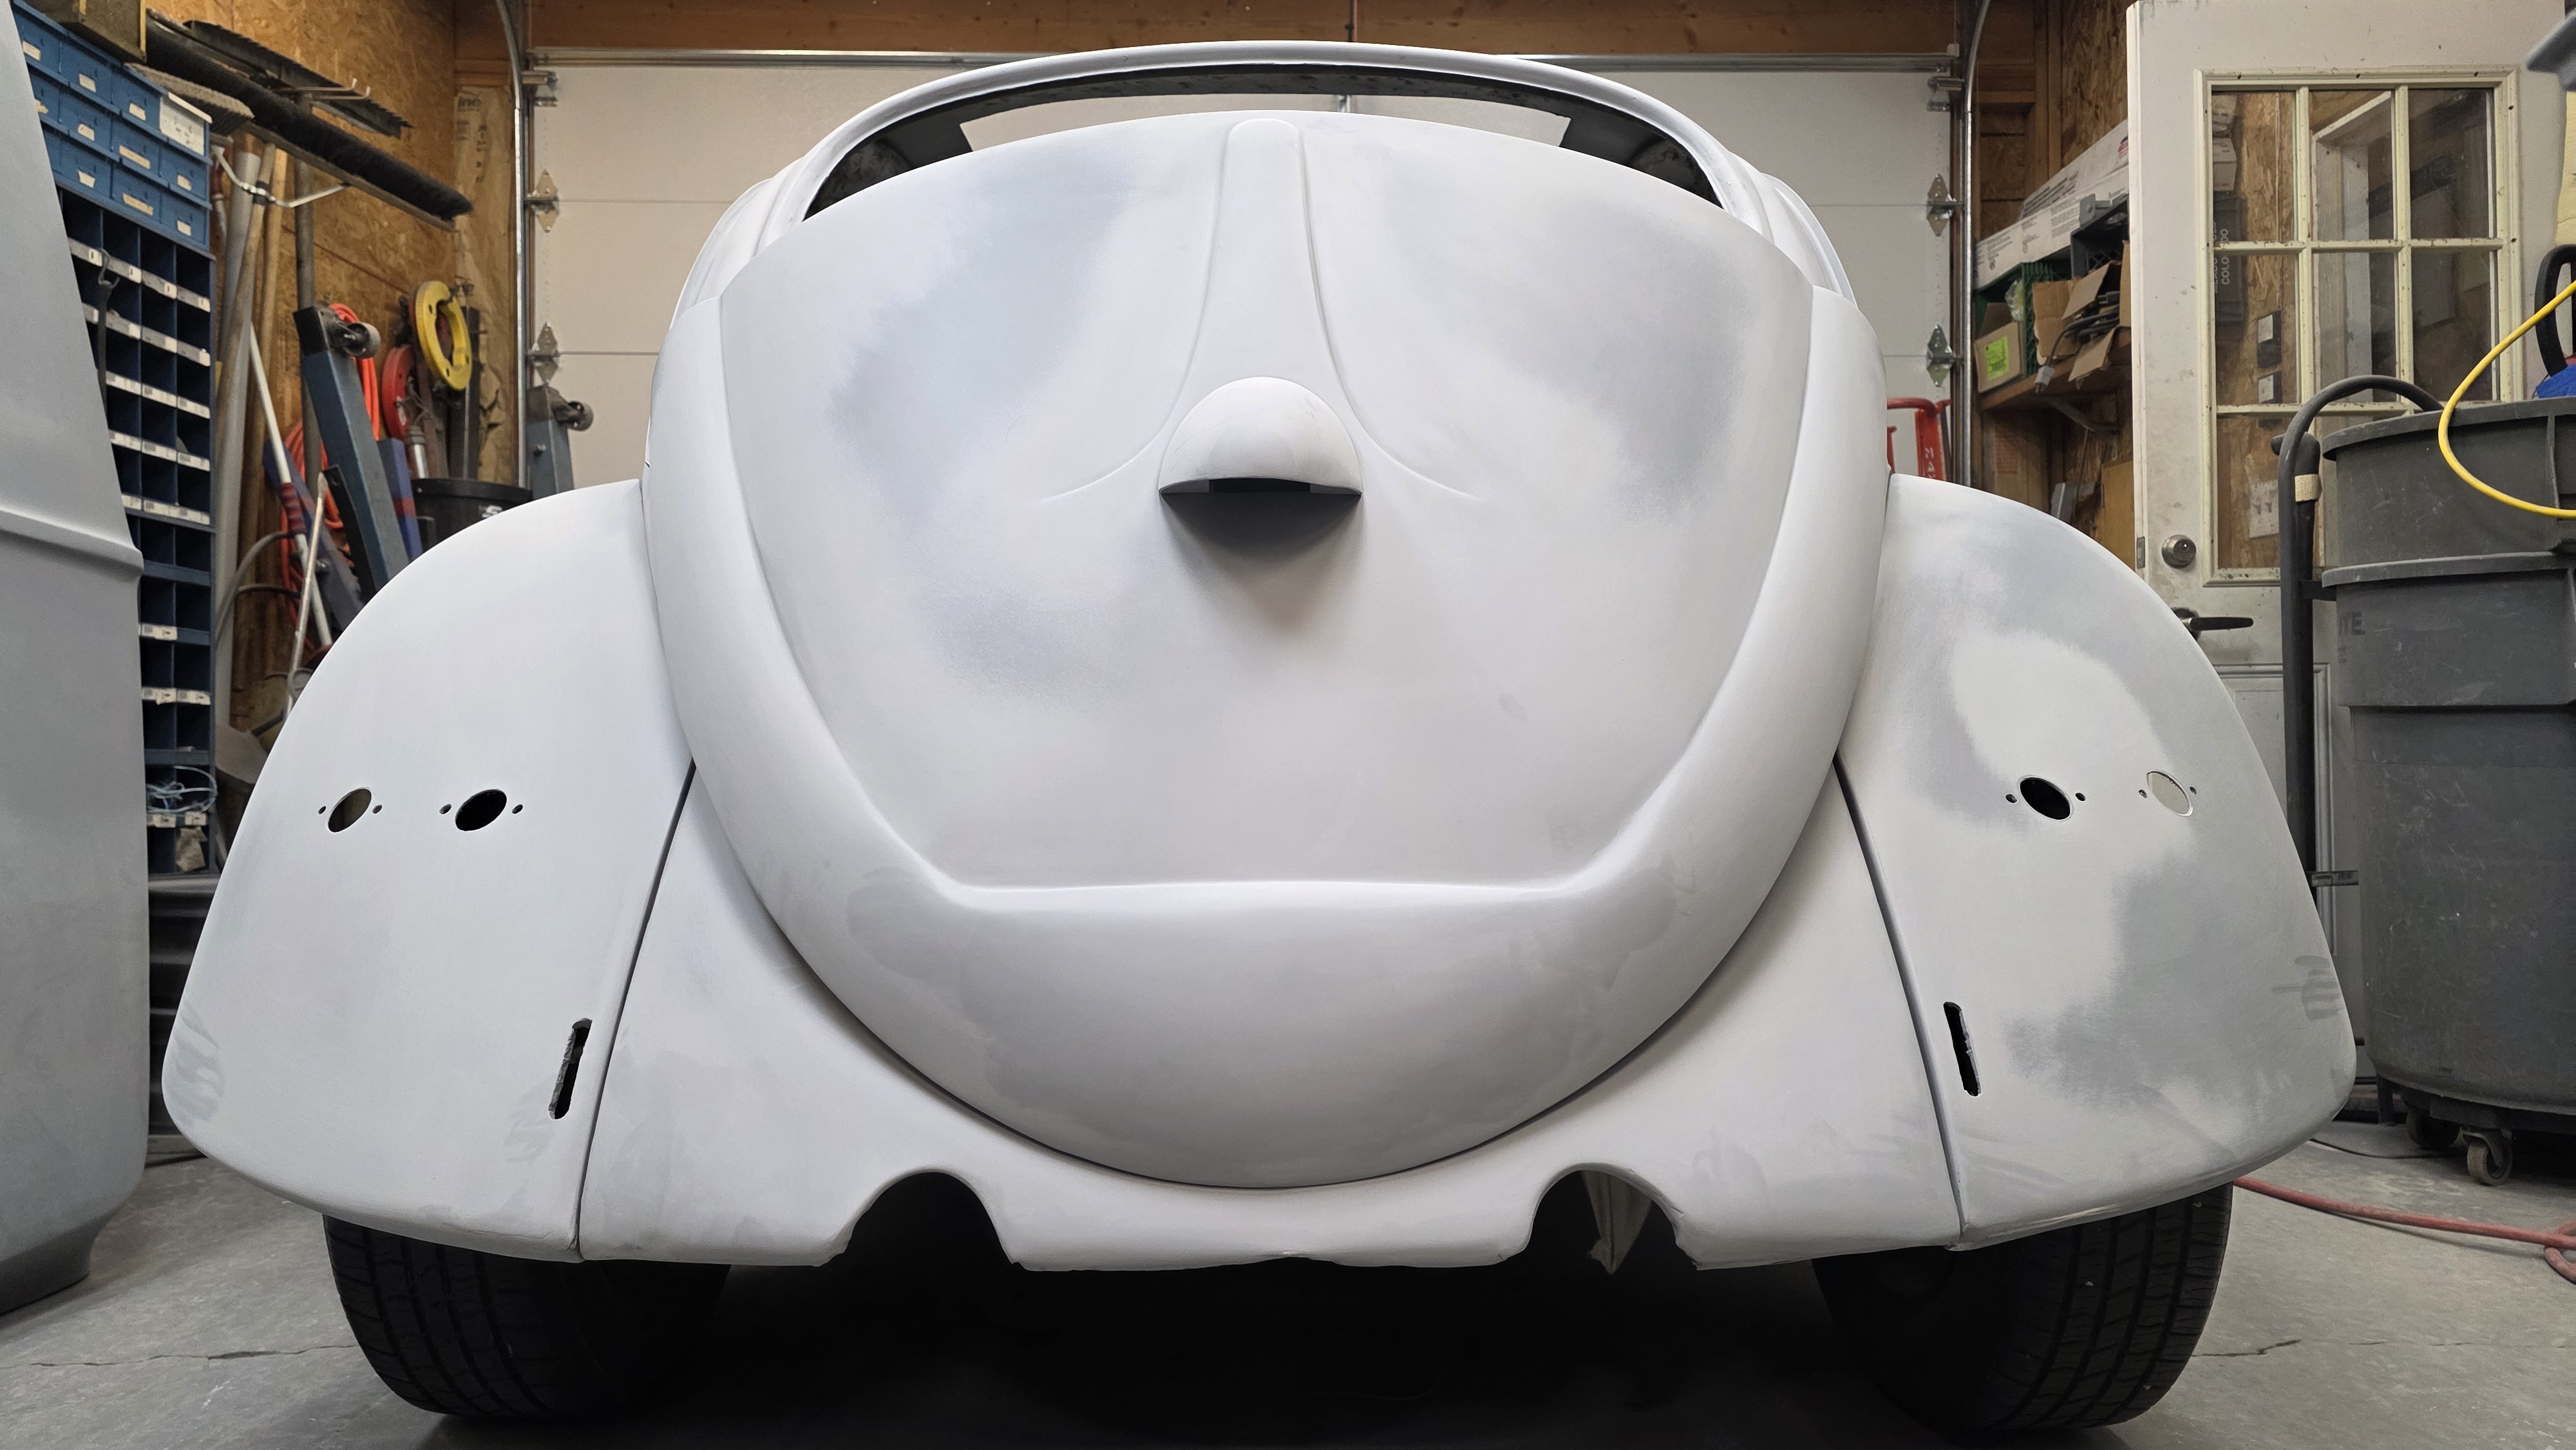
I made a domed plug for the decklid hole, and did a fiberglass repair on the rear fenders before continuing with filler back there.
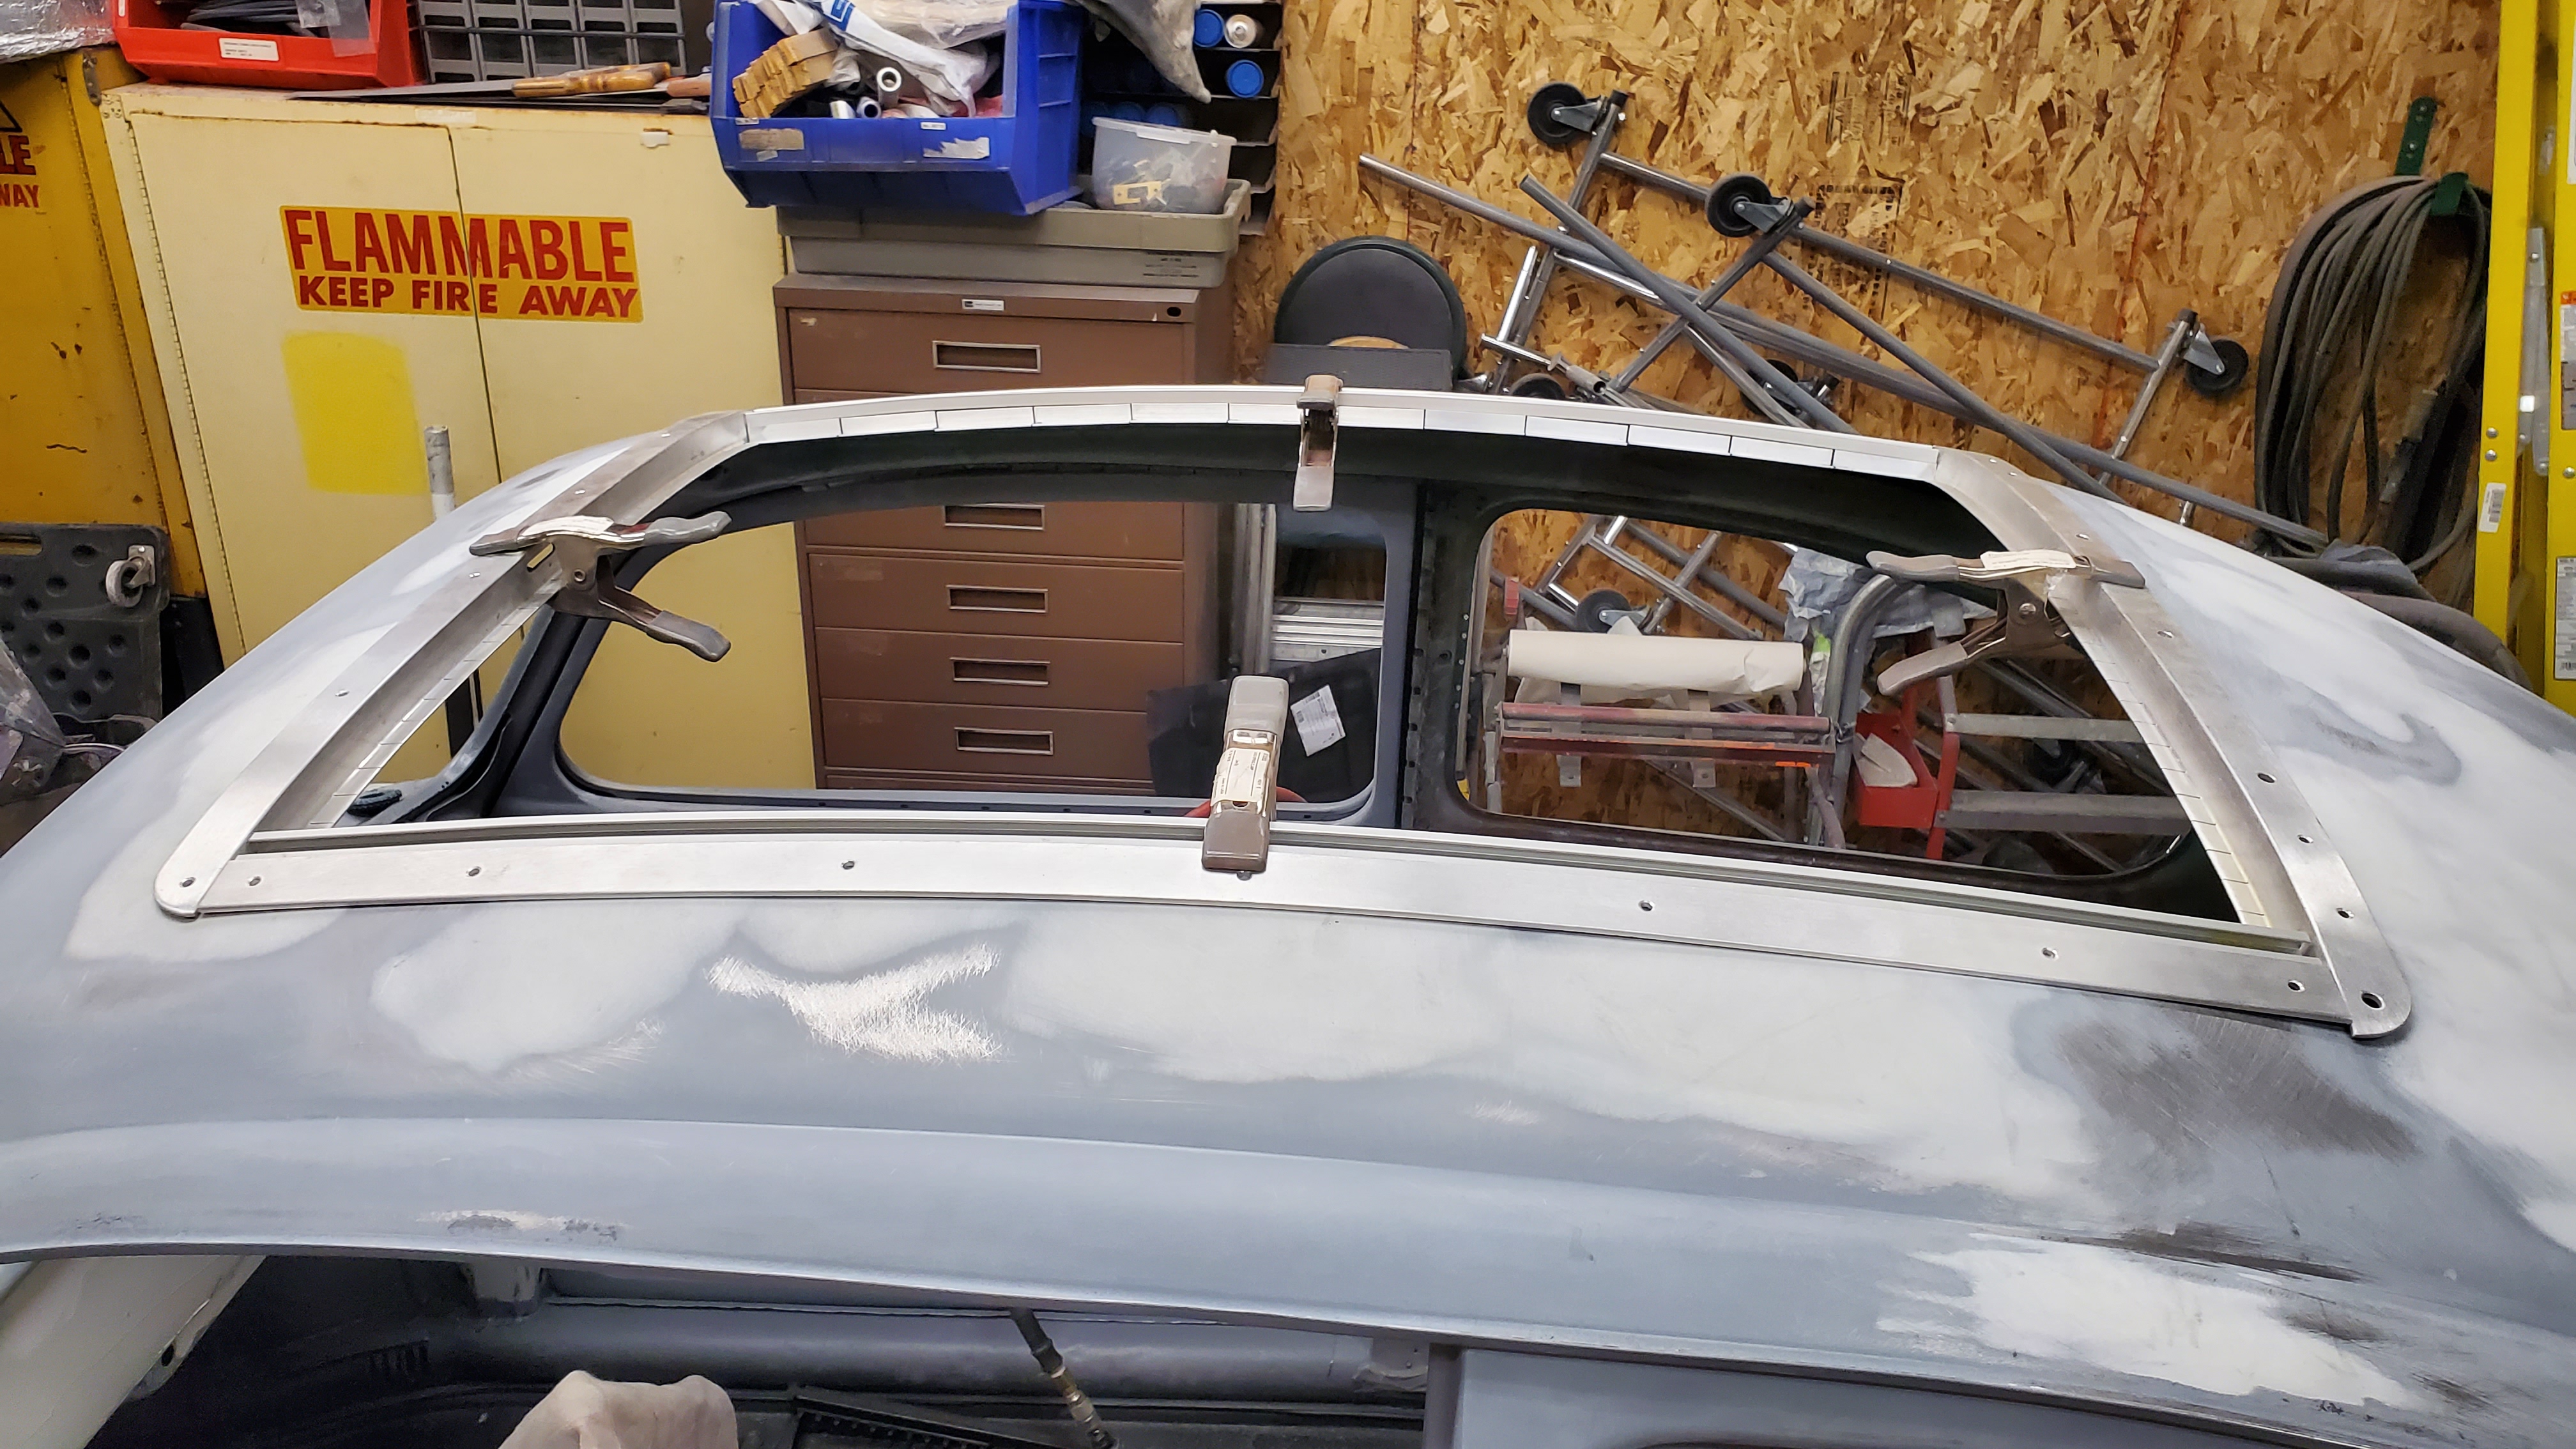
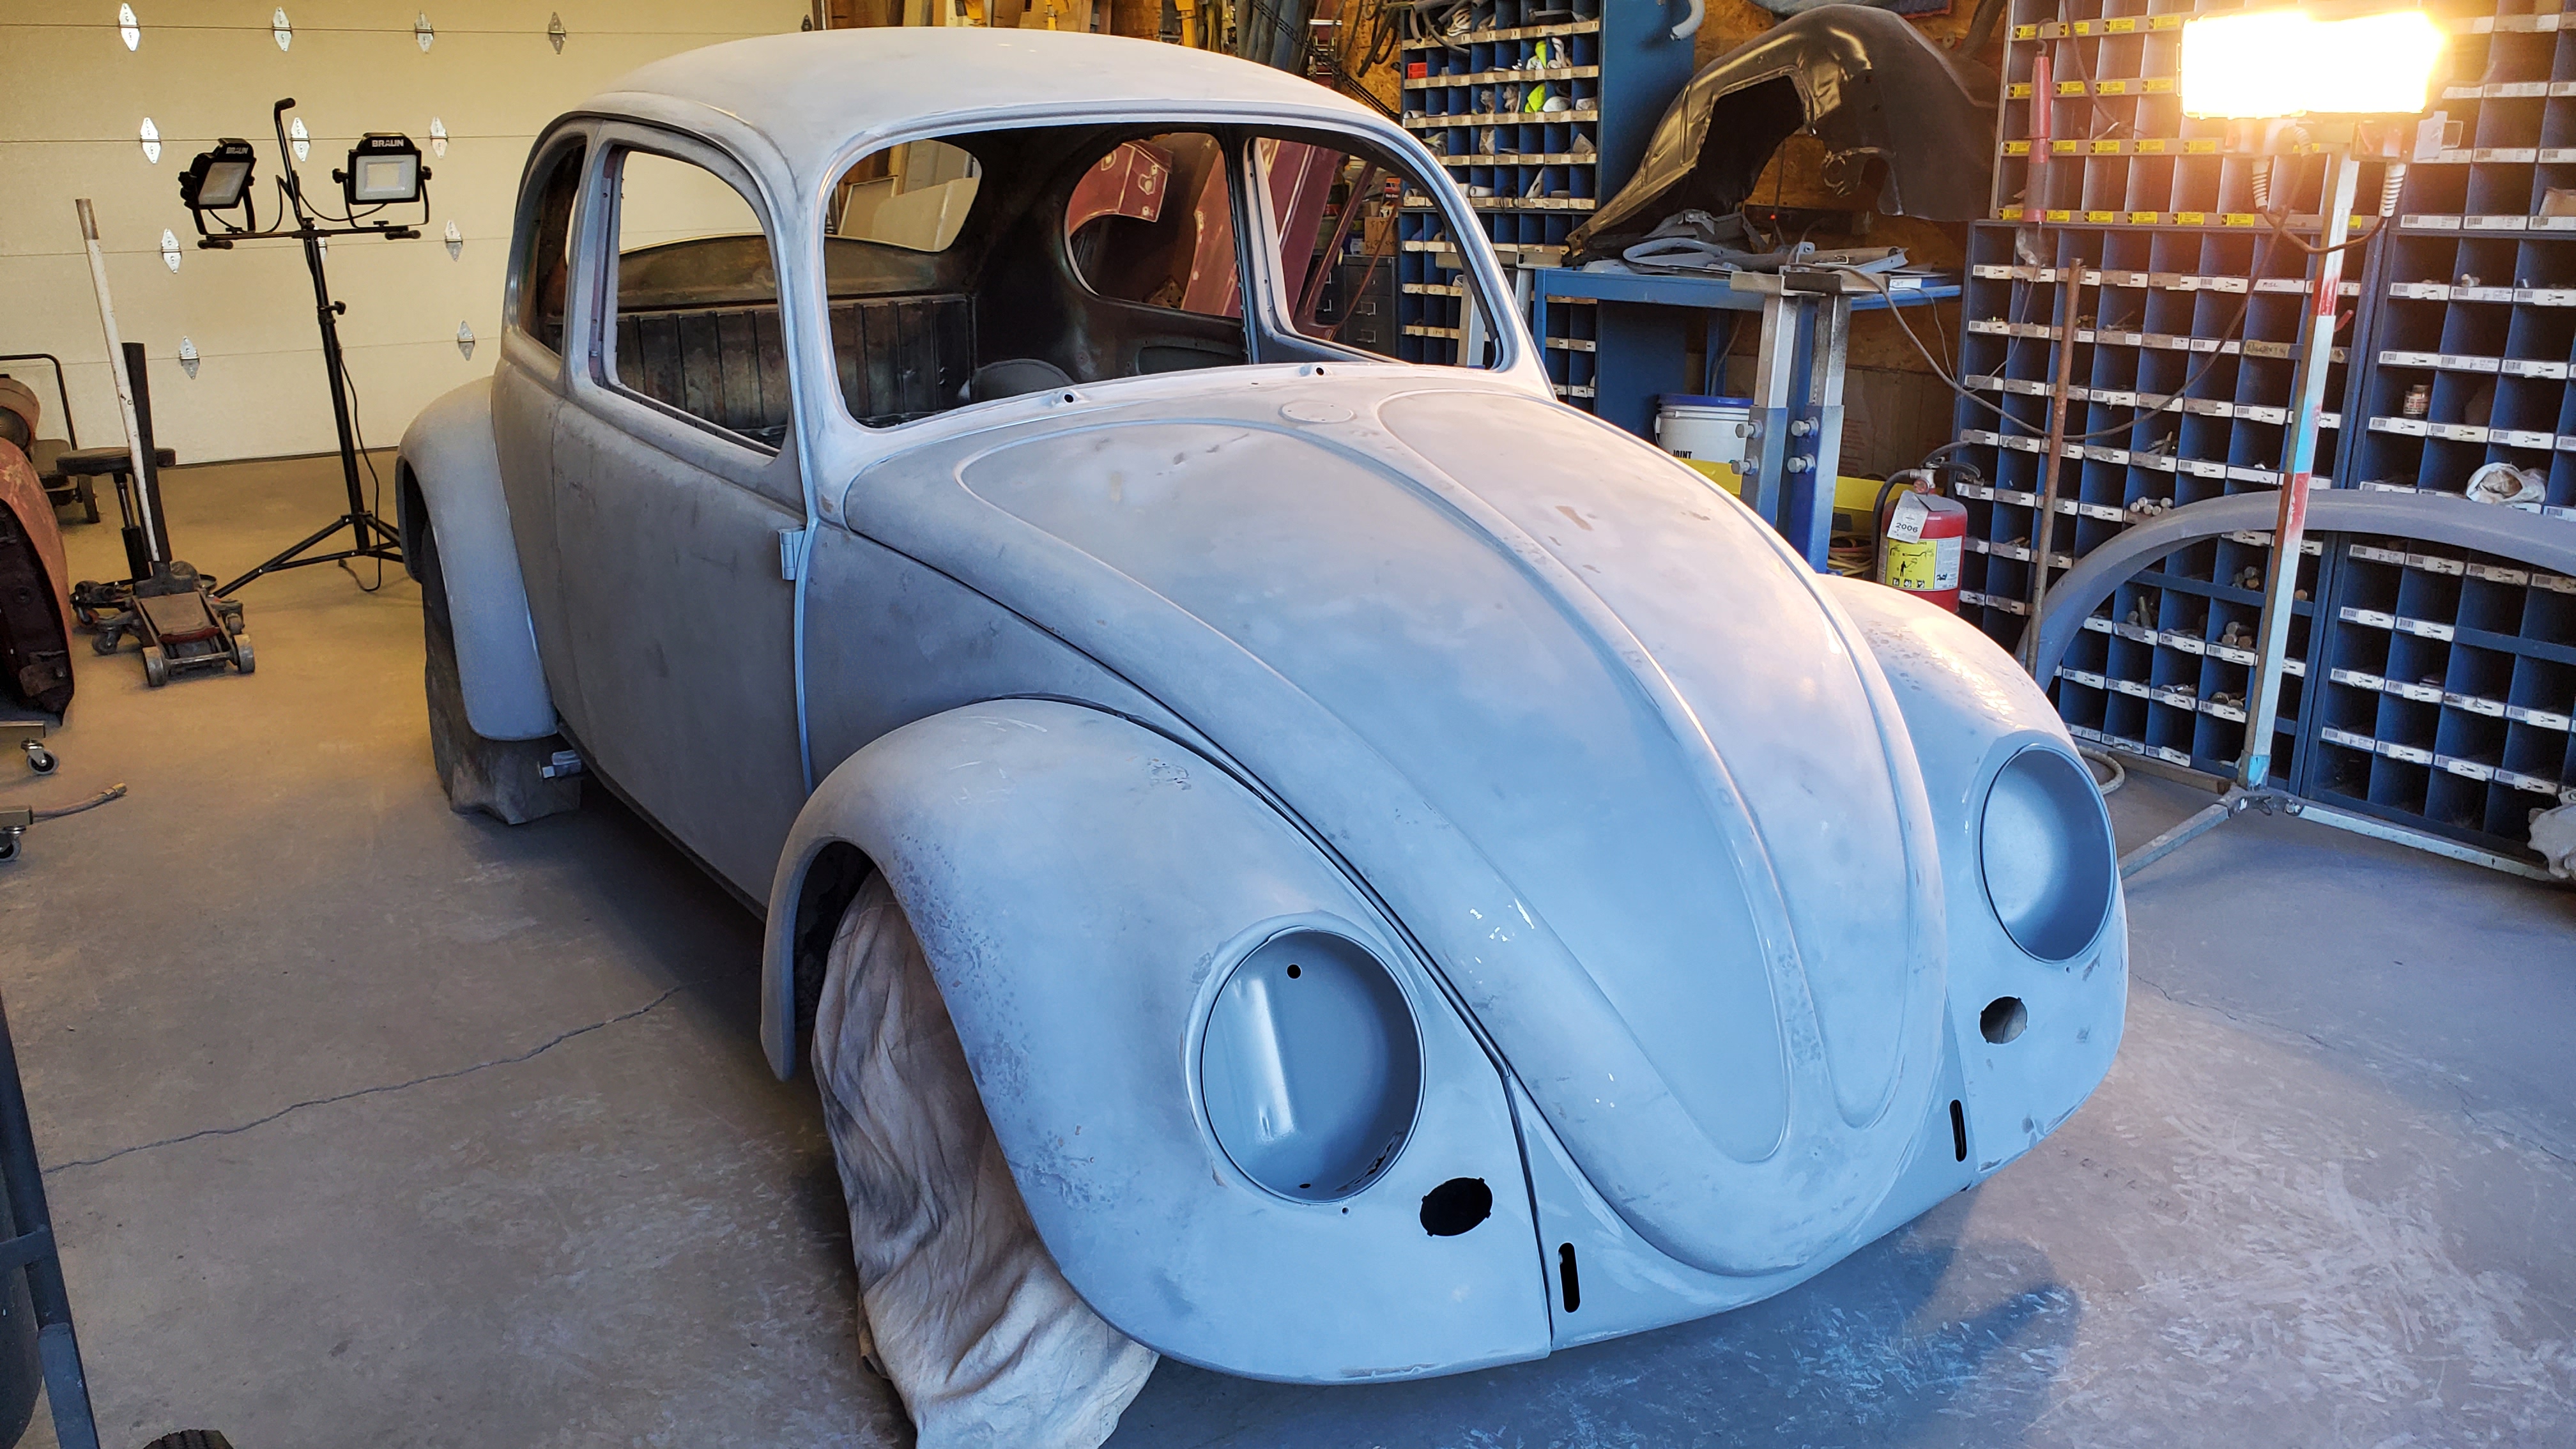
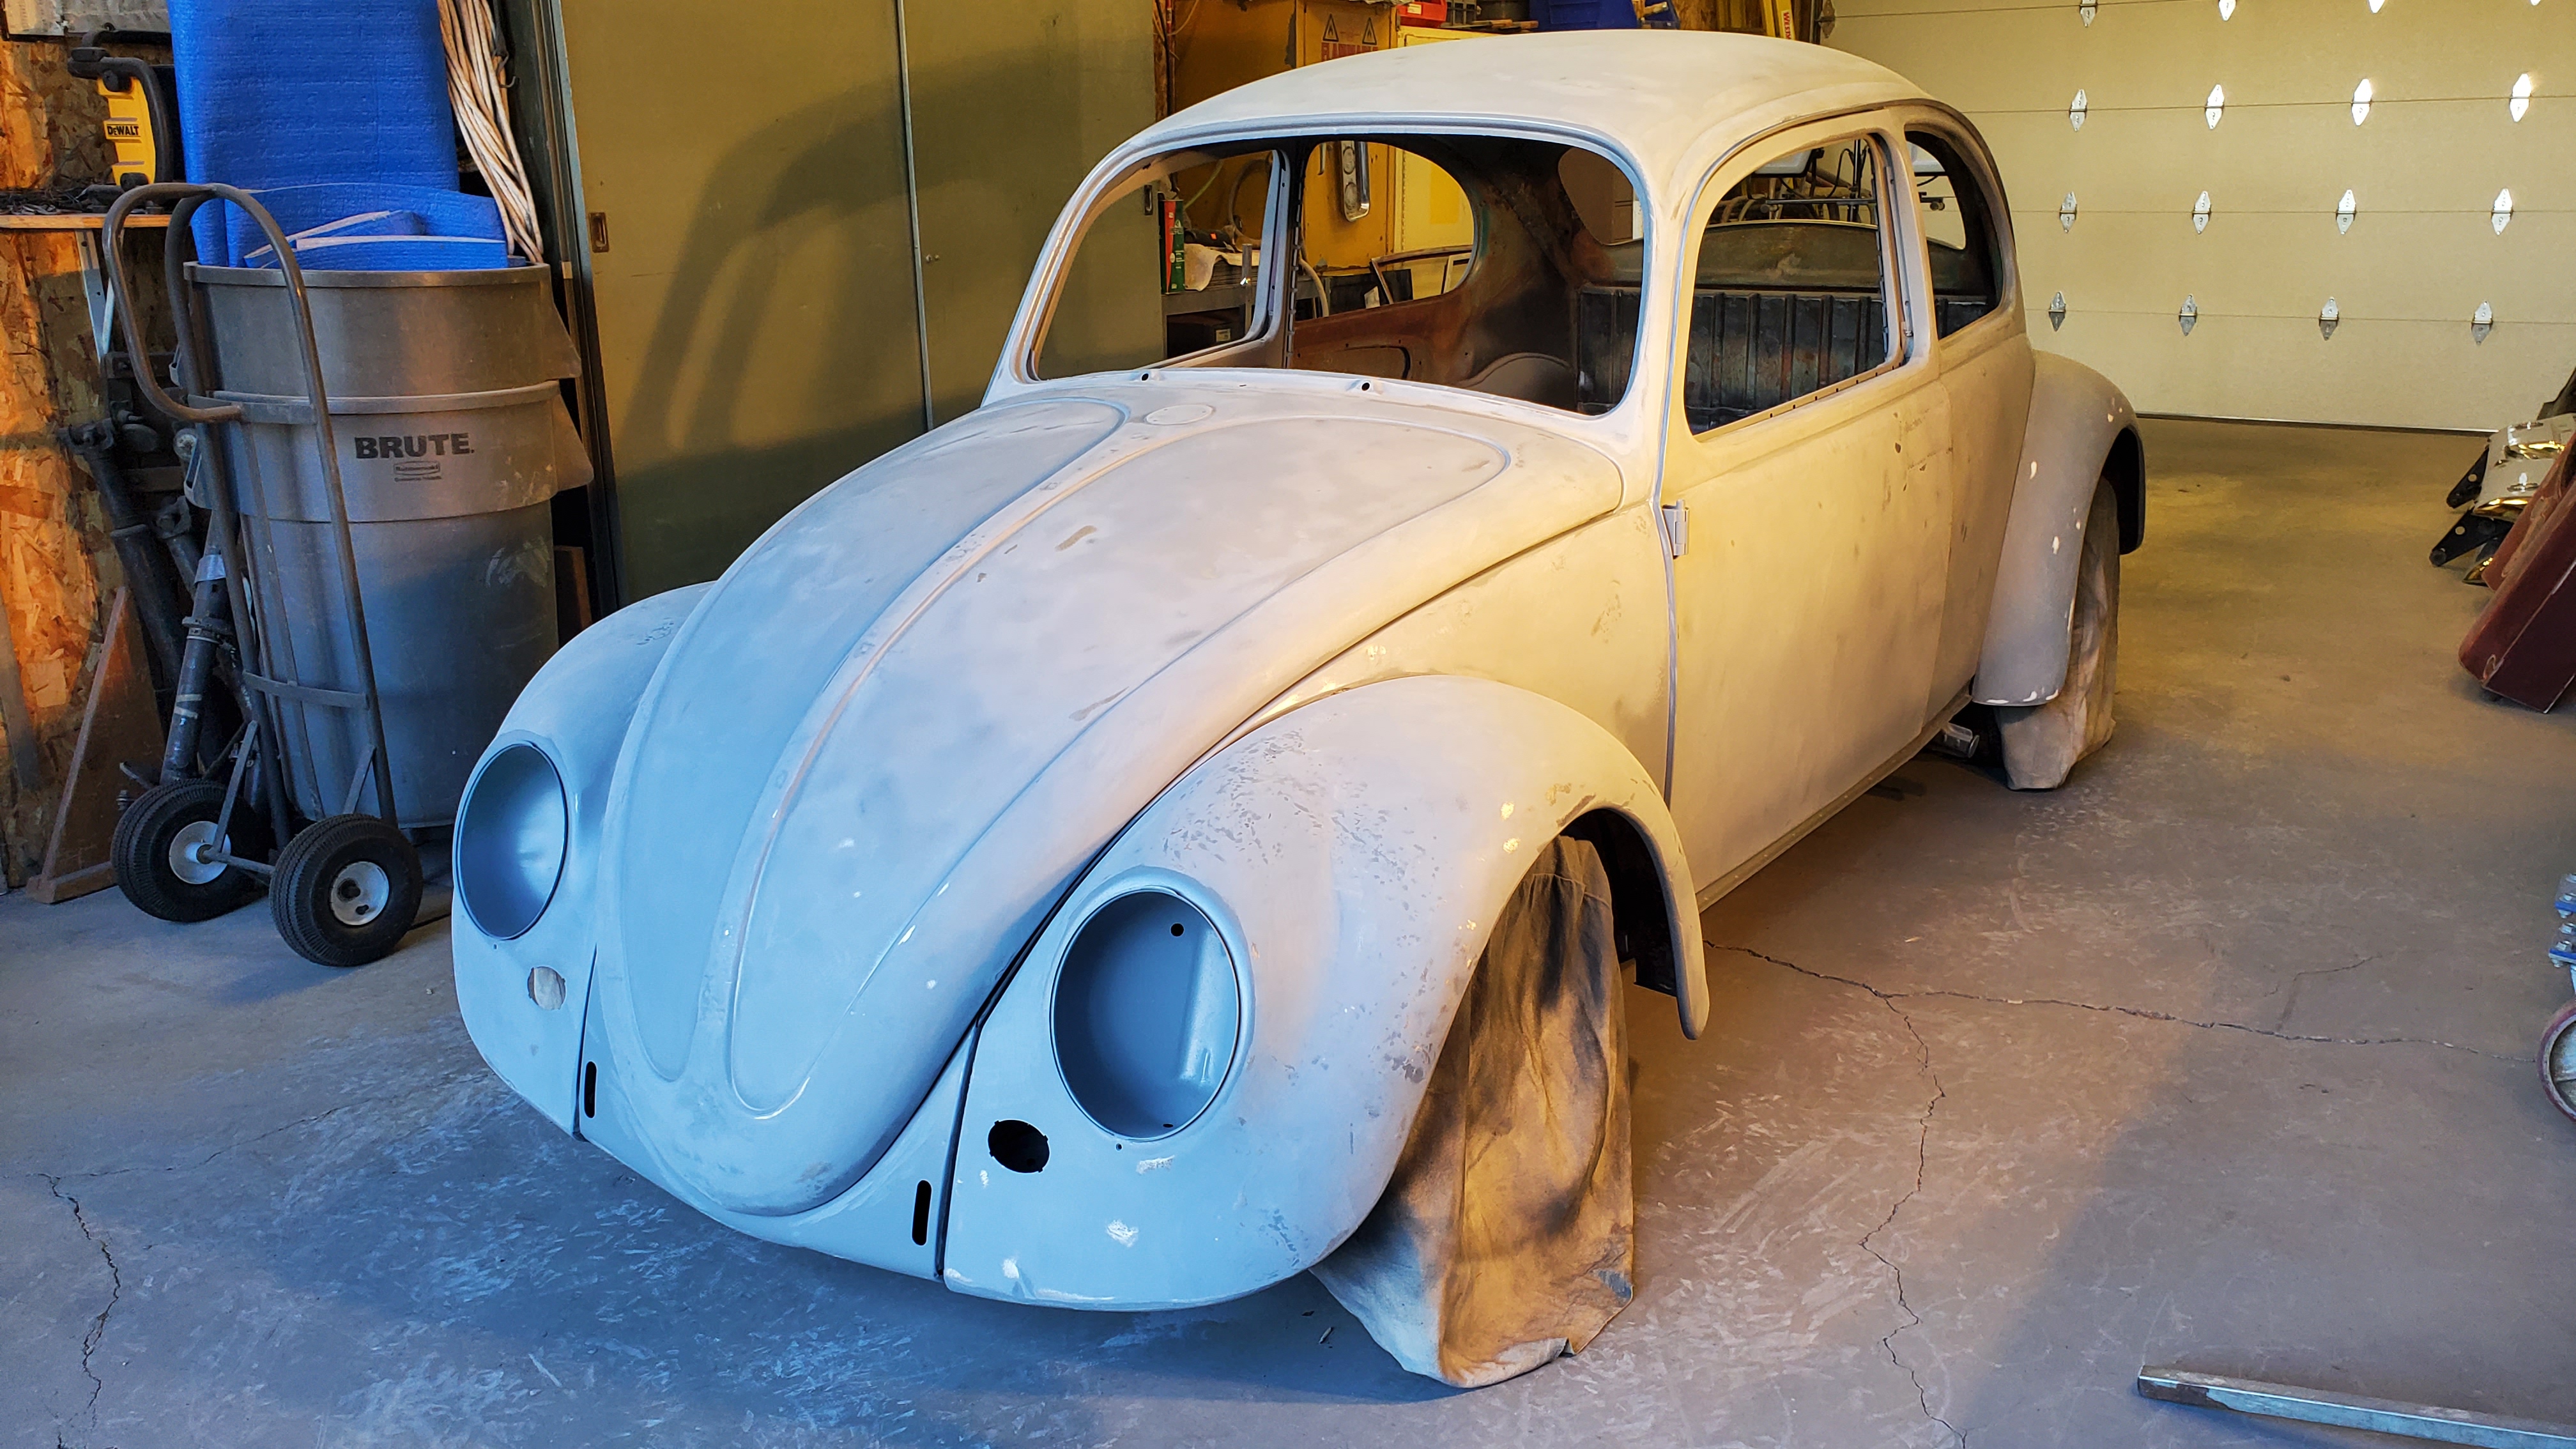
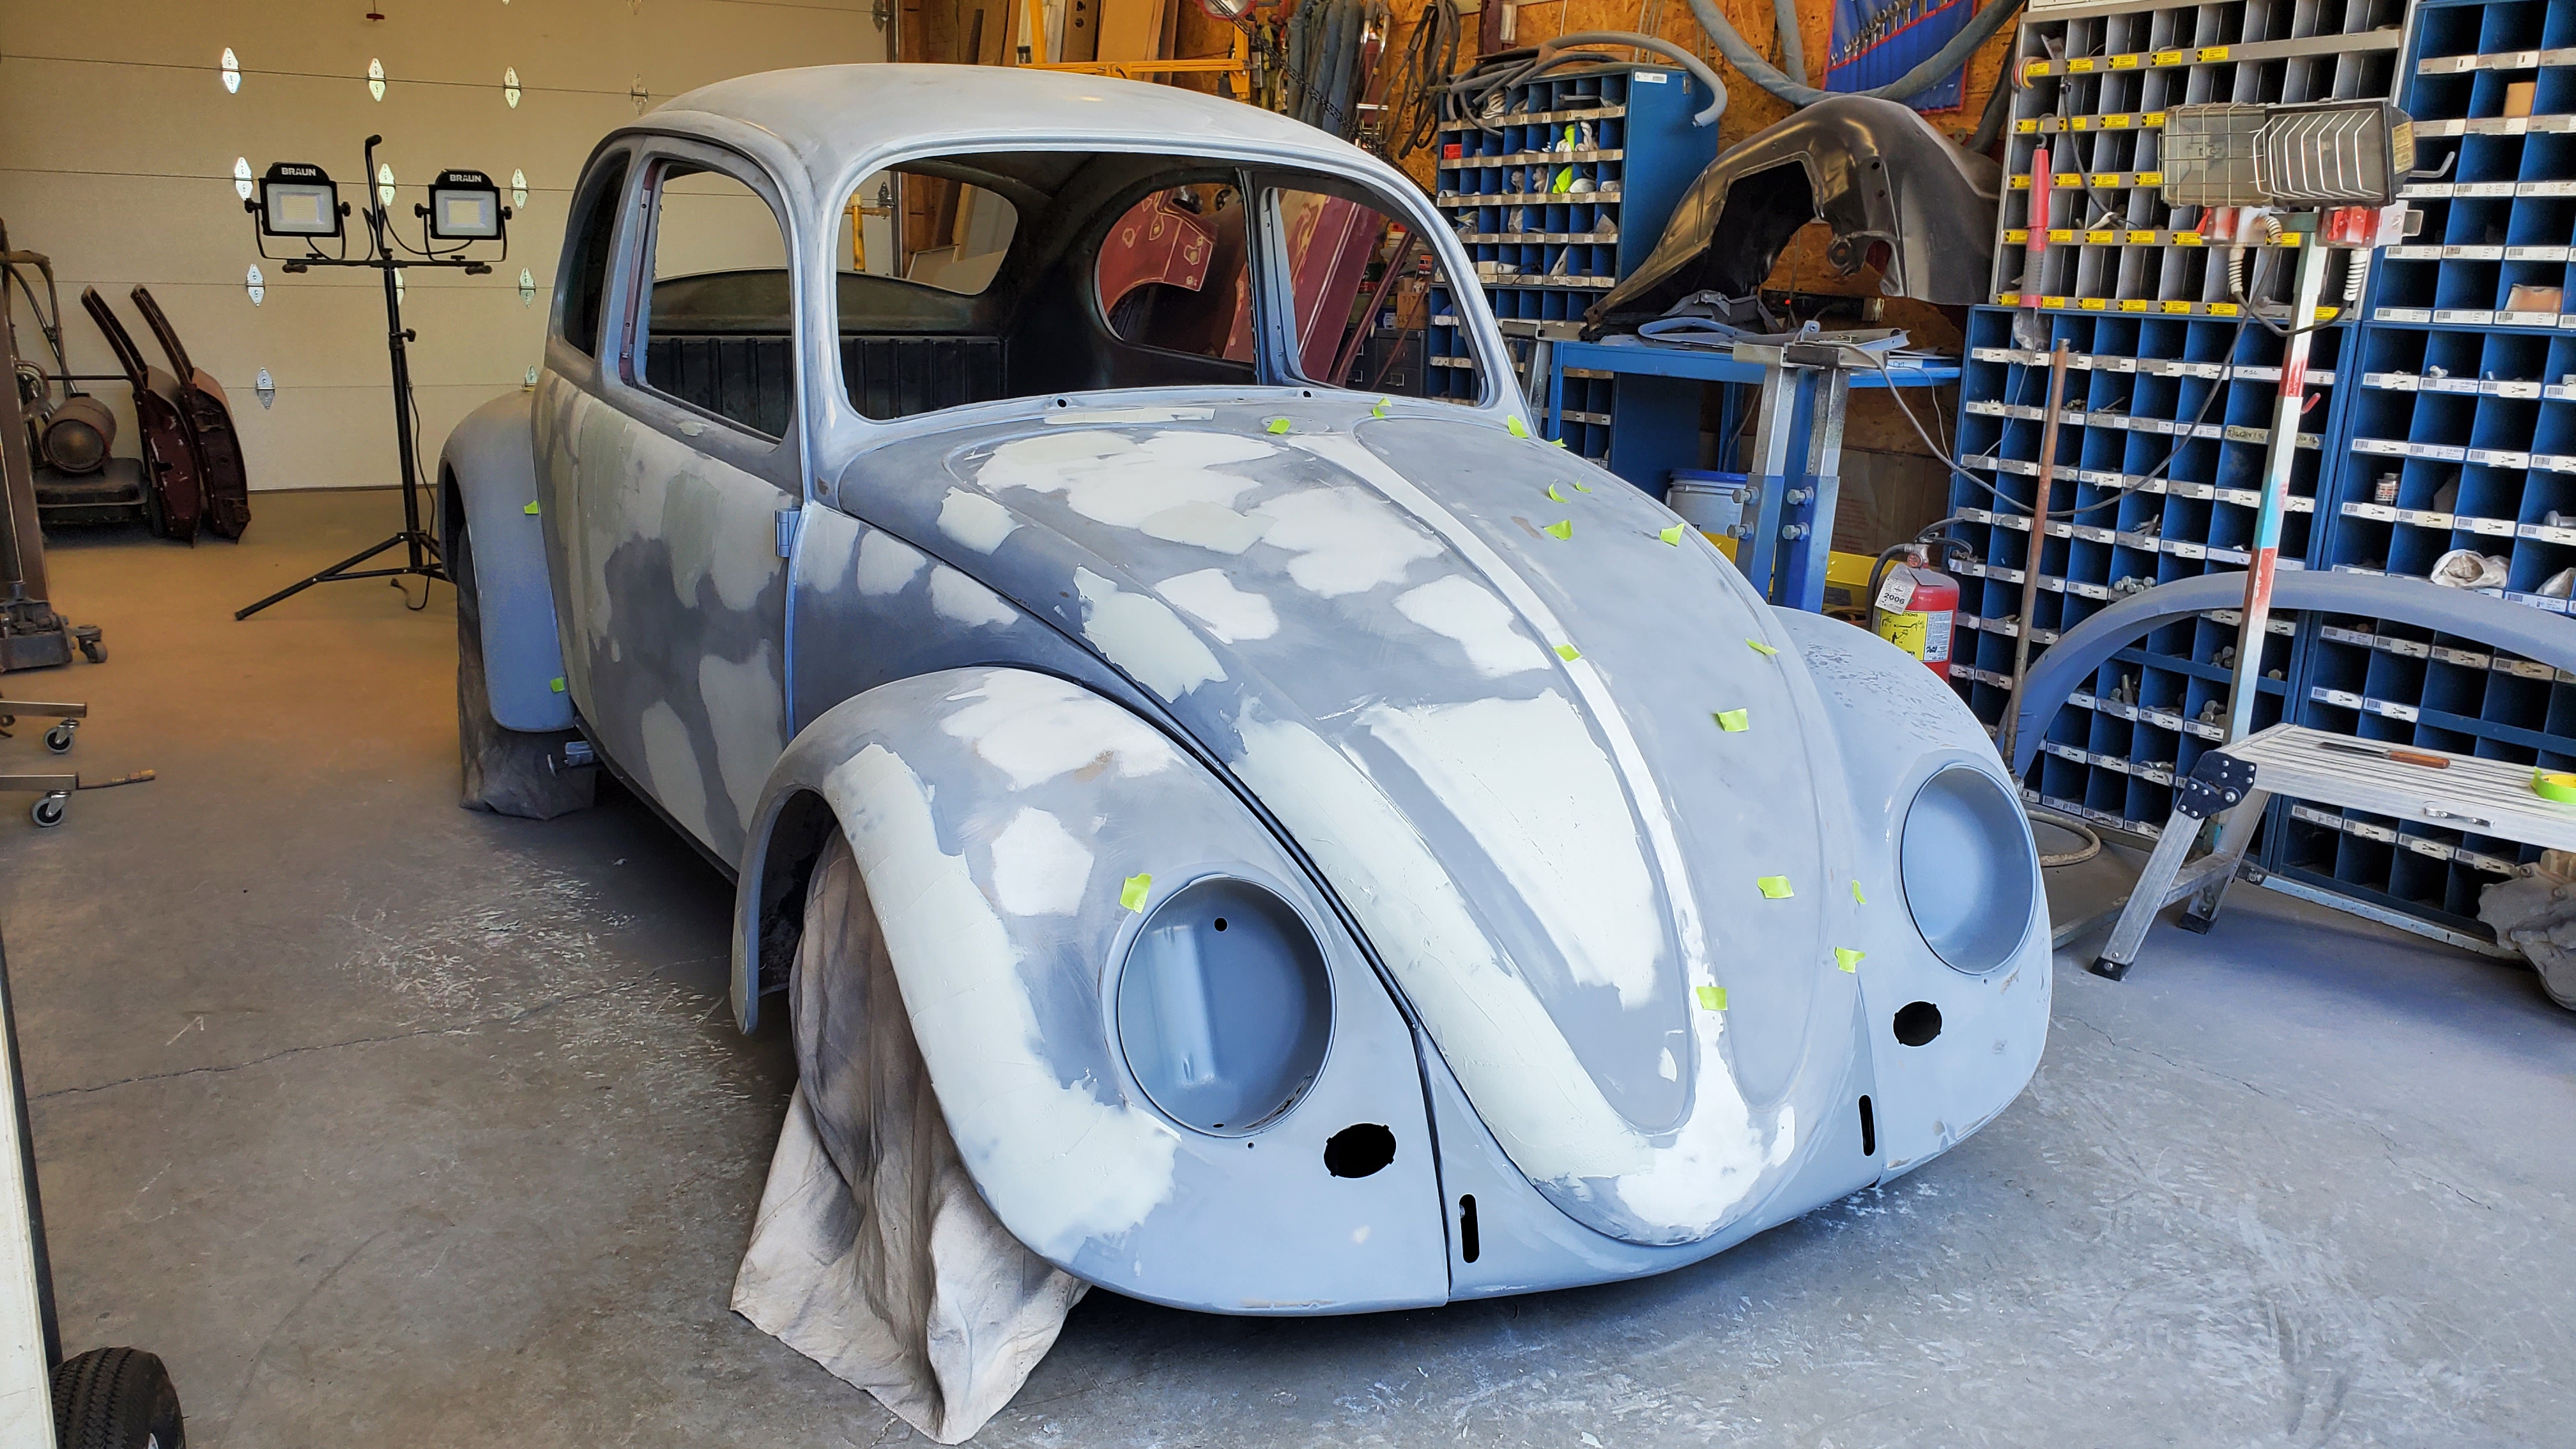
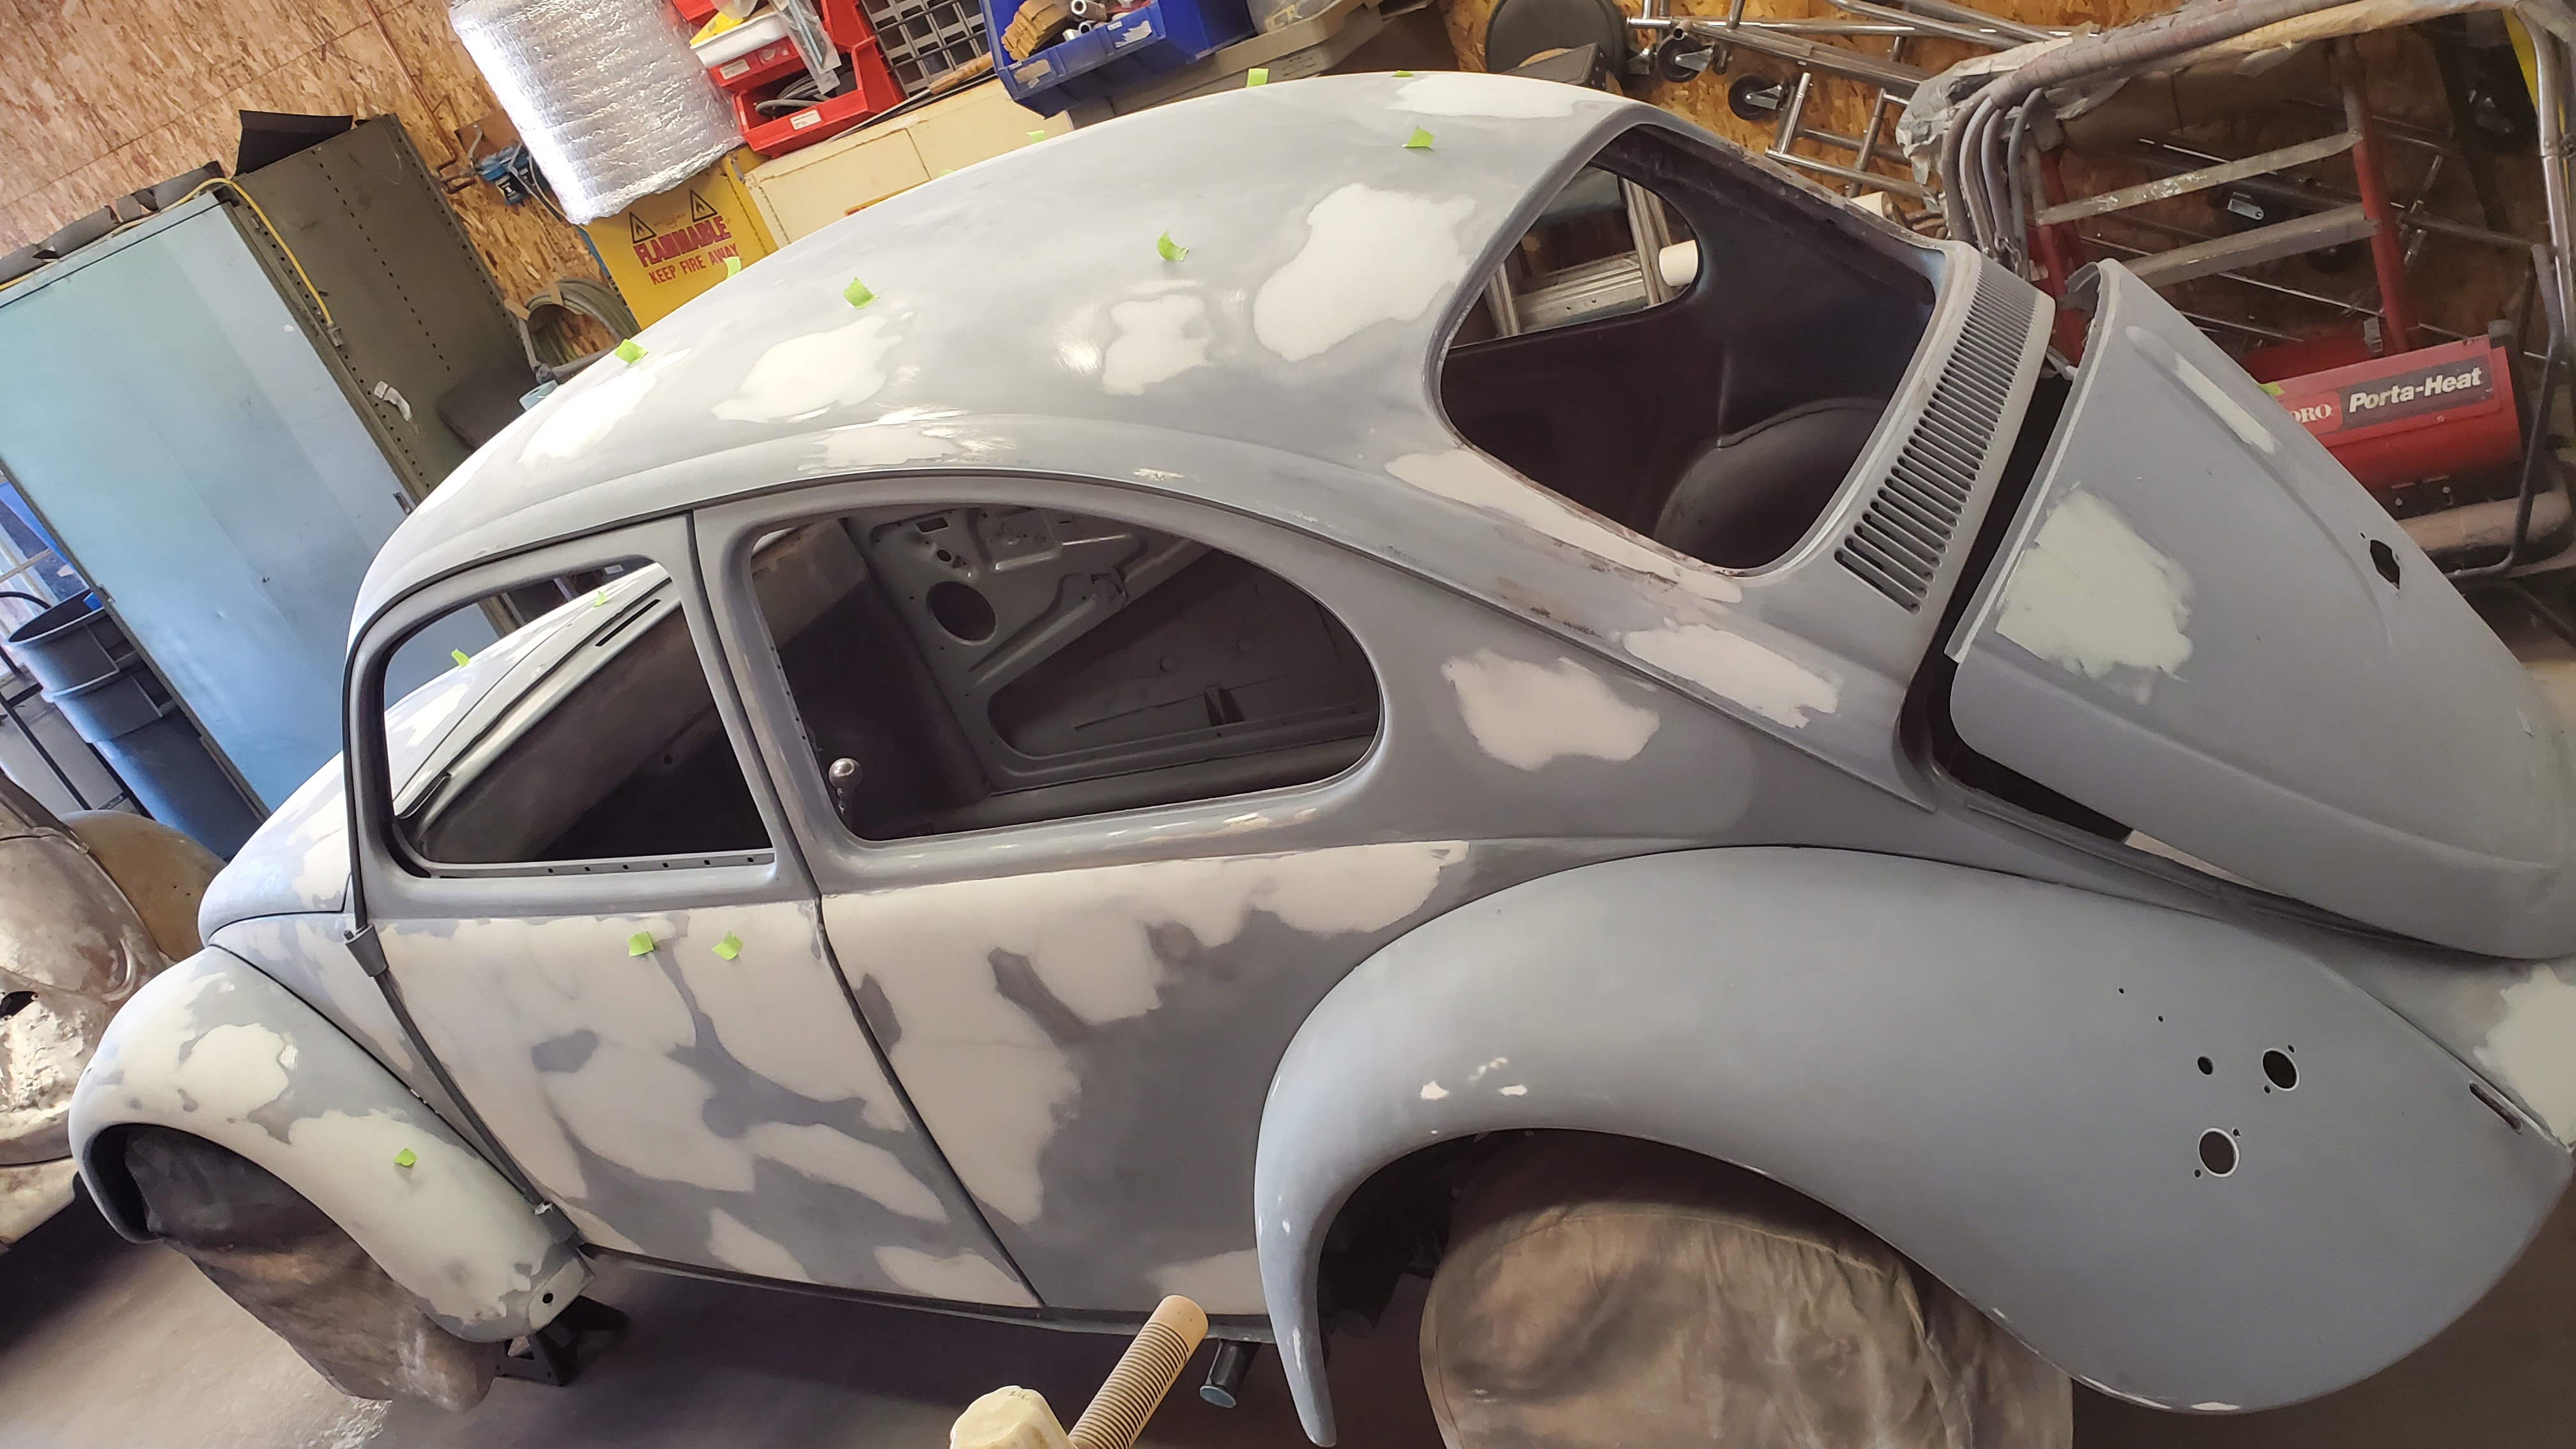
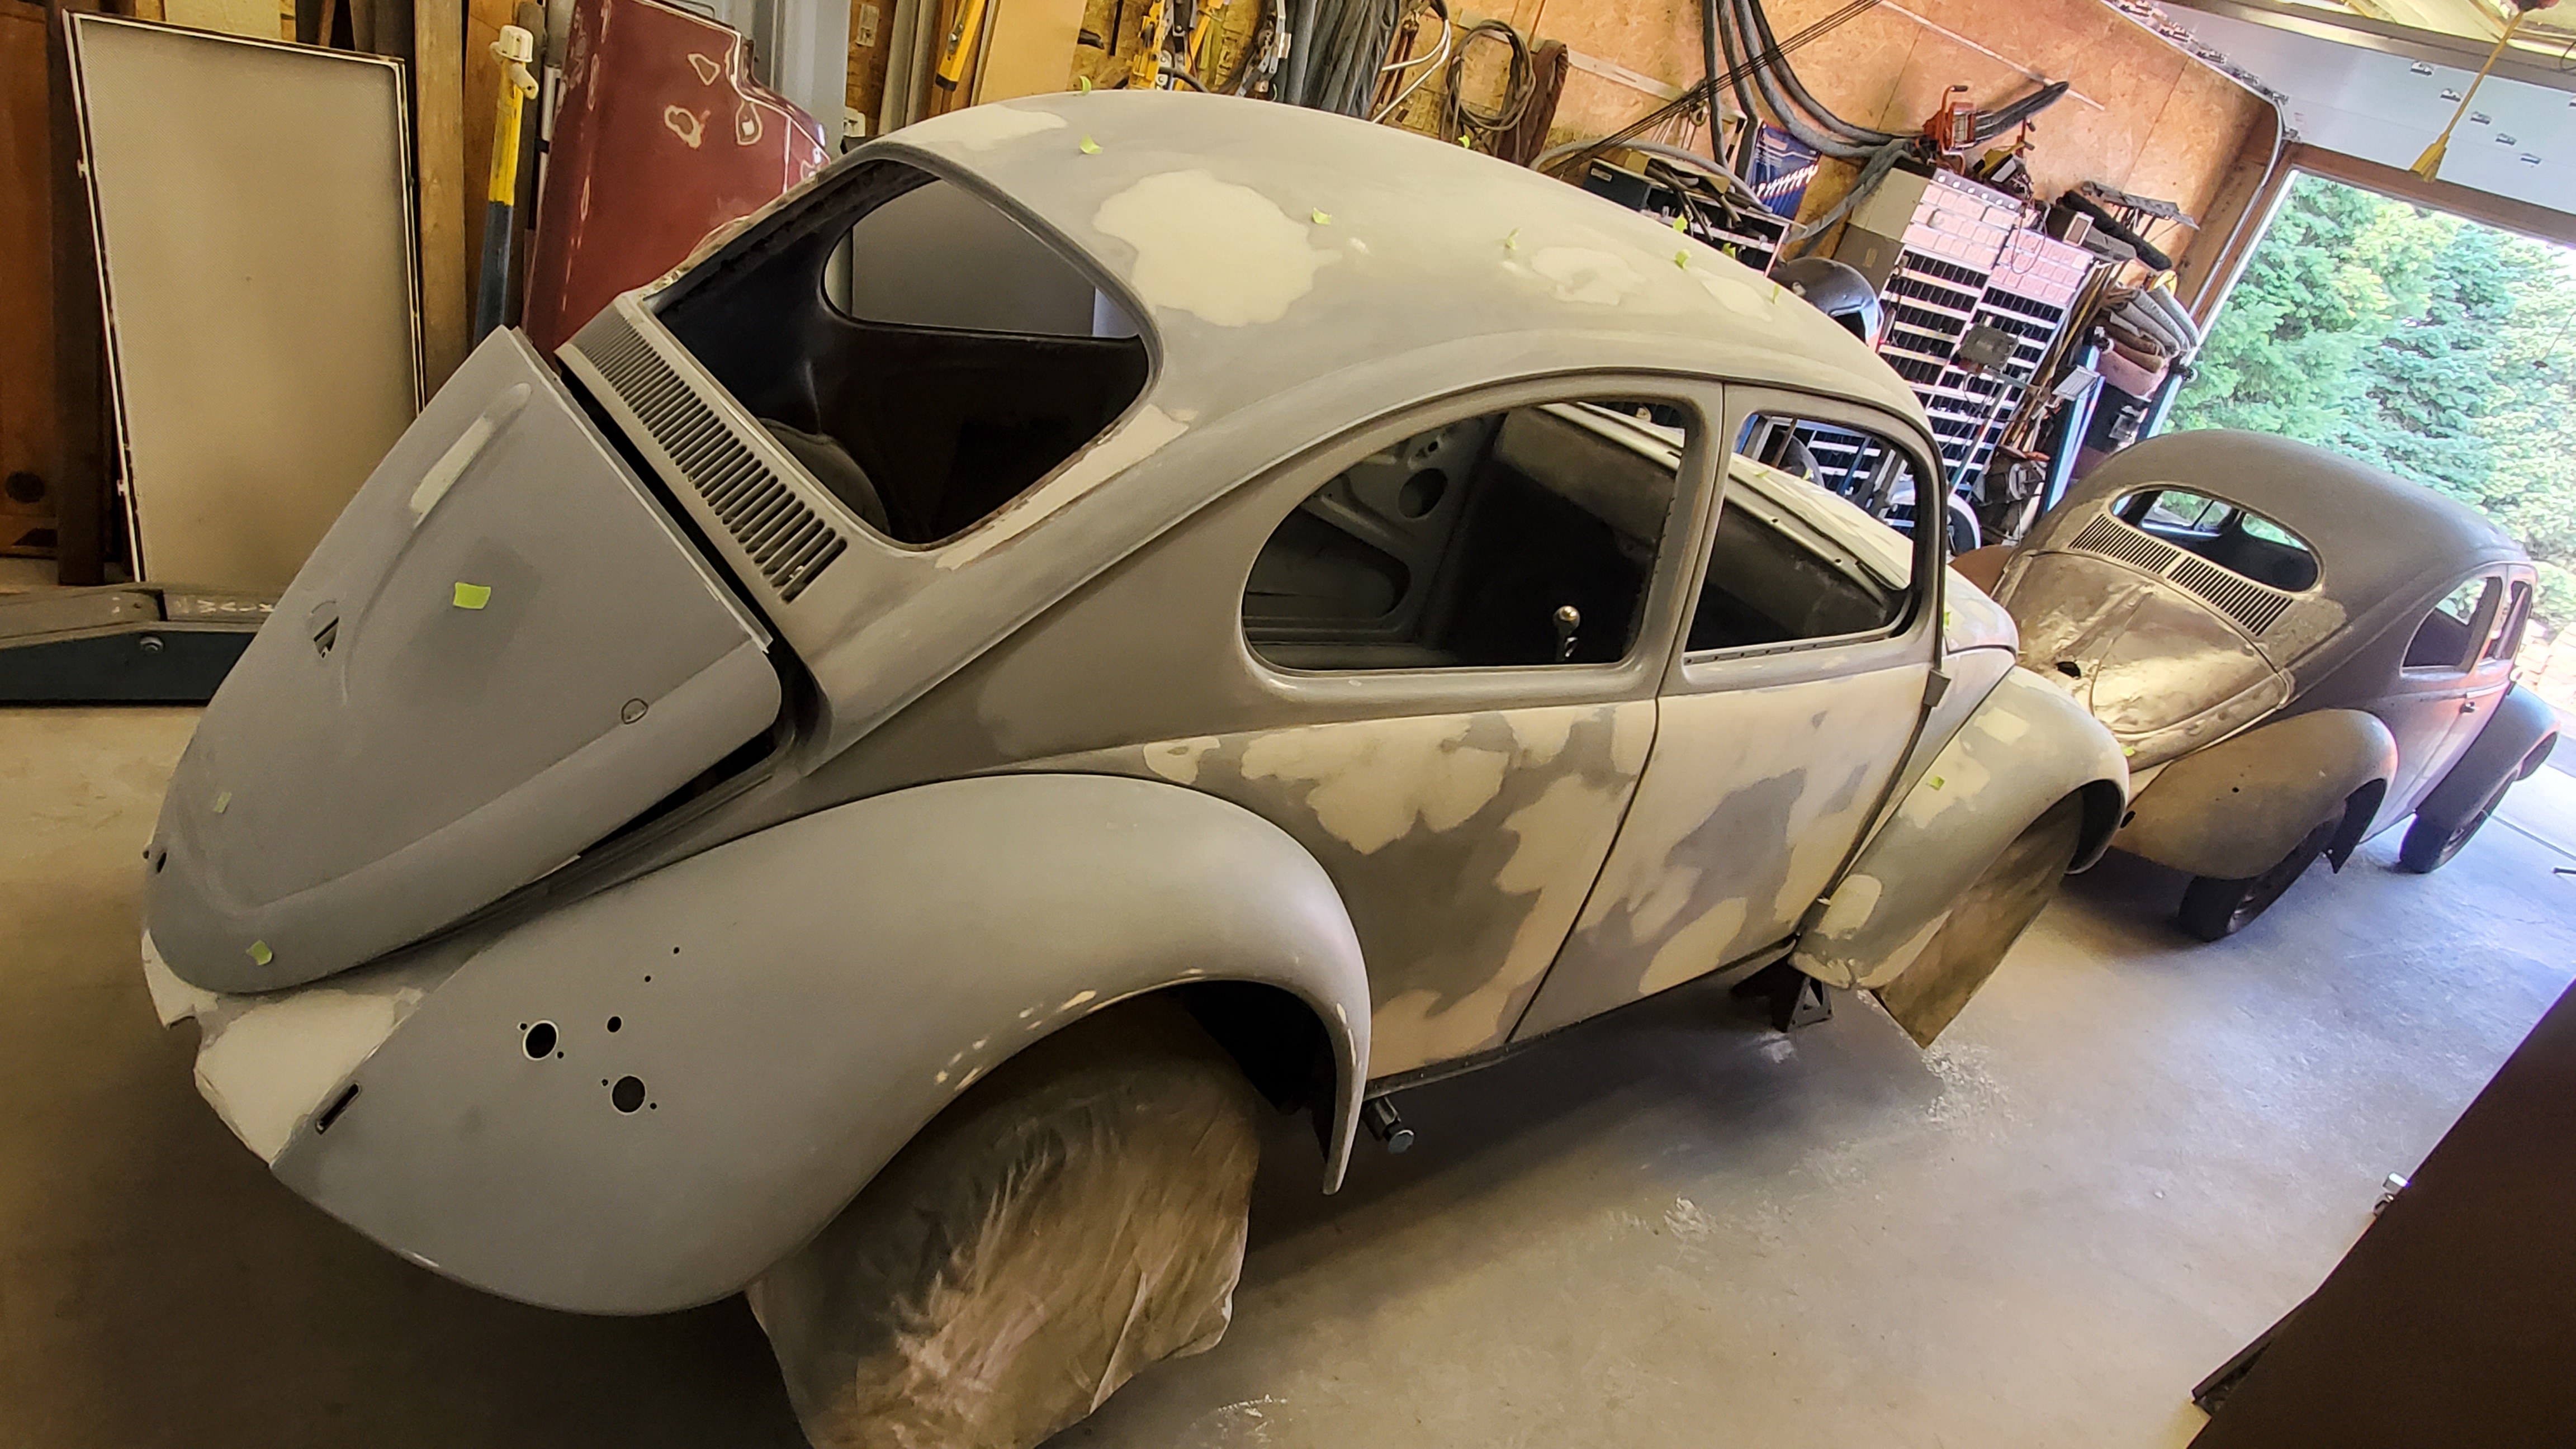
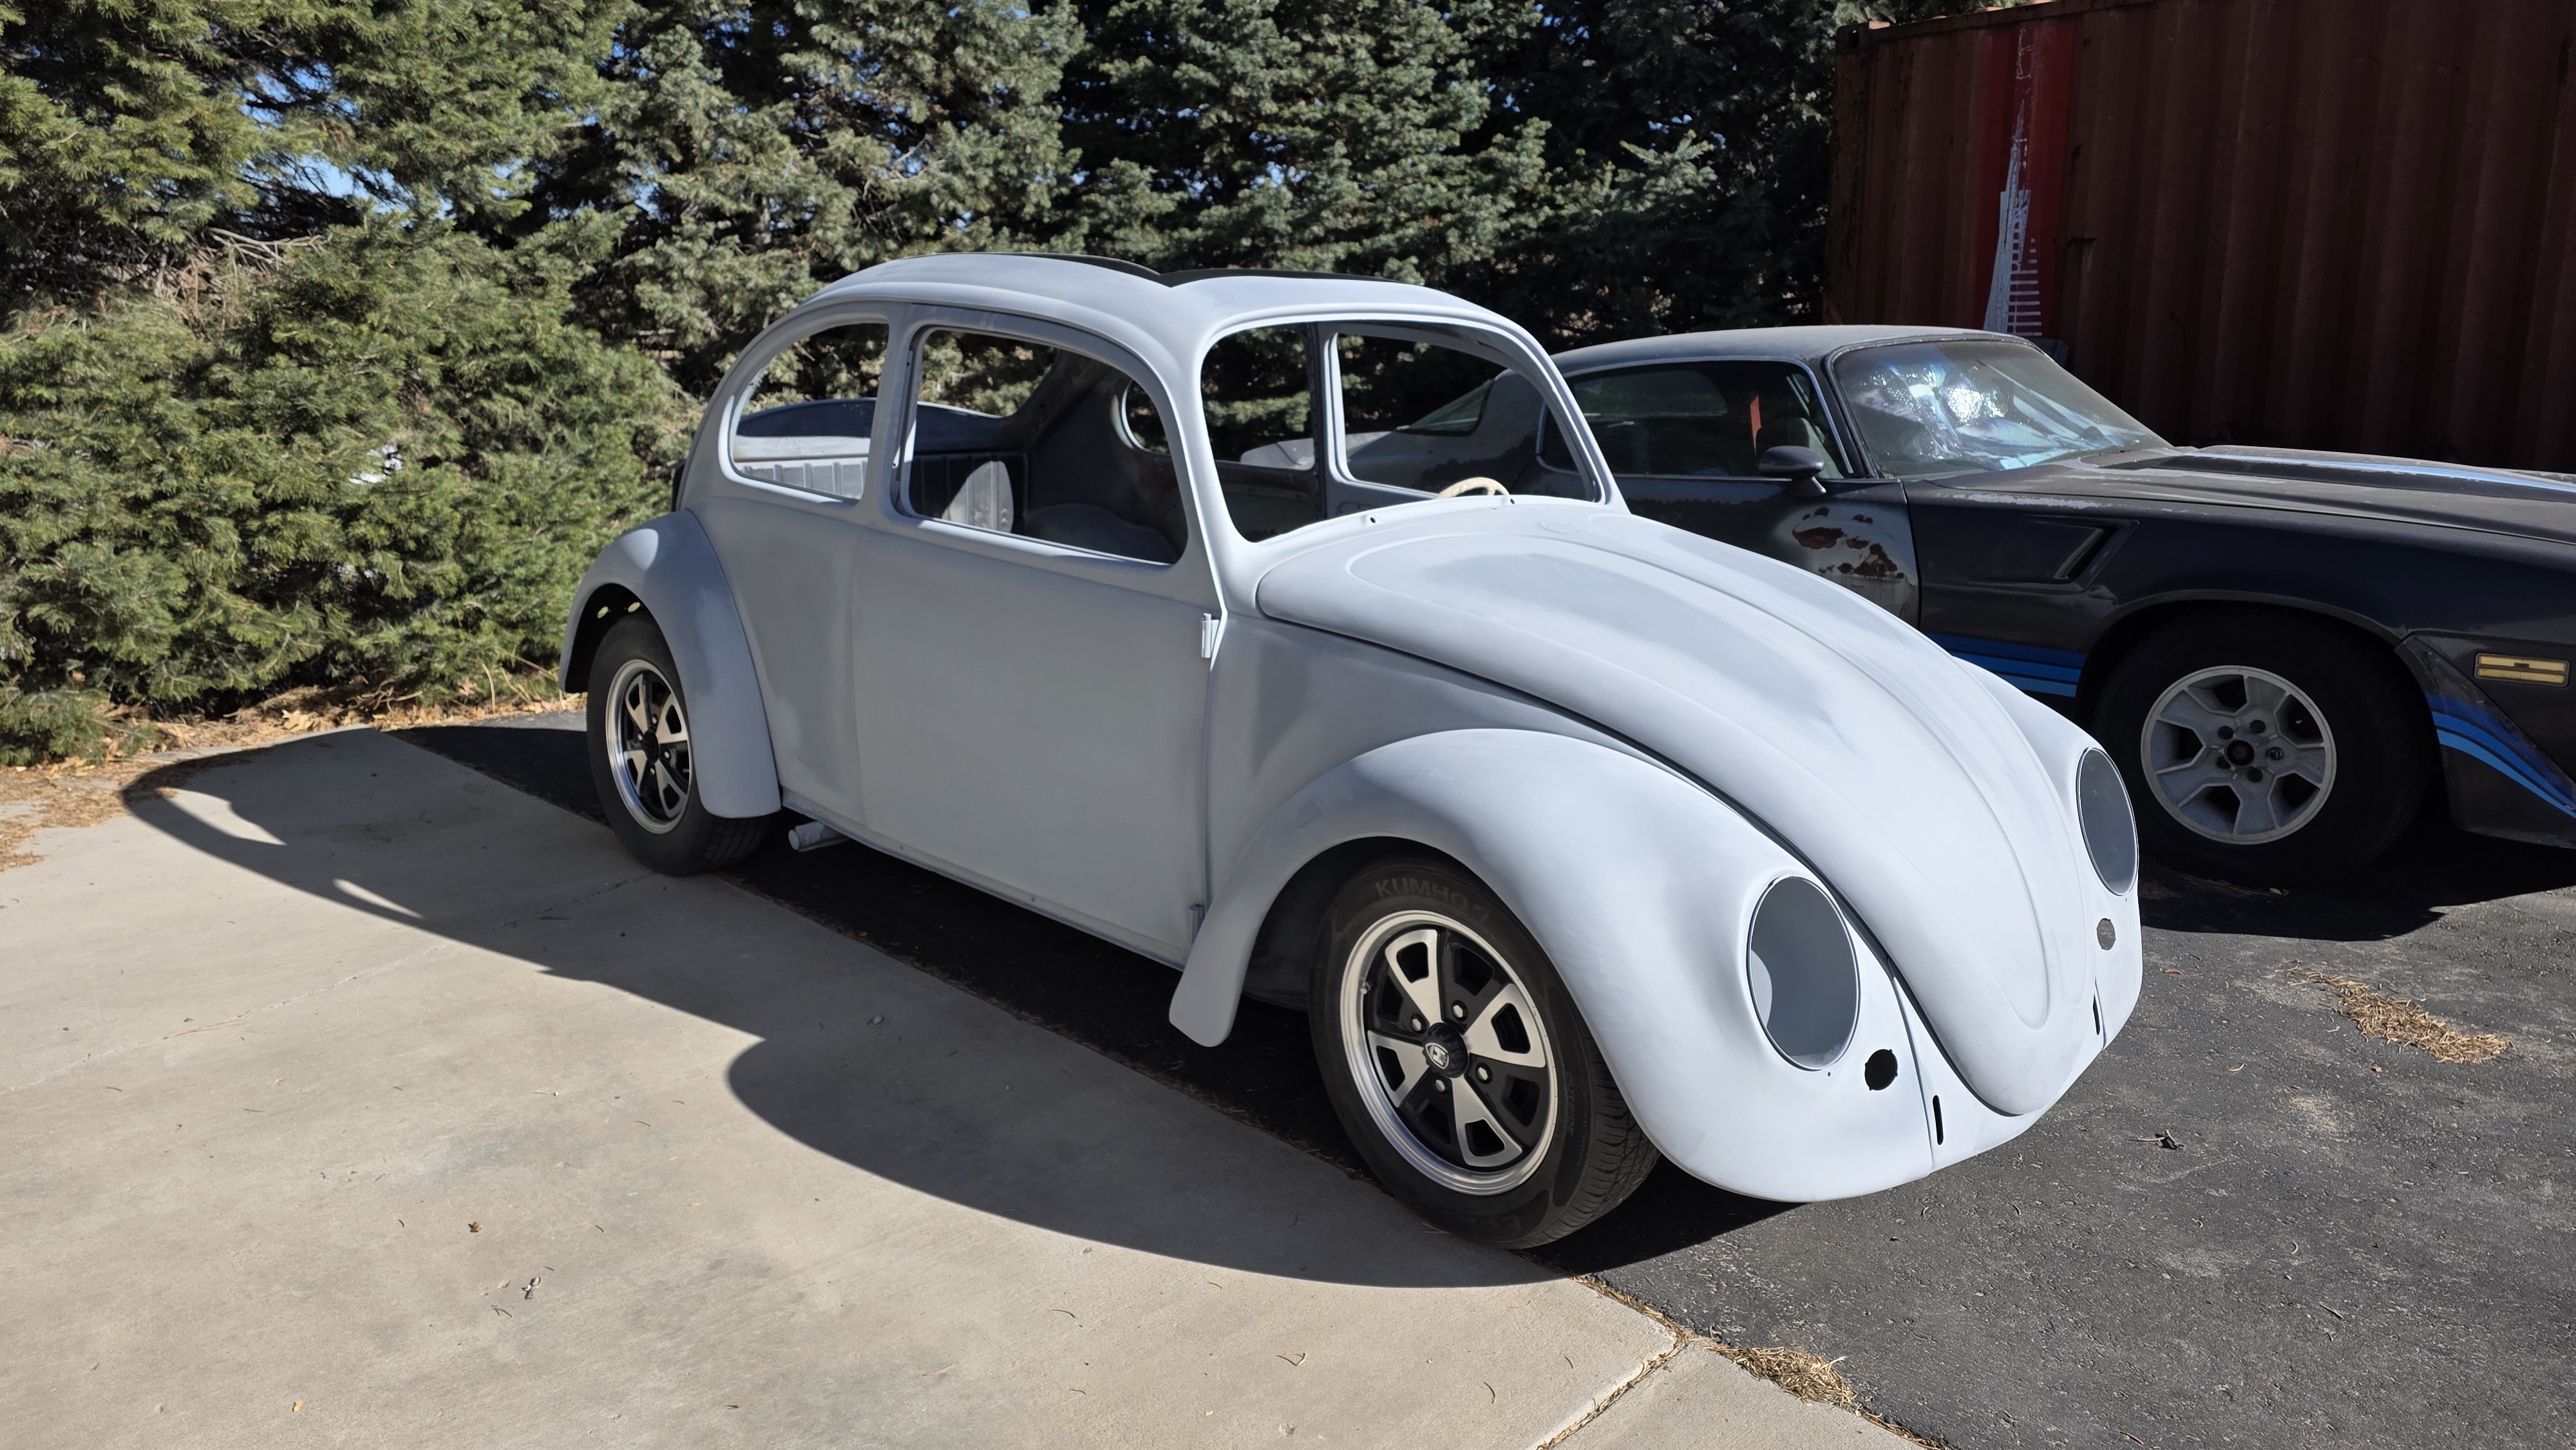
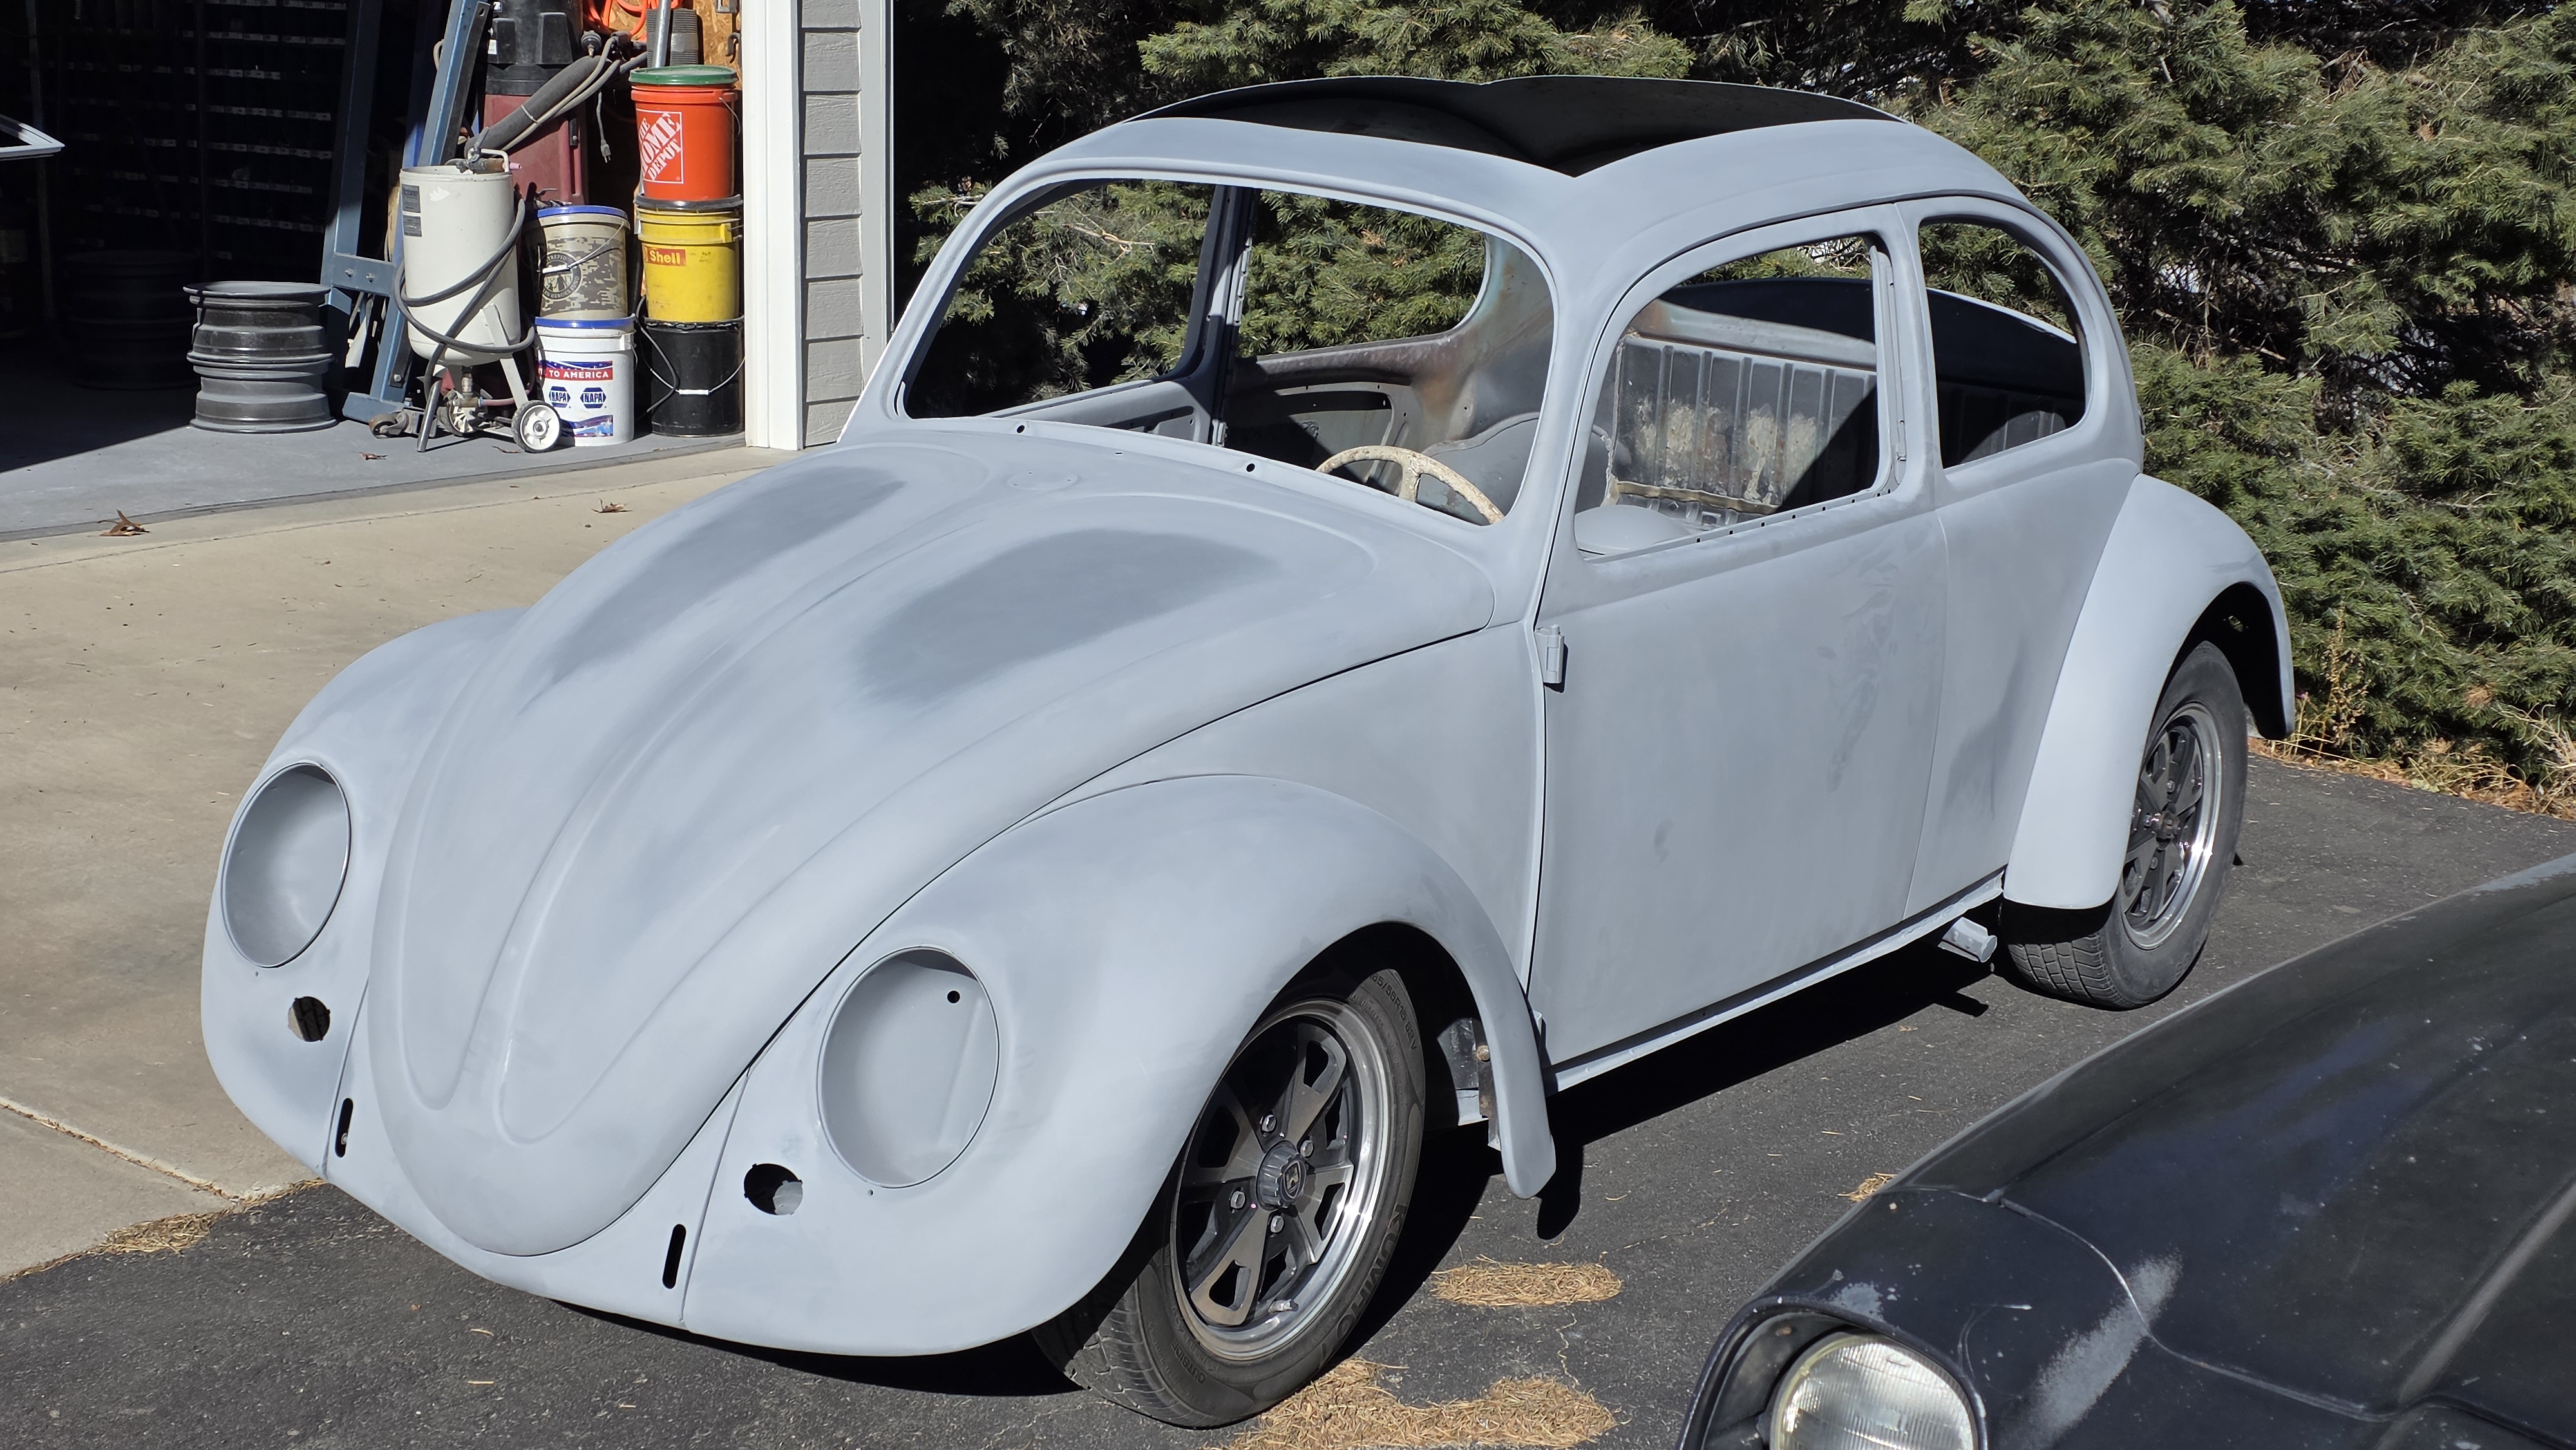
Once the ragtop arrived, I marked the roof, made the cut, and clamped everything in place to make sure it would fit. The car was sprayed with acrylic primer surfacer and and any spots were worked again, and touched up with primer.

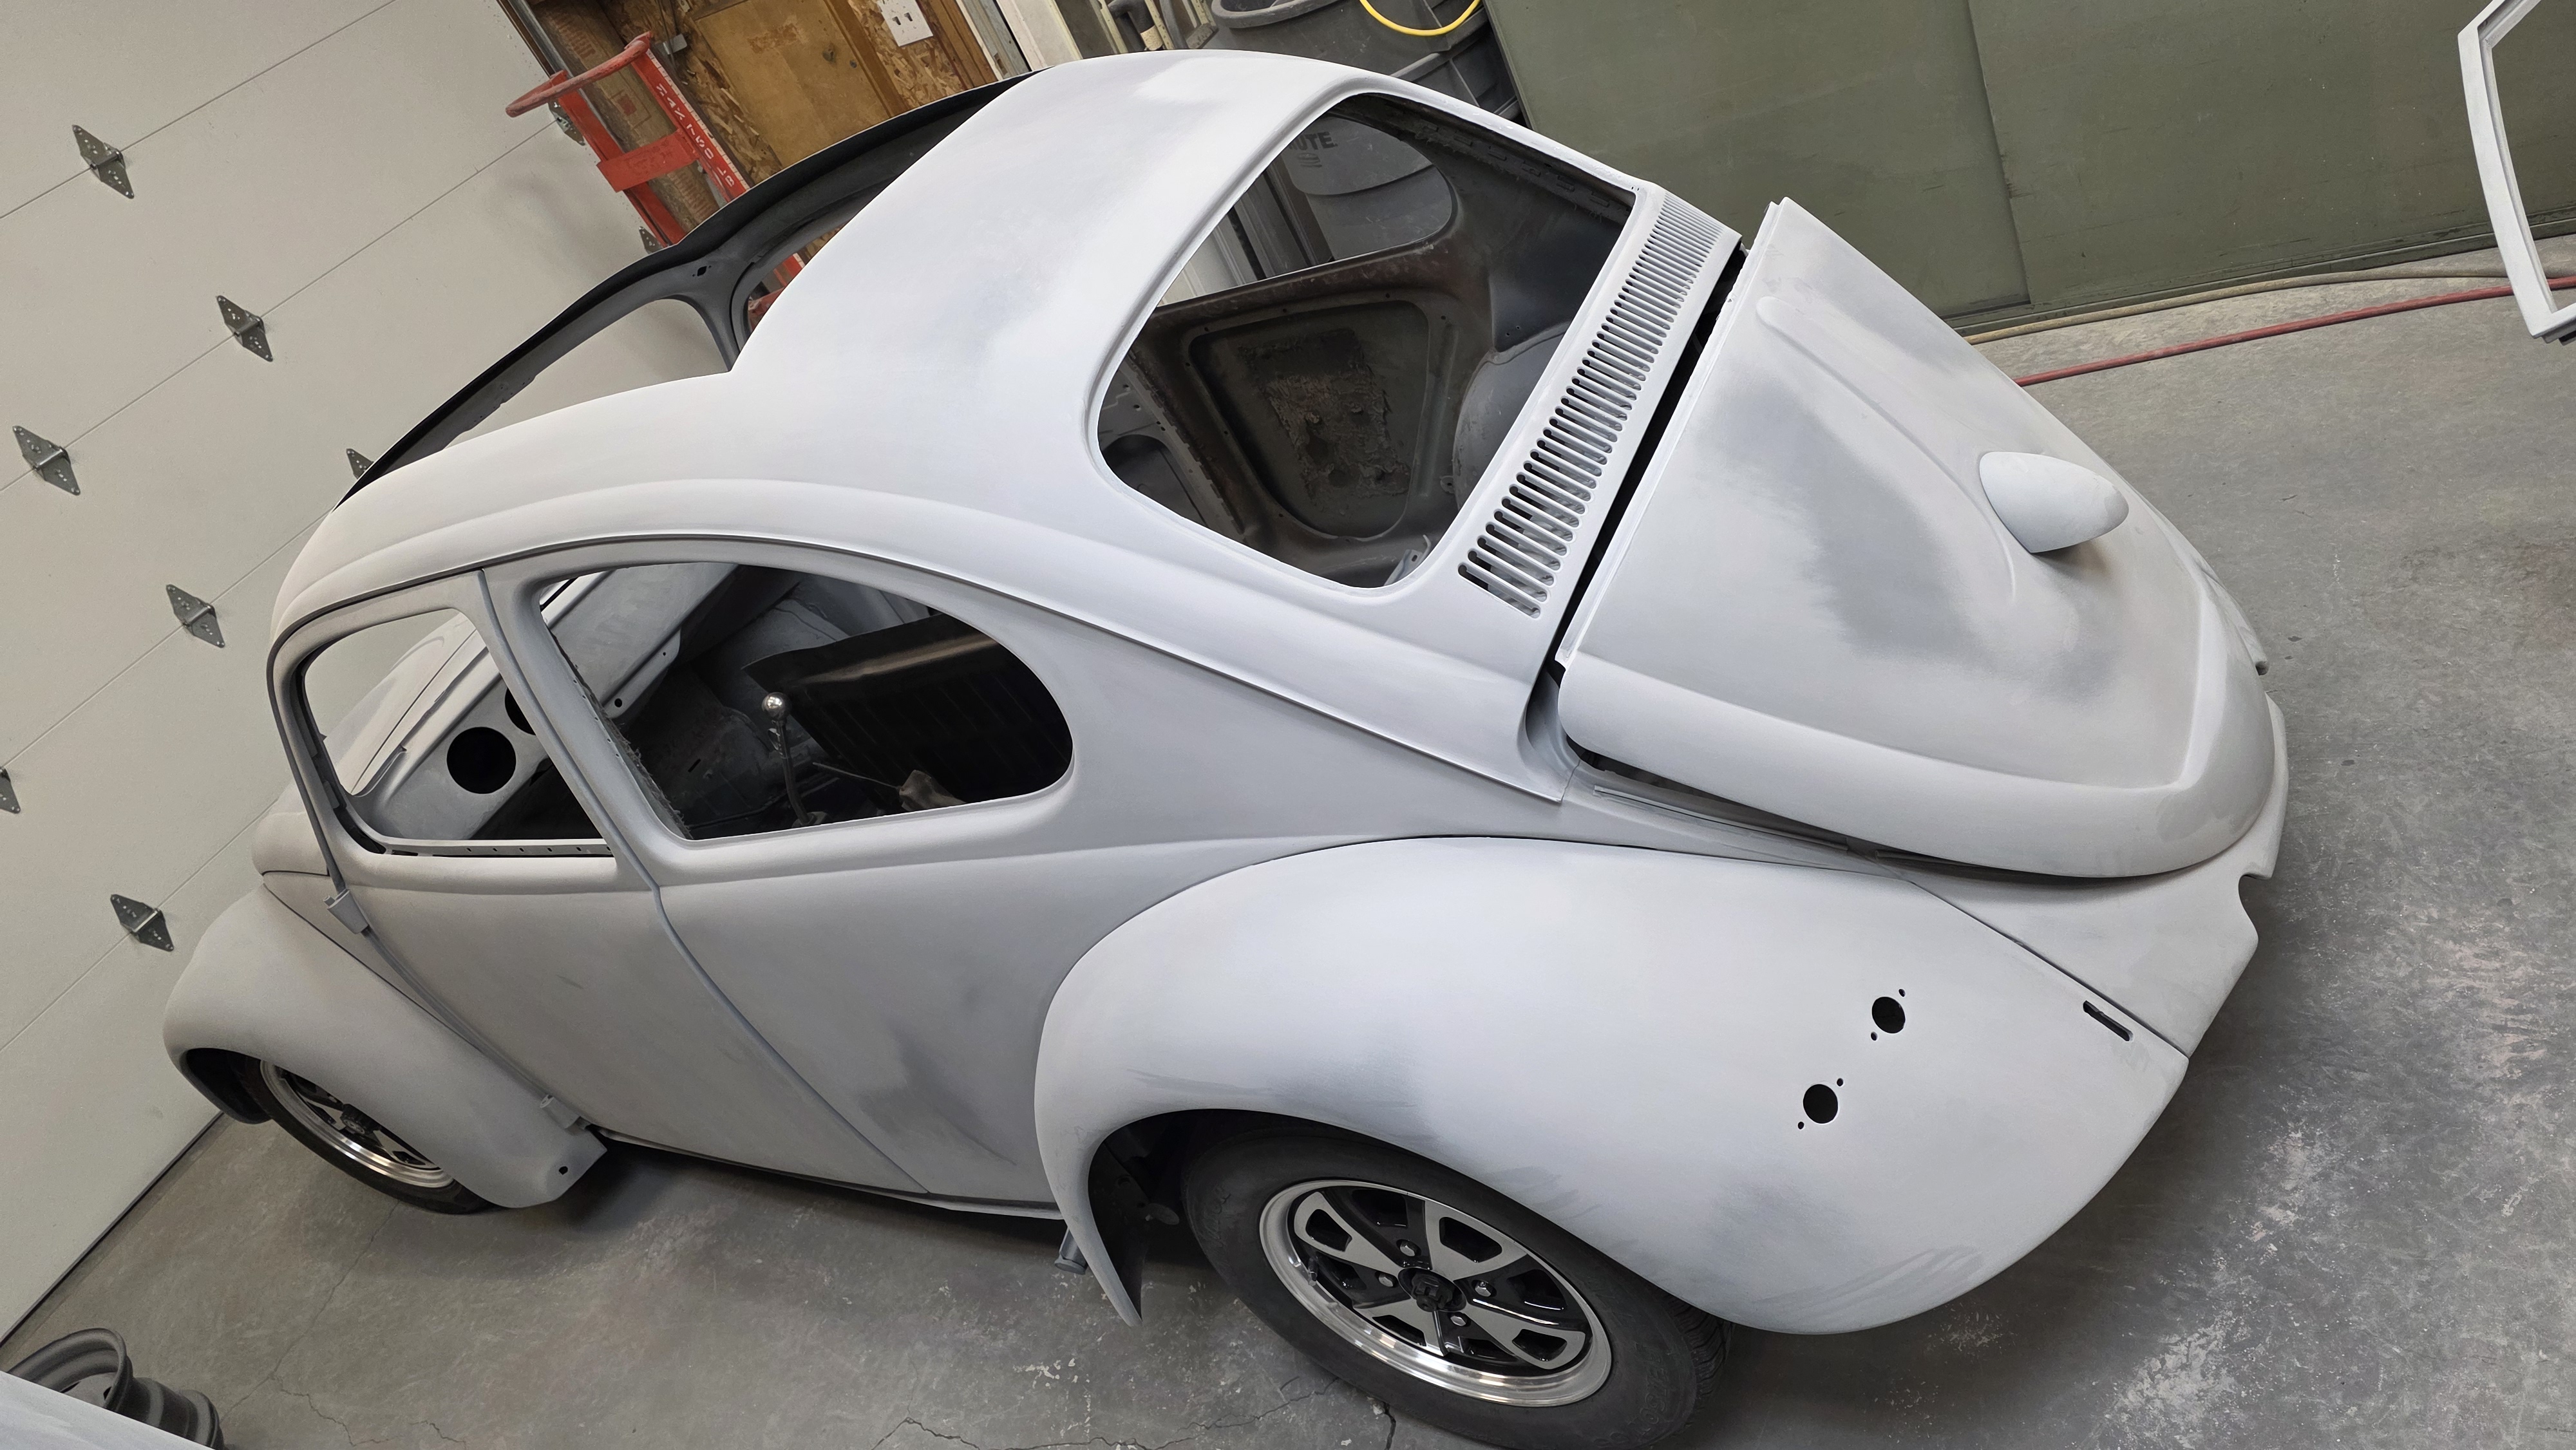
The whole car gets blocked down with 180g, 400g, 600g, and a 800g scuff pad for the final touch.
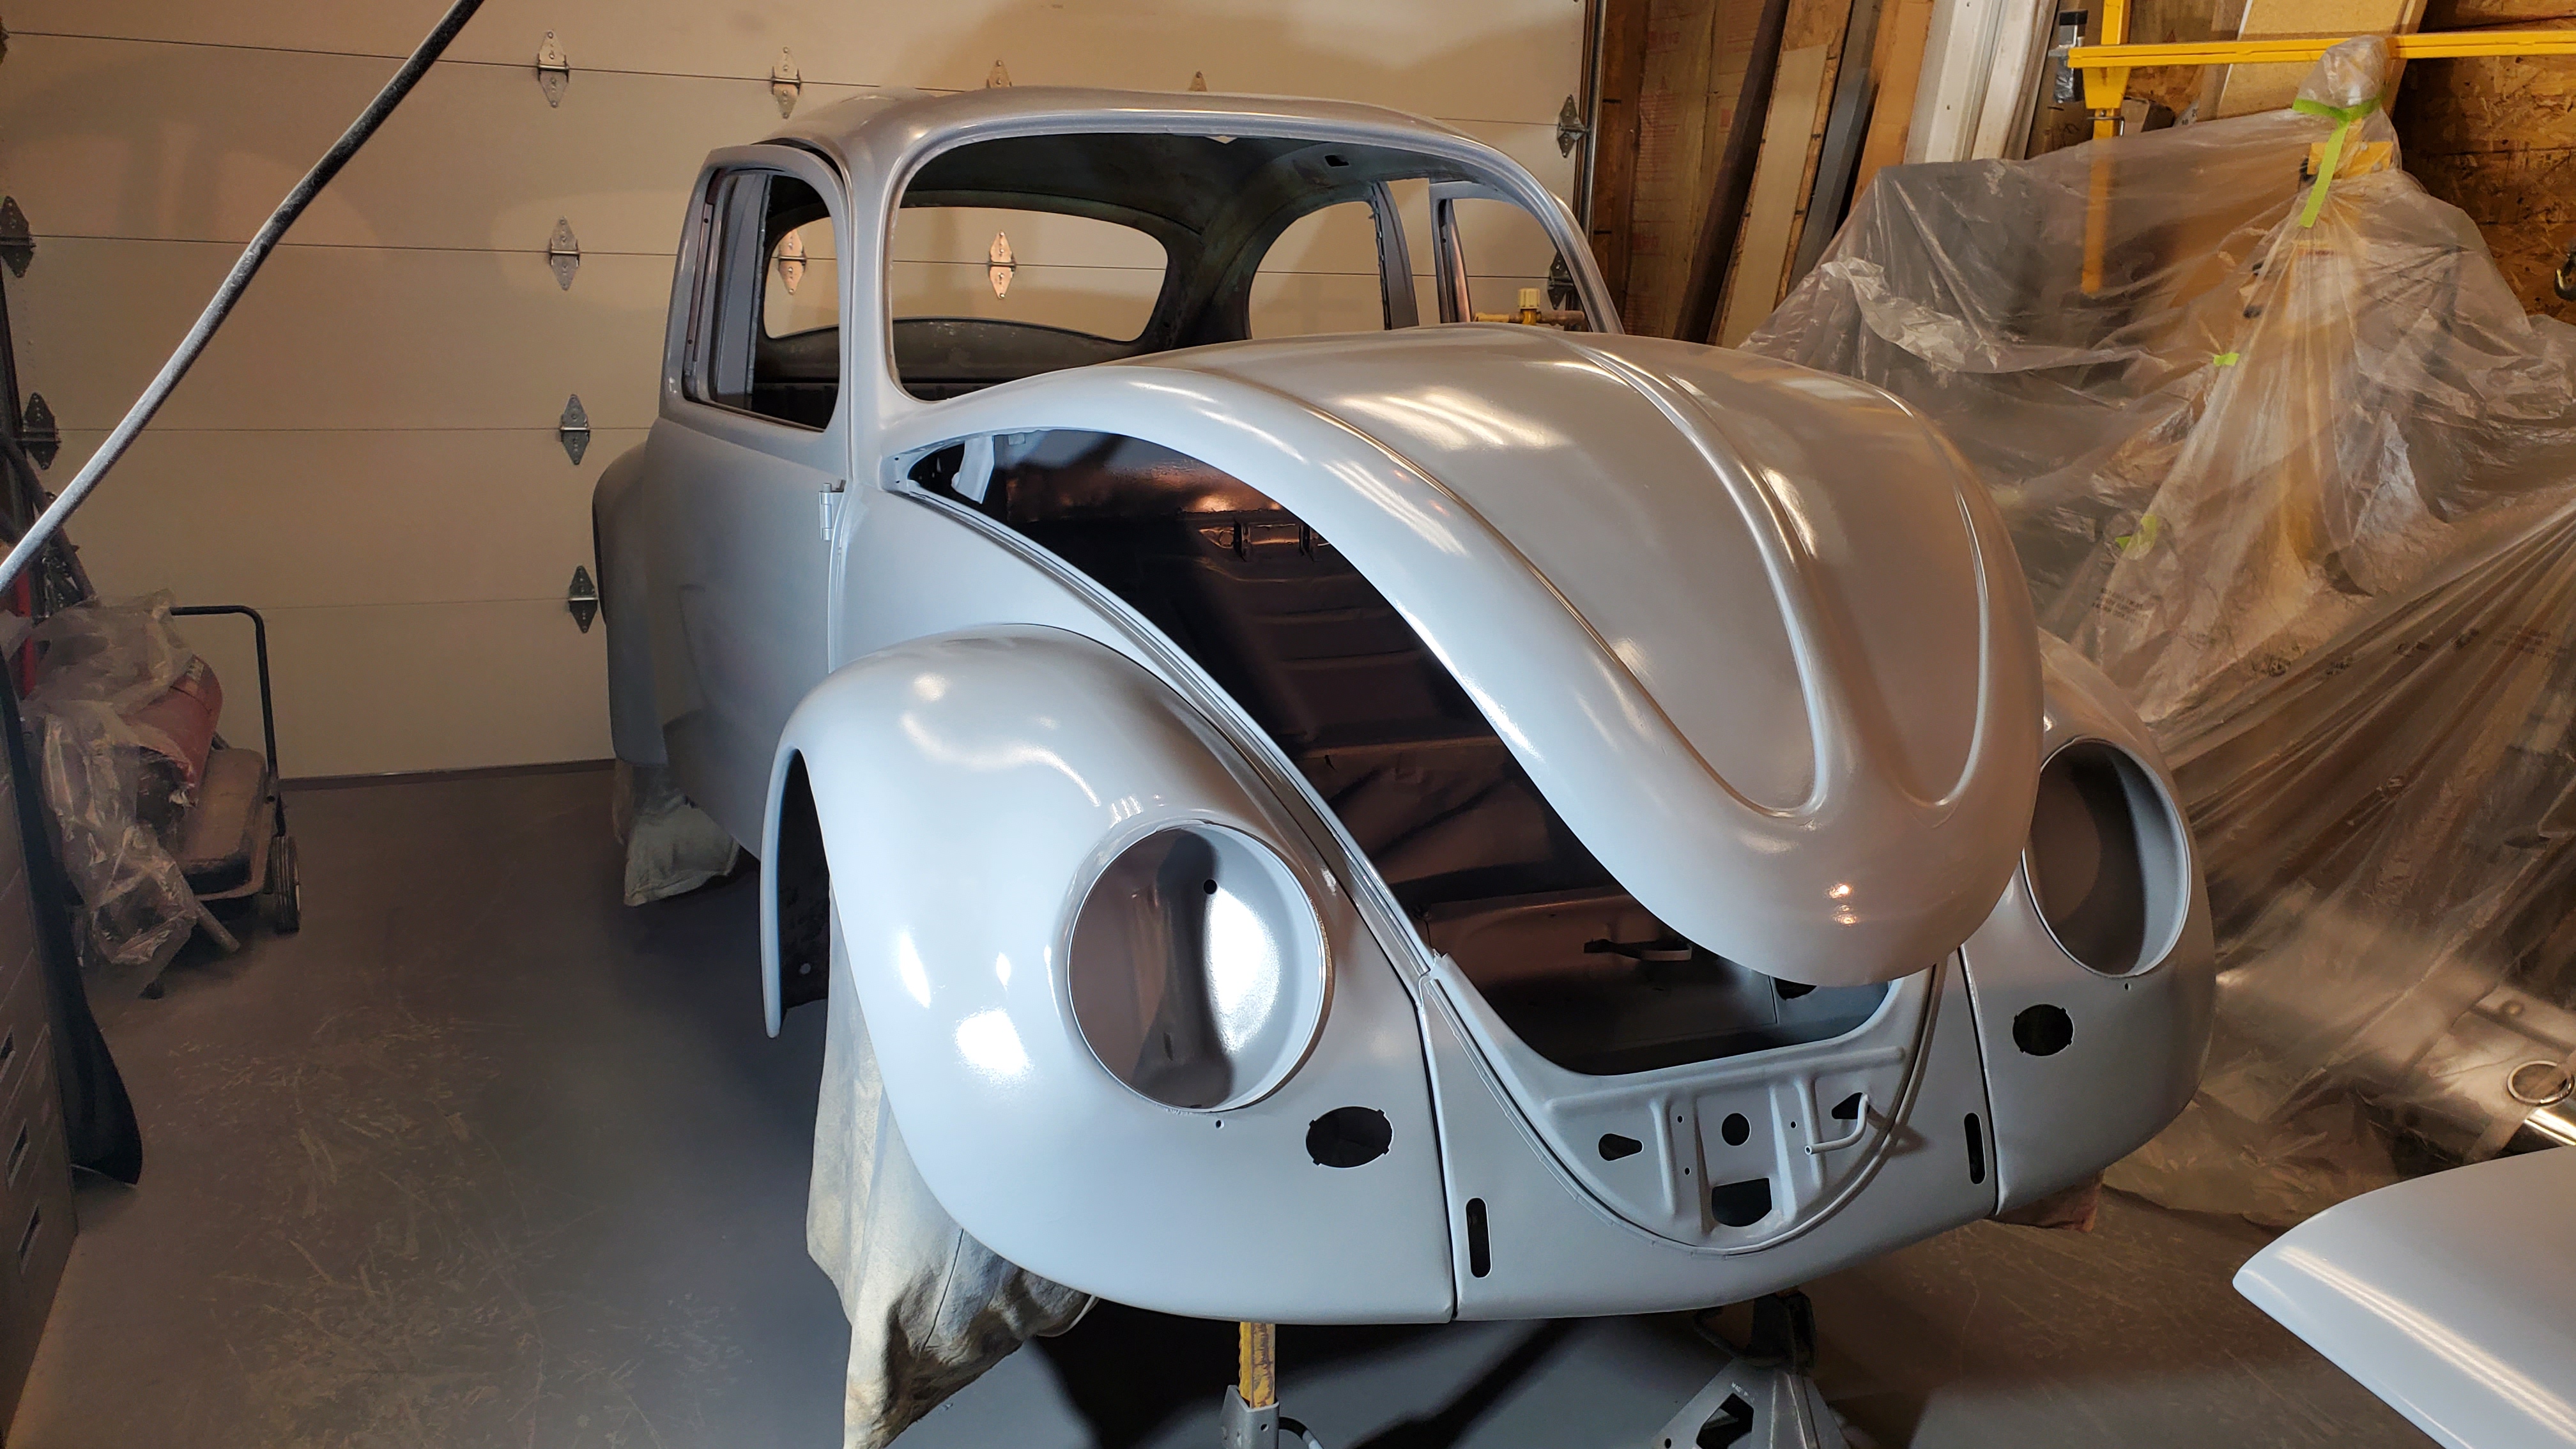
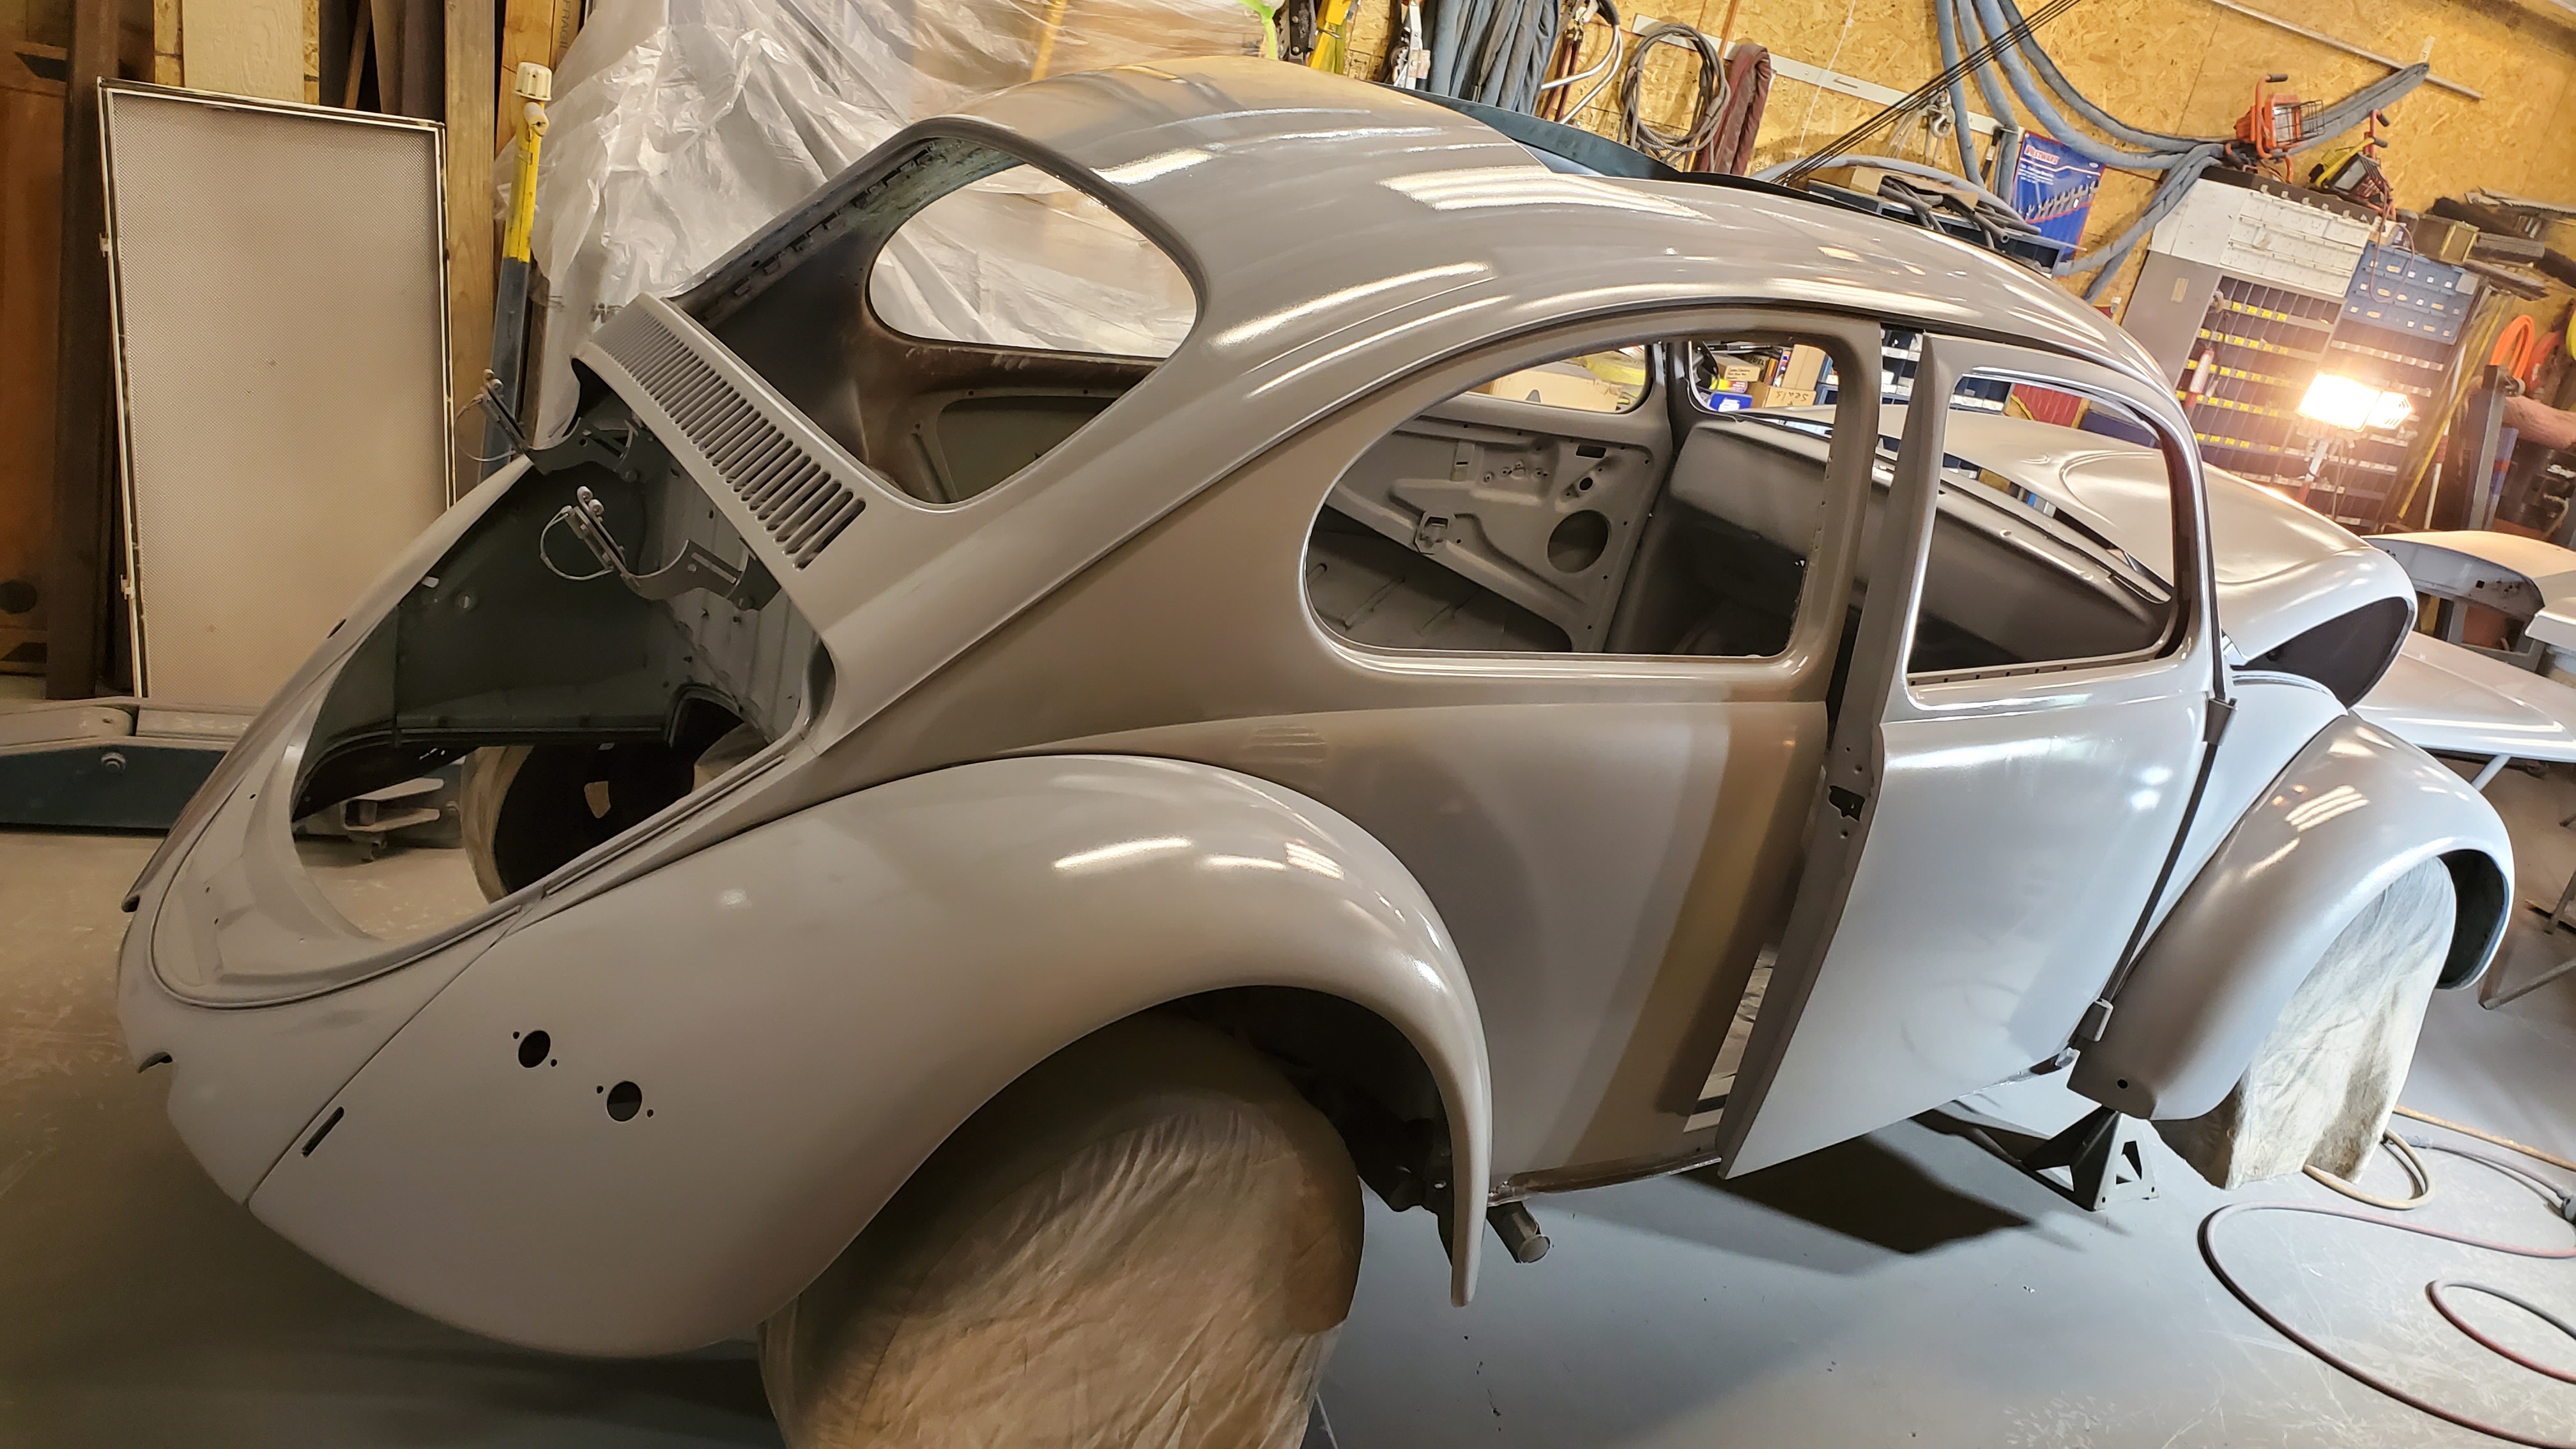
The car was cleaned, as is the shop before paint. It was going into winter, loosing warm days, and I didn’t get many pictures of the paint happening, but do have the pictures of it sitting in the shop a short while after being moved out of the painting area.
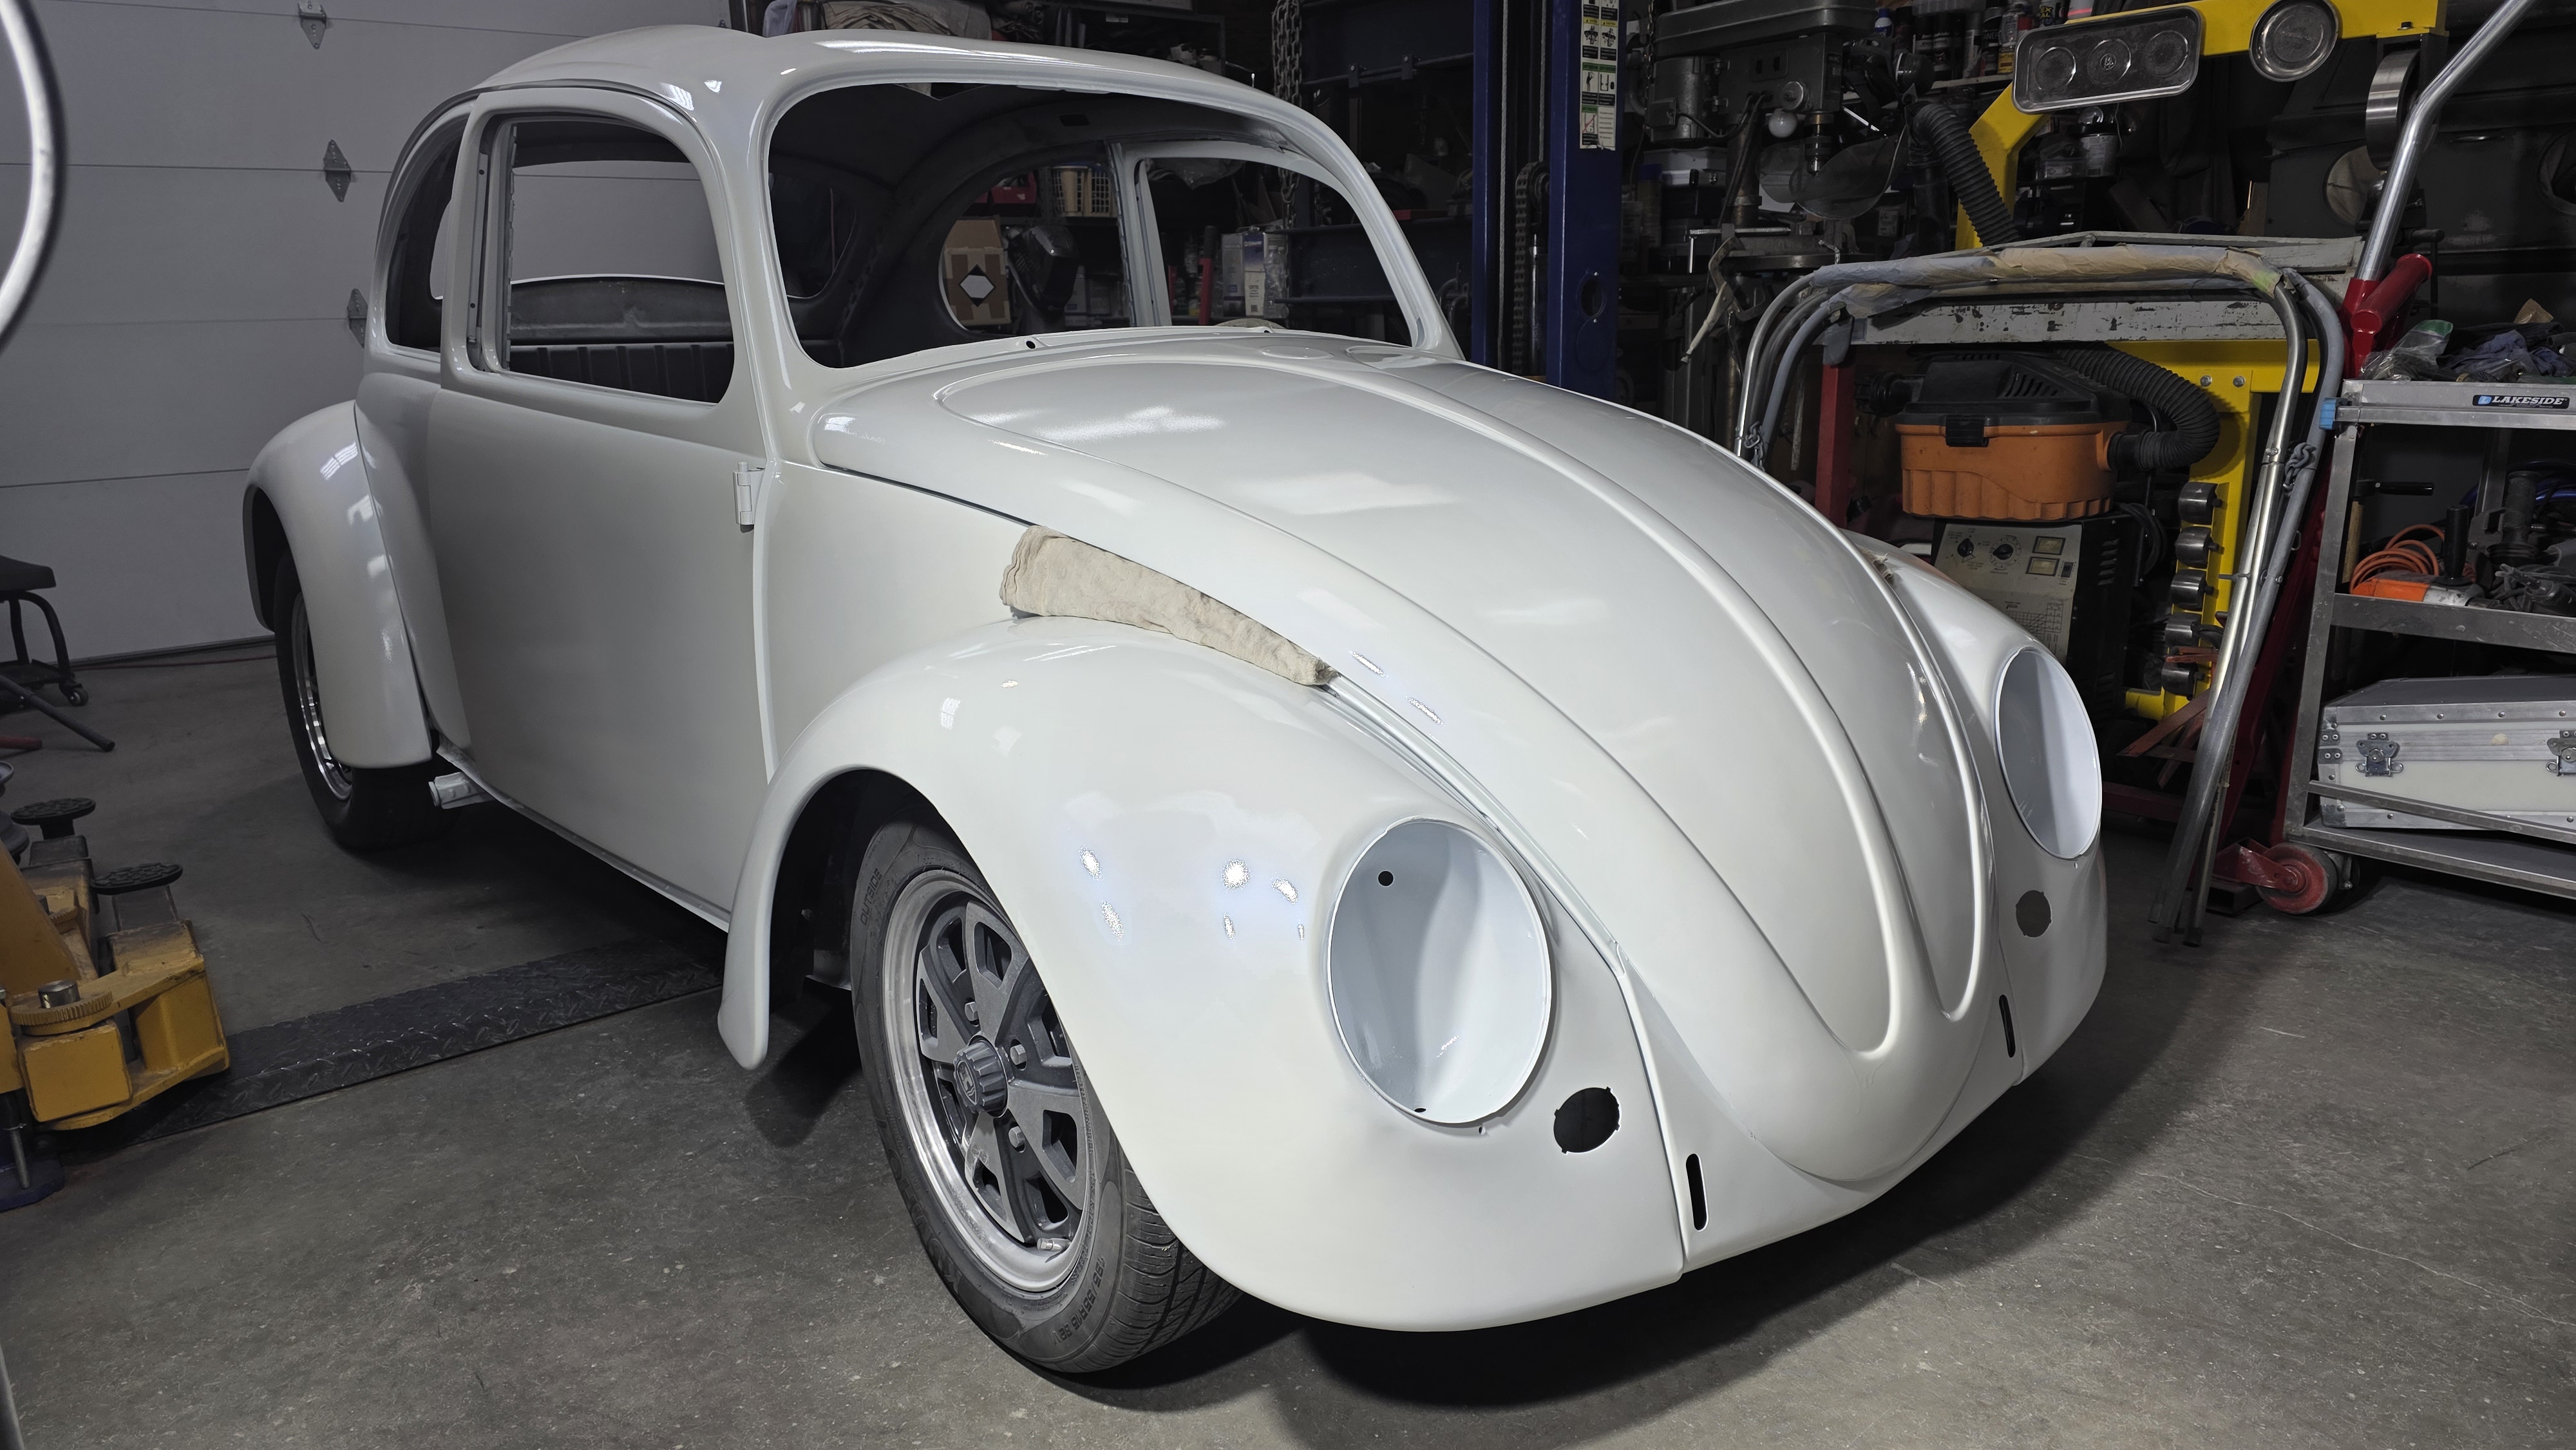
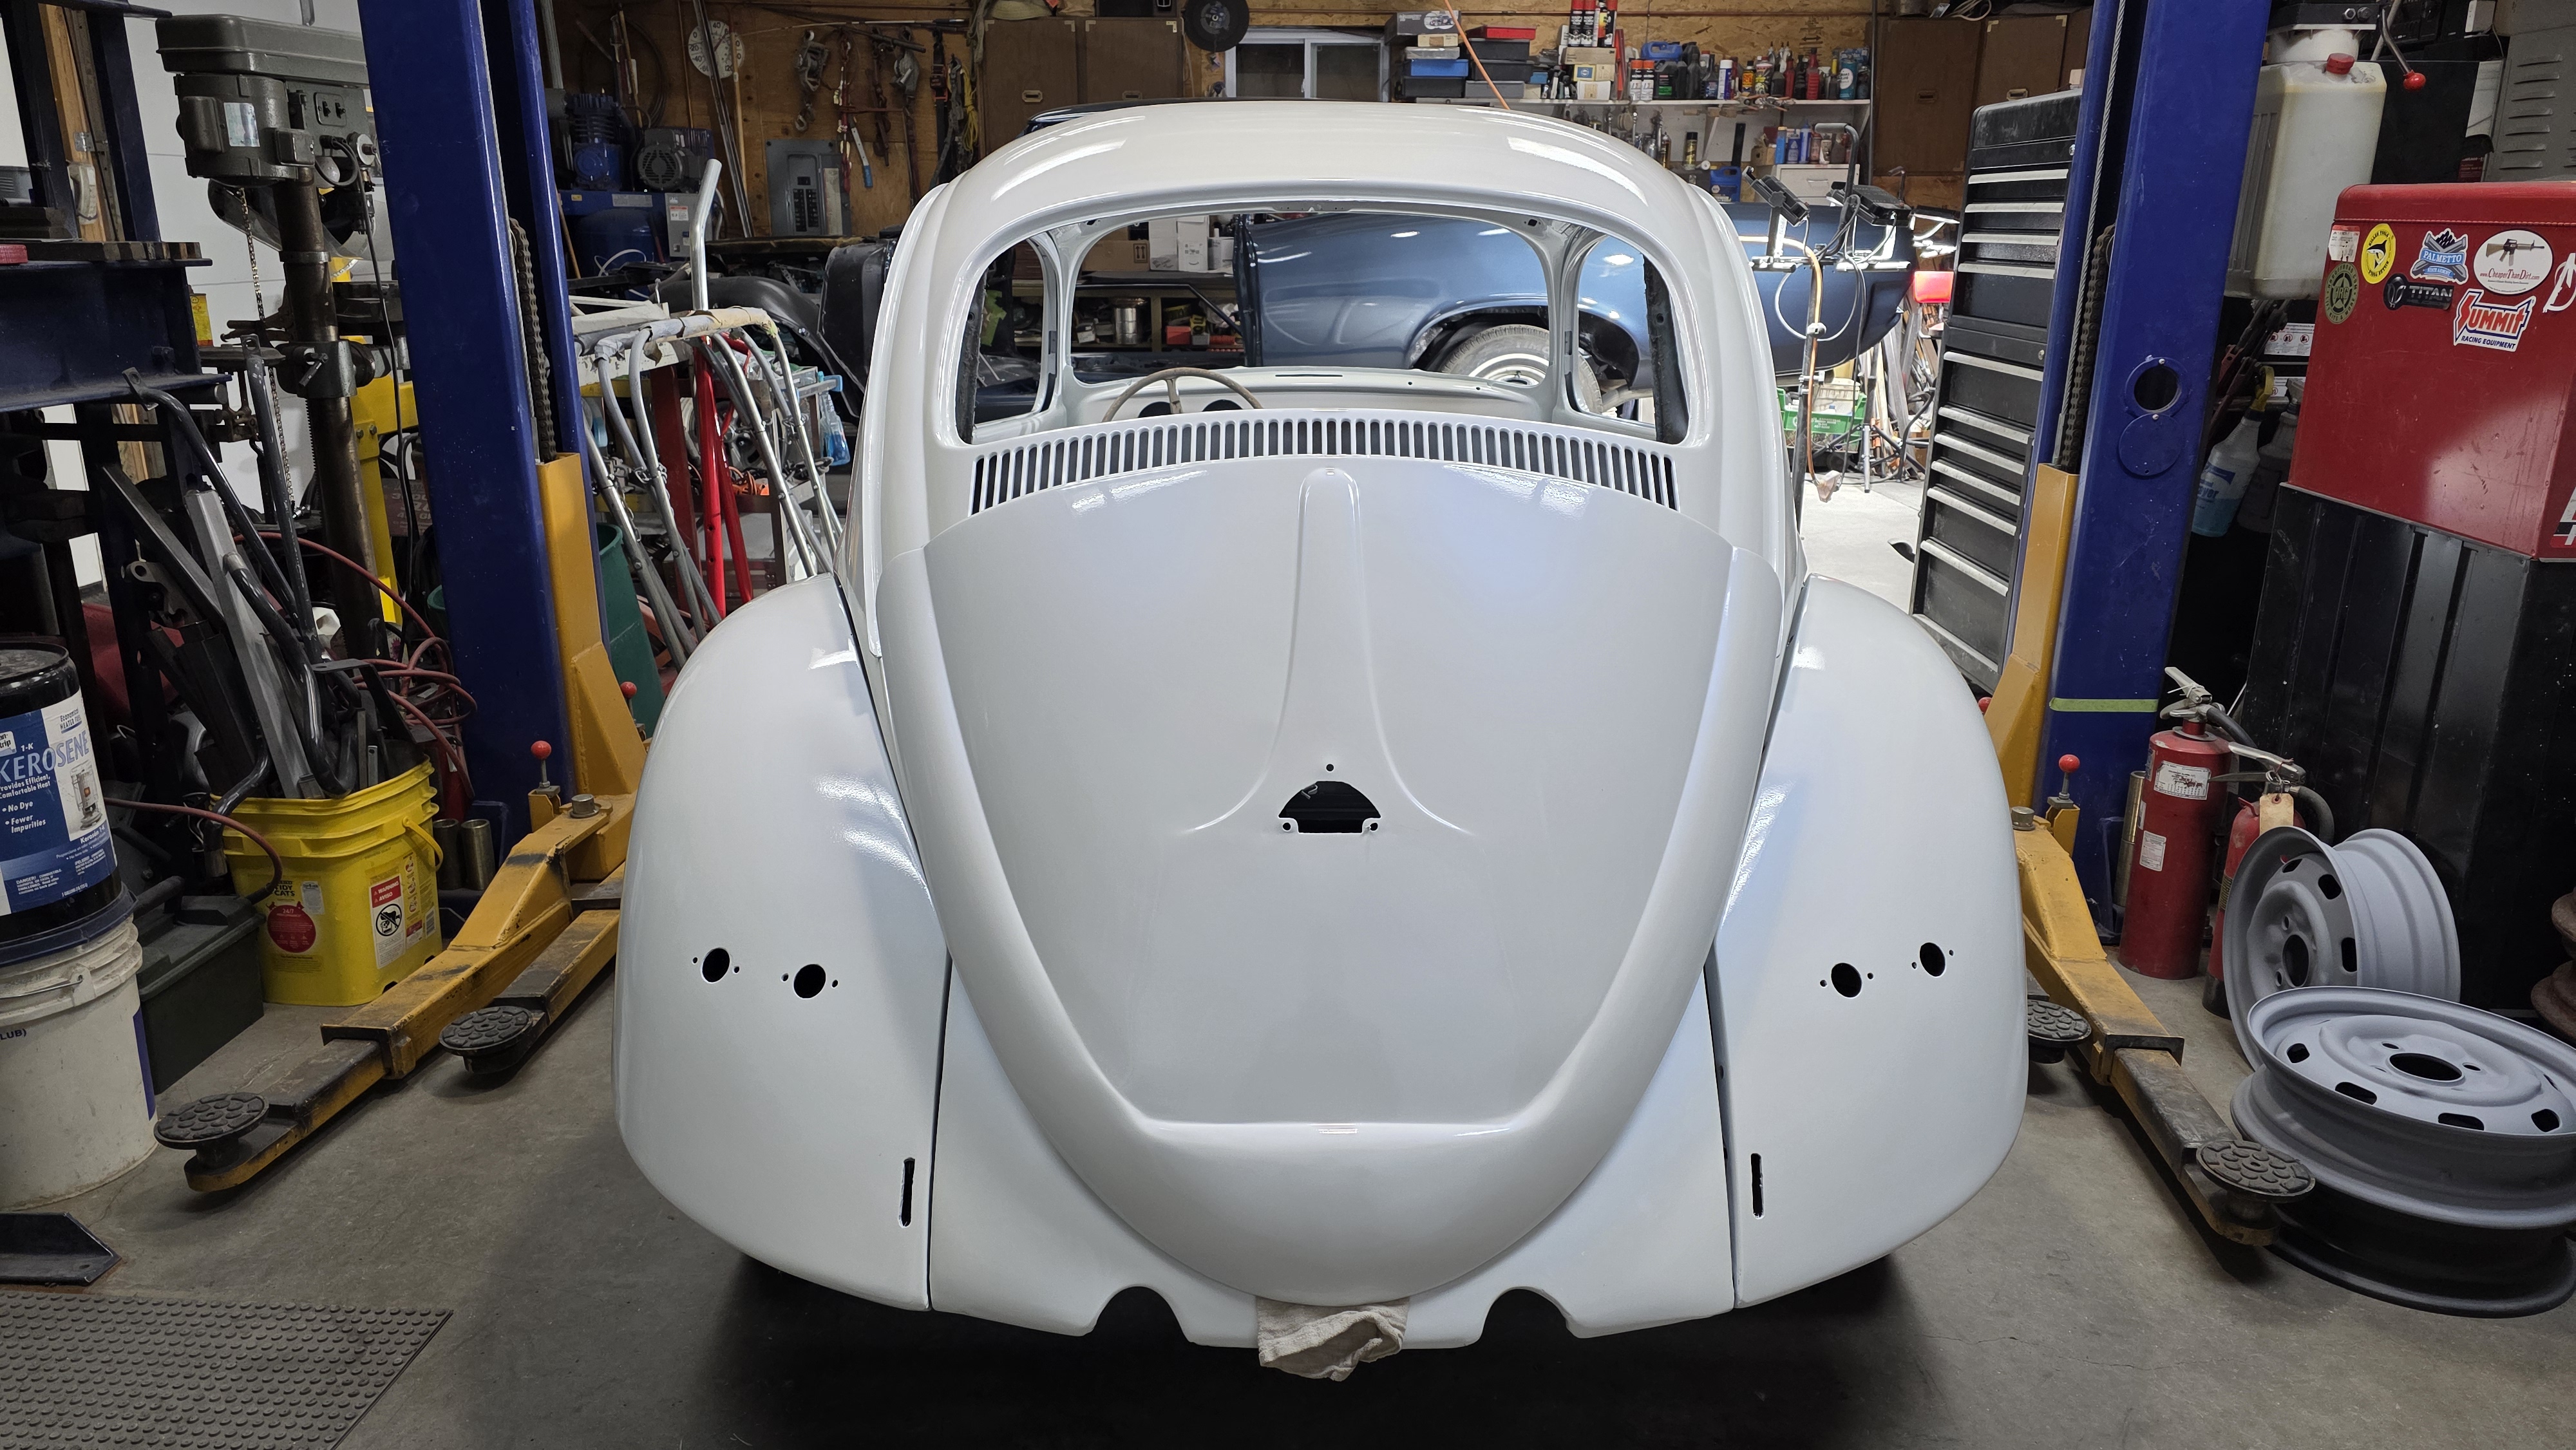
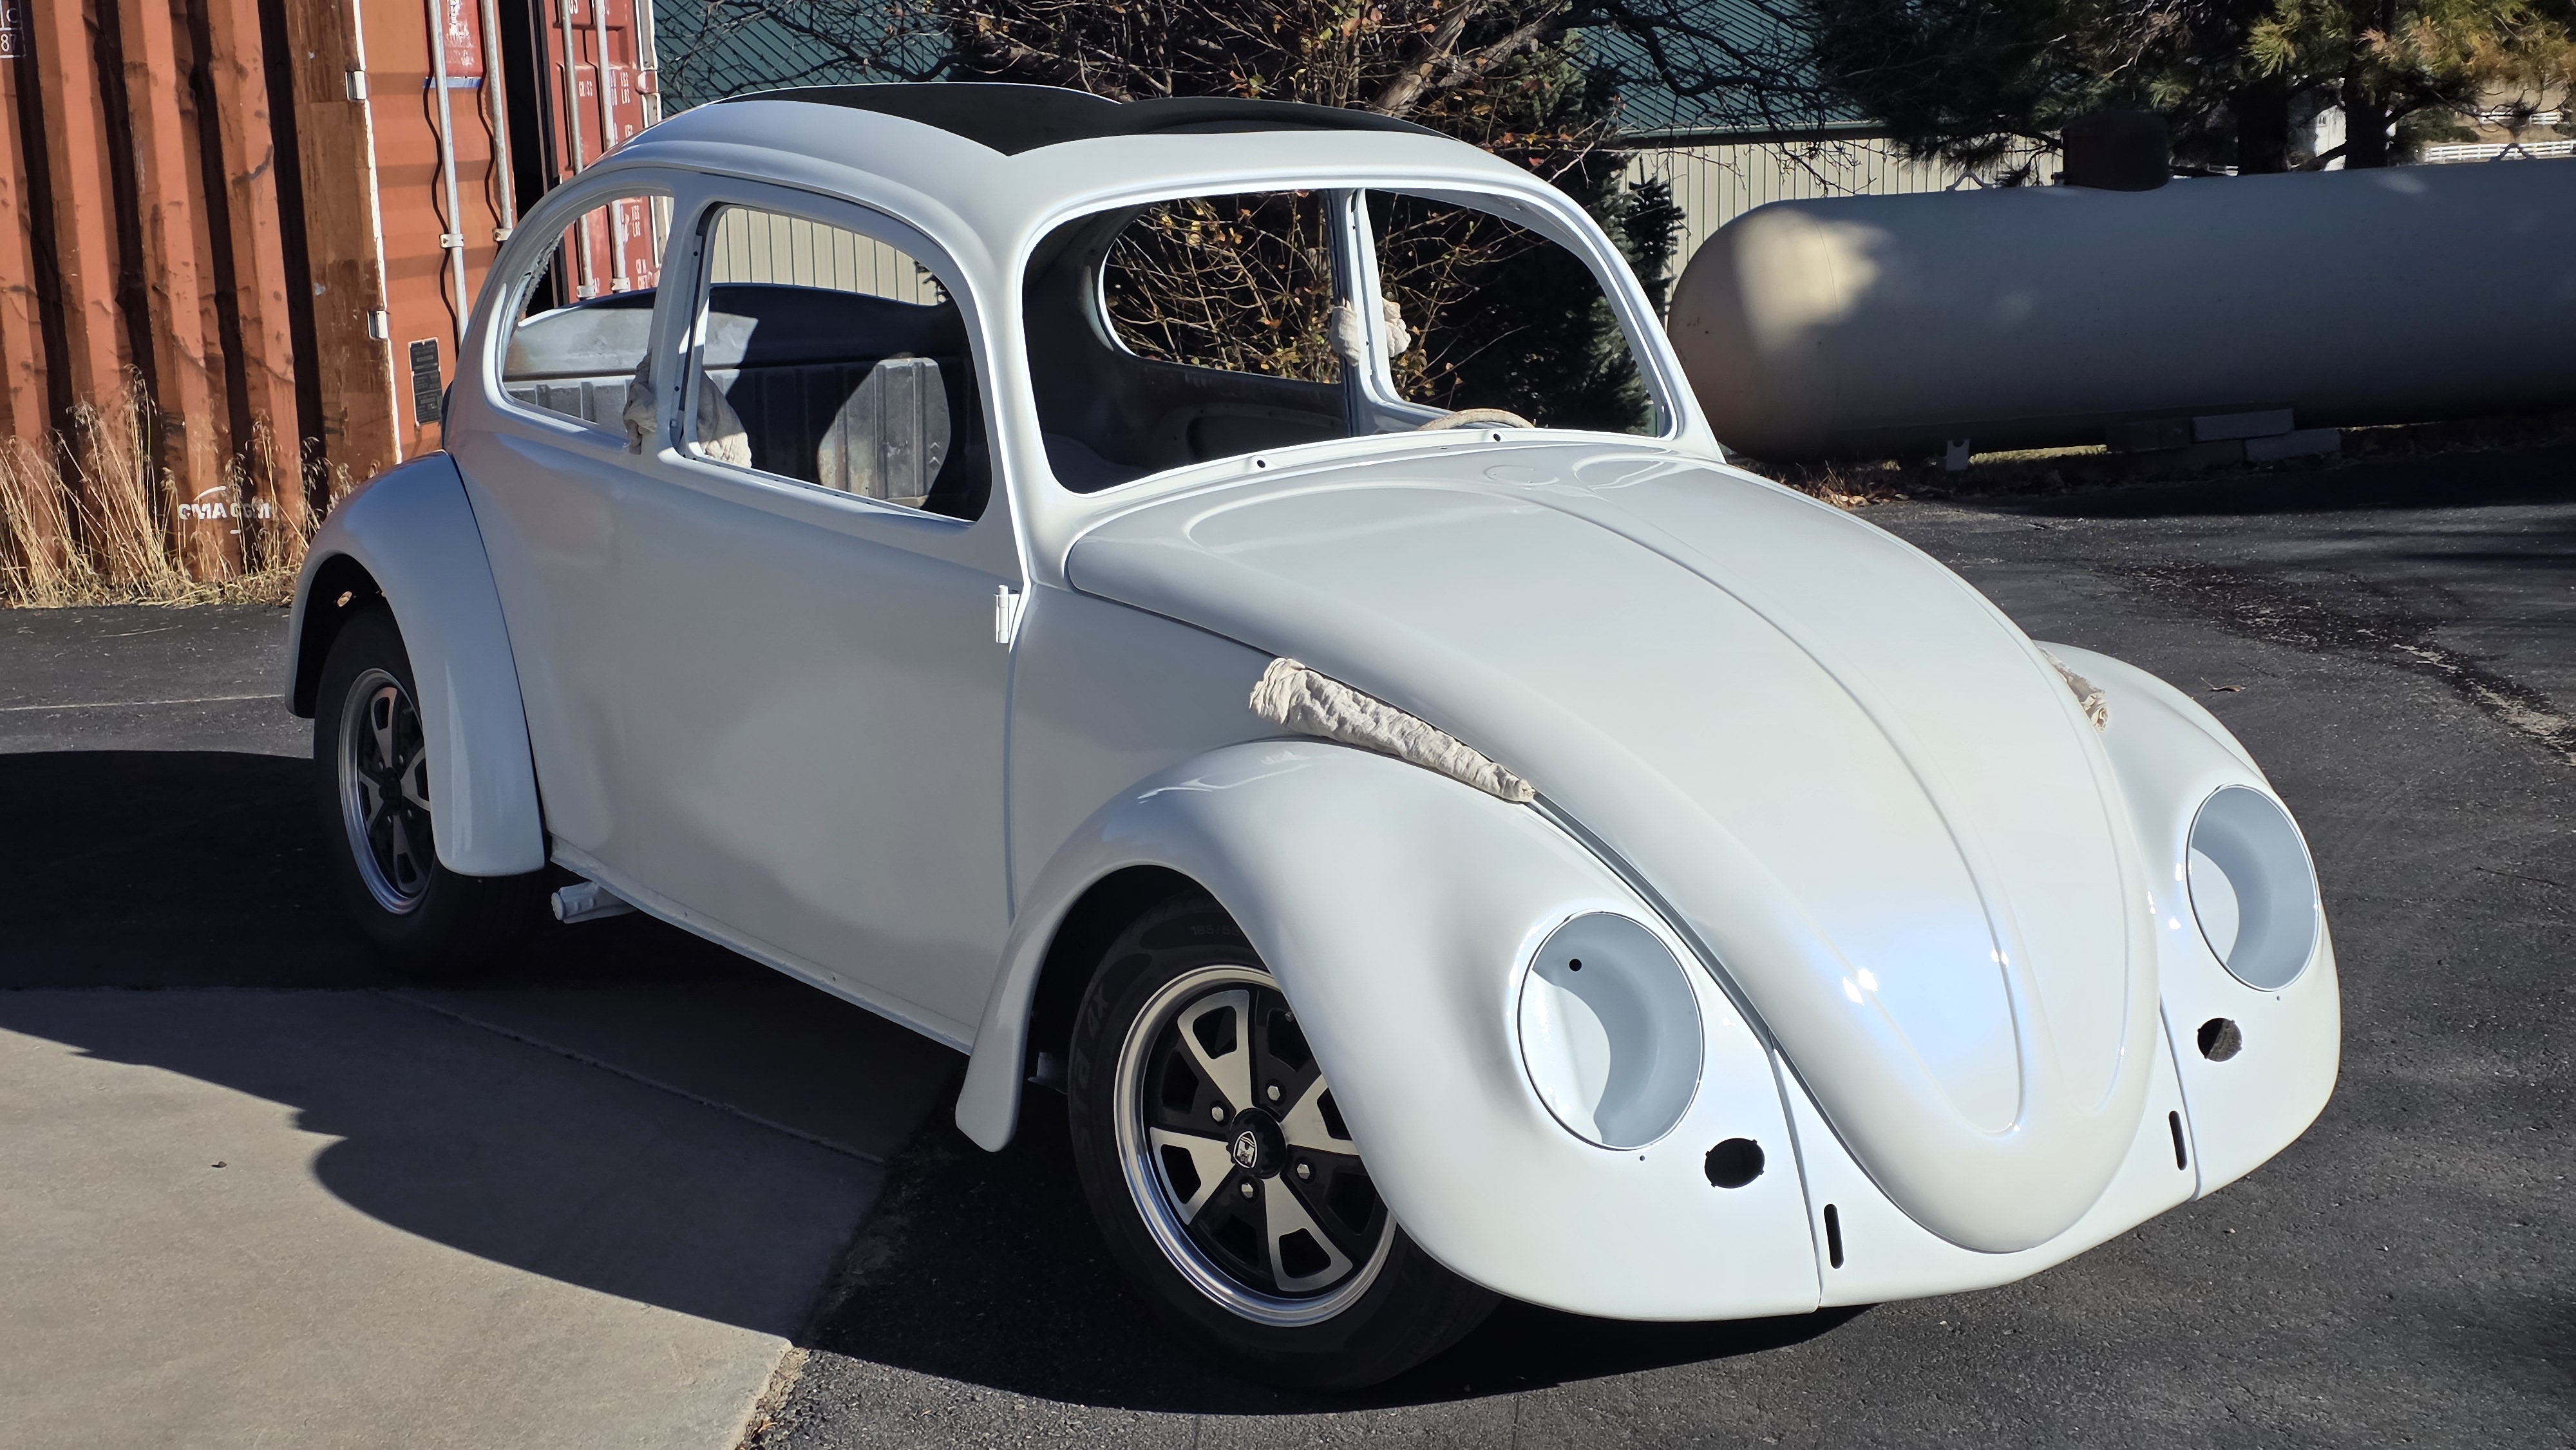
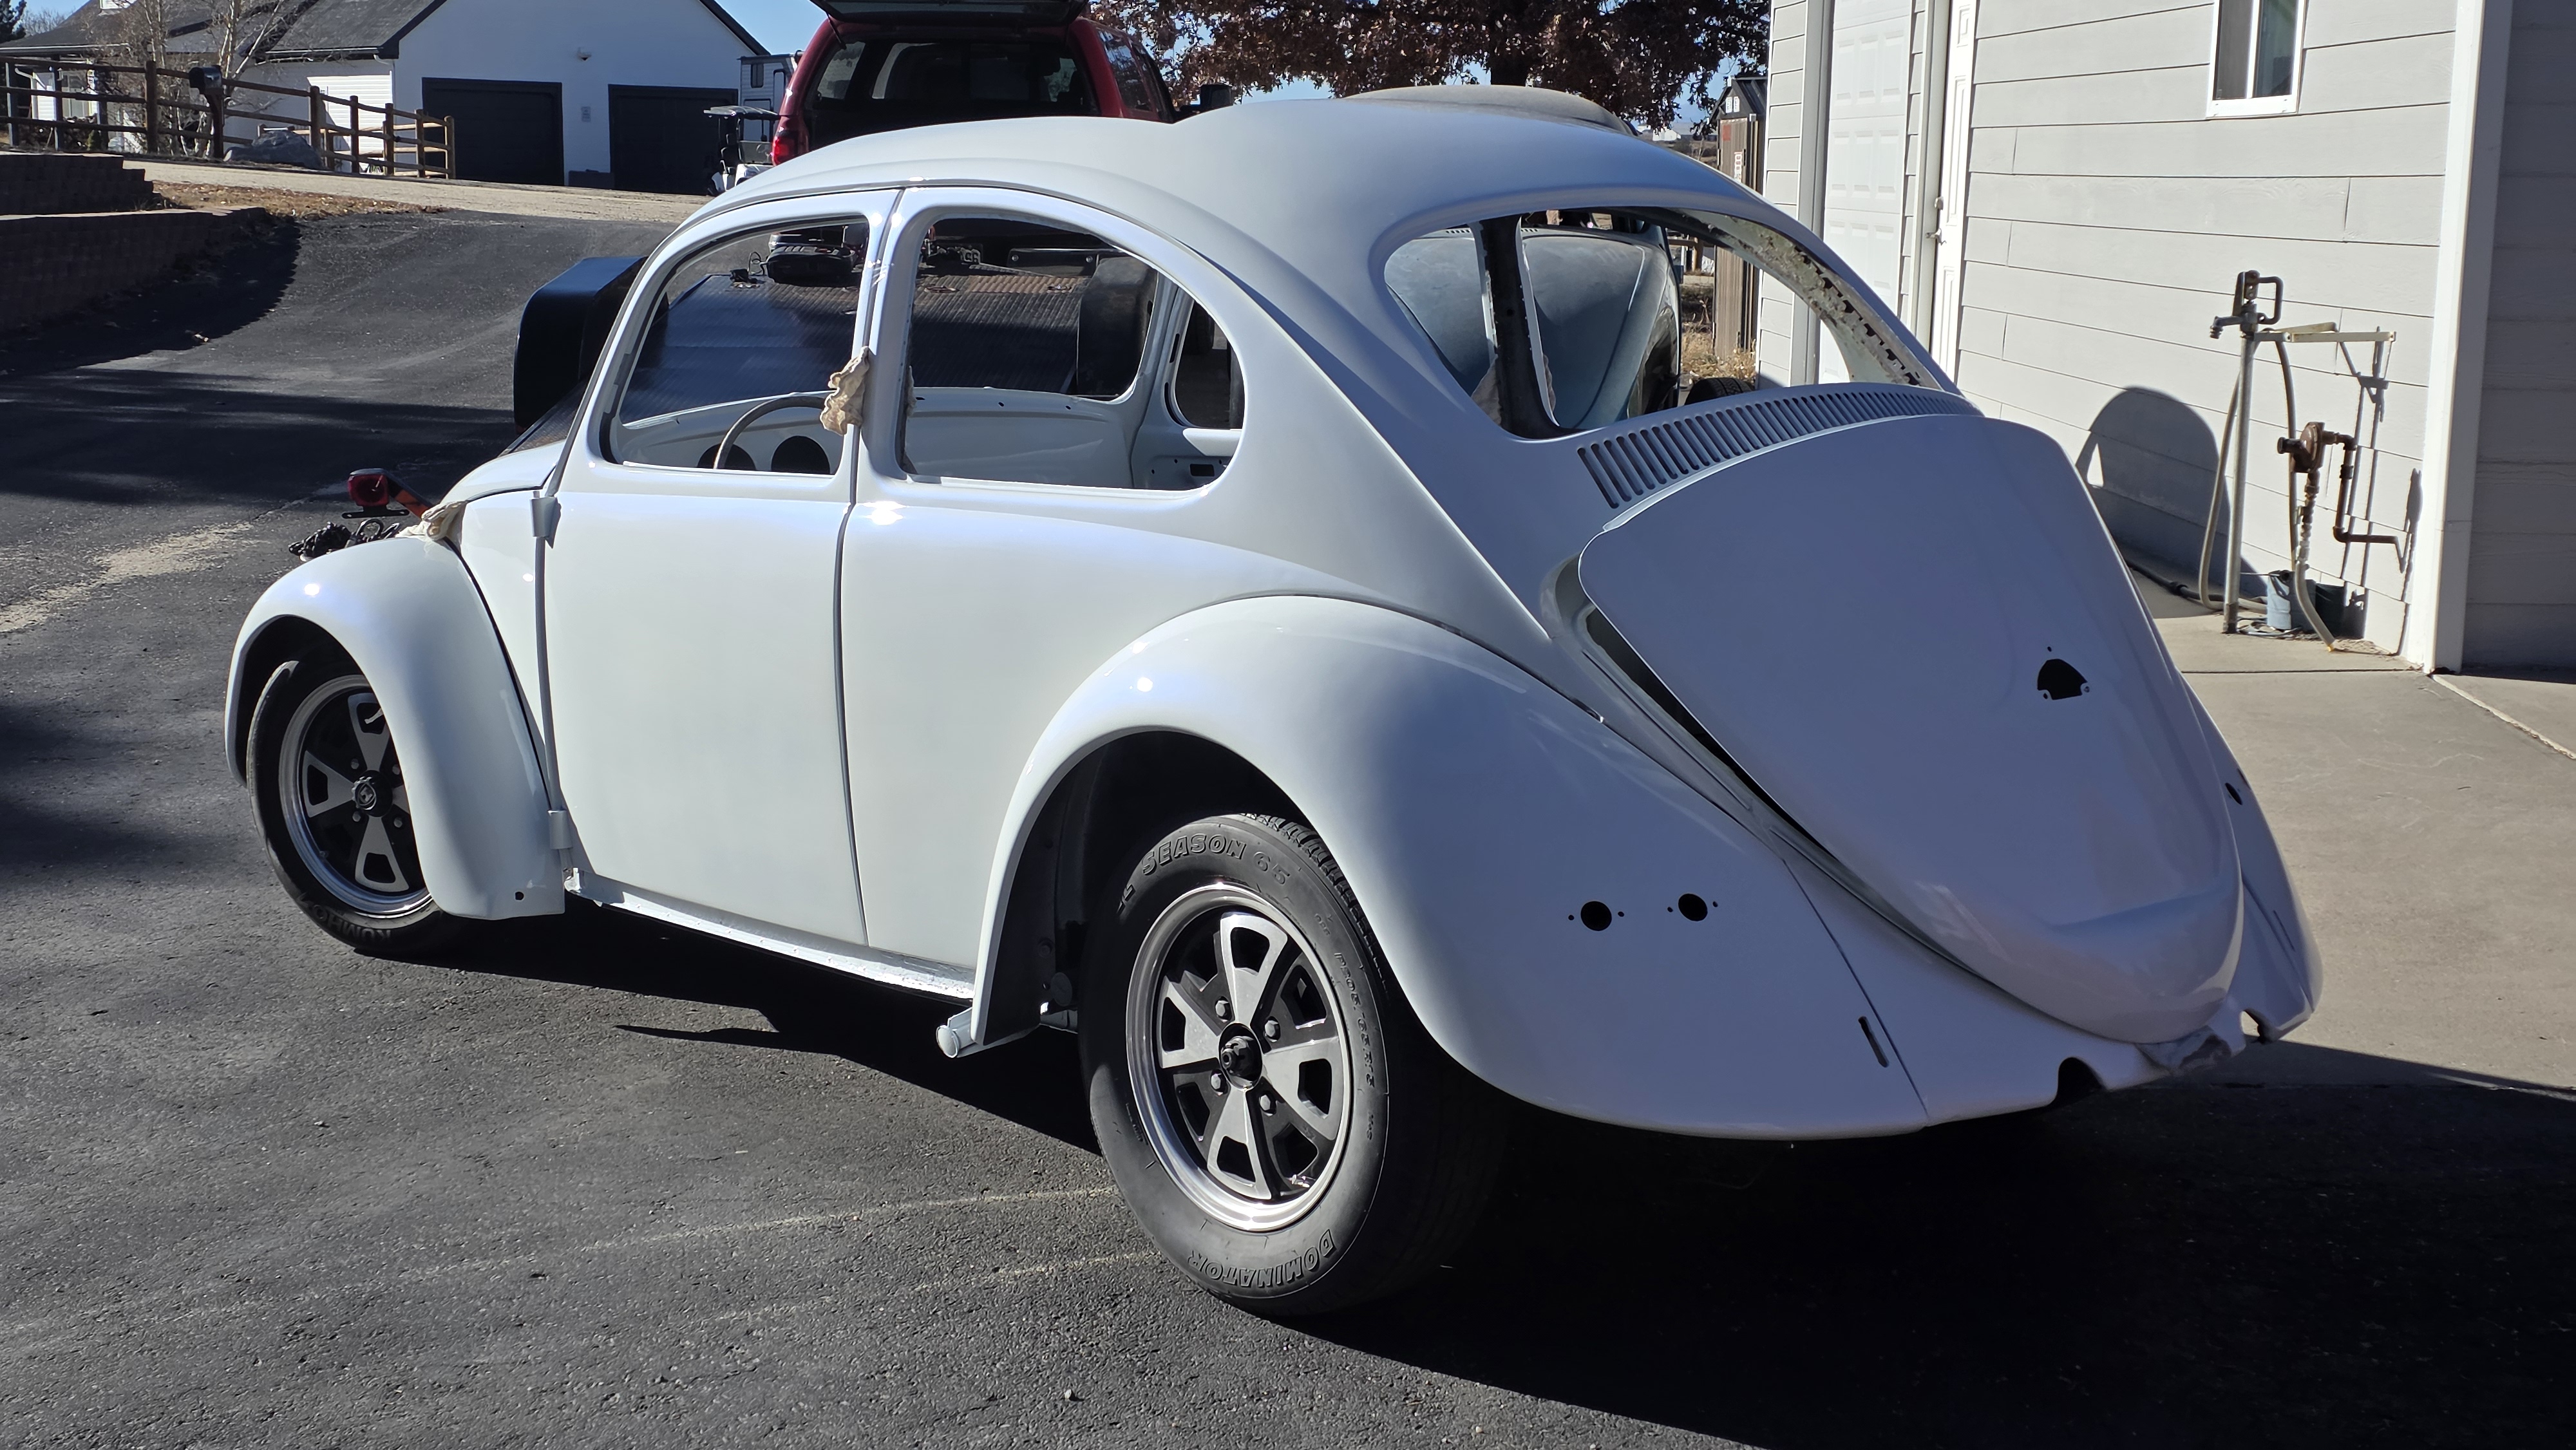
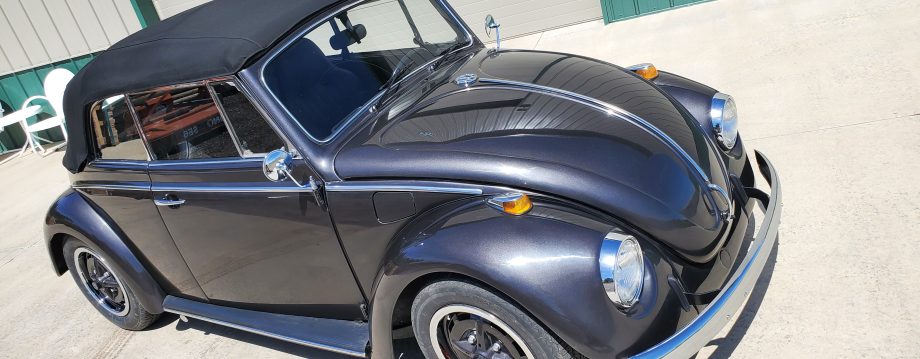
I sprayed a base white with interference blue pearl, and mixed the pearl light for a subtle glow. It should look real nice once the clear coat is cut and buffed.
Copyright 2022-26
