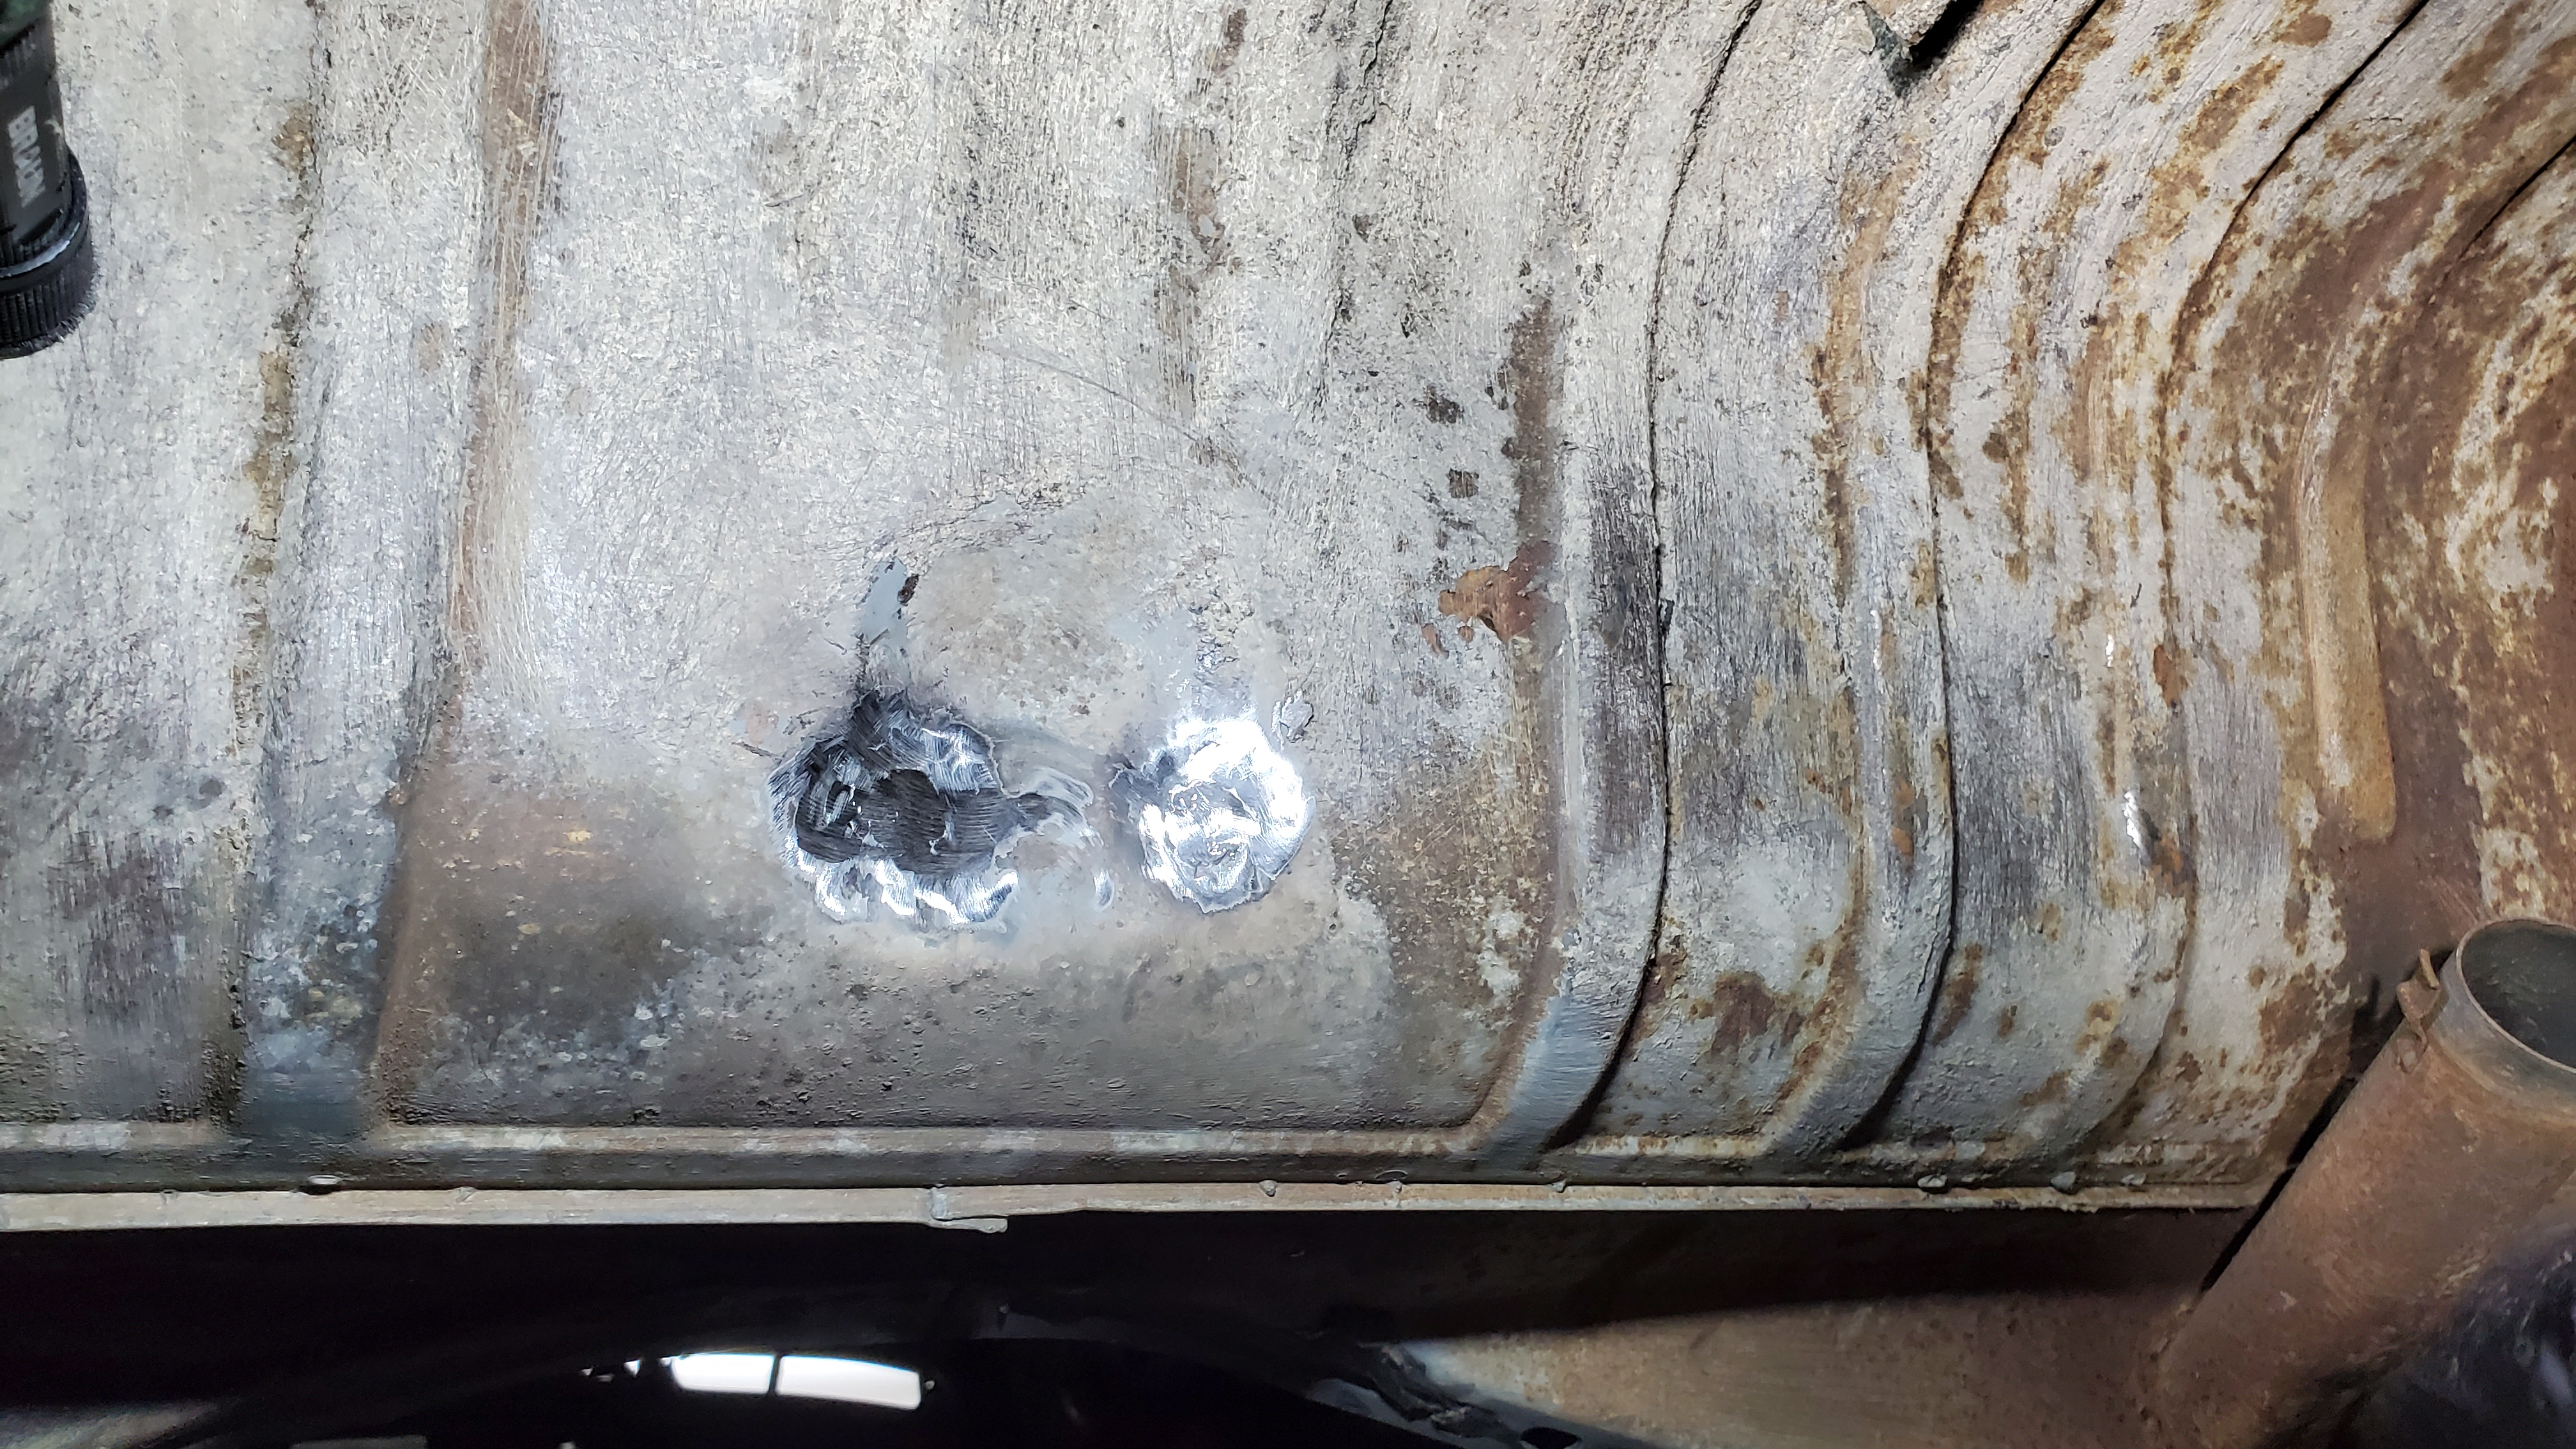
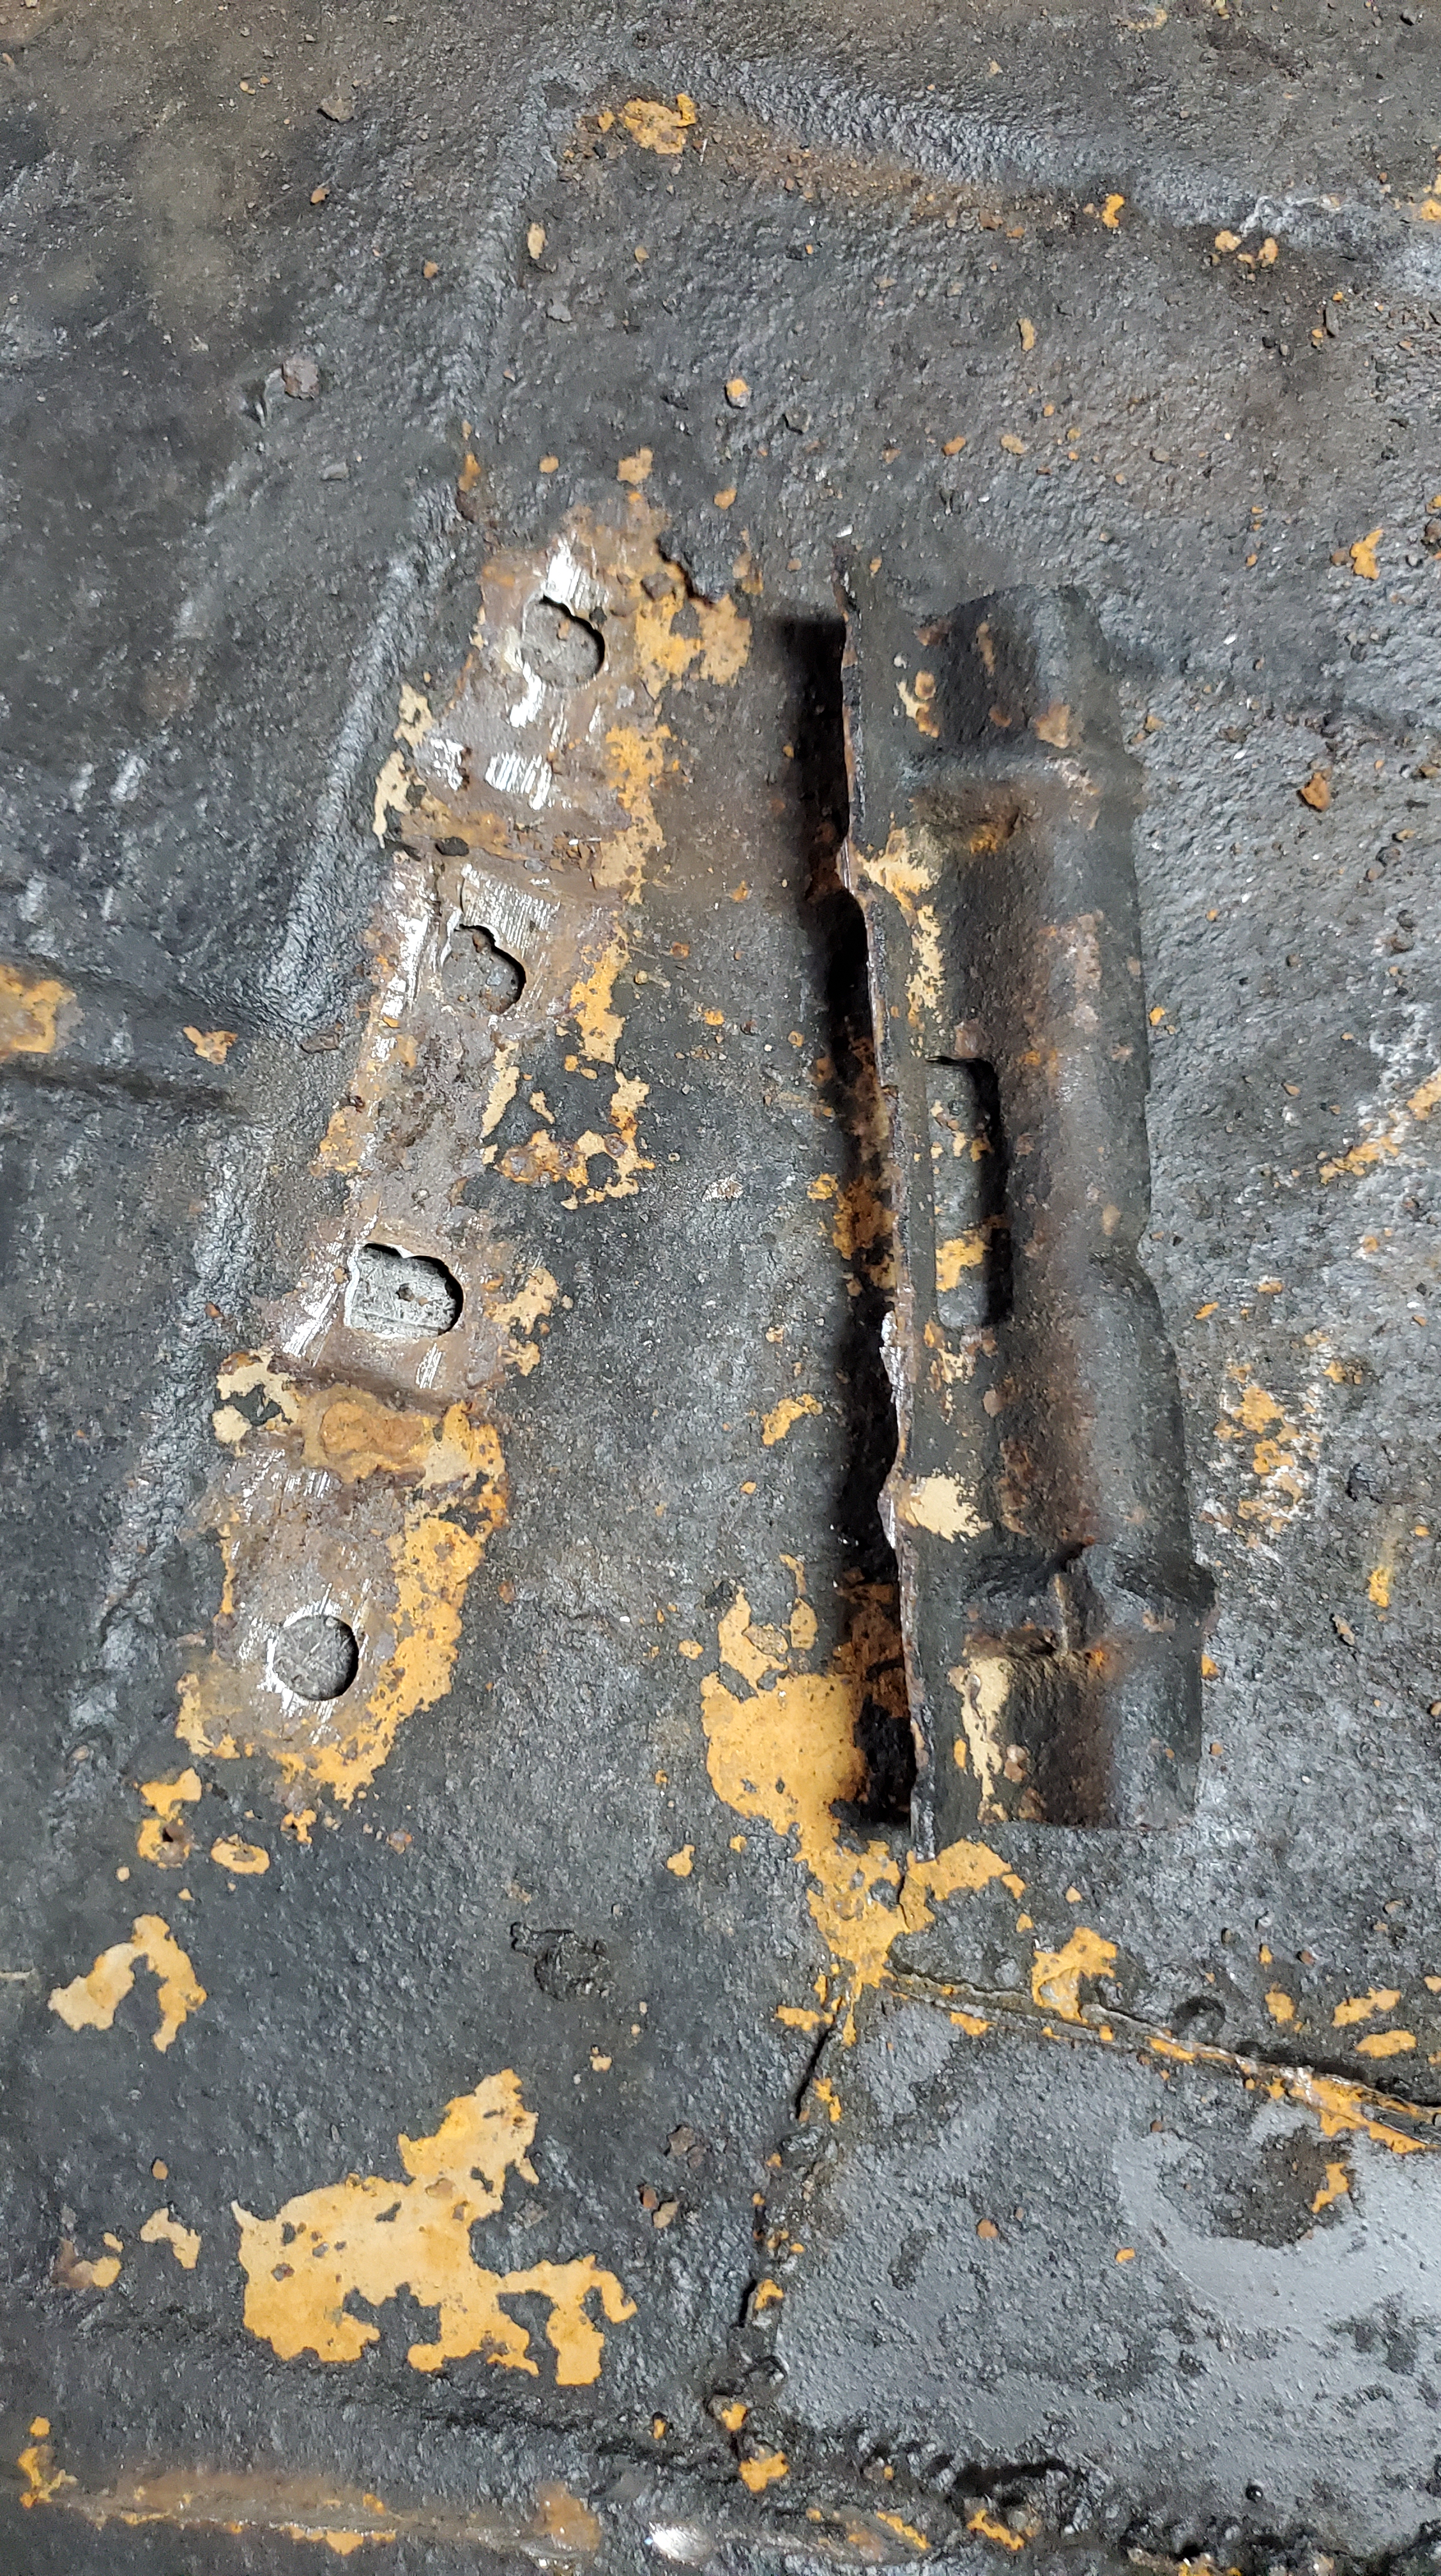
It was on to finishing up some of the small repairs left around the body. There were a couple holes from where the transmission was pushed into the body when the apron was damaged to take care of.


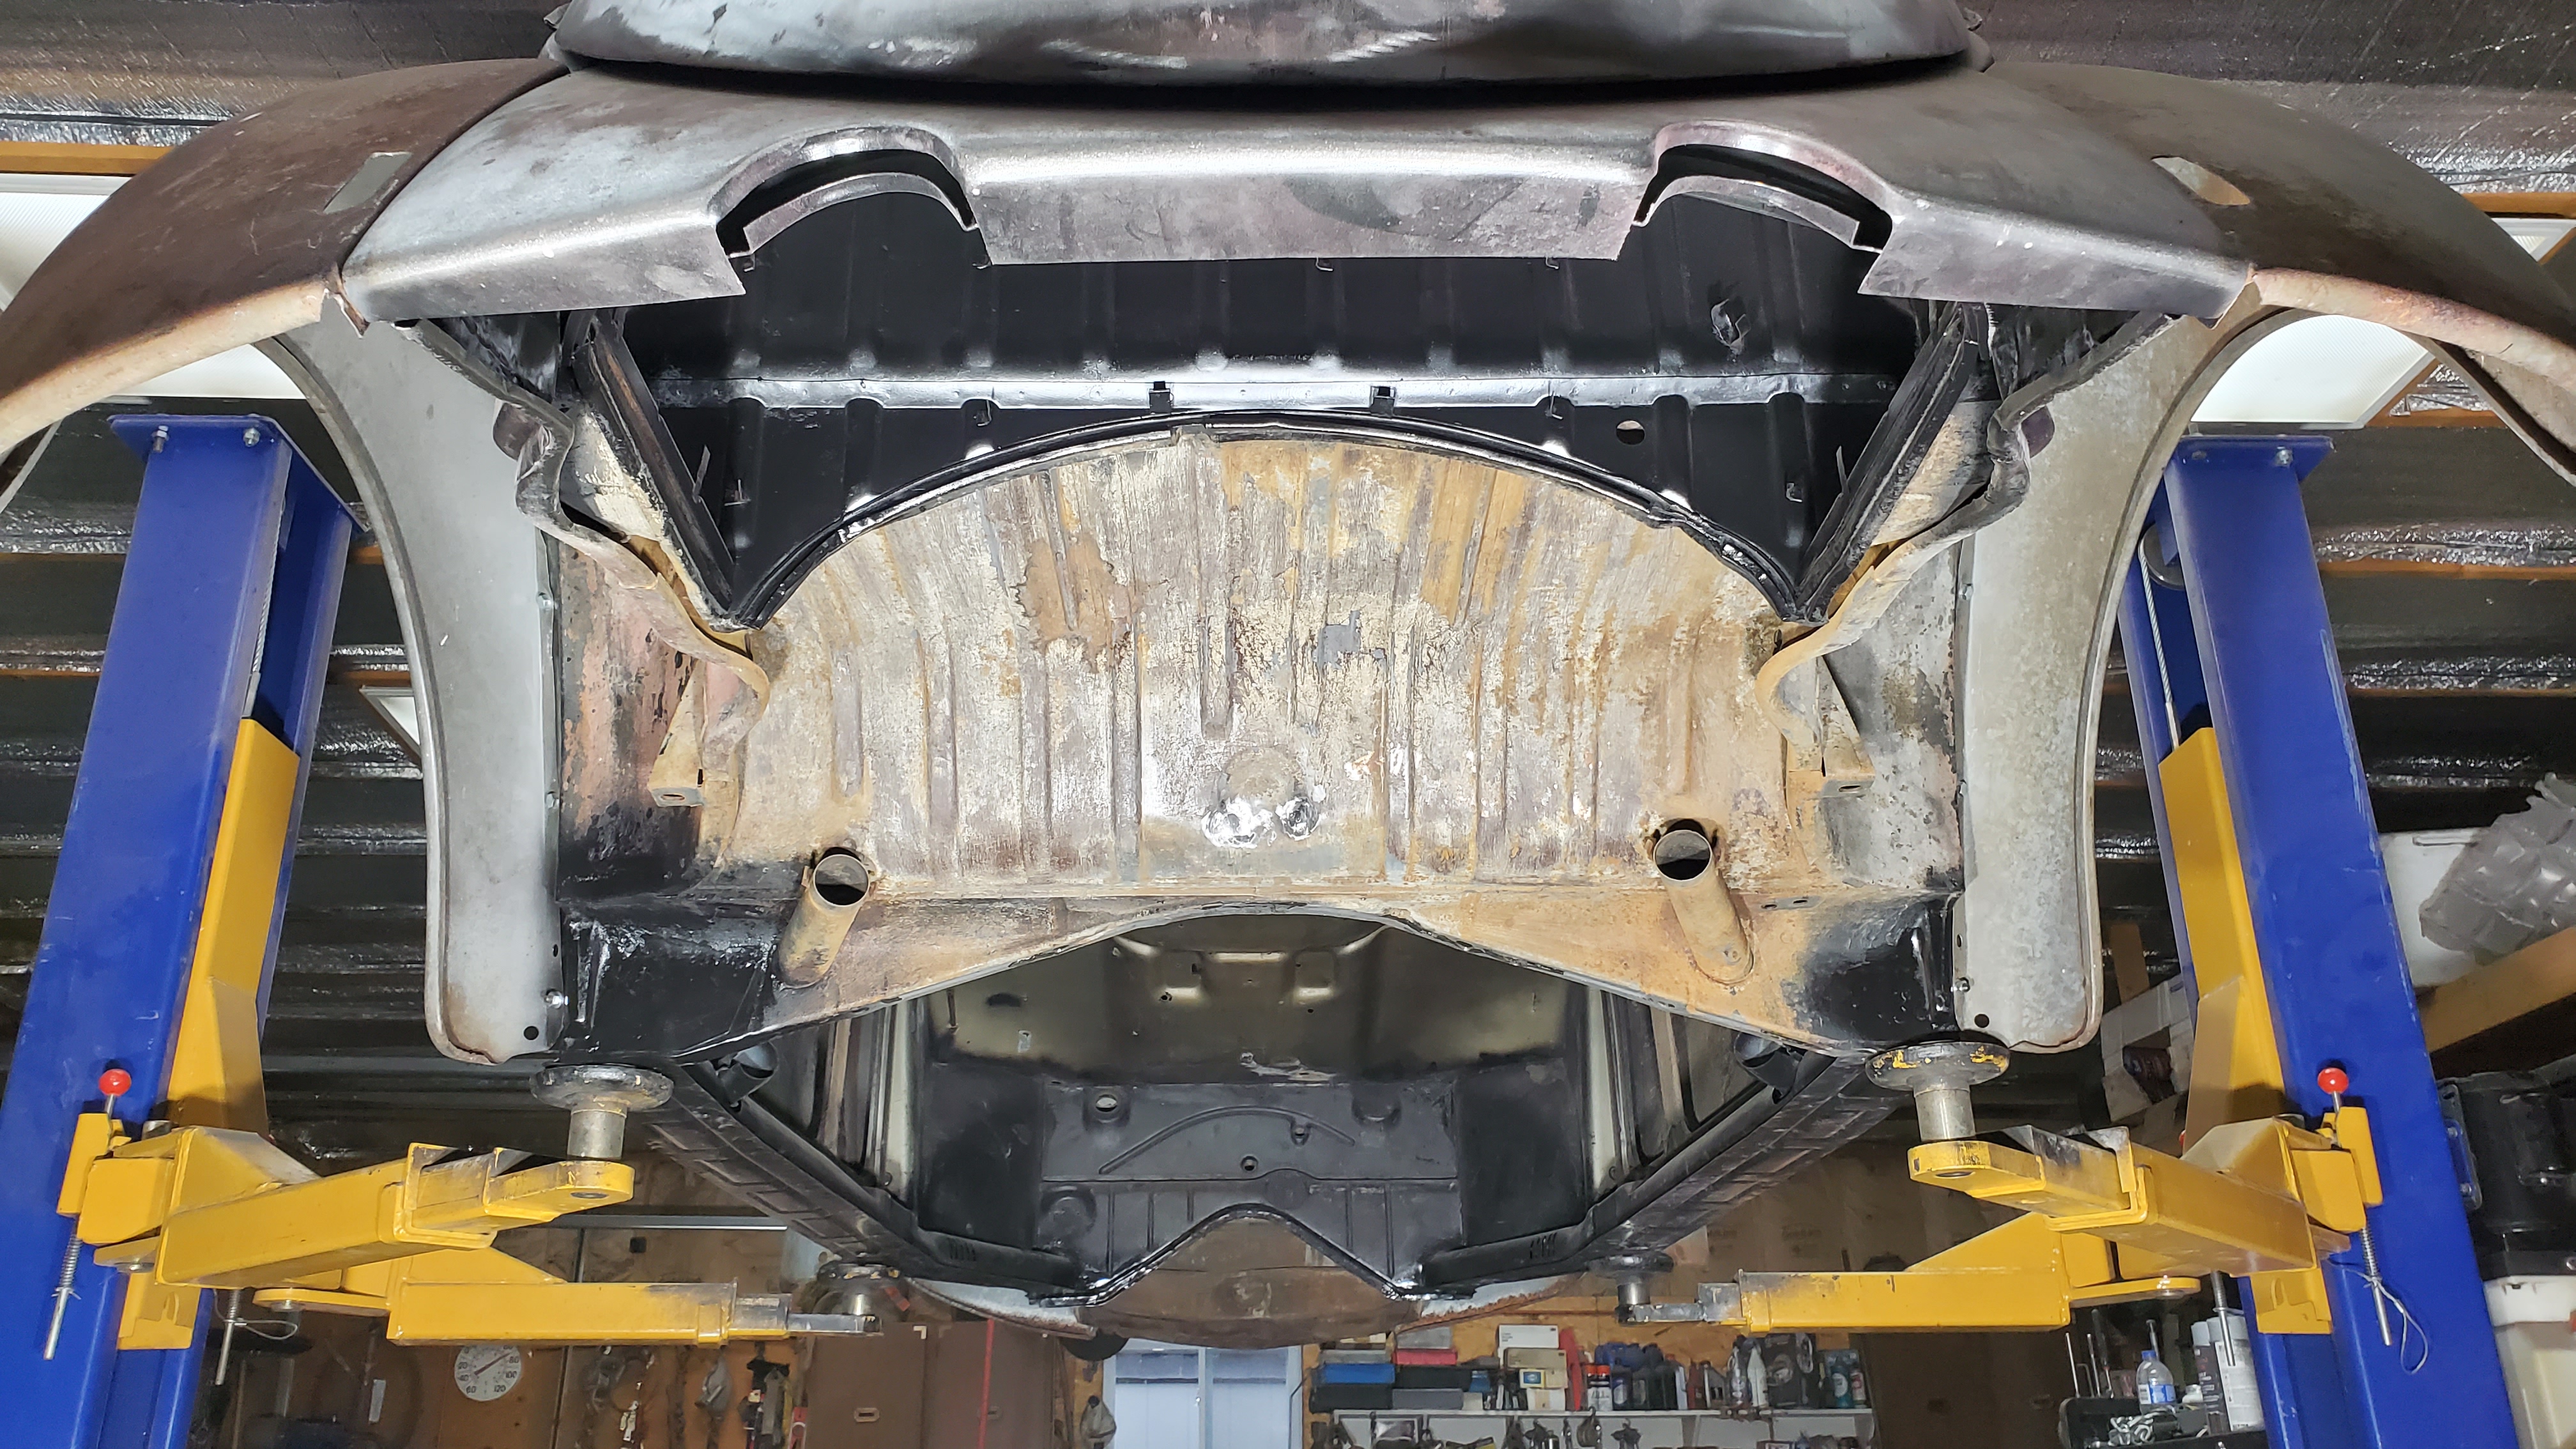
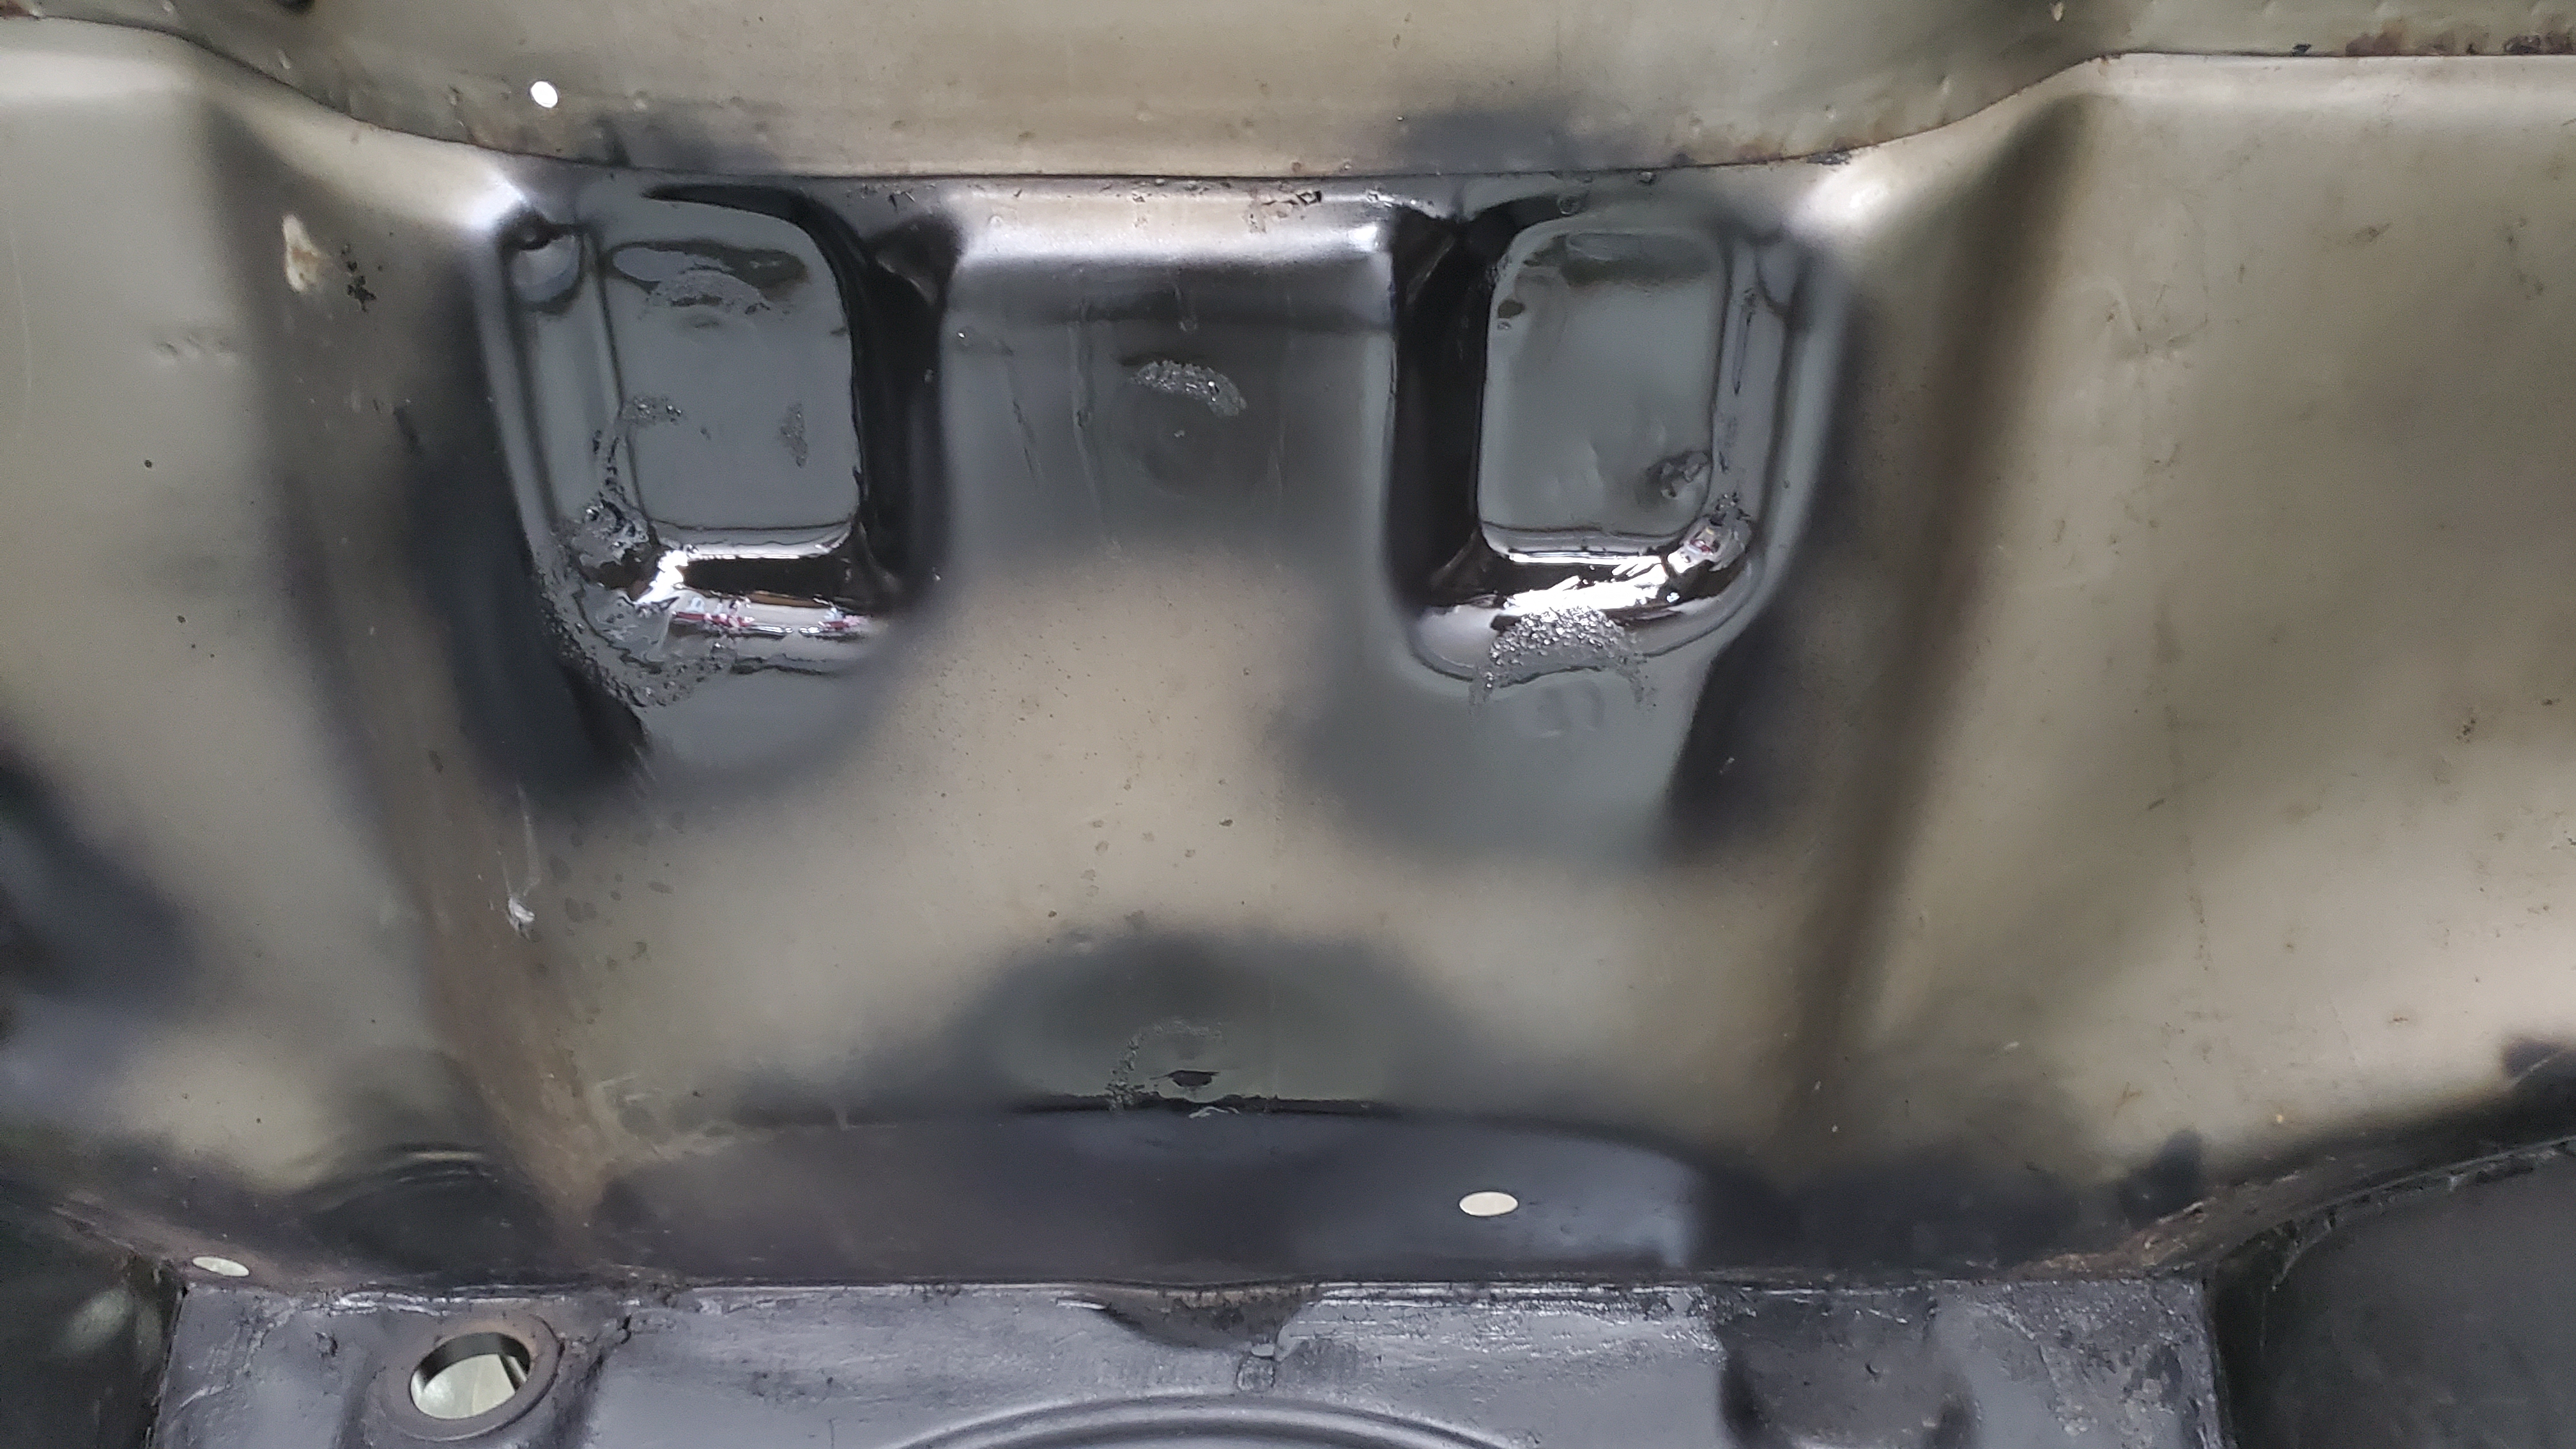
The luggage shelf was cleaned up with a putty knife and wire brush before painting.
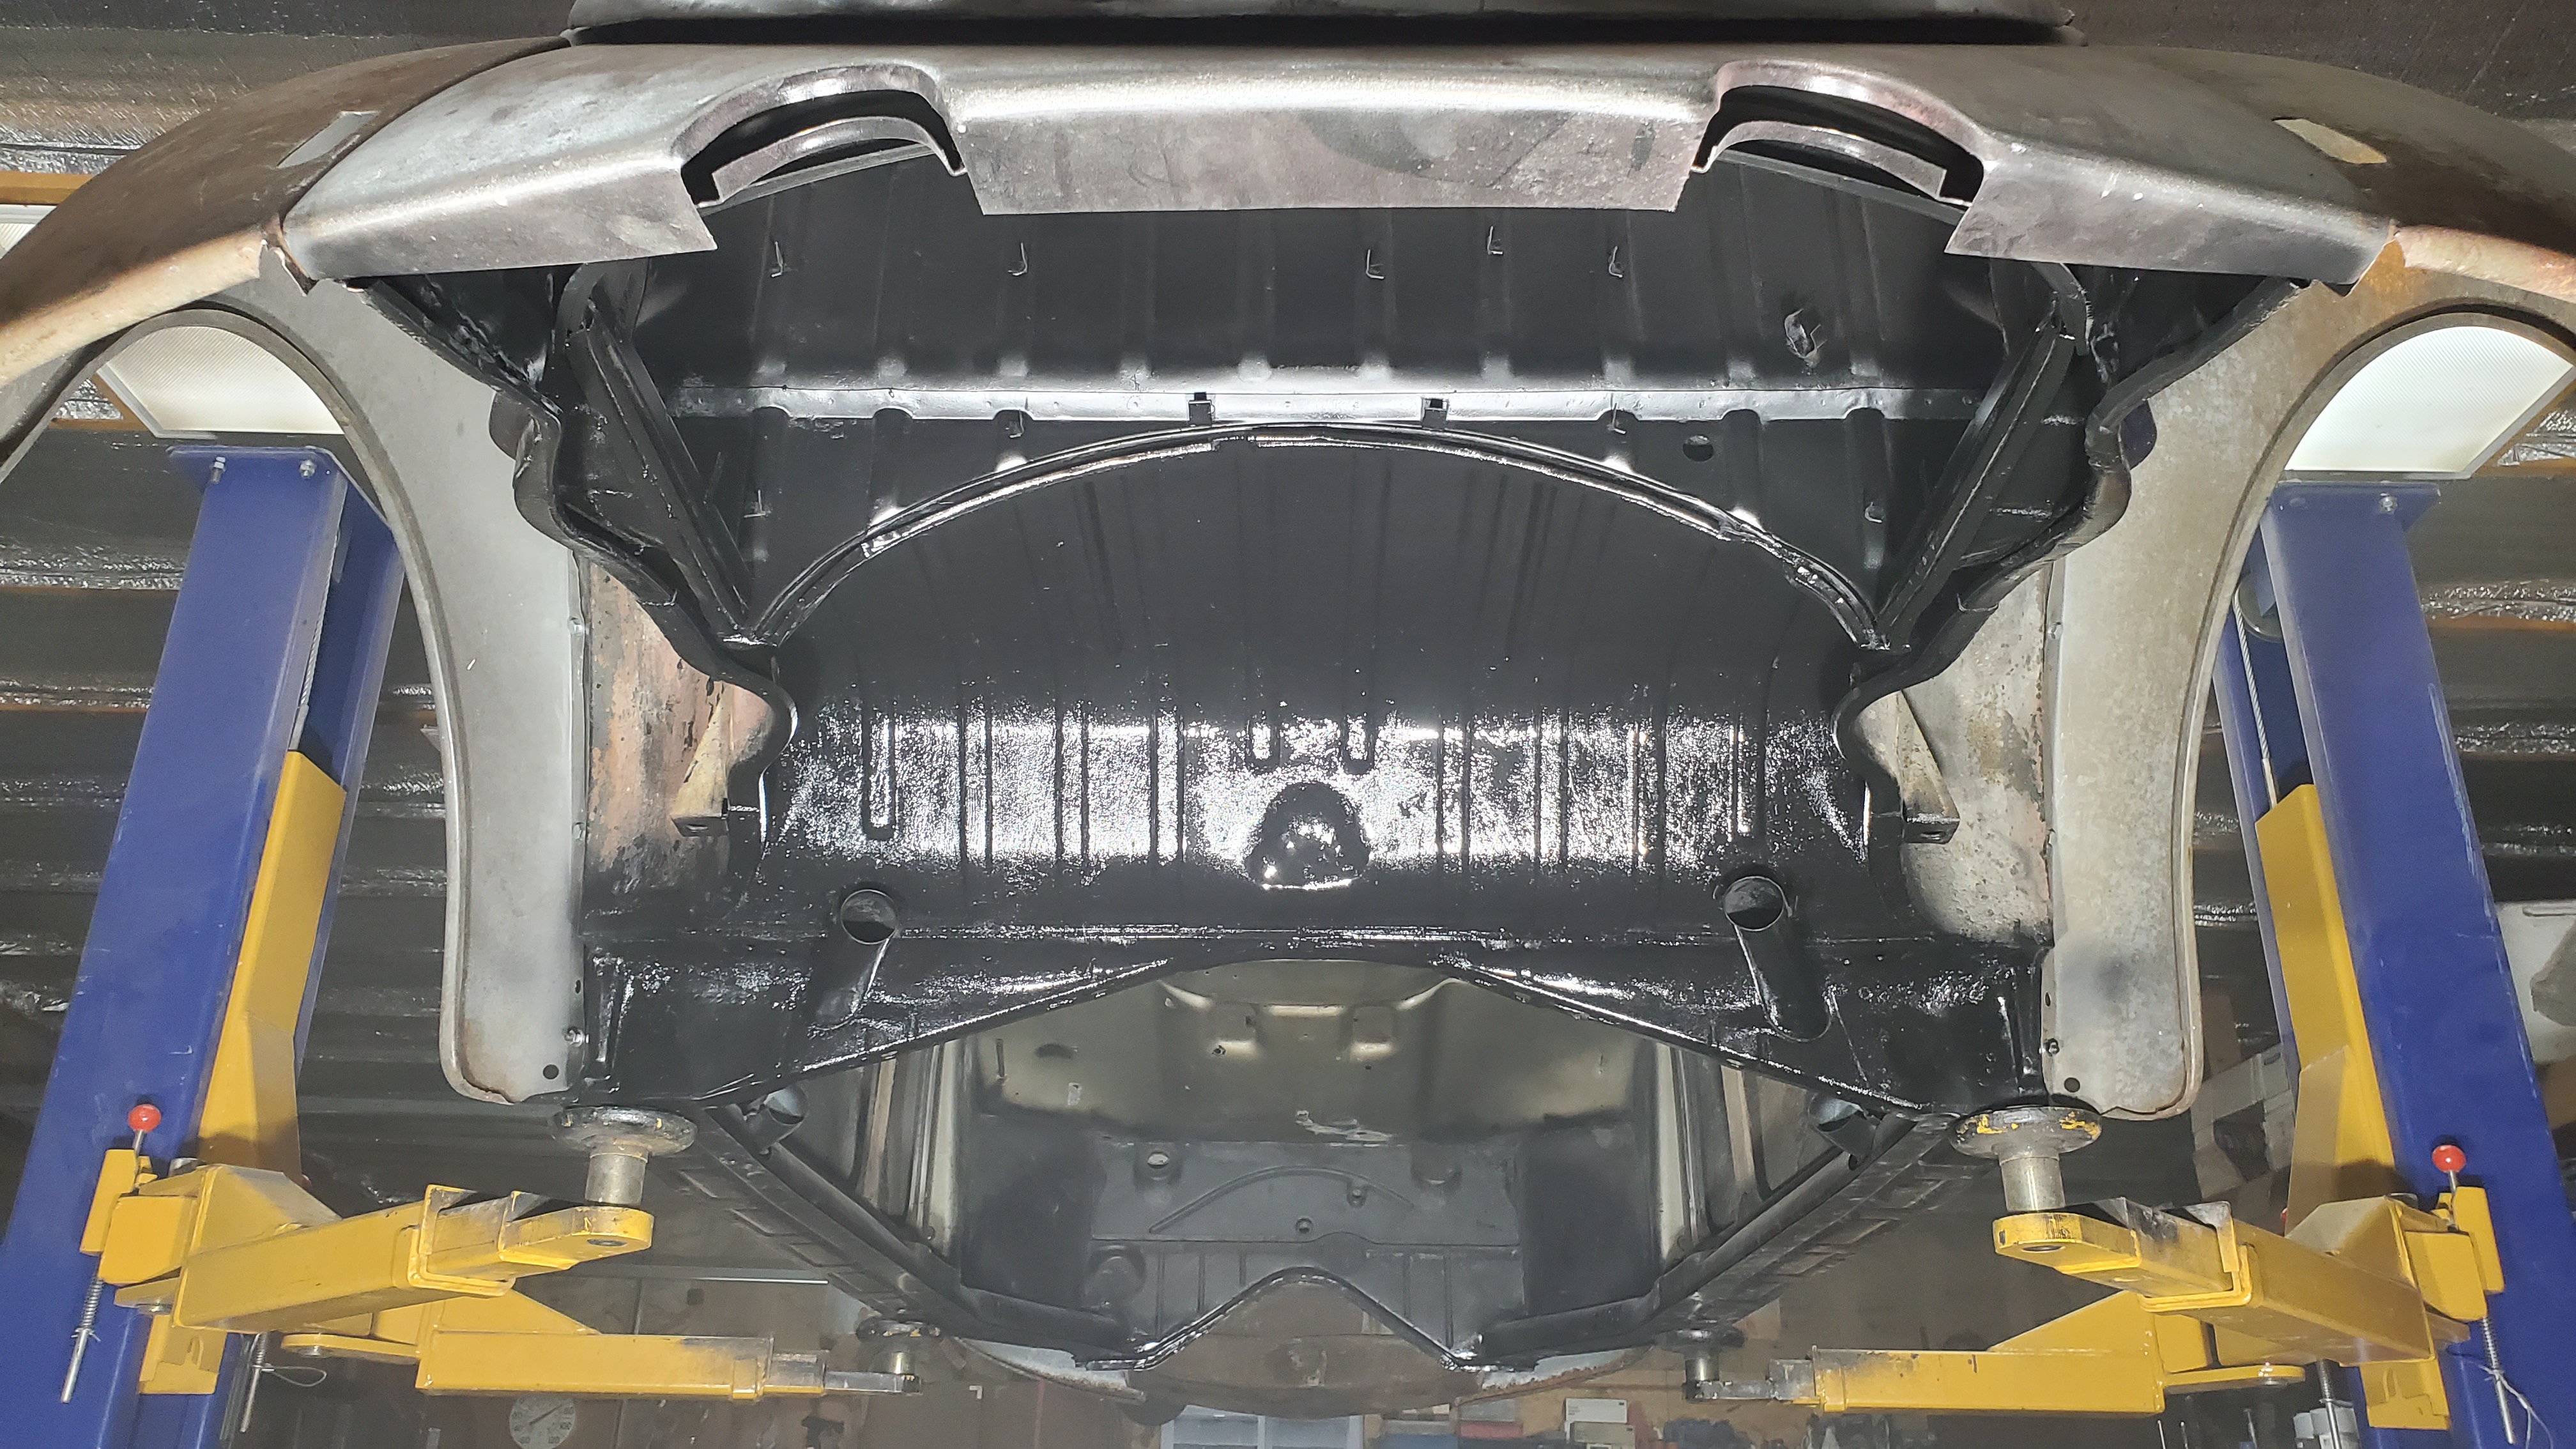
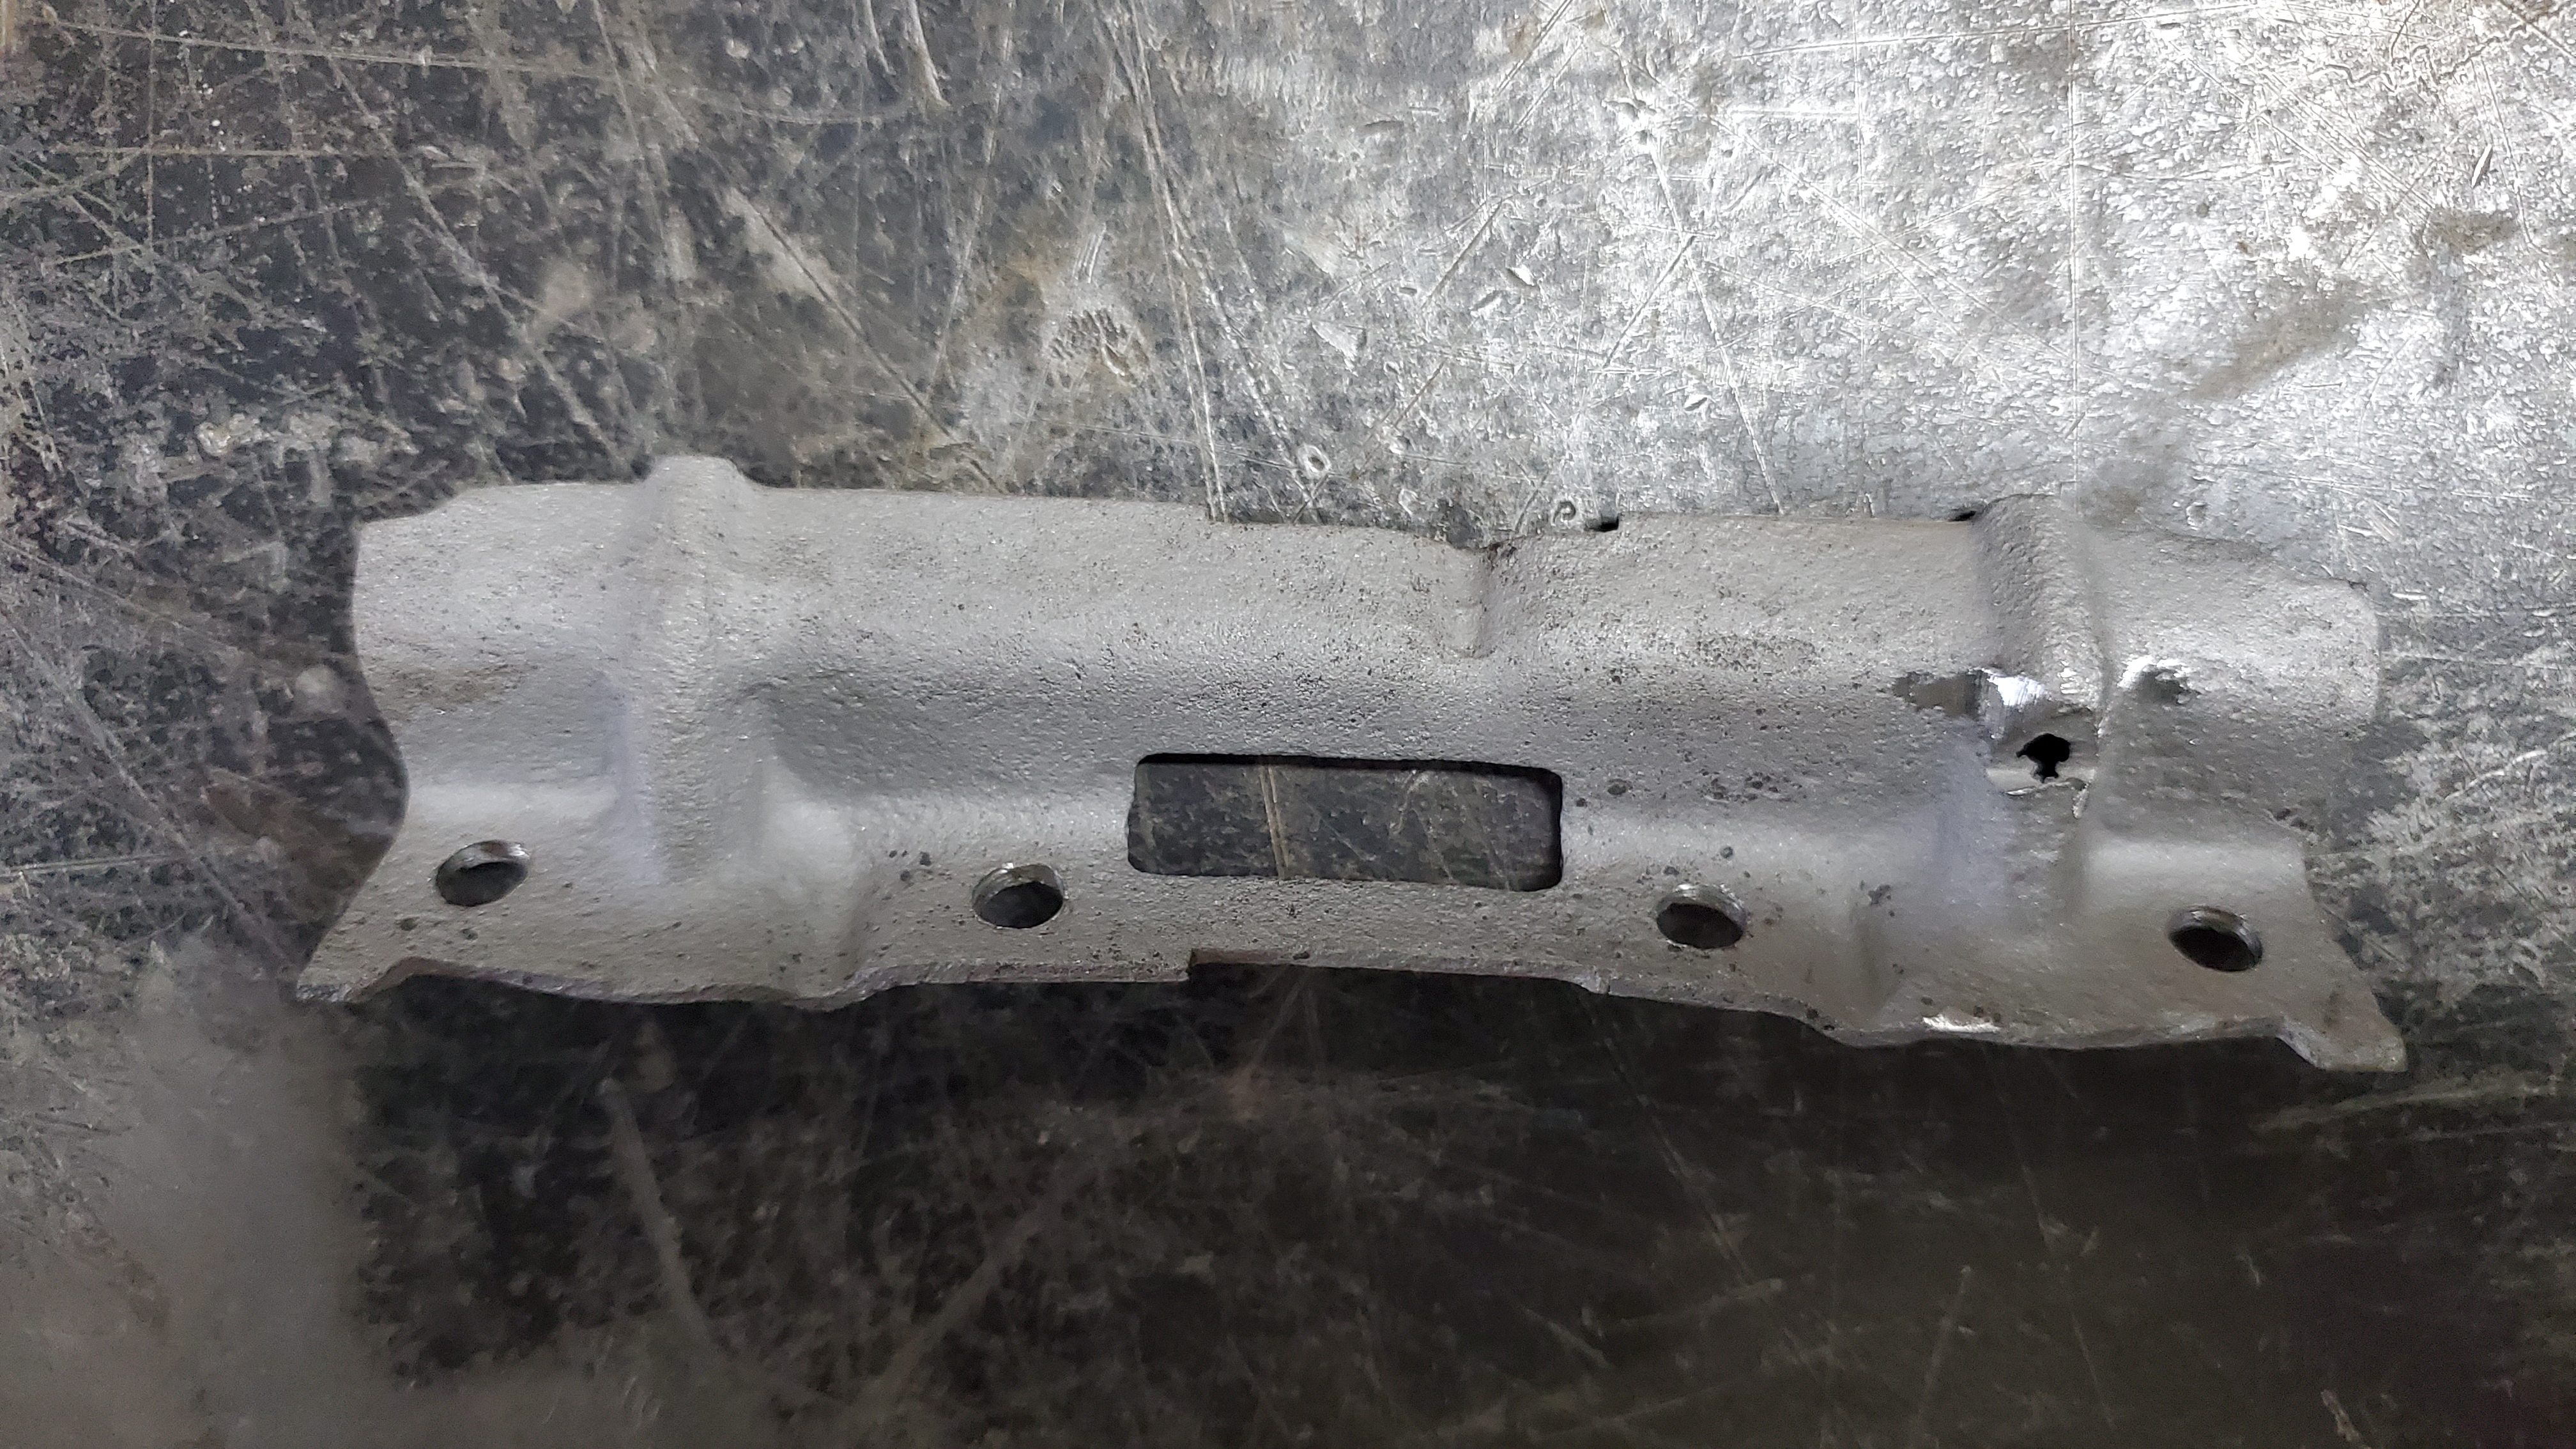
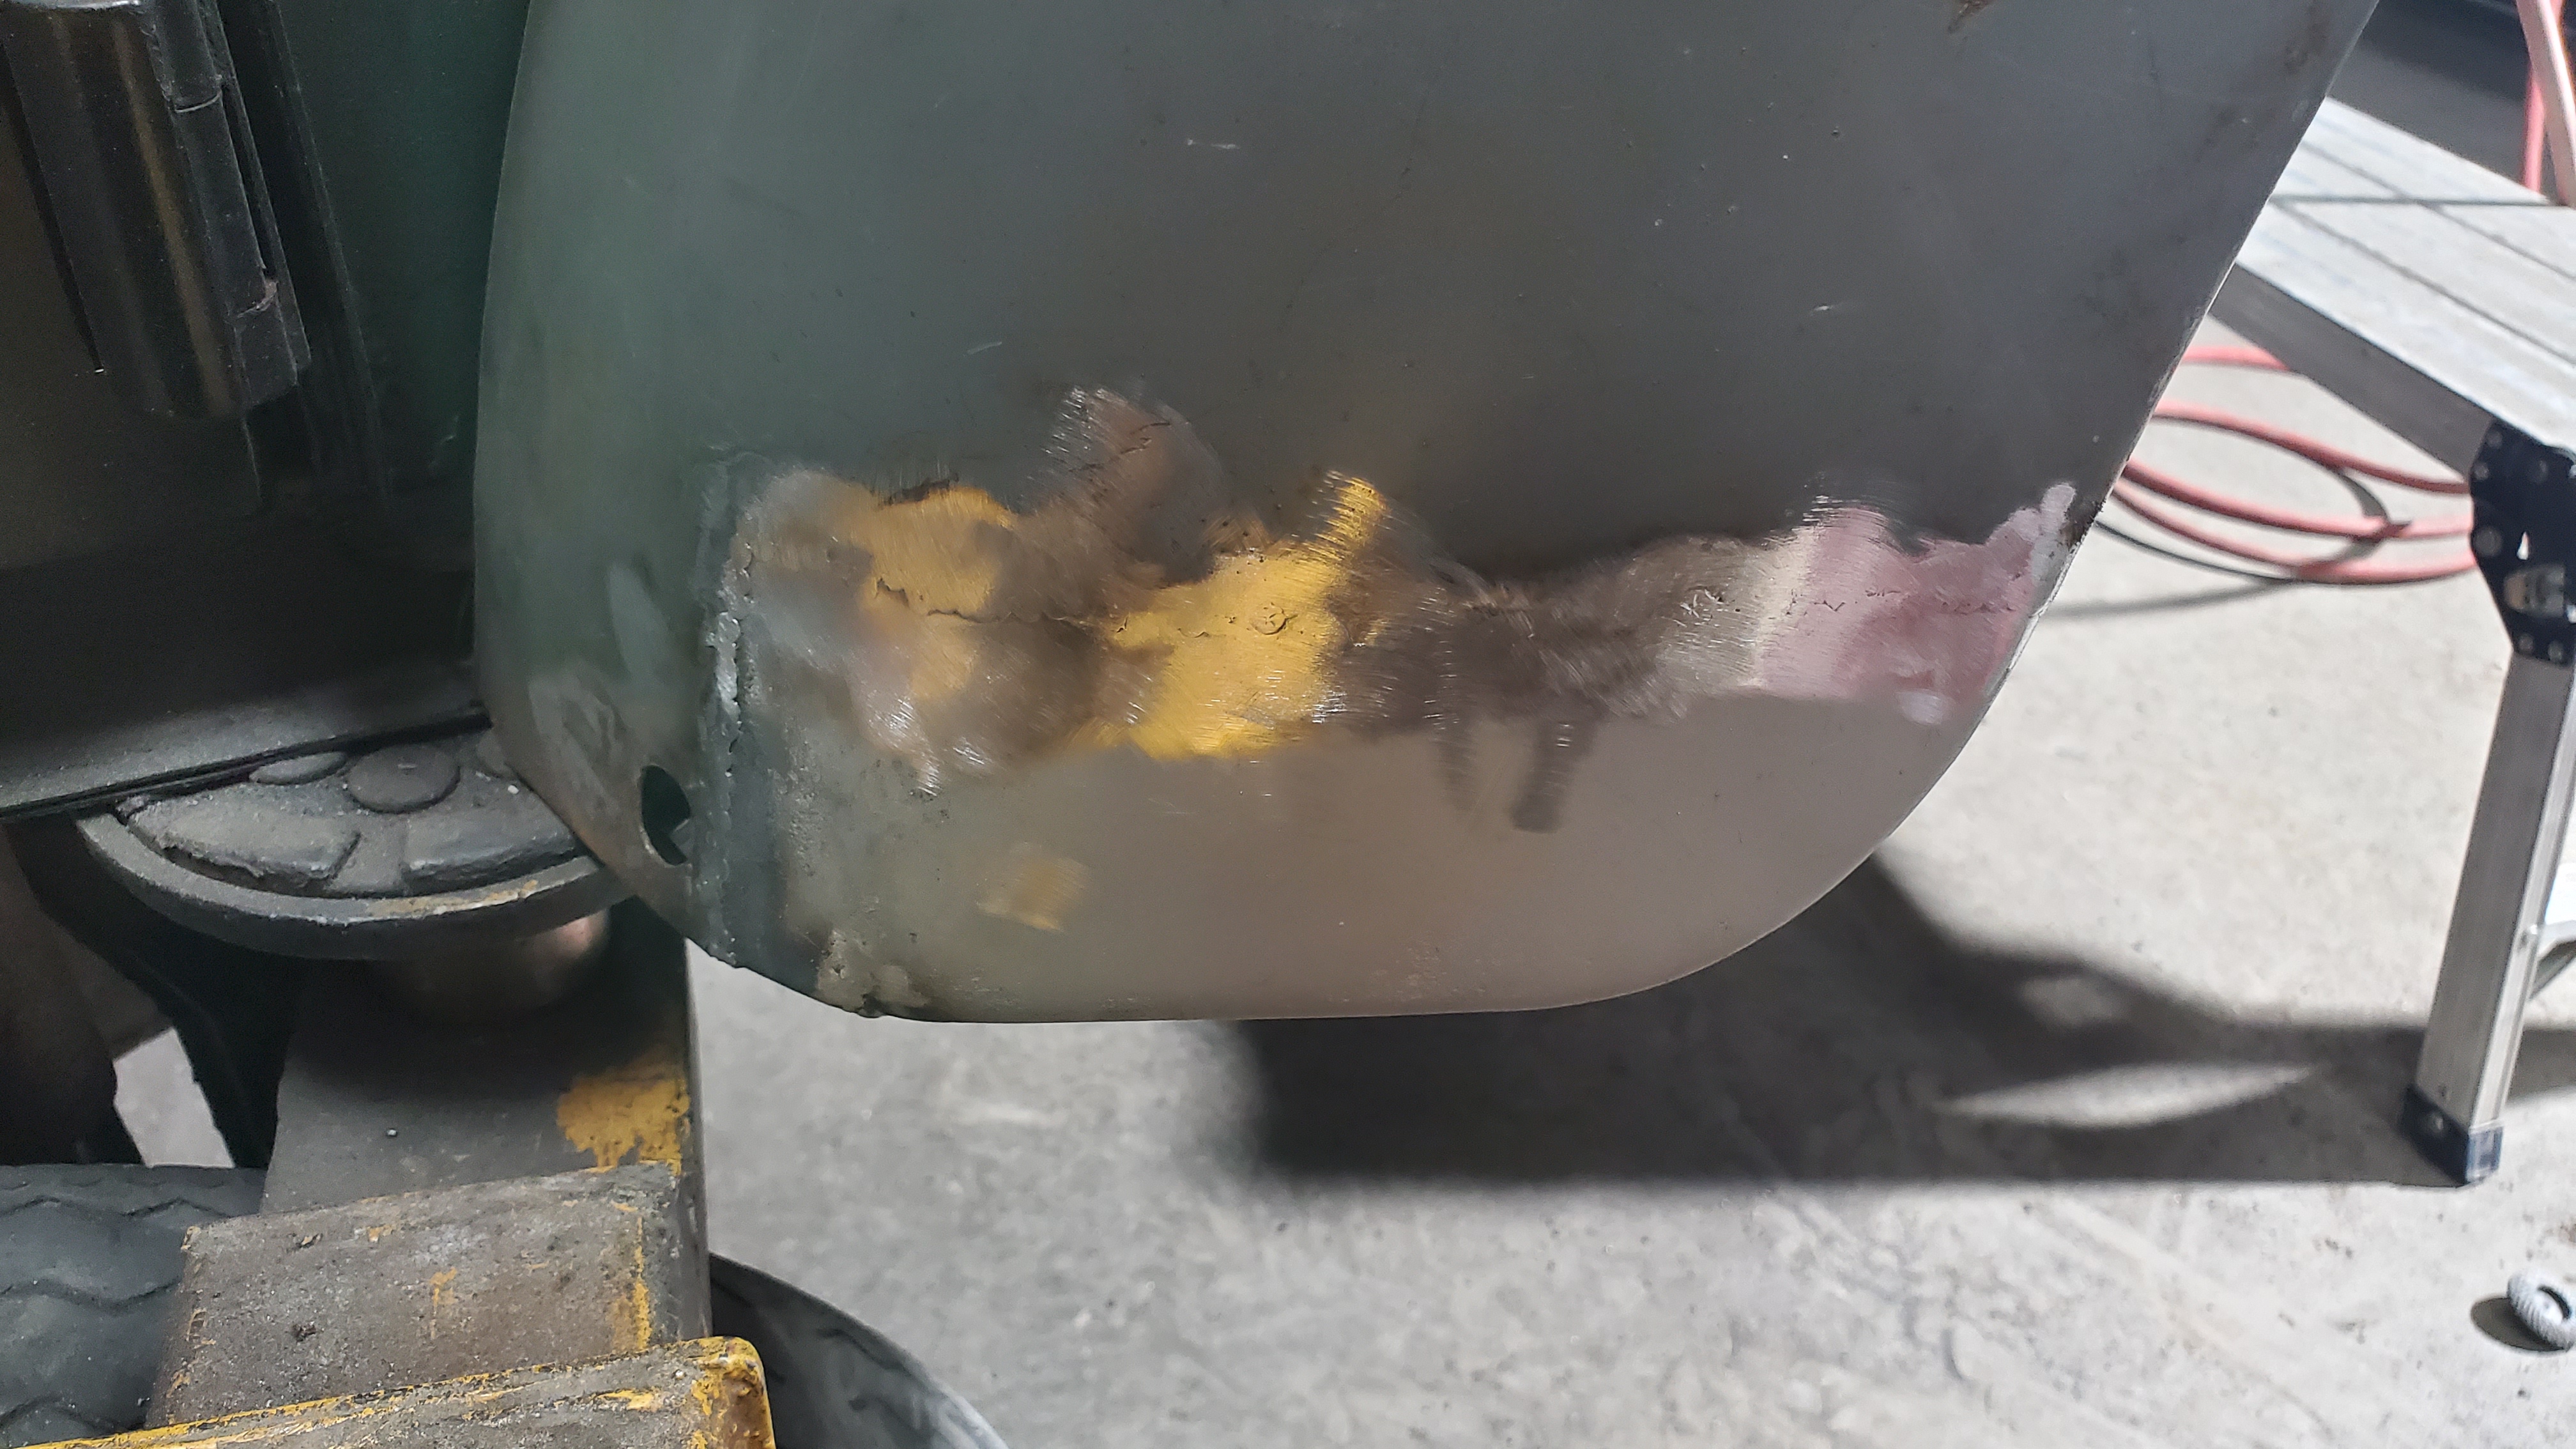
This should help protect the undercarriage from continuing to rust. The front apron had a light hit as well, and needed some straightening and welding.


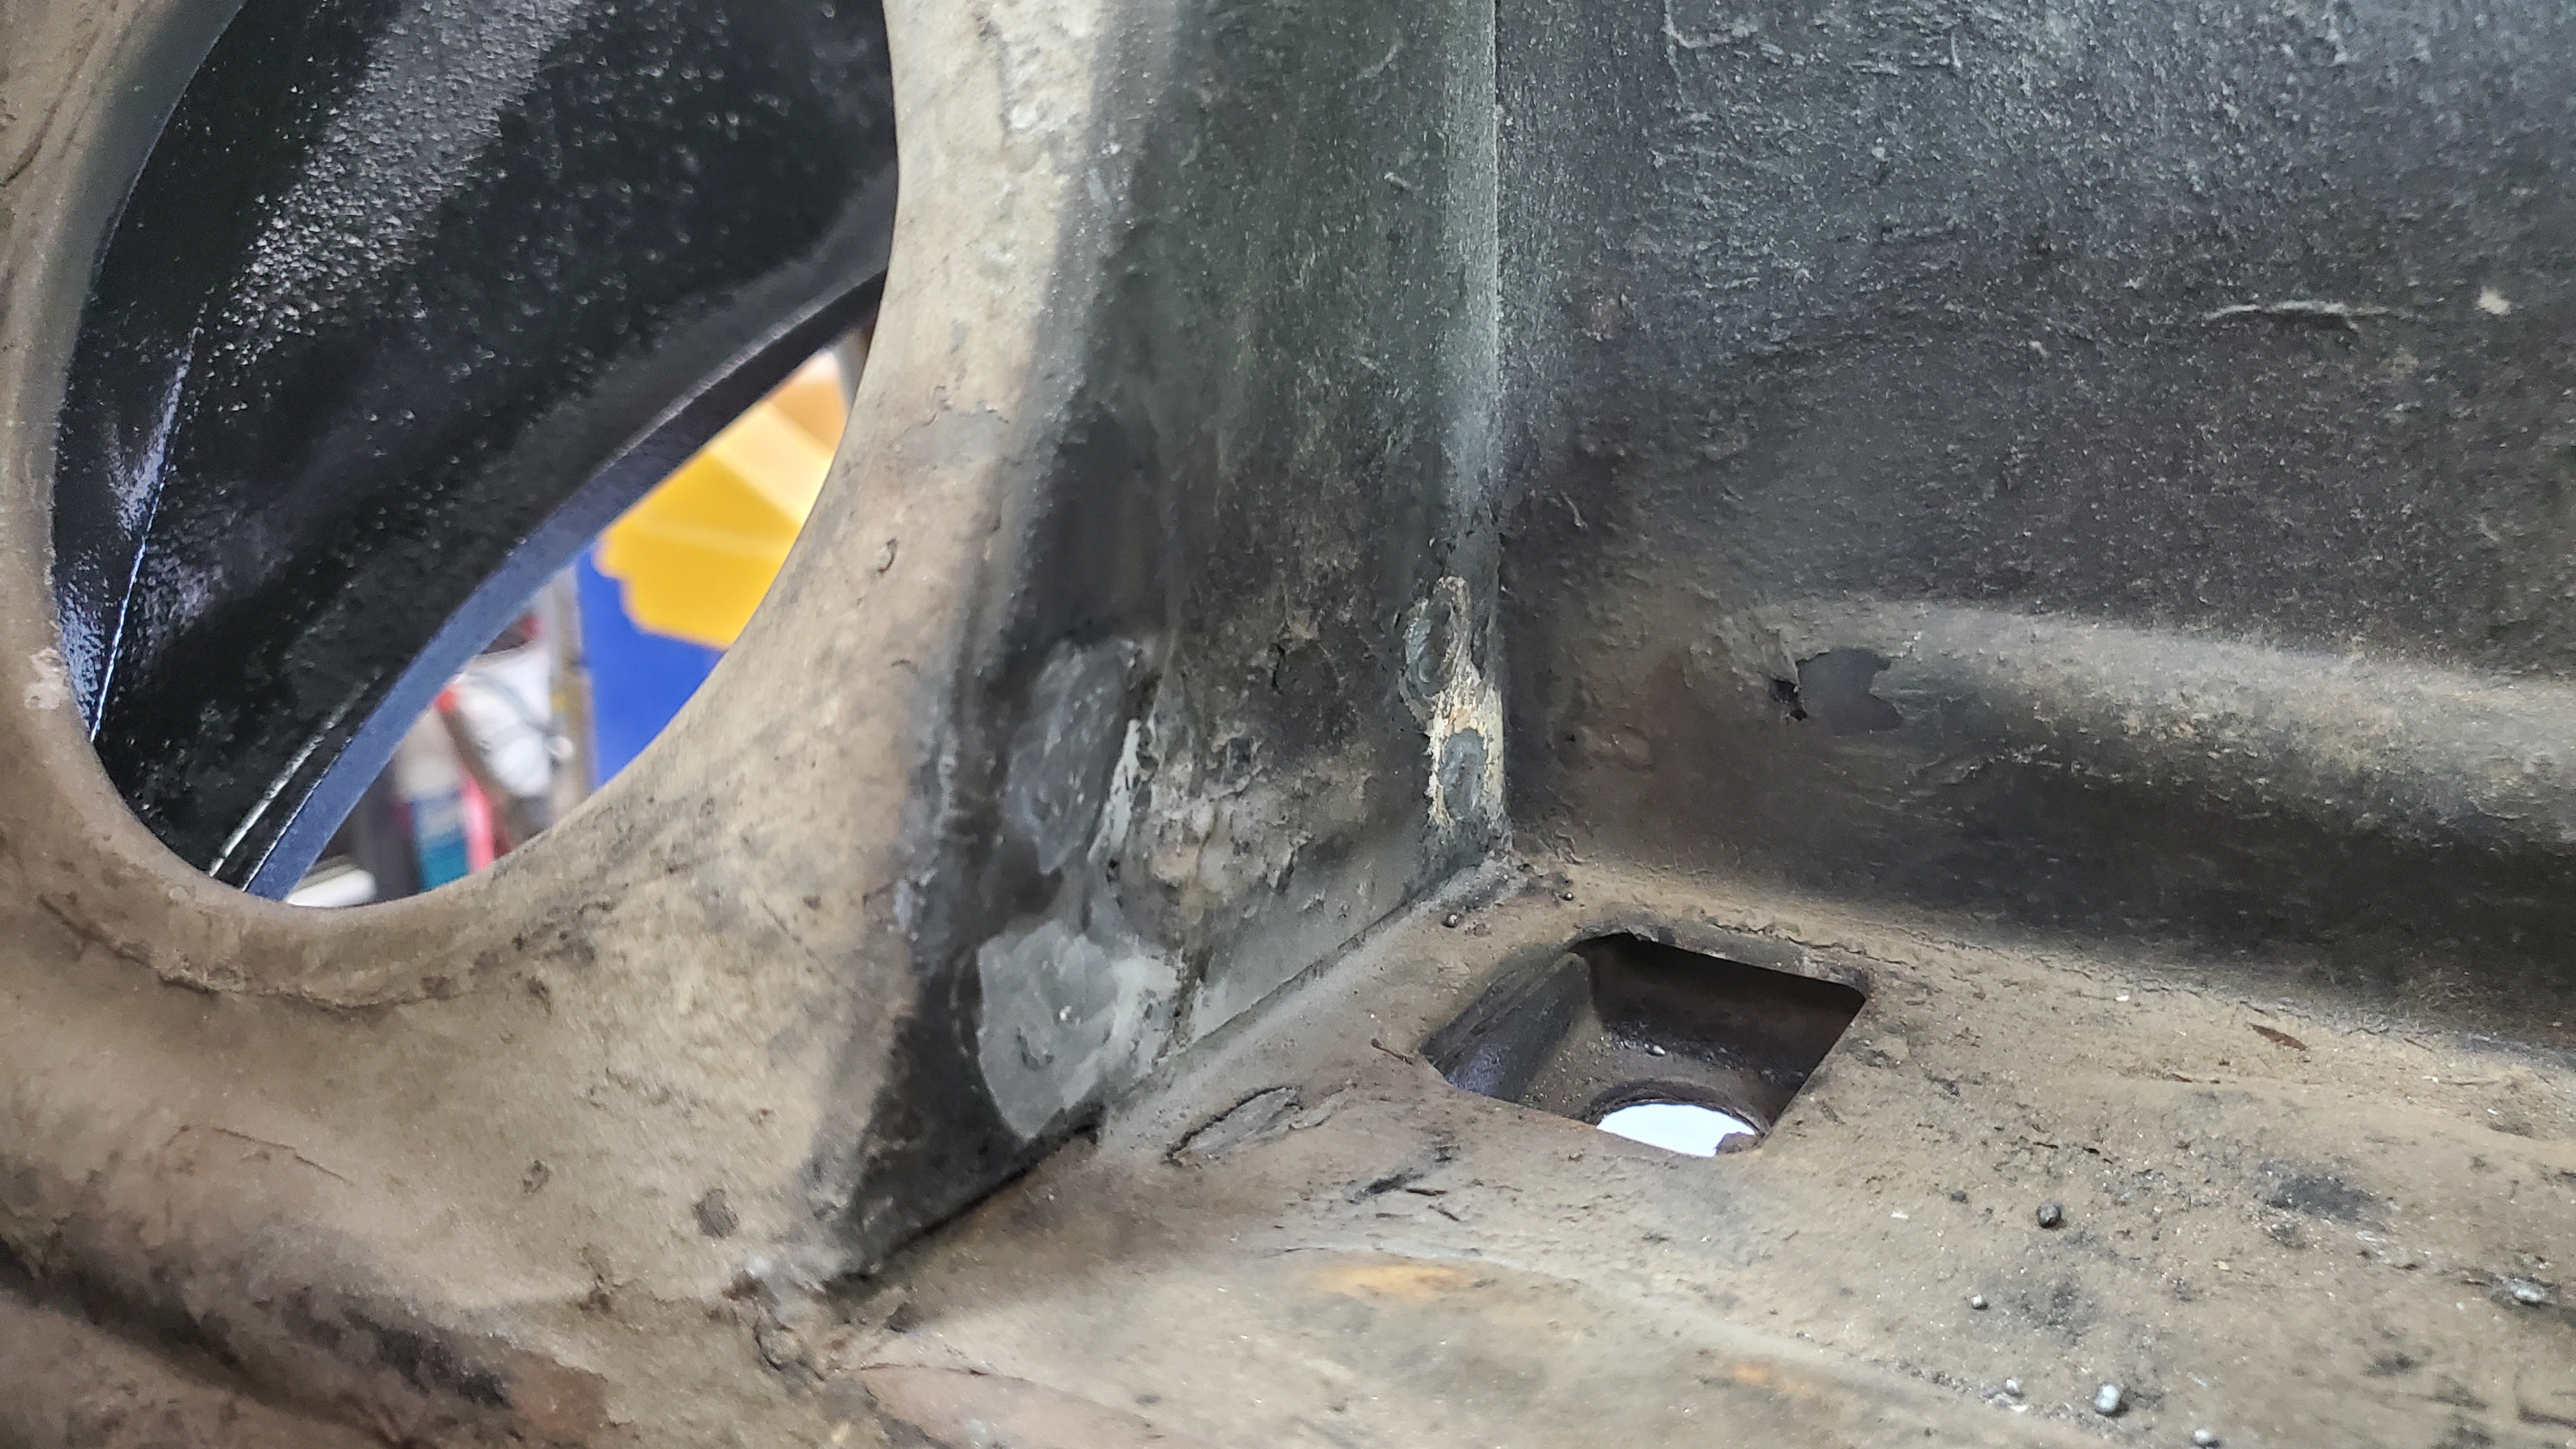


Miscellaneous holes from whatever someone mounted in the front tire carrier. These repairs are a lot easier with the body removed to work on things.
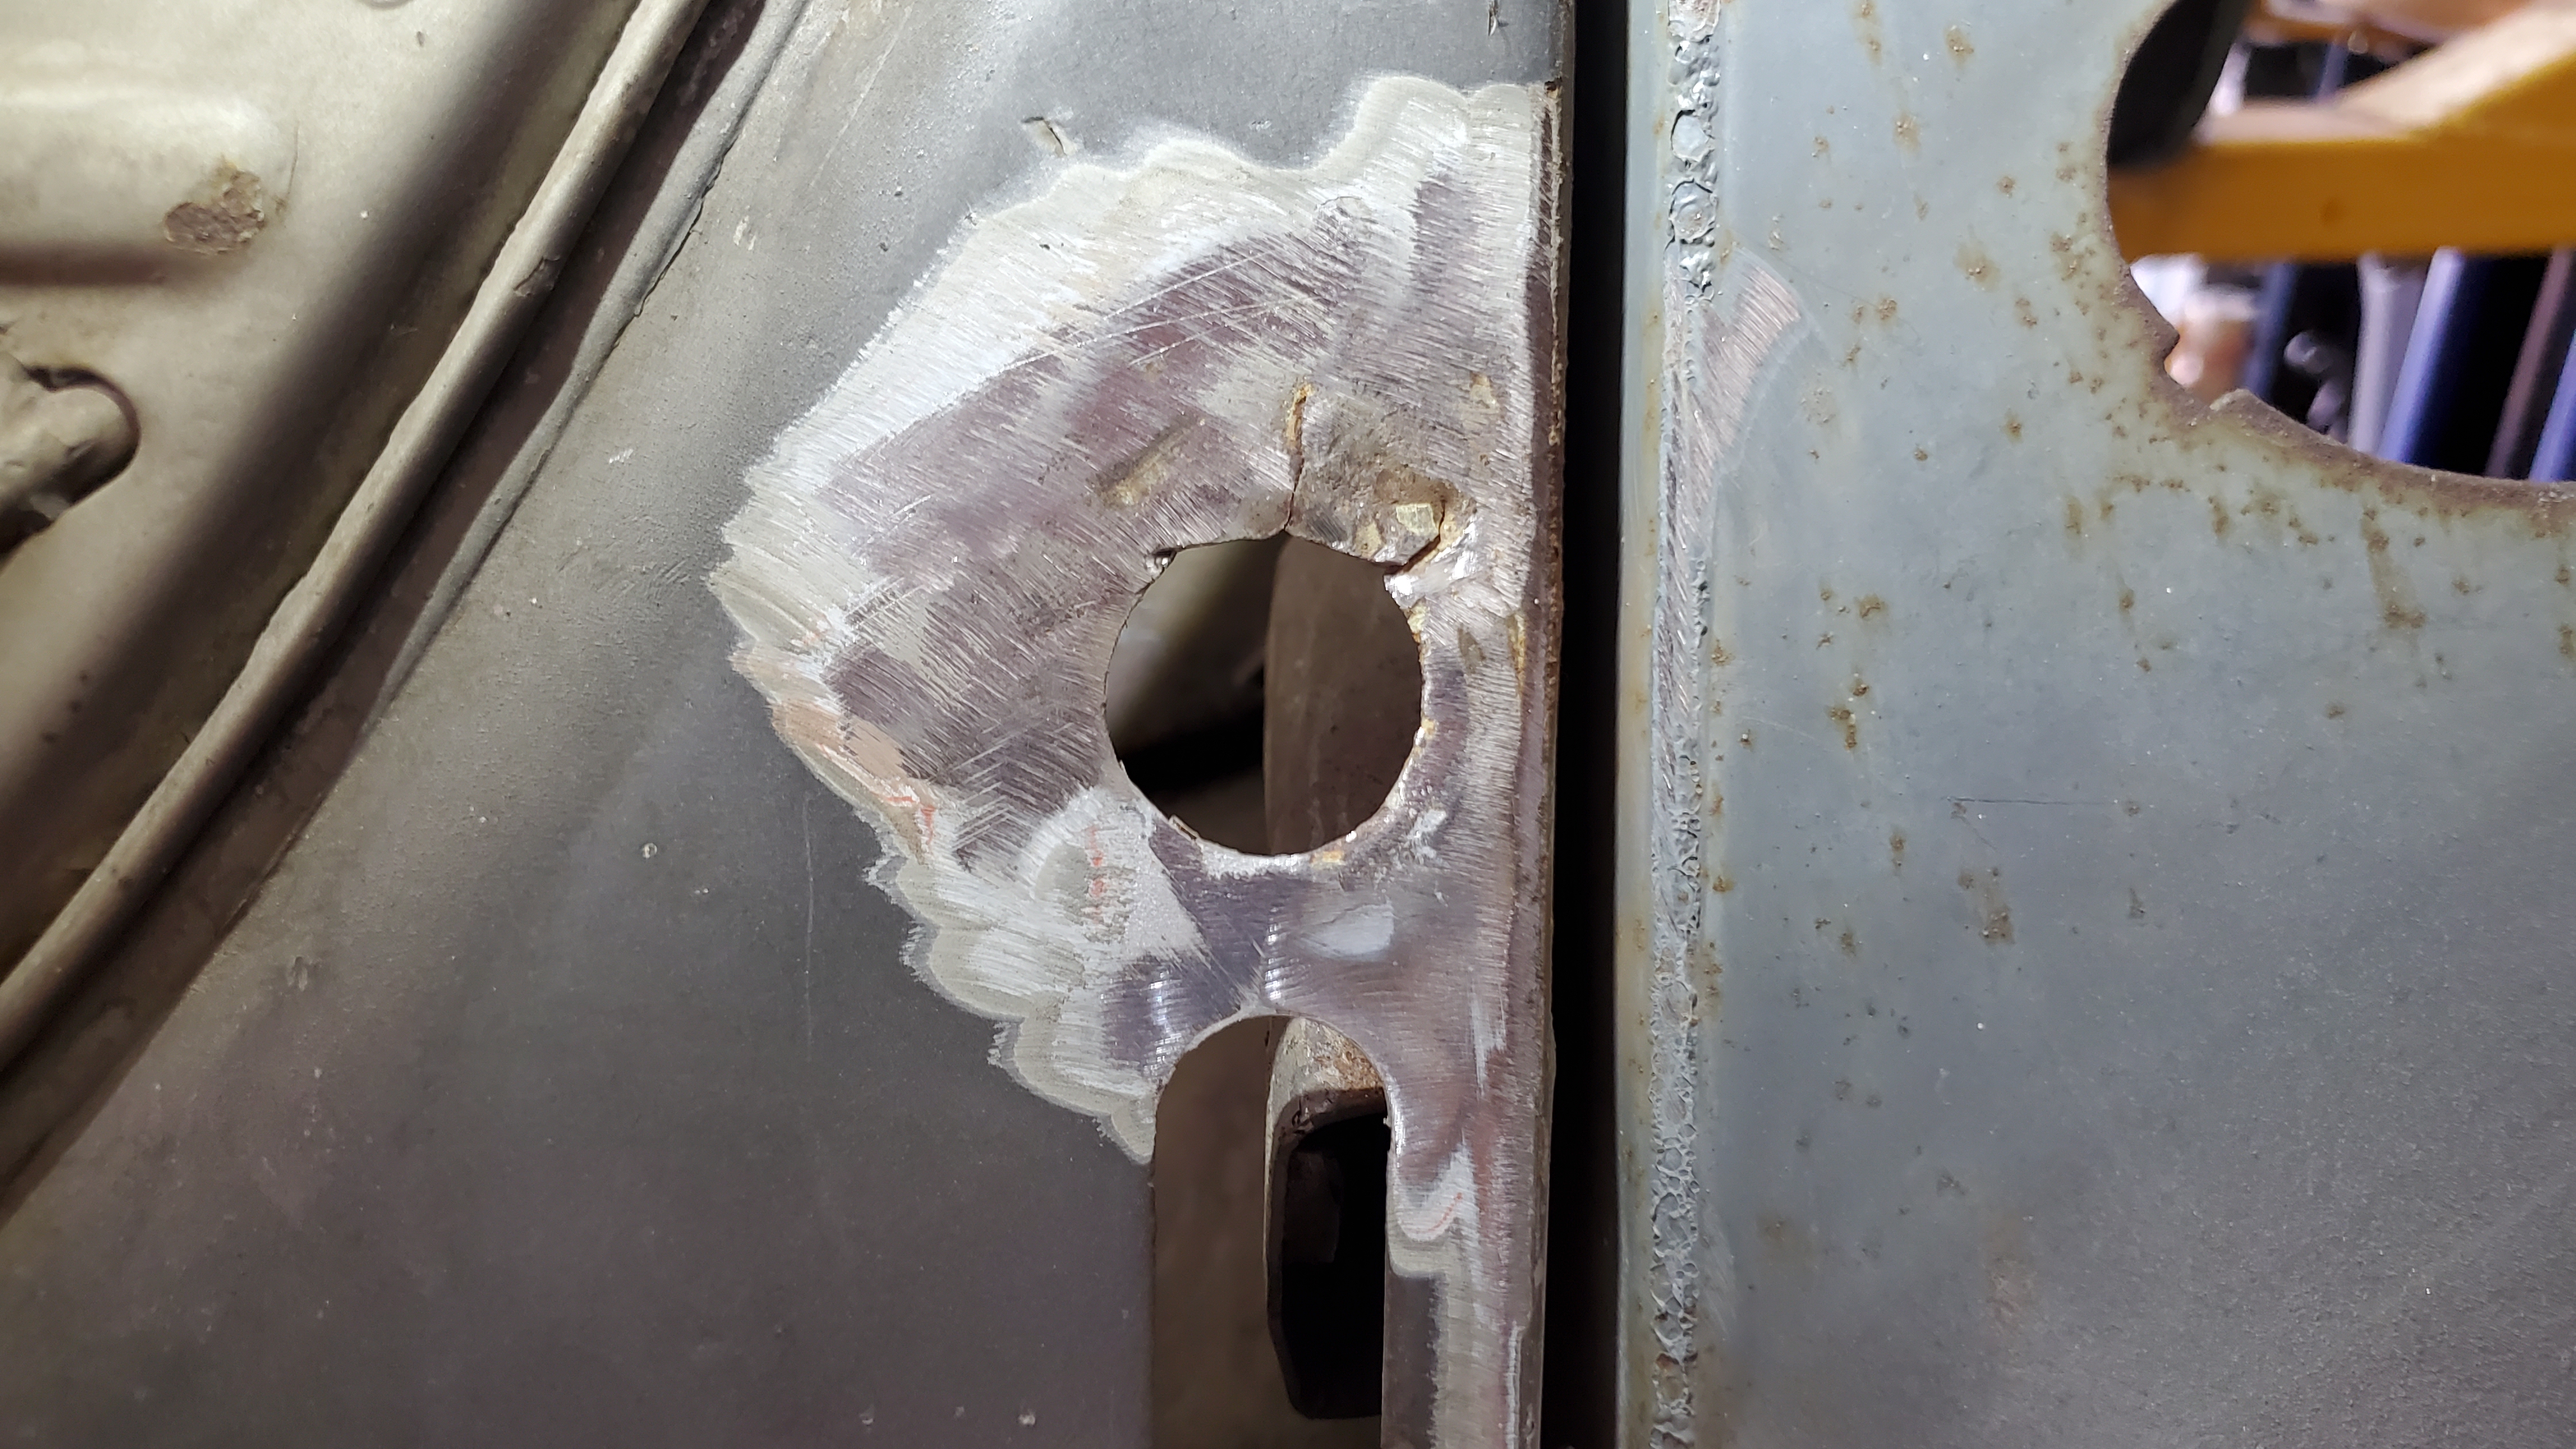
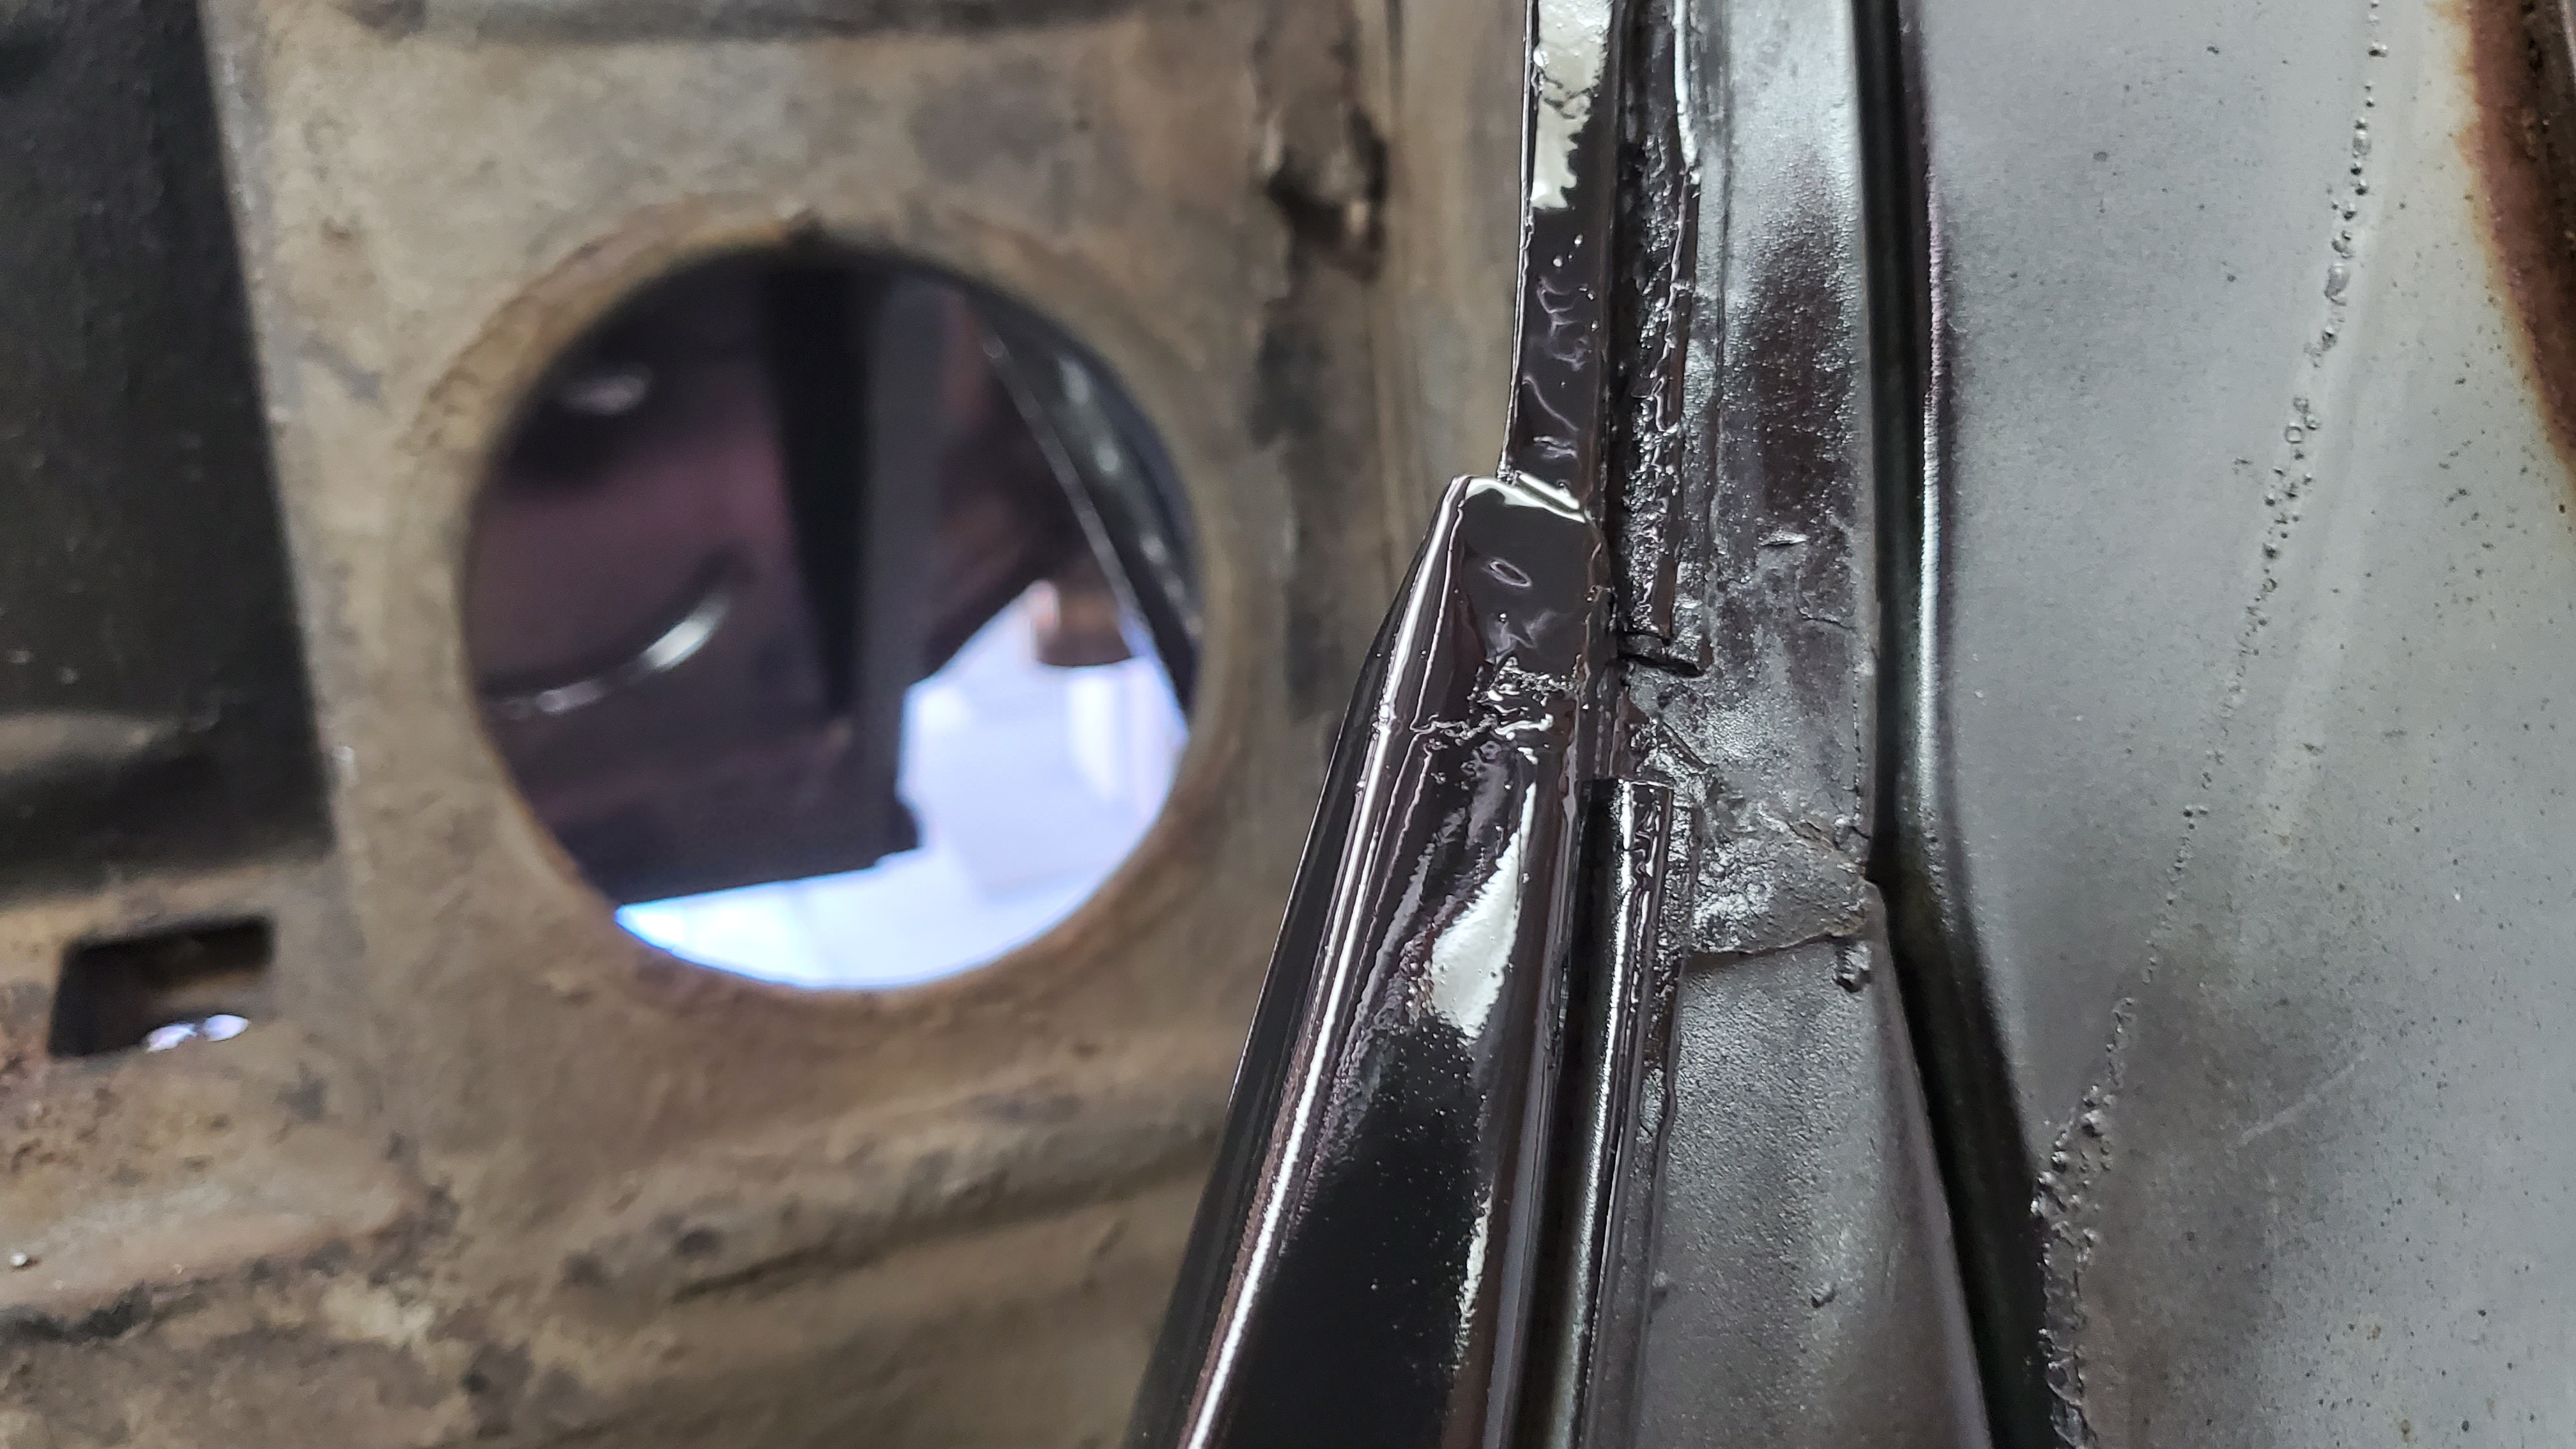


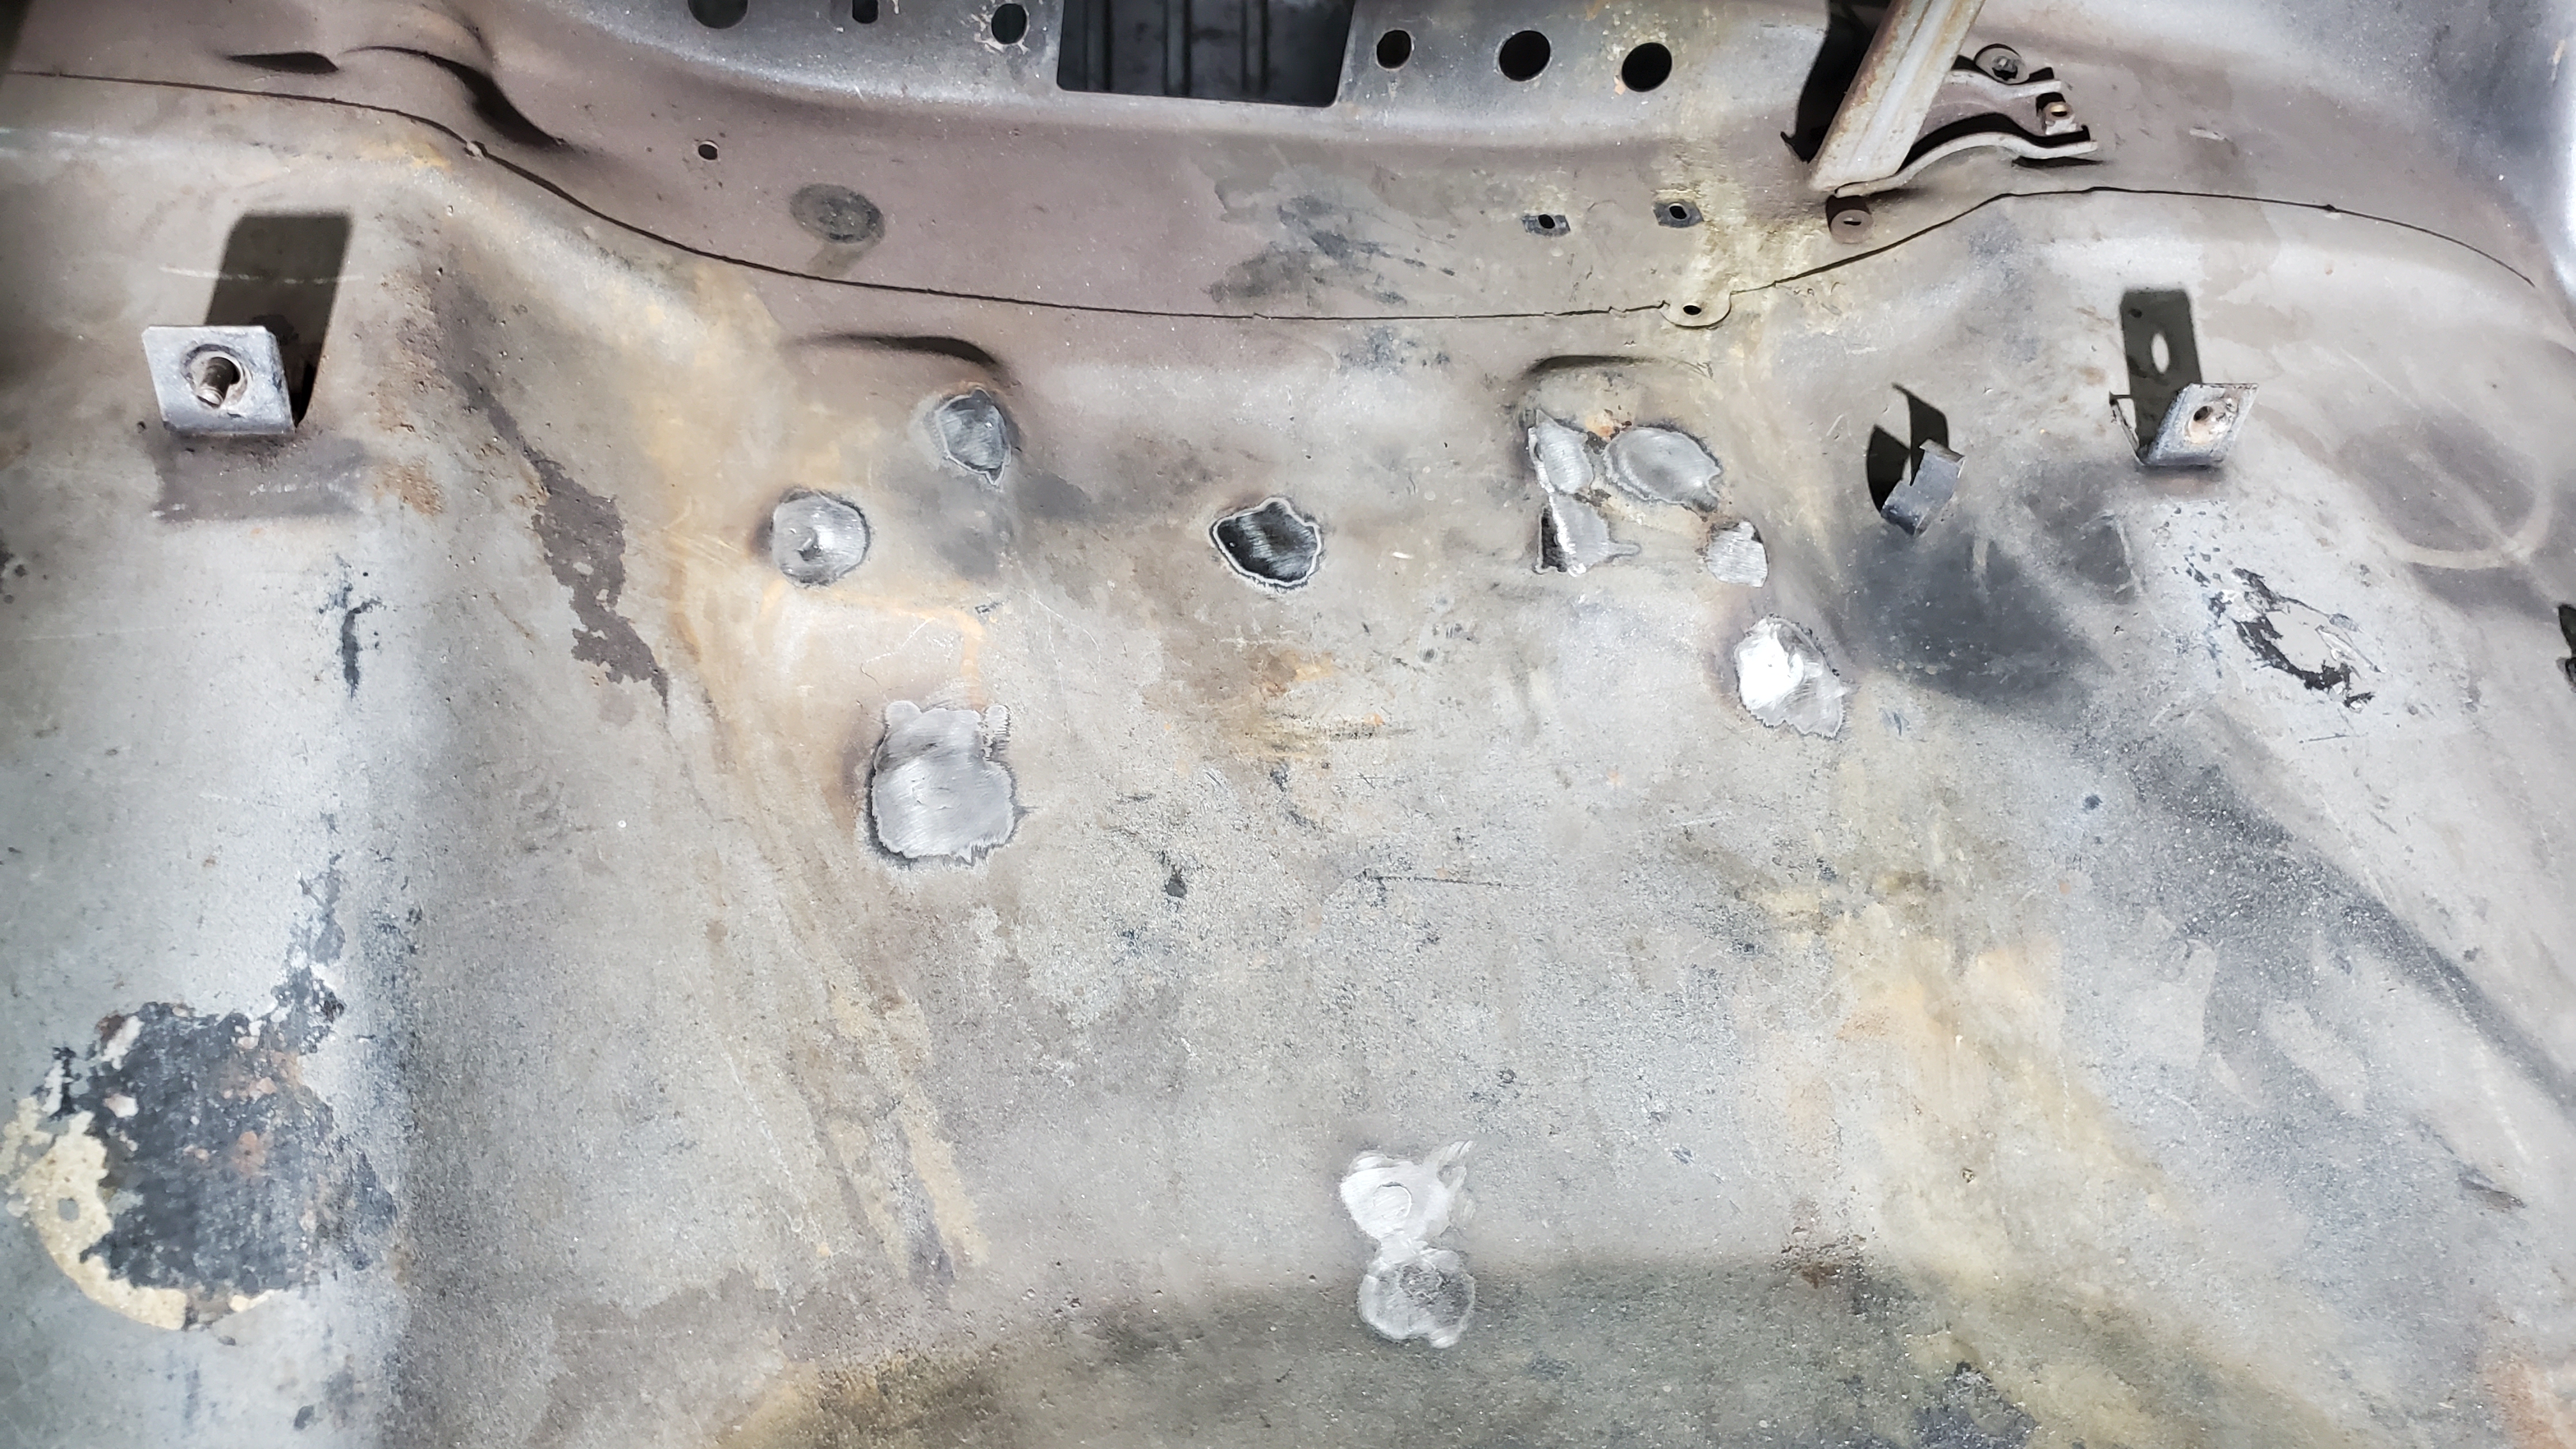

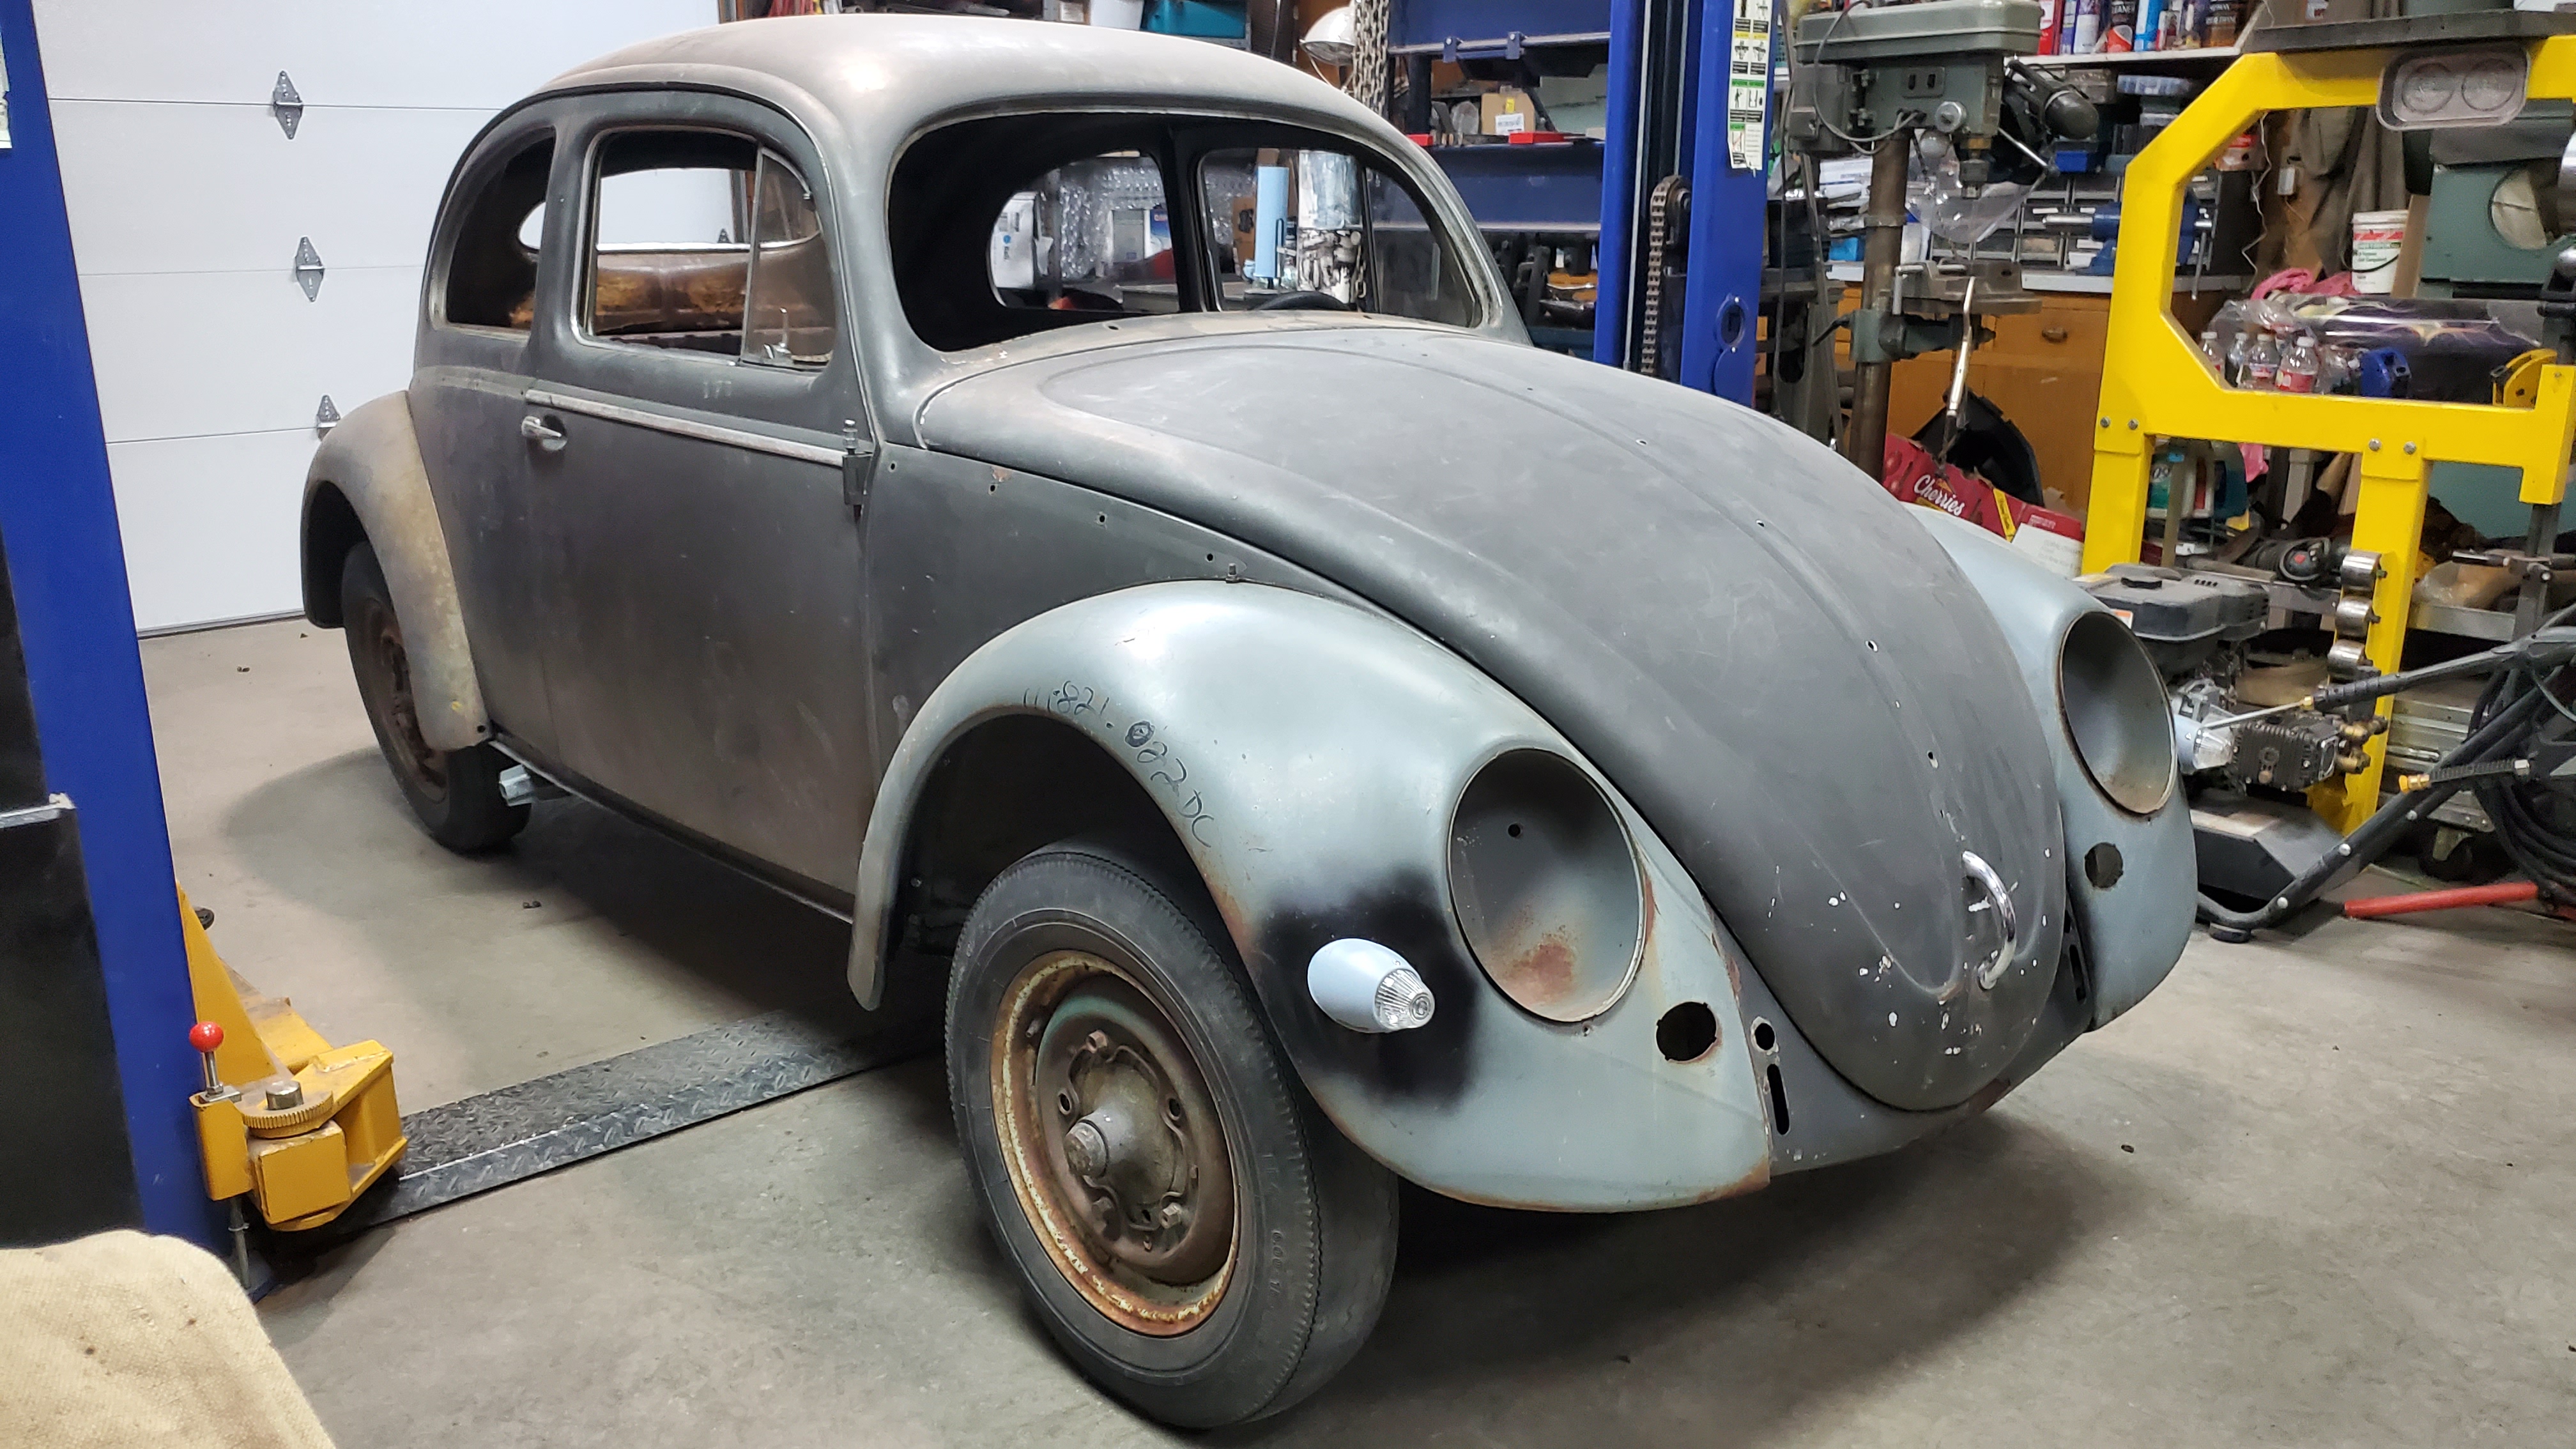
The bumper bracket holes had tears around them that needed to be repaired, and there were several holes drilled under the dash to mount various things over the years. The after market cups are stamped flat, and the fender is curved on the back. They had to be shaped to fit the fender before clamping down to weld. They also came with two different styles of lens for the opposing sides.


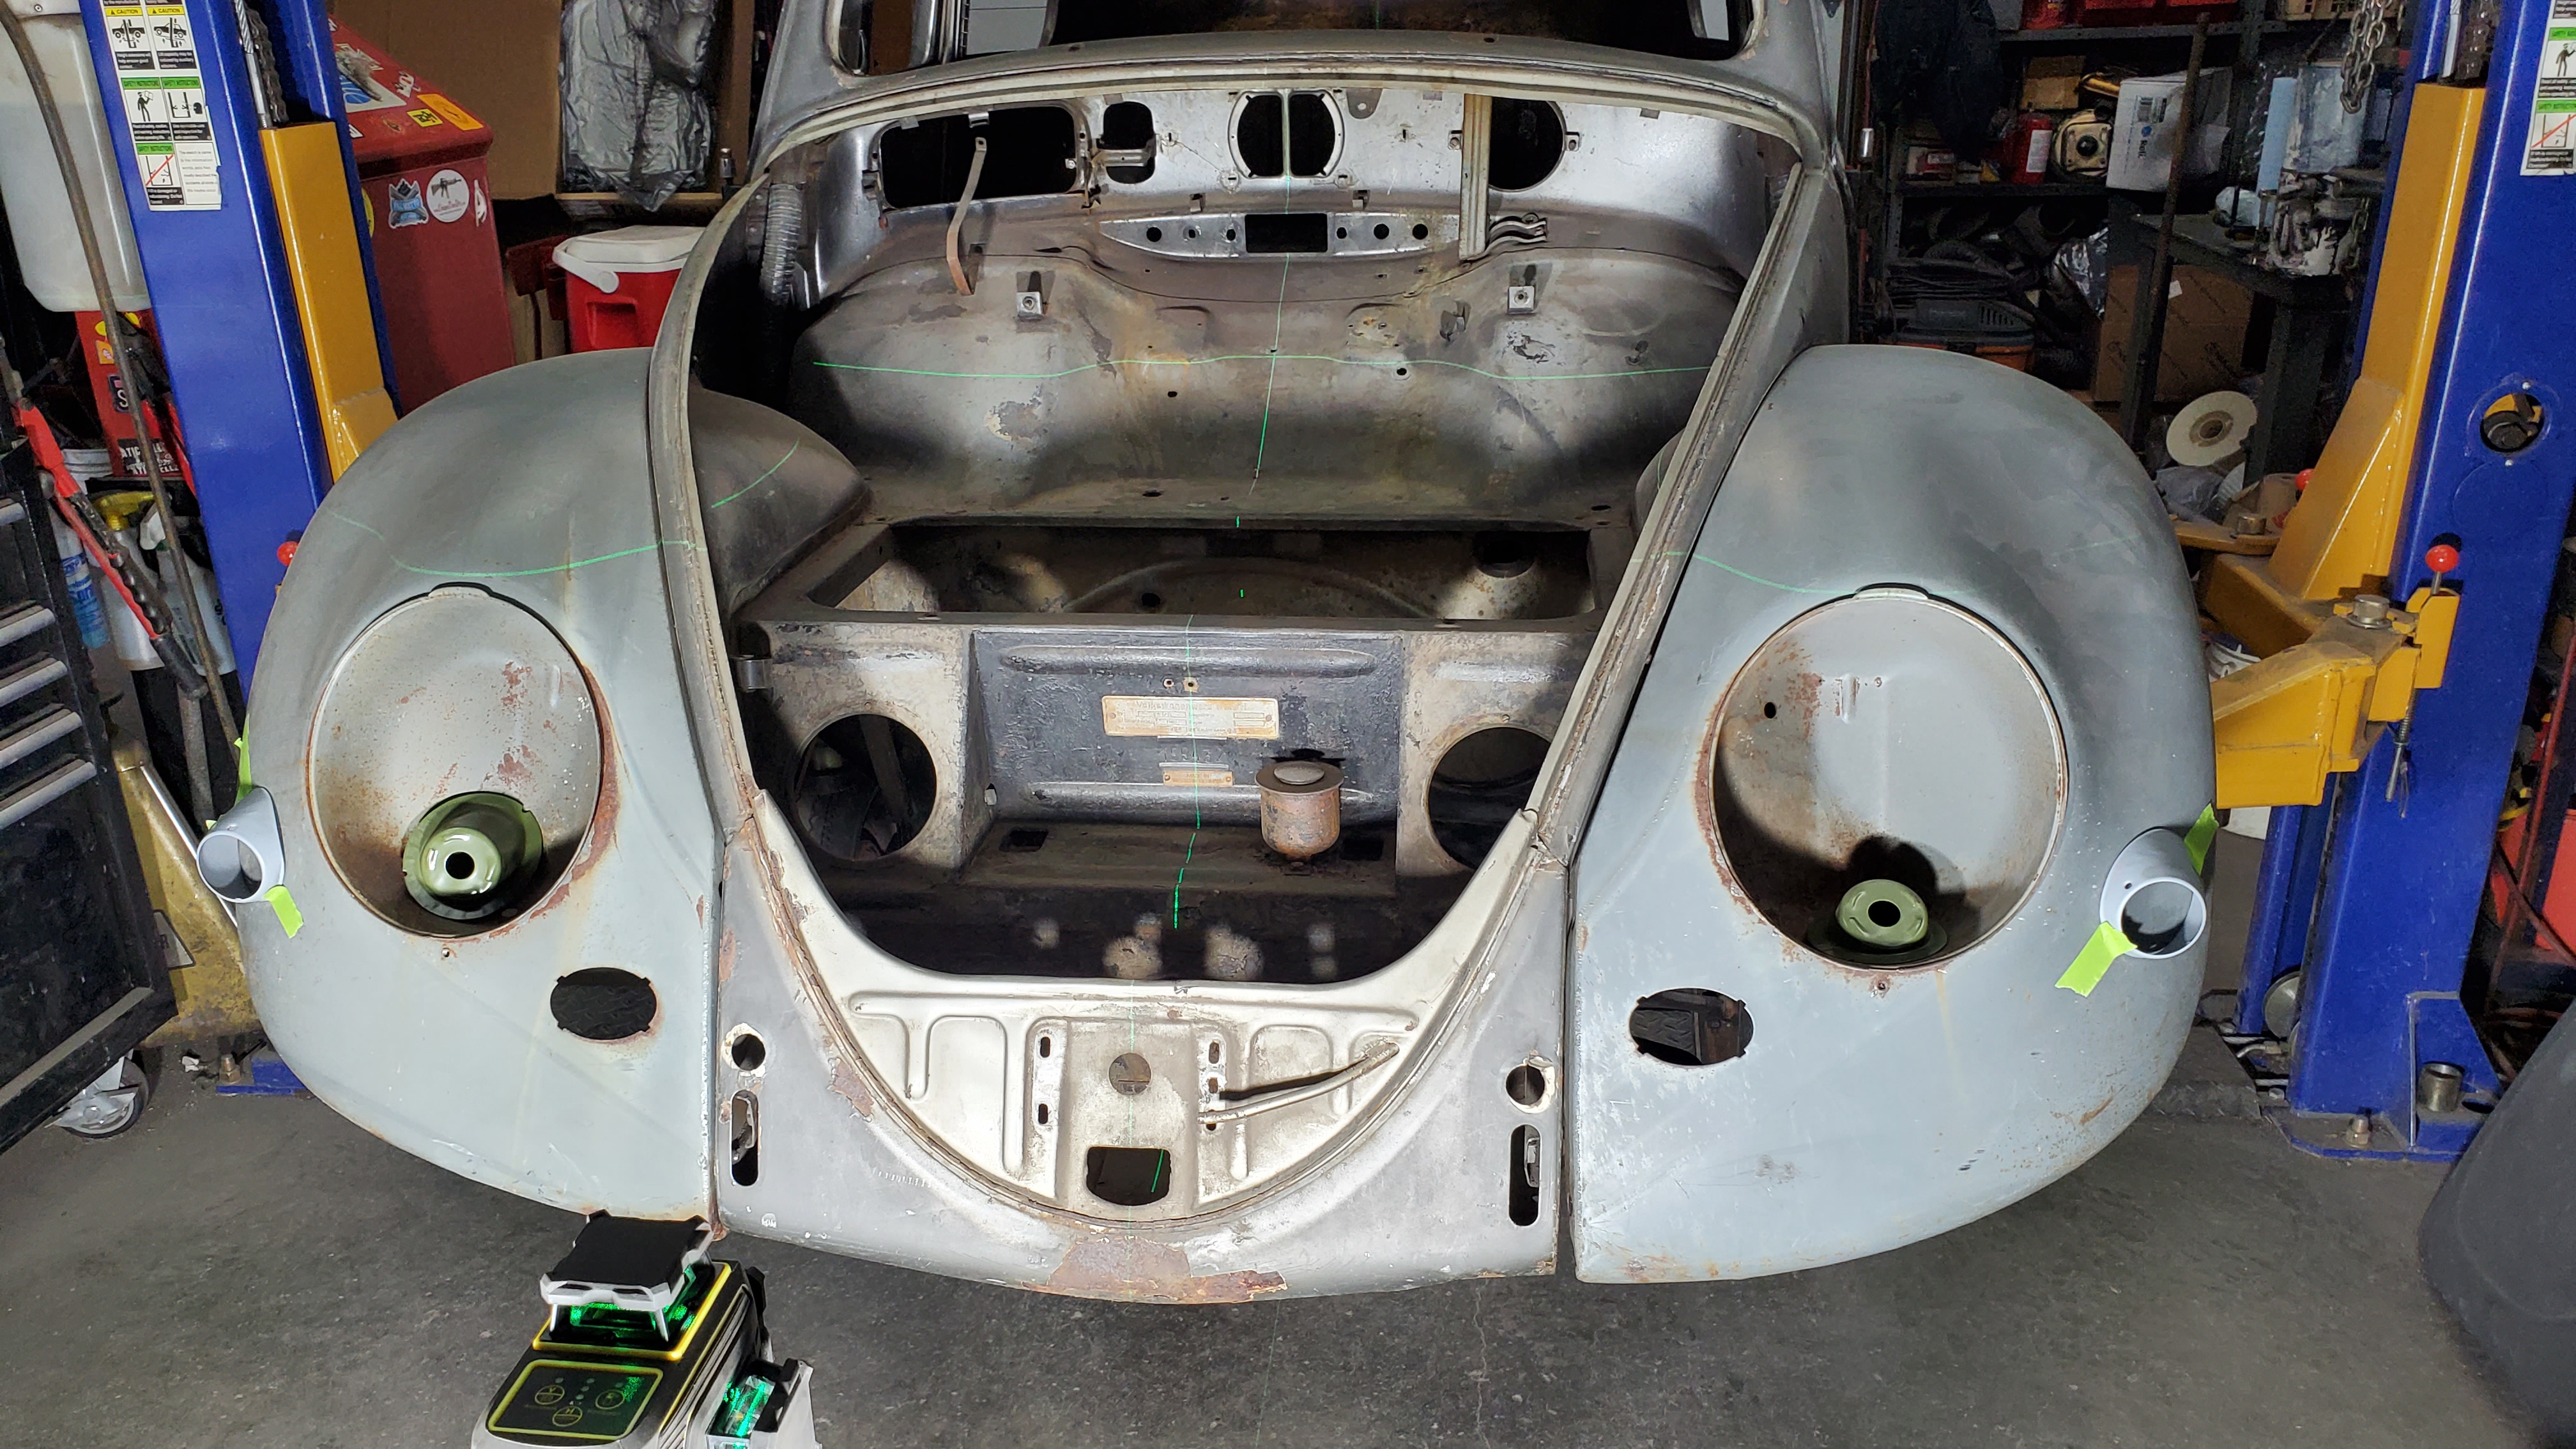
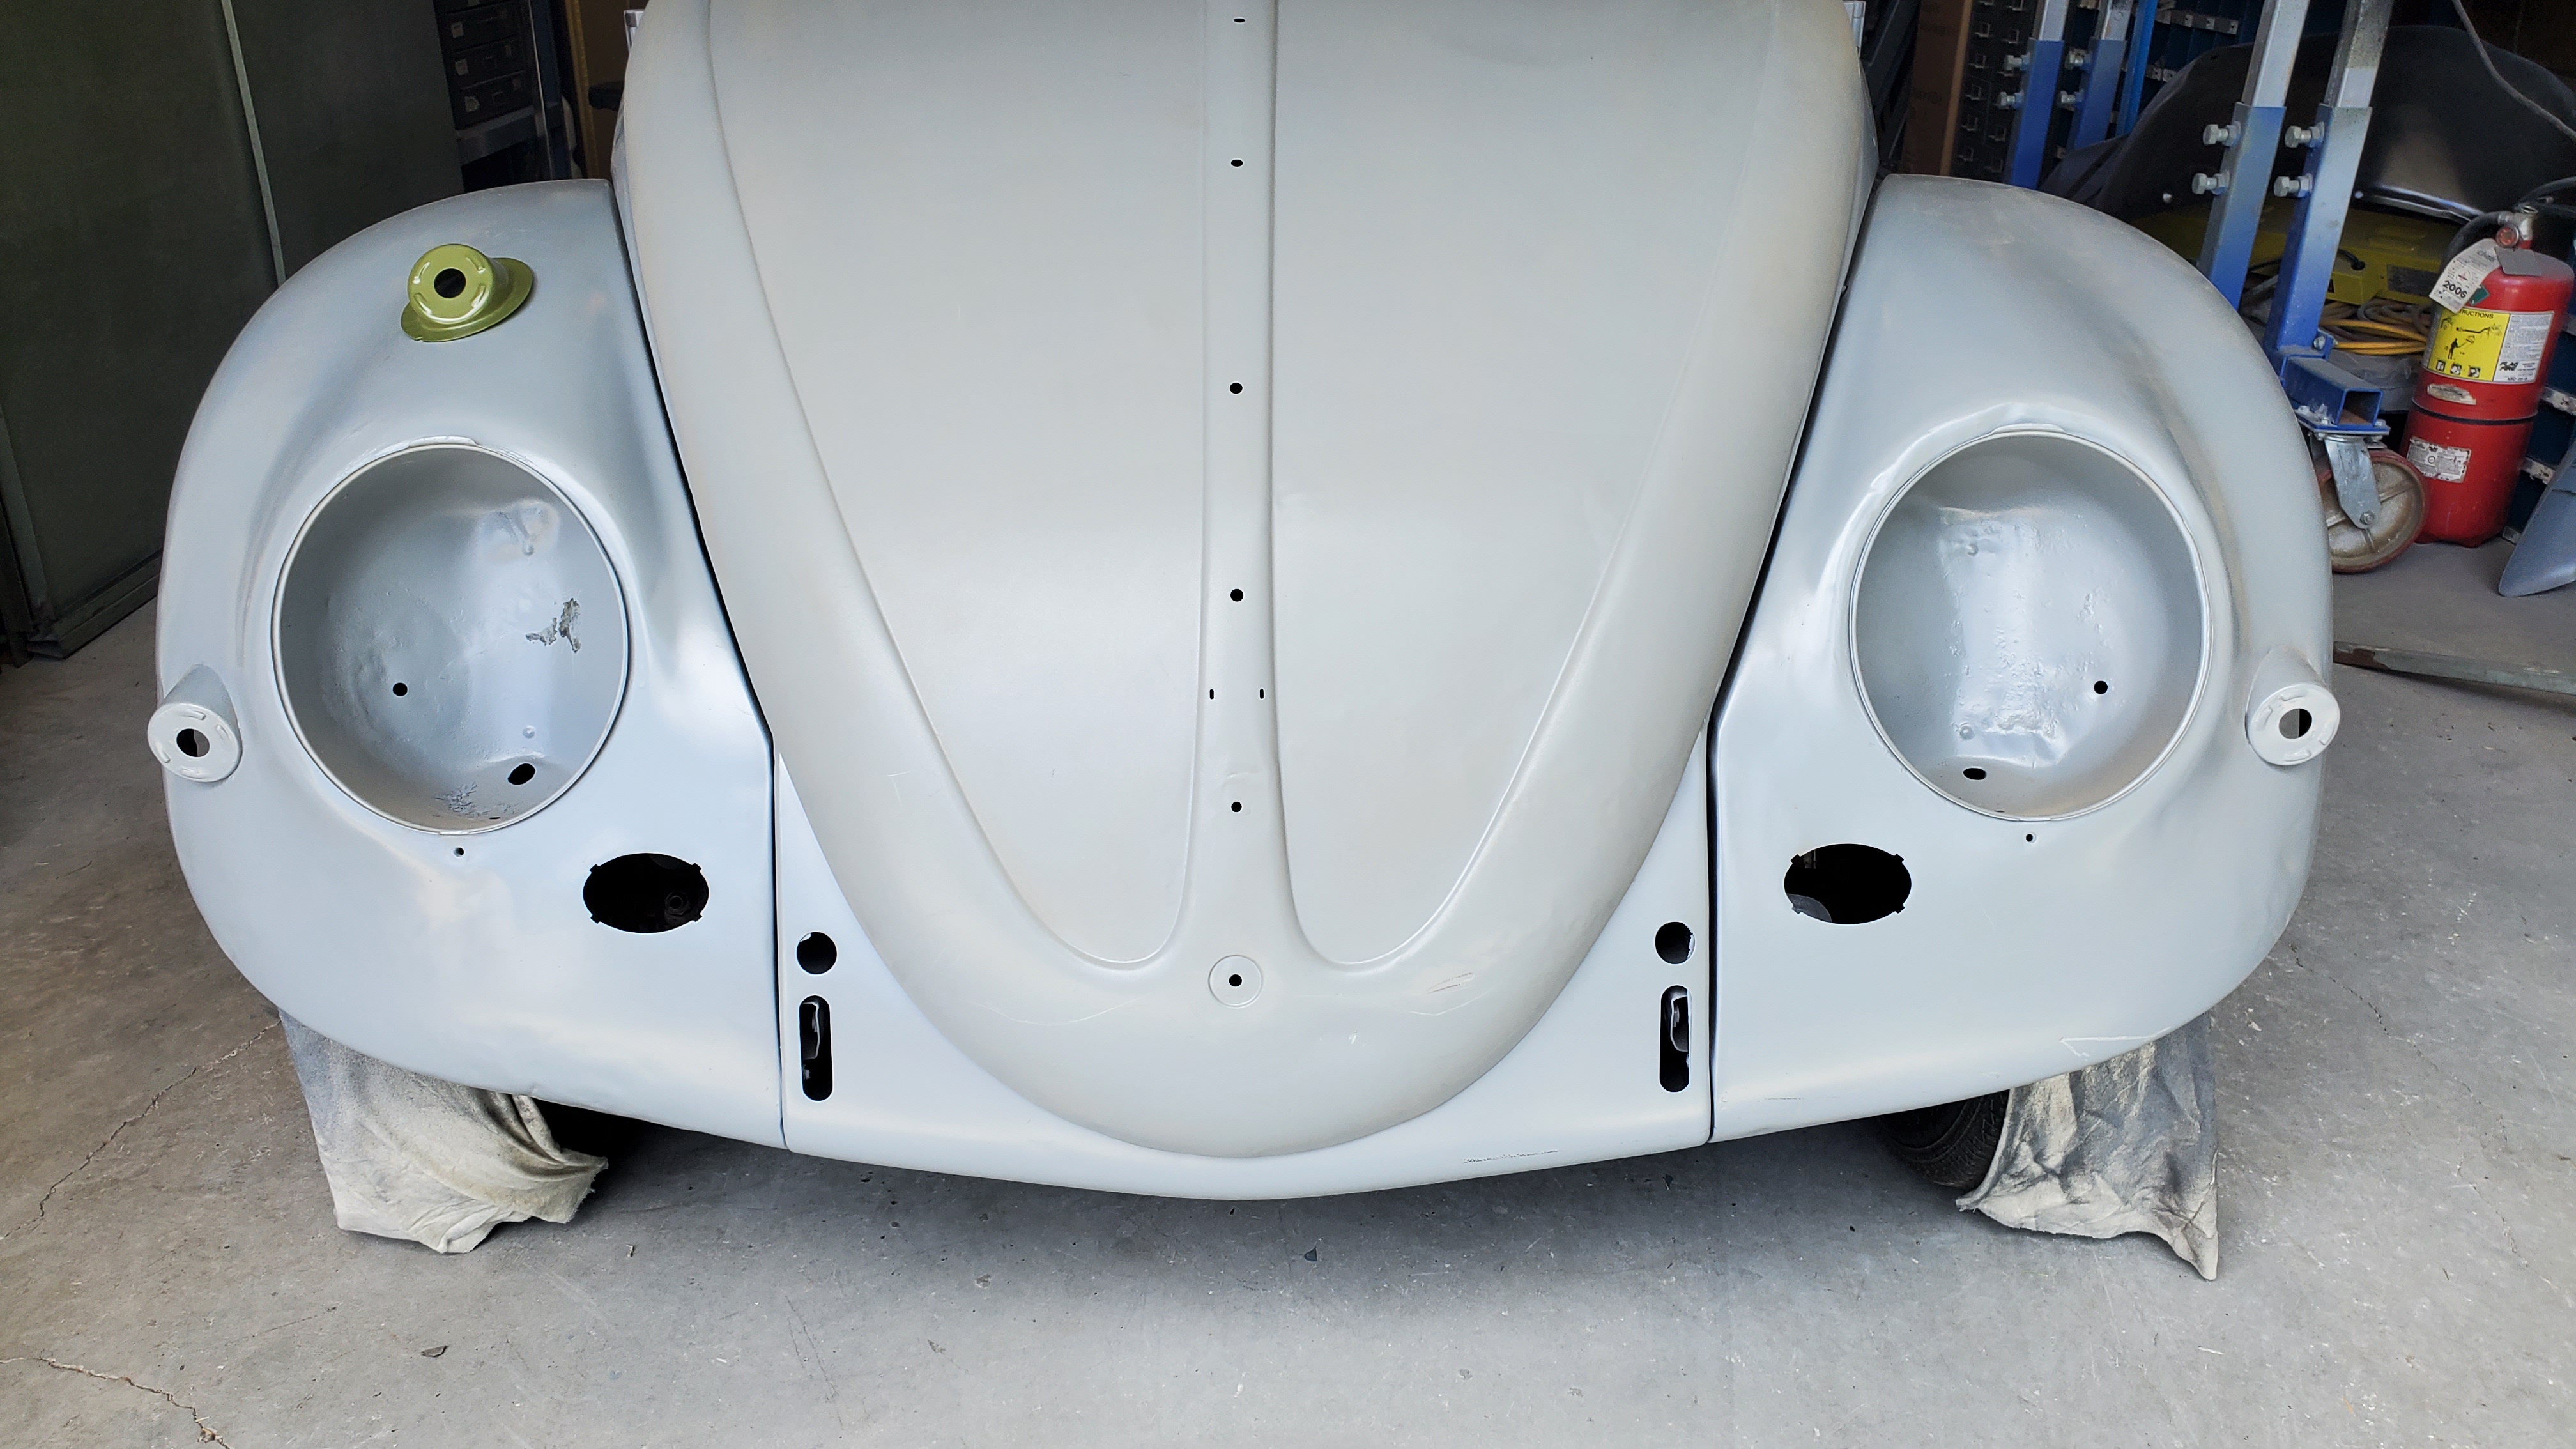
Luckily there is a 1957 in the shop to be able to get some measurements off of to locate the front signals. the bullets were measured with a laser from the 1957 and marked on the 1956 off of those marks.
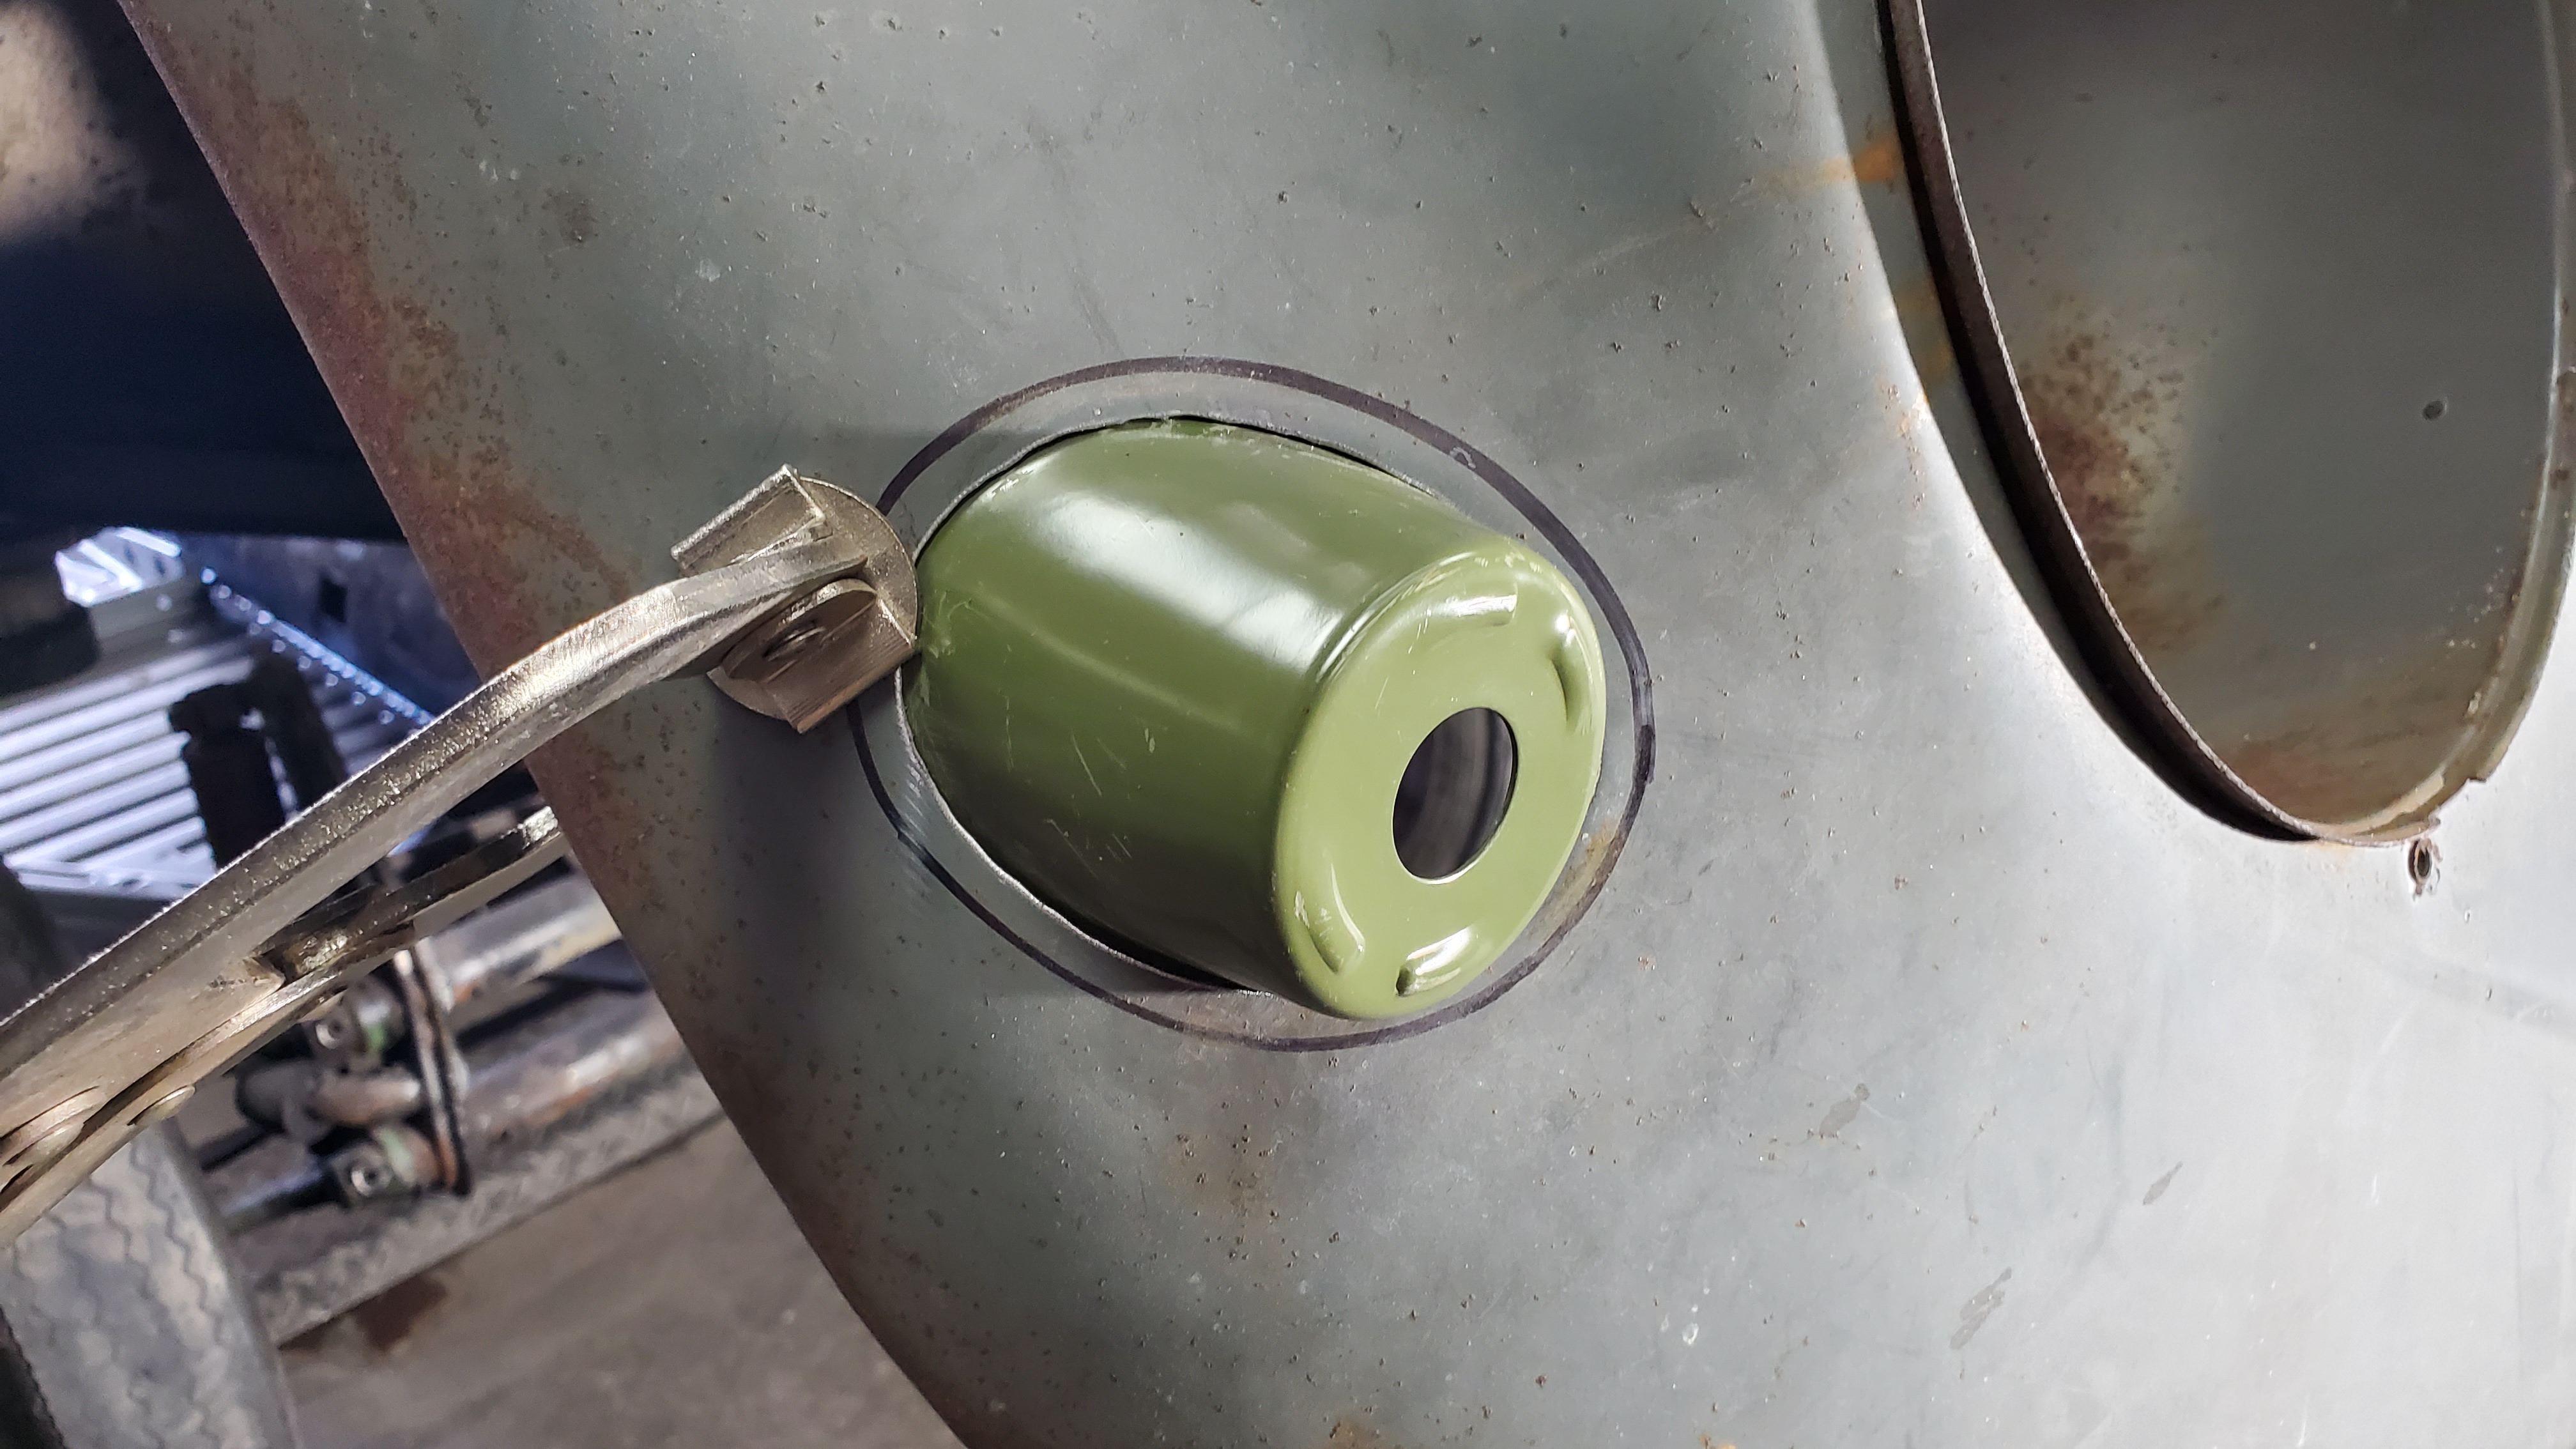


Once welded in, they were finished with a grinding wheel, and touched up with some paint to prevent rust.
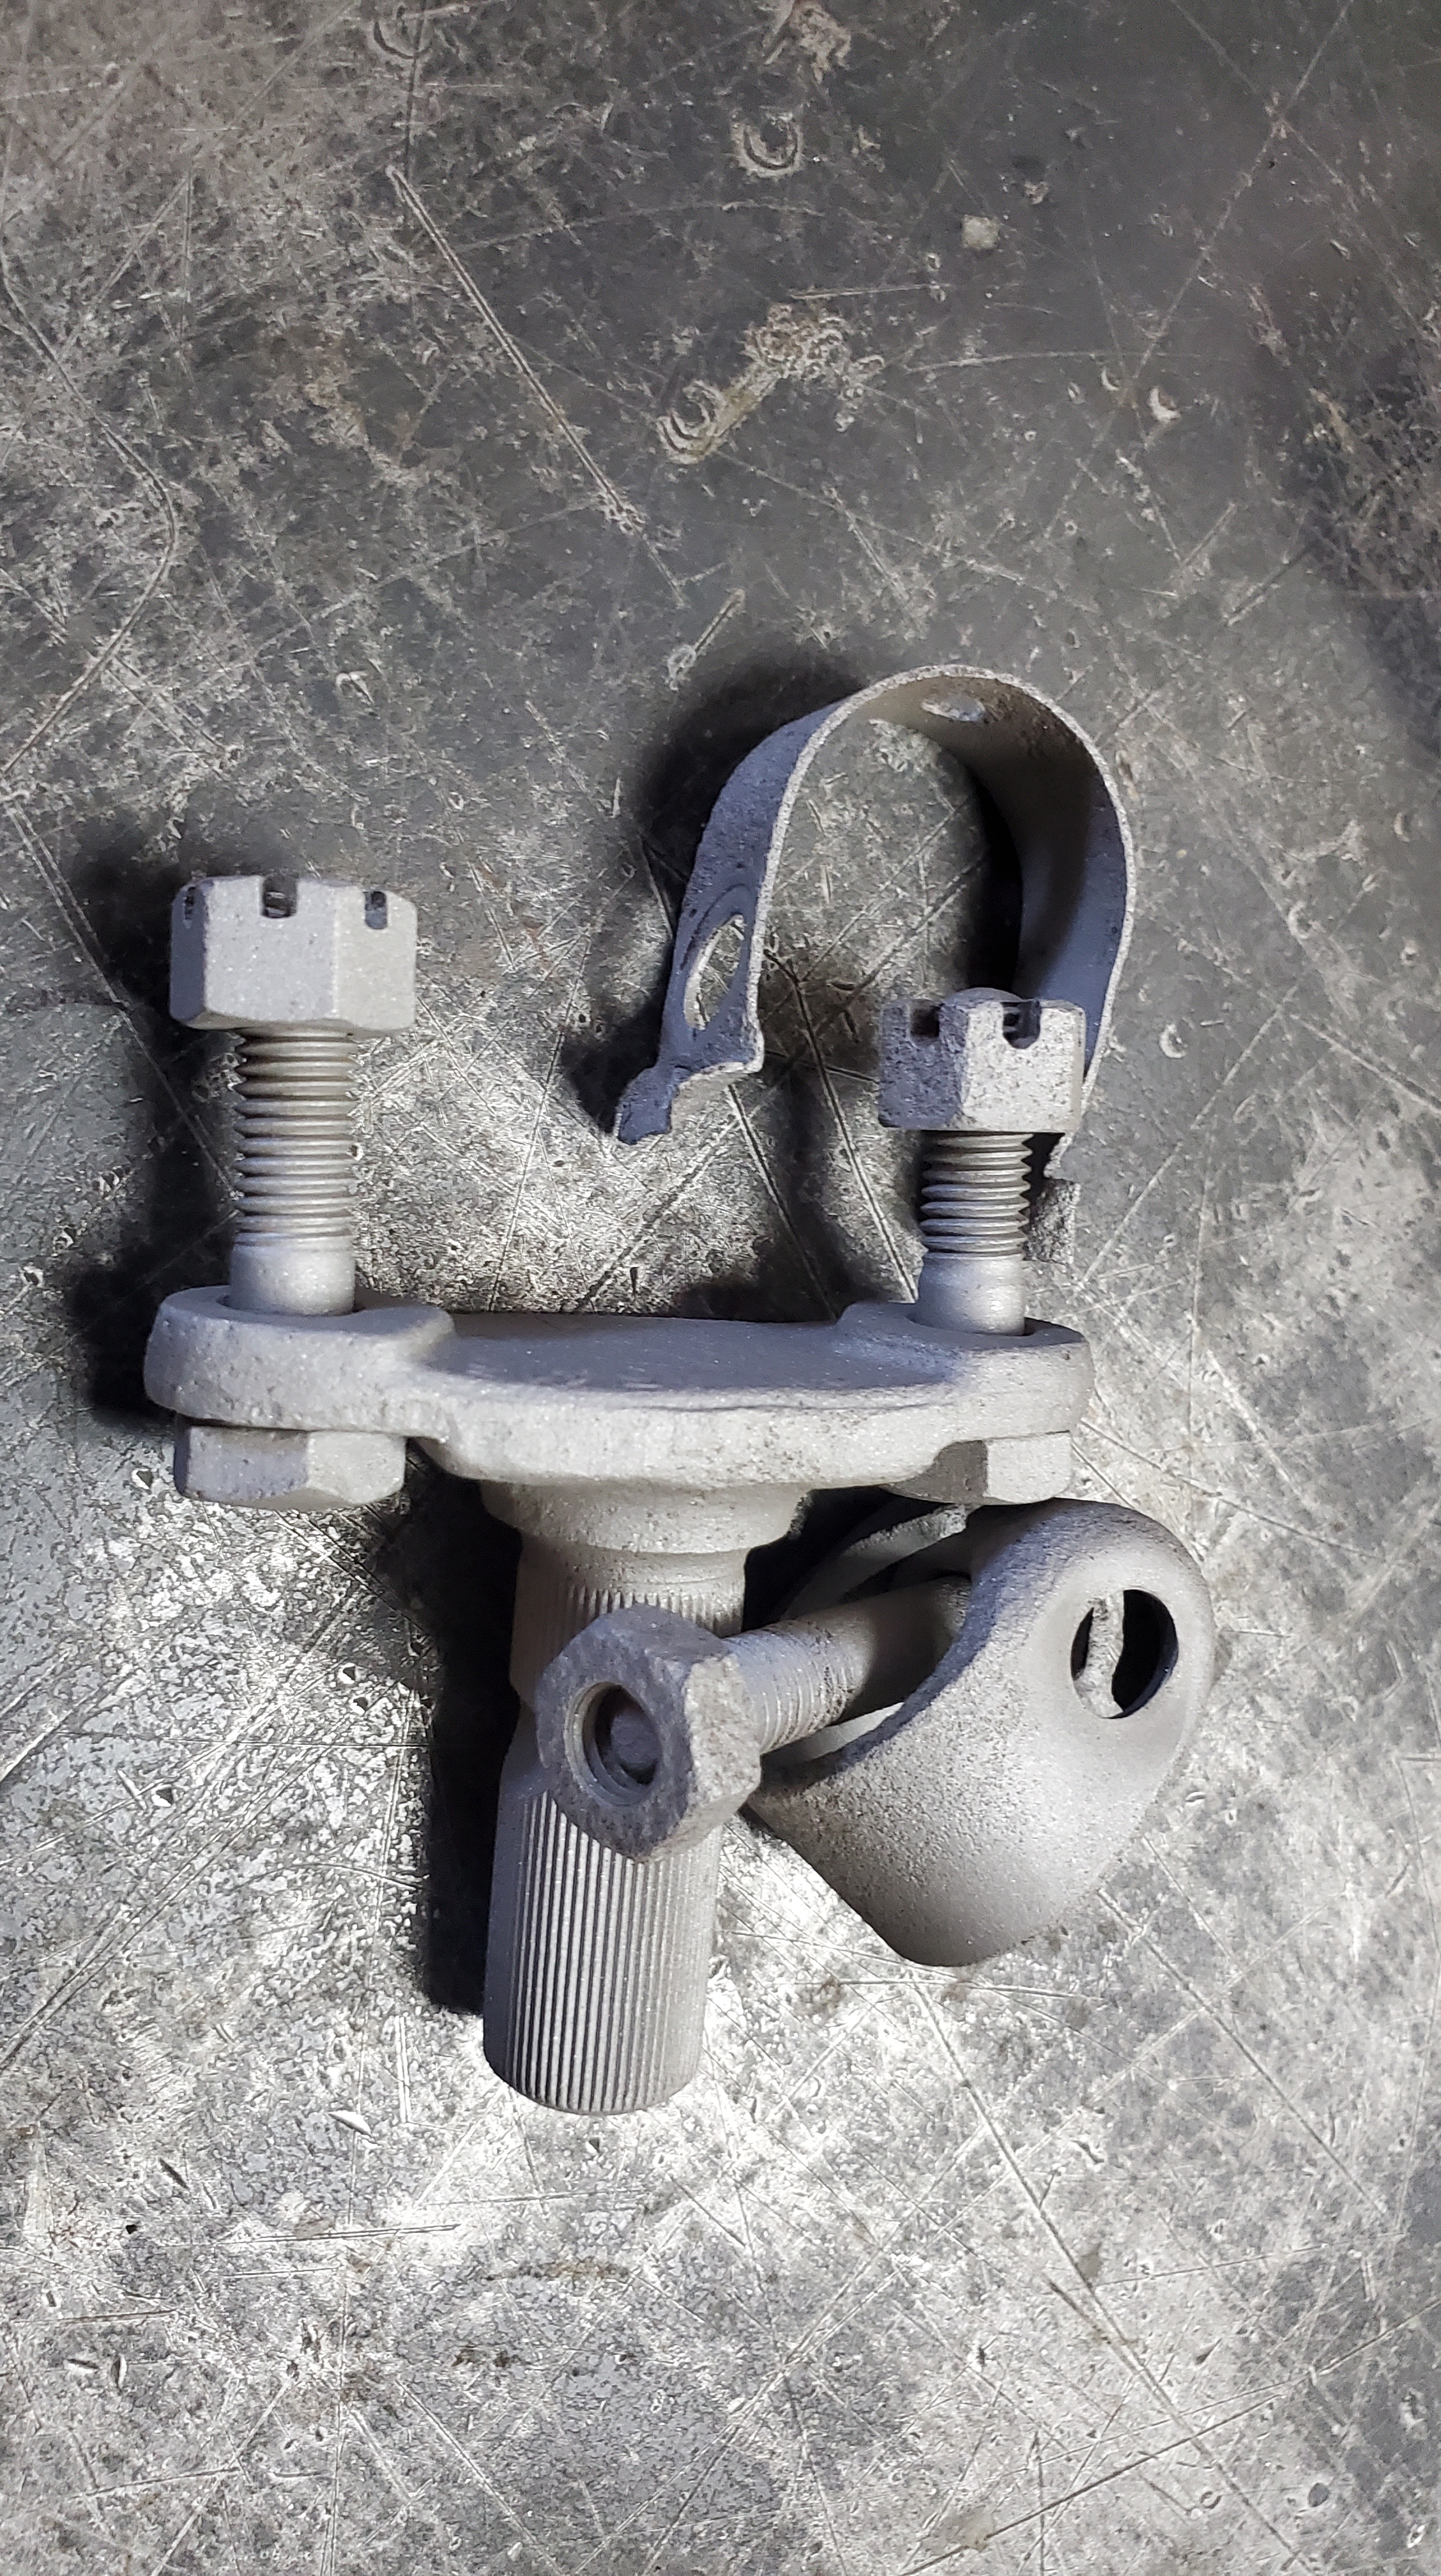
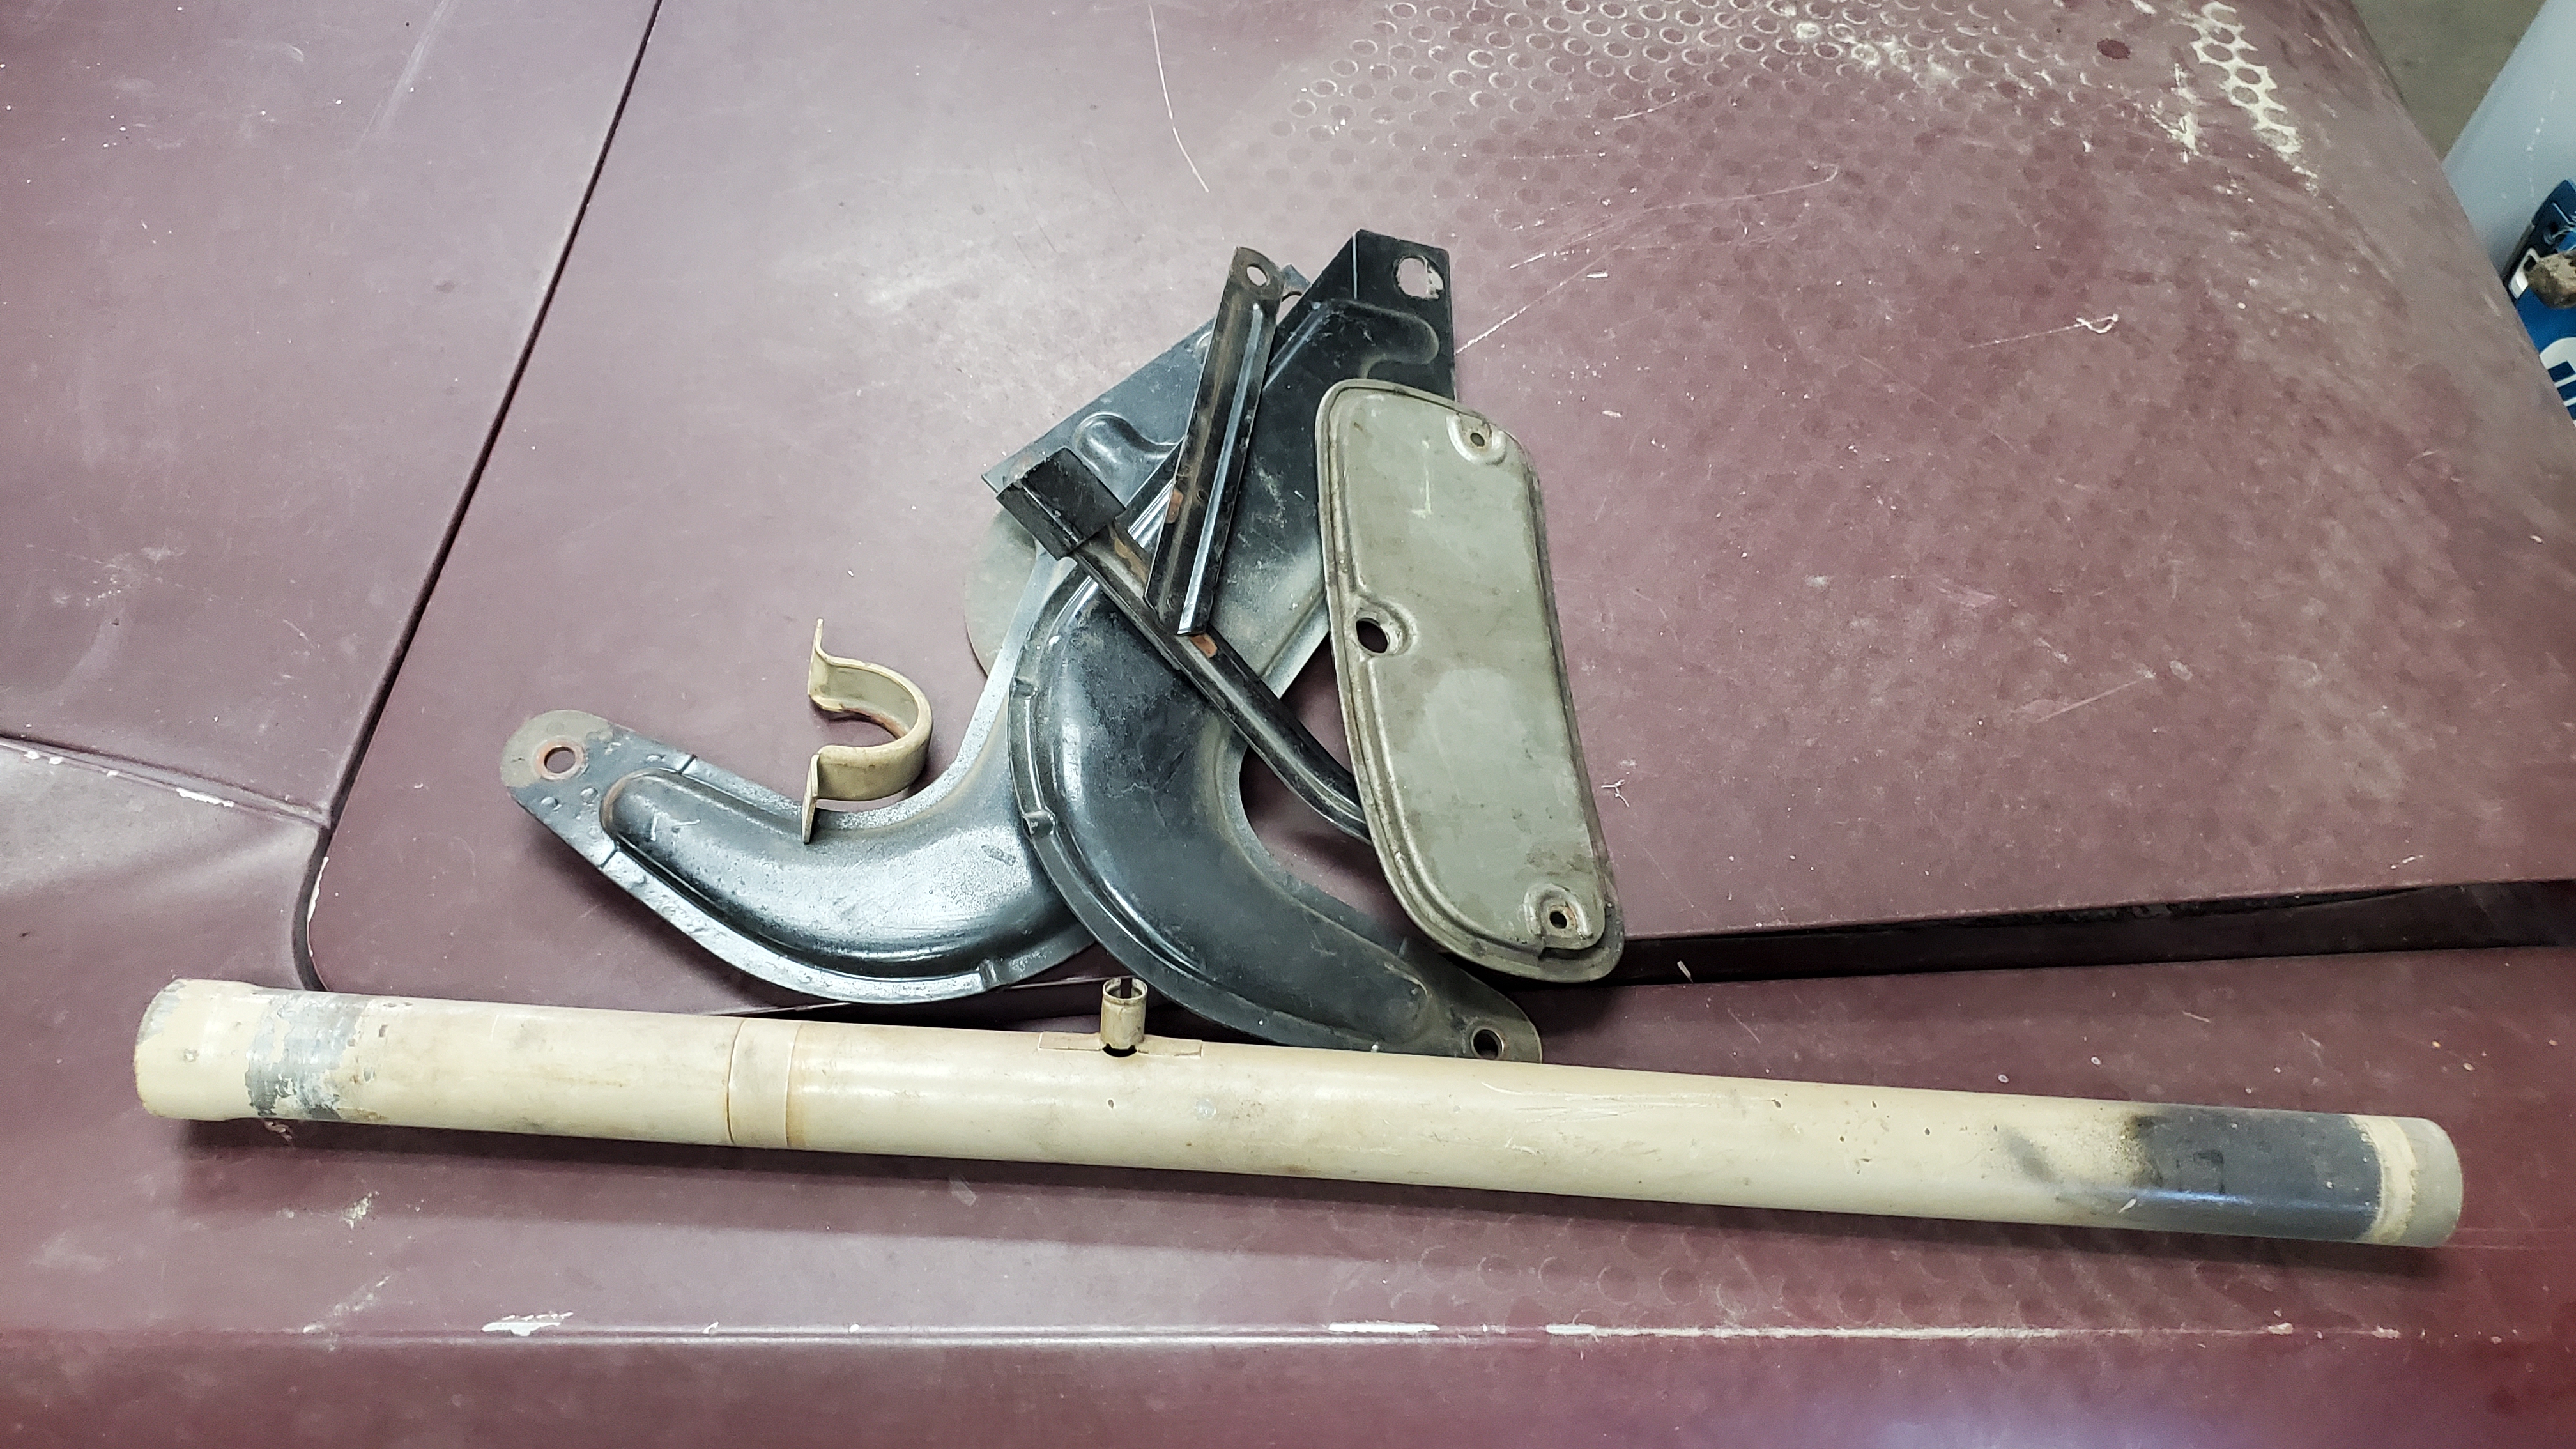
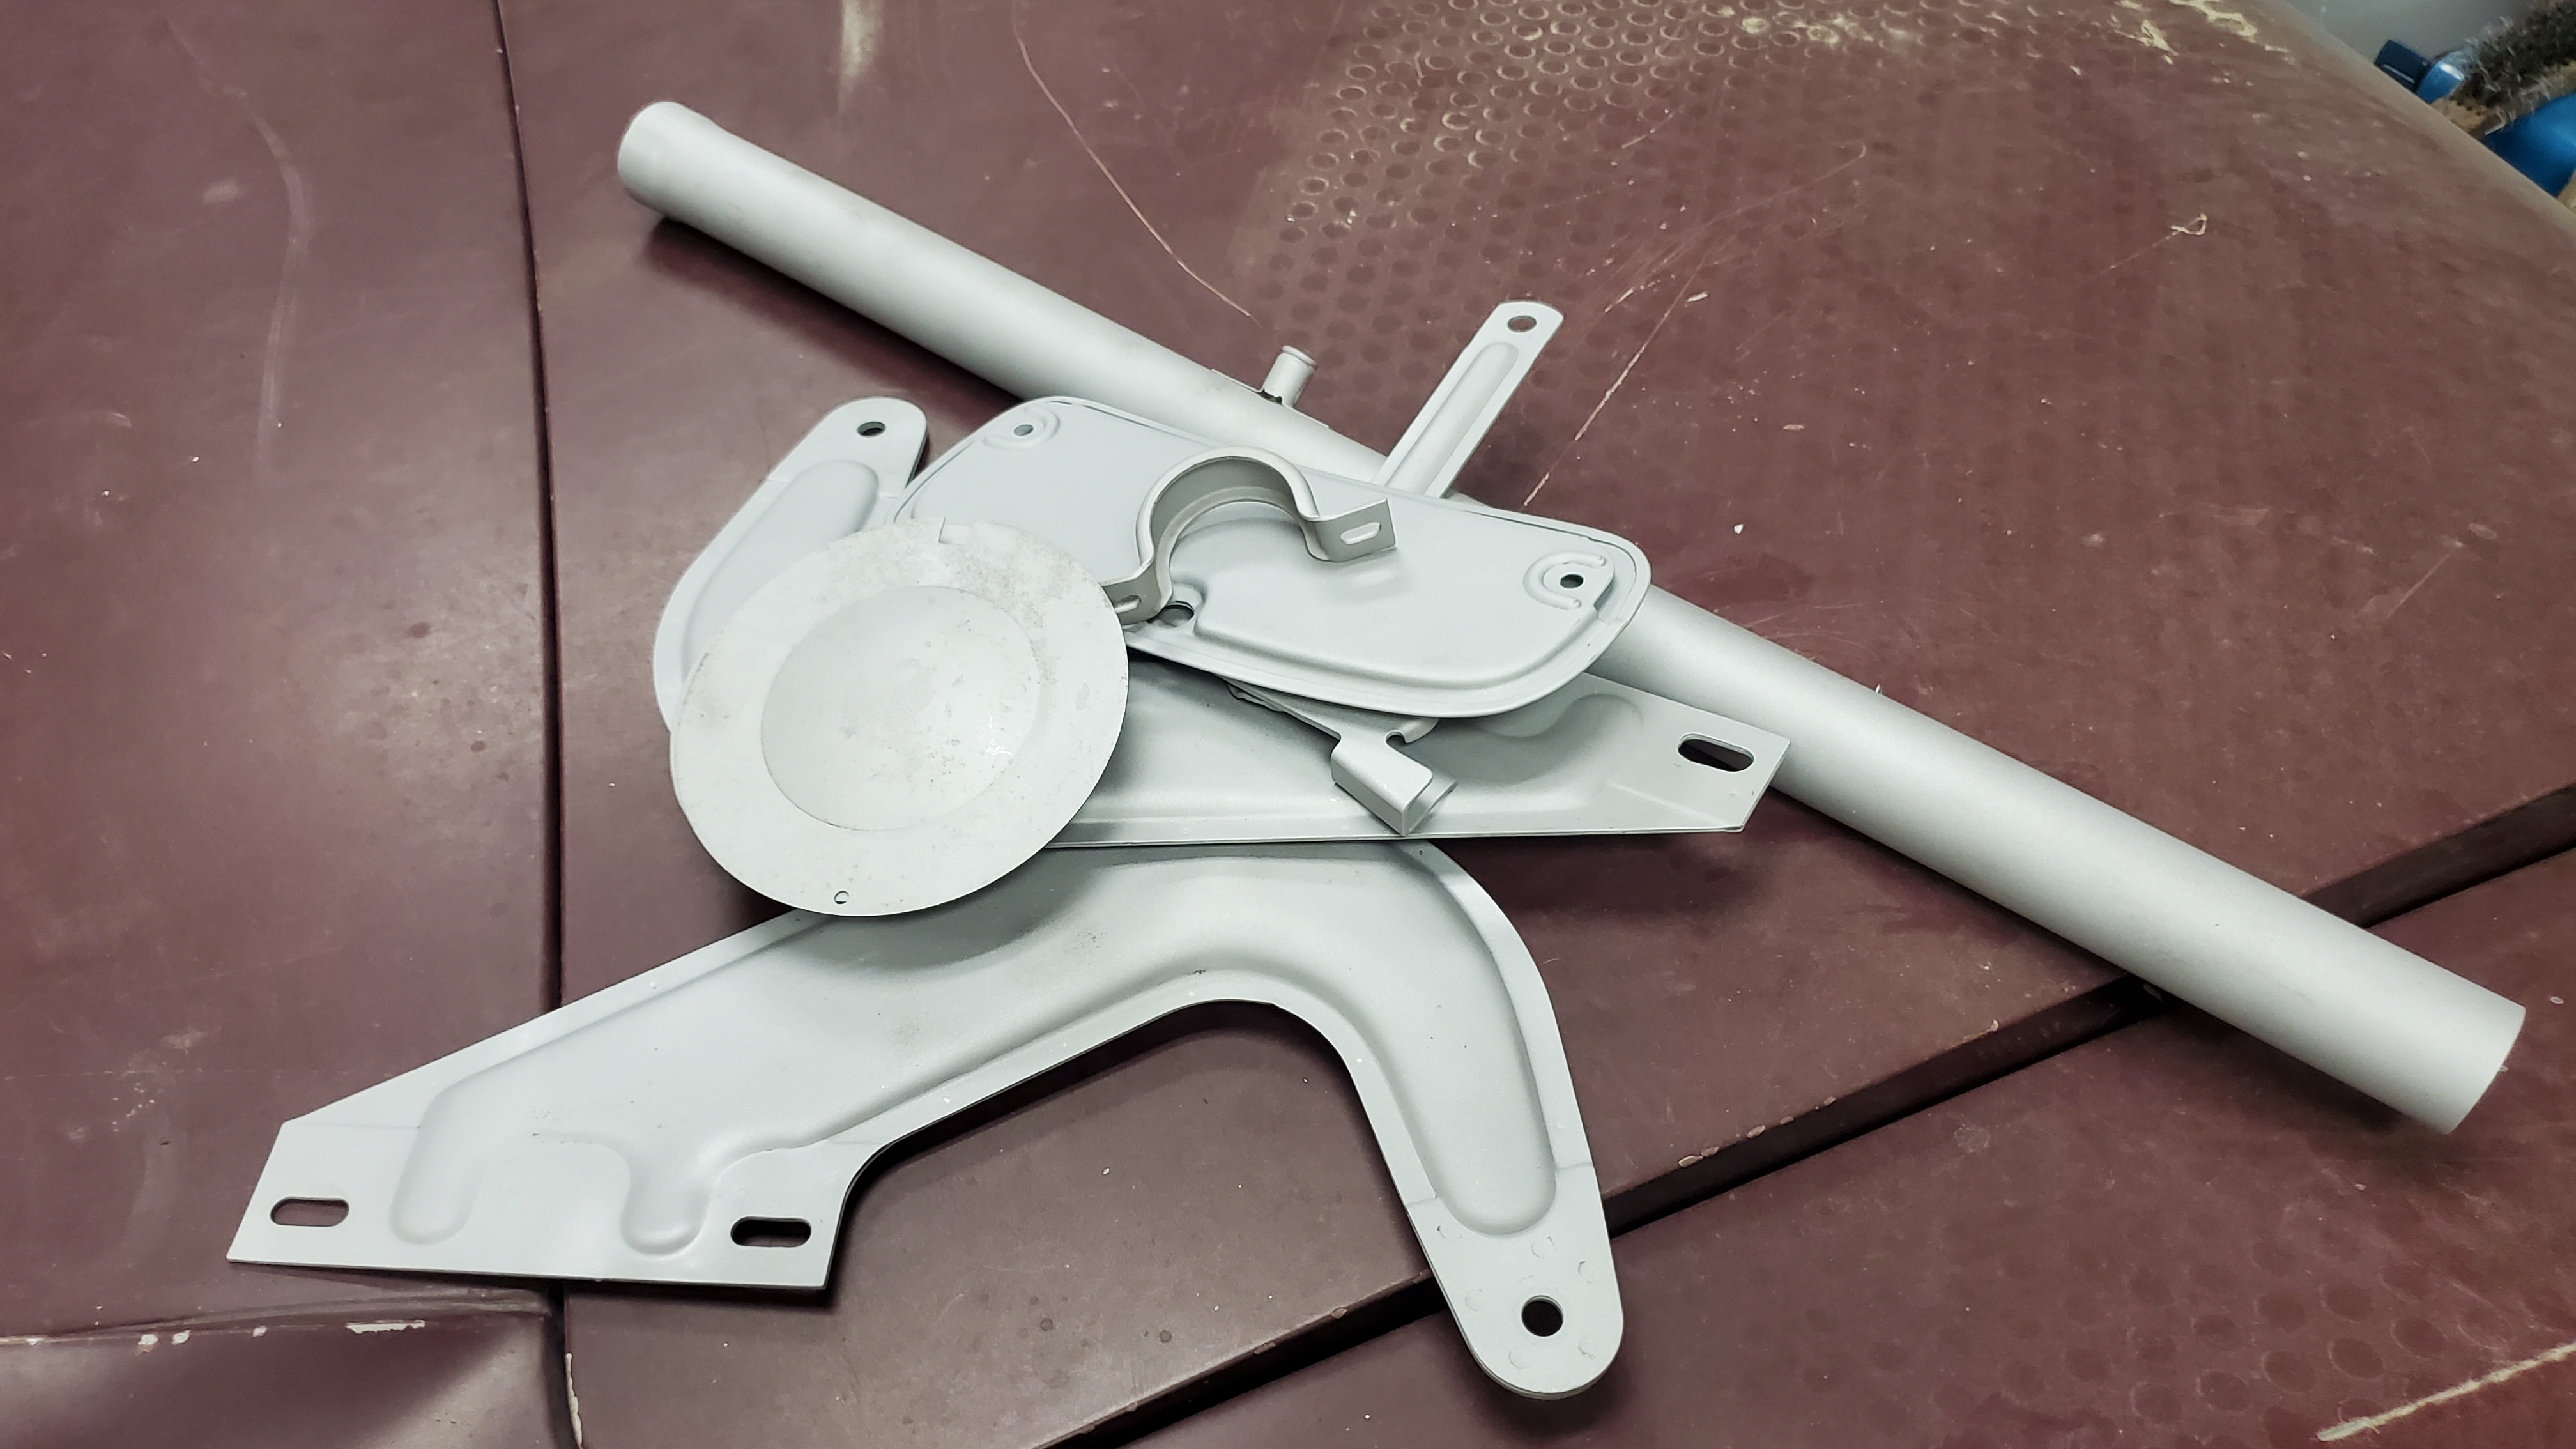

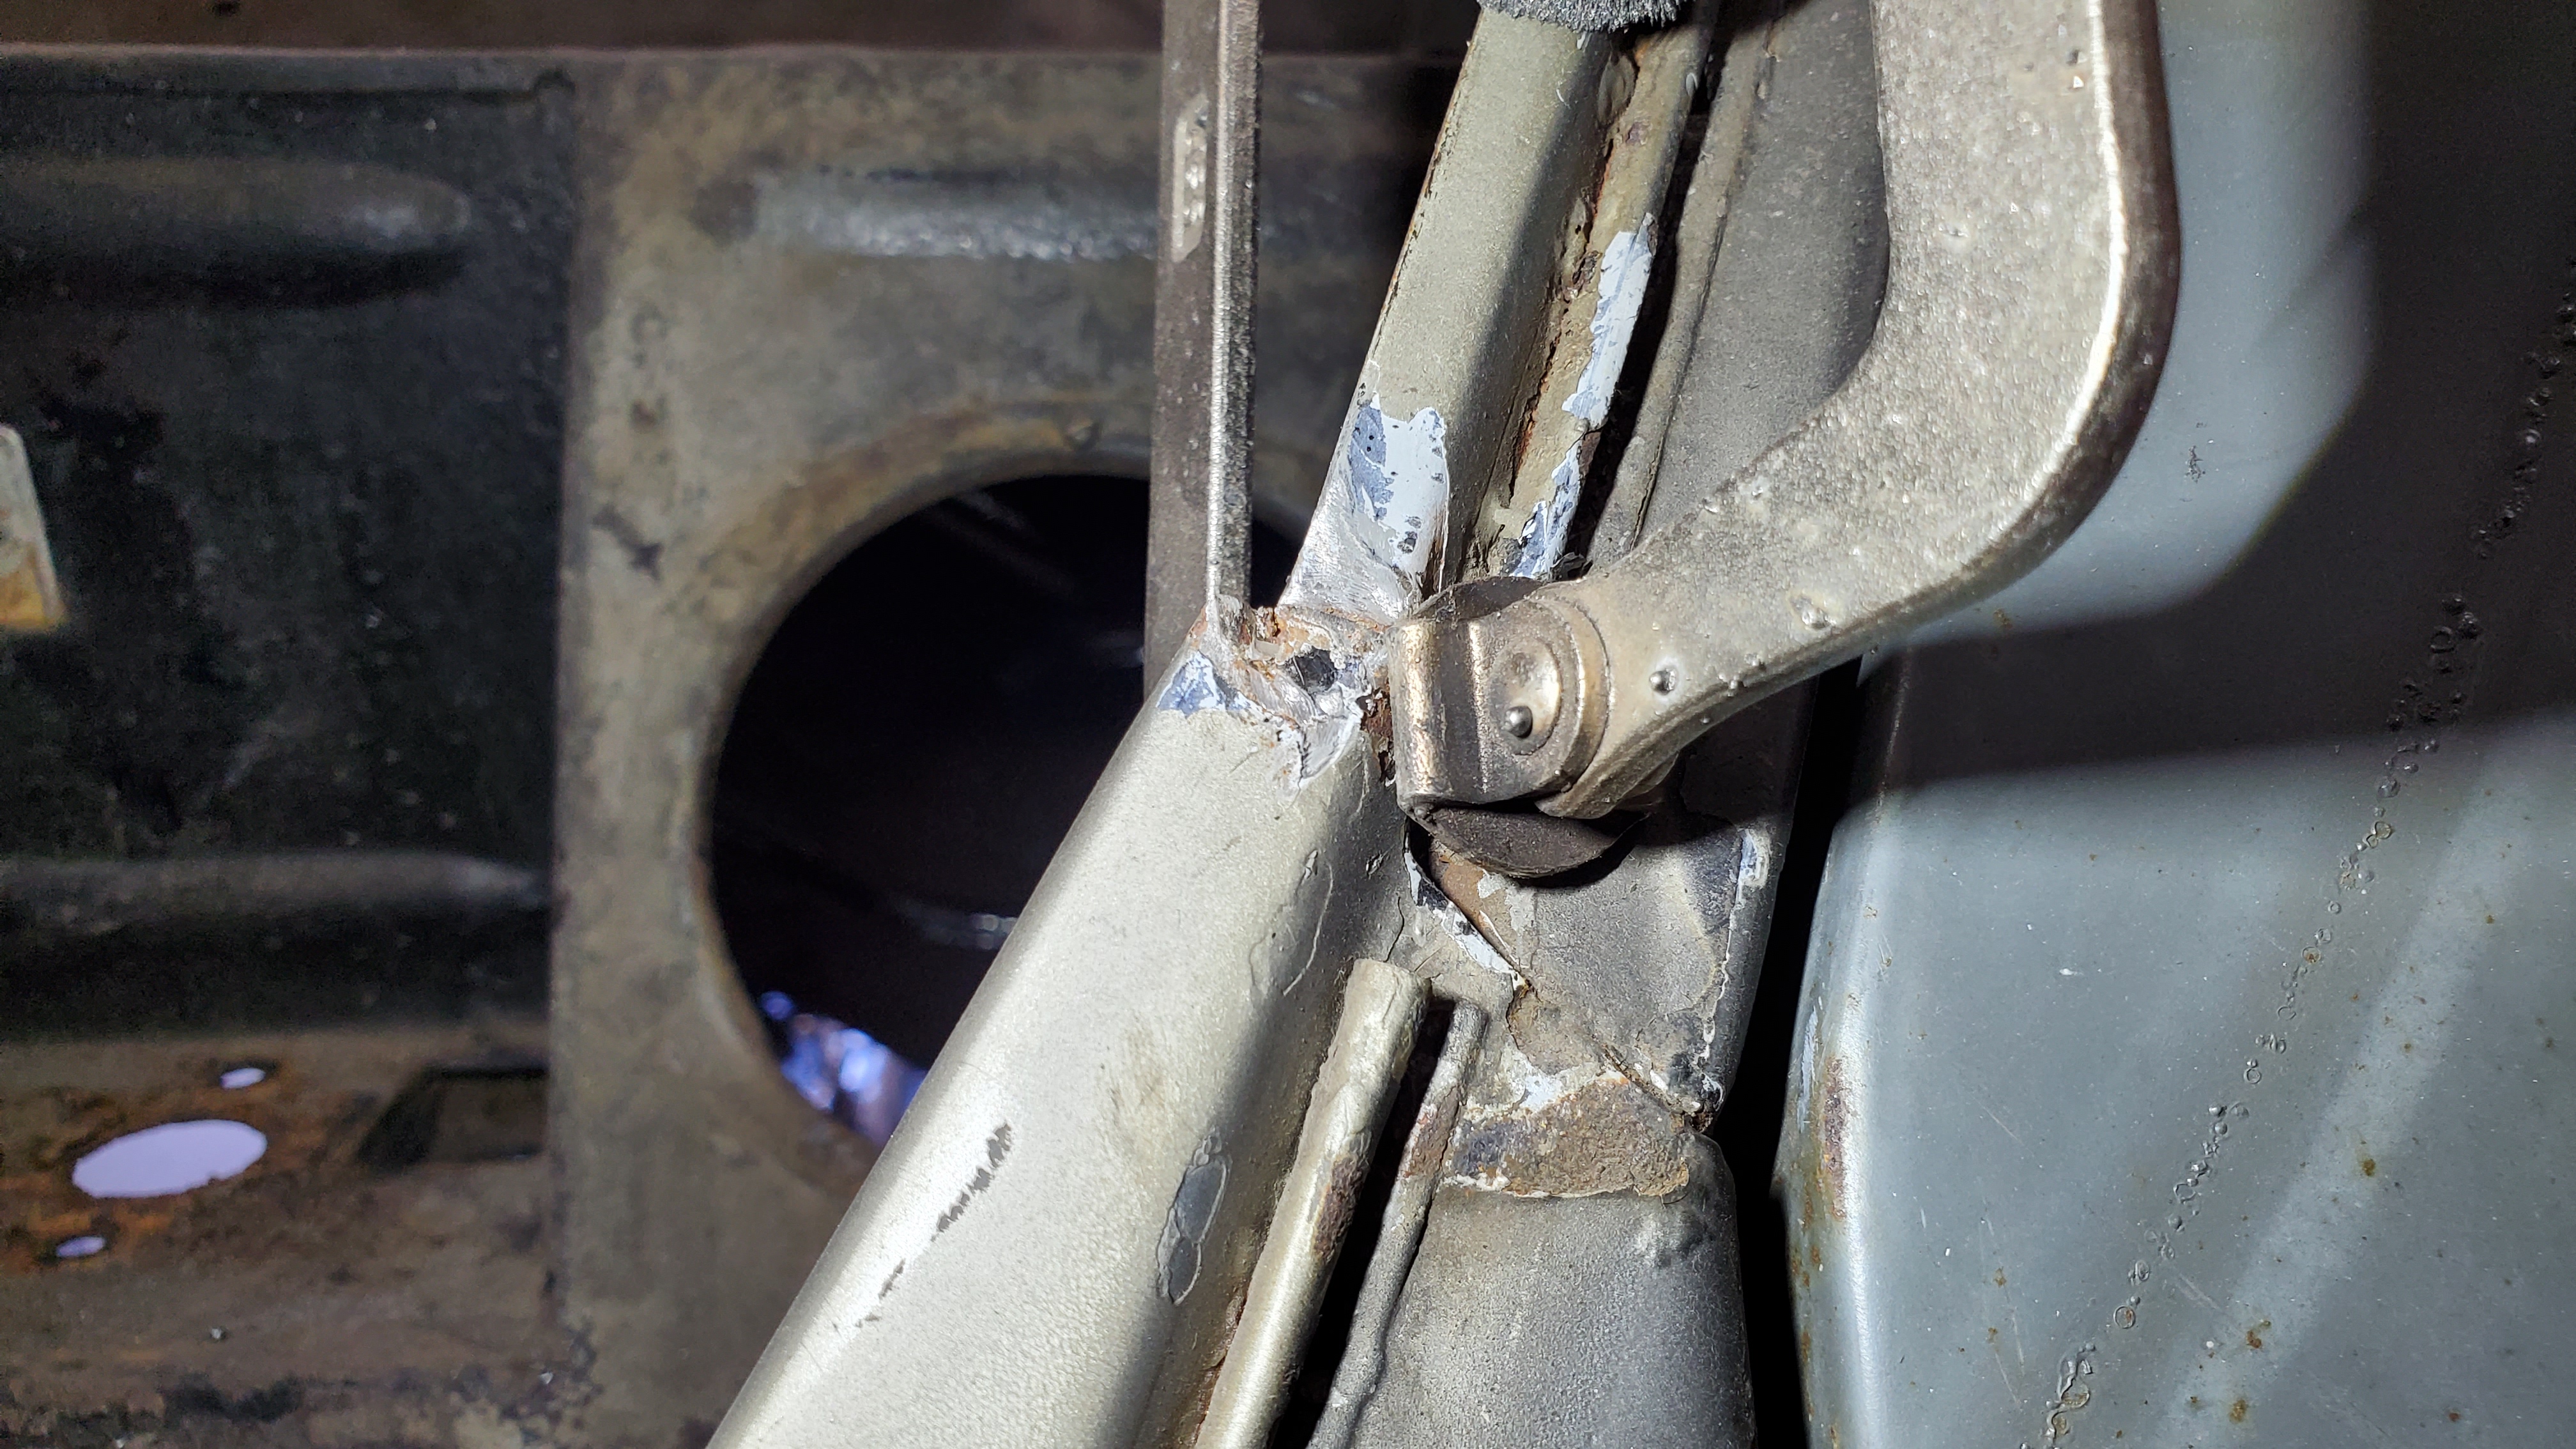
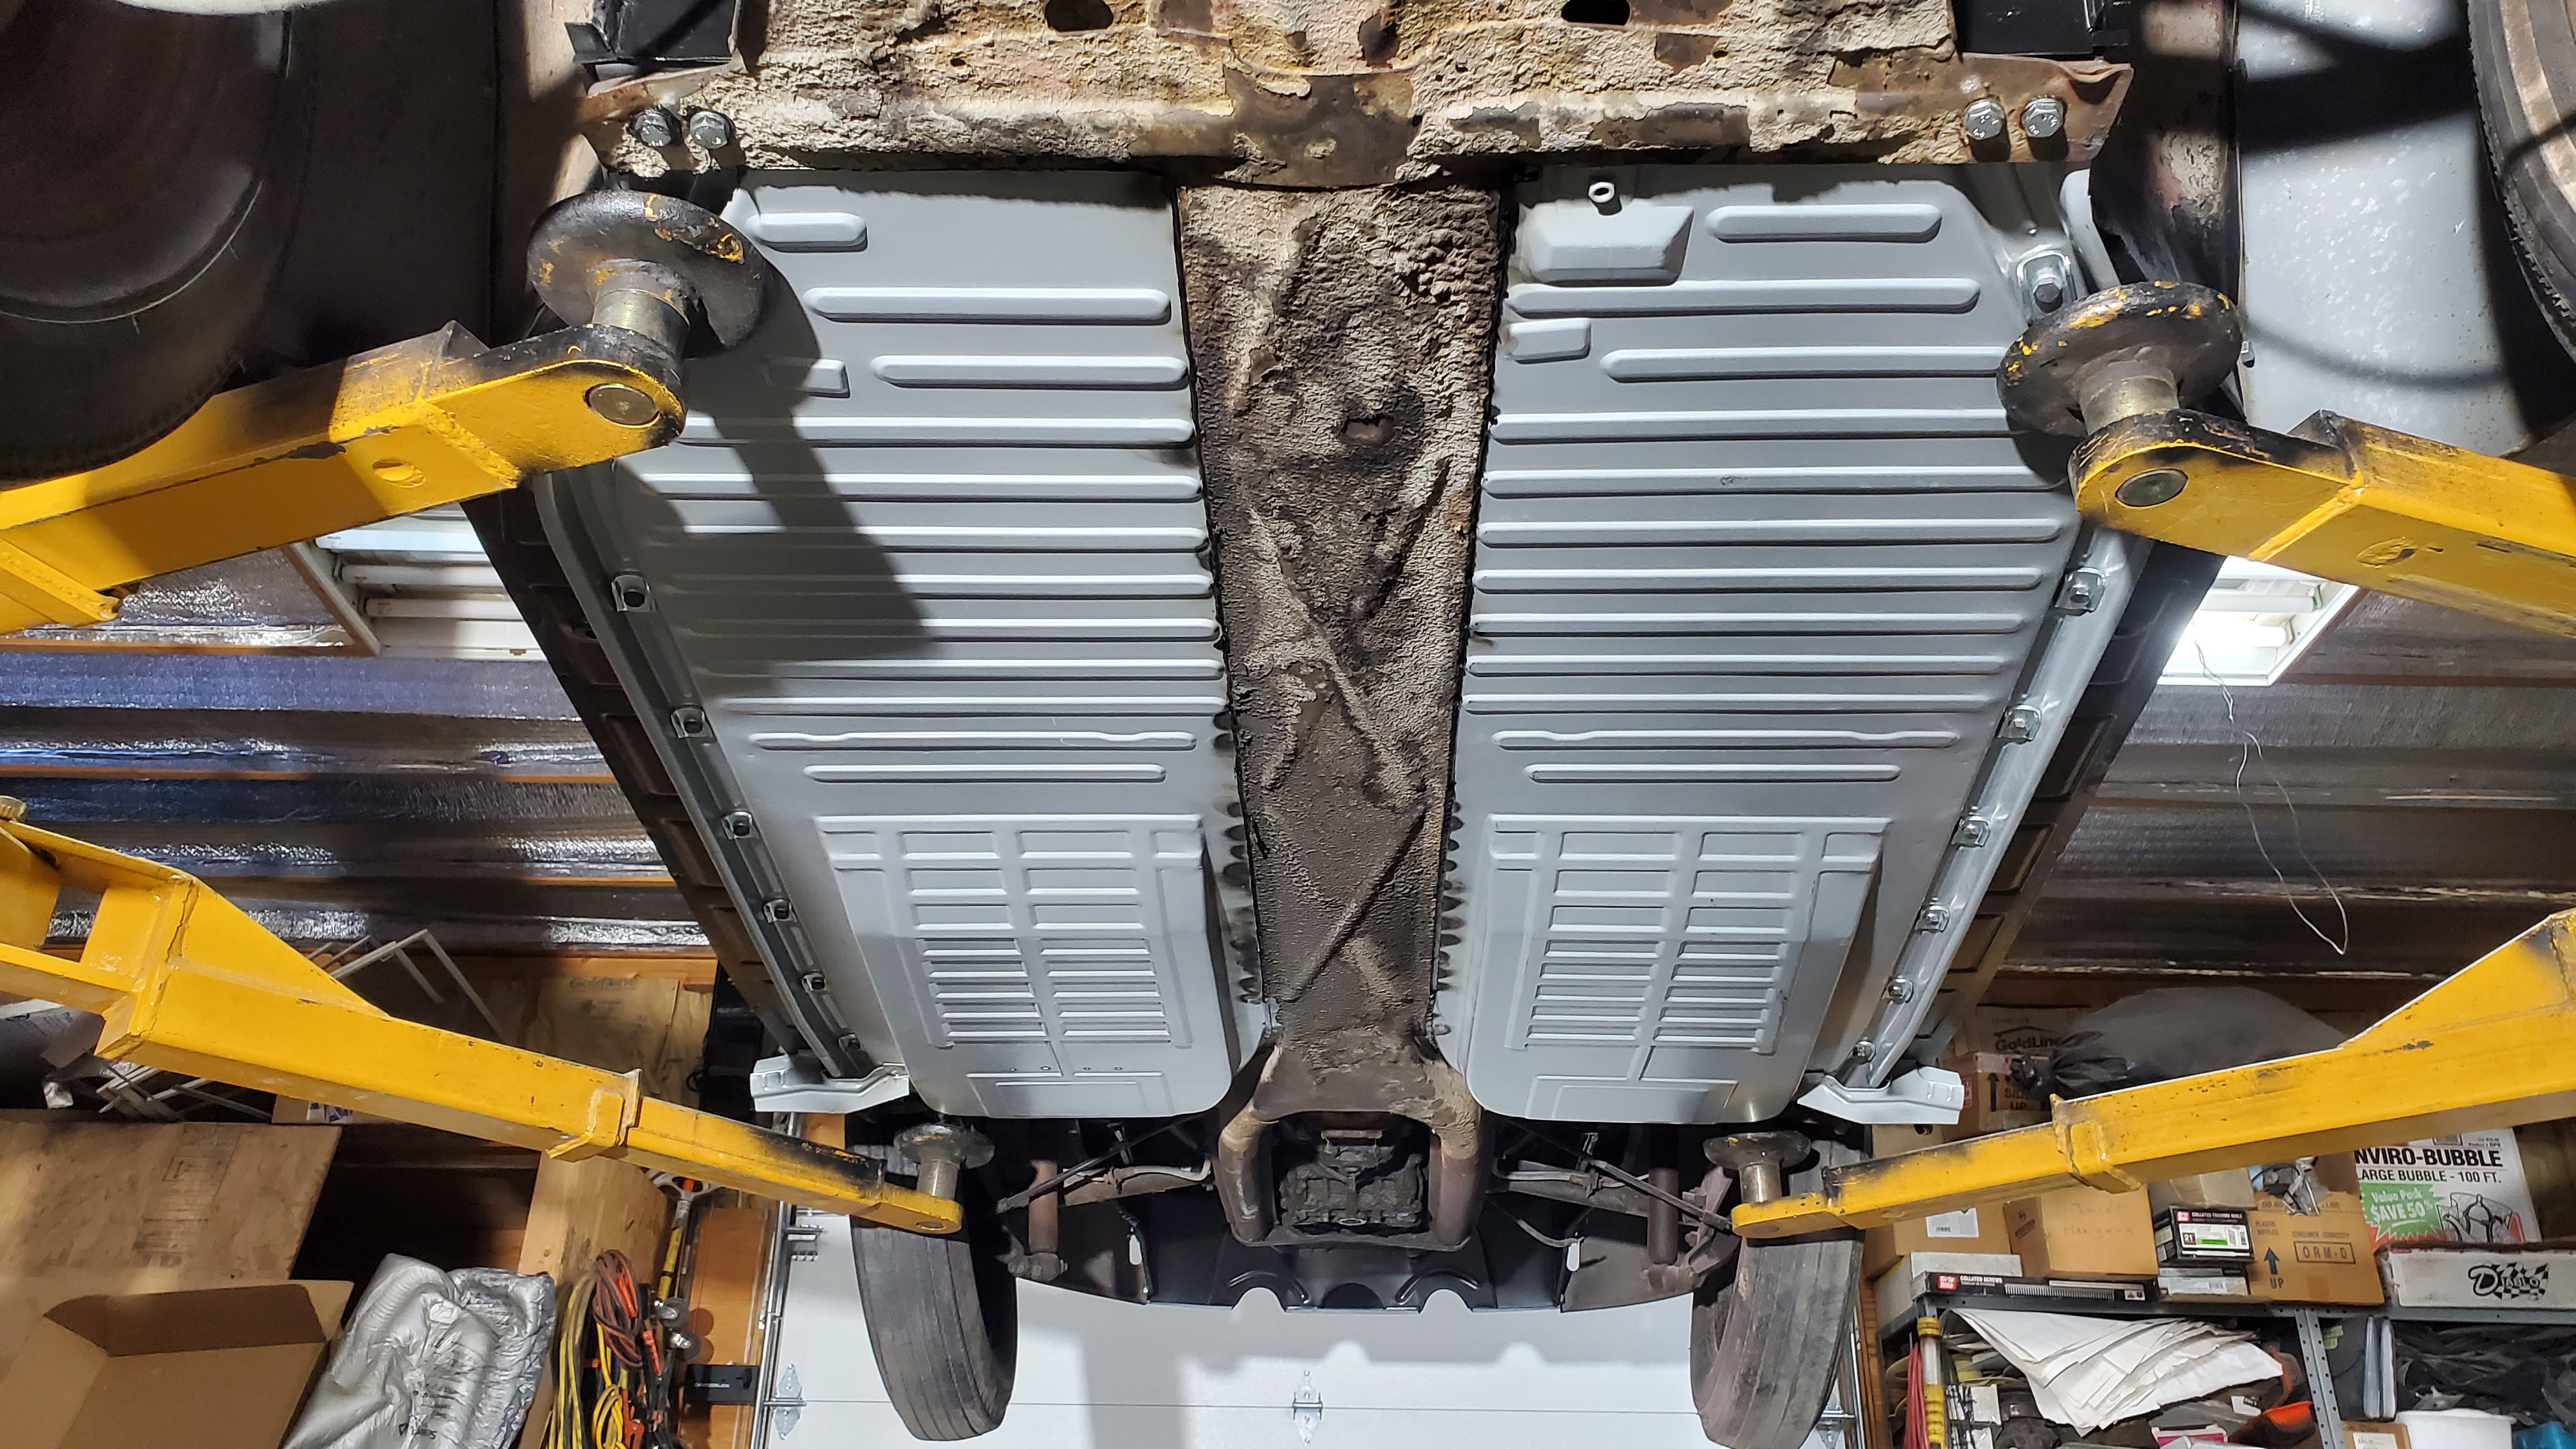
Any of the loose parts were sent into the blast cabinet to be cleaned up. The jack mounts weren’t installed on the pans,came loose with them, and were welded before the pan halves were set.
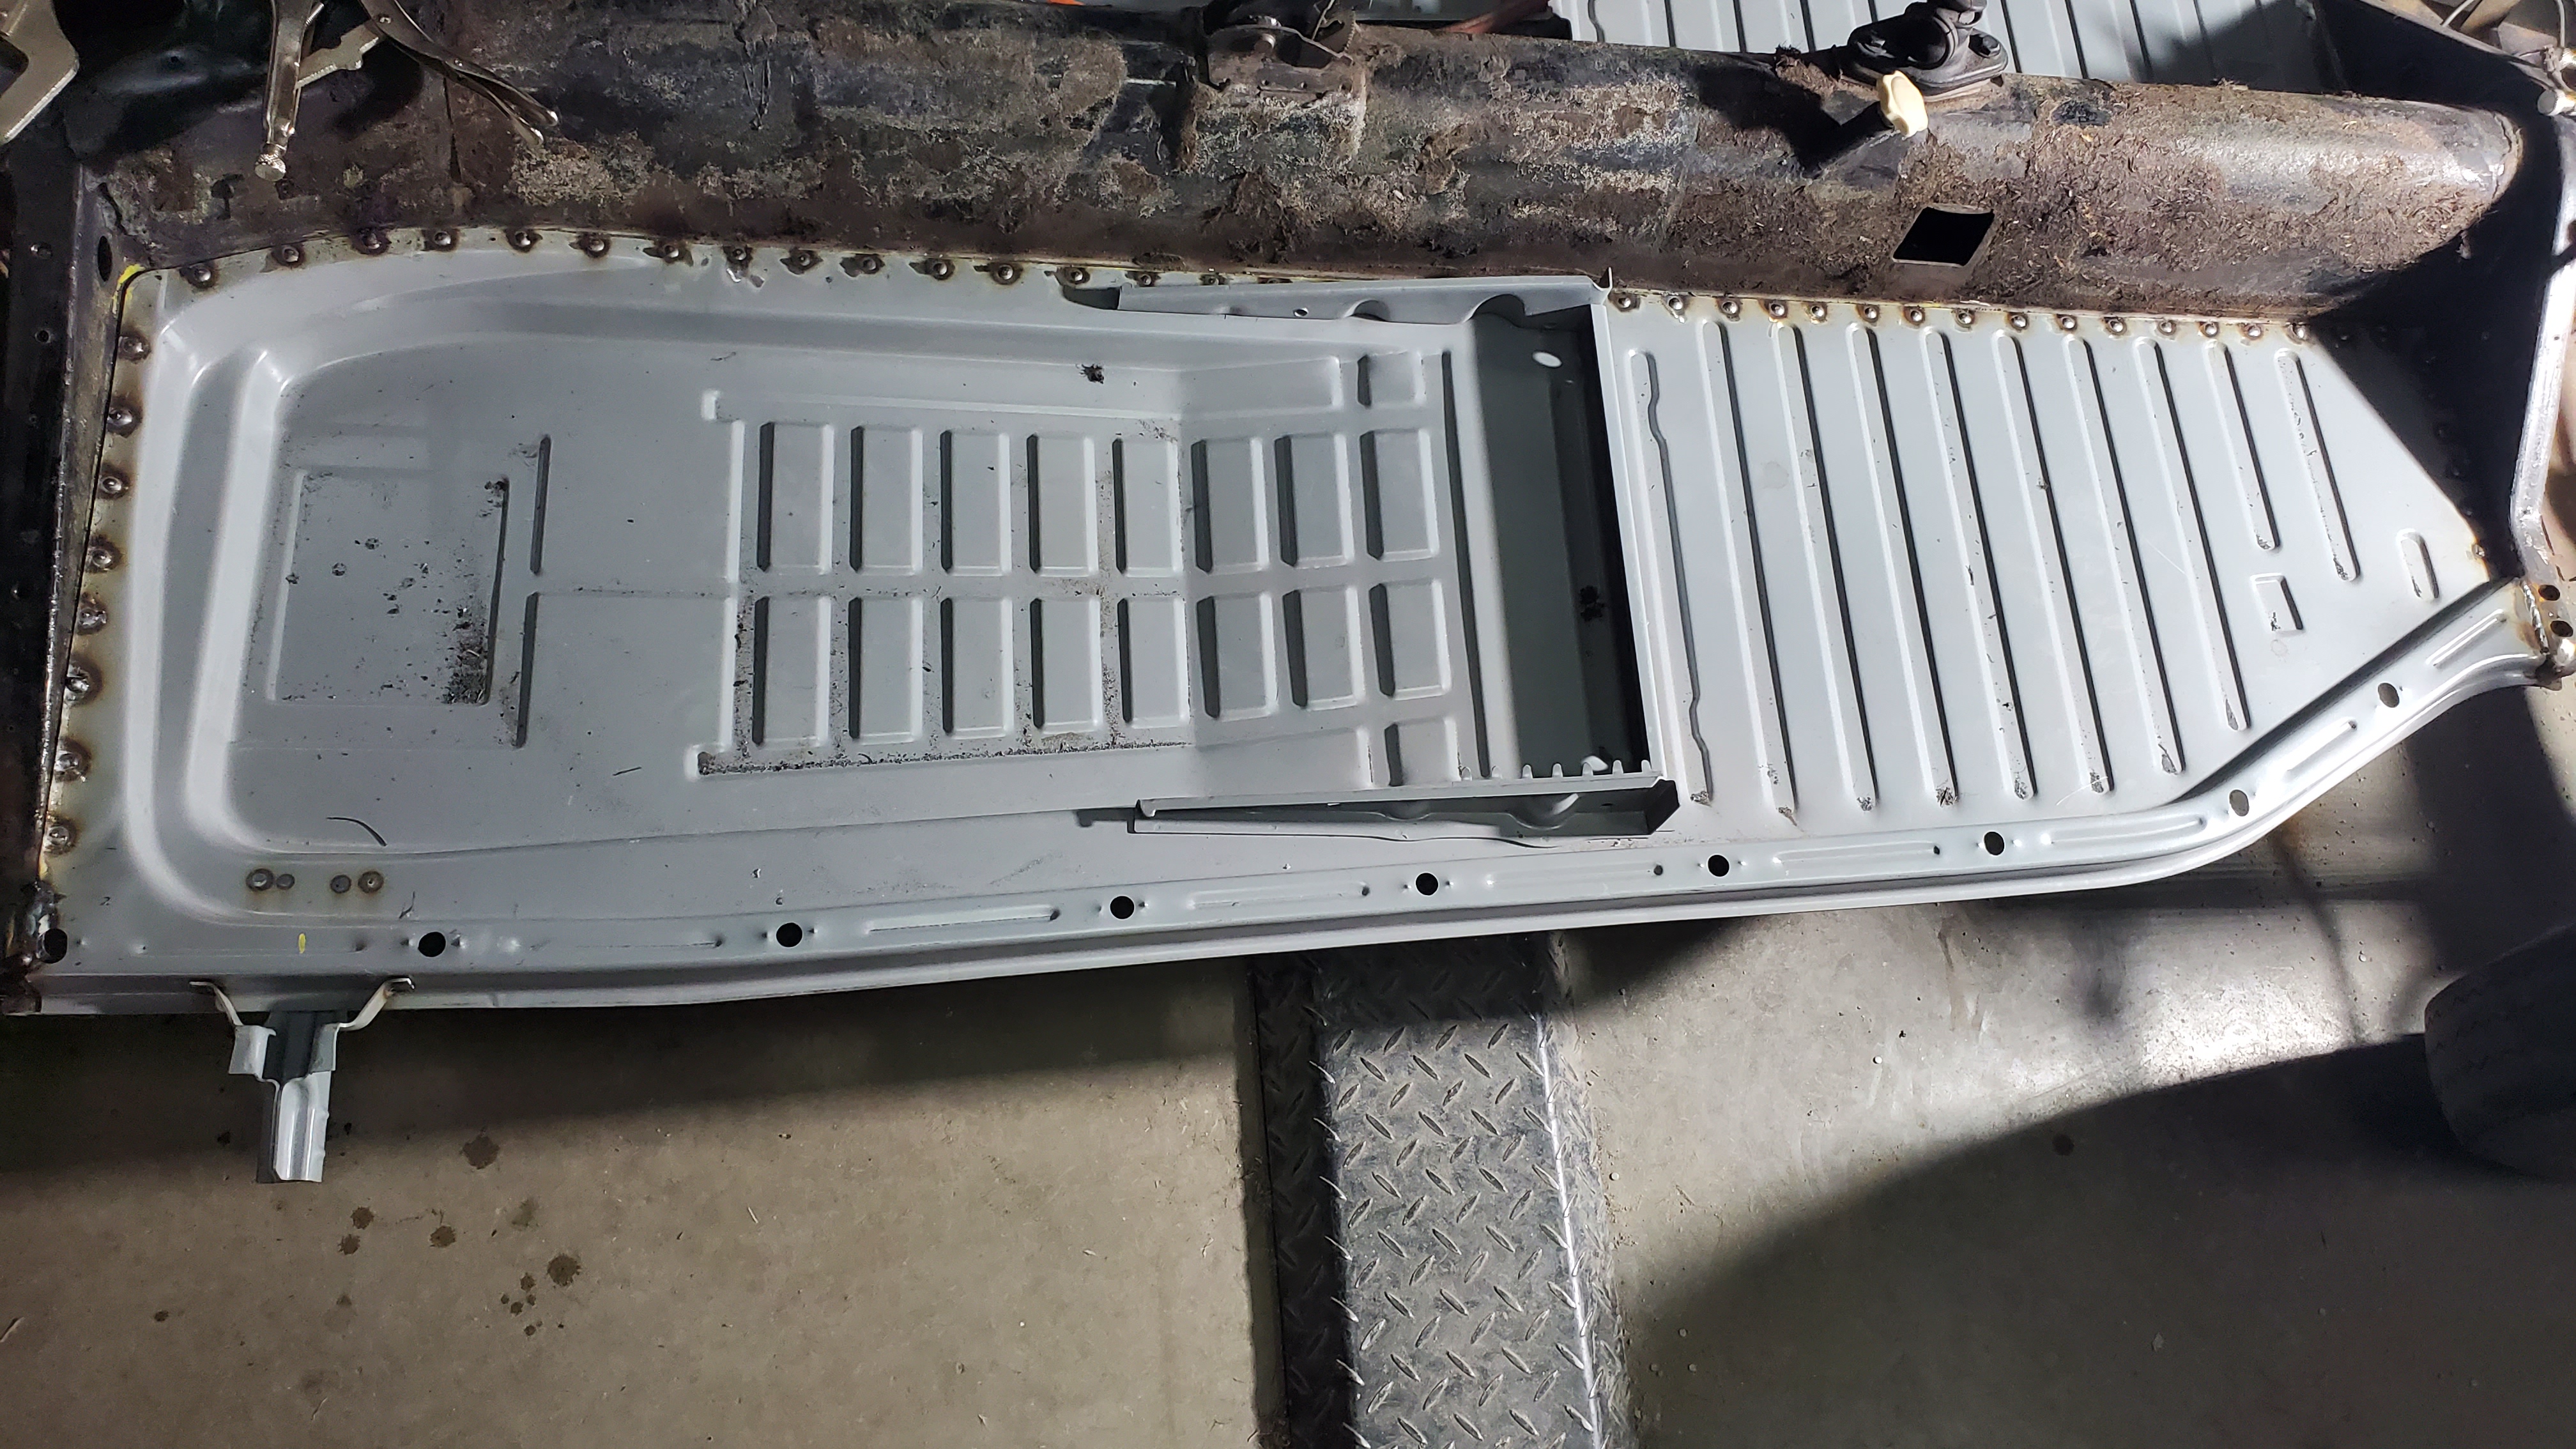
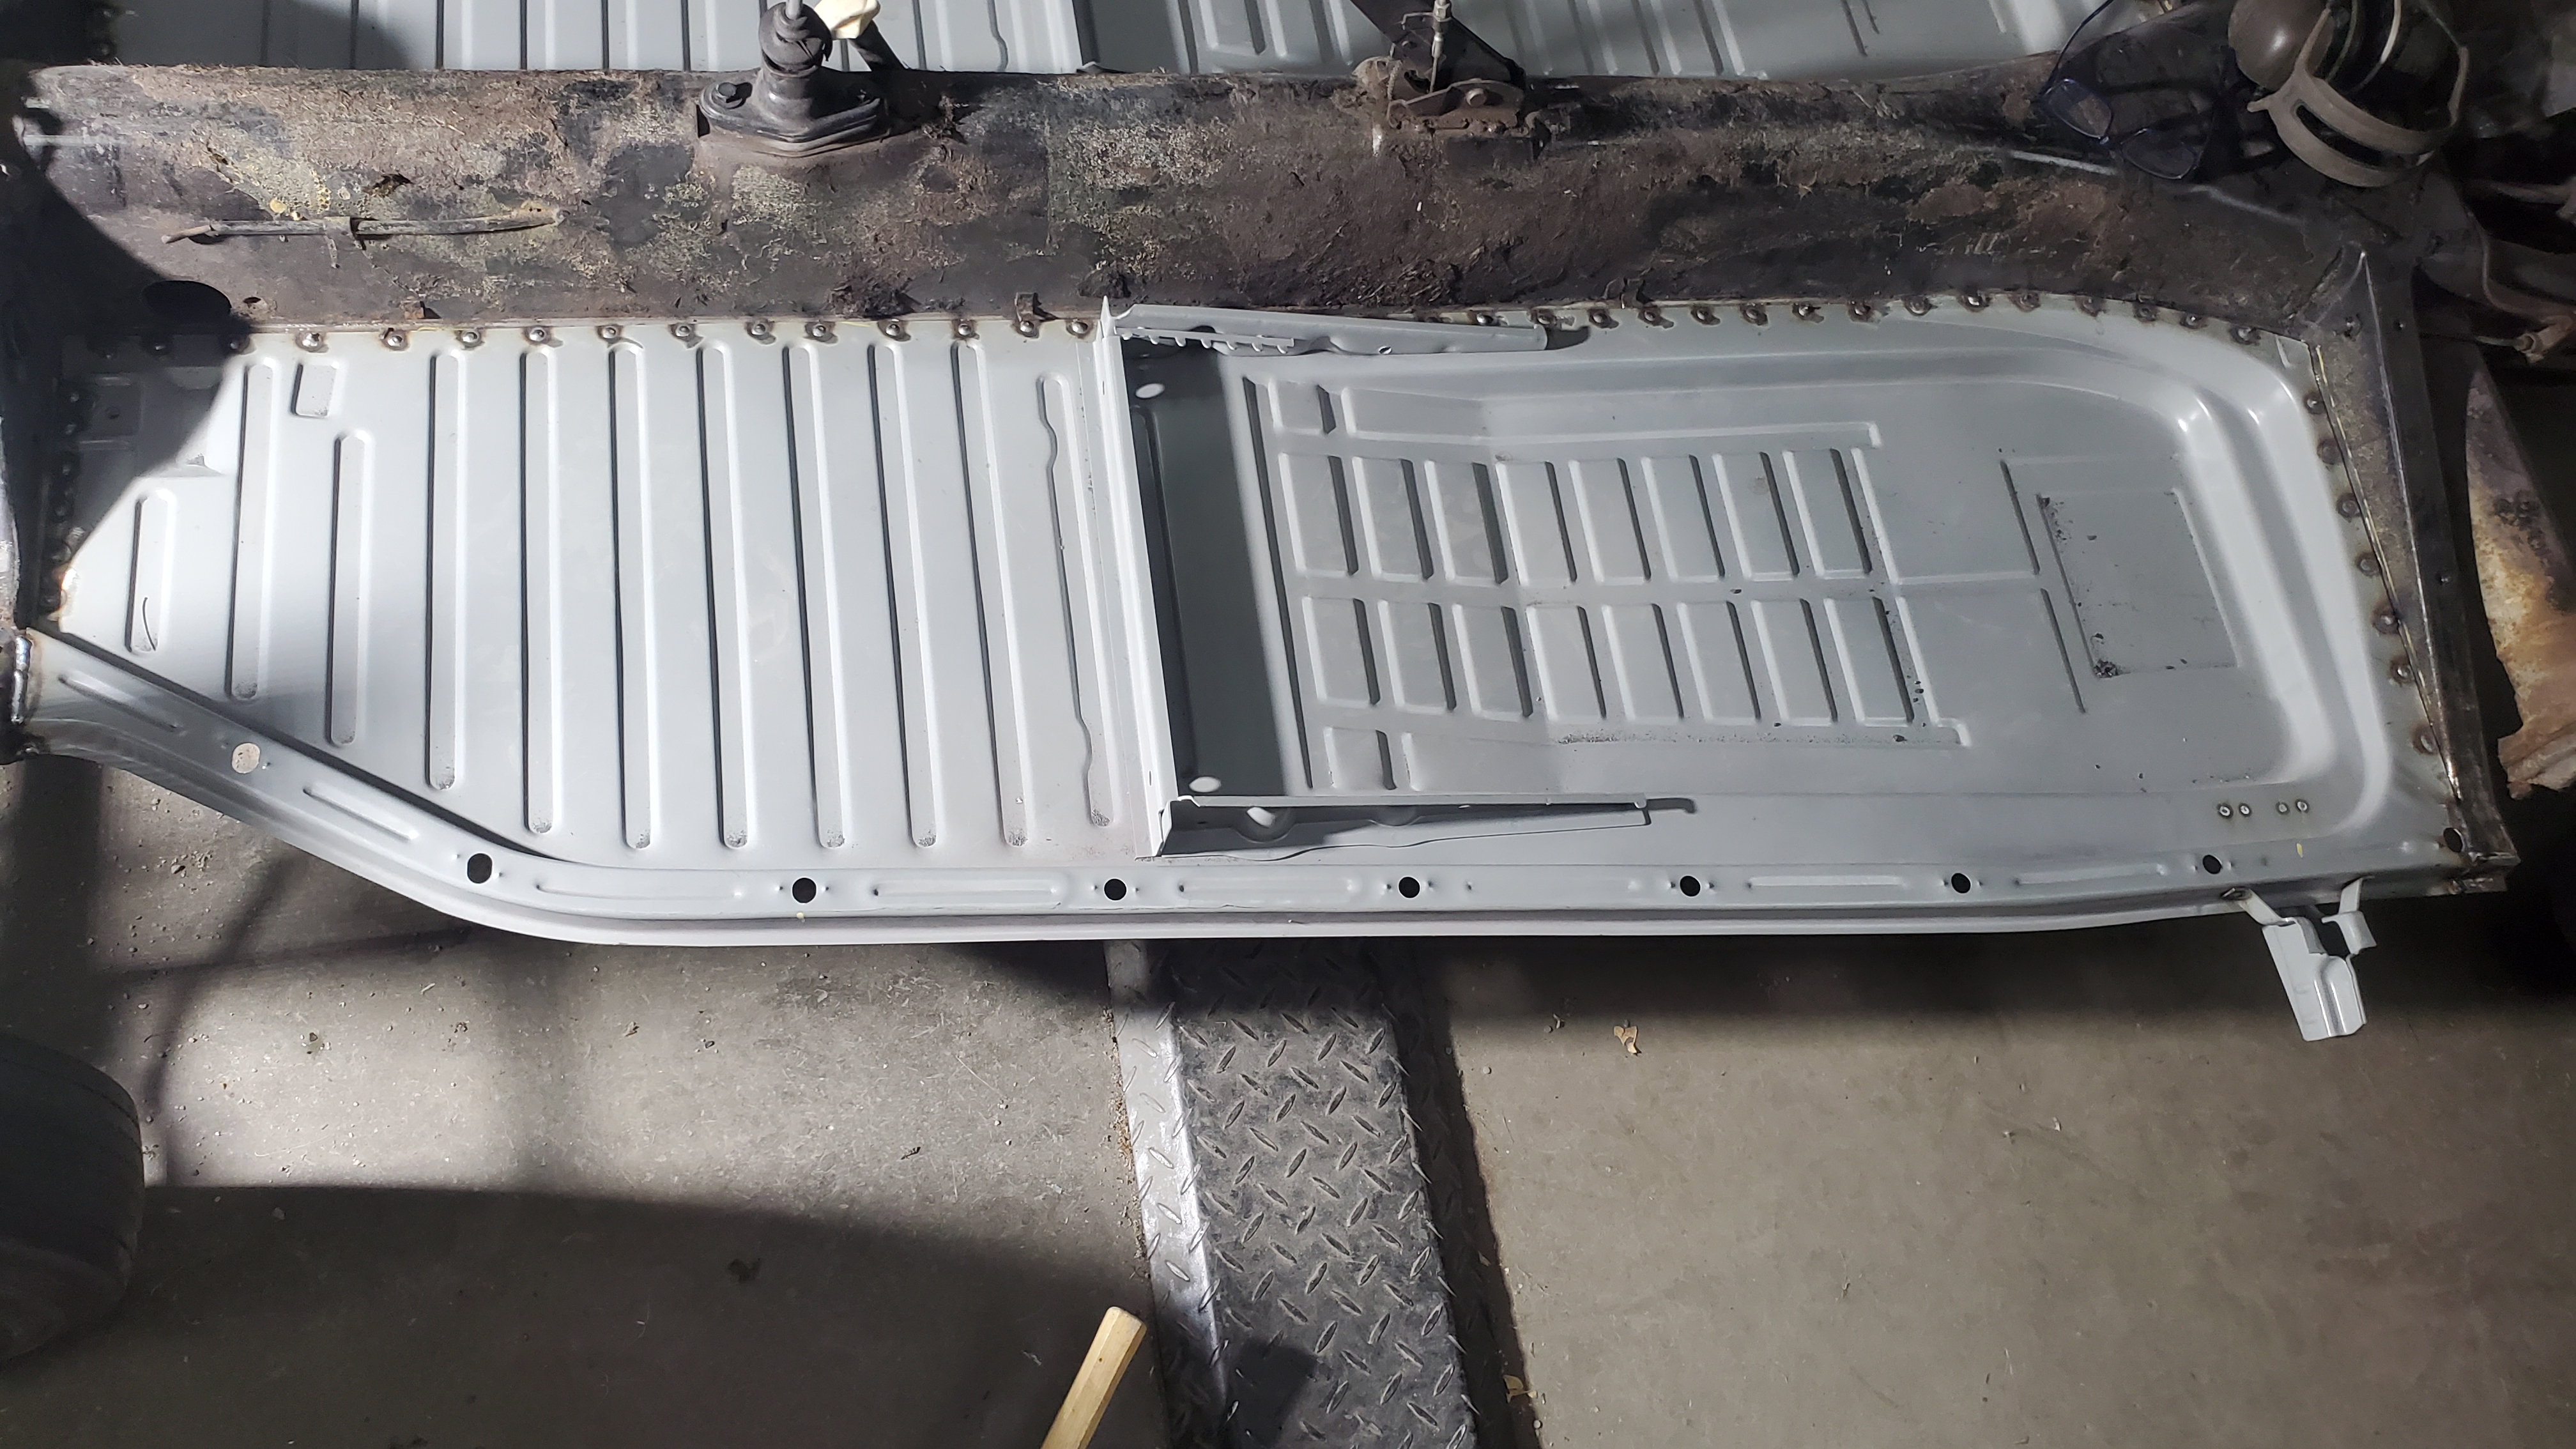

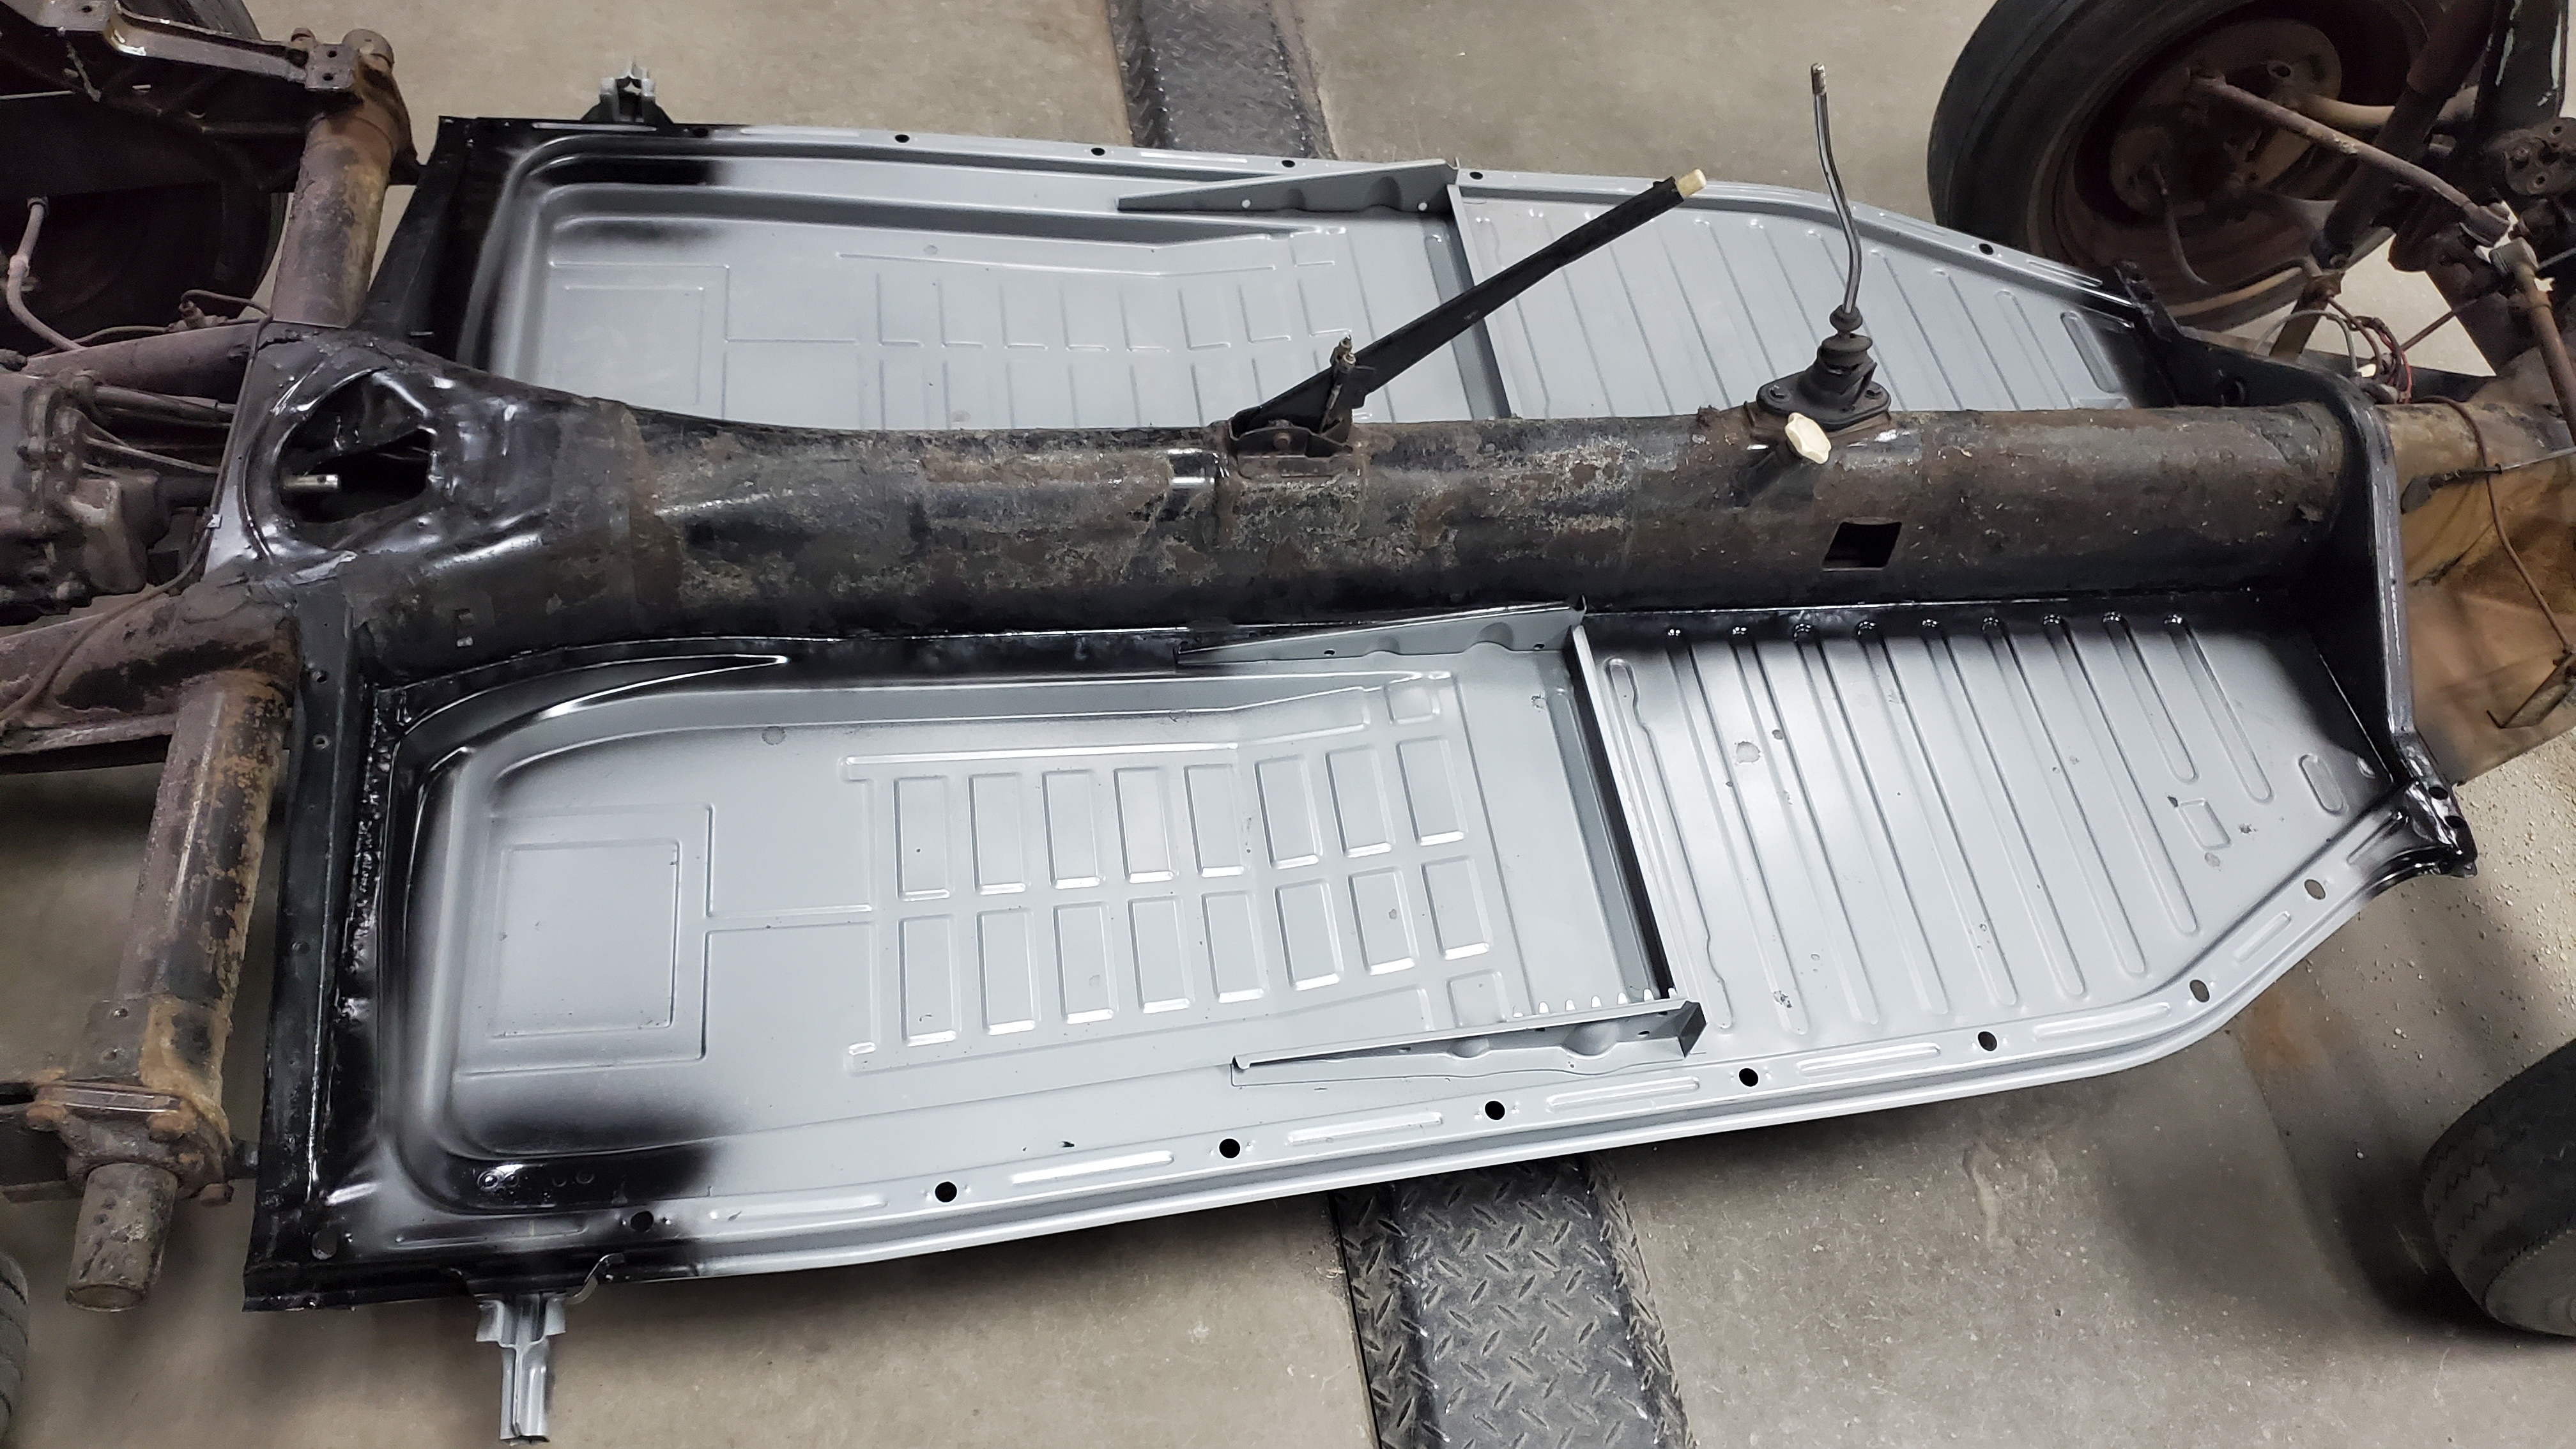
The pan halves were welded in, seam sealed, and painted.


The original batter hold down was removed, and welded to the pan. The rear stud was fabricated by welding a bolt to a body hold down, and welding that to the bottom behind the battery to look as factory as possible.


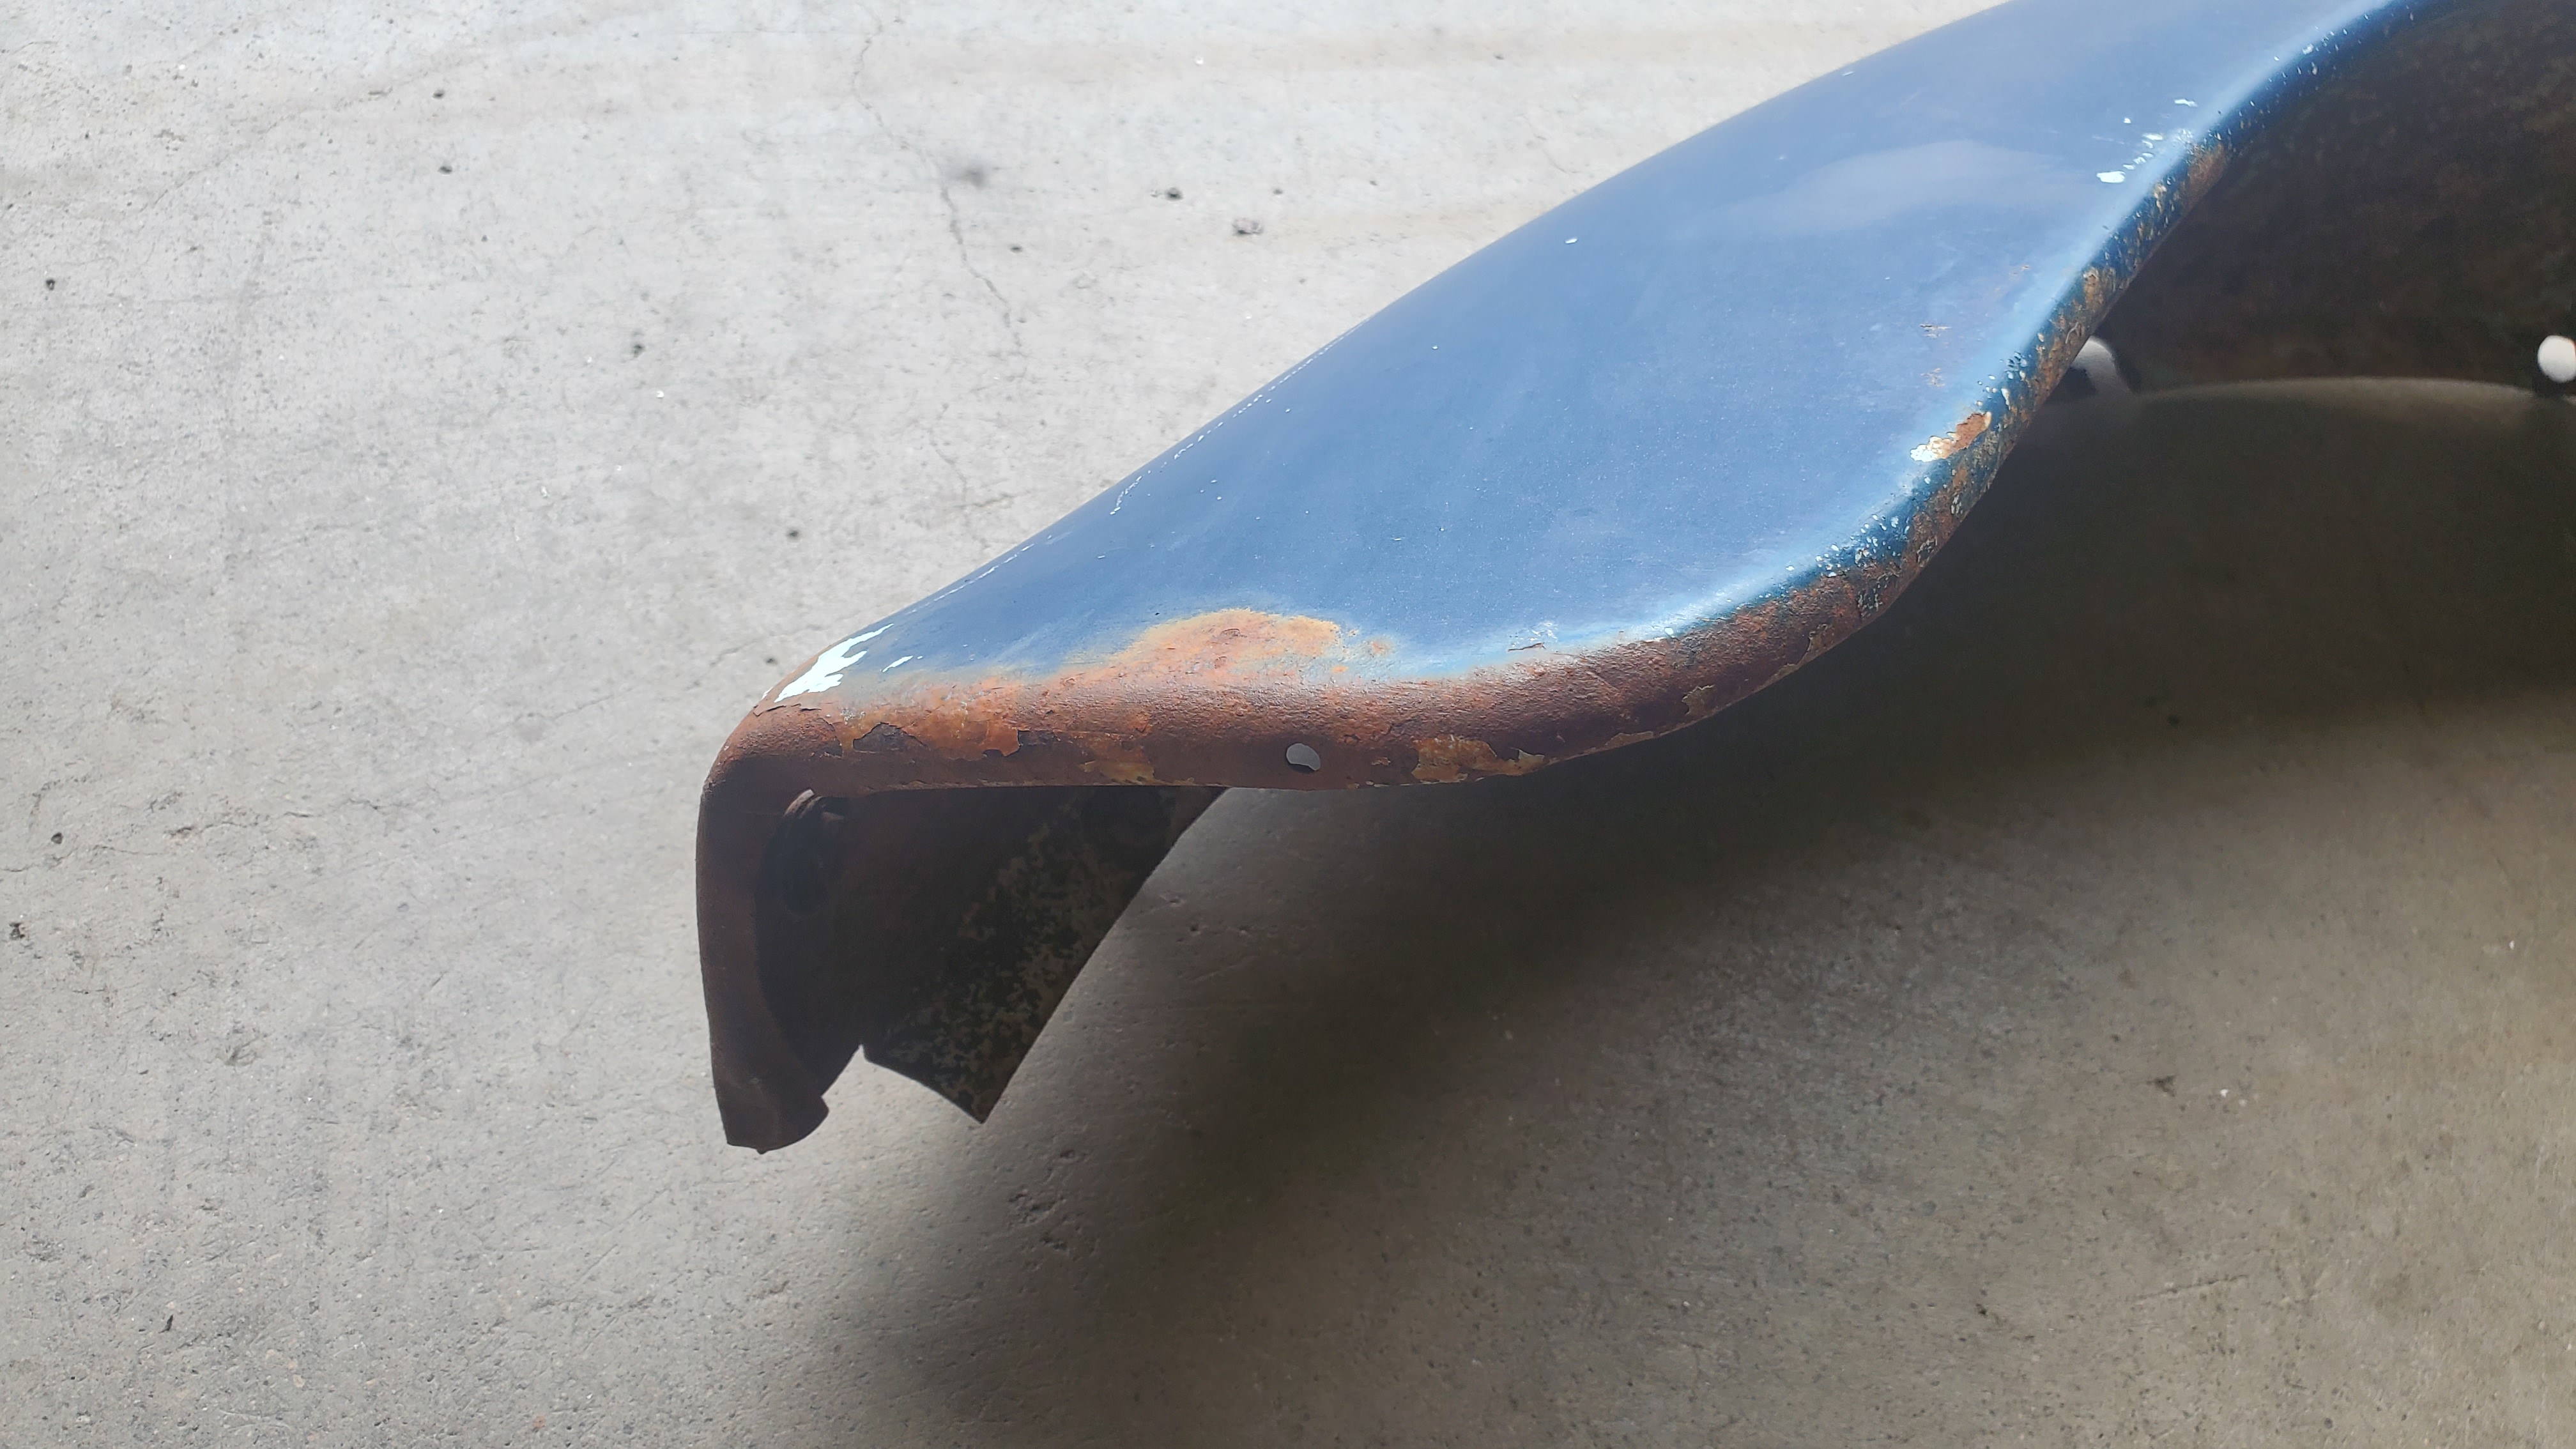

The lower edge of the front fender was pretty bad after being cleaned up and needed to have a replacement panel welded in. The panel was cut from another OEM fender, blasted, welded on the bottom of the fender, and the crack in the corner repaired.


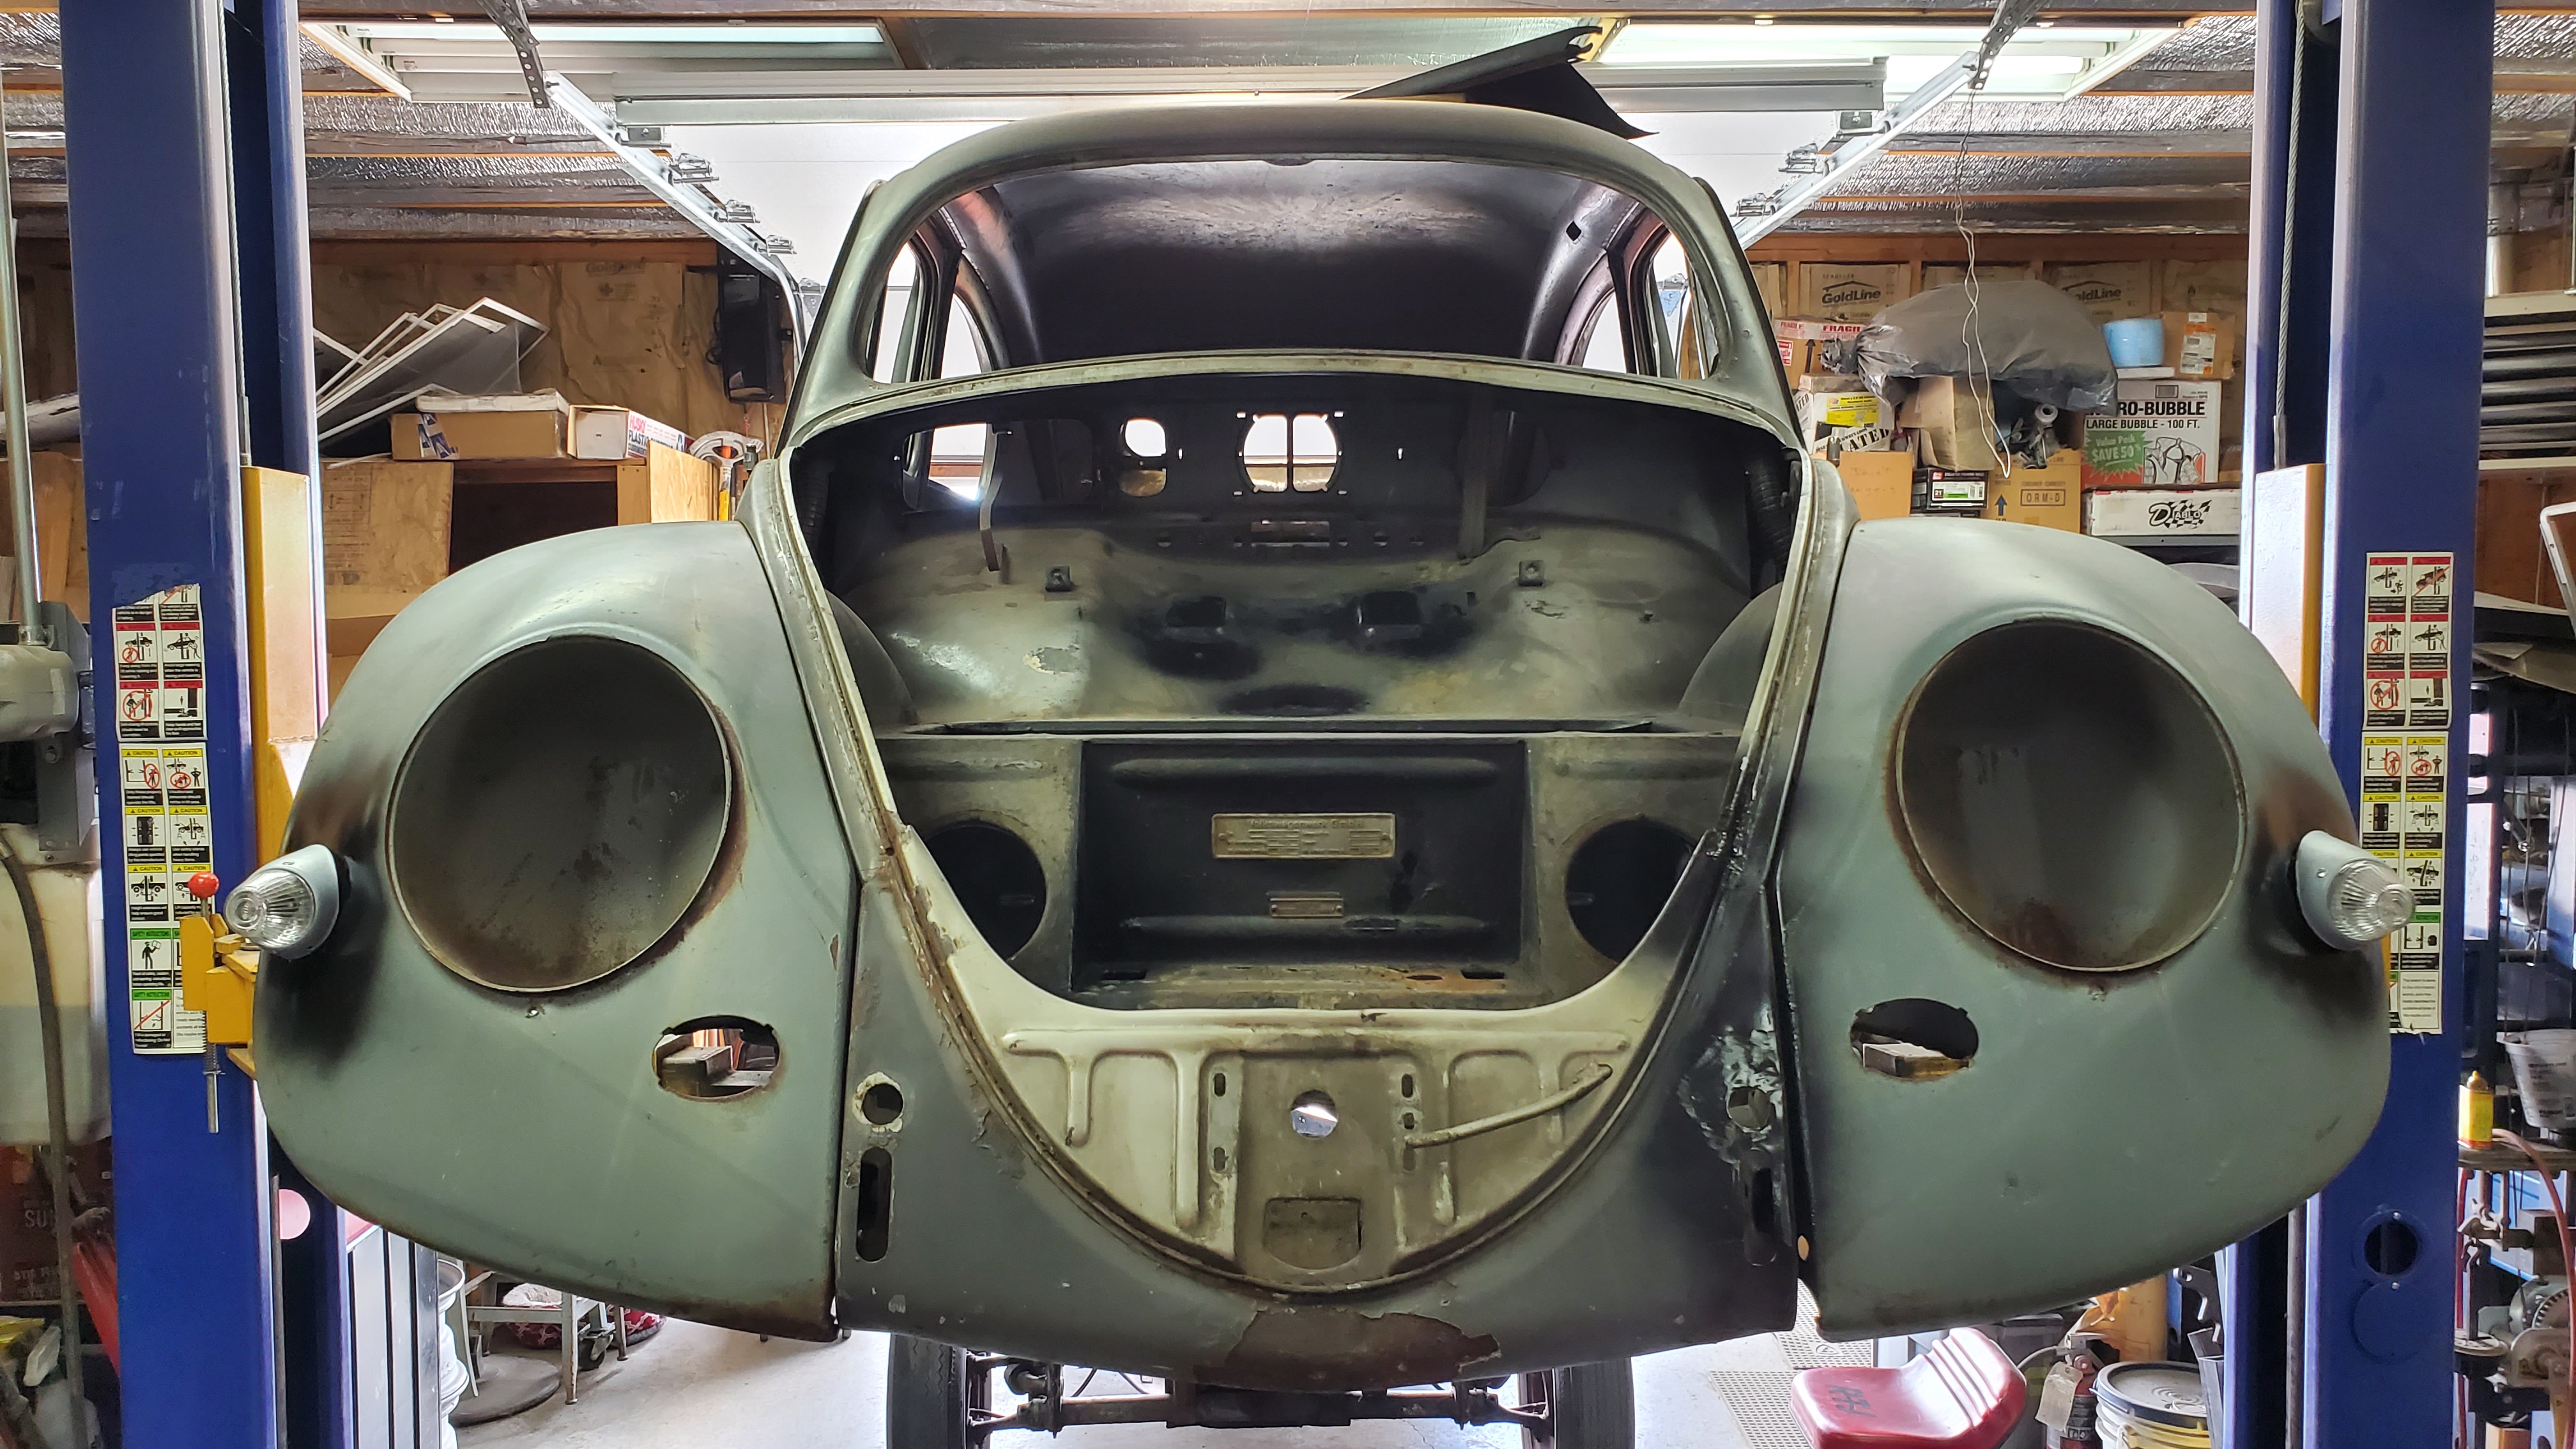
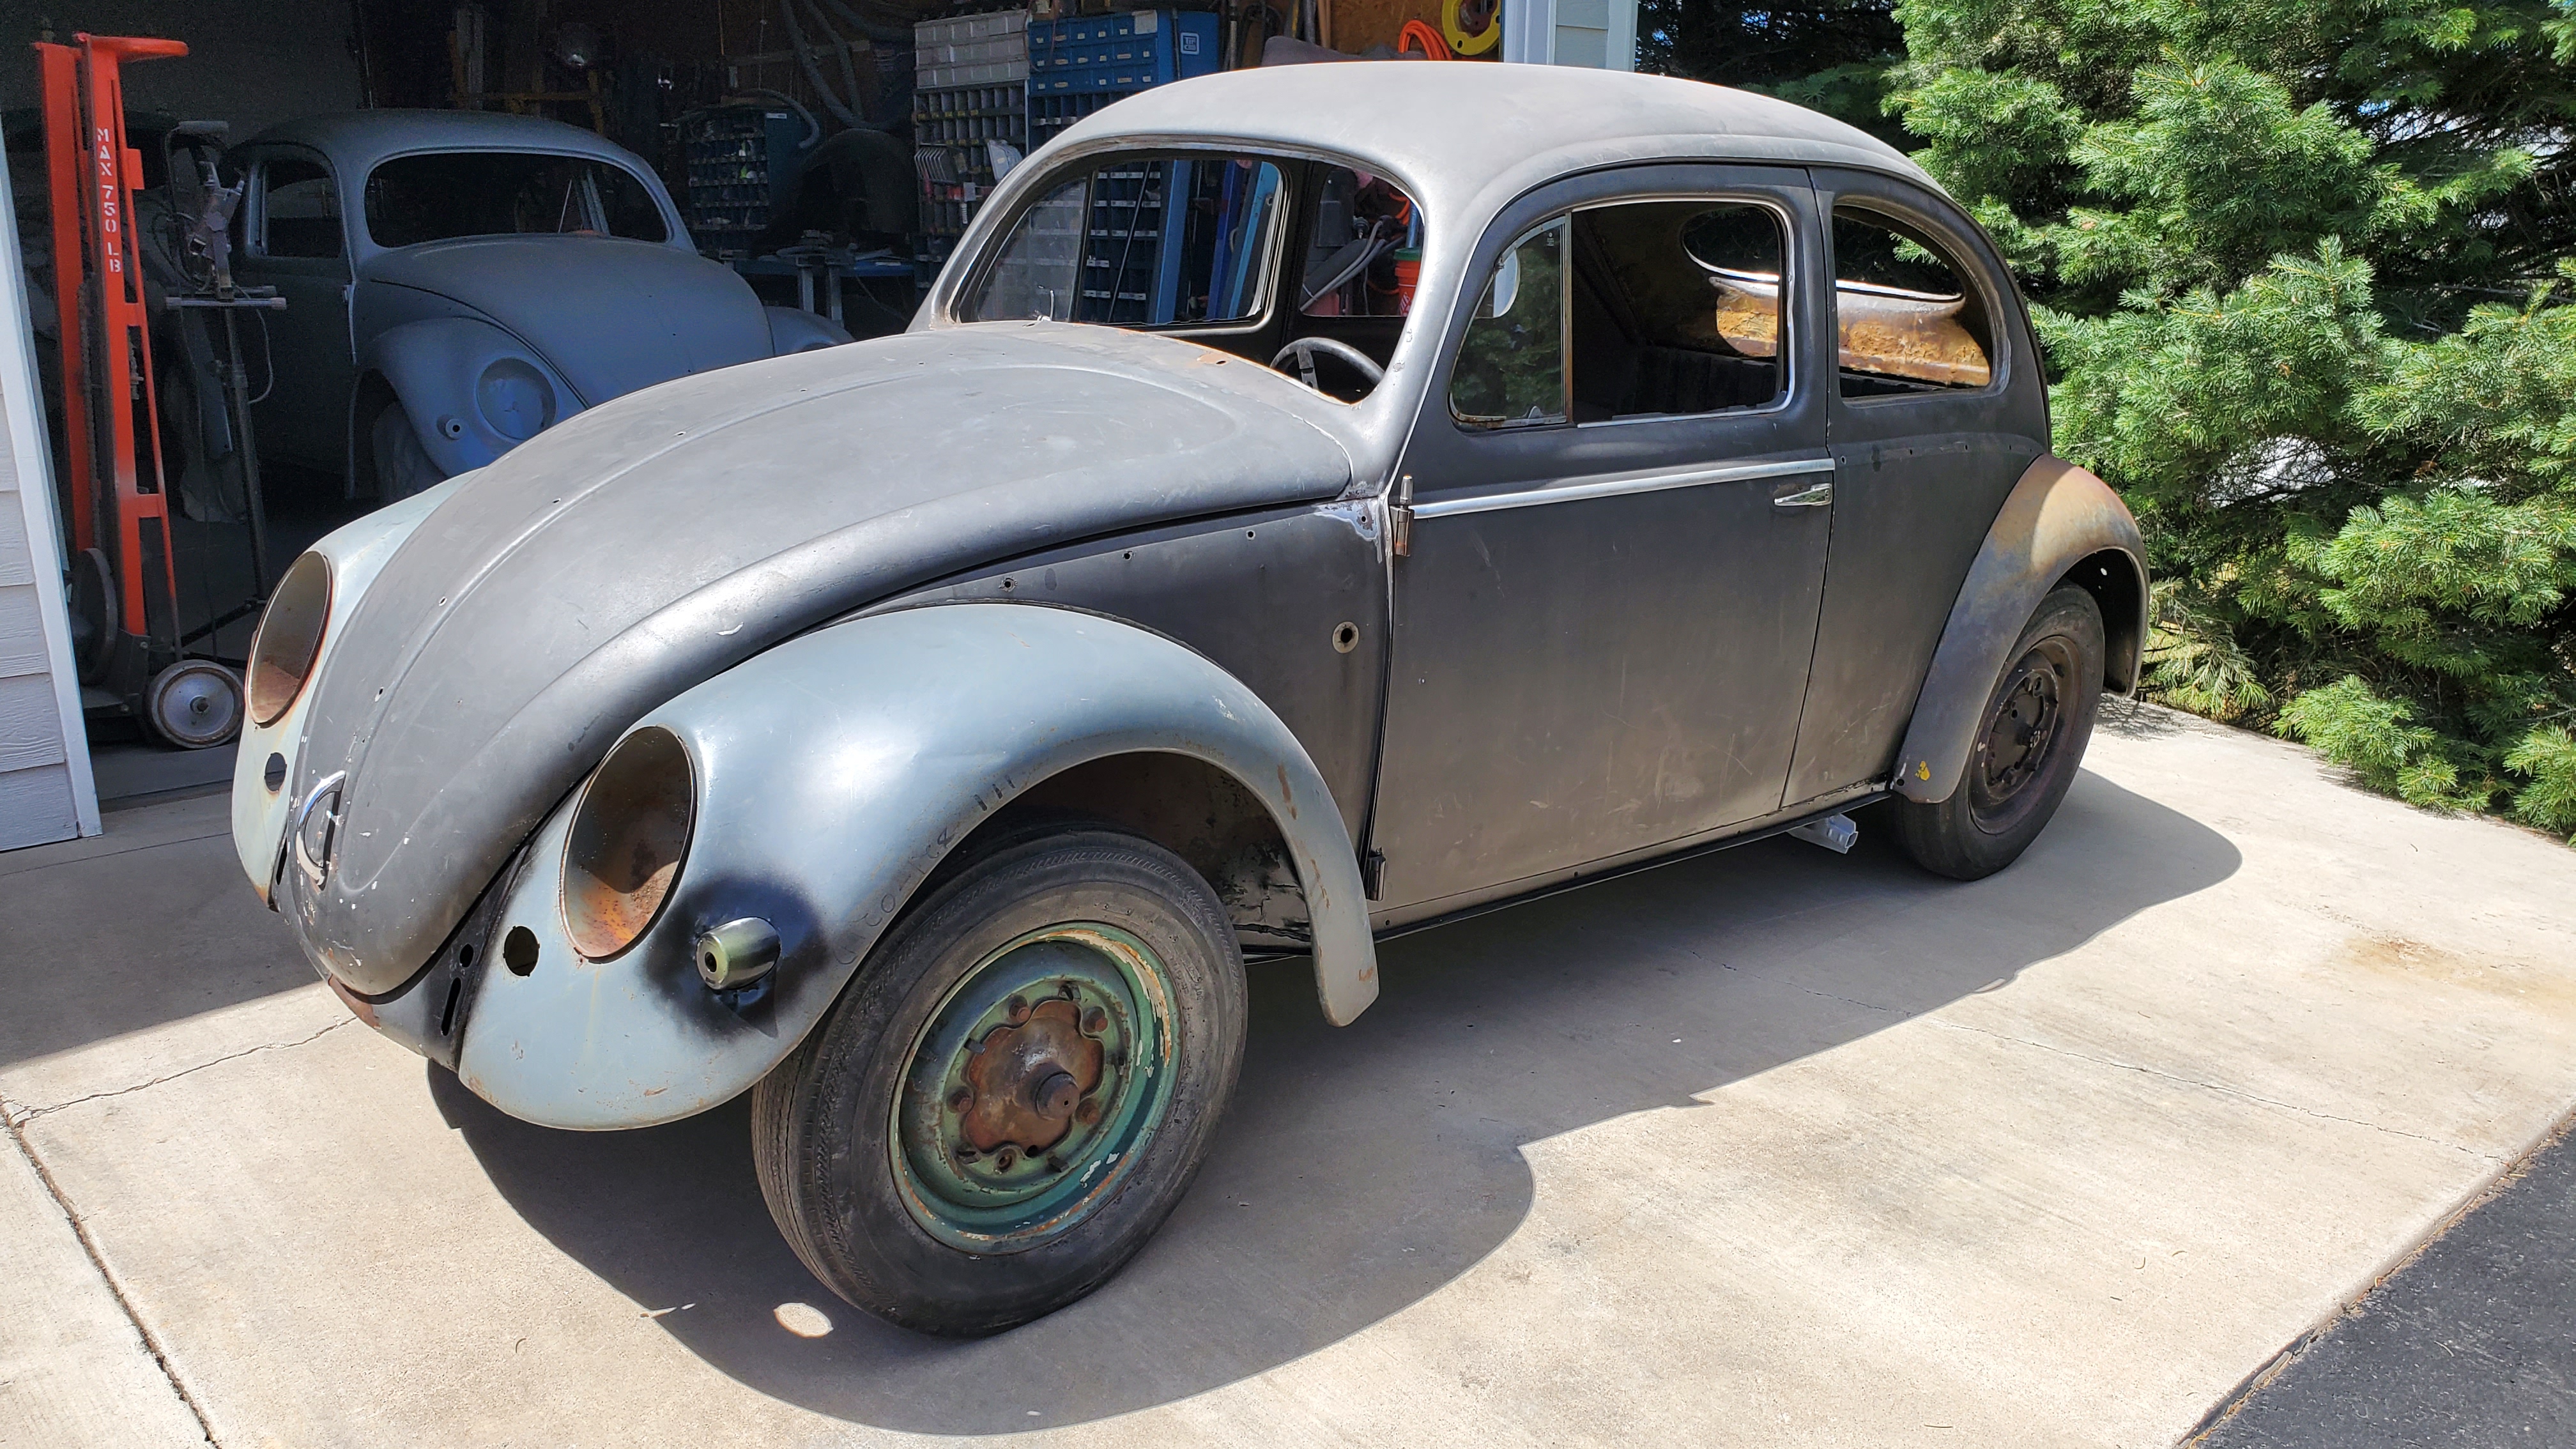
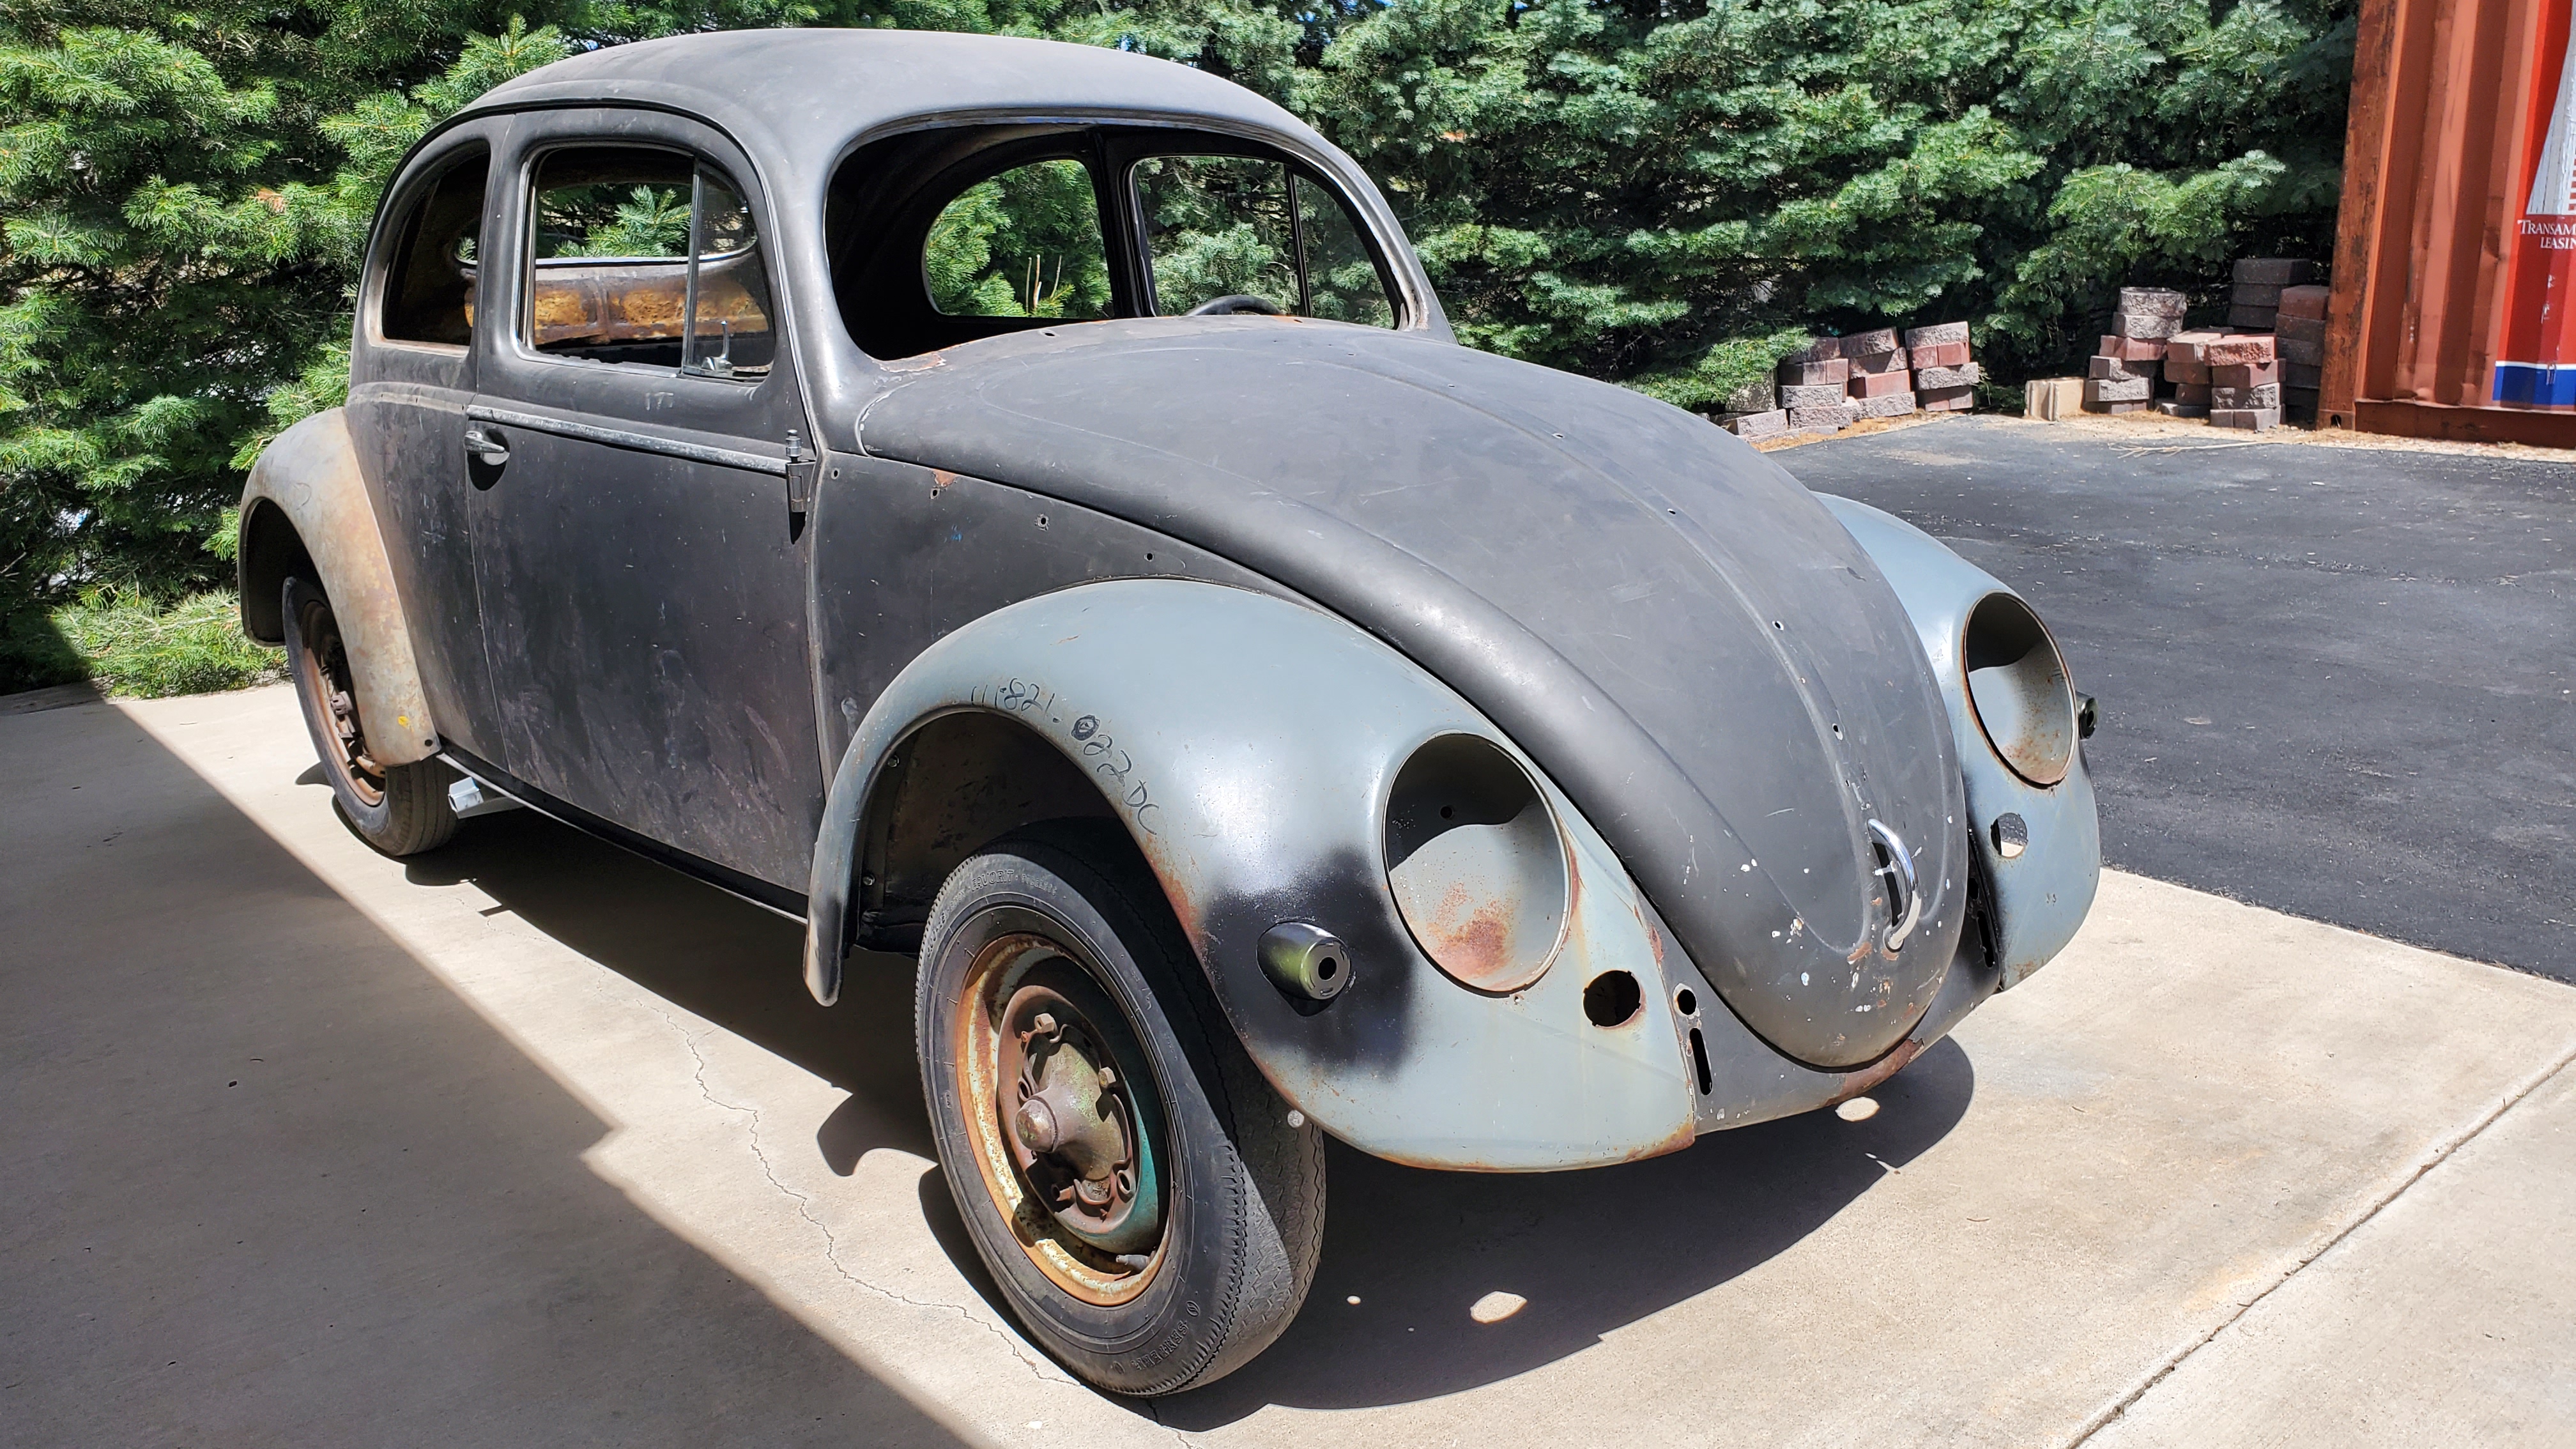
With the fender repaired it was time to get the body mated back with the chassis.

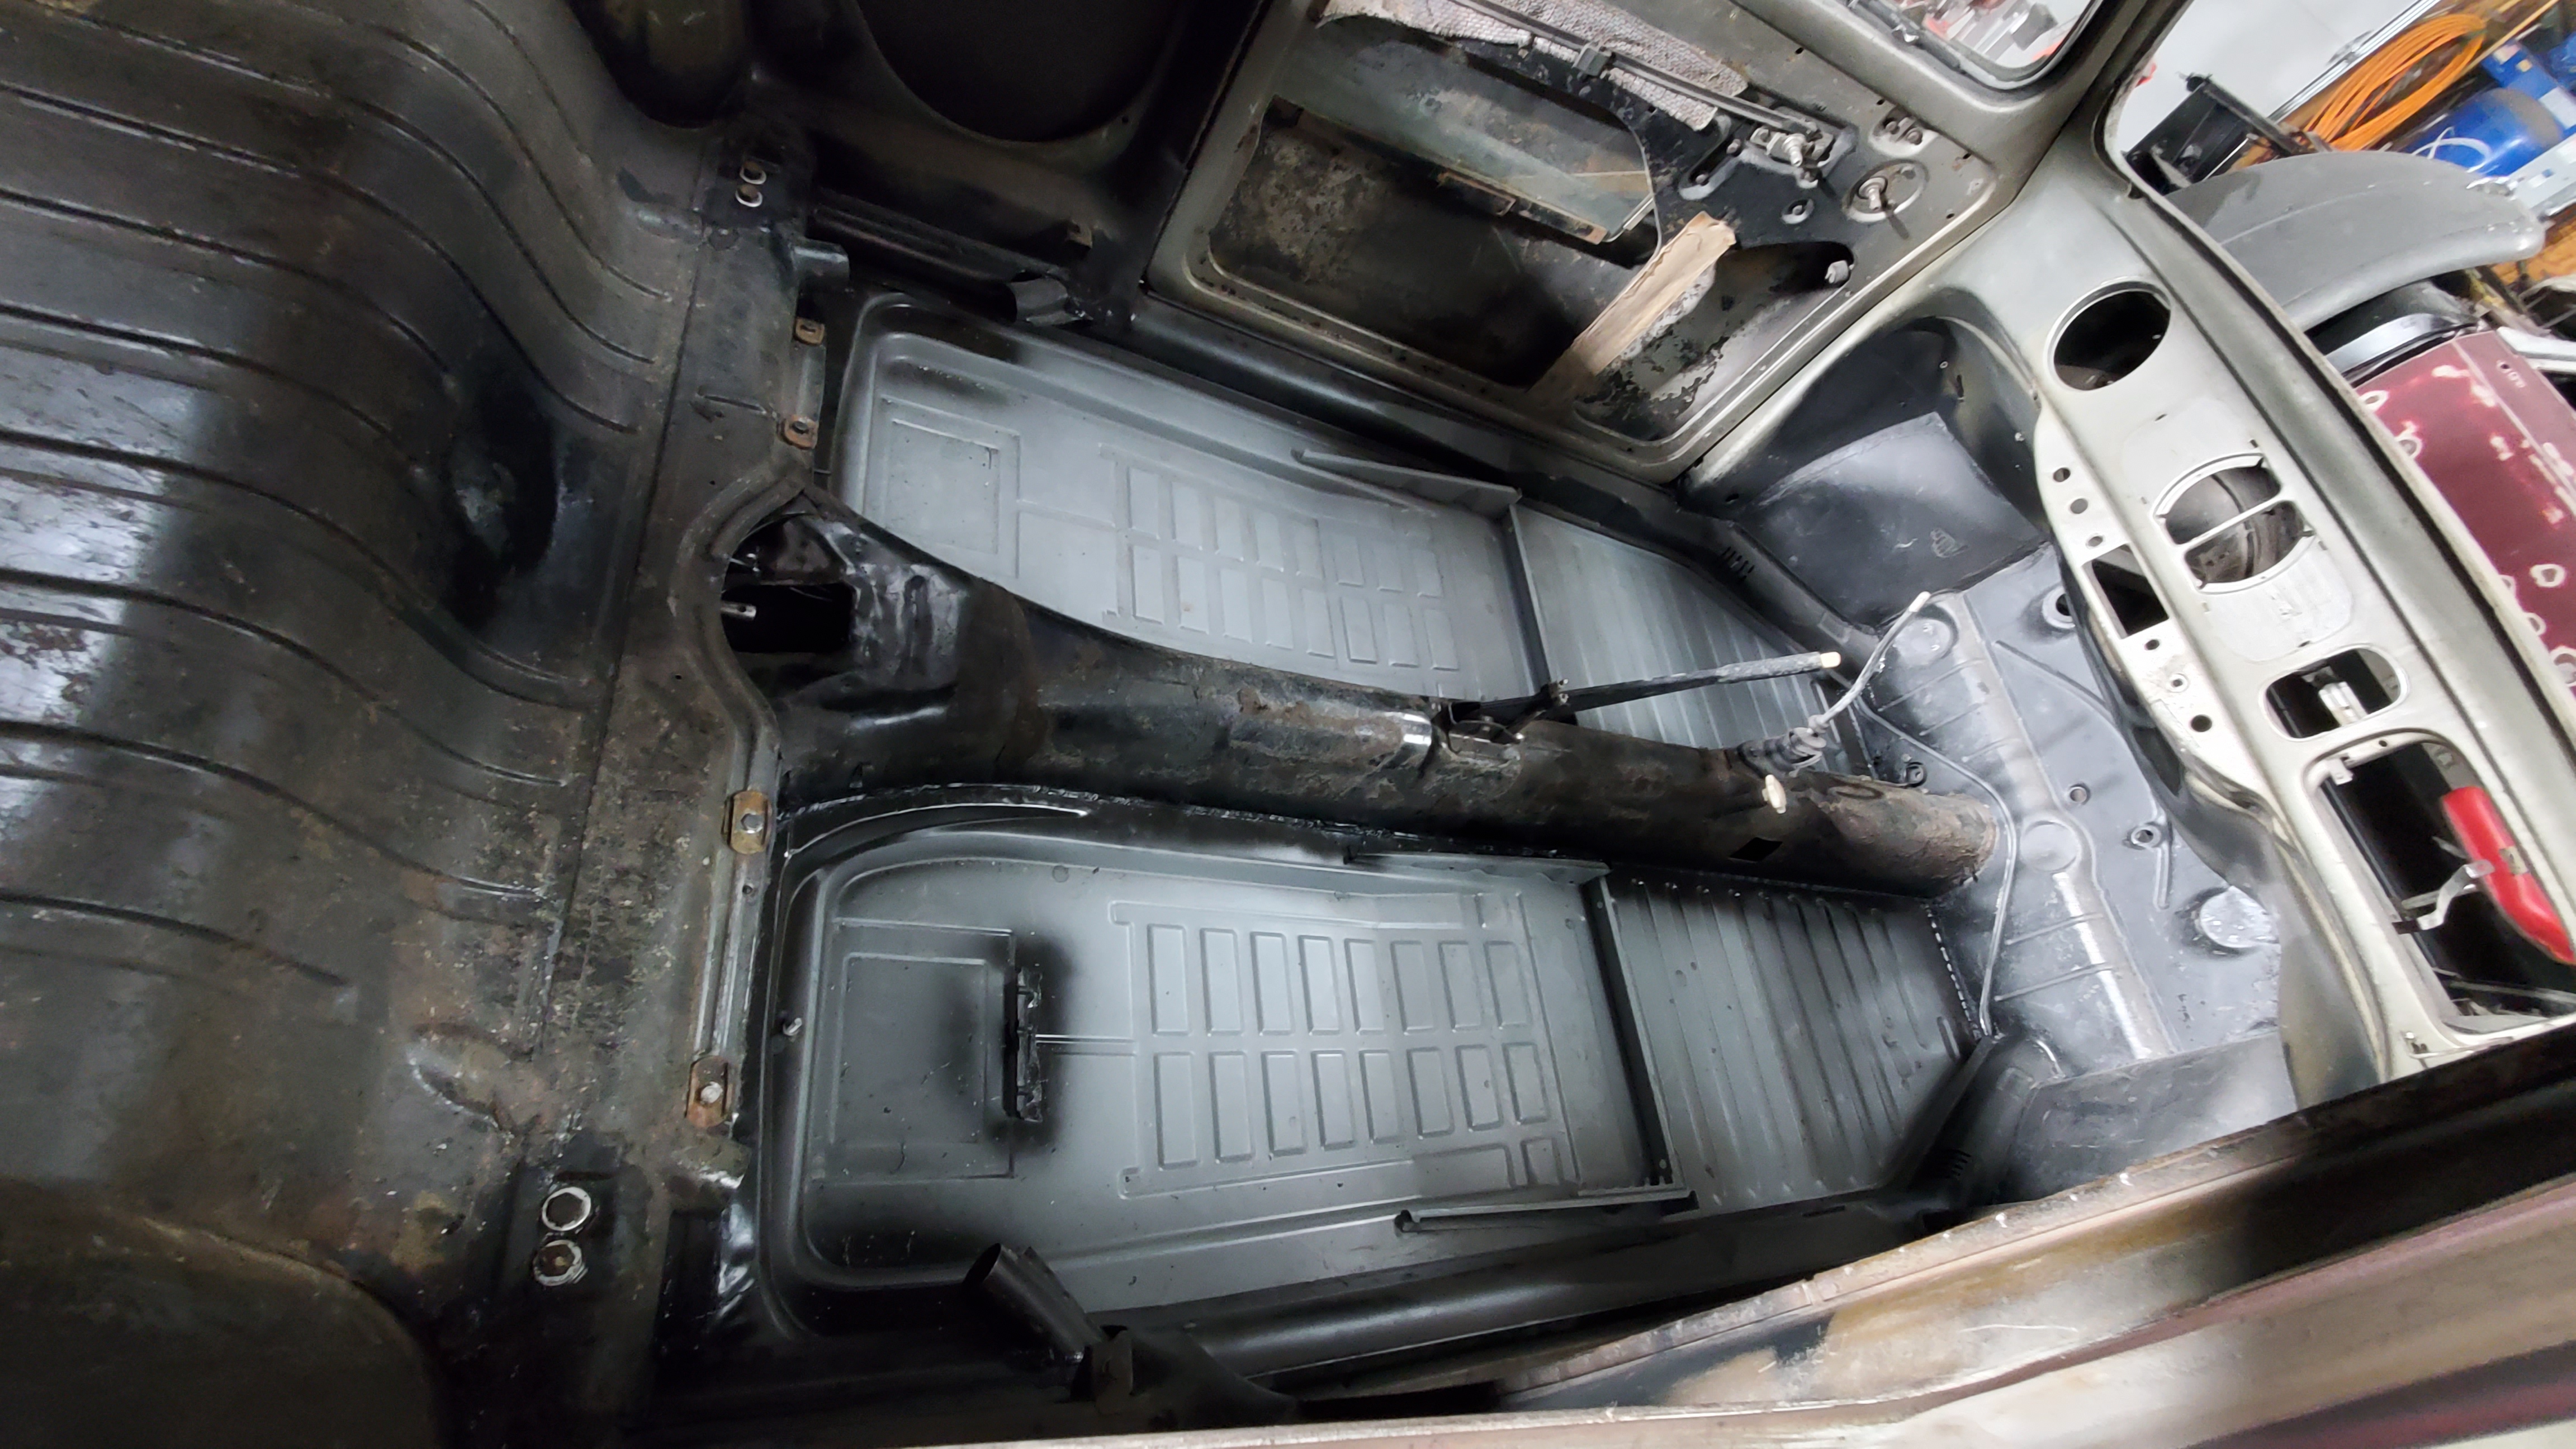
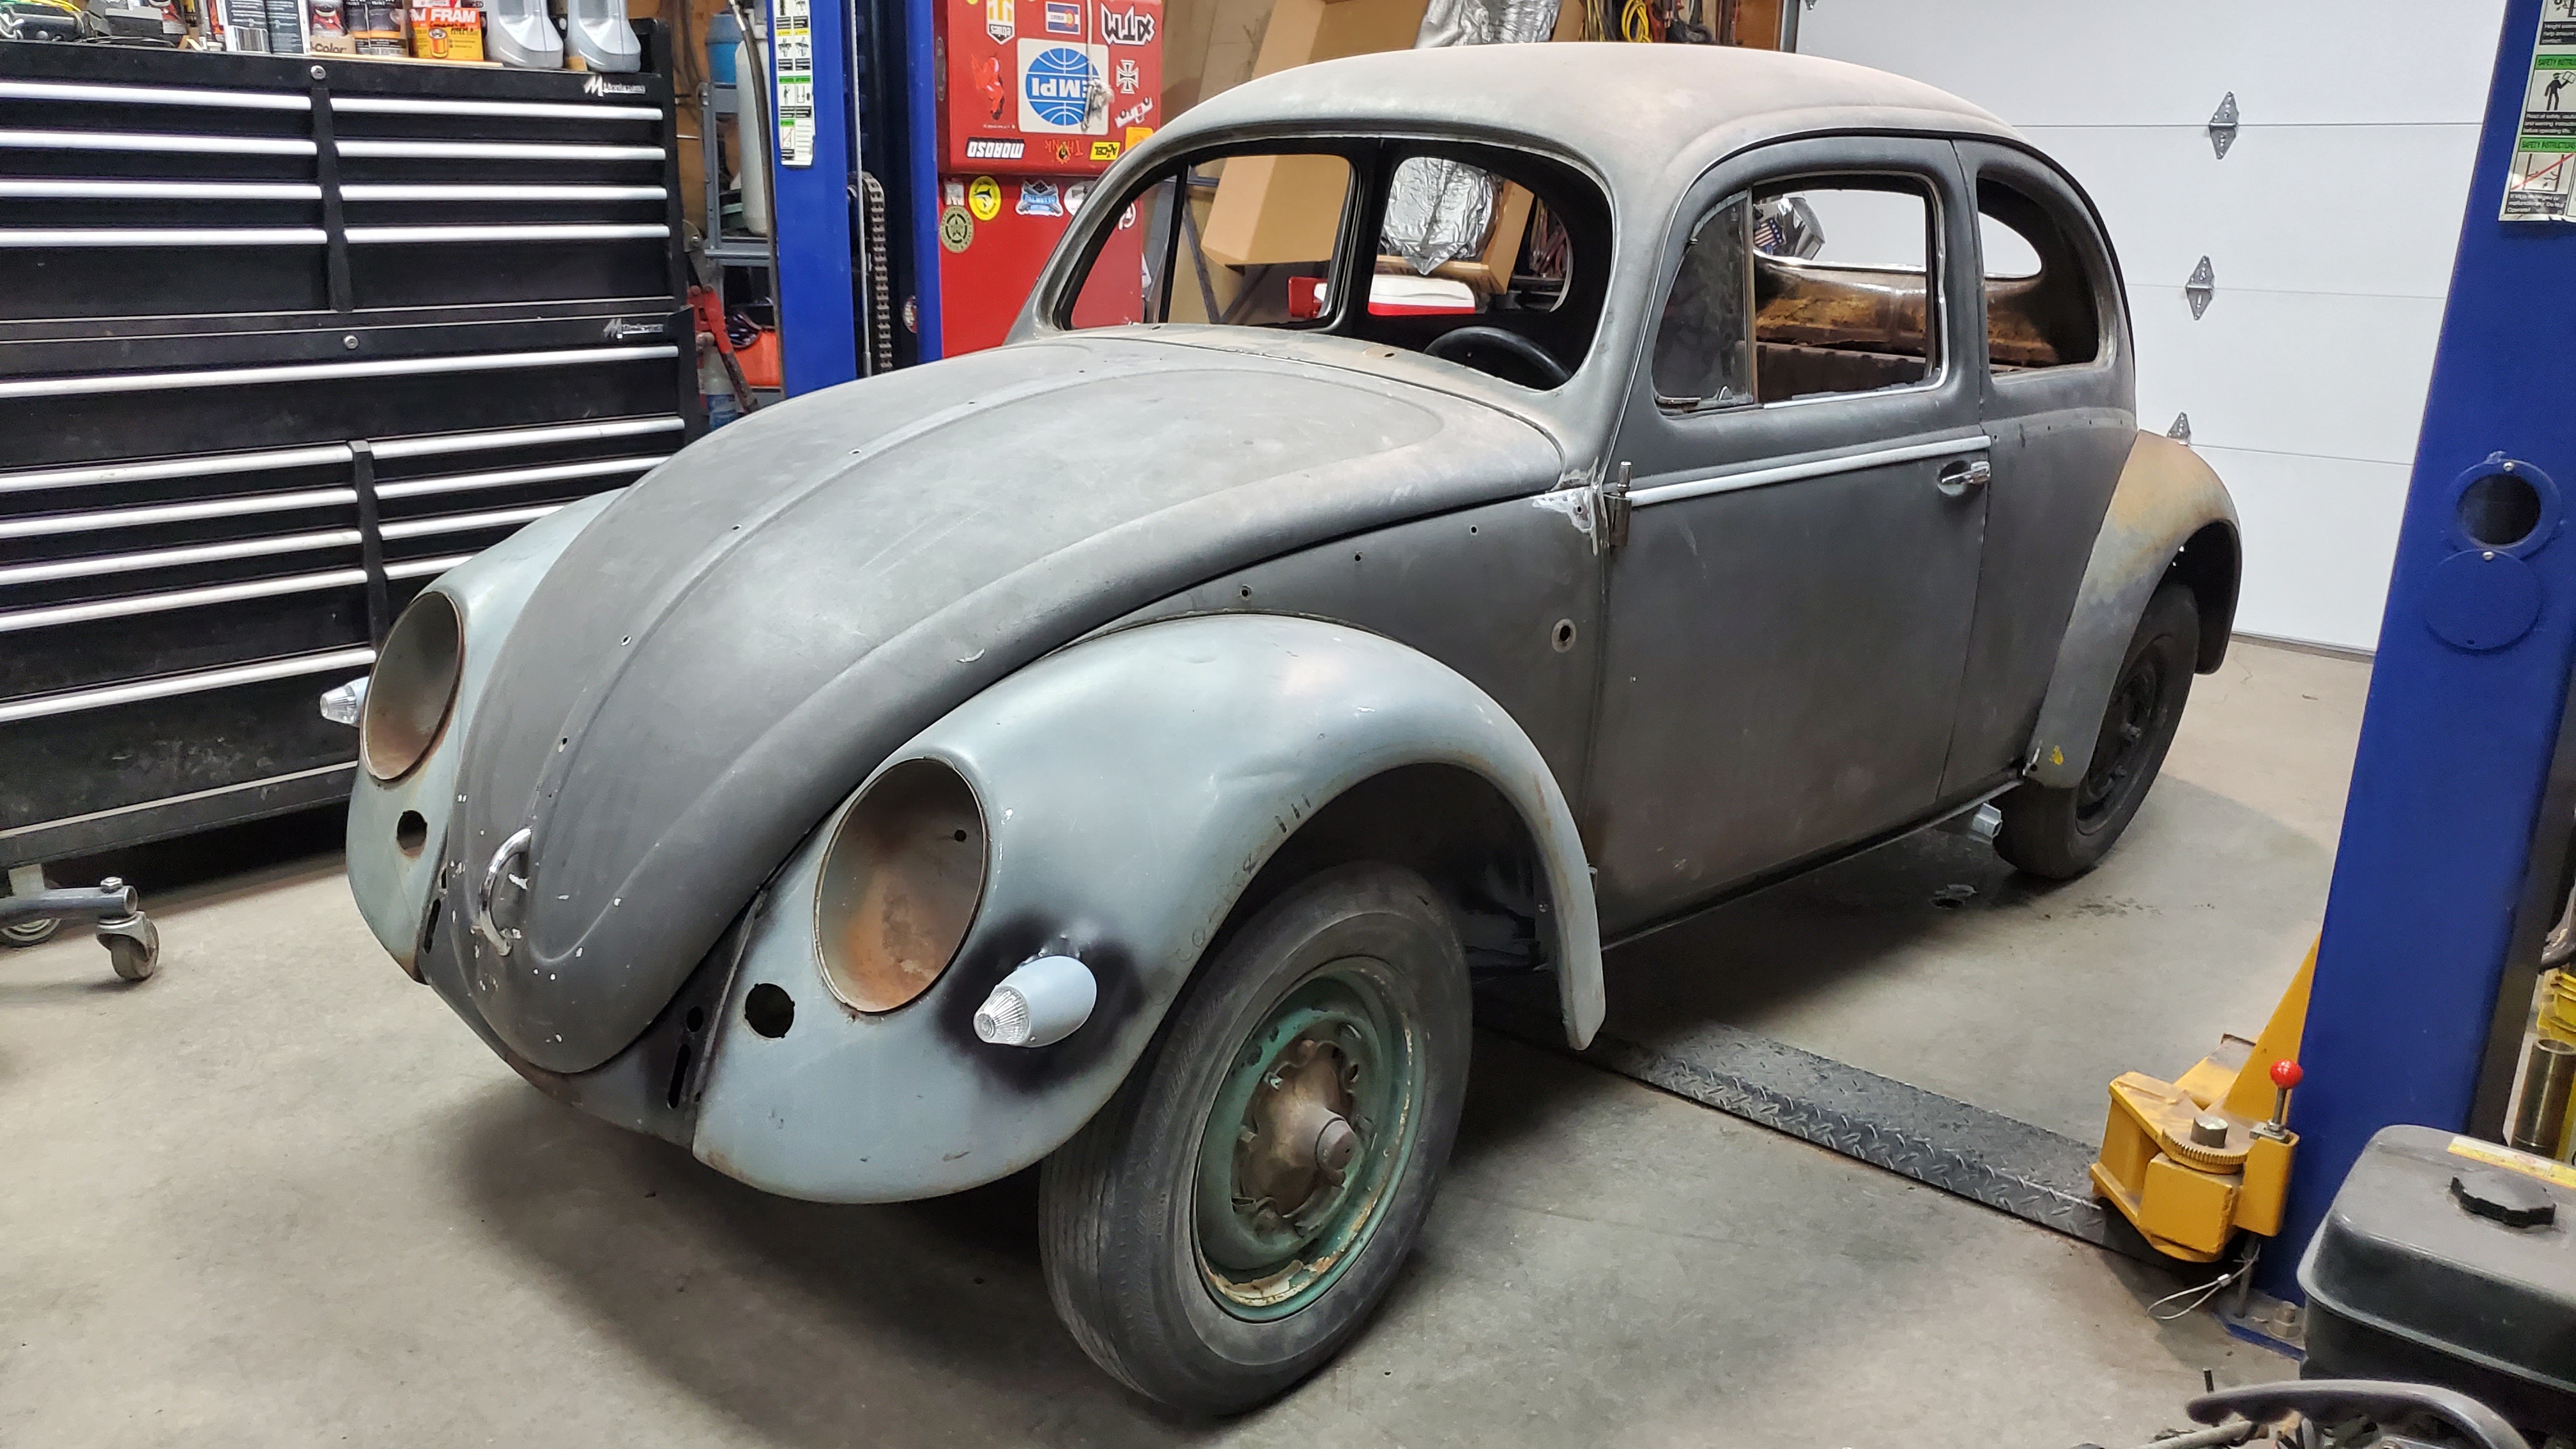
Everything back together again, with all the major rust removed, and ready for the restoration to start.


Copyright 2022-24
